
BS 1254 - Vacuum Cleaner CLATRONIC - Free user manual and instructions
Find the device manual for free BS 1254 CLATRONIC in PDF.
| Product type | Canister vacuum cleaner |
| Brand | Clatronic |
| Model | BS 1254 |
| Power supply | 230 V, 50 Hz |
| Nominal power consumption | 1800 W |
| Maximum power consumption | 2300 W |
| Protection class | II |
| Suction power | Variable (body-mounted control) |
| Motor filter type | Motor protection filter (washable) |
| Exhaust filter type | Exhaust filter (washable) |
| Coarse dust container | Removable dust container with MAX level |
| Dust bag capacity | Not specified (standard disposable bag) |
| Full bag indicator | Indicator light on body |
| Suction tube | Telescopic, height-adjustable |
| Floor nozzle | 2-in-1 (carpet/smooth floor) with lever |
| Integrated accessories | Crevice tool, upholstery brush (2-in-1) under the cover |
| Air regulator | On the hose handle |
| Cable length | Approx. 6 m (automatic stop before red mark) |
| Cable storage | Rewinder with push button |
| Weight | Not specified (approx. 4-5 kg) |
| Warranty | 24 months |
| Country of origin | Not specified (likely made in China) |
Frequently Asked Questions - BS 1254 CLATRONIC
User questions about BS 1254 CLATRONIC
0 question about this device. Answer the ones you know or ask your own.
Ask a new question about this device
Download the instructions for your Vacuum Cleaner in PDF format for free! Find your manual BS 1254 - CLATRONIC and take your electronic device back in hand. On this page are published all the documents necessary for the use of your device. BS 1254 by CLATRONIC.
USER MANUAL BS 1254 CLATRONIC
Overview of the Components.. 3
7Instruction Manual . Page 25
Technical Data.. 26
Guarantee.. Page 27
JE ZYK POLSKI
Spis tres'ci
Telescoop-zuigstang (13)
Compartment à accessoires (6)
General Safety Instructions
- Read the operating instructions carefully before putting the appliance into operation and keep the instructions including the warranty, the receipt and, if possible, the box with the internal packing.
- The appliance is designed exclusively for private use and for the envisaged purpose. This appliance is not fit for commercial use. Do not use it outdoors (except if it is designed to be used outdoors). Keep it away from sources of heat, direct sunlight, humidity (never dip it into any liquid) and sharp edges. Do not use the appliance with wet hands. If the appliance is humid or wet, unplug it immediately. Do not put it in water.
- When cleaning or putting it away, switch off the appliance and always pull out the plug from the socket (pull on the plug, not the cable) if the appliance is not being used and remove the attached accessories.
- Do not operate the machine without supervision. If you should leave the workplace, always switch the machine off or remove the plug from the socket (pull the plug itself, not the lead).
- To protect children from the dangers posed by electrical appliances, make sure that the cable is hanging low and that children do not have access to the appliance.
- Check the appliance and the cable for damage on a regular basis. Do not use the appliance if it is damaged.
- Do not try to repair the appliance on your own. Always contact an authorized technician. To avoid the exposure to danger, always have a faulty cable be replaced only by the manufacturer, by our customer service or by a qualified person and with a cable of the same type.
- Use only original spare parts.
- Pay careful attention to the following "Special Safety Instructions".
Special Safety Instructions
- Do not suck up liquids!
- Do not suck up hot ashes or pointed or sharp objects!
- Do not use the appliance in humid rooms!
- Never use without the fi tter. Check that the fi tter is inserted correctly!
- hair, clothing and body parts away from the vacuum nozzle during use!
- Keep the vacuum cleaner away from sources of heat like radiators, ovens, etc.!.
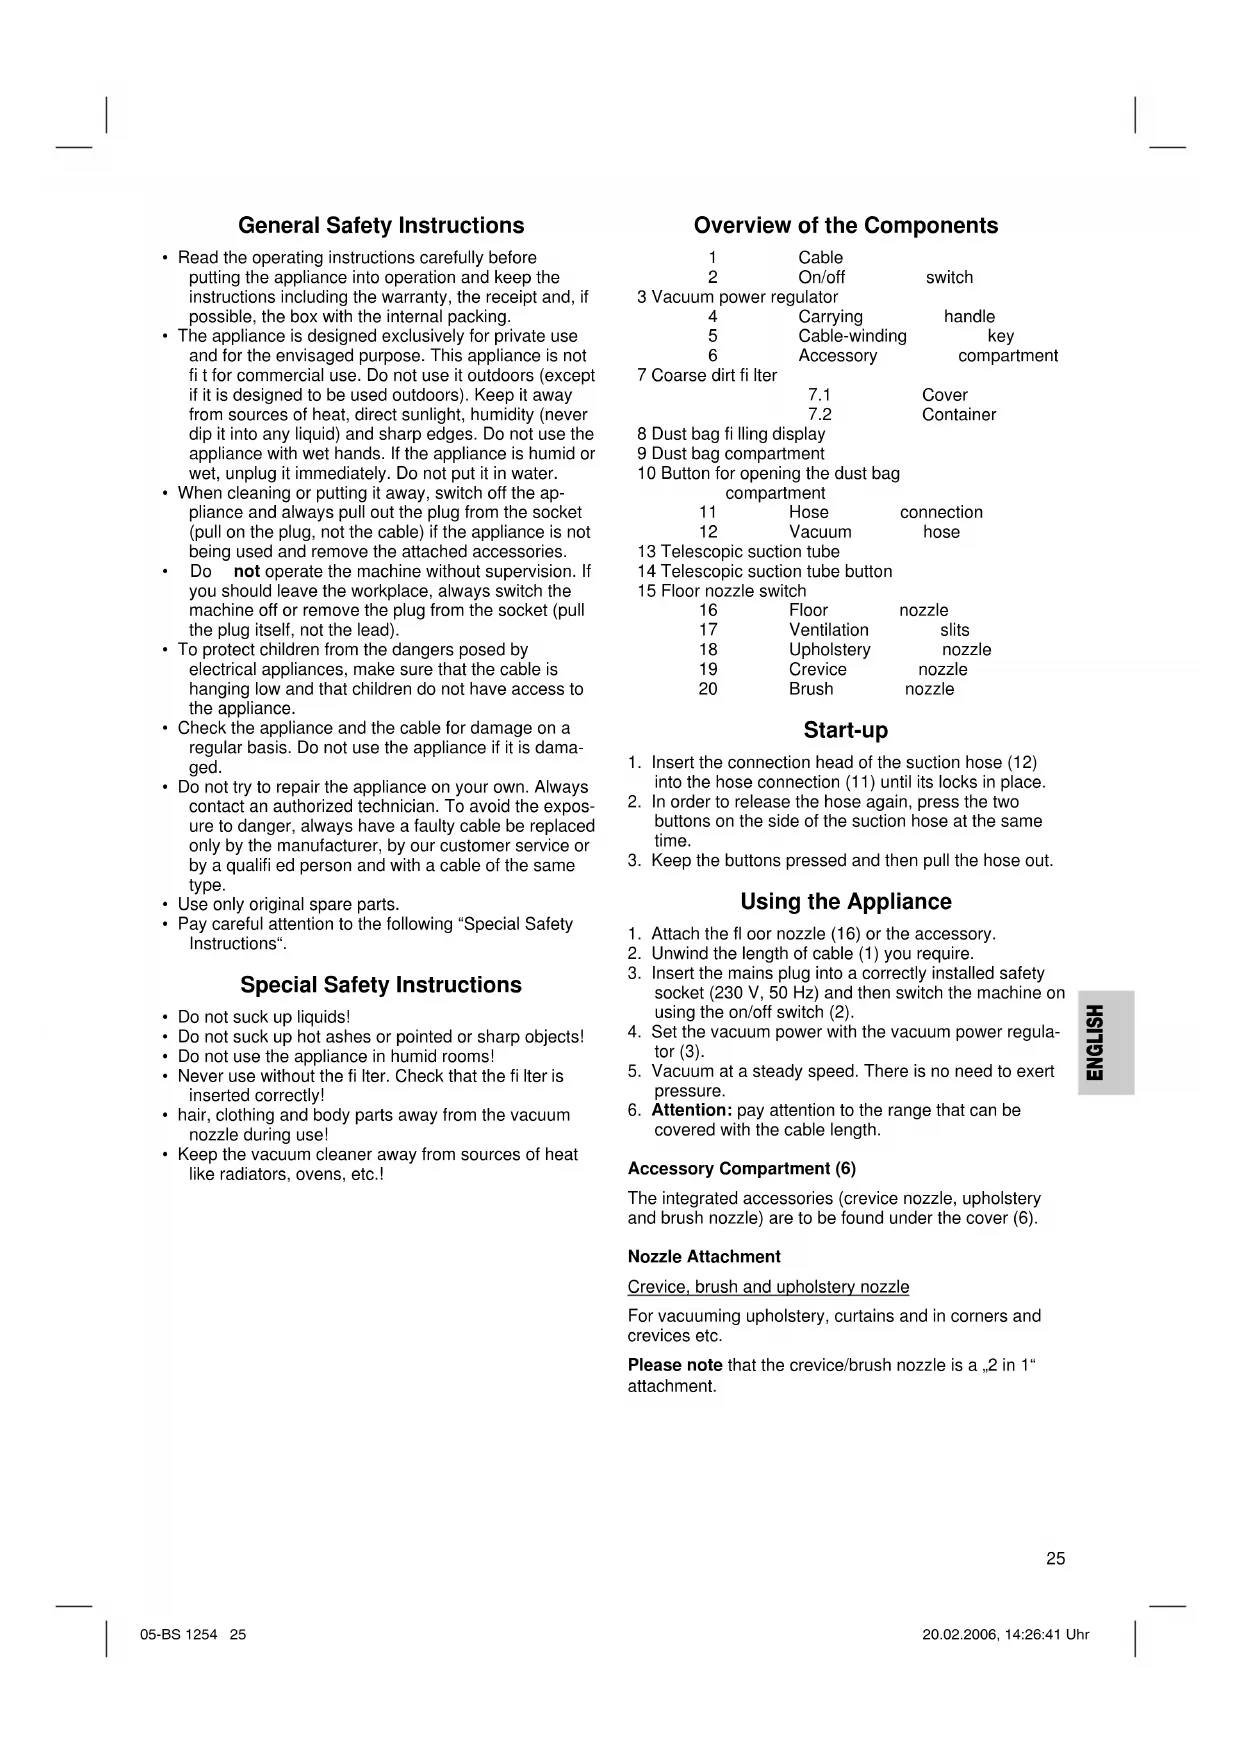
Overview of the Components
| 1 | Cable | |
| 2 | On/off | switch |
| 3 | Vacuum power regulator | |
| 4 | Carrying | handle |
| 5 | Cable-winding | key |
| 6 | Accessory | compartment |
| 7 | Coarse dirt fi lter | |
| 7.1 | Cover | |
| 7.2 | Container | |
| 8 | Dust bag fi lling display | |
| 9 | Dust bag compartment | |
| 10 | Button for opening the dust bag compartment | |
| 11 | Hose | connection |
| 12 | Vacuum | hose |
| 13 | Telescopic suction tube | |
| 14 | Telescopic suction tube button | |
| 15 | Floor nozzle switch | |
| 16 | Floor | nozzle |
| 17 | Ventilation | slits |
| 18 | Upholstery | nozzle |
| 19 | Crevice | nozzle |
| 20 | Brush | nozzle |
Start-up
- Insert the connection head of the suction hose (12) into the hose connection (11) until its locks in place.
- In order to release the hose again, press the two buttons on the side of the suction hose at the same time.
- Keep the buttons pressed and then pull the hose out.
Using the Appliance
- Attach the floor nozzle (16) or the accessory.
- Unwind the length of cable (1) you require.
- Insert the mains plug into a correctly installed safety socket (230 V, 50 Hz) and then switch the machine on using the on/off switch (2).
- Set the vacuum power with the vacuum power regulator (3).
- Vacuum at a steady speed. There is no need to exert pressure.
- Attention: pay attention to the range that can be covered with the cable length.
Accessory Compartment (6)
The integrated accessories (crevice nozzle, upholstery and brush nozzle) are to be found under the cover (6).
Nozzle Attachment
Crevice, brush and upholstery nozzle
For vacuuming upholstery, curtains and in corners and crevices etc.
Please note that the crevice/brush nozzle is a ,2 in 1 attachment.
Floor nozzle
To clean carpets or smooth surfaces.
Smooth floors: Press down the lever with the brush symbol with your foot. The brush is now visible.
Carpets:
Press the te direction. The brushes are now retracted.
Releasing the nozzles: Pull these off while turning slightly.
Vacuum power regulator (3)
Low vacuum power: For curtains and delicate fabrics
Medium vacuum power: For long-pile velour carpets and textile flooring
High vacuum power: For sturdy rugs and floors
Telescopic Suction Tube (13)
As the length of the suction tube can be adjusted it can be adapted to your own personal height. Unlock the coupling by pressing the button (14) downwards.
Then move the telescopic suction tube to the desired height. To fi x the suction tube in position, pull it until it is heard to lock in place.
Cable winding device
Pull out the cable (1) up to the maximum length indicated with the yellow mark. Never pull the cable out up to the red mark as the cable winding can be damaged. Said damages are not covered by the warranty.
Winding
Press the cable (5) winding button and guide the cable. Hold the cable to avoid wrapping.
Air Slide
Open the air slide on the hose handle in order to regulate the airflow or to clear any particles sticking to the nozzle.
Dust bag replacement display (8)
Hold the hose up into air. If the dust bag change display lights up, the bag is full. Please change it.
Changing the dust bag
Pull the plug out of the socket.
- Press the button (10) to open the lid of the dust bag compartment (until its locks in place).
- Pull the dust bag out of the holder.
- Insert a new dust bag.
- Close the cover so that it snaps into place.
Filter
Your appliance has two liters.
Motor protection fi iter (inlet fi iter)
The inlet fi iter is located in the dust bag compartment. Press the button (10) to open the lid of the dust bag ardontiapppi- The fi iter is located vertically in the rea section of the dust housing. Remove the fi iter by pulling upwards. Clean the engine protection fi iter after 10 du bag changes. If necessary, the fi iter can also be washed in warm water without any additives. Place it back into place only once it is completely dry!
Outlet filter
The appliance is also equipped with an outlet fi liter. This fi liter is located in the dust bag space under the ventilation grille. Open the dust bag compartment. Remove the fi liter and clean as described above. Please reinsert the fi liter correctly and then close the ventilation grille.
Coarse Dirt Filter
This collects the coarse dirt.
- Empty the container (7.2) when the MAX. mark is reached.
- When suction power decreases! Even if the MAX mark on the coarse dirt fi tter has not yet been reached it is possible that the suction power of your vacuum cleaner will decrease. You should then also clean the container.
- In order to do so, remove the container and the cover.
- Note: The components can be removed or attached by means of short twists in a clockwise or anticlockwise direction. Under the cover 7.1 there is an air duct that also has to be cleaned.
Cleaning and storage
Cleaning
- Pull the plug out of the socket before cleaning!
- Clean the casing with a dry cloth.
Storage
- Let the iron cool down completely.
- Wind the cable completely.
- Please place the machine in a vertical position and insert the hook on the suction tube into the parking assistance on the back.
Technical Data
Model: BS 1254
Power supply: 230 V, 50 Hz
Power consumption:
P nom. 1800 W
P max. 2300W
Protection class: II
This device has been tested according to all relevant current CE guidelines, such as electromagnetic compatibility and low voltage directives, and has been constructed in accordance with the latest safety regulations.
Subject to technical changes without prior notice!
Guarantee
The device supplied by our Company is covered by a 24 month guarantee starting on the date of purchase (receipt).
During the life of the guarantee any fault of the device or its accessories *) ascribable to material or manufacturing defects will be eliminated free of charge by repairing or, at our discretion, by replacing it. The guarantee services do not entail an extension of the life of the guarantee nor do they give rise to any right to a new guarantee!
Proof of the guarantee is provided by the proof of purchase. Without proof of purchase no free replacement or repair will be carried out.
If you wish to make a claim under the guarantee please return the entire machine in the original packaging to your dealer together with the receipt.
*) Damage to accessories does not mean automatic free replacement of the whole machine. In such cases please contact our hotline. Broken glass or breakage of plastic parts are always subject to a charge.
Defects to consumables or parts subject to wearing (e.g. motor pistons, kneading blades, drive shafts, spare remote control, spare toothbrushes, saw blades, etc.) as well as cleaning, maintenance or the replacement of said parts are not covered by the guarantee and hence are to be paid!
The guarantee lapses in case of unauthorized tampering.
After the expiry of the guarantee
After the expiry of the guarantee repairs can be carried by the competent dealer or repair service against the payment of the ensuing costs.

Meaning of the "Dustbin" Symbol
Protect our environment: do not dispose of electrical equipment in the domestic waste.
Please return any electrical equipment that you will no longer use to the collection points provided for their disposal.
This helps avoid the potential effects of incorrect disposal on the environment and human health.
This will contribute to the recycling and other forms of reutilisation of electrical and electronic equipment.
Information concerning where the equipment can be disposed of can be obtained from your local authority.
In many EU countries the disposal of electrical and electronic equipment in the domestic waste is prohibited from August 13, 2005 on.
In Germany from March 23, 2006 on.
Regulator sily ssania (3)
Niski stopien ssania: Do fi ranek, materiałow delikatnych.
IydaenHn Ibnn C mKoM Me6e,3aHaBeCe, a TaKKe H3 TpydnoOCTynhBx YrNOB, Uene N T.
POnaynycta yUHTte, YTO y3Koe cOIno/COIno-ueTKa ABJIETcHacaIKO ,2B1".
IbilecochaaeTka
IyOuCTKIOBPOB INIaIKNXIOBEPXHOCTe.
C C H M B O L O M Μ ζ Ε T K N I B D A B I N E e rO. Tenepb Μ Ε T K N CTaHOBATCR BNДИМыIMN.
Kobpbj:
HaXMMTe Ha
B POTUBOJIOJHOe HanpaBHeHne.Tenepb 8etKn BTAHyTbl.
MexAHmCMaTbIBaHnCeTeBOrO shHypa
IpoKanycta He BbITrNBaTe CeTeBOu SHyp (1) daJeE JeNToMETKn. HnB KOeM Clyuae He BbITrNBaTe erOdo KpaCHOH METKn, 3TO MOKeT npINBeCTN K NOLOMKe MexAHn3Ma CmTaBbAHn. IIOObHbe NOnOMKn He nonaHaOT nO rapaHTnIO.
CmTabiBaHne
HaKMMTe Ha KONky (5) MexaHn3Ma CmTaBbAHnI N NOMaJIeHbKy NOdaBaIte Ka6eIb. DepeKHTe Ka6eIb Kpenko pykax, yTo6bl npedotBpaTntb erO xNecTaHne.
Bo3dyuHaHa 3acNoHa
OtkpbBaB Bo3DyUHyo 3acNoHky Ha pyKoTKe nblncoca MoXHO peYnnpOBaTb CnIy NtOKa BO3dyxa HIN OCBO6OnTb cOnIIO TnpocacBuxxC K Hemy npedmetob.
HnDnKaTop cMeHb MeuKa-TbJnc6OpHNka (8)
IOnbIMHTe nbJIeCOCHyTOpy6yB Bo3dyx.Ecnn HINIKaTOP CMeHb MEwka-NbJIeC6OpHNKa CBETnTcA,TO OH noNo. POKanyIcTa CMeHte erO.
CmeHa MeuKa-nyIeSc6OpHnKa
BbHbTe ceTeByIO BnIKy n3 pOeTKN.
- OTKpoIte npn nOMOuN KHOKN (10) KpbIuKy OTceKa nbIeScbOpHnka (do NkCaun).
- BbITaHInTe nbIeCoOpHnK n3 dpKeTaTeJ.
BctabbTe KOHTeHep 6paTHo.
- 3aKpoTe KpbIuKy o6paTHo, do fHKcaunn.
ΦnIbTp
3JIeKtpnpB6Op Oshaen DByMa FmTpaMn.
3aunTHbI ΦnIbTp MoTopa (BXoDHOH ΦnIbTp)
BxOHOHΦnIbTp HaxoJITcB OTCKe MeuKa- nIbIeScOpHnKa.OTKpoTe npn NOMou KHOKn (10) KpUky OTCEKa nbIeScOpHnKa.ΦnIbTp pa3Meueh BepTnKaIbHo B 3aJHe N qCTN KOpNyCa nbIeCocA.
BbTHHTE PnIbTp BBePx. PpOuHuaTe ero npImepHo nocNe kaKdo1 10 cMeHb MeUka-NbIeNc6OpHNka. Pn HEOxOIMOCnE rO MOXHO pOMbITb B TeIIOI BOe, 6e3 doabok. BCTaBnIte ero o6paTHo TOnkO nocne nonHO npocuywn!
BbIyckHoiФnIbTp
Kpome BCero 3neKTponpno6op OchaueH BbInyCKhblm
ΦnIbTpOM. 3TO T ΦnIbTp HaxOOnTcB OTCeKe
PbJIec6OpHNKa IOD BEHTINRAUHOHHO peWetKOi.
OTkpOte OTEcK nbIeNc6OpHnKa. BbIHbTe FInbTp npOuHCTne erO, KaK 3TO yKe 6bIIO ONCaHo. BcTaBbTe FInbTp 6oPaTHo n 3aKpOte BeHTINnAIOHOHyIO peWetKy.
ΦnIbTp dIa rpyoMycopa
B HEM ocdaet rpybmycop.
OnycOHTe KOHTeHep (7.2) KaK TOnbKO 6yDet DOCTnHyTa MeTka MAX.
BHHMaHHe: B cIyae naeHn moHocTn! Jace ecnn MeTKa MAX fnhbtpa IraI rpy6oro Mycopa eue He IOCTnHyTa, BO3MOxHO naeHne MOuHocTH nblecoca. IpOuHCTte B 3ToM cIyae KOHTeHep.
ДЯЗTOROBbITaUNTe KOHTeHepNCHIMITE CHERO KpbIUKY.
-ПиMuMeaHHe: BCE DeTaN CHIMaOTcN I CTaBATcN O6paTHO He60JIbIbIbM NOBOpOTm NO HIN NpOTNb YacOBoI CTpeIke/N. PoN KpbIbKOJ 7.1 HaxOJTcR BeHTnIaIIOHHbI KaHaI, KOtOpB TaKKe Heo6XoIMNo npOuIuaTb.
UncTka n XpaHeHne
UHCTKa
-ПеледчNTКОВынБтсeТeВуHВиКИи3po3eTKI!
- Ppnte Kopnyc cyxoi Tpnnkoi.
Xpahenne
JaTe yTHOy NOHOCbHO OCTbTb.
- PONHOCTbIO CMOTaIte Ka6eJIb.
- YctaHOBHTe NbIeOC BepTnKaJIbHO N BCTaBbTe KpHOK NblNEcoCHOn TpyOBy B MExAH3M ee KpeJIeHn, C TblHOH CTOpOHb NblNEcoCA.
TexHnueckne daHHbIe
Modenb: BS 1254
3neKtponHtAHHe: 230B,50T
Iotppe6nemmaMOUHOCTb:
Pnom. 1800 BaT
Pmax. 2300 BaT
Klacc 3aunntbI:
3To n3deneHne npoJIO BCE Heo6xOaHmble n aKtyaJIbHbIe npOBepKn, npEtnncAHHbIe DnpeKTHBOE CE, K npIM. Ha 3JIeKTPomarHHTHyIO COBMeCTHMOCb T COOTBeTCTBNE Tpe6oBaHnM K Hn3KOBONTHOH TEXHKe, OHO bIIO TaKHe CCKOHCTpyuPBOaHO N NOcTpoEO C yueTOM NocNeDHNX Tpe6oBaHnNo TEXHKe Be3OnaChOCTN.
Mbl octabnem 3a cobon npabo Ha texnueckne n3MeHHeHr!
TapaHTnHoe 683aTeJIbCTBO
TapaHTnHbI cpoK Ha TeppntOpn PocChckOfEepaun yCTaHaBnBaetc nonHomOHyIMNnpedctabNTeRmN.
Kaccobbyuek ABnreTc rapaHTnHbIM TaIOHOM.6e3 HrO HeBO3MOXKeH 6ecnIaTHbI peMOHT nnn 3ameHa n3dennr.
B cnyae BO3HKnHOBKnHn npTeH3n no rapaHTn, npEdbBnTe n3dJe B NOHOBKOMNKeTauHn, C opHnHaBHo ynakOBkO H KACCObIM YekOM ToproBoToCKe, npoDaBWe 3TO n3dJeHne.
*) DepeKtbl npHaIeJXHcTeH He cLyKAT npuHHOJnABTOMaTHeCKo 3aMeHb BCero H3dEHN. B 3tOM Cnyae no3BOHHTe Ha, noKaIyIcTa, no rOpRyI nnHm! Pa3bIbe CTKeJIHHBe I NOLOMaHbI pNactMaCCOBbIe DeTaN BO3MeUaOTcToIbKO 3a DOnOJIHTeNbHyO onllaty!
DeΦeKtblnHaunBaembIX npHAnDneXHOCTeI INN TpyuNXCn DeTanei (Hanpimep KOHTaKTHBie uetKN MOTOPOB, CMEcHteNbHbIe KpOKn, pPbOBDHbIe peMHN, 3anacHbIe NylbTb IynpaBHeHH, 3anacHbIe 3y6HbIe 8eTKN, NlNbHbIe NOIoTHa N.T.D.), a TaKKe YnCTKa, Texo6cnyKbHaHne INN 3aMeHa TpyuNXCn DeTanei He I nonaIaIOT nOg rapaHTHO, IN OToTMy PPOBOdATCR 3a OTdeMbHyO ONNaTy!
TapaHTN TepTeCTI INBCKpItIN N3dJIIN NOCTOPOHHIM NImaMn.
PocJIe rapaHTnI
Iocne OKOHuaHn Cpoka rapaHTn, pemOnT n3deNn npOn3BOJNTcra 3a ONnATy, COOTBeTCTByIOUHMM MaTePcKMMn Nn NYHKTAMn CepBnCHOrO O6CnYkBaHn.

CLATRONIC
INTERNATIONAL GMBH
D-47906 Kempen/Germany · Industriering Ost 40 rnet: http://www.clatronic.de · email: info@clatronic.de

- JE ZYK POLSKI
- Spis tres'ci
- Telescoop-zuigstang (13)
- Compartment à accessoires (6)
- General Safety Instructions
- Special Safety Instructions
- Overview of the Components
- Start-up
- Using the Appliance
- Accessory Compartment (6)
- Nozzle Attachment
- Floor nozzle
- Vacuum power regulator (3)
- Telescopic Suction Tube (13)
- Cable winding device
- Winding
- Air Slide
- Dust bag replacement display (8)
- Changing the dust bag
- Filter
- Motor protection fi iter (inlet fi iter)
- Outlet filter
- Coarse Dirt Filter
- Cleaning and storage
- Cleaning
- Storage
- Technical Data
- Guarantee
- After the expiry of the guarantee
- Meaning of the "Dustbin" Symbol
- Regulator sily ssania (3)
- IbilecochaaeTka
- MexAHmCMaTbIBaHnCeTeBOrO shHypa
- CmTabiBaHne
- Bo3dyuHaHa 3acNoHa
- HnDnKaTop cMeHb MeuKa-TbJnc6OpHNka (8)
- CmeHa MeuKa-nyIeSc6OpHnKa
- ΦnIbTp
- 3aunTHbI ΦnIbTp MoTopa (BXoDHOH ΦnIbTp)
- BbIyckHoiФnIbTp
- ΦnIbTp dIa rpyoMycopa
- UncTka n XpaHeHne
- UHCTKa
- Xpahenne
- TexHnueckne daHHbIe
- TapaHTnHoe 683aTeJIbCTBO
- PocJIe rapaHTnI
Brand : CLATRONIC
Model : BS 1254
Category : Vacuum Cleaner