
T180LBT - Speaker MPMAN - Free user manual and instructions
Find the device manual for free T180LBT MPMAN in PDF.
User questions about T180LBT MPMAN
0 question about this device. Answer the ones you know or ask your own.
Ask a new question about this device
Download the instructions for your Speaker in PDF format for free! Find your manual T180LBT - MPMAN and take your electronic device back in hand. On this page are published all the documents necessary for the use of your device. T180LBT by MPMAN.
USER MANUAL T180LBT MPMAN
Safety Information. 2
Accessories. 3
Installation and Connection. 4
Panels. 5
Remote control. 6
General operation 6
Audio/USB/FM/Bluetooth operation. 8
Trouble shooting and 9
Specifications. 10
Please read and understand all the warnings given in the following and those marked on the unit. This unit has been manufactured and designed to assure personal safety.

Only use the power by sign on User Manual or system.
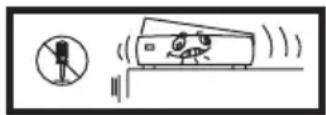
Keep the unit and power plug away from water.
Protect power cable: avoid high pressure and stamp on; do not pull & bend excessively.
Avoid direct sunshine and nearing heater.

Unplug the set from the outlet when you do not use it for a long time.
Never open the cover, avoid metals dropping in, e.g. needle, hairpin, coin.
Safety instructions

CAUTION
RISK OF ELECTRIC SHOCK, DO NOT OPEN

Caution: To reduce the risk of electric shock do not open this device, there are not serviceable parts for customers. Please refer any maintenance or repair to qualified personnel.
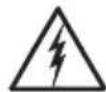
- This sign means the existence of dangerous voltage at the inside of the unit, which states a risk of electric shock.

-
This sign means that there are important instructions of operation and handling in the manual that comes with this device.
-
Read the Instructions - All the safety and operating instructions should be read use the product.carefully before you
- Keep the Instructions -The safety and operating instructions should be retained for future reference.
- Heed allWarnings -All warnings on the appliance and in the operating instructions adhered to.should be
- Follow all instructions - All operating and use instructions should be followed.
- Do not use this apparatus near water- The appliance should not be used near water -for example, in a wet basement or near a swimming pool, and the like.or moisture
- Clean only with a damp cloth.
- Do not block any of the ventilation openings. Install the unit in accordance with the instructionsmanufacturer's
- Do not install near any heat sources such as radiators, heat Registers, stoves, or including amplifiers, that produce heat.other apparatus,
- Protect the power cord from being walked on or pinched particularly at plugs, receptacles, and the point where they exit from the apparatus.convenience
- Only use attachments/accessories specified by the manufacturer.
- Unplug the apparatus during lightning storms or when unused for long periods of time.
- Refer all serving to qualified service personnel. Servicing is required when the apparatus has been damaged in any way, such as power-supply cord or plug is damaged, liquid has been spilled or objects have fallen into the apparatus, the apparatus has been exposed to rain or moisture.
Safety instructions
- Please keep the unit in a good ventilation environment.
- These servicing instructions are for use by qualified service personnel only. To reduce electric shock, do not perform any servicing other than that contained in the risk of unless you are qualified to do so.the operation instructions
- The mains plug is used as disconnect device, the disconnect device shall remain readily operable.
- This equipment is a Class II or double insulated electrical appliance. It has been such a way that it does not require a safety connection to electrical earth. designed in
- The batteries (if included) shall not be exposed or excessive heat such as sunshine, fire or the like.
- The apparatus shall not be exposed to dripping or slashing and that no objects filled such as vases, shall be placed on the apparatus, with liquids.
- To reduce the risk of fire or electric shock, do not expose to rain or moisture.
- The main operating voltage of this product is marked on a rating plate on the back of the product. This means of disconnecting this appliance from the main supply is the mains plug. This should be unobstructed and readily operable at all times.
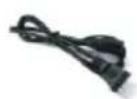
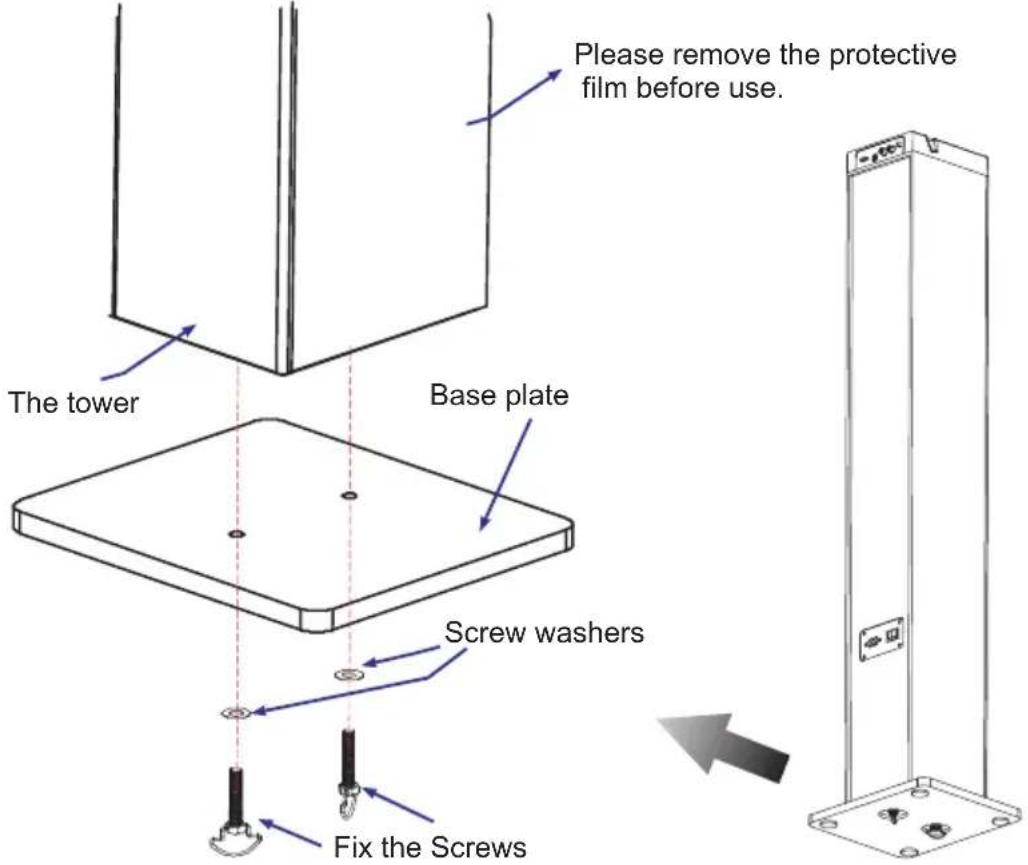
Accessories
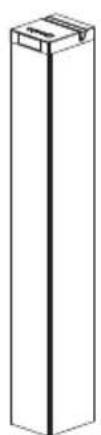
The tower *1
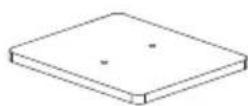
Base plate *1
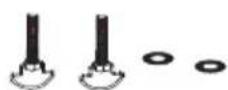
Screws with washers* 2
Remote control *1
User manual 1 Power cable 1
Installation diagram
Please install the machine as below (do not connect to power):
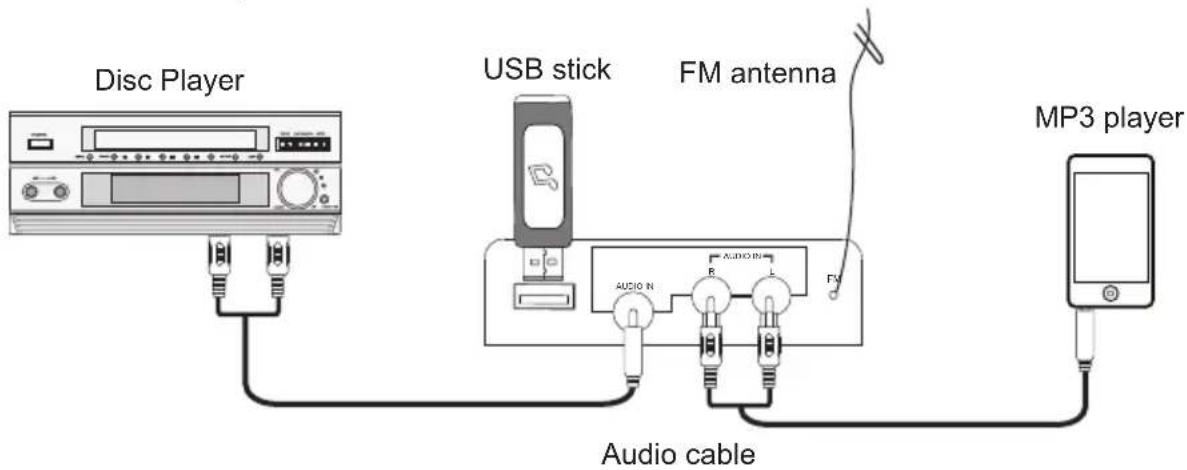
Connection
Follow the below picture to connect the devices:
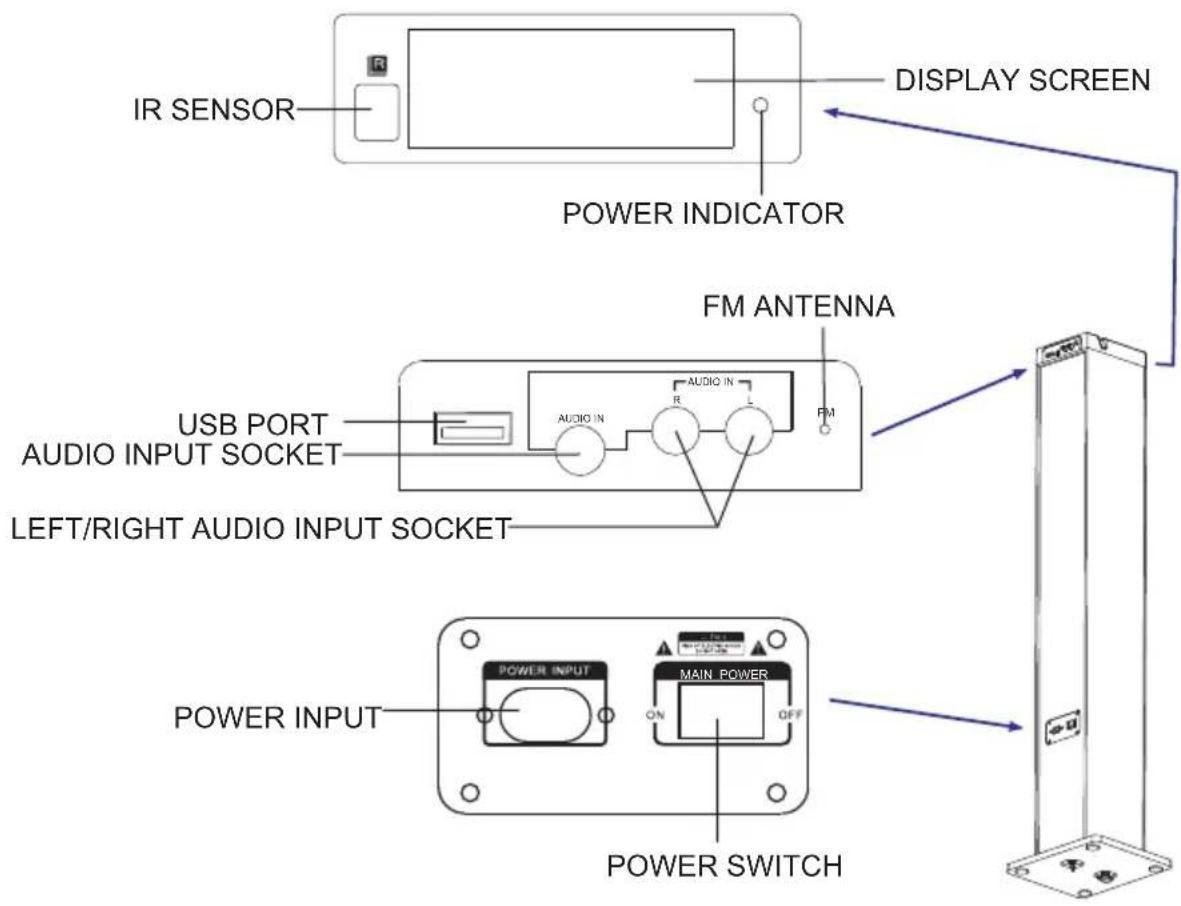
Panels
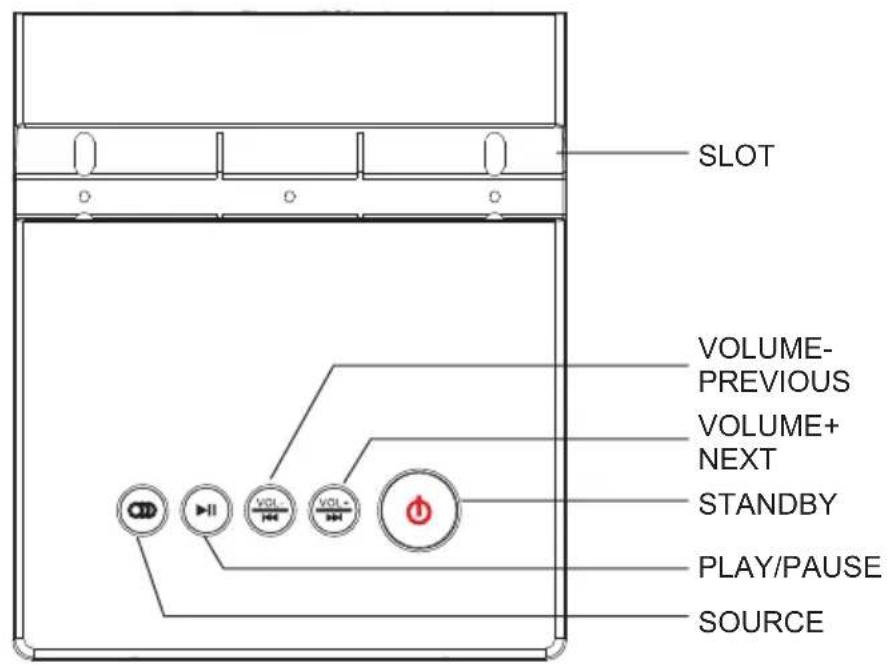
Control and General operation
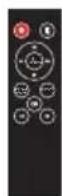
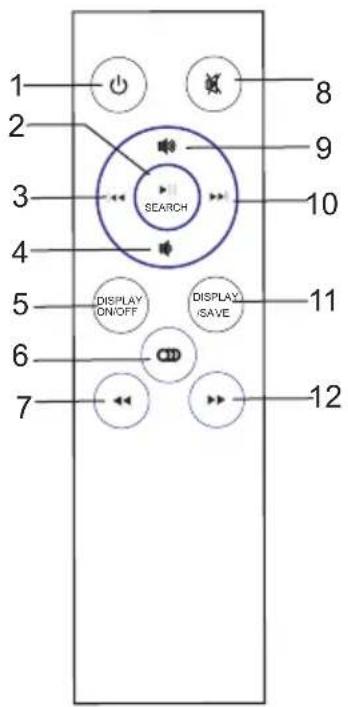
Remote control
- Standby
- Play/pause/search
- Previous
- Volume-
- Display on/off
-
Source
-
Reward
- Mute
- Volume+
- Next
- Display save
- Forward
General operation
PREPARATION
Before power on this unit, please check if all the connections are right and safe. Then connect the main power. Press the POWER SWITCH to power on the unit.
STANDBY MODE
Press the STANDBY button to wake up the unit or turn to standby mode.
SELECT MODE
Press the SOURCE button on the top panel to switch to one of the modes: Bluetooth, USB, FM or Audio.
VOLUME SETTING
Briefly press the / buttons to turn the volume to a comfortable level.
MUTE THE SOUND
While the unit is playing, press the MUTE button on remote control to mute the sound.
Press the MUTE button again or press the /I buttons to resume the volume level.
General operation
SKIP TRACKS
Press the PREVIOUS or NEXT : button on remote control or press and hold the PREVIOUS or NEXT on top panel to skip to the previous or next track.
SEARCH button
- Play/pause: Press the SEARCH button on the remote control to pause music playback. Press again to resume.
- Search stations: In Radio mode, press the /SEARCH button on remote control to search stations automatically.
DISPLAY ON/OFF button
Press the DISPLAY ON/OFF button to turn ON/OFF LED mode.
DISPLAY/SAVE button
Press the DISPLAY/SAVE button to select the LED color.
Operations in different modes
Audio operation
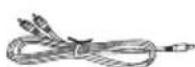
To connect the unit with Disc/ MP3 player/phone or other device via an audio cable.
- Connect one end of the cable to the Mp3 player's line output/headphone and the other end to the AUDIO IN socket on the rear panel of the unit.
- Press the SOURCE to enter audio mode.
- Control the playback by your Mp3 player. You can only adjust the volume of the unit.
NOTE:
When Audio in and R/L Audio in are connected to music device at the same time, the Audio in socket is prior to play, and the R/L Audio in sockets will have no sound output.
USB operation
- Insert the USB stick into the USB port on the rear panel of the unit.
- Press the SOURCE button to enter USB mode.
- Once the USB stick inserted, the unit will auto detect the files and start playing.
NOTE:
- Depending on the amount of the data and media speed, it may take longer time for the unit to read the files stored in the USB device, this is not a malfunction.
- For some files, even though they are of the support format (MP3), the unit can not play because of the format compatibility.
- The maximum size of Flash Drive that can be connected is 32GB max.
FM operation
- Adjust the antenna direction to get the good reception.
- Press the SOURCE button to enter FM mode.
- Briefly press the / buttons on remote control or press and hold the / on the main panel to skip to the previous or next stations.
- Press the / buttons on remote control to increase or decrease the frequency in 0.1MHz increments.
- Press HI/SEARCH button on remote control to search stations from low to high frequency. Press again to stop searching.
- When listening to your favorite radio station, you can press and hold the DISPLAY/ SAVE button to save.
Bluetooth operation
- Turn on the Bluetooth device (e.g. phone) and stay within 10 meters of the tower.
- Press the SOURCE button to enter the Bluetooth mode, the indicator flashes quickly.
- Enter the Bluetooth searching list, and select the found device name "T180L".
- Select OK/YES/PAIR to connect the phone with the tower.
- When they are paired successfully, the indicator lights solid blue.
- For rare cases, the phone may ask you to input "0000" (four zeros) as passwords.
- To disconnect the devices: turn off the Bluetooth function on your device and unpair with your tower. Then follow the STEPS 2-5 to pair with a new device.
NOTE:
The unit can only connect with one device at a time and please make the pairing operation if the device is out of 10 meters range.
Trouble shooting
Trouble shooting
Power supply can not be turned on
- Make sure that the power cord is fully inserted in the power outlet.
The remote control does not work
- Battery is used up.
- The front end of the remote control is not aimed at the infrared reception part of the unit.
No sound
- Make sure that the audio cable is connected correctly and securely to the back of your unit and to the sound system.
- Make sure that the sound system is set to the correct audio input.
- Turn your unit off, then back on.
The unit does not work at all
- The embedded microcomputer may have failed because of a lightning strike, static, or other interference.
Specifications
Input voltage AC 220-240V,50Hz
Power consumption 5W× 2 + 10W USB charging power 5V,500mA
Frequency range 87.5-108.0MHz
Bluetooth range 10 meters
Inputs Audio input 3.5mm ;Audio input 2^*RCA USB
Remote control range 7 meters
(Use only the power supplies listed in the instructions)

This is to certify that T180L BT is in conformity with: Council directive 89/336/EEC (EMC directive):
Applicable standards: EN55013:2013 EN61000-3-2:2014 EN61000-3-3:2013 EN55020:2007+A11:2011
Made in PRC
For more information please visit our website www.mpmaneurope.com

MANUEL D'INSTRUCTION
