
SKMP 1200 A2 - Food Processor SILVERCREST - Free user manual and instructions
Find the device manual for free SKMP 1200 A2 SILVERCREST in PDF.
| Brand | SilverCrest |
| Model | SKMP 1200 A2 |
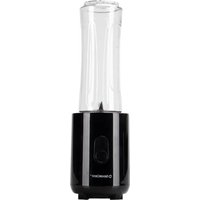
| Product type | Food processor |
| Power | 1200 W |
| Power supply | 220-240 V ~, 50/60 Hz |
| Mixing bowl capacity | Approx. 4 L |
| Mixing bowl material | Stainless steel |
| Blender bowl material | Plastic |
| Included accessories | Dough hook, whisk, beater, blender bowl with lid, splash guard |
| Speeds | 10 speeds + pulse function |
| Functions | Knead, beat, whisk, blend, chop |
| Overheat protection | Yes |
| Cleaning | Mixing bowl and blender bowl are dishwasher safe (except splash guard) |
| Warranty | Manufacturer's warranty (see manual) |
| After-sales service France | 0800 919270 / hoyer@lidl.fr |
| After-sales service Belgium | 070 270 171 / hoyer@lidl.be |
| After-sales service Switzerland | 0842 665566 / hoyer@lidl.ch |
| IAN code (red) | 100104 |
| IAN code (cream) | 105590 |
| Dimensions (estimated) | 35 x 25 x 30 cm |
| Weight (estimated) | 5 kg |
Frequently Asked Questions - SKMP 1200 A2 SILVERCREST
User questions about SKMP 1200 A2 SILVERCREST
0 question about this device. Answer the ones you know or ask your own.
Ask a new question about this device
Download the instructions for your Food Processor in PDF format for free! Find your manual SKMP 1200 A2 - SILVERCREST and take your electronic device back in hand. On this page are published all the documents necessary for the use of your device. SKMP 1200 A2 by SILVERCREST.
USER MANUAL SKMP 1200 A2 SILVERCREST
PROFESSIONAL FOOD PROCESSOR SKMP 1200 A2
GB IE
PROFESSIONAL FOOD PROCESSOR
Operating instructions
SE
KOKSMASKIN
Bruksanvisning
FR BE
ROBOT MENAGER
Mode d'emploi
DE AT CH
Be sure to note the fold-out page.
Suomi 19
Huomioi taittosivu
Svenska 35
Beakta utvikssidan
Dansk 50
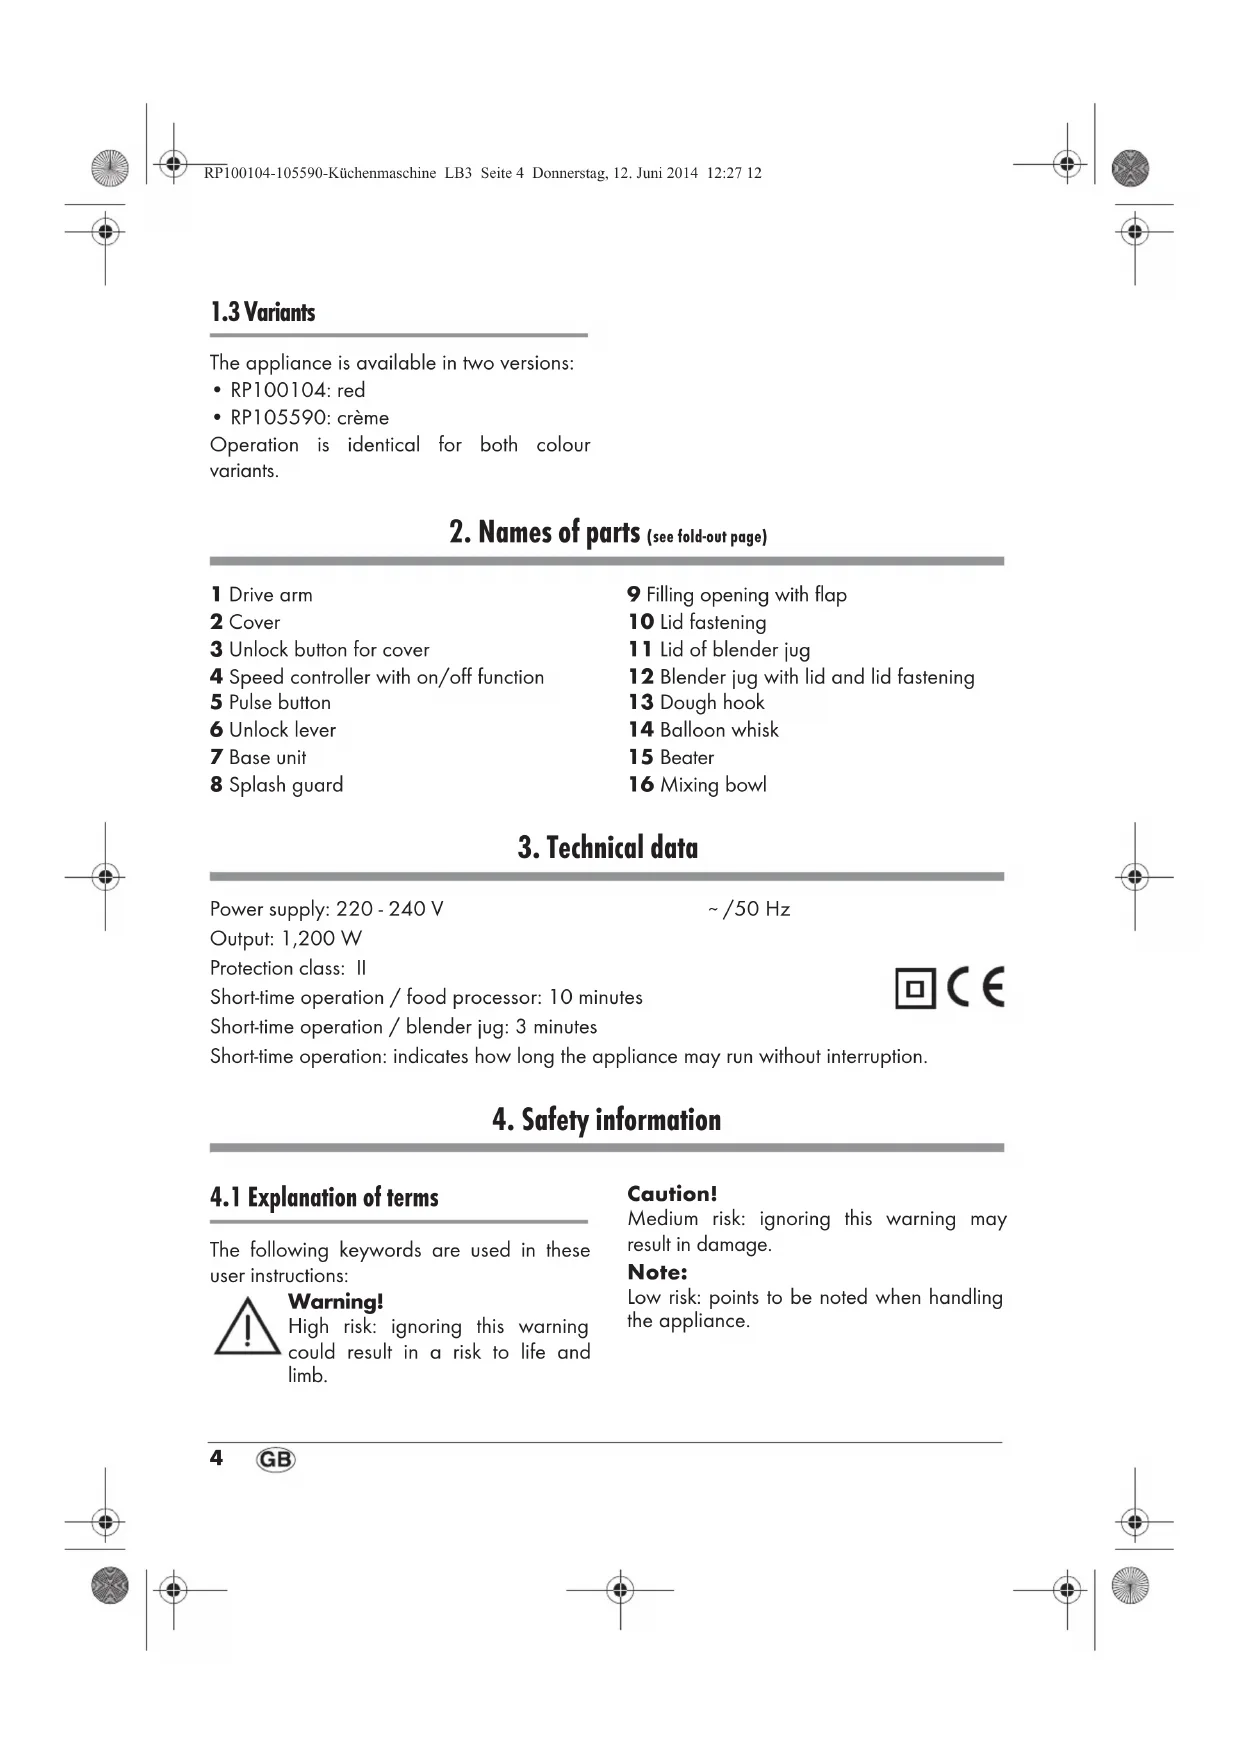
| 4.1 Explanation of terms The following keywords are used in these user instructions: Warning! High risk: ignoring this warning could result in a risk to life and limb. | Caution! Medium risk: ignoring this warning may result in damage. Note: Low risk: points to be noted when handling the appliance. |
| Speed Attachment Description | ||
| 1 - 2 All - Starting position | for all blending / mixing | opera- tions. - When adding ingredients |
| Dough hook 13 or beater 15 | - Kneading and mixing firm dough or ingredients | |
| 2 - 3 Beater 15 - Mixing | thick dough/batter | - Mixing butter and flour - Mixing yeast dough |
| Dough hook 13 - Kneading | - Mixing yeast dough - Kneading thick dough | |
| 4 - 6 Beater 15 - Cake batter | - Beating butter with sugar - Biscuit dough | |
| 7 - 10 | Balloon whisk 14 | - Whipping cream - Egg whites - Mayonnaise - Beating butter until fluffy |
| Pulse button 5 | Blender jug 12 | - Blending and liquidising soft or liquid ingredients. - The pulse button 5 only functions when at least level 1 is set on the speed controller 4. |
1.3 Mallit

Brand : SILVERCREST
Model : SKMP 1200 A2
Category : Food Processor