
SP350PLUS - Mixer FAGOR - Free user manual and instructions
Find the device manual for free SP350PLUS FAGOR in PDF.
| Product Type | Hand mixer with table stand (stand mixer) |
| Brand | Fagor |
| Model | SP350PLUS |
| Dimensions (L x W x H) | Approx. 20 x 10 x 15 cm (motor unit); table stand: 25 x 20 x 30 cm |
| Weight | Approx. 1.5 kg (motor unit); 2.5 kg with stand |
| Power Supply | 220-240 V ~ 50 Hz |
| Power | 350 W (estimated from reference) |
| Number of Speeds | 5 speeds + Turbo function |
| Included Accessories | Whisks, dough hooks, blender stick, bowl, table stand |
| Functions | Whisk, mix, knead, blend |
| Housing Material | Plastic |
| Accessory Material | Stainless steel (whisks, hooks, blender stick) |
| Bowl Type | Stainless steel bowl (reference not specified) |
| Usage | Household use only |
| Cleaning | Accessories and bowl dishwasher-safe; motor unit wiped with damp cloth |
| Safety | Automatic stop after 3 min (continuous); turbo limited to 1 min; overload protection |
| Spare Parts | Available from authorized service (request original parts) |
| Repairability | Repair exclusively by authorized service |
| Compliance | European EMC and Low Voltage Directives |
| Environmental Information | Do not dispose with household waste; recycle via collection points |
Frequently Asked Questions - SP350PLUS FAGOR
User questions about SP350PLUS FAGOR
0 question about this device. Answer the ones you know or ask your own.
Ask a new question about this device
Download the instructions for your Mixer in PDF format for free! Find your manual SP350PLUS - FAGOR and take your electronic device back in hand. On this page are published all the documents necessary for the use of your device. SP350PLUS by FAGOR.
USER MANUAL SP350PLUS FAGOR
ES
1. DESCRIPCION (Fig. A)
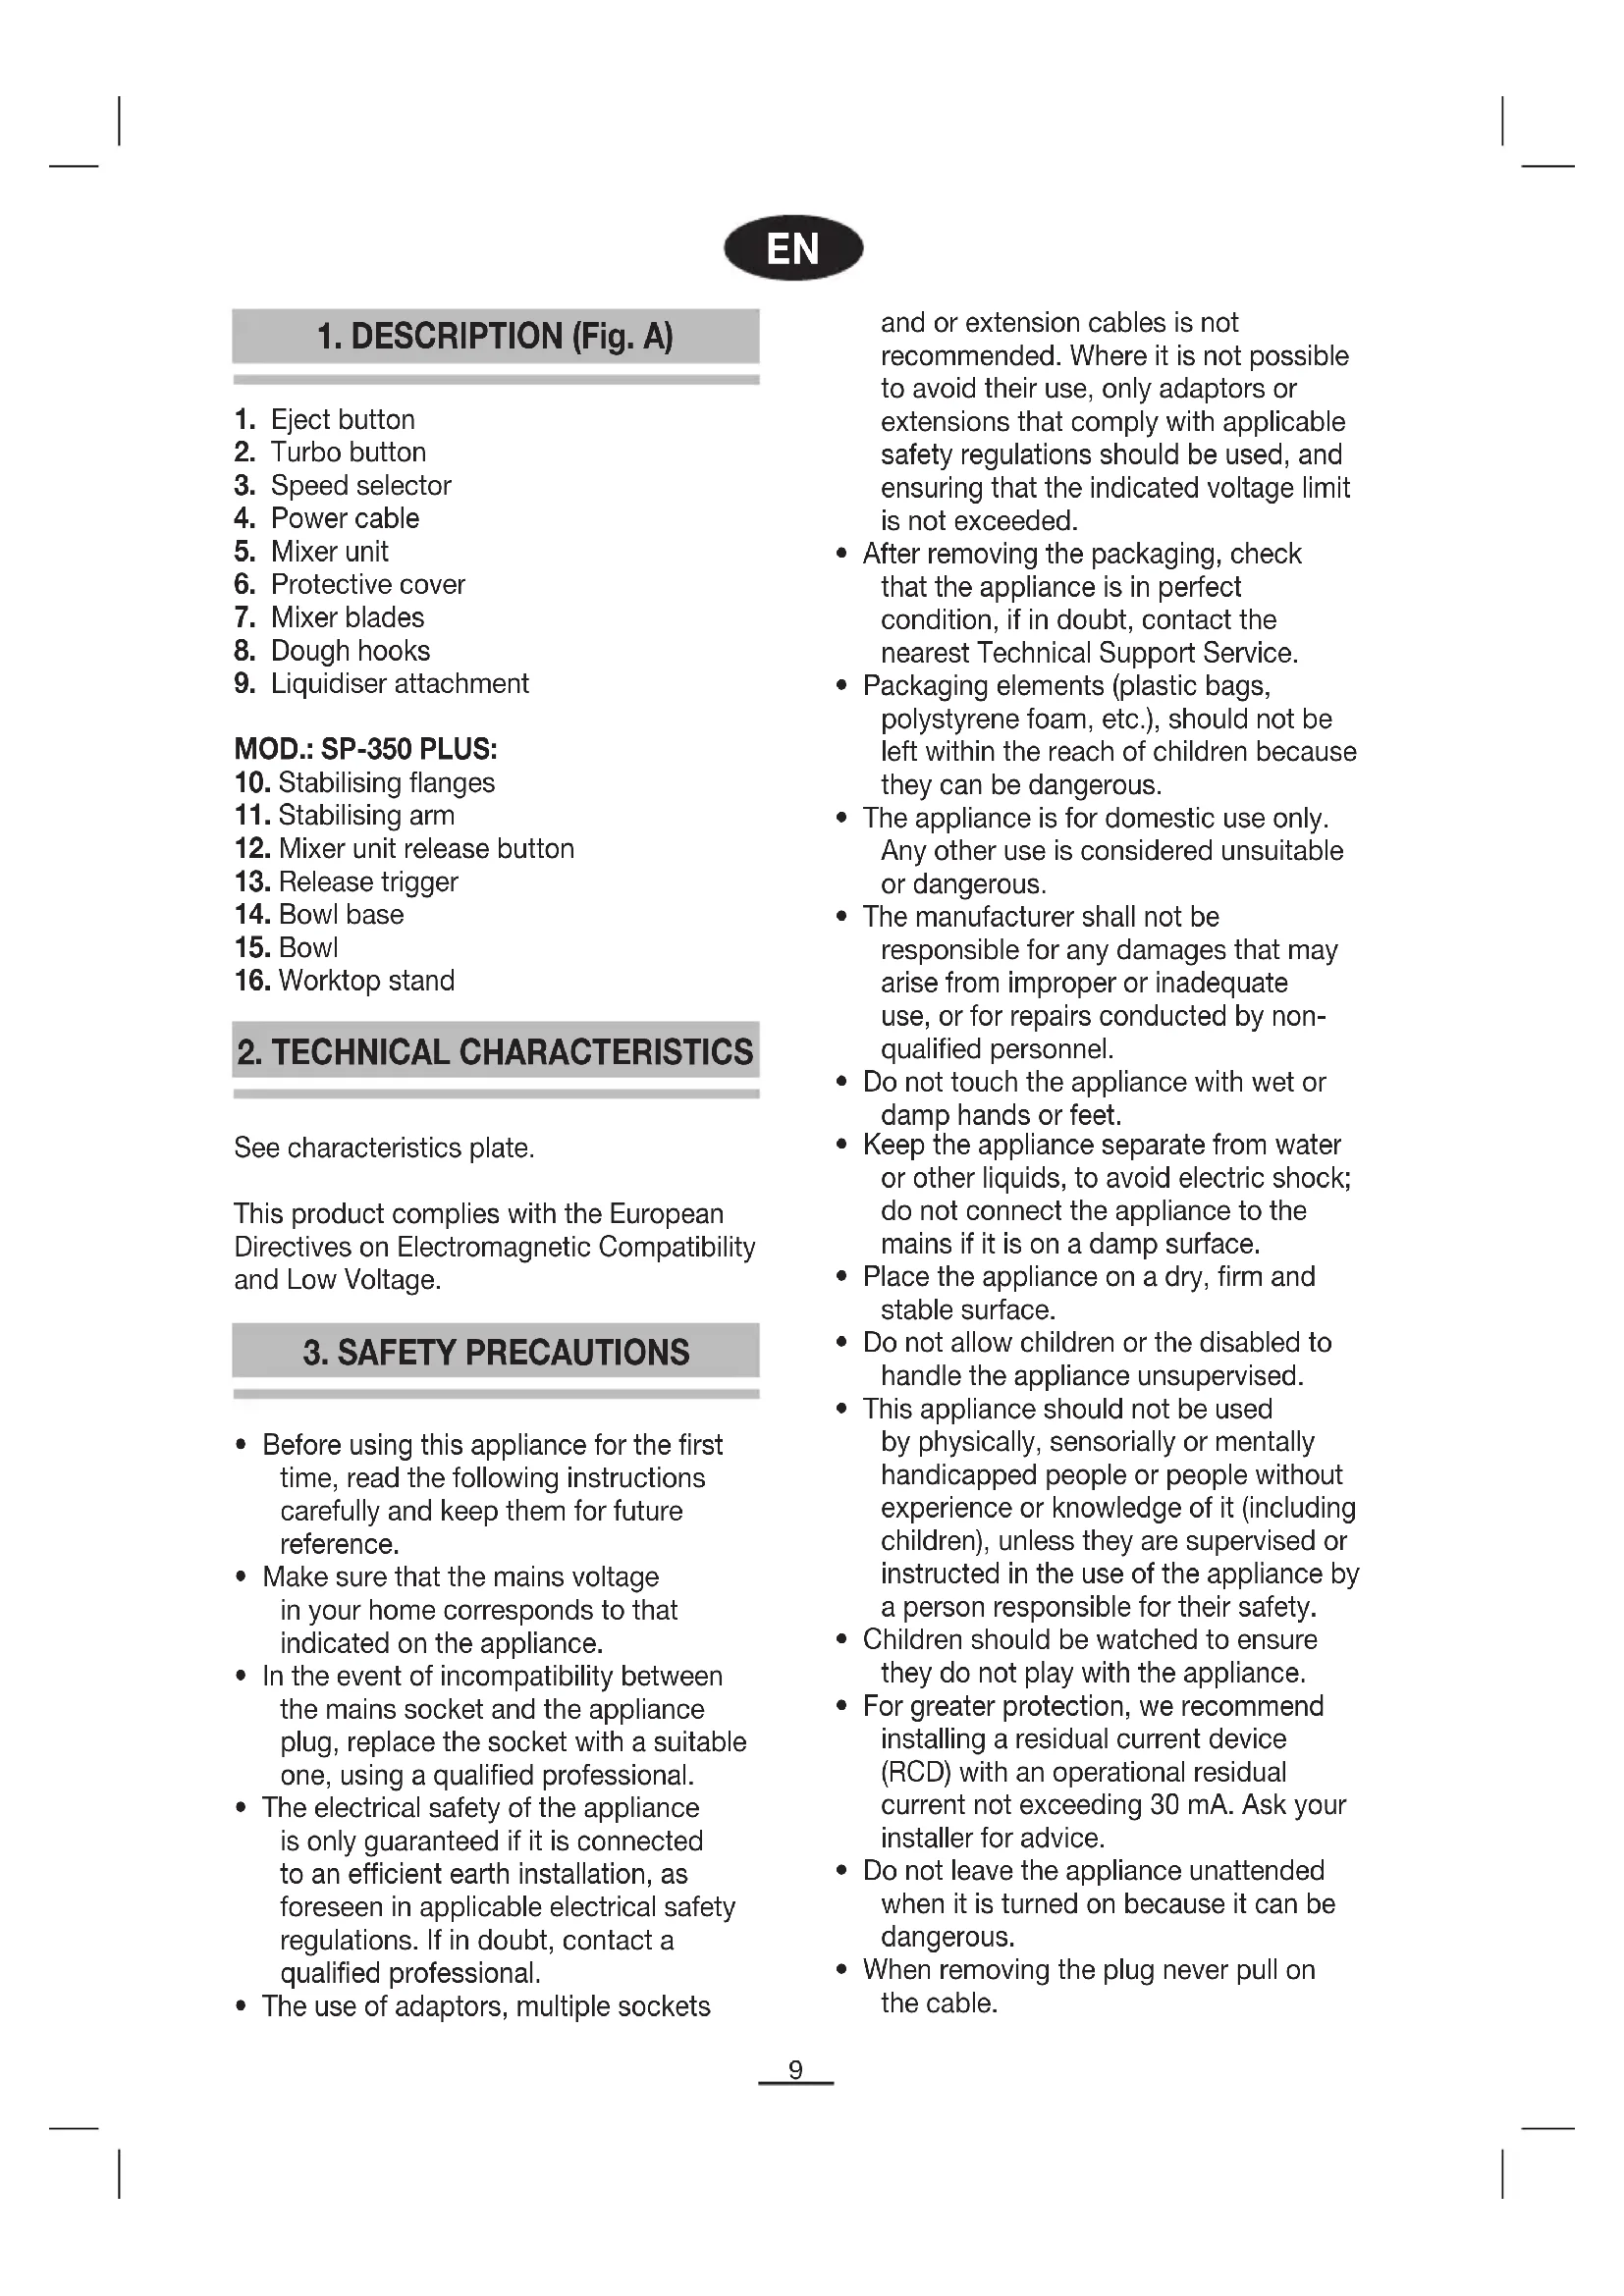
- Eject button
- Turbo button
- Speed selector
- Power cable
- Mixer unit
- Protective cover
- Mixer blades
- Dough hooks
- Liquidiser attachment
MOD.: SP-350 PLUS:
- Stabilising flanges
- Stabilising arm
- Mixer unit release button
- Release trigger
- Bowl base
- Bowl
- Worktop stand
2. TECHNICAL CHARACTERISTICS
See characteristics plate.
This product complies with the European Directives on Electromagnetic Compatibility and Low Voltage.
3. SAFETY PRECAUTIONS
- Before using this appliance for the first time, read the following instructions carefully and keep them for future reference.
- Make sure that the mains voltage in your home corresponds to that indicated on the appliance.
- In the event of incompatibility between the mains socket and the appliance plug, replace the socket with a suitable one, using a qualified professional.
- The electrical safety of the appliance is only guaranteed if it is connected to an efficient earth installation, as foreseen in applicable electrical safety regulations. If in doubt, contact a qualified professional.
- The use of adaptors, multiple sockets
and or extension cables is not recommended. Where it is not possible to avoid their use, only adaptors or extensions that comply with applicable safety regulations should be used, and ensuring that the indicated voltage limit is not exceeded.
- After removing the packaging, check that the appliance is in perfect condition, if in doubt, contact the nearest Technical Support Service.
- Packaging elements (plastic bags, polystyrene foam, etc.), should not be left within the reach of children because they can be dangerous.
- The appliance is for domestic use only. Any other use is considered unsuitable or dangerous.
- The manufacturer shall not be responsible for any damages that may arise from improper or inadequate use, or for repairs conducted by non-qualified personnel.
- Do not touch the appliance with wet or damp hands or feet.
- Keep the appliance separate from water or other liquids, to avoid electric shock; do not connect the appliance to the mains if it is on a damp surface.
- Place the appliance on a dry, firm and stable surface.
- Do not allow children or the disabled to handle the appliance unsupervised.
- This appliance should not be used by physically, sensorially or mentally handicapped people or people without experience or knowledge of it (including children), unless they are supervised or instructed in the use of the appliance by a person responsible for their safety.
- Children should be watched to ensure they do not play with the appliance.
- For greater protection, we recommend installing a residual current device (RCD) with an operational residual current not exceeding 30 mA. Ask your installer for advice.
- Do not leave the appliance unattended when it is turned on because it can be dangerous.
- When removing the plug never pull on the cable.
- Unplug the appliance before cleaning or maintenance.
- In the event of fault or malfunction where the appliance is not to be used, turn off the appliance and do not attempt to repair. If a repair is required, contact a Technical Assistance Service authorised by the manufacturer and request the use of original spare parts.
- If the cable for this appliance is damaged, contact an authorised Technical Assistance Service for it to be replaced.
- Do not leave the appliance exposed to the elements (rain, sun, ice, etc.).
- Do not use or let any part of the appliance come into contact or near hot surfaces (kitchen gas or electric hobs or ovens).
- Do not use detergents or abrasive sponges to clean the appliance.
- Do not touch the hot surfaces. Use the handles.
- Do not let the cable come into contact with the hot parts of the appliance.
- This appliance must not be used to stir or mix paints or varnishes such as flammable solvents.
- The accessories must be fitted and removed whilst the appliance is unplugged.
- Before switching on the appliance, check that the accessories you are going to use are fitted correctly to the appliance. Wait until the accessories have completely stopped before removing them from the appliance.
- Avoid touching the moving parts whilst the appliance is in use.
- The mixer must not be used continuously for more than 3 minutes.
- Do not use the Turbo function for more than 1 minute continuously.
- Keep your hands, hair, clothing and other utensils well away from the blades during use.
- Do not use the blades to mix ingredients which are too solid.
4. ASSEMBLY
The accessories must be assembled and dismantled whilst the appliance is unplugged.
Assembly and use of the liquidiser attachment
- With the appliance unplugged and the speed selector (3) in the "0" position, slide the protective cover (6) upwards (fig. B).
- Fit the liquidiser attachment (9) to the mixer unit. To do this, align the arrow ▼ of the mixer unit (5) with ▲ of the liquidiser attachment (9) and turn the liquidiser attachment clockwise as far as it will go (Fig. C).
- Put the liquidiser attachment (9) into the bowl containing the ingredients.
- To remove the liquidiser attachment from the mixer unit (5) turn the attachment anti-clockwise until the arrows ▼ and ▲ are aligned, then remove the liquidiser attachment from the mixer unit.
Assembly and use of the dough hooks (8) and mixer blades (7)
- With the appliance unplugged, place the speed selector (3) in the "0" position.
-
To fit the dough hooks (8) or mixer blades (7), hold the mixer handle with one hand and the attachment with the other:
-
Mixer blades: insert the blades until they are locked into position as shown in figure D.
- Dough hooks: insert the blade with the larger washer into the right-hand hole until it is firmly in position. Repeat the same procedure to fit the blade without the washer into the left-hand hole (Fig. E). If you do not assemble them in this way, the food you are processing may come out of the bowl.
- Plug in the appliance and put the blades into the middle of the ingredients you are going to process.
- To remove the blades, press the attachment eject button (1) and pull the blades out (fig. F).
5. OPERATING THE APPLIANCE
- Plug in the appliance and move the speed selector (3) to the "1" position to turn it on. Then select the speed required for the task you are going to carry out. Use the following as a guide:
- Off
- Always start the task on this speed. This speed is ideal for dough and dry foods such as flour, butter or potatoes.
- Suitable speed for mixing liquid ingredients such as salad dressings.
- This speed is recommended for cake or biscuit mixtures.
- This position is recommended for making creams with butter and sugar or for beating sweets and desserts which do not need cooking.
-
Suitable speed for beating eggs, glazes to be cooked, mashing potatoes, whipping cream, etc.
-
Always start with speed "1" and then, if required, go to a higher speed. This will prevent the ingredients from splashing.
- Once you have finished, place the speed selector (3) in the "0" position, and turn off the appliance.
IMPORTANT: Do not use the mixer for more than 3 minutes continuously.
Turbo Button (2)
- When in preparing foods you need to increase the speed momentarily, press the turbo button (2). You can also use this function when you are going to process foods which do not take long to prepare.
- This function must be used intermittently for momentary operations, keeping the button pressed for a few seconds.
IMPORTANT: Do not use this function for more than 1 minute continuously.
6. WORKTOP STAND
(MOD. SP-350 PLUS)
The worktop stand (16) is used together with the mixer blades (7) and dough hooks (8). The mixer (5) is secured to the stabilising arm (11) as follows:
- Place the bowl (15) containing the ingredients onto the bowl base (14) of the worktop stand (16) (fig. G).
- Place the mixer unit (5) onto the stabilising arm (11) and gently press downwards so that it is firmly positioned on the stabilising flanges (fig. H). Check that the mixer is properly fitted onto the stabilising arm (11).
- Move the release trigger (13) outwards to lift the stabilising arm (11) with the mixer fitted (fig. I). In this position insert the dough hooks (8) or mixer blades (7) into the holes on the stabilising arm until they are locked into position:
- Mixer blades: Insert the blades into the holes on the stabilising arm until they are locked into position (Fig. J).
- Dough hooks: insert the blade with the larger washer into the right-hand hole until it is firmly in position. Insert the blade without the washer into the left-hand hole (Fig. K). If you do not assemble them in this way, the food you are processing may come out of the bowl.
- Lower the stabilising arm (11) and plug in the appliance.
- Move the speed selector (3) to the "1" position to turn it on. Then select the speed required for the task you are going to carry out as described above.
- Once you have finished, place the speed selector (3) in the "0" position, and turn off the appliance.
To dismantle the worktop stand (16), proceed as follows:
- Move the release trigger (13) outwards and lift the stabilising arm (11).
- Press the attachment eject button (1) and remove the blades.
- Lower the stabilising arm (11) and by pressing the release button on the
mixer unit (12), pull the mixer upwards to remove the mixer unit (5) from the worktop stand as shown in figure L.
7. CLEANING AND MAINTENANCE
- Before cleaning, switch off the appliance and place the speed selector (3) in the "0" position.
- It is much easier to clean the blades (7 and 8), the bowl (15) and the liquidiser attachment (9) immediately after use. Wash them in warm soapy water, rinse and dry thoroughly
- The mixer unit (5) and the worktop stand (16) should be wiped with a slightly damp cloth. Prevent the mixer and the worktop stand from getting wet.
- Do not use bleach or abrasive products to clean the mixer.
- The dough hooks (8) and mixer blades (7) as well as the bowl (15) can be put in the dishwasher.
8. INFORMATION FOR THE CORRECT DISPOSAL OF ELECTRICAL AND ELECTRONIC APPLIANCES

At the end of its working life, the product must not be disposed of as urban waste. It must be taken to a special local authority differentiated waste collection centre or to a dealer providing this service. Disposing of a household appliance separately avoids possible negative consequences for the environment and health deriving from inappropriate disposal and enables the constituent materials to be recovered to obtain significant savings in energy and resources. To remind you that you must collaborate with a selective collection scheme, the symbol shown appears on the product warning you not to dispose of it in traditional refuse containers. For further information, contact your local authority or the shop where you bought the product.
FR
1. DESCRIPTION (Fig. A)
- ES
- DESCRIPCION (Fig. A)
- MOD.: SP-350 PLUS:
- TECHNICAL CHARACTERISTICS
- SAFETY PRECAUTIONS
- ASSEMBLY
- Assembly and use of the liquidiser attachment
- Assembly and use of the dough hooks (8) and mixer blades (7)
- OPERATING THE APPLIANCE
- IMPORTANT: Do not use the mixer for more than 3 minutes continuously.
- Turbo Button (2)
- IMPORTANT: Do not use this function for more than 1 minute continuously.
- WORKTOP STAND
- (MOD. SP-350 PLUS)
- To dismantle the worktop stand (16), proceed as follows:
- CLEANING AND MAINTENANCE
- INFORMATION FOR THE CORRECT DISPOSAL OF ELECTRICAL AND ELECTRONIC APPLIANCES
- FR
- DESCRIPTION (Fig. A)
Brand : FAGOR
Model : SP350PLUS
Category : Mixer