
HC60 - Oven EDESA - Free user manual and instructions
Find the device manual for free HC60 EDESA in PDF.
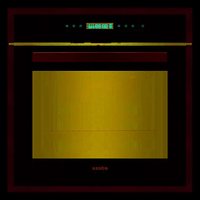
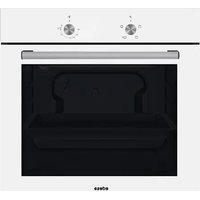
| Product Type | Electric Convection Oven |
| Brand | Edesa |
| Model | HC60 |
| Power Supply | 230 V single-phase, cable 3×1.5 mm² |
| Temperature Range | 50 °C to 275 °C |
| Timer | Countdown with audible signal |
| Thermostat | Temperature control with yellow indicator light |
| Indicator Lights | Green (power on) and yellow (heating elements active) |
| Cooking Type | Natural convection and fan-assisted |
| Cavity Material | Self-cleaning special enamel |
| Side Panels | Self-cleaning and removable |
| Door | Removable inner glass for cleaning |
| Cleaning | Do not use abrasive products or steel wool |
| Installation | Under an extractor hood, next to non-flammable materials |
| Electrical Connection | All-pole switch with contact opening ≥ 3 mm |
| Grounding | Mandatory, grounding screw under the appliance |
| Equipotential Bonding | Mandatory, screw under the appliance |
| Adjustable Feet | Yes, for leveling |
| Safety | Use by qualified personnel only |
| Periodic Maintenance | Annual check by qualified technician |
Frequently Asked Questions - HC60 EDESA
User questions about HC60 EDESA
0 question about this device. Answer the ones you know or ask your own.
Ask a new question about this device
Download the instructions for your Oven in PDF format for free! Find your manual HC60 - EDESA and take your electronic device back in hand. On this page are published all the documents necessary for the use of your device. HC60 by EDESA.
USER MANUAL HC60 EDESA
General instructions
The appliance referred to in this manual has been manufactured in conformity to the following directives: 73/23/EEC,93/68/EEC "Low Voltage";89/336/ EEC,92/31/EEC,93/68/EEC "Electromagnetic Compatibility".
The appliance shall be installed by a qualified technician according to the regulations and directives in force in the country where it is installed, as well as the instructions in this manual. The appliance shall be used exclusively by trained personnel and only for the purpose for which it has been designed. The appliance should be checked once a year by a qualified technician.
Remove the packaging from the appliance as well as the protective plastic sheet, and, if necessary, remove traces of glue with a suitable solvent. To dispose of the packaging, follow local directives.
The technical specifications of the appliance can be found on the data plate attached to the back panel.
When installing the appliance, all the regulations in force shall be observed, such as:
- all applicable national laws in force;
- all regional or local regulations, such as building codes;
- directives and regulations of the local electrical supplier company;
- accident prevention regulations in force;
- fire prevention regulations;
- applicable I.E.C. regulations.
The appliance should be installed under a hood for the removal of cooking fumes.
If the appliance is installed near walls, panels or kitchen furniture, etc., they must be made of fire-proof material; if they are not, they must be protected with fire-proof material which insulates from heat.
Connection to the mains
Before connecting the appliance to the mains, compare the electrical set-up data on the data plate to the characteristics of the local electrical energy supply.
Adjust the height of the appliance by regulating the feet, and make sure that it is perfectly level.
The appliance is equipped with a connecting cable to which the installer must connect a circuit breaker which cuts off the flow of electricity in all poles; the distance between the open contacts must be at least 3mm . The circuit breaker must be easy to reach.
The cable must not be placed near heat sources. The area around the cable must not have a temperature above 50^ . If the cable must ever be replaced, consult the wiring diagram attached. The electric supply cable must not have specifications inferior to type H07 RN-F. It must have a cross-sectional area of at least 3× 1.5mm^2
To reach terminal board "M", remove the panel located at the back of the appliance. Disconnect the terminal board conductors, loosen the cable clamp, and replace the cable following the procedure inversely.
It is absolutely necessary to earth the appliance. For this purpose, there is a screw marked with the symbol 12 near the terminal board to which the earthing conductor must be connected.
The appliance must also be connected to a unipotential earthing circuit. This connection can be made using the screw marked with the symbol located below the appliance near the right rear foot.
Part 2 Use
General instructions
All connection, installation, and maintenance work on the appliance shall be carried out by qualified technicians only, in observance of all applicable regulations!
-
This appliance has been designed exclusively for cooking food in community kitchens and must be operated exclusively by qualified personnel.
-
Care must be taken when operating the cooker as the door surfaces become very hot.
Turning the appliance on
- Press the switch situated at the top of the appliance.
- Turn the control knob "A" clockwise until the degree corresponding to the desired cooking temperature between 50^ and 275^ (max.) is reached.
The indicator light "C" will turn on informing that the oven is connected to the mains.
The green light "D" coming on indicates that the resistance has been turned on by means of the thermostat's intervention: the green light turning off means that the set temperature has been reached.
Turning the appliance off
- Turn the control knob "A" to the off position "●".
Use of the timer
The timer allows you to set the desired cooking time. By turning the "B" knob until you reach the amount of time required, the timer will begin its countdown. When the set time has elapsed, a buzzer will warn you that the cooking time has come to an end.
Turn the knob counterclockwise to the symbol to select the continuous cooking mode.
Cleaning and taking care of the unit
Note: The unit must be cold to clean it.
Do not use jets of water to wash the unit because any water seeping into the electric components could jeopardise the correct functioning of the appliance and of its safety devices.
Remember that a clean unit will work properly and for a very long time.
hot water and vinegar. In this case too, never use metal pads, rough or heavy cloths or steel-wool to clean the steel parts. It is important to clean the oven each time you use it; this way it will be easier to remove cooking residues and to avoid burning them the next time the oven is used, which would also result in a bad smell.
General cleaning
The enamelled parts should not be cleaned with abrasive or acid products. Avoid using steel-wool or metal pads for cleaning.
The steel parts may be cleaned with a damp cloth and with a non-abrasive detergent and then dried by using a soft, dry cloth. For very resistant stains, use
Cleaning inside the oven
Before each cleaning operation, disconnect the appliance from the mains.
Let the oven cool down and clean it accurately with a damp cloth and warm water with anon-abrasive detergent (or with the special products sold on the market). Do not use abrasive cloths or pads or
other products that could irreparably damage the
enamel. The fan inside the oven is protected by an enameled panel in special self-cleaning material. Normal cooking temperatures promote the transformation of grease and oil splashes into a mist of residual dust that can be easily removed at the end of the cooking process when the oven has cooled down by simply using a damp sponge.
It is advisable to make the oven operate periodically at the maximum temperature so that the residual dust may be removed once it has cooled down. Be careful not to damage the thermostat sensor inside the oven while you are cleaning it.
Cleaning of stay-clean side panels
Our ovens are equipped with self-cleaning side panels which are useful for protecting the sides of the oven from grease. They have been especially designed to be removed and reassembled simply so as to make cleaning easier.
The self-cleaning panels are removable together with the side runners. To do this, please follow the instructions below.
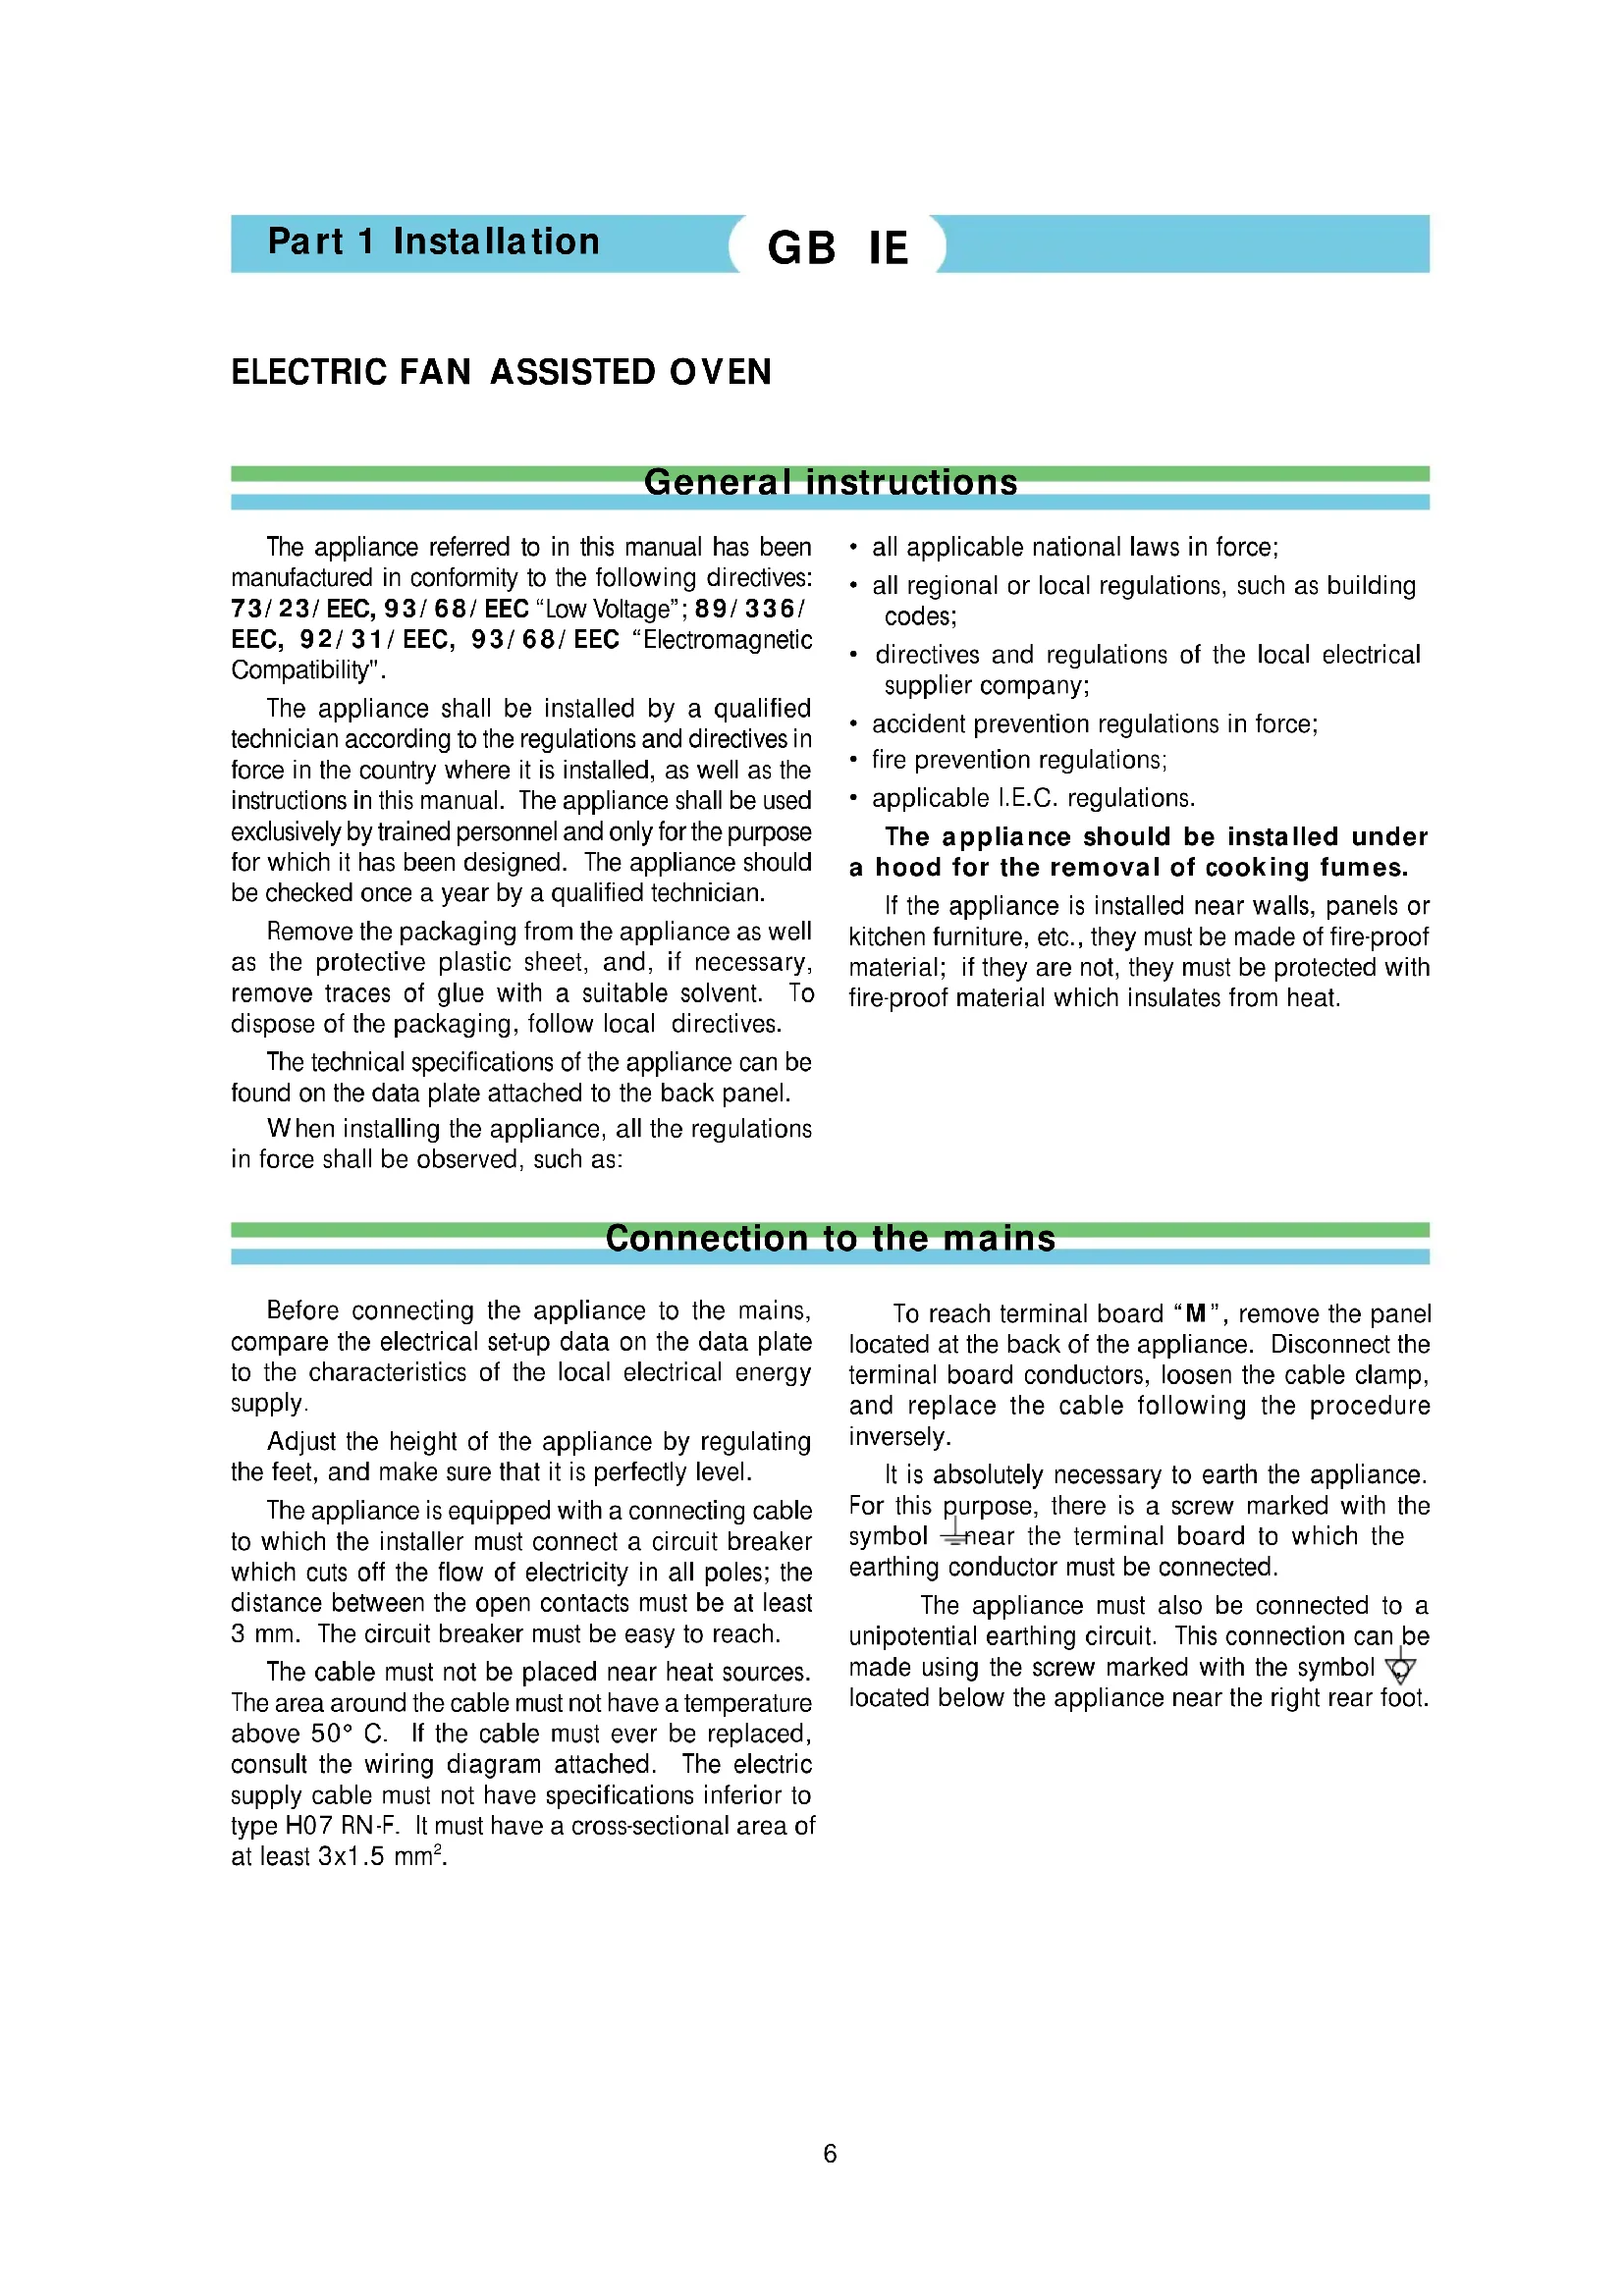
Lift-up the front part of the side runner and move it towards the inside, as indicated by the arrow in fig.1/ fig.2.

Fig.1
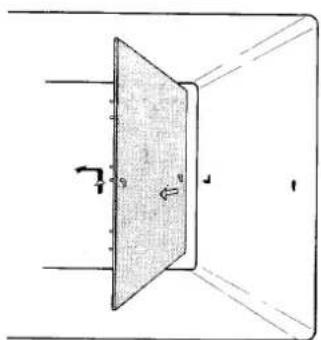
Fig.2
At this stage the runner which holds up the self-cleaning panel will have been removed. Hold the panel with one hand and with the other hand pull the runner upwards and extract it from its fixing holes (Fig. 3).
After having cleaned the panel, reassemble it together with the runner by following the instructions in inverse order.
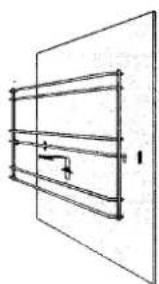
Fig.3
Cleaning the oven door
As in all other cases, the cleaning of the inside or outside of the door must be done after the oven has cooled down completely.
If the outer door is in plate glass, it must be cleaned only with hot water and care must be taken to avoid the use of rough cloths.
To clean enamelled parts, follow the instructions given for the inside of the oven, using hot water and neither non-abrasive nor acid detergents. In order to clean the inside plate glass of the oven door simply and accurately, it is possible to remove it by loosening the screws (A) as shown in fig.4, while keeping the door completely open.
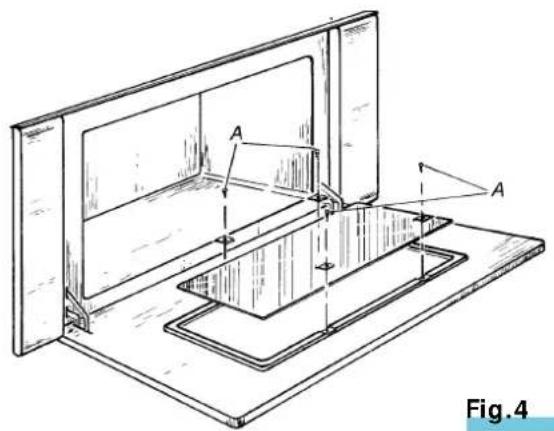
Fig.4
What to do in case of a fault
If there is a malfunction, despite the fact you are using the unit correctly, and the components are clean and efficient, turn the unit off immediately, disconnect
the electric supply and call the after-sales service centre.
What to do if the unit is not going to be used for a long time
Clean the unit thoroughly following the instructions and dry it carefully. Disconnect the electric power supply.
KONVENTIONELER E-BACKOFEN
- General instructions
- The appliance should be installed under a hood for the removal of cooking fumes.
- Connection to the mains
- Part 2 Use
- Turning the appliance on
- Turning the appliance off
- Use of the timer
- Cleaning and taking care of the unit
- General cleaning
- Cleaning inside the oven
- Cleaning of stay-clean side panels
- Cleaning the oven door
- What to do in case of a fault
- What to do if the unit is not going to be used for a long time
- KONVENTIONELER E-BACKOFEN
Brand : EDESA
Model : HC60
Category : Oven