CLR2560 - Alarm clock radio ROADSTAR - Free user manual and instructions
Find the device manual for free CLR2560 ROADSTAR in PDF.
| Product Type | Clock radio |
| Brand | Roadstar |
| Model | CLR2560 |
| Main power supply | 230 V AC, 50 Hz |
| Backup battery | 9 V (type 6F22/006P), not included |
| FM band | 87.5 to 108 MHz |
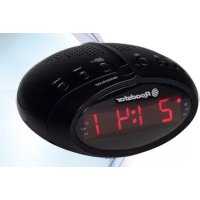
| Display | 24-hour clock |
| Alarm functions | Buzzer and radio alarm |
| Snooze function | Yes, approximately 9 minutes |
| Sleep function | Yes, up to 59 minutes |
| Auxiliary input | AUX 3.5 mm jack |
| FM antenna | Built-in wire antenna |
| Dimensions (approx.) | Approx. 20 x 10 x 15 cm |
| Weight (approx.) | Approx. 500 g |
| Care and cleaning | Soft, clean cloth, mild detergent solution |
| Safety | Do not insert objects into slots, avoid moisture and extreme temperatures |
| Replacement parts | Backup battery (9 V, not supplied) |
| General information | 24-hour clock, function selector (OFF/ON/ALARM/AUTO) |
Frequently Asked Questions - CLR2560 ROADSTAR
User questions about CLR2560 ROADSTAR
0 question about this device. Answer the ones you know or ask your own.
Ask a new question about this device
Download the instructions for your Alarm clock radio in PDF format for free! Find your manual CLR2560 - ROADSTAR and take your electronic device back in hand. On this page are published all the documents necessary for the use of your device. CLR2560 by ROADSTAR.
USER MANUAL CLR2560 ROADSTAR
FM Band vintage Clock Radio with Alarm
CLR-2560
Instruction manual
Bedienungsanleitung
Roadstar is a registered Trademark of Roadstar S.A. Switzerland All rights reserved


INDEX
English Page 1
Deutsch Seite 7
Français Page 13
Italiano Pagina 19
Espanol Páginas 25
Portugues
Pagina

-
Your new unit was manufactured and - Ihr den Ges. Werl wurde unter Beschchlag der stergren assembled under sini ROADSTAR qulity.
control.
Thank you for purchasing our product for your
music enjoyment.
Before operating the unit, please read the following products and
the instructions manual carefully. Keep it also handy -
Il suo riva nuovo appenoeo a stato prodotto ao - Yrse pounl aparoa a difi fangue et mertar prascombe sotte in soe stnont controllo di quit
The exclamation point within the triangle is a warning sign alerting the user of important instructions accompanying the product.
The lightening flash with arrowhead symbol within the triangle is a warning, alerting the user of "dangerous voltage" inside the unit.
To reduce the risk of electric shock, do not remove the cover. No one should place radioactive parts inside the unit. Refer all servicing to qualified personnel.
This unit operates on 230V - 50Hz . If the unit is not used for a long period of time, remove the plus from the AC mains.
This unit must not be exposed to moisture or rain.
The power switch in this unit is mounted on the secondary circuit that was not disconnected the whole unit from the mains in OFF position.
Ensure all connections are properly made before operating the unit.
This unit should be positioned so that it is properly ventilated. Avoid the use of a single or multiple ventilation, on the carpet or in a built-in installation such as a bookcase.
Do not expose this unit to direct sunlight or heat radiating sources.


CLR-2560
VINTAGEALARM CLOCK RADIO
TABLE OF CONTENTS
LOCATION OF CONTROLS POWER SUPPLY
POWERSUPPLY 100%
SPECIFICATIONS
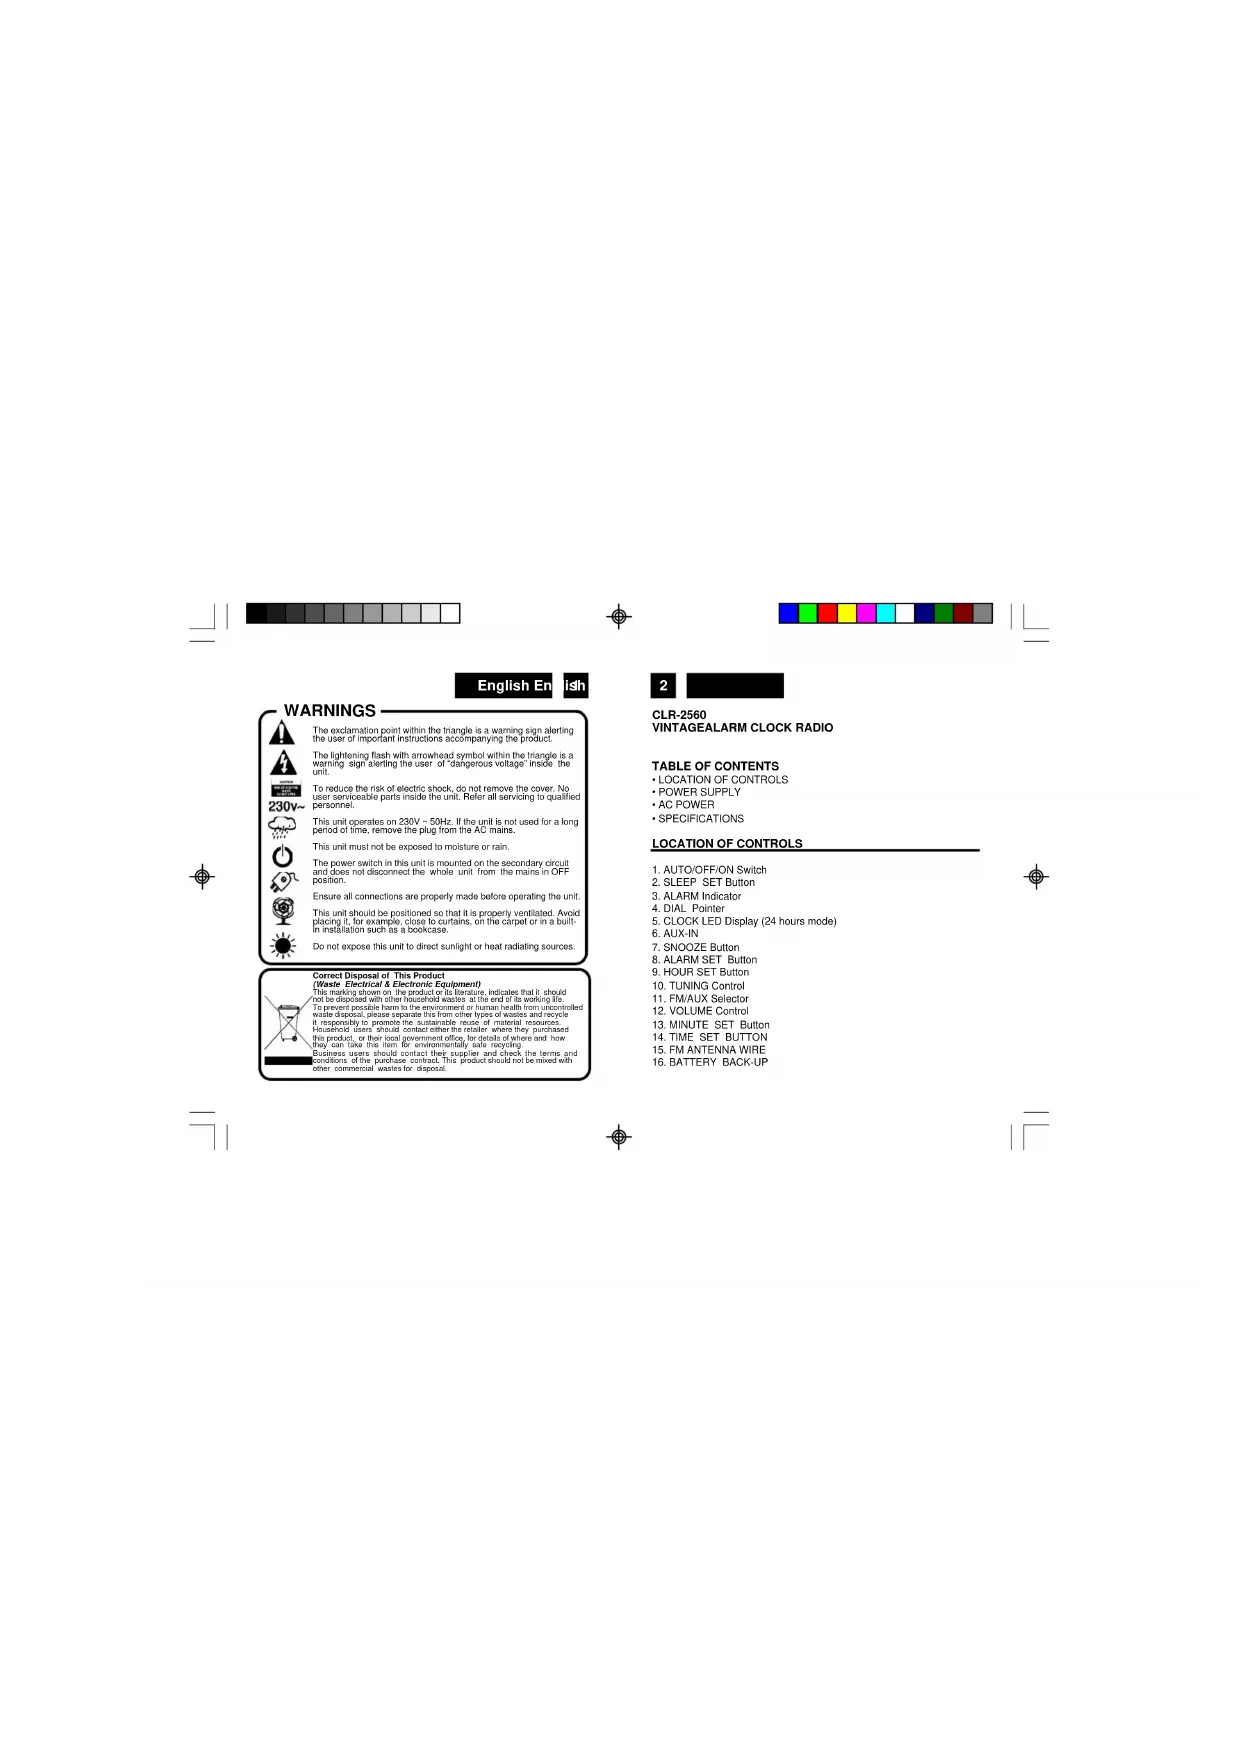
LOCATION OF CONTROLS
- AUTO/OFF/ON Switch
2.SLEEP SET Button - ALARM Indices
- DIAL Pointer
- CLOCK LED Display (24 hours mode)
6.AUX-IN
7.SNOOZE Button - ALARM SET Button
9.HOUR SETBullor - TUNING Control
- FM/AUX Selector
- VOLUME Control
- MINUTE SET Button
- TIME SET BUTTON
- FM ANTENNA WIRE
- BATTERY BACK-UP


English En
18n
POWER SUPPLY
This unit operates from a main supply of 230V - 50Hz. Connect the AC power cord to the AC household main outlet. Ensure that the voltage is as indicated on the rating plate on the rear of the unit.
Battery Back-up Power Failure Protection
This radio has a battery back up circuit that will keep the correct time and alarm settings in the event of a temporary power interruption. Install a 9-volt battery (type 6F 22/006P), not included, into the battery compartment located on the bottom of the unit.
Note: We recommend an alkaline battery for longer usable life. Change the battery every 9 to 12 months for best result and avoid possible battery leakage.
If power is temporarily interrupted the display will blink and the radio will not play. However, the battery back-up circuit will continue to maintain the clock and alarm settings. When power is restored the clock will display the correct time and alarm settings, and no adjustment is necessary.
Note: If power is interrupted and there is no battery in the compartment or the battery is exhausted. The time and alarm settings will be lost. When power is restored the clock will begin to flash indicating that the time and alarm settings must be corrected.
SETTING THE CORRECT TIME
-
Set the FUNCTION Selector (1) to the OFF position.
-
Press and keep pressed the TIME SET Button (14), then press the HOUR button (9) to advance hour, press MINUTE button (13) until the correct time is displayed.
4
SETTING THE WAKE UP TIME
- Set the FUNCTION Selector (1) to the OFF position.
- Set the alarm time by following this procedure
- Press and hold the ALARM SET Button (8).
- Press the HOUR Button (9) to advance hour, press MINUTEbutton (13)
until the desired alarm time is disp - To check the correct alarm time is set, press the ALARM SET Button (8).
WAKE TO BUZZER ALARM
- Set the alarm time as shown above
- Set the Function Selector (1) to the AUTO position.
"●" will appear on the left lower side of the display. - Turn the VOLUME Control to the desired level
- To switch off the alarm either press the ALARM SET (8) or set the FUNCTION Selector (1) to the OFF position.
WAKE TO THE RADIO
- Set the alarm time as shown above
- Set the FUNCTION Selector (1) to the ON position
- Set the FM/AUX Selector [11] to FM, and follow the procedure in LISTENING TO THE RADIO to tune the radio to a station.
- Set the VOLUME Control [12] to a level you feel will wake you.
- Set the FUNCTION Selector (1) to the AUTO position. "●" will appear
on the left lower side of the display. - To switch off the alarm either press the ALARM SET (8) or ALARM OFF Buttons 17 , or set the FUNCTION Selector (1) to the OFF position.
- Set the FUNCTION Selector (1) to the ON position.


English English
- Set the FM/AUX Selector (11) to FM.
- Tum the TUNING Knob (10) until the desired station is heard.
- Adjust the VOLUME Control (12) to a comfortable listening level
- To turn off the radio, set the Function Selector (1) to the OFF position.
Note: For FM reception there is a built-in FM antenna wire at the rear of the unit. Move the wire around to obtain the best reception.
SNOOZE FUNCTION
When the alarm sounds, pressing the SNOOZE Button (7) will temporary stop about 9 minutes then the alarm sounds again.
SLEEP FUNCTION
- This function enables you to go to sleep listening to the Radio.
- Set the FUNCTION Selector (1) to OFF or AUTO.
- Press the SLEEP Button (2). The clock display will show 59 minutes.
The Radio turns on and will turn off automatically after 59 minutes. - To select a shorter time press the MINUTE Button (13) while holding
the SLEEP Button (2) until the desired sleep time is displayed. - 18 turn on the Radio at any time during the Sleep period, press the
AUX-IN
- Set the FM/AUX selector (11) to AUX socket and connect a 3.5mm
cable (not included) with the Audio source.
CARE AND MAINTENANCE
To prevent fire or shock hazard, do not allow this clock radio to be exposed to rain or moisture.
6
This clock radio should not be exposed to direct sunlight, very high or low
temperature, moisture, vibration, or placed in a dusty environment.
Do not use abrasives, benzine, thinners, or other solvents to clean the
surfaces of the clock radio. To clean it, wipe with a mild non-abrasive
detergent solution on a clean soft cloth.
Never attempt to insert wires, pins, or holes or openings on the clock radio.
Note: When setting the Clock or Alarm times remember that this clock radio has a 24 Hour clock mode.
AC POWER
For your own safety read following instructions carefully before attempting to connect this clock radio to the mains.
This unit is designed to operate on a 230V~50Hz supply only. Connecting
it to other power sources may damage it.
Ensure that supply corresponds to the information on the rating label on the bottom of the unit.
SPECIFICATIONS
FM Band: 87.5 to 108 MHz
Power Supply: 230VAC, 50 Hz
Back-up Battery : 9V DC 006P (not included)
Specifications subject to change without prior notice.


SICHERHEITSHINWEISE

RADIO RELOGIO DIGITAL FM
INDICE
- LOCALIZACAO DOS CONTROLES
LIGACAO DOS ACCESSORIOS
EUGAGAO AG
ESPECIFICATIONS