2V32TAX - Cooker FAGOR - Free user manual and instructions
Find the device manual for free 2V32TAX FAGOR in PDF.
| Brand | Fagor |
| Model | 2V32TAX |
| Product type | Cooker with ceramic hob |
| Width | 60 cm (estimated) |
| Power supply | 220-240 V~, 50/60 Hz, total power 6.8 kW (for 60 cm) |
| Number of cooking zones | 4 cooking zones (including double, triple and large plate zones) |
| Type of controls | Touch controls with slider bar and + / - keys |
| Surface material | Ceramic glass |
| Main functions | Timer, automatic shut-off, child lock, residual heat, rapid heating, double/triple/large plate zones |
| Safety | Control lock, overheat cut-off, overflow detection, automatic shut-off after 5 seconds without selection |
| Care and cleaning | Clean with a damp cloth and soapy water, use a scraper for burnt-on dirt, special ceramic glass cleaners (VITROCLEN recommended) |
| Installation | Built-in installation, fixing with clips, foam sealing gasket, electrical connection by authorized installer |
| Electrical connection | 5-wire cable (dark blue, light blue, brown, red, green-yellow), several configuration options (230V~, 220-240V~, 380-415V 3N~, etc.) |
| Weight | Approximately 12 kg (estimated) |
| Dimensions (W x D x H) | Approximately 60 x 52 x 5 cm (estimated) |
| Repairability | Contact after-sales service for replacement of ceramic glass or power cable |
| Environmental instructions | Recycling at collection point, optimal energy use (lids, residual heat) |
Frequently Asked Questions - 2V32TAX FAGOR
User questions about 2V32TAX FAGOR
0 question about this device. Answer the ones you know or ask your own.
Ask a new question about this device
Download the instructions for your Cooker in PDF format for free! Find your manual 2V32TAX - FAGOR and take your electronic device back in hand. On this page are published all the documents necessary for the use of your device. 2V32TAX by FAGOR.
USER MANUAL 2V32TAX FAGOR
Very important: Read this manual thoroughly before using the hob.
This manual is designed so that the texts relate to the corresponding illustrations.

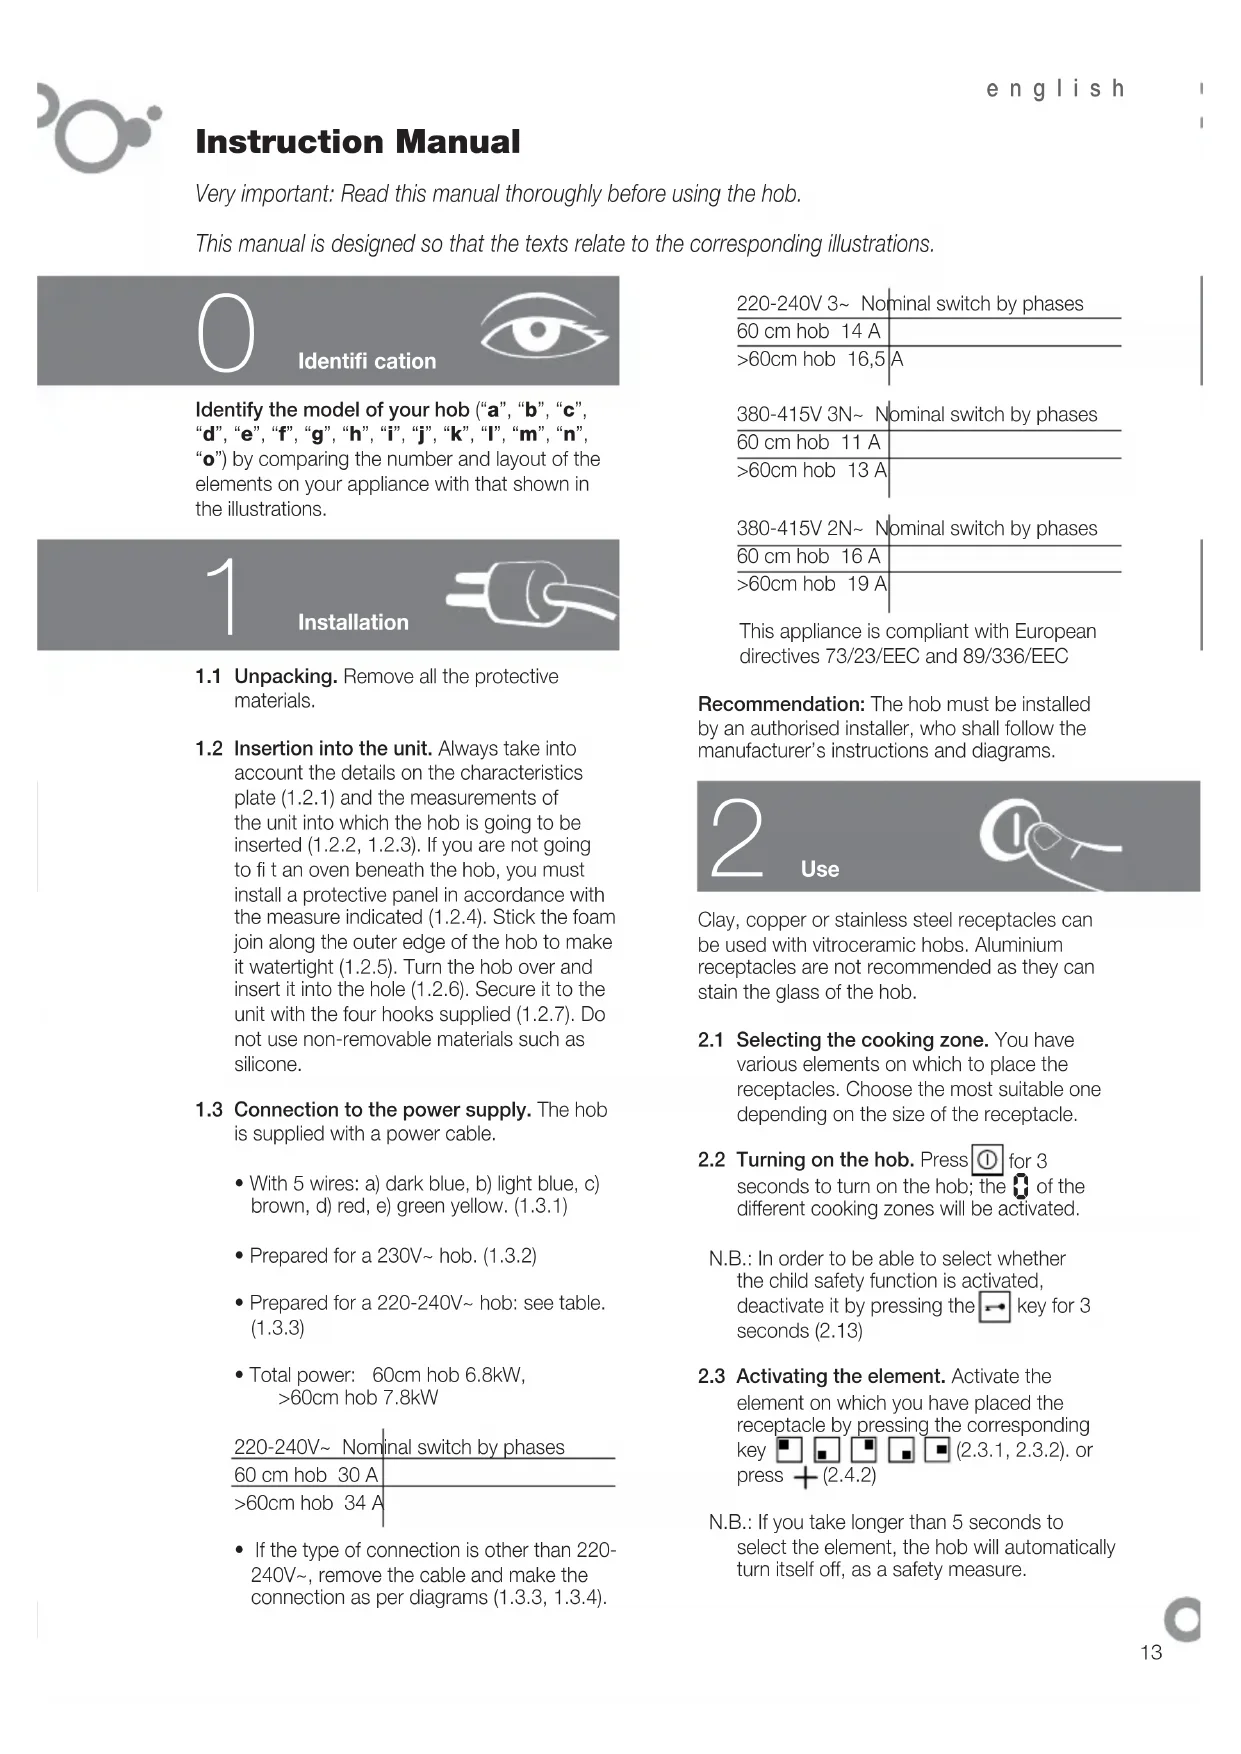
Identification

Identify the model of your hob ("a", "b", "c", "d", "e", "f", "g", "h", "i", "j", "k", "l", "m", "n", "o") by comparing the number and layout of the elements on your appliance with that shown in the illustrations.
1 Installation

1.1 Unpacking. Remove all the protective materials.
1.2 Insertion into the unit. Always take into account the details on the characteristics plate (1.2.1) and the measurements of the unit into which the hob is going to be inserted (1.2.2, 1.2.3). If you are not going to fit an oven beneath the hob, you must install a protective panel in accordance with the measure indicated (1.2.4). Stick the foam join along the outer edge of the hob to make it watertight (1.2.5). Turn the hob over and insert it into the hole (1.2.6). Secure it to the unit with the four hooks supplied (1.2.7). Do not use non-removable materials such as silicone.
1.3 Connection to the power supply. The hob is supplied with a power cable.
With 5 wires: a) dark blue, b) light blue, c) brown, d) red, e) green yellow. (1.3.1)
Prepared for a 230V~ hob. (1.3.2)
Prepared for a 220-240V~ hob: see table. (1.3.3)
Total power: 60cm hob 6.8kW, >60cm hob 7.8kW
| 220-240V~ Nominal switch by phases | |
| 60 cm hob 30 A | |
| >60cm hob 34 A | |
If the type of connection is other than 220- 240V remove the cable and make the connection as per diagrams (1.3.3, 1.3.4).
| 220-240V 3~ Nominal switch by phases | |
| 60 cm hob 14 A | |
| >60cm hob 16,5 A | |
| 380-415V 3N~ Nominal switch by phases | |
| 60 cm hob 11 A | |
| >60cm hob 13 A | |
| 380-415V 2N~ Nominal switch by phases | |
| 60 cm hob 16 A | |
| >60cm hob 19 A | |
| This appliance is compliant with European directives 73/23/EEC and 89/336/EEC | |
Recommendation: The hob must be installed by an authorised installer, who shall follow the manufacturer's instructions and diagrams.
2 Use
Clay, copper or stainless steel receptacles can be used with vitroceramic hobs. Aluminium receptacles are not recommended as they can stain the glass of the hob.
2.1 Selecting the cooking zone. You have various elements on which to place the receptacles. Choose the most suitable one depending on the size of the receptacle.
2.2 Turning on the hob. Press for 3 seconds to turn on the hob; the of the different cooking zones will be activated.
N.B.: In order to be able to select whether the child safety function is activated, deactivate it by pressing the key for 3 seconds (2.13)
2.3 Activating the element. Activate the element on which you have placed the receptacle by pressing the corresponding key (2.3.1, 2.3.2). or press + (2.4.2)
N.B.: If you take longer than 5 seconds to select the element, the hob will automatically turn itself off, as a safety measure.
2.4 Selecting the power. Adjust it by sliding your finger along the bar (2.4.1) or by pressing + or (2.4.2, 2.4.3).
SPECIAL ELEMENTS
2.5 Double element, Triple element. Once you have selected the power, press , and this will activate the double element (2.5.1, 2.5.3). If you press (2.5.2) or (2.5.4) again, this will activate the triple element. To cancel, press ( , , , ).
2.6 Large hotplate. You can use this element in a circular way or in a joint way, as a large hot plate. Press to activate it and press again to deactivate it.
Recommendation: on the models with halogen elements, the light is so bright that we advise you not to look at it when it is on without the receptacle.
TIMER FUNCTIONS
2.7 Setting the time L . When the hob is plugged in, the digits on the clock will fl ash and will show 12.00 (2.7.1). Adjust the time with the keys + , (2.7.2). Follow the same procedure whenever the appliance is unplugged or the power supply is cut off.
To change the time, press the key for 5 seconds (2.7.3). The time will start to fl ash and you will hear a beep; adjust it with the keys + -
2.8 Selecting the time.
Models abc: Once an element has been activated and the power selected, you have 5 seconds of fl ashing in which to press the key (2.8.1). Select the time required by pressing +, - (2.8.2). After five seconds the timer is set and the time will be displayed with an illuminated dot beneath the icon of the timed element (2.8.3). To alter or see the time remaining, press the icon of the timed element (2.8.4). To cancel the programming, press + keys simultaneously (2.8.5).
Models dfghkmo: Once an element has been activated and the power selected, press the + key on the clock. 00 and a will appear on each element (2.8.6). Press + on the element to be timed and will
fl ash (2.8.7). Select the time with +, on the clock (2.8.8). After 5 seconds the time will be set and the power and t will be displayed alternately on the timed element. Once the time has passed, you will hear a sound and o will flash. To cancel the timing, press on the icon until 00 is displayed.
N.B.: The timer will automatically turn itself off if you take longer than 10 seconds to select the time.
Models e: Once an element has been activated and the power selected, press again the selection key of the element to be timed, and a will appear. (2.8.11). Select the time with + (2.8.12) and set it by pressing the timed element key again (2.8.13). The power will be displayed with a dot indicating that the element is on a timer. You will hear a sound and see - to indicate that the time has passed (2.8.14). Press any key and the sound will stop.
N.B.: The timer will automatically turn itself off if you take longer than 10 seconds to select the time.
Observations on timing: If the power level is 9, the maximum time for the timer will be 60min . Otherwise, the maximum will be 99min .
Once the time has passed, the alarm will sound until you press any key.
PROGRAMMING FUNCTIONS
2.9 Rapid heating. Reaches maximum temperature quickly to automatically go to the constant temperature.
Models abc: Activates an element and takes the bar to the maximum power. Press and a R will appear on the display screen of the selected element (2.9.1). You have 5 seconds to select the desired level, you are advised to use levels from 3 to 6 (2.9.2). After fi ve seconds the rapid heating will be set and will appear on the display screen of the selected element (2.9.1). You have 5 seconds to select the desired level, you are advised to use levels from 3 to 6 (2.9.2). After fi ve seconds the rapid heating will be set and R and the power will be displayed alternately. Once the maximum temperature has been reached, R will disappear, leaving the power constant. The element will continue operating in the conventional way. If you want
to cancel the rapid heating, press the icon of the programmed element and select a new power.
Models dfghjklmo: Select an element and set it at the maximum power by pressing + until a 9 and a dot 9 are displayed (2.9.3). Adjust the power by pressing -; levels 3 to 6 are recommended (2.9.4). After 5 seconds, fast heating is set and the power will be displayed followed by a dot (2.9.5). Once the maximum temperature has been reached, the decimal point will disappear and the element will continue operating in the conventional way. To cancel the function, press the key of the programmed element and select a new power.
2.10 Vitros with controls. Make sure that the element you are going to activate is the element you want to use (2.10.1). Turn the control to the desired position and the 'on' light will come on (2.10.2) which also indicates the residual heat when the element is turned off.
On the models with double elements or a large hotplate, turning the control to the left will adjust a part of the element and turning the control to the right will adjust the whole element (2.10.3).
2.11 Turning the element off. Select the power of the element you want to turn off.
2.12 Residual heat. After using the hob, the elements will stay hot for some time, which will vary according to the power selected and a H or a dot will be displayed on the elements that are still hot. Do not touch these elements, as there is a risk of burning yourself.
Caution: If the power supply is cut off, when it is restored, the H icon will not be displayed even if the cooking zone is hot. It is important to remember this fact.
2.13 Locking function. To prevent children from handling the appliance. Press down the key for 3 seconds and this will activate the lock. To unlock it, repeat the procedure.
Recommendations:
- Avoid knocking receptacles against the glass.
Aluminium receptacles are not advisable as
they can stain the glass, unless they have a stainless steel protective base.
- The heat elements should not be operated without a receptacle.
- The base of the receptacle must be fl at and dry.
- Make sure that the diameters of the receptacles are larger than or the same as the element to be used and place them in the centre of the heat source.
- Try not to move the receptacles as this can scratch the glass.
- Only use the appliance for cooking food. Do not use the hob as a worktop.
- Do not apply cold water directly onto the hob when it is hot.
Caution: Intermittent operation of the cooking zones is not a fault. They operate with longer or shorter on and off periods depending on the desired power.
3
Maintenance and cleaning

- Do not use a steam cleaner.
- Clean the surface of your hob regularly once it has cooled down. Do not use abrasive products or sponges. Clean with a damp cloth and soapy water (3.1.1).
- Once a week, clean thoroughly with products specifi cally designed for vetroceramic hobs. We recommend VITRO-CLEN for cleaning and maintaining your vitroceramic hob.
- Stubborn stains can be removed with the glass scraper (3.1.2).
- If you accidentally burn some sugar, sugary elements or plastic on the hob, remove it as soon as possible with a scraper while it is still hot. If this is not done, you may be left with permanent marks.
- Use the blade of the scraper in perfect condition; replace it if is damaged.

Safety

- The power circuit supplying the hob must have an all-pole circuit breaker with at least 3mm space between contacts.
- The hob must be installed by an authorised installer, who shall follow the manufacturer's instructions and diagrams.
- The installation must be of the appropriate size for the maximum power indicated on the characteristics plate and the power socket with the regulatory earth.
- If the cable is damaged, it must be replaced by the post-sales service or similarly qualified personnel for safety purposes.
- The element is equipped with an inner temperature limiter which turns the element off in the event of the hob overheating.
After each use, switch the element off using its control. - If the surface of the glass is cracked or broken, unplug the appliance immediately to avoid the possibility of an electric shock. Do not use the hob until the glass has been replaced (4.1.1).
- If anything spills onto the control keys, the hob will stop and emit a sound (4.1.2).
- If you press a sensor down for too long or there is an object activating the sensors, the hob will stop and emit a sound (4.1.3).
- Do not place receptacles with hot bases onto the sensors; you can burn yourself when pressing them (4.1.3).
- Keep young children well away; the heating surfaces can be extremely hot when in use. Use the locking system to prevent children from playing with the controls.
- This appliance is not designed for use by people with disabilities.
Always stay nearby when cooking dishes or food with fat or oil. Excessive heat could cause them to catch fire. - If the hob is installed above a drawer, no flammable objects must be stored inside.

Environment

The hob has been designed with protection of the environment in mind.
Be environmentally aware. Use the adequate power for each cooking operation and select the receptacles of a suitable size for the food you are going to prepare. The heat transmission is best when the base of the receptacle and the diameter of the cooking zone are the same size.
When you have finished cooking, if you like you can leave the receptacle where it is to make use of the residual heat accumulated. This will save energy.
Use a lid whenever you can in order to reduce the heat lost through steam.
Electrical and electronic appliance waste management.
Do not dispose of appliances by mixing them with general domestic waste.
Take your hob to a special collection centre.
The recycling of domestic appliances avoids negative consequences to our health, the environment and enables us to save energy and resources.
For further information, contact your local authority or the establishment from where you purchased your hob.
Bedienungsanleitung
KaTolbkoBpem3aKOHHTcNPO3ByHtCnHaJI,ecNI TbHe HaXMeHb Hn Ha KaKyIO KJnABuIy.
ФУHKUIMПОГРAMMИPOBABHIN
2.9 BbICTpbH HarpeB. BbICTpo DOCTnraeT MaKcImaJIbHOI TemNepaTypbl, YTO6bl ABTomaTHueCKN IpeEHTN K NOdEprXnBaemOI TemNepaType rOTOBKn.
ModenABC:BkHouKoHOpKyuBbIeN ⅢKanyHaMaKcImaJIbHyIO MoUHocTb.HaKMn IHaDinCJIpee BbI6paHHOi KOHOpKn NOBHTc3HaQK (2.9.1).B TBOEm paONpJKeHN NMeETc5ceKyHdIINrTO,HTo6blBbI6paTb XeNaemblypoBeHb;peKOMeHdyTeC,HTo6bl
OH 6blmexdy 3hauehenmaMn 3 n 6 (2.9.2).Yepe3
PITb CekyHd yCTaHOBnTc8 bICTpbHarpeB n
O603HaHTcra NOpEpeMeHHo HMOUHOCTb.
KaK TOnIbKO 6byET DOCTnHyTa MaKcMaJIbHaar
TEMNEpAtpa,NCye3HET 3NaOOKN OCTaHETcra
IOIDepKINBaEMAR MOUHOCTb rOTOBKn. KOHOpKa
IPODOJKNIT cyHKUHOHPOBaTb B O6blHOM
peXIMe.EcIn XeJaewb OCTaHOBnTb 6bICTpbH
HarpeB.HaKMn Ha IKOHky 3aIporpAMMPOBaHHo
KOHOpKn IN BBiEpR HOBYMOUHOCTb.
MopEn dfghjklmo: Bb6epn KOHc0pky n BkIOUe ee Ha MaKcIMaJIbHyIO MOUHOCTb IJRA Yero HaxmHa 1 Do Tex NOp, NOKa He NOBHTC9 9 3NaOcK (2.9.3). PeryIuPyu MoUHOCTb, HaxmHa -peKOMeHNyOTc yPOBnO IT 3do 6 (2.9.4).Yepe3 5 cekyHd ycTaHOBNTc 6 bICTpbl HarpeB 6 ByET BnIDHO 3NaueHne MOUHOCTN, a 3a HIM-TOka. (2.9.5). KaT ToIbKO 6 ByET IOCTINHYta MaKcIMaJIbHaer TempepaTypa, UcPPOBaar TOka NCHe3NET KOnC0pKa PpOJONKIT cyHKNoHIpOBaTB B O6bIyHOM pexKIme. IJRA IpeKpaSeHn FyHKNoHIpOBaHn HAxM Ha KnaBnUy 3aIporpAMMnPoBaHHo KOHc0pKn I Bb6epn HOByIO MOUHOCTb.
2.10Плttb c npapBHeHem.Y6eNcB TOM,чTO KOHΦopKa,KOTOpYIO TbI 6yDeuB BKIIOuaTb, COOTBeTCTByET ToI,KOTOpYIO TbI XOeUb INCNoJb3OBaTb.(2.10.1).PObepHn BvIKIOUaTeIb B JxelaEMOM HApBaJIeHm N 3aKxKETcNINOT ΦyHKUOHpOBaHnR (2.10.2),KOTOpBt TaKke NOKa3bIBaEt OCTaTOHoe TENIO, KOrda KOHΦopKa BbIKIQUeHa.
B MoDJIaX C DBOHON KOHΦOPKO HIN KOHΦOPKOHNCTOHHKOM PnIOBOPTe BbIKHOaTeN BNeBOpeYIpyETcAactb KOHΦopKn I pN IOBOpTe BbIKHOaTeN BnPaBO peYIpyETcB KOHΦopKa (2.10.3).
2.11 BbIKJIIOUeHne KOHΦopKn. BbIbepn MOUHOCTb 0 KOHΦopKn, KOTOpYIO XOHeuB nOracNTb.
2.12 Octatoohoe tenno. Iocne oKOHuaHn HONb3OBaHnI PINTOJ KOHcOpKn OCTaOTc HArpeTbIMN B TeueHne HeKOtOpRo BPemEH, KOTOpOE 3aBNCNT OT BeJIuHbI BblOpAHHO MOUHOCTN, IN NOBHTCn 3HaQOK Hnn ToHkHa eue TropnX KOHcOpKax. He npHKacnK 3TmM KOHcOpKaM BO n36eKaHne noJyHeHn OXOROB.
BHMHe:Ecnn Bpyr OTKnHHTcnoaHa 3JIeKtpo3Hepn,TO NO ee BO306HOBJeHN YKa3aTeIb H He NOBITCA,XOT3OHa rOTOBKe Ee6yJeT OCTaBaTbca TOpRue. ImeB BNdy 3TO 06CToRtEbnCTBO.
2.13ФункиблOKИрьк.ДЯИЗБЕЖАИ
ПОЛБЗOBAHИ ППИTOДЕТьМ.НХКИУДЕРЖИВAI
ВTeчЕнe 3секунДКlaBnUWy .ТIMСamblm Tbl
akTNBnpyeBb6IoknpoBky.ДЯ ChATN8 6JOKnpoBKN NOBTOpN 3Tu onepaUHO.
PekomeHdaUn:
-136eaiy yapob nocydoi no CTeknHHoHIOBepxHOCTN JNTbl.
AIIOMHHeBaI NOcya He peKOMeHdyETcI INCIOJIb3OBAHHa, TaK KaK OHa MOXET OCTaBHTb IANTHa Ha CTeKJIaHHoN IOBepxHOCTn PInTb. IVCKIOUChE HcOCTaBnREt AIIOMHHeBaI NOcya C yTOJIeHHbIM 3aUNTHbIM CNOeM dHa, N3rTOOBJIeHHbIM N3 HEPKaBeIOUeI CTaIN.
HarpeTbe KOHOpKn He DoJXHbI cyHKUHOHPOBaTb, ecnHa Hx Hetocybl.
- HNOOCyDbldoJXHO6bItbpoHBHIMcYxIM.
Cnei3a Tem, YTO6bI dNaMeTp nOcybl 6bl 60JIbIM INI TaKIM JKe, KaK dNaMeTp KOHΦopKn, KOTOpYIO TBcO6nPaeeBcNcNoIb3OBaTb, NCTaBb nocydy no CEHTpy KOHΦopKn.
- Cṭapačr He DBnrgaMb nocydy, TaK KaK MoryT OCTaTBcR āpaʌnHbI Ha CTekJIe.
- NcnoIb3y annapaT nckIIOuHTeIbHO dIpy npiroTOBJIeHn IIN. He nCnoIb3y IIITy B KaueCTBe CBOero paOoero CTOna.
He hainBaXoNoDHyIO BDOy HENOCpeCTBeHNO Ha nnTy,ecn OHa HxOuNTcB HarpeTOM COCTOAHN.
BhImaHHe:IpepbiaUoJeeecApyHKUOHOPOBaHne 30H rTObKN He O3HauaeT, YTO CnyuHnacb abapna. KoHcOpKn cyHKUOHNpyIOT B TeueHne 60JIe nn MeHee IpoDoJXKeIbHbIX NepNOOB 3aXKeHHbIMN JIN INaIgaaHeHHbIMN B 3aBNCIMOCTN OT BblpaHHo MOIOHCTNI.
3
Coepexkanne nyxo

He nCnoIb3y npoB0 oUcHtTeIb.
- Yacto uHCTN NOBepxHOCTb CBOe PINTbI, KOrda OHa OCTbIHET. He nCpOJIb3y a6pa3NBbIX npOdyKTOB uCTKn I TaKnx JcMe MoaJIok. UcTn npN NOMOUI BIAJXHOITKaHN MblbHOH BOdBi. (3.1.1).
Pa3B HeJeIIO npoBOOn TuaTeJIbHyIO uCTKpy PnnpOMOUI CNEUaJIbHbIX npOdyKTOB IIN3DeIIN IN3 CTeKIOKepaMNI. PeKOMeHnyEM npOdyKT BNTPO-KJIIEH INIAuCTKN INJyIWei COxpaHHOCTNTOE CTEKIOKepaMNUeCKO INIHTbl.
CINbHO npCTabwaa rpa3b OHuzaeTcnpn NOMU CTKJIARHHORO CKpe6ka (3.1.2).
- EcIn IO HeocToPoxKHOCTn Ha paKaJIeHHoI NOBepXHOCTn IINTbI CROPIT caxap, 3acaxapeHhbI IpOdyKTbI INN IN3DeJIIN IIN PIACTnKa, yJaII INx KaK MoKHO CKOpEIN PpN NOMOUIN CKpe6Ka C NOKa eUe packaJIeHHoI NOBepXHOCTn IINTbI. EcIn 3TOrO He CdelaTb, TO IHTHa MOrYT OCTaTBcH HABcerJa.
4
Be30nachoctb

Cetb 3JIeKTPoCHA6KeHnI, NITaIOUaI PINTy, DOJXHa 6bITb 6OBpyOBOHa ODHONOPHBIM pyBnblhIKOM, KOHTaKTb I KOTOpORO DOnJXHbI 6bITb paONIOXeHbI NO MeHbWeMpe Ha pacCTOHN 3-x MM dpyr OT dpyra.
- YCTaHOBka PIIITbI DOJXHa OCUeCTBnTbCnEuaJIInCTOM,KOTOpBI BbINOHIT ee B COOTBeTCTBm C INHCTpyKUAMN IN CXEMAMN IpON3BOIDTEJI.
- YctaHOBKa DOJIxHa 6bITb OcyIeCTBJeHa C
YcHTOM MaKcImaJIbHOm MOUHOCrN, Yka3aHHoH Ha
3TnKETKe XapaKTepNCrNK, a pO3eTKa DOJIxHa 6bITb
06r3aTeJbHo 3a3EmNeHa.
- Ecni Ka6eIb OkaxkETcNoBpeKDeHHbIM,ero CneJyET 3aMeHnTb BO BpEmoObCyKbAHnIOcJIe IPOdaJN INI JIO6bIM KBaJIncuPBOAHbIM CNEUaJIACCTOM BO N36EkaHne ONaCHOCTN.
- KoHOpka o6OpyObaHa orpaHnHTeIeM BHyTpeHHe TEmpePaTypbI, KOtOpbI OTKJIIOuHaET KOHOpky, ecII pNTa n3JIiUHe HArpeBaETcR.
-После кадою Испльбовая OTKИОЧА ПИТУ
пгИ ПOMOДЛ ВБКЛЮЧАТELЯ.
- Ecnn Ha CTeKJIaHHoN NOBepxHocTn IINITbI NOBJIaHTcT TpeuINbI INI OHa IOMaETcH, HEmeJInHo OTKnIOuN annapaT OT cETN 3NeKTPOcHa6XeHn BO n36ExKaHne 3NeKTPOwoka. He nCnoNb3yI nnITy Do tex nop, noka He 6ydet 3aMeHeHa ee CTeKJIaHHa NOBepxHocTb (4.1.1).
Bcnyae,ecnHaKnaBmUynpaBneHn npolbETcRTOBAAcraNtta BbIKHOHTCn,IN3DaB3BYKOBo CnHaJ4.1.2).
- ECIN TbI DepeKnBb HkaKaTbIM KaKo-JIn60 n3 ceHCOPOB DIOJIROE BpEMN JIN KE KAKO-TO IpeDMET aKTNB3IPOBAJI CeHCOPbI, PJIITa BbIKJIOHTCH, n3DaB 3ByKOBoCnHaJ (4.1.3).
He cTAbb nocydy C harpeTbIM dHOM Ha ceHCopbl, TaK KaK Tbl MOKeUb 06KeUcR npn HaxKaTN Ha Hnx (4.1.3).
He npnyckaT Mahehkyx DeTeK Harpeto IINTE, TaK KaK NOBepXHOCTN KOHOpOK MOry T CnJbHO HarpeTcB BO BpemAx cyHKUHOHPOBaHN. NcNoJIb3y CNCTemy 6IokipOBKn, YTO6bl DeTI He MOJIu INpaTb BBIKIOUaTeJIAMN.
- 3TOT annapat He paccHTaH Ha nCIOJIb3OBAHHe JIuAMN C OpraHnueHHbIMN CnOCo6HOCTrMn.
Bcerda haxoicnb no6n30ctn BO Bpem npiroTOBHeHNA NsCnCnOJb3OBaHnEM Xnpa nI MaCna. Ype3mepHOe TEnIO MOKeT cnpoBOuPObaTb INX Bo3ropaHne.
- Ecni nIyTa yCTaHOBJeHa noBepx KaKoro-Ni6o AunKa, B HEm He DoJXHbI XpaHHTbcra Bo3ropaemble npedMeTbl.
5
OkpyxuaouzaHcpea

PNTa cKoHCTpynpoBaHa c yUeTOM coXpaHeHn OKpyKaIOSe Cpebl.
OTHOCINc cyBaXeHNem K OKpyKaIOSe CpeJe.
NcNoJIb3y MoUHOCTn, COOTBeTCTByIOUne KaKDoI
rotOBKe, IN BbIbupa IocUdy, pa3Mepbl KOtOpoi
COOTBeTCTBYIOT KOJIYeCTBBy NMIu, KOTOpYIO
co6IpaewbCra TOTOBNTb. KorDa IHO NocSybl I
DnaMeTp 30HbI TOTOBKn COBIIaJaOT IO pa3Mepam,
TO NepeJaHa TeNla RaBJIeTcH ONTIIMaJIbHOJ.
Pi OKOHuaHm IOTOBKn, ecNI XeJIaEUsb, MOKeUb
OCTaBnTB IocUdy Ha TOM Xe MeCTe, YTObI
NCIOJIb3OBaTb OCTaTOUHoe aKKymIInPOBaHHOE
TeNIO. TaKIM O6pa3OM Tb c3KOHOMUWB
3NEKTPo3HeprIO.
NcnoB3yKn KpbIuKBy BCnKn pa3, KOrJa 3TO BO3MOxH0, YTO6bI yMeHbUHTb NOTepIO TENla H3-3a INcapenHn.
NcnoB3ObaHne OTCnyXNBuNX 3NeKtpnuecknx N 3NeKtpoHHbIX annapaTOB.
He CMeWnBaI OTCnyKINBUNe anIcapaTbIC 06blHbIMN DOMaUHMM XO3AICCTBEHHbIMN OTXODAMN.
CdaI CBOIO pINTy B CNEuAnbHbI NpHK TnpEMKn.
Ipeepa6OTka 3NeKTPO6bITOBbIX TOBAPOB
cNOcO6CTByET I36EkaHNIO HerATNBbIX NocJeDCTBNI
JINI 3DOPOBbI, DnI OKpyKaIOSe CpeDbI N
IO3BOJnRE T c6eperaTb 3NeKTPO3HeprHIO n pecypcbI.
JINI NOUYEHnR 6oJIe DeTaJIbHO INHΦOpMaun
CBXKNC B C MeCTbIMN BnACTAMN INI C TOPROBOI
TOUKO, IDe bIa npNo6peTeHa PINTa.
Návod k použití
glue yall ayialy jiall alolll
1jllgJgSgRgAaagaae (1.2.5)
duuuee 1.2.6
Jia 124 Jia 20 (1.2.7)
L
. 1.3
biol cooiei i
aalall
a b 5
e,(d,c
1.3.1
(1.3.2).V230 a#
V240 - 220 a#all j
(1.3.3).
KW6,8 60 a
KW7,860<
| A0 | ~V240-220 |
| 60 | |
| A4 | 60 |
-220 1
aLaei j, 1234567890 V 240
(1.3.3,1.3.4)

2
Jiaowl jSao slol yjgall aIw
wgl 1 wll, jbl
gaae 2
aiaaiil 100
a
y
Jaxiicall jaiil
aall 2.2
a# 3
jU 0
.
Jax 15 Jia bui jia 11 paiy: abai
Jai 3 sai a
(2.13)
2.3
joll
iiiall jll biinally
(2.3.1,2.3.2)
(2.4.2)jjbnai
5.2
aannll, jll
,
.
2.4 aoll
(2.4.2,2.4.3) -12 (2.4.1)
S OBC = S COD + S_ BOC
. 25
gall
a
2.5.1,2.5.3
(2.5.4) (2.5.2)
Jia jia jiall. a jilai jj
(,,),
2xy = 4
i j 10
Lgai 1
j
:
jill, 4y jill all jill all
all 1 aol jol jol cd 1d
j00 j00 j00 j00 j00 j00
jia jia jia bao jie zai Jia xiao
a1gbs aiaaa Jaoiin y. cJai
Jaeil
aill 2
aiiau u jsi laie li julua
JiLi Li#i#i#i#iY
a
aaiie aiee ie 10
jullll lally Jia jia aai
(3.1.1)
aaiy
15
a
Lio jolil Joo aaiioll
(3.1.2)
a 1
slll gll lnnn nnnn nn nnnn
wss 8 w
. 1
o jai 1i bai iia
aiaial jaii 1j ciaai
Jusilllll 10000000000000000000000000000
aannnnn
Jiaowol jiaoc
.
aaii iiaaiia aiee
jil jill jia jiall
y
.(4.1.1)
Soll joll 1jll all
J4.1.2(
aialllalwlll 1y jabj
Jaei elii jai aai jssu jSaa
i j i j j j j j j j j j j j j j j j j j j j j j j j j j j j j j j j j j j j j j j j j j
JaaJIaJIaJIaJI
jia dlaonin 2 gian jie jie 1120
aiey
aill jall ajjll lall
.
Sio 1
111 111 111 111
a
iia 150
auiial aoi 1
oLla oSs laie laa aai joll
auiia 1i jll jil
a ball jaoiuijSail
aill lilai jll aill
jiaaiill jiall jiall jieb Jaeiu
jaiy 5i aaglll aill lgl bll
S OBC = S COD + S_ BOC
j 1
a1 = 1,a2 = 2,( a1) + ( a2) = 2
a
aolal jjiall
aaiiaai jslal gl aaiiaai
. solly
aiaaa aaii
aallglaallll
all
.
Jusally Jusil, Cilgeall no jol
LgEgill gll