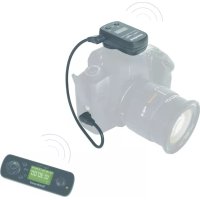
Giga T Pro II - Remote control Hähnel - Free user manual and instructions
Find the device manual for free Giga T Pro II Hähnel in PDF.



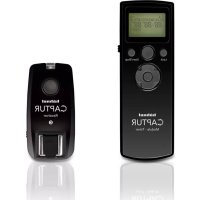
| Product type | Wireless remote control for camera |
| Brand | Hähnel |
| Model | Giga T Pro II |
| Compatibility | Cameras with remote control jack and flash hot shoe |
| Range | Up to 100 meters (estimated) |
| Number of channels | 16 selectable channels |
| Display | Backlit LCD screen on transmitter and receiver |
| Main functions | Single shot, burst, bulb mode, timer, programmable intervalometer |
| Basic timer mode | Adjustable delay and number of shots |
| Intervalometer | Programmable with delay, exposure time, interval 1, N1, interval 2, N2 |
| Transmitter power | 2 AAA batteries (not included) |
| Receiver power | 2 AAA batteries (not included) |
| Included cable | Connection cable for remote control jack |
| Mounting | Hot shoe for receiver |
| Maintenance | Keep dry, do not modify, avoid extreme temperatures |
| Safety | Respect polarity, keep out of reach of children |
| General information | Compliant with environmental regulations |
Frequently Asked Questions - Giga T Pro II Hähnel
User questions about Giga T Pro II Hähnel
0 question about this device. Answer the ones you know or ask your own.
Ask a new question about this device
Download the instructions for your Remote control in PDF format for free! Find your manual Giga T Pro II - Hähnel and take your electronic device back in hand. On this page are published all the documents necessary for the use of your device. Giga T Pro II by Hähnel.
USER MANUAL Giga T Pro II Hähnel
Wireless Remote Control Wired Remote Control
OR


Interval Timer Functions

Transmitter LCD Screen
13: Delay Setting
14: Long Setting
15: Interval 1 Setting
16: N1 Number of Exposures
17: Interval 2 Setting
18: N2 Number of Repeats
19:Seconds
20: Minutes
21: Hours
Standard Wireless Remote Control Functions

Transmitter LCD Screen
22: Channel Selector
23: Basic Timer Mode
24: Bulb Mode
25: Continuous Shooting Mode
26: Single Shot Mode

Basic Programme
Transmitter 4-Way Joypad

10: Centre button to confirm and accept settings
11: Arrow buttons. To select the Mode Settings, eg. Single Shooting, Continuous Shooting, Delay, Long, Timer, use left and right directional arrows To adjust the values for the timer, exposure count & intervals or channels, use the up and down directional arrows.
![graph LR A["Delay"] --> B["Long"] B --> C["Interval 1"] C --> D["Long Long"] D --> E["Interval 1"] E --> F["Interval 2"] F --> G["Long"] G --> H["Interval 1"] H --> I["Long Long"] I --> J["Interval 1"] J --> K["Interval 2"] K --> L["Long"] L --> M["Interval 1"] M --> N["Long Long"] N --> O["Interval…](/content/2026/02/366765/images/68a3f372bd2e65490bc5161f62d3483b1349571fb8c8ada55c6ec980cb0c3f54.jpg)
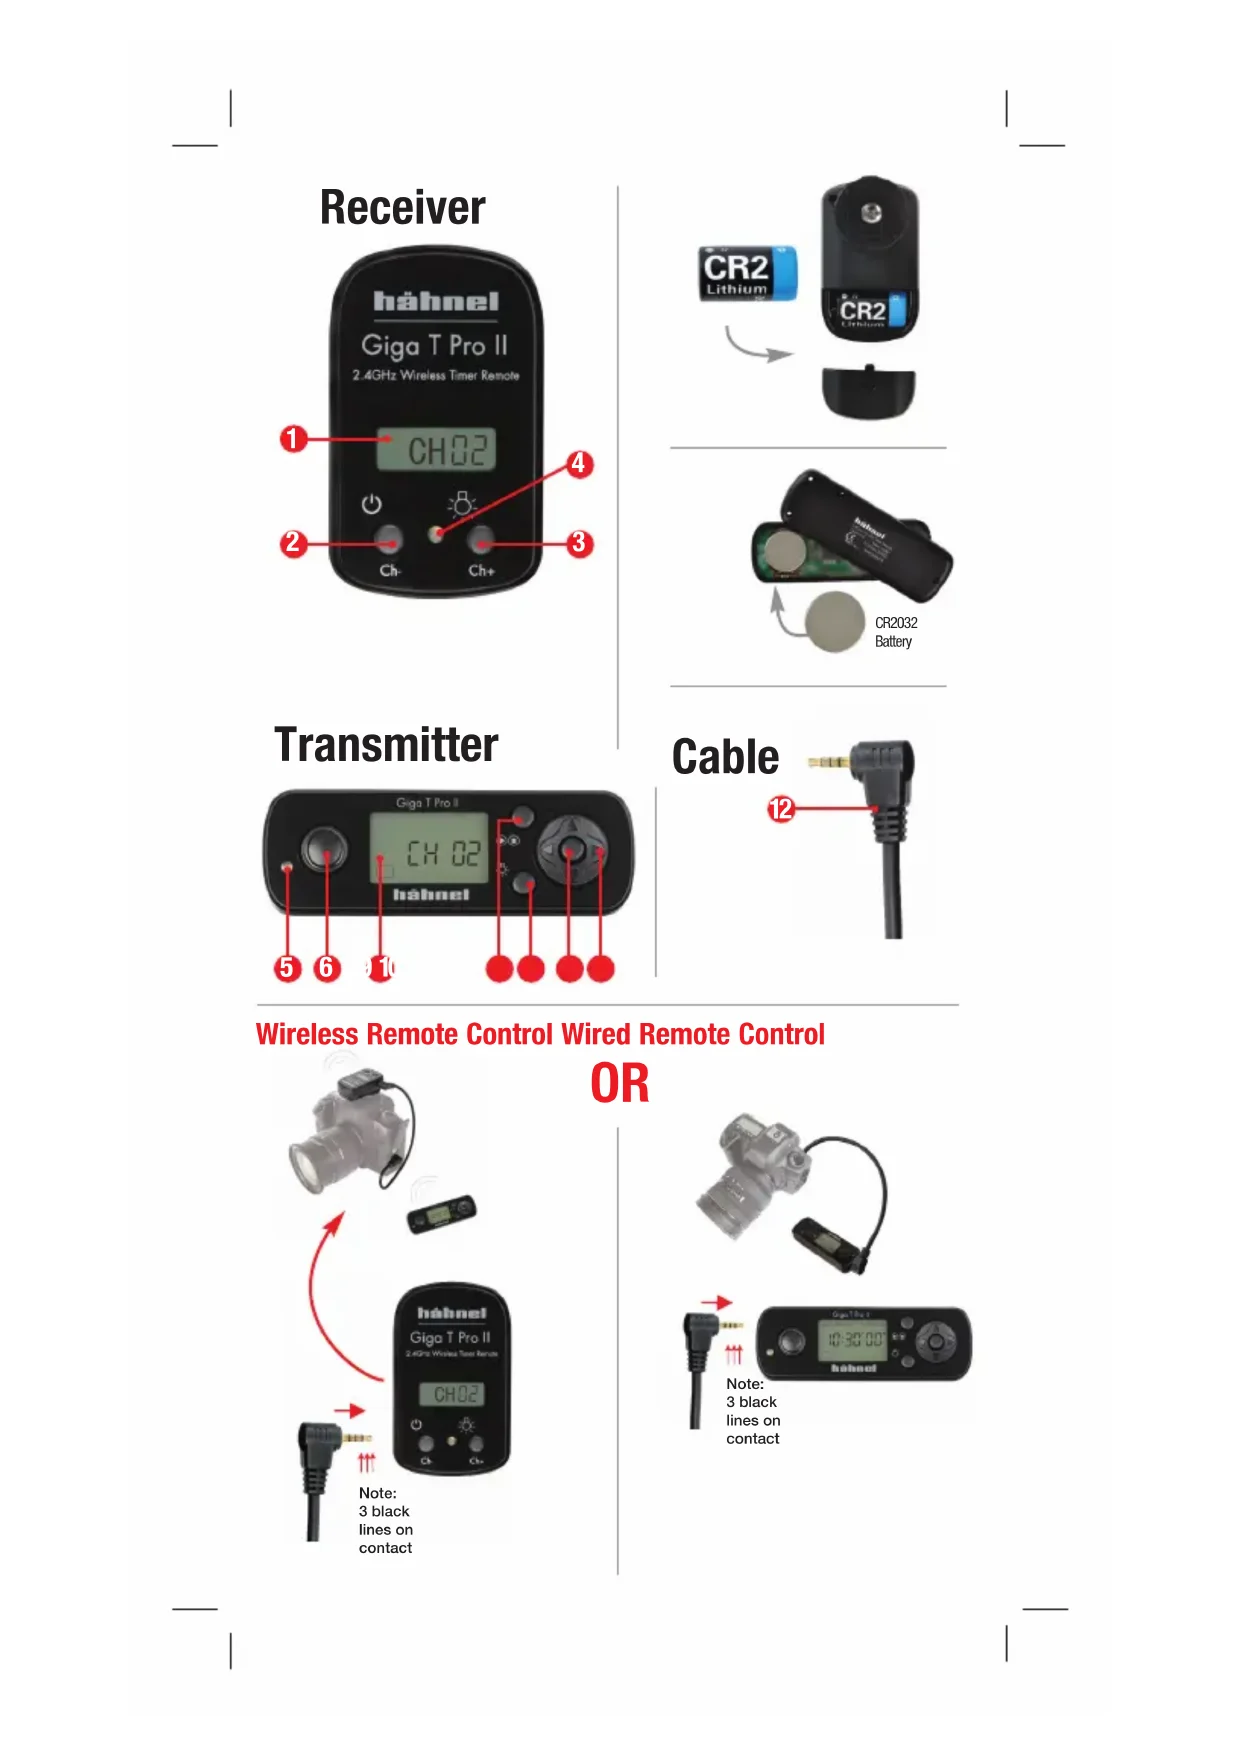
Receiver
LCD Screen
2 Power ON/OFF Button & Channel Selector
3 Backlight Button ON/OFF & Channel Selector
4 LED light

Default Receiver LCD Screen
Transmitter
5 LED light
6 Transmitter Button
LCD Screen
8 Play / Stop Button
9 Power ON/OFF Button & Backlight Button ON/OFF
10 Centre Button to confirm settings
11 4-Way Joypad

Default Transmitter LCD Screen
Cable
12 Cable Connector
IRL/GB
Transmitter 4-Way Joypad
10 Centre button to confirm and accept settings
11 Arrow buttons. To select the Mode Settings, eg. Single Shooting, Continuous Shooting, Delay, Long, Timer, use left and right directional arrows
To adjust the values for the timer, exposure count & intervals or channels, use the up and down directional arrows.
Interval Timer Functions
13 Delay Setting
14 Long Setting
15 Interval 1 Setting
16 N1 Number of Exposures
17 Interval 2 Setting
18 N2 Number of Repeats
19 Seconds
20 Minutes
21 Hours
Standard Wireless Remote Control Functions
② Channel Selector
23 Basic Timer Mode
24 Bulb Mode
Continuous Shooting Mode
26 Single Shot Mode

Setting up Giga T Pro II Switching on your Giga T Pro II Wireless Remote Control
Ensure the camera and remote control receiver are turned off before connecting. Attach the receiver to the hot shoe on the camera.
Connect Giga T Pro II to the remote control socket of the Camera, using the correct connector cable included.
To switch On/Off the Receiver, press and hold the Power Button. Switch on the camera.
To switch On/Off the Transmitter, press and hold the Power Button. Note: The transmitter automatically powers off after 60 seconds of inactivity.
LCD Backlight
On Receiver: Press and hold backlight Button ③
On Transmitter: Press and hold backlight Button 9
Channel Selection
To communicate between the transmitter and receiver, both units must be on the same channel.
The default on both LCD screens displays the active channel (sample: CH02). To change channel on the receiver, press and hold BOTH Channel selector buttons until the LCD screen flashes. Use individual channel buttons to change the channel setting. To set and confirm the channel, press BOTH channel selector buttons.
To change channel on the transmitter, use the 4-way joypad to go to Channel Selector mode and press the centre button. Adjust using the 4-way joypad, set and confirm using the centre button. Refer to FAQ for benefits of additional channels 9
B Standard Wireless Remote Functions

26 Single Shot Mode
Ensure camera is in single shot mode.
Refer to camera manual.
Using the 4-way joypad, put Transmitter into Single Shot Mode.
To autofocus Ensure camera has autofocus enabled.
Half press the transmitter button. Green light on transmitter and receiver indicates autofocus is activated.
To release the shutter full press on the Transmitter button. Red light on transmitter and receiver indicates a single shot has been taken.

25 Continuous Shooting Mode
Ensure camera is in continuous shooting mode.
Put transmitter into continuous shooting mode.
Half press the transmitter button to autofocus.
Full press and HOLD transmitter button. Camera shoots continuously for as long as transmitter button is held down.
BULB 24 Bulb Mode - Long Exposures
Ensure camera is in Bulb mode.
Put transmitter into Bulb Mode.
Half press the transmitter button to autofocus.
Full press the transmitter button to open the shutter. Display starts counting the period of time the shutter is open. Press transmitter button again to close the shutter and stop the display.

23 Basic Timer Modes
To set a specific number of shots and to set a specific timed delay before taking the first shot.

Ensure camera is in single shot mode.
Set the transmitter to Basic Timer Mode. Press centre button. Use 4-way joypad to select the number of shots, then the time delay to first shot. Press centre button to confirm and save setting.
Half press the transmitter button.
Full press Transmitter button.
Camera will autofocus between each shot. Refer to FAQ to turn autofocus off.
C Interval Timer Programmable Functions
To programme the Giga T Pro II interval timer, you must set the values for the "Basic Programme" by inputting the values into each of the Delay, Long, Interval 1, N1 parameters.
To set the repeats of the "Basic Programme", set the values for frequency and interval using the Interval 2 and N2 parameters.
Camera settings affect each of these functions. For series of
Timed single shots, ensure camera is in Single Shot mode.
Continuous shooting bursts, ensure camera is in Continuous Shooting mode.
Long exposures, ensure camera is in Continuous Bulb mode.

13 Delay: Time in hours, minutes and seconds before whole interval shooting programme starts.
Use 4-way joypad to set the desired time delay before programme begins. Press centre button to accept setting.
To set parameters for Basic Programme

Long: A: For Single Shot Set to
00 00 00 values
B: For Continuous Shooting
Sets the length of the continuous shooting burst.
C: Bulb Exposure - Sets the length of time the shutter is open

Interval 1: Time interval between shooting or, if in continuous shooting mode, between bursts of shooting.
Must be set higher than camera shutter speed

N1: A: For Single Shot Sets
the Number of shot taken
B: For Continuous Shooting
Number of bursts of Continuous Shooting.
C: Bulb Exposure - Number of shots taken
To set parameters for Repeating of Programme

Interval2: Time interval between each repeat of “Basic Programme”

N2: Number of times the above "Basic Programme" is repeated.
The programme is now set. Press (play/stop) to activate or stop the programme.
Note: Double green flash on receiver indicates an interval timer programme is in operation.
To Run Basic Programme one time only
Set parameters for Basic Programme as normal. Ignore Interval 2 setting and set N2 = 1
See www.hahnel.ie for examples
FAQ's
To turn off the autofocus in between shots of sequential shooting or the Basic Timer Function, ensure Autofocus is disabled on your camera.
A number of channels are available on your remote control to allow you to use several receivers, each set to a different channel, activated by one single transmitter. Simply change the channel on the transmitter as desired to activate each separate receiver.
To calculate the number of shots taken, multiply N1 x N2.
If using bursts of continuous shooting, to calculate the number of shots taken, multiply 'frames per second' setting of the camera x Long x N1 x N2.
Caution
- Do not modify product
- Keep receiver and transmitter dry at all times
- Do not use in the presence of flammable gas
- Keep out of the reach of children
- Do not expose to excessive temperatures or strong direct sunlight
- Do not leave the unit in the trunk or on the dashboard of a vehicle. Overheating can result in leaking, fire or explosion
- Observe correct polarity
- Dispose in accordance with appropriate environmental regulations
• Take battery out of unit if stored for an extended period of time.
R&TTE Directive Declaration
Hähnel Industries hereby declares that the Giga T Pro II is in compliance with the essential requirements and other relevant provisions of the R&TTE Directive 1999/5/EC. A copy of the Declaration of Conformity can be viewed at www.hahnle.ie
Empfänger
Tryk senderknappen helt ned.
Continuous Shooting način
Nastavite fotoaparat na continuous shooting način.
Nastavite oddajnik na continuous shooting način.
Pritisnite gumb transmitter 6 za AF.
Do konca pritisnite in zadržite oddajni gumb 6. Fotoaparat zaporedno slika, dokler ga držite pritisnjenega.


B: Za Continuous Shooting
Default Receiver LCD Screen
Zender


- RECEIVER
- TRANSMITTER
- CABLE
- IRL/GB
- TRANSMITTER 4-WAY JOYPAD
- INTERVAL TIMER FUNCTIONS
- STANDARD WIRELESS REMOTE CONTROL FUNCTIONS
- SETTING UP GIGA T PRO II SWITCHING ON YOUR GIGA T PRO II WIRELESS REMOTE CONTROL
- LCD BACKLIGHT
- CHANNEL SELECTION
- B STANDARD WIRELESS REMOTE FUNCTIONS
- 26 SINGLE SHOT MODE
- 25 CONTINUOUS SHOOTING MODE
- BULB 24 BULB MODE - LONG EXPOSURES
- 23 BASIC TIMER MODES
- C INTERVAL TIMER PROGRAMMABLE FUNCTIONS
- TO SET PARAMETERS FOR BASIC PROGRAMME
- B: FOR CONTINUOUS SHOOTING
- TO SET PARAMETERS FOR REPEATING OF PROGRAMME
- TO RUN BASIC PROGRAMME ONE TIME ONLY
- FAQ'S
- CAUTION
- R&TTE DIRECTIVE DECLARATION
- EMPFÄNGER
- CONTINUOUS SHOOTING NAČIN
- ZENDER
Brand : Hähnel
Model : Giga T Pro II
Category : Remote control