
KBB 310 BT - Docking station Trevi - Free user manual and instructions
Find the device manual for free KBB 310 BT Trevi in PDF.
| Brand | Trevi |
| Model | KBB 310 BT |
| Product type | Bluetooth docking station |
| Dimensions (W x H x D) | 319 x 127 x 101 mm |
| Power supply | Rechargeable lithium battery via mini USB 5V DC |
| Total power | 6W (2 x 3W) |
| Impedance | 4 Ohm |
| Connectivity | Bluetooth, USB, Line-In (3.5 mm jack), FM radio |
| Supported audio formats | MP3 (via USB) |
| Antenna | Deployable FM wire antenna |
| Display | LCD display |
| Rechargeable battery | Yes, lithium, charging time 4h (first use), max 6h |
| Power consumption | 6W in operation, <0.5W standby |
| Number of FM presets | 20 |
| Care and cleaning | Soft slightly damp cloth, avoid solvents and abrasives |
| Precautions | Do not expose to magnetic fields, heat sources, humidity, dust, vibrations. Leave 5 cm space around for ventilation |
| Recycling | Separate collection - do not dispose of with household waste |
Frequently Asked Questions - KBB 310 BT Trevi
User questions about KBB 310 BT Trevi
0 question about this device. Answer the ones you know or ask your own.
Ask a new question about this device
Download the instructions for your Docking station in PDF format for free! Find your manual KBB 310 BT - Trevi and take your electronic device back in hand. On this page are published all the documents necessary for the use of your device. KBB 310 BT by Trevi.
USER MANUAL KBB 310 BT Trevi
natural_image
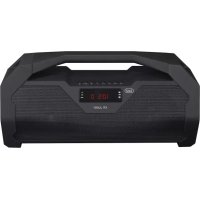
White and orange portable electronic device with a gray back panel and '752' display (no readable text or symbols beyond branding)BLUETOOTH ▶ FM RADIO ▶ USB ▶ LINE-IN
natural_image
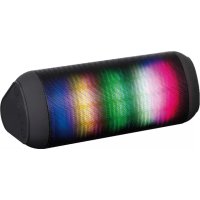
3D rendering of a rectangular electronic device with gray top and orange handle, labeled with number 12 (no text or symbols on body)Line IN: .....Presa Jack 3.5mm
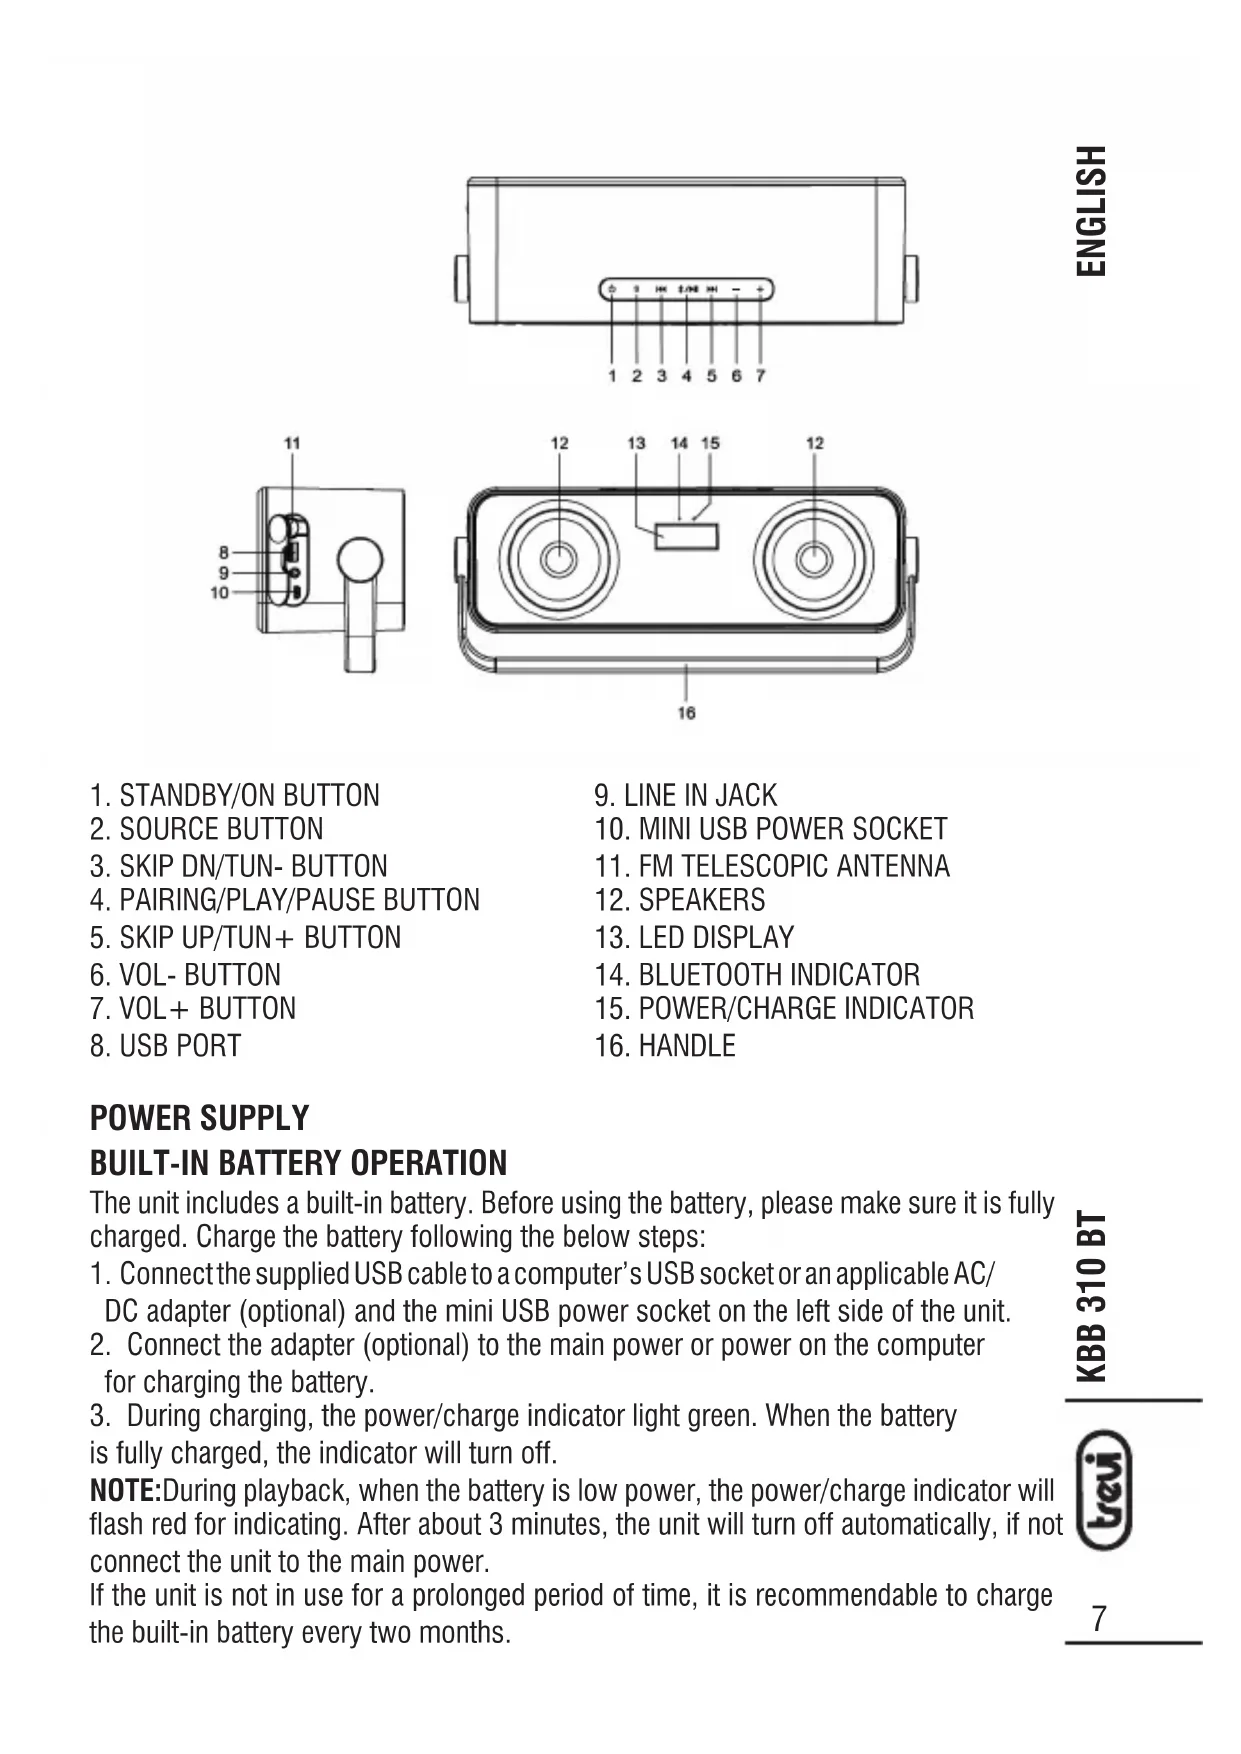
The unit includes a built-in battery. Before using the battery, please make sure it is fully charged. Charge the battery following the below steps:
- Connect the supplied USB cable to a computer's USB socket or an applicable AC/DC adapter (optional) and the mini USB power socket on the left side of the unit.
- Connect the adapter (optional) to the main power or power on the computer for charging the battery.
- During charging, the power/charge indicator light green. When the battery is fully charged, the indicator will turn off.
NOTE: During playback, when the battery is low power, the power/charge indicator will flash red for indicating. After about 3 minutes, the unit will turn off automatically, if not connect the unit to the main power.
If the unit is not in use for a prolonged period of time, it is recommendable to charge the built-in battery every two months.
DC INPUT OPERATION
Plug the supplied USB cable to the mini USB power socket on the left side of the unit and a computer's USB socket or an applicable AC/DC adapter (optional). Connect the adapter (optional) to the main power or power on the computer.
NOTE: Once connect the unit to the main power, the power/charge indicator will light green. If play the unit with the battery, the indicator will not light except the unit is low power.
NOTE: If not any audio signal inputs to the unit in about one hour, the unit will switch off automatically (except at radio mode).
BLUETOOTH OPERATING
This unit can receive stereo audio signal from a BLUETOOTH stereo audio source device.
- Power on the unit by pressing the STANDBY/ON button, switch to BLUETOOTH mode by pressing SOURCE repeatedly, "bt" shows on the display.
- LED indicator rapid blinking while it is pairing.
- Pair and connect to KBB 310 BT on the BLUETOOTH audio source device. If prompted for passcode, enter "0000".
- Pairing successful (LED indicator lights solid blue), ready to stream music.
- Press the PAIRING/PLAY/PAUSE button to pause/resume the playback.
- During playback, press the SKIP DN/TUN- button once to go back the beginning of the current track, press the SKIP DN/TUN- button twice continuously to skip to the previous track.
- During playback, press the SKIP UP/TUN+ button to skip to the next track.
- During playback, press and hold the SKIP DN/TUN- or SKIP UP/TUN+ button to search through the track backward or forward.
Note: The above are generic steps to pair a BLUETOOTH device, for more specific instruction on BLUETOOTH connectivity for your device, please consult your manufacturer's manual. After the first connection, the unit will detect your last paired BLUETOOTH device and connect to it automatically.
RE-CONNECT TO THE BLUETOOTH AUDIO SOURCE DEVICE
If the device is already paired with the KBB310BT, but became unconnected even with both Bluetooth devices turned on. You can re-connect them by following steps:
- Press and hold the PAIRING/PLAY/PAUSE button to re-link the audio source device. The Bluetooth indicator will blink.
- Select KBB310BT on the audio source device for connecting. Bluetooth indicator will turn to solid blue if the KBB 310 BT and the device have been re-connected successfully.
FM RADIO TUNING THE FM RADIO
- Power on the unit, switch to the radio mode by pressing the SOURCE button repeatedly until the LED display shows the radio frequency.
- Extend the FM TELESCOPIC ANTENNA on the left side of the unit fully for best reception.
- Press the SKIP UP/TUN+ or SKIP DN/TUN- button to fine tune radio station.
Press and hold the SKIP UP/TUN + or SKIP DN/TUN- button to auto search radio station forward or backward from the current frequency respectively (When an available station will be found, the unit will broadcast it immediately and the searching will be stopped).
STORING YOUR FAVORITE RADIO STATION
- During playback, press and hold the PAIRING/PLAY/PAUSE button for storing the current station until memory cell number flashes on the LED display.
- Use the SKIP UP/TUN+ or SKIP DN/TUN- button to select the corresponding memory cell for storing the station.
- Confirm your selection by pressing the PAIRING/PLAY/PAUSE button again.
RECALL THE PRESET STATIONS
- Press the PAIRING/PLAY/PAUSE button until memory cell number flashes on the LED display.
- Press the SKIP UP/TUN+ or SKIP DN/TUN- button repeatedly until the memory cell number of the desired station flashes on the LED display.
- Release the SKIP UP/TUN+ or SKIP DN/TUN- button, the unit will broadcast the station.
VOLUME LEVEL ADJUSTMENT
Press the VOL+/- button to adjust the volume output level.
USB PLAYBACK
- Power on the unit, insert an USB into the unit.
- Press the SOURCE button repeatedly to switch to USB mode until the wording of USB shows on the LED display, the playback will start automatically.
- Press the SKIP UP/TUN + button or the SKIP DN/TUN - button to skip to the next track or the previous track.
- During playback, press and hold the SKIP DN/TUN- or SKIP UP/TUN+ button to search through the track backward or forward.
- Press the PAIRING/PLAY/PAUSE button to pause the playback; press the button again to resume normal playback.
LINE IN
- Connect the LINE IN jack on the left side of the unit to an audio source, for example, MP3 player with an audio cable.
- Press the STANDBY/ON button to turn the unit on.
- Press the SOURCE button repeatedly to switch to LINE IN mode until the wording of LINE shows on the LED display.
- Use the native controls on the connected audio device to begin playing music through the connected the unit.
IMPORTANT SAFETY INSTRUCTIONS
The apparatus shall not be exposed to dripping or splashing and that no objects filled with liquids, such as vases, shall be placed on the apparatus.
When the USB cable is used as the disconnect device, the disconnect device shall remain readily operable. To be completely disconnected the power input, the USB cable shall be disconnected from the power source completely.
No naked flame sources, such as lighted candles, should be placed on the apparatus.
Minimum distances 2.0cm around the apparatus for sufficient ventilation. The ventilation should not be impeded by covering the ventilation openings with items, such as newspapers, table-cloths, curtains, etc.
The use of apparatus is in tropical and/or moderate climates.
Attention should be drawn to the environmental aspects of battery disposal.
CAUTION: Danger of explosion if battery is incorrectly replaced. Replace only with the same or equivalent type.
Battery shall not be exposed to excessive heat such as sunshine, fire or the like.
The marking plate is located at the back or the bottom of the apparatus.
| Symptom Possible Cause Solution | ||
| Radio sound distorted. 1. The station is not tuned in.2. There is a poor signal in the area. | 1. Fine tune the station.2. Reposition the unit. | |
| No radio sound. 1. The unit is not in radio mode.2. The volume is on the minimum setting. | 1. Press the SOURCE button repeatedly until switching to radio mode.2. Adjust the volume level. | |
| No sound at Bluetooth mode | 1. The Bluetooth device is not paired with the unit.2. The volume is on the minimum setting. | 1. Follow the instructions to pair the Bluetooth device to the unit.2. Adjust the volume level. |

Precautions for correct disposal of the product.
The symbol shown on the equipment indicates that waste must be disposed of in “separate collection” and so the product must not be disposed of together with urban waste.
The user must take the product to special “separate waste collection centres” provided by local government, or deliver it to the retailer against the purchase of a new product.
Separate collection of waste and subsequent treatment, recycling and disposal operations promotes the production of equipment with recycled materials and limits negative effects on the environment and on health caused by improper handling of waste.
Illegal disposal of the product leads to the enforcement of administrative penalties.
WARNING FOR A CORRECT USE OF RECHARGEABLE BATTERY
- Recharge the battery in an ambient temperature between 5°C and 35°C.
- Don't recharge more than the suitable period to prevent the risk of overheating and burst.
- Don't recharge the battery for more than 6 hours.
- Recharging the battery over the suitable period or an extended period of inactivity may reduce battery duration.
- Rechargeable battery is liable to wear and tear and its performance will reduce gradually.
- To extend the duration of the battery use it when is completely charged up to the complete discharging, then recharge it fully before use it again. Recharge a battery not completely consumed, will result in reduced duration. In this case, repeat the full charging/discharging cycle many times.
- Avoid recharge the battery for the whole night.
NOTES D'EMPLOI
natural_image
3D rendering of a rectangular electronic device with gray textured surface and orange handle (no text or symbols visible)natural_image
3D rendering of a rectangular electronic device with gray textured surface and orange handle (no text or symbols visible)natural_image
3D rendering of a white rectangular electronic device with gray textured surface and orange handle (no text or symbols visible)Potencia Total: ......6W (2 x 3W)
Impedancia: 4 Ohm
Line IN: ..... Toma Jack 3,5 mm
- BLUETOOTH ▶ FM RADIO ▶ USB ▶ LINE-IN
- DC INPUT OPERATION
- BLUETOOTH OPERATING
- RE-CONNECT TO THE BLUETOOTH AUDIO SOURCE DEVICE
- FM RADIO TUNING THE FM RADIO
- STORING YOUR FAVORITE RADIO STATION
- RECALL THE PRESET STATIONS
- VOLUME LEVEL ADJUSTMENT
- USB PLAYBACK
- LINE IN
- IMPORTANT SAFETY INSTRUCTIONS
- Precautions for correct disposal of the product.
- WARNING FOR A CORRECT USE OF RECHARGEABLE BATTERY
- NOTES D'EMPLOI
Brand : Trevi
Model : KBB 310 BT
Category : Docking station