IP 28 XS - Phone TIPTEL - Free user manual and instructions
Find the device manual for free IP 28 XS TIPTEL in PDF.

User questions about IP 28 XS TIPTEL
0 question about this device. Answer the ones you know or ask your own.
Ask a new question about this device
Download the instructions for your Phone in PDF format for free! Find your manual IP 28 XS - TIPTEL and take your electronic device back in hand. On this page are published all the documents necessary for the use of your device. IP 28 XS by TIPTEL.
USER MANUAL IP 28 XS TIPTEL
text_image
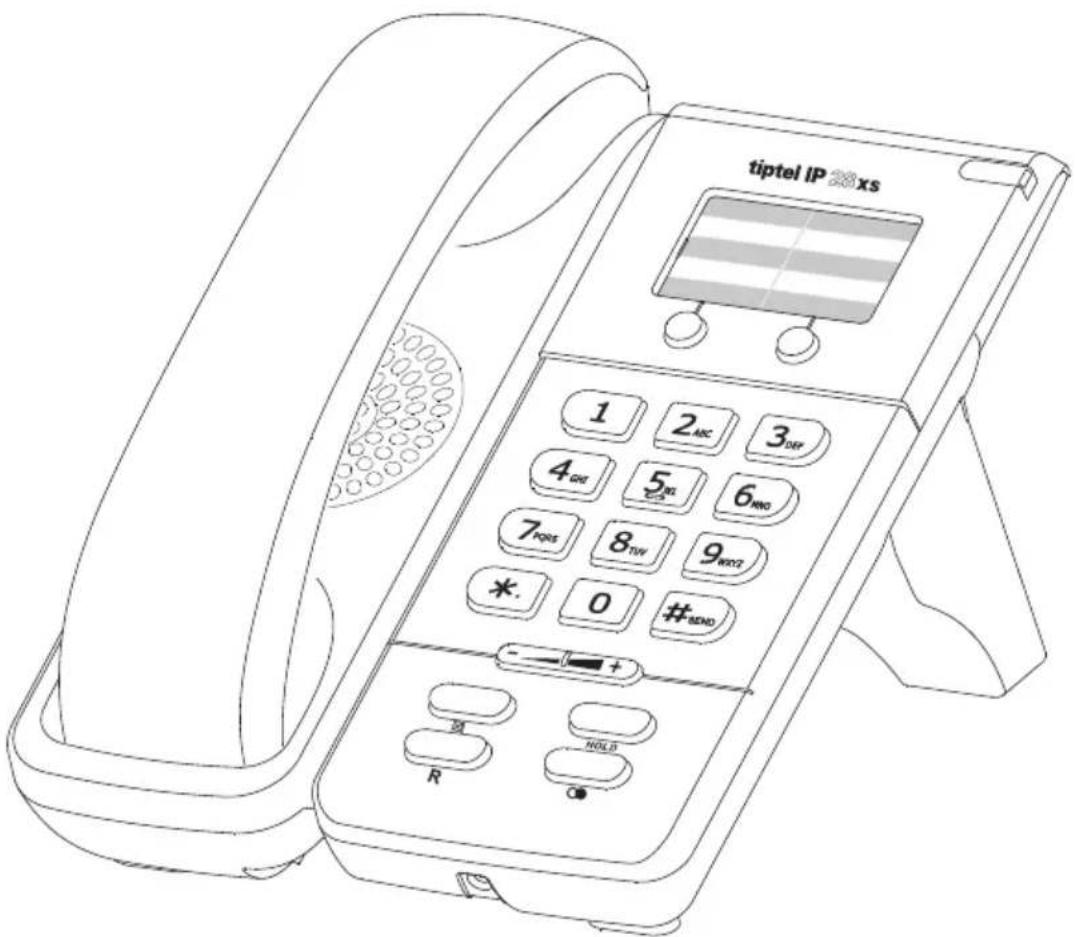
tiptel IP 38 xs 1 2 abc 3 uo 4 uu 5 uu 6 uo 7 uo 8 uv 9 uyz *. 0 # #SEND + R HOLDQuick Installation Guide Installatie handleiding Guide d'installation rapide Kurzanleitung Installation

natural_image
Gray gradient arrow pointing right, no text or symbols presenttiptel IP 28xs

text_image
tiptel IP 320 x5 1 2 ABC 3 OFF 4 GNT 5 WIL 6 MNO 7 PINS 8 TW 9 MNO2 *. 0 #BND R HOLDEnglish

natural_image
Gray right-pointing arrow with gradient fill (no text or symbols)Packing List
text_image
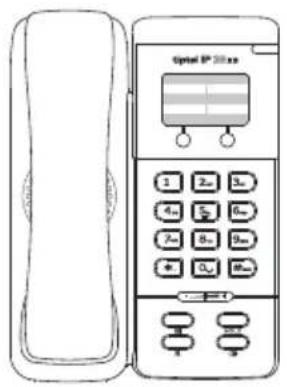
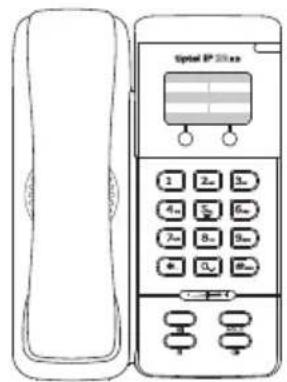
Optical IP 2018.xs 1 2x 3x 4x 5x 6x 7x 8x 9x + 0x 10xtiptel IP 28xs
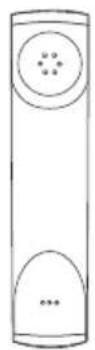
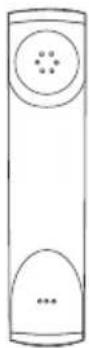
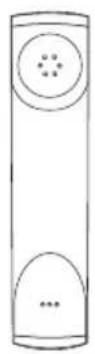
Handset

natural_image
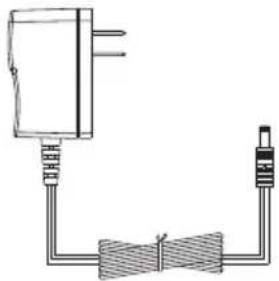
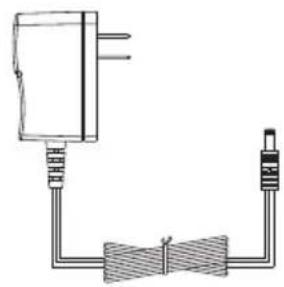
Pure electrical circuit lines without any symbolsPower
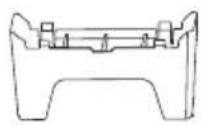
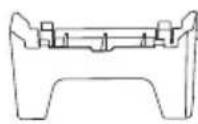
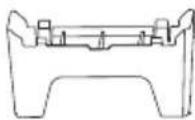
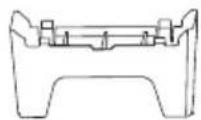
Stand
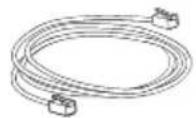
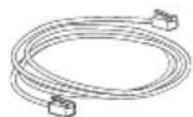
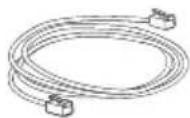
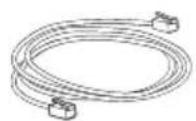
Ethernet Cable
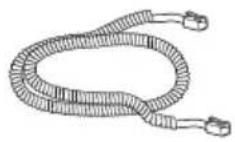
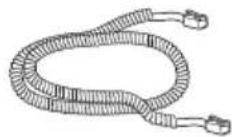
Handset Cord
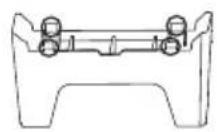
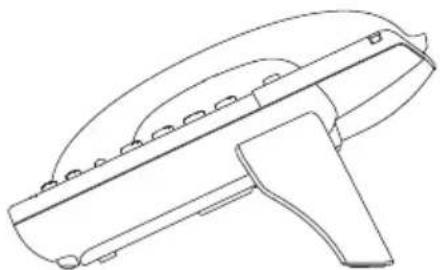
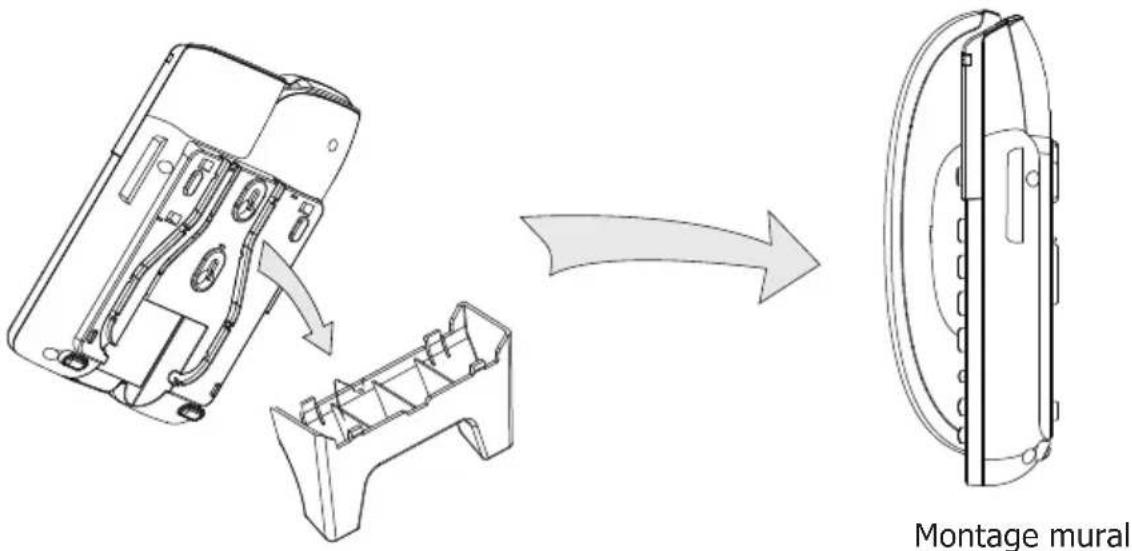
Assembling the Phone
- Attach the Stand, shown as below:
natural_image
Technical line drawing of a mechanical component with arrows indicating assembly or movement (no text or symbols)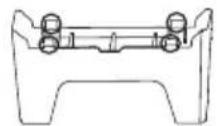


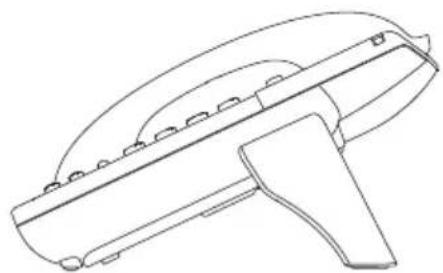
natural_image
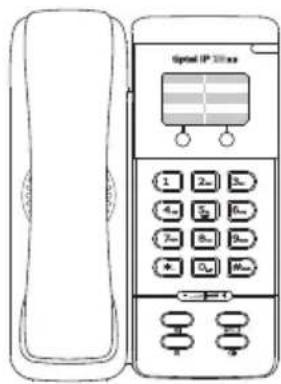
Line drawing of a handheld electronic device with a curved top and handle (no text or symbols)On the desk
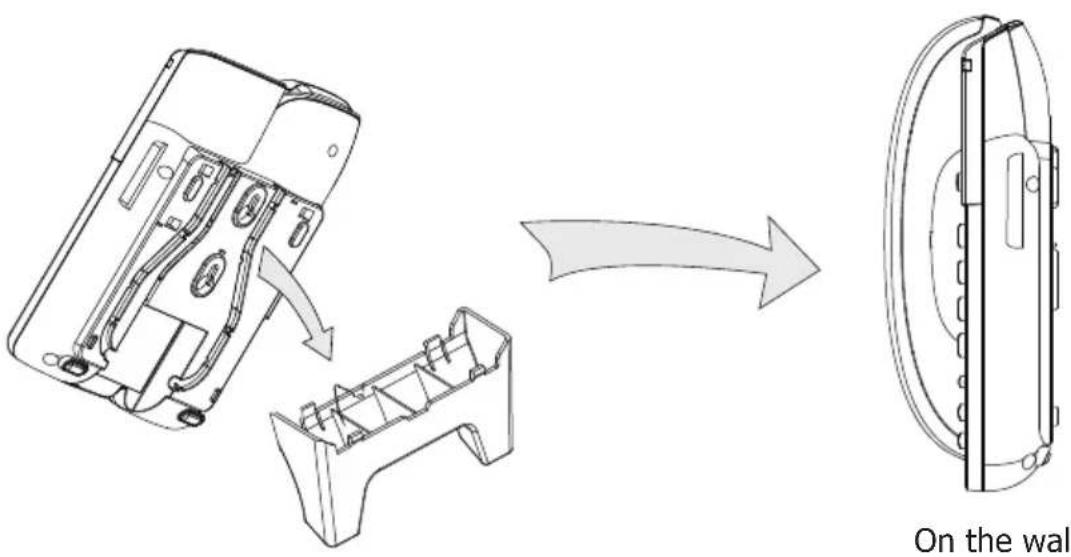
text_image
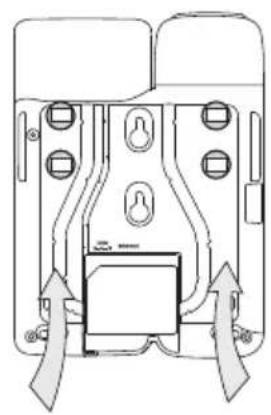
On the wall2. Connect Handset, shown as below:
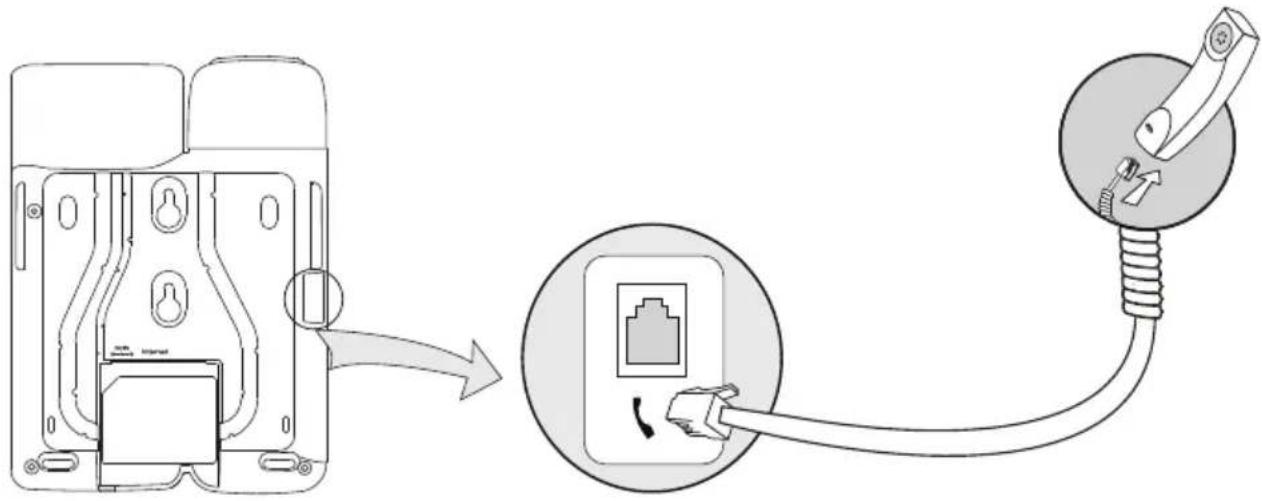
text_image
Diagram showing installation of an electrical outlet with cable and plug, including a close-up of the internal socket.3. Connect Network and Power
There are two ways for network and power source connections. You can either connect the phone to the AC Power directly by using the power adapter or to a PoE compliant switch or hub. Your system administrator will advise you on which one to use.
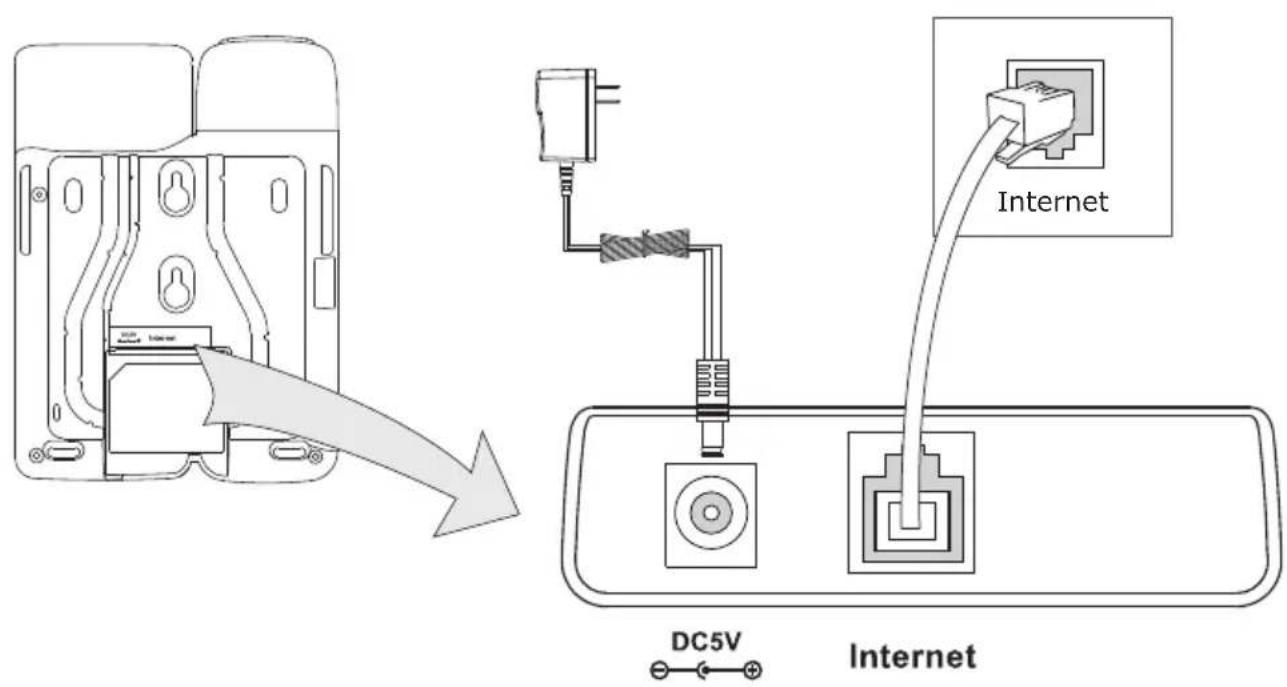
text_image
Internet DC5V InternetNote: If inline power (PoE) is provided, do not install the AC adapter. Make sure the Ethernet cable and switch/hub are PoE compliant.
Configuring via Web Page
Pick up the handset and dial “**90 #” to get the IP address of by voice prompt. Then enter it (for example http://192.168.3.35) into the address bar of web browser.
The default login name and password are admin/admin.
Note: Please locate your PC in the same network segment of the IP phone(192.168.3.X) to access the web configuration page. Please consult your network administrator or service provider for help.
Network Settings: Choose Network->Internet Port (WAN)
DHCP: By default the phone attempts to contact to a DHCP Server in your network in order to obtain its valid network settings, e.g. IP address, sub mask, gateway, DNS server, etc.
Static IP Address: If your phone cannot contact a DHCP Server for any reason, you need to enter the network settings manually via Static IP Address. Please contact your internet administrator for more details.
Note: Using the wrong network parameters may result in inaccessibility of your phone and may also have an impact on your network performance! Please contact your network administrator!
Account Setting: Choose Account
Parameter:
Account Active: You can Enable/Disable to set the account.
Display Name: It is showed as Caller ID when making a phone call.
Register Name: It is provided by ISP for registration.
User Name: User account information, provided by VoIP service provider.
Password: It is provided by ISP for registration.
SIP Server: Server for registration, provided by ISP.
Please contact your service provider for more account details.
Network Configuring via Keypad
DHCP: Pick up the handset and dial “**88 #”, follow the prompt to enter the “0 #” to disable the DHCP, or “1#” to enable it.
Static IP:
1) IP Address: Pick up the handset and dial “**80 #”, then follow the prompt to enter the IP address and press the # key to confirm (for example:192.168.1.56 #).
2) Subnet Mask: Pick up the handset and dial “**81 #”, then follow the prompt to enter the Subnet Mask and press the # key to confirm (for example:255.255.255.0 #).
3) Gateway: Pick up the handset and dial “**82 #”, then follow the prompt to enter the gateway and press the # key to confirm (for example:192.168.1.0 #).
4) DNS1: Pick up the handset and dial “**83 #”, then follow the prompt to enter the DNS and press the # key to confirm (for example:202.101.103.55 #).
5) DNS2: Pick up the handset and dial “**84 #”, then follow the prompt to enter the DNS2 and press the # key to confirm (for example:202.101.103.55 #).
You can refer to the above "Configuring via Web Page" for the parameter details.
Additional information
Extensive documentation is available on www.tiptel.com/support, including a quick reference guide for immediate use.
tiptel IP 28xs
text_image
tiptel IP 320 x5 1 2 ABC 3 OFF 4 GHz 5 GHz 6 MHz 7 PQRS 8 TW 9 MHz *. 0 #BND R HOLDNederlands

natural_image
Gray right-pointing arrow with gradient fill (no text or symbols)Leveringsomvang
text_image
Optical IP Phone 1 2m 3m 4s 5s 6m 7s 8s 9m + 0.5 100m - - - - - - - - - - - - - - - - - - - - - - - - - - - - - - - - - - - - - - - - - - - - - - - - - - - - - - -tiptel IP 28xs

Handset

natural_image
Pure electrical circuit lines without any symbolsVoedingsadapter
Telefoonstandaard
Ethernet kabel
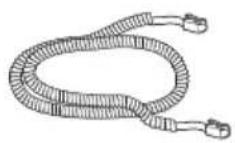
Krulsnoer
(kabel van de hoorn)
natural_image
Technical line drawing of a mechanical component with mounting holes and directional arrows indicating movement (no text or symbols)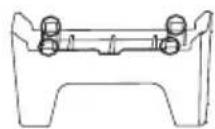


natural_image
Line drawing of a mechanical device with a curved handle and mounting holes (no text or symbols)text_image
Diagram showing cable installation process with connector, socket, and plug connectiontext_image
tiptel IP 220 xs 1 2 ABC 3 OFF 4 GNT 5 XL 6 MNO 7 PNS 8 TW 9 WNT2 *. 0 # SND R HOLDFrançais

natural_image
Gray gradient arrow pointing right, no text or symbols presenttext_image
Optial IP 20.xx 1 2x 3x 4x 5x 6x 7x 8x 9x + 0x 8xtiptel IP 28xs Combiné
natural_image
Pure electrical circuit lines without any symbolsBloc d'alimentation
Support
Câble Ethernet
Cordon spiralé
natural_image
Technical line drawing of a mechanical component with mounting holes and directional arrows indicating movement (no text or symbols)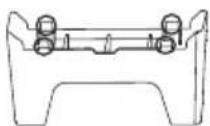

natural_image
Line drawing of a mechanical device with a curved handle and mounting holes (no text or symbols)Sur le bureau
text_image
Montage muraltext_image
Diagram showing cable connection to a device with an attached plug, illustrating the process from external circuitry to internal wiring.natural_image
Gray right-pointing arrow with gradient fill (no text or symbols)Verpackungsinhalt
text_image
Optial IP 25.0mm 1 2m 3m 4m 5m 6m 7m 8m 9m 10m 11m 12m 13m 14m 15mIP-Telefon Hörer
natural_image
Pure electrical circuit lines without any symbolsSteckernetzteil
Standfuß
Netzwerkkabel

Hörer-Spiralkabel
natural_image
Technical line drawing of a mechanical component with mounting holes and directional arrows indicating movement (no text or symbols)