RD-40B - Fan VALBERG - Free user manual and instructions
Find the device manual for free RD-40B VALBERG in PDF.
| Product type | Pedestal fan |
| Brand | Valberg |
| Model | RD-40B / 976391 |
| Dimensions (W × D × H) | 62 × 62 × 100 cm |
| Adjustable height | 100 – 120 cm |
| Net weight | 2.50 kg |
| Power supply | 220-240 V ~, 50 Hz |
| Power consumption | 45 W (max), 34.2 W in operation |
| Standby consumption | 0 W |
| Power cord length | 180 cm |
| Blade diameter | 38 cm |
| Fan speeds | 3 (Low, Medium, High) + Stop |
| Automatic oscillation | Yes, 80° angle |
| Vertical tilt | Yes, adjustable via knob |
| Acoustic power level | 53.7 dB(A) |
| Maximum air flow | 30.0 m³/min |
| Maximum air speed | 2.64 m/s |
| Seasonal electricity consumption | 10.944 kWh/year |
| Protection class | Class II |
| Intended use | Indoor, domestic |
| Maintenance and cleaning | Soft slightly damp cloth; do not immerse; vacuum cleaner for grilles |
| Safety | Protective grille, automatic shut-off in case of tipping (not specified) |
| Warranty | 2 years (upon presentation of the receipt) |
| Included accessories | Base, tubes, grilles, blades, screws, nuts, collar |
Frequently Asked Questions - RD-40B VALBERG
User questions about RD-40B VALBERG
0 question about this device. Answer the ones you know or ask your own.
Ask a new question about this device
Download the instructions for your Fan in PDF format for free! Find your manual RD-40B - VALBERG and take your electronic device back in hand. On this page are published all the documents necessary for the use of your device. RD-40B by VALBERG.
USER MANUAL RD-40B VALBERG
This product is guaranteed against faults caused by defects in manufacturing or the materials used for a period of two years, starting from the date of purchase.* This warranty does not cover defects or damage caused by failure to install the device correctly, incorrect use of the product, or excessive wear and tear.
*proof of purchase required.
GARANTIEVOORWAARDEN
To use the device safely, please follow the assembly instructions opposite.
Thank you for choosing this VALBERG product. VALBERG products are chosen, tested, and recommended by ELECTRO DEPOT, so you can be sure you are getting a top-quality, easy-to-use product that won't let you down.
We're confident your new device will be a pleasure to use every day!
Welcome to ELECTRO DEPOT.
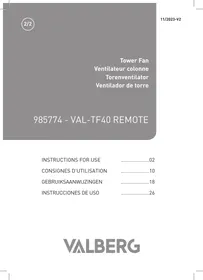
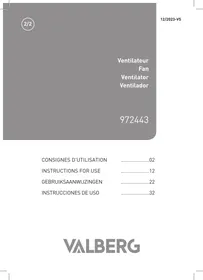
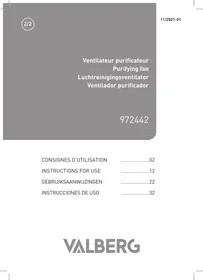
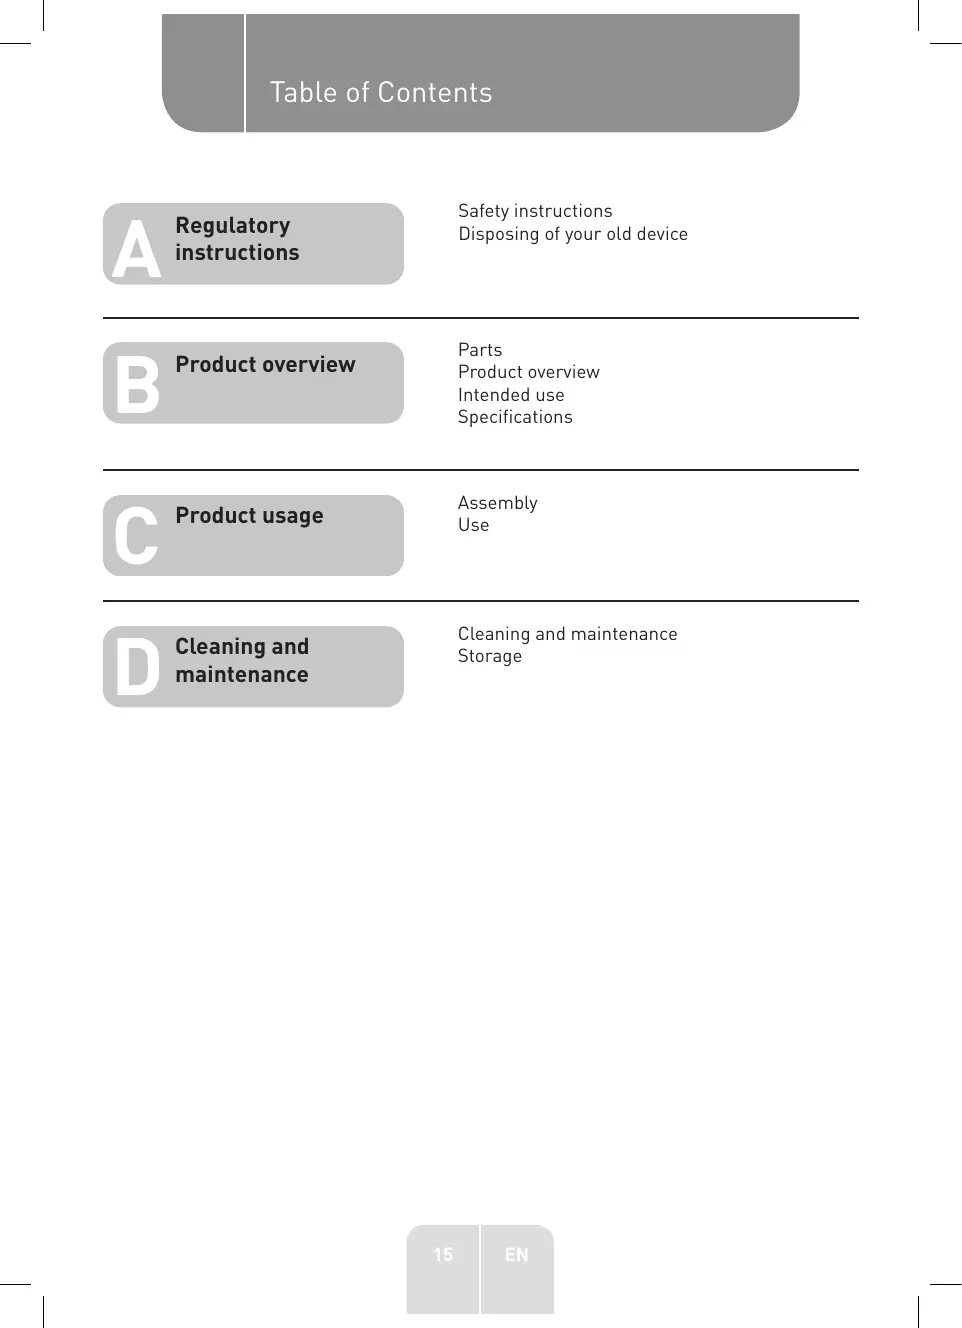
Table of Contents
| A Regulatory instructions | Safety instructions Disposing of your old device |
| B Product overview | Parts Product overview Intended use Specifications |
| C Product usage | Assembly Use |
| D Cleaning and maintenance | Cleaning and maintenance Storage |
A Regulatory instructions

Read the user manual after reading this regulatory warning booklet.
Safety instructions
- Please read the instructions carefully before using the unit and keep them for future reference. Should the unit be given to someone else, please include this user manual too.
- This unit has been designed exclusively for household use. Any other use (professional, commercial, etc.), is prohibited. Do not use outdoors.
- This unit may be used by children aged 8 years and above, persons with reduced physical, sensory or mental capacities, and persons with no experience of using or knowledge of the unit, provided they are properly supervised or receive prior instruction regarding how to safely use the unit and understand the risks involved.
- Children should not play with the unit.
- User cleaning and maintenance operations must not be performed by unsupervised children.
- Remove all packaging materials before using the unit. Keep the packaging materials out of the reach of children, as they pose a choking or suffocation risk.
- Under no circumstances should the housing be opened. Do not insert fingers or foreign objects into any of the unit's openings. Furthermore, do not obstruct the air vents.
- Keep the unit away from heat. Do not place the unit near heat sources, such as stoves or heaters.
- Before connecting your unit, check that the indicated voltage on the unit's nameplate corresponds to that of your home's electrical mains.
- If the power cable is damaged, it must be replaced by the retailer, its after-sales service or a similarly qualified person in order to prevent any risks.
A Regulatory instructions
- WARNING - RISK OF ELECTRIC SHOCK! Do not immerse the unit, power cable or plug in water or any other liquid (i.e. to clean it). Do not handle the unit or plug with wet hands.
- When disconnecting the cable, always pull it out at the plug - do not pull on the cable itself.
- Risk of electrocution! Do not attempt to repair the unit yourself. In the event of a malfunction, repairs must be carried out exclusively by qualified personnel.
- To avoid damaging the power cable, take care not to crush, bend, or rub it against sharp edges.
- Only use the product in indoor, non-humid rooms.
- Do not place any open flames - e.g. a candle - on or near the unit. Do not place any water-filled objects - e.g. a vase - on or near the unit.
- Always use the unit on a level, stable, clean and dry surface. Keep the unit away from hot and cold environments, dust, direct sunlight, moisture, and dripping or splashing water.
- Unplug the power plug from the mains socket whenever the unit is not in use and before cleaning it.
- During use, the unit must be placed on a stable surface to prevent any risk of it tipping over.
- Make sure that the unit's power switch has been turned off and the unit has been unplugged from the power source before assembling, moving, cleaning or maintaining it.
- Do not insert any object into the unit or allow any foreign object to get into the unit. Doing so poses a risk of electric shock and could damage the fan.
- Never use the product without the protective grill or with a damaged protective grill.
- During use, keep hands, hair, clothing and accessories away from the protective grill to prevent any risk of injury and damage to the product.
- For safe use of the device: please take note of the assembly instructions included in "Product usage" section.
- WARNING! Once installation is complete, it is strictly prohibited to remove the fan protection grilles for cleaning or maintenance.
Disposing of your old device
SEPARATE COLLECTIONS FOR ELECTRONIC AND ELECTRICAL DEVICES

m = 311 ;
This product must not be disposed of or recycled with other household waste when it reaches the end of its useful life.

The product and its packaging should be collected and recycled separately from other waste.
WHAT SHOULD I DO WITH MY WASTE?
Please dispose of your waste in accordance with the advice below to reduce the impact of your new purchase on the environment.
You are legally responsible for separating the waste associated with this product (and any accessories) so that it can be recycled, including any instructions or/or packaging.
Electric and electronic appliances should not be sorted or recycled together with other household waste.
Keep used products and packaging out of the reach of children, as they can pose a safety hazard.
Please retain the instructions and any other notices throughout the service life of the device, and include these documents with the device if it is passed on to third party.
For packaging and other notices, please refer to the recycling instructions on the main packaging, and to the advice available on the Internet.
For the product itself, please refer to the instructions available on the Internet.
If you do not have Internet access, please contact your local authority for advice on how to sort and recycle your waste.
For your children's safety, please store your old devices in a safe place outside your home until they are collected.
Parts
A Fastening screw and nut
B Front grille
C Blade cap
D Fan blades
E Plastic mounting nut
F Rear grille
Motor shaft
Oscillation knob
Motor housing
J Tilt adjustment knob
K Control box
Speed buttons [0 / 1 / 2 / 3]
M Locking knob
N Inner tube
0 Height adjustment collar
Outer tube
Screws (x 4)
R Base decorative cap
CrossbarA
CrossbarB
Product overview
- Unpack and remove all labels from the unit except the nameplate. Please check that all parts are included and intact. If the unit is damaged or faulty, do not use it and take it to your retailer or after-sales service centre.
- Keep all packaging out of the reach of children. There is a risk of accidents if children play with packaging materials.
Intended use
- This unit is intended for household use only and not for commercial, industrial, or outdoor use. The unit has been designed for indoor use to circulate air and generate airflow. Use the unit in a room with dry conditions and adequate ventilation.
Any other use may damage the unit or cause injury.
Specifications
| Model: | 976391 |
| Operating voltage: | 220-240 V~, 50 Hz |
| Rated power: | 45 W |
| Standby power: | 0 W |
| Power cord length: | 180 cm |
| Adjustable height: | 100 - 120 cm |
| Blade size: | 38 cm |
| Dimensions (W x D x H): | 62 x 62 x 100 cm |
| Net weight: | 2.50 kg |
| Protection class: | Class II |
| Sound power level (LWA): | 53.7 dB(A) |
| Oscillation angle: | 80° |
| Oscillation time: | 12.4 s |
| Maximum blade rotation speed: | 1245 RPM |
| Maximum air flow (F): | 30.0 m³/min |
| Maximum air velocity (C): | 2.64 m/sec |
| Seasonal electricity consumption (Q): | 10.944 kWh/a |
| Service value (SV): | 0.88 (m³/min)/W |
| Measurement standard for service value: | EN IEC 60879:2019 |
Information requirements for comfort fans according to Regulation (EU) N°206/2012
| Model identification | 976391 - WIND S1 | ||
| Description | Symbol | Value | Unit |
| Maximum fan flow rate | F | 30.0 | m³/min |
B Product overview
| Fan power input | P | 34.2 | W |
| Service value | SV | 0.88 | (m³/min)/W |
| Standby power consumption | PSB | 0.00 | W |
| Fan sound power level | LWA | 53.7 | dB(A) |
| Maximum air velocity | c | 2.64 | meters/sec |
| Measurement standard for service value | EN IEC 60879 : 2019 | ||
Contact details for obtaining more information
Electro Dépôt - 1 route de Vendeville F-59155 FACHES THUMESNIL - France
Assembly

WARNING
Before assembling or disassembling the unit, always disconnect the unit from the mains supply.
Tool required: Phillips screwdriver (crosshead), not supplied.
Assembling the stand
- Unplug the unit from the mains socket.
-
Remove the 4 screws (Q) from the bars (S, T) with a screwdriver by turning them anticlockwise.
-
1 Cross bar A (S) over bar B (T) to interlock them.
- Place the outer tube (P) on top, making sure to align the 4 holes in the bars with the holes in the flange of the outer tube. Secure the flange to the bars with the 4 screws (Q).
- Remove the height adjustment collar (O) from the top of the outer tube (P) by turning it anti-clockwise. Insert the base decorative cap (R) on the outer tube (P), and slide it down onto the assembly.
- Replace the height adjustment collar (O) on top of the outer tube (P). Pull the inner tube (N) slightly out of the outer tube, then tighten the collar by turning it clockwise.
- 5 Insert the main body (I, J) onto the inner tube (N) and tighten the locking knob (M) clockwise to secure it in place.
Assembling the fan head
- Remove the plastic mounting nut (E) from the front of the motor housing (I) by rotating it anti-clockwise.
- 7 Position the rear grille (F) against the front of the motor housing (I) with the handle at the top and facing backwards, making sure that the 2 guide pins on the motor housing are correctly inserted into the holes in the rear grille.
Secure the rear grille with the plastic mounting nut (E) by turning it clockwise. Do not overtighten the nut.
- Push the centre of the fan blades (D) onto the motor shaft (G), making sure that the 2 slots on the back of the blades fit with the 2 pins on the sides of the motor shaft. Tighten the blade cap (C) on the motor shaft (G) by turning it anti-clockwise.
- 9 Open the clips on the rim of the front grille (B), then hook the bracket at the top of the front grille onto the rear grille (F).
C Product usage
- 10 Align the hole in the bottom of the grilles, and then close all the clips to attach the grilles together. Make sure the clips are properly closed on the rims.
- 11 Insert the small screw (A) into the hole and tighten the nut (both supplied) on the back to lock the guards.
Use
- Place the fan upright on a dry, level and stable surface.
- Make sure the fan is properly assembled.
- Plug the power cable into a suitable mains socket.
- Press the desired speed button (L) to turn on the fan.
0 (Off)
1 (Low)
2 (Medium)
3 (High)
- To turn the fan off, press "0".
- To start the automatic left-right oscillation, press down the Oscillation knob (H). To stop the oscillation function, pull up the knob.
- To adjust the vertical tilt of the fan head, press "0" to turn off the fan first. Hold the bottom of the fan head with one hand, and slowly turn the Tilt adjustment knob (J) anticlockwise to loosen the fan head. Adjust the fan head to the desired tilt and tighten the Tilt adjustment knob.
- To adjust the height of the fan, turn off the fan. Loosen the height adjustment collar (0) by turning it anti-clockwise, adjust the height of the fan and retighten the collar.

CAUTION
Always turn off the fan before adjusting the tilt or height of the fan.
- Turn off the fan after each use. Unplug the fan from the mains socket if it is not going to be used for a long period of time.
Cleaning and maintenance

WARNING
- Always turn off and unplug the unit from the mains socket before cleaning, assembling or disassembling any parts.
-
Never immerse the unit, power cord, or plug in water or any liquid.
-
Never use solvents, chemical or abrasive cleaning agents, wire brushes, sharp objects or scouring pads to clean the unit.
- Clean the unit regularly. Keep the grilles and air vents on the back of the motor housing free from dust or dirt. For a quick cleaning, use a vacuum cleaner to clean these parts.
- Clean the unit with a soft cloth slightly moistened with water or mild soapy water. Wipe off with a clean moist cloth after cleaning. Do not allow water or any liquid to enter the motor housing or control box. Allow to dry completely.
Storage
- Always unplug the unit before storing it.
- Store the unit in a fresh, dry and dust-free place, out of the reach of children and pets.
- Please retain the packaging and use it to store your unit when it is not in use for an extended period of time.

Bedankt!
WAT DOE IK MET MIJN AFVAL?
0 (Uit)
1 (Laag)
2 (Medium)
3 (Hoog)

m = 311 ;