
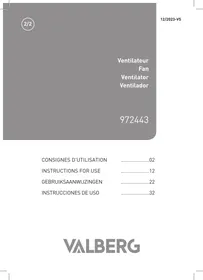
SUNNY-R PURE - Fan VALBERG - Free user manual and instructions
Find the device manual for free SUNNY-R PURE VALBERG in PDF.
| Product type | Air purifier fan |
| Model | SUNNY-R PURE (972442) |
| Dimensions (L x W x H) | 255 x 255 x 1056 mm |
| Weight | 7.6 kg |
| Power supply | 100-240 V ~50/60 Hz, 33 W |
| Protection class | Class II |
| Maximum noise level | ≤61 dB |
| Operating temperature | 0 °C to 40 °C |
| Operating modes | Fan (10 speeds), Sleep (3 levels), Ionization, AI |
| Timer | 1 to 12 hours |
| Oscillation | 60° |
| Filtration | Pre-filter + HEPA filter (replacement every 6 months) |
| Pre-filter cleaning | Every 2 weeks (vacuum cleaner or damp sponge) |
| Remote control | Yes, range 5 m, AAA batteries (not included) |
| Automatic safety shut-off | After 15 hours of continuous operation |
| Warranty | 2 years (upon presentation of receipt) |
| Intended use | Household use only |
Frequently Asked Questions - SUNNY-R PURE VALBERG
User questions about SUNNY-R PURE VALBERG
0 question about this device. Answer the ones you know or ask your own.
Ask a new question about this device
Download the instructions for your Fan in PDF format for free! Find your manual SUNNY-R PURE - VALBERG and take your electronic device back in hand. On this page are published all the documents necessary for the use of your device. SUNNY-R PURE by VALBERG.
USER MANUAL SUNNY-R PURE VALBERG
Thank you for choosing this VALBERG product. VALBERG products are chosen, tested, and recommended by ELECTRO DEPOT, so you can be sure you are getting a top-quality, easy-to-use product that won't let you down.
We're confident your new device will be a pleasure to use every day!
Welcome to ELECTRO DEPOT.
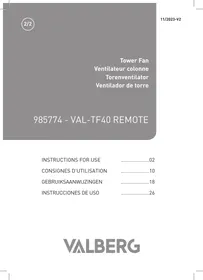
Table of Contents

Parts
Product overview
Intended use
Specifications

Before first use
Operation

Cleaning and maintenance
Storage
Parts
Remote control storage slot
Air outlet
C Infrared sensor receiver
D Base
E AC adapter and plug
F Control panel and display
Filter replacement icon
Ionisation icon
Fan speed icon
Time and temperature display
K Sleep mode icon
Al mode icon
Mode button
N Oscillation button
0 Power button
P Timer button
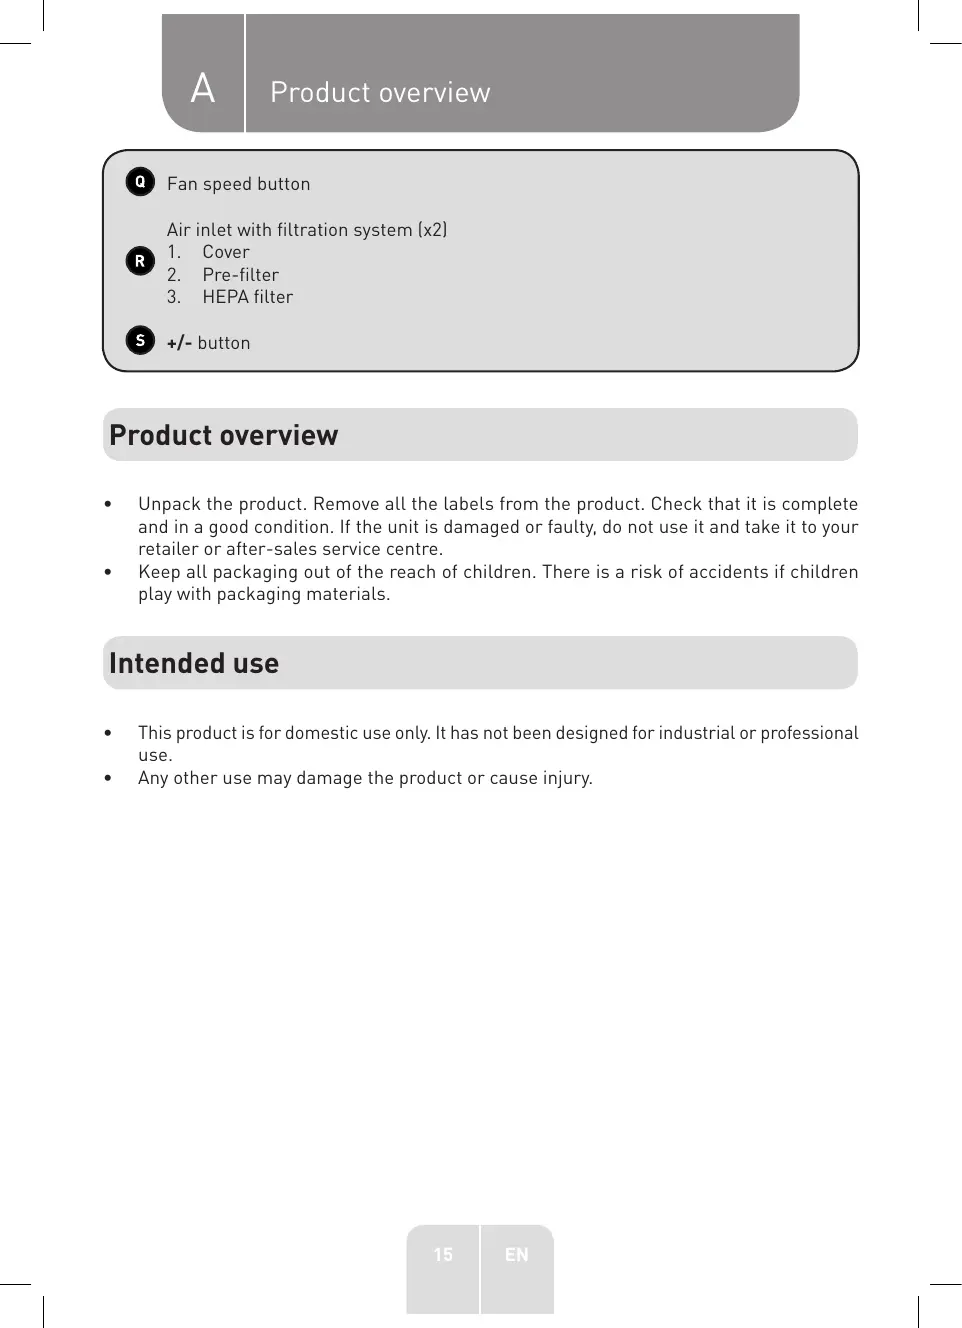
Fan speed button
Air inlet with filtration system (x2)
- Cover
- Pre-filter
- HEPA filter
+ / - button
Product overview
- Unpack the product. Remove all the labels from the product. Check that it is complete and in a good condition. If the unit is damaged or faulty, do not use it and take it to your retailer or after-sales service centre.
- Keep all packaging out of the reach of children. There is a risk of accidents if children play with packaging materials.
Intended use
This product is for domestic use only. It has not been designed for industrial or professional use.
Any other use may damage the product or cause injury.
Specifications
| Model: | 972442 |
| Main unit with an AC adapter | |
| Operating voltage: | 100-240 V~, 50/60 Hz, 1.5 A |
| Power: | 33 W |
| Noise level: | ≤61 dB |
| Operating temperature: | 0-40 °C |
| Main unit size (W x D x H): | 255 x 255 x 1,056 mm |
| Weight: | 7.6 kg |
| Protection class: | Class II |
| Remote control | |
| Battery: | 2x 1.5 V AAA batteries (not supplied) |
| Operating range: | 5 metres |
Before first use
Assembling the filtration system
The ventilator boasts 2 filtration systems on each side of the base. Follow the below instructions to install them.
Make sure that the unit is switched off and unplugged. Remove the air inlet cover and pre-filter.
2 Remove the protective plastic film from the HEPA filter and install the filter.
3 Reinstall the pre-filter, making sure to align the slots in the base with the ridges on the pre-filter, then push the top until it clicks into place.
4 Reposition the air inlet cover and make sure that it is secured in place.
Inserting the remote control batteries
- Slide the remote control cover in the direction indicated by the arrow.
- Insert the 2x 1.5 V AAA batteries (not supplied), making sure to match the polarity, as indicated in the battery compartment.
- Replace the cover.
- The remote control is now ready for use. Point the remote control at the infrared sensor on the display (within 5 metres). Make sure there are no obstacles between the fan and the remote control.

WARNING: Do not use rechargeable batteries with this product.
Before first use
- Place the fan on a stable horizontal surface.
- Make sure the air inlets/outlets are unobstructed. Do not cover the fan.
Operation
- Insert the connector into the AC adapter socket on the back of the unit. Then connect the plug to the mains socket.
- Press the button to switch on the unit. The current temperature will be displayed.

NOTE: The display will enter sleep mode after 30 seconds of inactivity, but the fan will continue to run. Press the button to completely switch off the fan or press any other button to wake up the display.
- Press the button or button on the fan and remote control, respectively, to select one of the following modes:
| Icon | Mode | Description |
| Ion | Purifies the air. This mode can only be used in fan mode. | |
| Fan | Press the fan's button repeatedly or the +/- buttons on the remote control to select a fan speed from 1 to 10. | |
| Sleep | Press the fan's button repeatedly or the +/- buttons on the remote control to select a sleep speed from 1 to 3. | |
| AI | AI | The fan will automatically adjust the speed level according to the changes in ambient temperature. NOTE: When the ambient temperature exceeds 40 °C, the fan will remain on the maximum speed. When the ambient temperature drops below 10 °C, the fan will remain on the lowest speed. |
- Press the button once to enter the timer mode. Next, press the fan's button repeatedly or use the +/- buttons on the remote control to set the timer so that the fan will turn off after 1-12 hours (depending on the time set). To deactivate the timer, set the time to 0h.
- Press the button to oscillate the fan and rotate it 60 degrees. Press the button to stop it.

NOTE:
After 15 hours of continuous operation, the fan's safety function will automatically turn off the fan.
- When you turn off the fan, it will remember the last settings and use these when next turned back on. However, the speed in Al mode or timer settings will not be saved.
- To turn off the fan, press the button. The screen will then turn off. Unplug the unit from the mains socket to completely switch it off.
Cleaning and maintenance

CAUTION!
Always unplug the fan before cleaning it.
- When cleaning the unit, never use flammable or abrasive products (such as benzene or white spirit), metal brushes, scouring pads, wire sponges or sharp utensils.
- Never immerse the unit, cable or AC adapter plug/ connector in water.
- Regularly clean your unit and keep it dust free to optimise its performance, reduce the need for repairs and ensure product longevity.
- Clean the exterior with a soft, damp cloth. Make sure that no liquid enters the unit.
Filter cleaning
If you use the fan on a regular basis, clean the pre-filters once every 2 weeks and replace the HEPA filter every 6 months. The filter replacement icon will be displayed whenever the HEPA filter needs replacing.
- Remove the air inlet covers and pre-filters. Vacuum them or wipe them with a soft, damp sponge. Dry them thoroughly.
- Remove the HEPA filters and insert the new ones.
- Reinstall the pre-filters and air inlet covers.
- To reset the replacement icon , press and hold the button until it is no longer displayed.
Storage
- Always unplug the unit before storing it.
-
Store the unit in a fresh, dry and dust-free place, out of the reach of children and pets.
-
Please retain the packaging and use it to store your unit when it is not in use for an extended period of time.

Bedankt!
This product is guaranteed against faults caused by defects in manufacturing or the materials used for a period of two years, starting from the date of purchase.* This warranty does not cover defects or damage caused by failure to install the device correctly, incorrect use of the product, or excessive wear and tear.
*proof of purchase required.
NL
GARANTIEVOORWAARDEN
Brand : VALBERG
Model : SUNNY-R PURE
Category : Fan