FR8041 - Deep fryer TEFAL - Free user manual and instructions
Find the device manual for free FR8041 TEFAL in PDF.
Download the instructions for your Deep fryer in PDF format for free! Find your manual FR8041 - TEFAL and take your electronic device back in hand. On this page are published all the documents necessary for the use of your device. FR8041 by TEFAL.
USER MANUAL FR8041 TEFAL
CAUTION: the safety precautions are part of the appliance. Read them carefully before using your new appliance for the first time. Keep them in a place where you can find and refer to them later on.
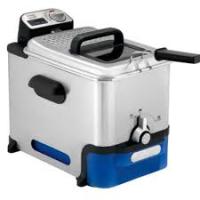
1. Lid a. Permanent filter b. Handle c. Viewing window 2. Removable control unit and heating element 3. Frying basket a. Handle b. MAX food level marker 4. Removable bowl 5. MIN and MAX oil level markers 6. Hook to maintain basket in drainage position 7. Fixed oil filter grid 8. Safety carrying handles 15
9. Oil box control button 10. Housing 11. Oil box a. Lid b. Cap 12. Power cord 13. Feet 14. Panel a. On/Off switch b. Adjustable thermostat c. Timer (depending on model) d. Temperature Indicator light 15. RESET function 16. Valve
RESET function • Your appliance is equipped with an overheating security feature if you use your fryer without oil. If the overheat function is activated, the appliance will shut off automatically. Wait until the heating element has completely cooled (at least 30 min).
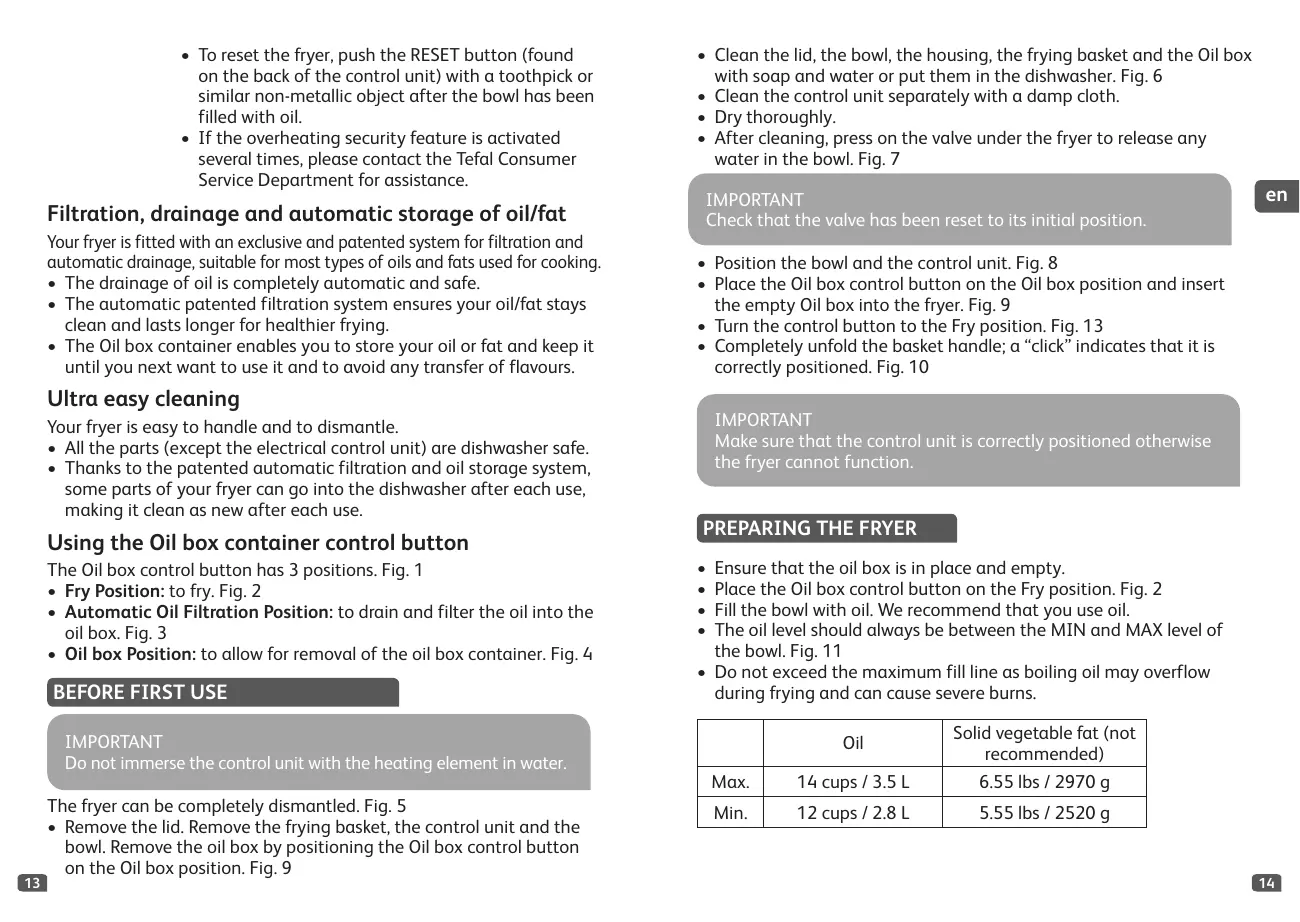
• To reset the fryer, push the RESET button (found on the back of the control unit) with a toothpick or similar non-metallic object after the bowl has been filled with oil. • If the overheating security feature is activated several times, please contact the Tefal Consumer Service Department for assistance.
Filtration, drainage and automatic storage of oil/fat Your fryer is fitted with an exclusive and patented system for filtration and automatic drainage, suitable for most types of oils and fats used for cooking. • The drainage of oil is completely automatic and safe. • The automatic patented filtration system ensures your oil/fat stays clean and lasts longer for healthier frying. • The Oil box container enables you to store your oil or fat and keep it until you next want to use it and to avoid any transfer of flavours.
• Clean the lid, the bowl, the housing, the frying basket and the Oil box with soap and water or put them in the dishwasher. Fig. 6 • Clean the control unit separately with a damp cloth. • Dry thoroughly. • After cleaning, press on the valve under the fryer to release any water in the bowl. Fig. 7 IMPORTANT Check that the valve has been reset to its initial position. • Position the bowl and the control unit. Fig. 8 • Place the Oil box control button on the Oil box position and insert the empty Oil box into the fryer. Fig. 9 • Turn the control button to the Fry position. Fig. 13 • Completely unfold the basket handle; a “click” indicates that it is correctly positioned. Fig. 10
Ultra easy cleaning Your fryer is easy to handle and to dismantle. • All the parts (except the electrical control unit) are dishwasher safe. • Thanks to the patented automatic filtration and oil storage system, some parts of your fryer can go into the dishwasher after each use, making it clean as new after each use.
Using the Oil box container control button The Oil box control button has 3 positions. Fig. 1 • Fry Position: to fry. Fig. 2 • Automatic Oil Filtration Position: to drain and filter the oil into the oil box. Fig. 3 • Oil box Position: to allow for removal of the oil box container. Fig. 4
BEFORE FIRST USE IMPORTANT Do not immerse the control unit with the heating element in water.
The fryer can be completely dismantled. Fig. 5 • Remove the lid. Remove the frying basket, the control unit and the bowl. Remove the oil box by positioning the Oil box control button on the Oil box position. Fig. 9
IMPORTANT Make sure that the control unit is correctly positioned otherwise the fryer cannot function.
PREPARING THE FRYER • • • •
Ensure that the oil box is in place and empty. Place the Oil box control button on the Fry position. Fig. 2 Fill the bowl with oil. We recommend that you use oil. The oil level should always be between the MIN and MAX level of the bowl. Fig. 11 • Do not exceed the maximum fill line as boiling oil may overflow during frying and can cause severe burns. Oil
Solid vegetable fat (not recommended)
IMPORTANT Never use different types of oil at the same time as this may cause the oil to overflow.
Types of Oil to use: • For best results we recommend using a good quality blended vegetable oil. If using sunflower oil ensure the oil is changed every 5 uses. Oils which should NOT be used under any circumstances and may cause overflowing/smoking/risk of fire are: ground nut oil, soya oil, olive oil, lard or dripping. • Follow the manufacturer’s cooking recommendations. • If you use solid vegetable fat (not recommended): Cut it into small pieces, melt it in a separate pan then pour the melted fat into the fryer bowl. IMPORTANT Never put solid fat directly into the bowl or basket to avoid any risk of fire or damage the appliance.
FRYING PROCESS • Ensure that the oil box control button is set to the Fry position. Fig. 2. IMPORTANT Do not plug in the fryer without oil. • After the bowl has been filled with oil, plug in the fryer without the frying basket. Set the On/Off switch button to position 1 and the temperature indicator light will switch on. Turn the adjustable thermostat to the desired temperature (see cooking tables). • The fryer will now start to heat the oil. • Note : the temperature indicator light will switch off when the desired temperature is reached.
IMPORTANT No matter what the recipe, food must be dried thoroughly before frying. This will prevent the oil from overflowing and extend the life of the oil. During cooking, it is normal for the temperature light to go on and off. Do not touch the fryer when it is in use as it will be extremely hot and can cause severe burns. Steam coming from the filter is also extremely hot.
Maximum capacity Recommended capacity
Fresh potato chips 2.65 lbs / 1.2 kg (in 2 batches)
• Place the basket on a work surface and fill the basket with food, without overfilling. Do not exceed the Max. food level marking on the basket. • Reduce the quantities for frozen foods. • After the temperature light has turned off, place and lower the basket slowly into the frying oil. Plunging the basket too rapidly in the oil may cause it to overflow. • Put the lid on the fryer. • Set the cooking time (depending on model): for models with timer, press the button to adjust the time minute by minute. Release. The selected time is displayed and the countdown begins. • Frying is complete when the cooking time has elapsed and food is the desired colour and texture. • For models with timer : IMPORTANT IMPORTANTThe timer (depending on model) signals the end of the cooking time, but does not stop the appliance.
COOKING TABLES The cooking times and temperatures are a guide only. They could vary depending on quantity, taste, electricity supply etc... • It is important to fry hand made chips twice for best results and to prevent the oil from overflowing: − a first cycle at 338 °F/170 °C − a second cycle at 338 °F/170 °C • For safety and for the crispiest results, dry food items thoroughly before frying, especially frozen foods and freshly made chips. • Never pour frozen food directly from the packet into the basket or over the oil box. • Large pieces of chicken or large chips need a longer cooking time. • Set the temperature thermostat according to the table below, or follow the instructions on food packaging. • Cooking tip: When cooking battered food and doughnuts, remove the wire basket to prevent food sticking to it and use tongs to slowly lower the food into the hot oil. Gradually place the food into the hot oil, submerging it an inch at a time to prevent it from sinking straight away. FRESH FOODS Chips (MAX capacity) Chips (recommended capacity) Chicken nuggets Apple fritters Mushrooms Fish fillets
Quantity 1st 2.65 lbs / frying 1200 g 2nd frying
We recommend that you: − clean your oil after each use to avoid burnt crumbs − change your oil regularly. For quality and fast cooking, limit the quantity of chips to 1/2 a basket at a time.
CLEANING AND MAINTENANCE For your safety, the appliance automatically drains all kinds of oils (or fats) (in filtering position) when it is cool enough (approximately 3 hours after the last cooking). • When the cooking is finished, turn the Oil box control lever to the Automatic oil filtration position. Fig. 12. IMPORTANT Make sure that the oil container is empty before draining the fryer. • When finished cooking, turn the Oil box control lever to the Automatic oil filtration position. Fig. 12. • Once the filtration is finished, you can store the container : − In the appliance: Turn the Oil box control lever on Fry position. The appliance must be carried and transported flat. Fig. 13. − Out of the appliance : Turn the Oil box control lever to the Oil box position and then remove the container. Fig. 14 . Transport it with care. IMPORTANT To carry your deep fryer, use the handles - Marker 8. Do not use the vents at the bottom of the housing.
IF YOUR FRYER DOES NOT WORK PROPERLY Problems and possible causes
Store oil in a cool dry place, ideally at room temperature. To re-use the oil, remove the container with care. Unscrew the oil box cap and empty the oil in the fryer bowl. Fig. 15. We recommend changing the oil/fat after a maximum of 10 to 12 uses. If using sunflower oil, ensure the oil is changed after every 5 uses. IMPORTANT Carry the container with both hands. Store it in a cool dry place away from the light and especially from humidity. Never put the Oil box in the microwave oven. Do not pour used oil in the sink. Leave it to cool, and throw it away with household waste-according to the local community regulations.
• For solid fat (not recommended), remove the lid from the container. Turn the container over and press it to loosen the fat. Cut it into pieces and melt it in a separate pan. Then, pour it into the bowl. • Insert the empty container in the fryer, with its lid and cap. Place the Oil box control button on the Fry position. • The lid, bowl, housing, frying basket and the Oil box are dishwasher safe. Fig. 6. Clean the control unit separately with a damp cloth. • The oil filter grid located in the removable bowl is fixed. Do not try to dismantle it. IMPORTANT Before filling the fryer bowl, always check to ensure the valve has been reset to its original position; if not, check that its metal housing has not been damaged in any way.
The fryer is not heating The appliance is not plugged in. • Plug in the appliance. The Reset function is activated • Press the “reset” button, which (overheating security). is located at the back of the fryer. If the problem persits, please contact our Consumer Service Department. The frying oil overflows The MAX marker for filling the • Check the oil level (MAX), and bowl has been exceeded. The remove the excess. MAX marker for filling the frying • Check the MAX level of the basket been exceeded. Food is frying basket, and has remove wet or contains too much water the excess. (frozen food). • Remove any ice and dry the food thoroughly. Different types of oil/fat have • Lower the basket slowly. been mixed. • Empty and clean the bowl. Refill the bowl with one type of oil. The food does not become golden, and remains soft • Experiment by extending the The food is too thick and cooking time or cut food into contains too much water.Too thinner pieces. much food being cooked at the • Fry food in small quantities same time and the cooking oil (especially when frozen). is not at the right temperature. • Set to the recommended The temperature of the frying temperature. oil may not be high enough: the temperature is set incorrectly. The chips stick together The chips stick together • Wash potatoes well and dry them thoroughly.
Problems and possible causes
The bowl does not drain • Wait for the temperature to go The oil is still too hot. down (approximately 3 hours). The Oil box control button is not • Turn the Oil box control button on the Automatic Oil Filtration on the Automatic Oil Filtration position. position. • Empty the oil into a container and The filter grid is blocked or clean the filter grid with soap and clogged. water and a non-metallic brush. The fat has solidified. Press on the valve under the fryer to let out water and crumbs. • Allow the fryer to heat (4 to 5 minutes). Oil leaks • Do not exceed the oil level (3.5 l). The max (3.5 l) fill mark for the Clean the fryer before any use. bowl has been exceeded. • Turn the Oil box control button There is some oil left in the on the Oil box position, pull out container or it is full. the container and drain it. Dégagement de mauvaises odeurs The oil has deteriorated. • Use new oil. The oil is unsuitable. • Use a good quality blended vegetable oil. Bruit pendant la cuisson If you hear slight popping sounds • Change the oil. when using your appliance, it means that there is too much water in the frying oil. The danger comes from water being found in the oil box inside the removable bowl (as a result of the filtering process) Autre problème The temperature indicator light • Press the “reset” button, which does not come on. is located at the back of the fryer. If the problem persits, please contact our Consumer Service Department 21
1st frying 2nd frying