
H-283 - Electronic meter BH FITNESS - Free user manual and instructions
Find the device manual for free H-283 BH FITNESS in PDF.
| Product type | Electronic rowing machine meter |
| Power supply | 2 alkaline batteries 1.5 V type LR6 (R-6) |
| Display | Multifunction LCD with backlight |
| Main functions | SCAN, time (0-99:00 min), distance (0-999 km/ml), calories (0-999), pulse (40-199 PPM), recovery test, body fat estimation (BMR, BMI, FAT%) |
| Programming | By increments (1 s, 0.01 km, 1 cal) with countdown and count-up modes |
| Personal settings | Gender, height (100-200 cm), weight (30-200 kg), age (10-100 years) |
| Pulse measurement | Hand-grip sensors on handlebar |
| Display auto-off | Automatic shutdown after 3 minutes of inactivity |
| Maintenance | Avoid water, direct sunlight and shocks |
| Repair tips | Check cable connection and battery condition; if malfunctioning, replace the monitor |
| Compatibility | Designed for BH Fitness H-283 rowing machine |
Frequently Asked Questions - H-283 BH FITNESS
User questions about H-283 BH FITNESS
0 question about this device. Answer the ones you know or ask your own.
Ask a new question about this device
Download the instructions for your Electronic meter in PDF format for free! Find your manual H-283 - BH FITNESS and take your electronic device back in hand. On this page are published all the documents necessary for the use of your device. H-283 by BH FITNESS.
USER MANUAL H-283 BH FITNESS
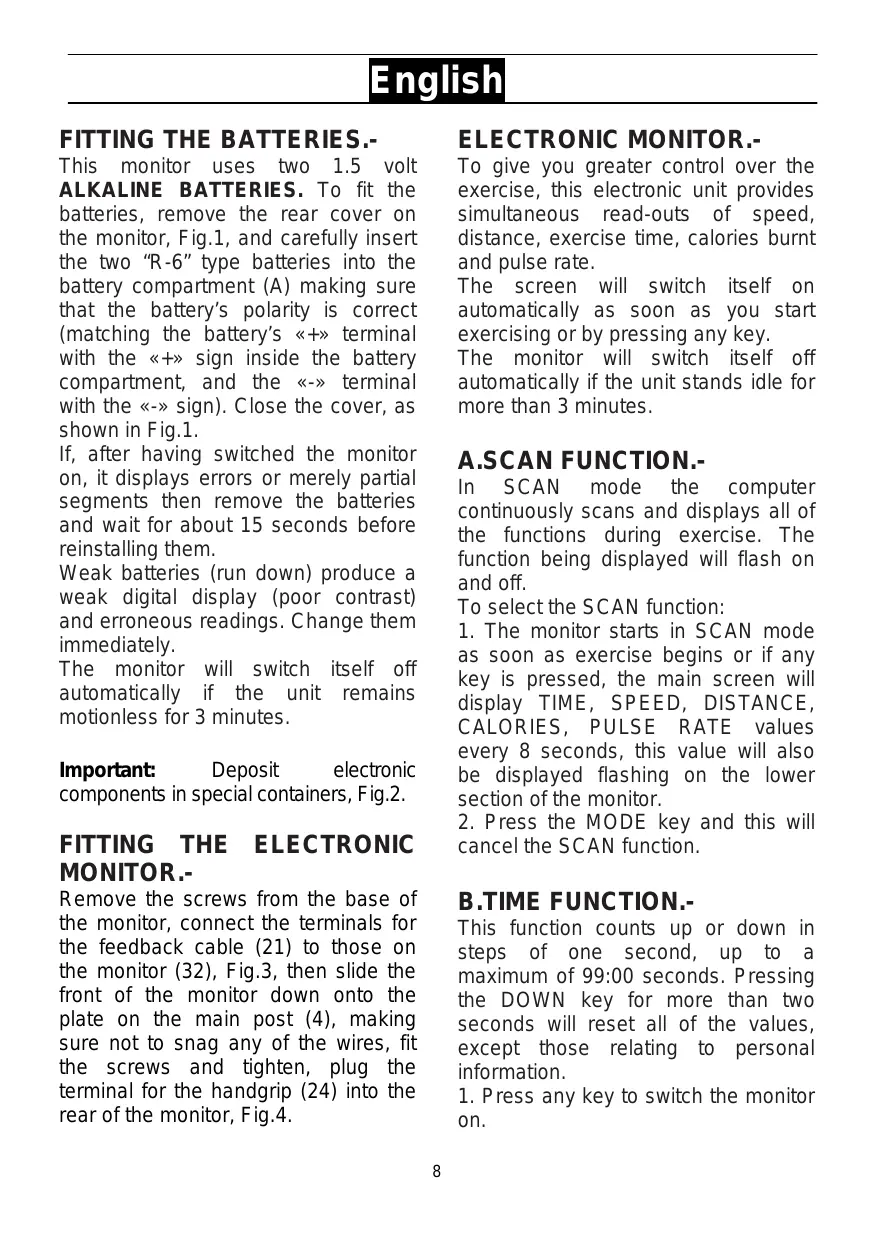
This monitor uses two 1.5 volt ALKALINE BATTERIES. To fit the batteries, remove the rear cover on the monitor, Fig.1, and carefully insert the two "R-6" type batteries into the battery compartment (A) making sure that the battery's polarity is correct (matching the battery's + terminal with the + sign inside the battery compartment, and the - terminal with the - sign). Close the cover, as shown in Fig.1.
If, after having switched the monitor on, it displays errors or merely partial segments then remove the batteries and wait for about 15 seconds before reinstalling them.
Weak batteries (run down) produce a weak digital display (poor contrast) and erroneous readings. Change them immediately.
The monitor will switch itself off automatically if the unit remains motionless for 3 minutes.
Important: Deposit electronic components in special containers, Fig.2.
FITTING THE ELECTRONIC MONITOR.-
Remove the screws from the base of the monitor, connect the terminals for the feedback cable (21) to those on the monitor (32), Fig.3, then slide the front of the monitor down onto the plate on the main post (4), making sure not to snag any of the wires, fit the screws and tighten, plug the terminal for the handgrip (24) into the rear of the monitor, Fig.4.
ELECTRONIC MONITOR.-
To give you greater control over the exercise, this electronic unit provides simultaneous read-outs of speed, distance, exercise time, calories burnt and pulse rate.
The screen will switch itself on automatically as soon as you start exercising or by pressing any key.
The monitor will switch itself off automatically if the unit stands idle for more than 3 minutes.
A.SCAN FUNCTION.-
In SCAN mode the computer continuously scans and displays all of the functions during exercise. The function being displayed will flash on and off.
To select the SCAN function:
-
The monitor starts in SCAN mode as soon as exercise begins or if any key is pressed, the main screen will display TIME, SPEED, DISTANCE, CALORIES, PULSE RATE values every 8 seconds, this value will also be displayed flashing on the lower section of the monitor.
-
Press the MODE key and this will cancel the SCAN function.
B.TIME FUNCTION.-
This function counts up or down in steps of one second, up to a maximum of 99:00 seconds. Pressing the DOWN key for more than two seconds will reset all of the values, except those relating to personal information.
-
Press any key to switch the monitor on.
-
Press the MODE key to start the small TIME window flashing.
- Press the UP or DOWN keys to select the time.
- Begin the exercise and the time value will begin the countdown, when it reaches zero it will beep for 3 seconds, advising you that the selected time has elapsed, the time value will then start counting upward.
This function counts up or down in steps of 0.01km / ml , up to a maximum of 99.99km / ml . Pressing the DOWN key for more than two seconds will reset all of the values, except those relating to personal information.
- Press any key to switch the monitor on.
- Press the MODE key to start the small DIST (DISTANCE) window flashing.
- Press the UP or DOWN keys to select the distance.
- Begin the exercise and the distance value will begin the countdown, when it reaches zero it will beep for 3 seconds, advising you that the selected distance has been covered, the distance value will then start counting upward.
This function counts up or down in steps of one calorie, up to a maximum of 999 calories. Pressing the DOWN key for more than two seconds will reset all of the values, except those relating to personal information.
- Press any key to switch the monitor on.
- Press the MODE key to start the small CAL (CALORIE) window
flashing.
- Press the UP or DOWN keys to select the calories.
- Begin the exercise and the calorie value will begin the countdown, when it reaches zero it will beep for 3 seconds, advising you that the selected calorie value has been reached, the calorie value will then start counting upward.
When the programmed calories have finished, the monitor will beep for 3 seconds and begin to tally the new calories burnt automatically.
E.PULSE FUNCTION.-
The pulse function shows you heart beats per minute (BPM). To use this function place your hands on the handlebar sensors (R), Fig.5, and your heart rate will be displayed after a few seconds. This is not a medical appliance and therefore these values are for guideline purposes only.
To select the THR (Target Heart Rate) carry out the following steps:
- Press any key to switch the monitor on.
- Press the MODE key to start the small pulse window flashing and THR will appear.
- Press the UP or DOWN keys to set the pulse rate value that you wish to use during the exercise, between 40 and 199 (BPM), the monitor's default value is 150 BPM.
- Begin exercising and your heart rate will be displayed in the PULSE window, when you reach the selected value the monitor will beep to advise you that you have reached the set pulse rate.
NOTE:
If, after 15 seconds, the sensor does not detect a signal then the error code
"E 3" will appear on the screen, makesure that both your hands are placedon the handlebar sensors (R), Fig.6.If no signal is received after a further 5seconds then the screen will revert tothe previously displayed function.
HAND-GRIP (PULSE) INSTRUCTIONS/USE.-
On this model the pulse rate is measured by placing both hands on the sensors (R), located on the handlebar, as shown in Fig.6.
When both hands are placed on the sensors the heart symbol on the right-hand side of the screen, marked PULSE, will begin to flash and after a few seconds a heart rate reading will be displayed.
If both hands are not placed correctly as shown in Fig.6 then the pulse function will not work.
If a "0" appears on the screen or the heart symbol does not flash then make sure that both hands are placed on the sensors and that the connectors (32) are connected at the back of the electronic unit.
F.TEST MEASUREMENTS: FITNESS.-
This electronic device is equipped with a recovery test function. This offers you the advantage of being able to measure how long it takes your heart rate to recover after having finished the exercise. After finishing the exercise leave your hands on the pulse sensors (R) and press the "RECOVERY Fitness Test" button and this will start a one minute countdown. Only the Time and Pulse rate function read-outs will remain displayed. The electronic device will measure your
pulse rate during this minute. The heart rate recovery time will be displayed on the Heart rate line.
When the minute is up, the electronic device will work out the difference and your fitness rating will be displayed up on the screen: "F1, F2,..., F5, F16; where F1 is the best (fitness "Excellent") and F6 the worst (fitness "Very Poor").
Pressing the RECOVERY button will take you back to the main screen, where the functions will be in the same mode as when the TEST began. The comparison between the worked heart rate and the recovery heart rate provides a fast, simple method of gauging how fit you are. Your fitness rating is a guideline that shows you how fast your heart recovers after physical exertion. If you exercise regularly then you will see your fitness rating improve.
The test will not work if the sensor is not positioned correctly or if the error code "E1" appears on the screen.
The TEST will not work if you do not have both hands placed on the hand-grip sensors (R) after you have stopped doing the exercise.
If the error code "E1" is shown on the screen then this means that you do not have your hands positioned correctly on the hand-grip sensors (R). If the error code "E2" appears on the screen, this means that you have not stopped exercising.
This monitor has a memory to record SEX (Male 1 - Female 0); HEIGHT (100 - 200 cm); WEIGHT (30 - 200 kg); AGE (10 - 100).
-
Press any key to switch the monitor on.
-
Press the BODY FAT key and the male Fig. will start flashing, use the UP or DOWN keys to select Male or Female.
-
Press the BODY FAT key and the height screen will appear, (100 - 200 cm), use the UP - DOWN keys to select your height.
-
Press the BODY FAT key and the weight screen will appear, (30 - 200 kg), use the UP - DOWN keys to select your weight.
-
Press the BODY FAT key and the age screen will appear, (10 - 100), use the UP - DOWN keys to select your age.
-
Place both hands on the hand-grip sensors (R) and certain characters ( ) will appear on the screen displaying your BMR (Basal Metabolic Rate, values between 1 - 9999), BMI (Body Mass Index, values between 1.0 - 99.9), FAT% (Body fat %, values between 5 - 50%), this last value will be shown on the main screen and the previous values on the bottom screens.
NOTE:
If the error code "E3" is shown on the screen then this means that you do not have your hands positioned correctly on the hand-grip sensors (R). Personal data is not stored and will be lost when the monitor is reset or switched off.
Refer to the following table to gauge your BODY FAT status:
REFERENCE TABLE: BODY FAT PERCENTAGE %
| SEX / FAT% | LOW | LOW / AVERAGE | AVERAGE | HIGH |
| MALE | < 13% | 13%-25.8% | 26%-30% | >30% |
| FEMALE | <23% | 23%-35.8% | 36%-40% | >40% |
D. BODY TYPES:
There are 9 body types based on the percentage of fat calculated.
| TYPE 1 | Extremely athletic |
| TYPE 2 | Ideal sportsman |
| TYPE 3 | Very slender |
| TYPE 4 | Sportsman |
| TYPE 5 | Ideal health |
| TYPE 6 | Slender |
| TYPE 7 | Very overweight |
| TYPE 8 | Overweight |
| TYPE 9 | Extremely obese |
TROUBLESHOOTING GUIDE.-
Problem: The display comes on but only the Time function works
Solution:
a.- Make sure that the connection cable is connected.
Problem: The display does not come on or the displayed segments are very weak
Solution:
a.- Check that the batteries are fitted correctly.
b.- Check the battery charge
c.- If they are run down change them immediately
Problem: Display segments of a function read-out are not visible or error messages for a particular function appear.
Solution:
a.- Remove the batteries for 15 seconds and then refit them correctly.
b.- Check the battery charge If they are run down change the batteries
c.- If the above steps do not help then replace the electronic monitor.
Avoid leaving the electronic monitor in direct sunlight as this might damage
the liquid crystal display. Similarly, do not expose it to water or knocks.
BH RESERVES THE RIGHT TO MODIFY THE SPECIFICATIONS OF ITS PRODUCTS WITHOUT PRIOR NOTICE
MISE EN PLACE DES PILES.-
Unit 1A Britannia Business Park
Union Road, The Valley
Bolton BL2 2HP
UK
Tel.: +44 (0)870 381 0277
Fax: +44 (0)870 381 0278
e-mail: info@bhfitness.co.uk
BH FITNESS ASIA
No.139, Jhongshan Rd.
Daya Township
Taichung 428, Taiwan. R.O.C.
Tel.: +886 4 25609200
Fax: +886 4 25609280
info@bhasia.com.tw
BH FITNESS NORTH AMERICA
20155 Ellipse
Foothill Ranch
CA 92610
Tel:+ 19492060330
Fax:+1 949 206 0350
fitness@bhnorthamerica.com
www.bhnorthamerica.com
BH FITNESS MEXICO
BH Exercycle de Mexico S.A. de CV
Eje 132 / 136
Zona Industrial, 2A Secc.
78395 San Luis Potosi
S:L:P: MEXICO
Tel.: +52 (444) 824 00 29
Fax: +52 (444) 824 00 31
www.bh.com.mx
BH SE RESERVÁ EL DERECHO A MODIFICAR LAS ESPECIFICACIONES DE SUS PRODUCTOS SIN PREVIO AVISO.
SPECIFICATIONS MAY BE CHANGED WITHOUT PRIOR NOTICE DUE TO OUR PROGRAMME OF CONTINUOUS PRODUCT DEVELOPMENT.
BH SE RÉSERVE LE DROIT DE MODIFIER LES SPECIFICATIONS DE SES PRODUITS SANS PREAVIS.
