
SBW 1000 A2 - Waffle Maker SILVERCREST - Free user manual and instructions
Find the device manual for free SBW 1000 A2 SILVERCREST in PDF.
| Product Type | Waffle Maker |
| Brand | SILVERCREST |
| Model | SBW 1000 A2 |
| Voltage | 220-240 V ~ 50 Hz |
| Power | 1000 W |
| Capacity | 2 waffles at once |
| Browning Adjustment | Yes, 5-position dial |
| Indicator Lights | Red (power on), Green (ready) |
| Handle | With safety lock |
| Non-stick Coating | Yes |
| Materials | Heat-resistant plastic, metal |
| Maximum Temperature | Approximately 200 °C |
| Functions | Waffle baking, manual shut-off |
| Safety | Cool-touch handle, lid lock, hot surface indicator |
| Care | Clean with damp cloth, do not immerse |
| Included Accessories | Instruction manual |
| Warranty | 3 years |
| After-sales Service | Phone or email contact (see manual) |
| Included Recipes | Yes (basic batter, apple, ham) |
| Country of Origin | Germany (imported by Kompernass GmbH) |
Frequently Asked Questions - SBW 1000 A2 SILVERCREST
User questions about SBW 1000 A2 SILVERCREST
0 question about this device. Answer the ones you know or ask your own.
Ask a new question about this device
Download the instructions for your Waffle Maker in PDF format for free! Find your manual SBW 1000 A2 - SILVERCREST and take your electronic device back in hand. On this page are published all the documents necessary for the use of your device. SBW 1000 A2 by SILVERCREST.
USER MANUAL SBW 1000 A2 SILVERCREST
natural_image
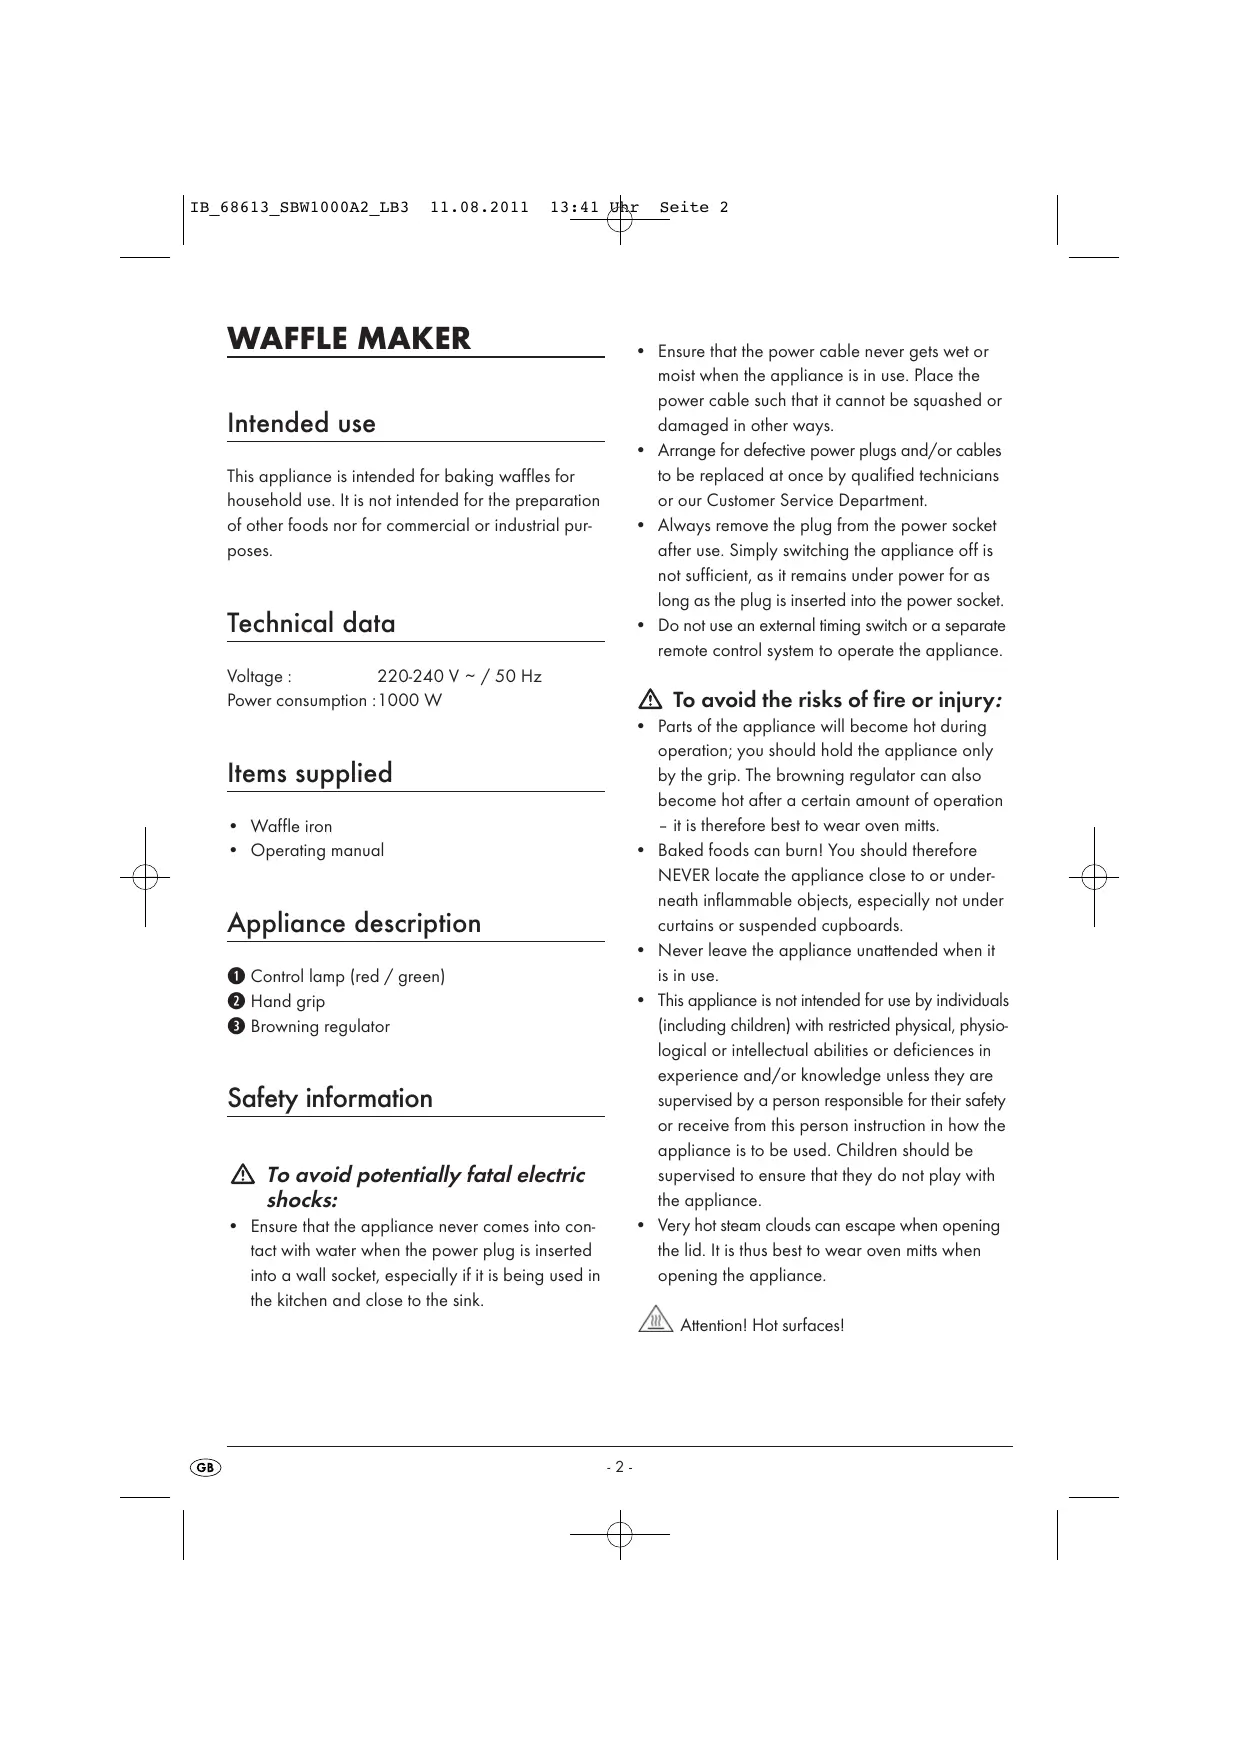
Modern waffle grater with open lid and side grates, no visible text or symbolsGB Waffle Maker
IE Operating instructions
SE Våffeljärn
Bruksanvisning
FI Vohvelirauta
Käyttöohje
DK Vaffeljern
Preparing the waffle iron 3
Baking waffles 3
Cleaning and care 4
Storage 5
Disposal 5
Importer 5
Warranty and Service 5
Tips 6
Recipes 6
Basic batter....6
Apple waffles....6
Ham waffles....6
Read the operating instructions carefully before using the device for the first time and preserve this booklet for later reference. Pass this manual on to whoever might acquire the device at a future date.
Intended use
This appliance is intended for baking waffles for household use. It is not intended for the preparation of other foods nor for commercial or industrial purposes.
Technical data
Voltage : 220-240 V \~ / 50 Hz
Power consumption : 1000 W
Items supplied
- Waffle iron
- Operating manual
Appliance description
① Control lamp (red / green)
② Hand grip
③ Browning regulator
Safety information
⚠️ To avoid potentially fatal electric shocks:
- Ensure that the appliance never comes into contact with water when the power plug is inserted into a wall socket, especially if it is being used in the kitchen and close to the sink.
- Ensure that the power cable never gets wet or moist when the appliance is in use. Place the power cable such that it cannot be squashed or damaged in other ways.
- Arrange for defective power plugs and/or cables to be replaced at once by qualified technicians or our Customer Service Department.
- Always remove the plug from the power socket after use. Simply switching the appliance off is not sufficient, as it remains under power for as long as the plug is inserted into the power socket.
- Do not use an external timing switch or a separate remote control system to operate the appliance.
⚠️ To avoid the risks of fire or injury:
- Parts of the appliance will become hot during operation; you should hold the appliance only by the grip. The browning regulator can also become hot after a certain amount of operation – it is therefore best to wear oven mitts.
- Baked foods can burn! You should therefore NEVER locate the appliance close to or underneath inflammable objects, especially not under curtains or suspended cupboards.
- Never leave the appliance unattended when it is in use.
- This appliance is not intended for use by individuals (including children) with restricted physical, physiological or intellectual abilities or deficiencies in experience and/or knowledge unless they are supervised by a person responsible for their safety or receive from this person instruction in how the appliance is to be used. Children should be supervised to ensure that they do not play with the appliance.
- Very hot steam clouds can escape when opening the lid. It is thus best to wear oven mitts when opening the appliance.

Attention! Hot surfaces!
Preparing the waffle iron
Before taking the appliance into use check to ensure that the appliance, the power plug and the power cable are all in a serviceable condition and that all packaging materials have been removed.
- Wipe the baking plates with a moist cloth.
- Lightly grease the baking surfaces with a butter, margarine or oil suitable for baking. This enables any production-related residues to be more easily removed from the baking surfaces.
- Close the lid (without batter).
- Insert the plug into a mains power socket. The red control lamp ① glows, indictating that the appliance is connected to mains power. The green operating lamp ① first glows when the appliance is sufficiently heated up.
- Slide the browning regulator ③ to level 5.
(i) Note:
On this first use the development of a light odour may occur, caused by production residues (a slight smoke development is also possible). This is normal and stops after a short time. Provide for sufficient ventilation. Open a window, for example.
- Wait until the green corntrol lamp ① glows. Slide the browning regulator ③ back to level 1.
- Remove the plug from the mains power socket..
- Open the appliance by compressing the locking device on the hand grip ② and then lifting the lid upwards.
- Leave the appliance open to cool down.
- When it has cooled down, thoroughly wipe the baking plates once more with a moist cloth.
The appliance is now ready for use.
Baking waffles
When you have prepared a batter that is intended for baking in waffle makers:
- Place the appliance on a level and heat-resistant surface.
⚠️ Important!:
Take hold of the appliance only by the hand grip ②. The other appliance parts will be very hot. Risk of Burns!
(i) Note:
Should you have prepared a low-fat dough, such as a quark dough, then lightly grease the baking surface with butter, margarine or an oil suitable for baking.
- Heat the appliance up with the lid closed. To do this, insert the plug into a mains power socket and turn the browning regulator ③ to the required position. The red control lamp ① indicates that the appliance is connected to mains power and is warming up.
As soon as the green control lamp ① glows the waffle iron is ready for baking. - Open the appliance by compressing the locking device on the hand grip ② and then lifting the lid upwards.
- For each waffle place sufficient batter into the centre of the bottom baking surface so that it spreads itself to approx. 2 cm from the edge of the baking area (approx. 2 tablespoons).
(i) Note:
If you wish to bake two waffles at the same time, place the same amount of batter into both baking areas.
If you do not, the baking results will be variable.
- Bring the two baking surfaces together. Ensure that the locking device on the hand grip ② engages.
(i) Note:
It can happen that, during the baking process, the green operating lamp ① goes out briefly and then lights up again. This indicates that the adjusted temperature had fallen, causing the appliance to automatically heat itself back up to the programmed temperature.
- The waffles are ready after about 3 minutes. You can determine the level of browning either by adjustment of the temperature regulator ③ or by means of the baking time. In this way, the waffles can be baked to a golden yellow or a crispy brown. The given baking time is only a guide.
The baking time is dependant on, ...
... how the batter has been constituted.
... whether you prefer your waffles light in clour or a crispy brown.
... if you are baking one or two waffles at the same time.
... to which level the browning regulator ③ is set.
- Open the waffle iron to check if the waffles are sufficiently baked resp. brown. If the waffles are not yet ready, reclose the waffle iron and let them bake for a little longer.
- Open the waffle iron and take the waffles out.
(i) Note:
When removing the waffles, be sure not to accidentally damage the coating of the baking surfaces.
To avoid this, use only wooden or heat-resistant plastic implements.
- After baking the last waffle, remove the plug from the mains power socket and allow the appliance to cool down, with the lid up.
Cleaning and care
⚠️ To avoid potentially fatal electric shocks:
Never open the appliance housing. There are no user-serviceable elements inside. When the casing is open, there is the risk of receiving a fatal electrical shock.
Before commencing with the cleaning of the appliance, remove the plug from the mains power socket and allow the appliance to cool down. Never submerse any parts of the appliance in water or other liquids! This would bring about the risk of a potentially fatal electric shock upon the next use of the appliance should moisture be present in the voltage conducting elements.
- First of all, clean the baking surfaces with a dry paper towel to soak up any grease residue.
- Then clean all surfaces and the power cable with a lightly moistened dish cloth. Always dry the appliance well before using it again.
Caution!
Do not use cleaners or solvents.
These can damage the surface of the appliance. Residues from these cleaning agents could possibly find their way into the next few waffles and thus lead to personal injury!
In the case of stubborn residues:
⚠ Caution! Property damage!
NEVER make use of hard objects. These could damage the coatings of the baking surfaces.
- It is better to lay a wet wash cloth on the encrusted residues in order to soften them.
Storage
Allow the appliance to cool off completely before putting it into storage.
Wind the power cable around the retainer at the base of the appliance.
Store the appliance at a dry location.
Disposal

Do not dispose of the appliance in your normal domestic waste. This appliance is subject to the provisions of European Directive 2002/96/EC.
Dispose of the appliance through an approved disposal centre or at your community waste facility.
Observe the currently applicable regulations.
In case of doubt, please contact your waste disposal centre.

Dispose of all packaging materials in an environmentally friendly manner.
Importer
KOMPERNASS GMBH
BURGSTRASSE 21
44867 BOCHUM, GERMANY
www.kompernass.com
Warranty and Service
The warranty for this appliance is for 3 years from the date of purchase. The appliance has been manufactured with care and meticulously examined before delivery. Please retain your receipt as proof of purchase. In the event of a warranty claim, please make contact by telephone with our Service Department. Only in this way can a post-free despatch for your goods be assured.
The warranty covers only claims for material and manufacturing defects, but not for transport damage, for wearing parts or for damage to fragile components, e.g. buttons or batteries. This product is for private use only and is not intended for commercial use. The warranty is void in the case of abusive and improper handling, use of force and internal tampering not carried out by our authorized service branch. Your statutory rights are not restricted in any way by this warranty.
The warranty period will not be extended by repairs made unter warranty. This applies also to replaced and repaired parts. Any damage and defects extant on purchase must be reported immediately after unpacking the appliance, at the latest, two days after the purchase date. Repairs made after the expiration of the warranty period are subject to payment.
GB Service Great Britain
Tel.: 0871 5000 720 (£ 0.10/Min.)
E-Mail: kompernass@lidl.co.uk
IAN 68613
IE Service Ireland
Tel.: 1890 930 034
(0,08 EUR/Min., (peak))
(0,06 EUR/Min., (off peak))
E-Mail: kompernass@lidl.ie
IAN 68613
Tips
- Mix all ingredients together uniformly, this will ensure a constant level of browning.
- If you use milk instead of water, the waffles will be softer and darker.
- Never lay crispily baked waffles on top of each other. This causes them to become soft quickly. To keep them crispy, lay them next to each other on a kitchen grill.
Recipes
Basic batter
| 250 g | Margarine or butter |
| approx. 200 g | Sugar |
| 2 Packets of | Vanilla sugar |
| 5 | Eggs |
| 500 g | Flour |
| 2 Teaspoons of | Baking powder |
| 350-400 ml | Milk |
- Stir the butter/margarine until foamy.
- Add the sugar, vanilla sugar and the eggs, stir everything together.
- Blend in the flour and the baking powder.
- Stirring constantly, gradually mix in the milk.
- Beat the mixture for approx. 2 - 3 minutes at the highest level with the hand mixer.
The basic batter can be used as is or it can be varied according to taste.
Apple waffles
| 250 g | Margarine or butter |
| 75 g | Sugar |
| 4 | Eggs |
| 250 g | Flour |
| 1 Teaspoon of | Baking powder |
| 125 ml | lukewarm Milk |
| 300 g | Apples(peeled, cut into cubes) |
| 50 g | grated Almonds / nuts |
- Stir the butter/margarine until foamy.
- Add the sugar and the eggs, stir everything together.
- Blend in the flour and the baking powder.
- Stirring constantly, gradually mix in the milk.
- Finally, blend in the almonds/nuts and the apple cubes.
- Beat the mixture for approx. 2 - 3 minutes at the highest level with the hand mixer.
Ham waffles
| 250 g | Flour |
| 1/2 Teaspoon of | Baking powder |
| 70 g | Butter |
| 400 ml | Milk or water |
| 1/2 Teaspoon of Salt | |
| 1 | Onion (cut into cubes) |
| 100 g | Ham (cut into cubes) |
- Stir the butter until foamy.
- Blend in the flour, salt and the baking powder.
- Stirring constantly, gradually mix in the milk.
- Finally, add the onion and ham.
- Beat the mixture for approx. 2 - 3 minutes at the highest level with the hand mixer.
SISÄLLYSLUETTELO
SIVU
Käyttötarkoitus 8
Tekniset tiedot 8
Toimituslaajuus 8
Laitteen kuvaus 8
Turvaohjeet 8