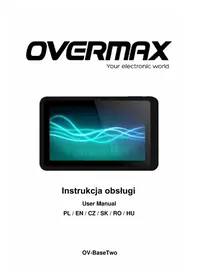
BaseTwo - Tablet Overmax - Free user manual and instructions
Find the device manual for free BaseTwo Overmax in PDF.


| Product Type | Tablet |
| Brand | Overmax |
| Model | BaseTwo |
| Display Size | 7 inches |
| Display Resolution | 1024 x 600 pixels |
| Processor | Quad-core 1.3 GHz |
| RAM | 1 GB |
| Internal Storage | 16 GB |
| Expandable Storage | microSD up to 32 GB |
| Operating System | Android 5.0 Lollipop |
| Battery Capacity | 3000 mAh |
| Dimensions | 191 x 108 x 10 mm (7.5 x 4.3 x 0.4 in) |
| Weight | 310 g (10.9 oz) |
| Power Supply | DC 5V 2A via micro USB |
| Camera (Rear) | 2 MP |
| Camera (Front) | 0.3 MP |
| Connectivity | Wi-Fi 802.11 b/g/n, Bluetooth 4.0 |
| Sensors | G-sensor |
| Audio | Built-in speaker, microphone, 3.5mm headphone jack |
| Maintenance | Clean with soft dry cloth; avoid liquids |
| Safety | Do not expose to extreme temperatures or moisture |
| Spare Parts | Contact Overmax support for replacement parts |
| Repairability | Not user-serviceable; seek professional repair |
Frequently Asked Questions - BaseTwo Overmax
User questions about BaseTwo Overmax
0 question about this device. Answer the ones you know or ask your own.
Ask a new question about this device
Download the instructions for your Tablet in PDF format for free! Find your manual BaseTwo - Overmax and take your electronic device back in hand. On this page are published all the documents necessary for the use of your device. BaseTwo by Overmax.
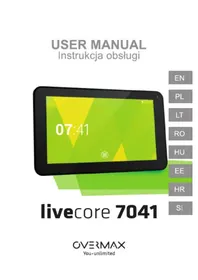
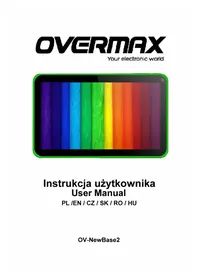
USER MANUAL BaseTwo Overmax
Your electronic world
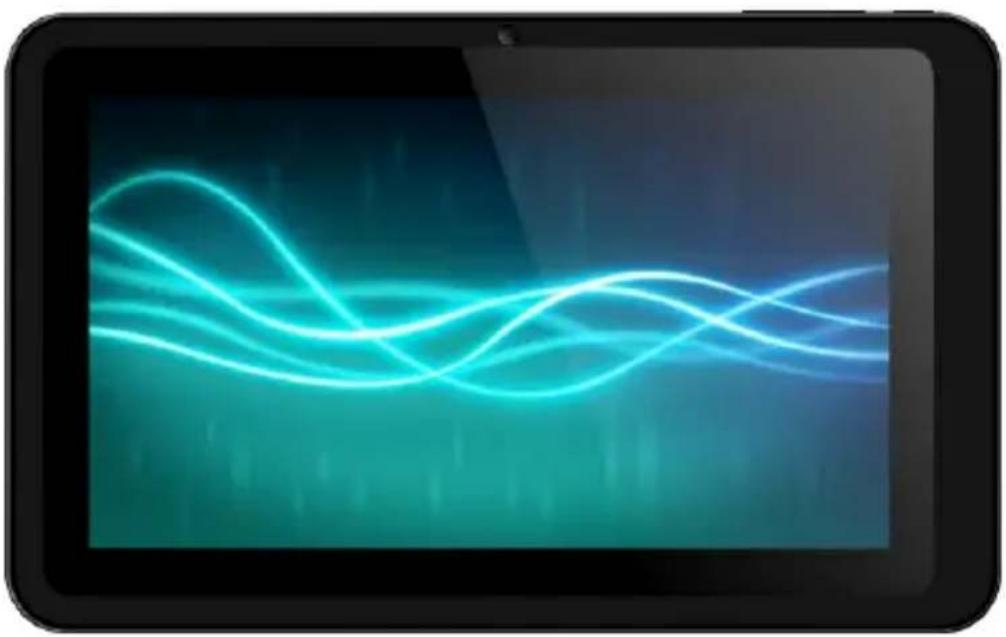
Instrukcja obsługi
User Manual
PL / EN / CZ / SK / RO / HU
OV-BaseTwo
Przeglądarka zdjęć:
Kamera
Battery management and charging
Before using this device, please charge it fully. Put the charger adapter into the DC jack, the device will start to charge.
【TIPS】:
- This device adopts built-in polymer battery. Only the specified charger should be used.
- If you do not use this device for a long time, please charge/release it once per month to avoid deep discharge.
- When it is power off because of low battery, connect to the charger, the device will indicate “low power” or “charging”, please wait for a second until the machine can turn to the main interface once the power is enough.
- The built-in polymer battery should be charged regularly. The damage caused by battery over-consuming is not included in the warranty.
Boot and Shutdown
Boot: Press and hold the power button, the system will enter the boot process System has been started, entering the Android system:
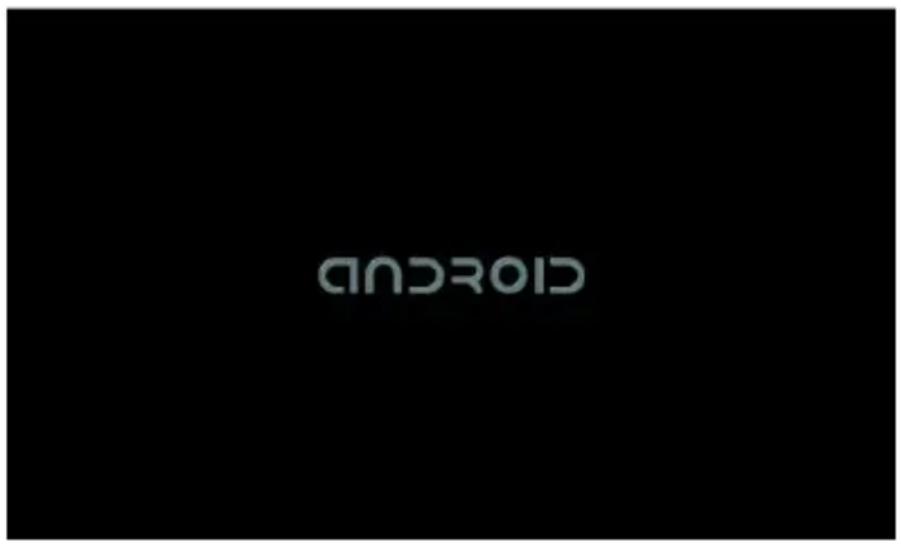
The system enters the default home interface.

Shutdown: Press the power button, pop-up device options, select Power off, Click OK, you can safely shut down.
Connect with PC
By micro USB (OTG) interface of the device, you can connect with PC by micro
USB cable attached with the device. USB Data transferring is available. You can operate the files through the PC.
When your device is connected successfully, to pull up the notification area of the status bar, can see the following icon
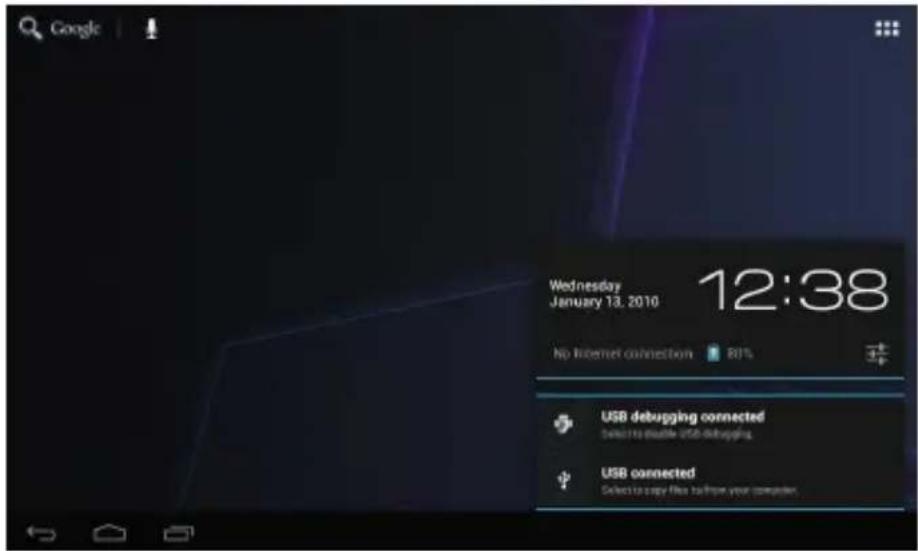
Then click to enter the next screen:
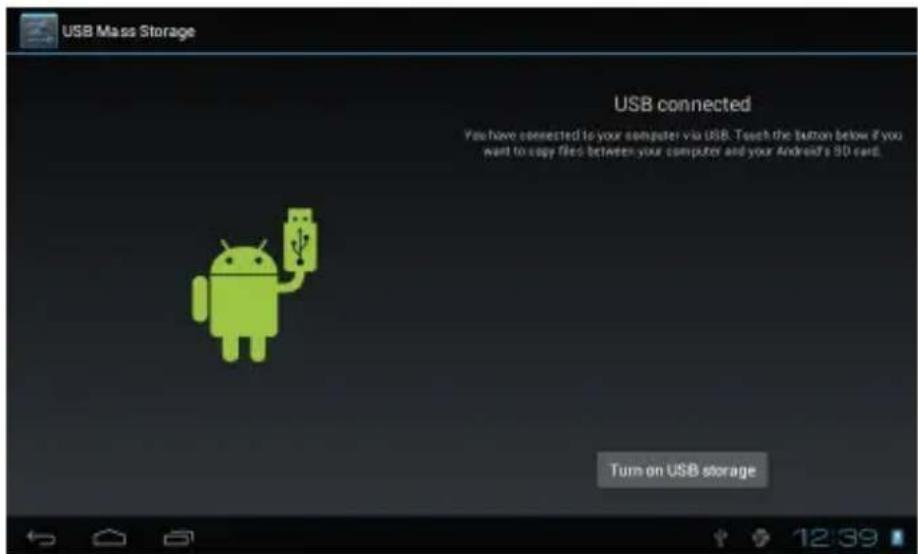
Click , then the device can transfer data with PC.
Note: The device also supports the FAT32 format for external devices, for example U disk, Micro SD card to Transfer data.
Bottom bar of the Interface

A. WIFI signal status icon: If connected to the WIFI wireless network, the icon will be displayed
B. OTG connect icon: If the device connected to the PC, will show the OTG connected icon.
C. Time display: Display the time of the current system, which has been set.
D. Battery status icon: Displays the current battery level and the charging status.
E. Menu, Home, Back, virtual buttons
The HOME Screen menu
Press the menu icon on the device, it will display a home screen menu as following,

Wallpaper: It let users change the wallpaper. Manage apps: It opens a list of all
applications.
System Settings: Fast access to system settings.
Basic Operation

Click the "Settings" icon in the main applications area, you can open the system setting interface, as shown below,
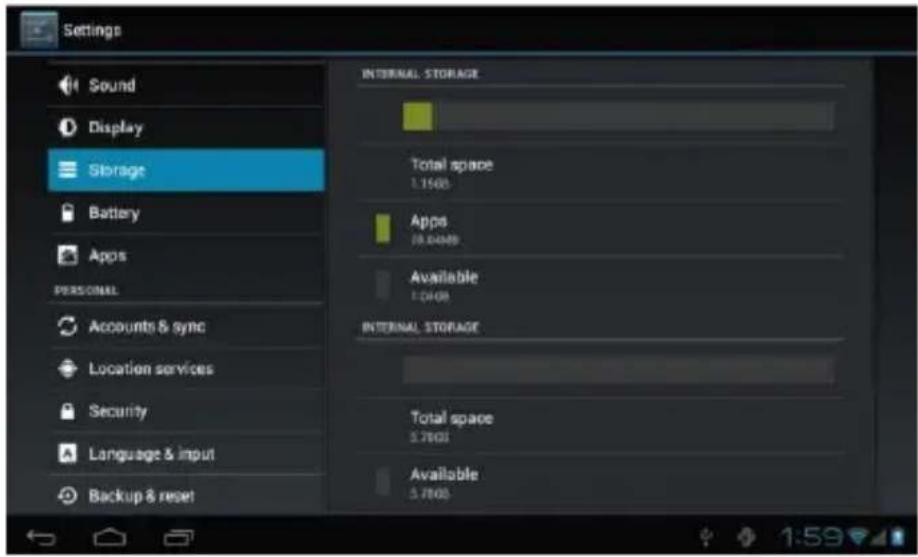
Select the appropriate operation of the relevant items, such as: wireless and network, Display, date and time settings, about Device, etc.
Date and time settings:
Click "Date & time" to enter the Date and time settings interface:
Select to set the date, select the time zone, set the time, time format, date format and other information.
For example, choose to set the date, as follows:

Select +: to increase by 1 unit, Select - : to reduce by 1 unit.
Also you can type the number by entering the input mode. Tap on the number to open. After typing the correct date tap "Done" to set the Date.
Display settings
In the settings interface choose "Display" to show the display settings screen, select "Brightness", pull the progress bar to adjust the brightness, as below:
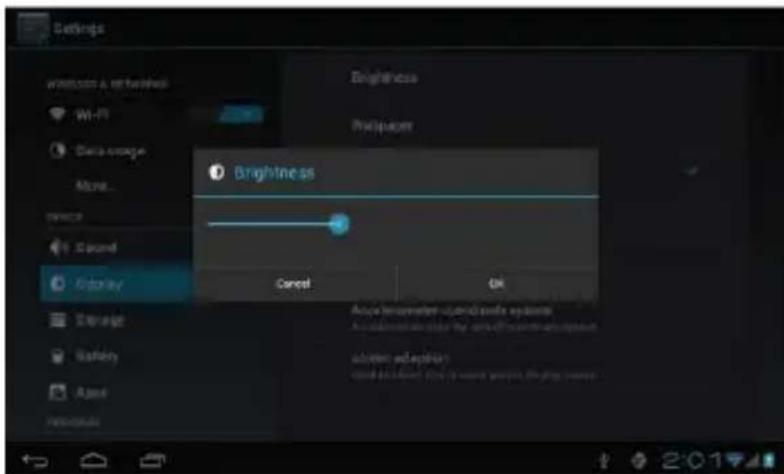
Click Sleep set the time after which the device will put itself into sleep mode. You can press power key to 'wake up' the device. When display shows "Screen locked" interface, follow the prompts to unlock it.

Wireless Connection:
Click the main menu "Settings" icon, go to "Settings" screen and click Wi-Fi. Turn on Wi-Fi switch, the Wi-Fi module built-in the device will search for available networks.

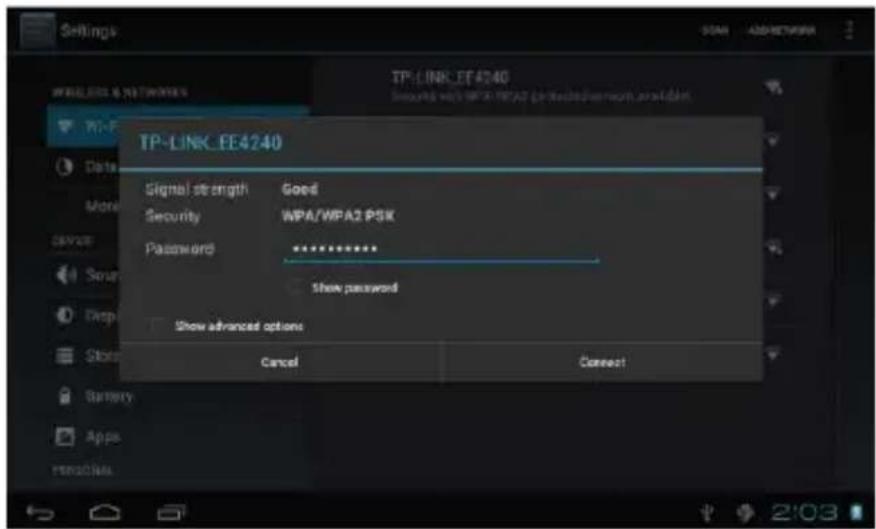
Click on one of them and a dialog will appear, please follow the prompts to complete the WIFI network configuration.
Some encrypted network, need to enter a valid key. As shown below:
Applications install and uninstall
Install applications
- First you should select the Unknown sources which allow installation of non Market apps.
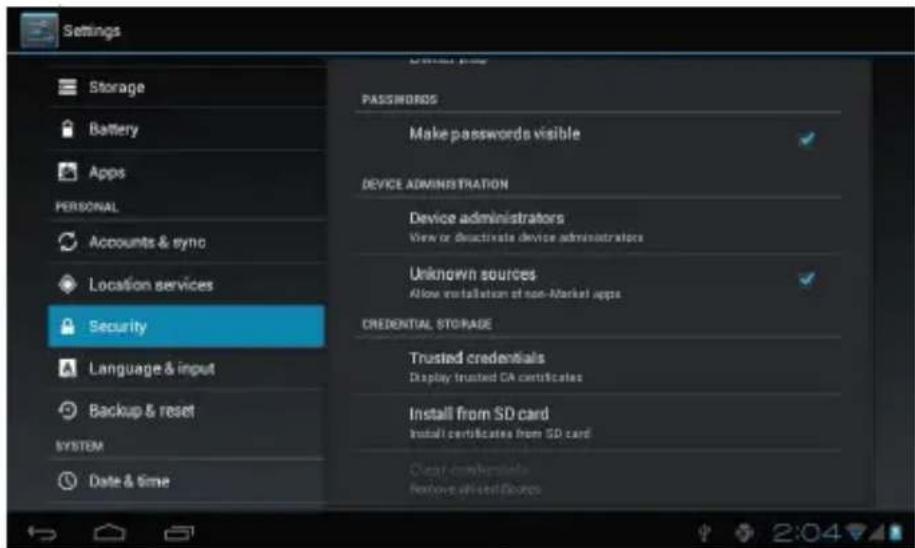
- Copy the APK installer software to Micro SD or NAND FLASH.
- Click the copied APK through File Manager application to start the installation.
Uninstall applications
Click on the item "Settings – Apps – Downloaded," select the appropriate application that has been installed, click the applications which you need to uninstall. Another way is to enter the applications screen/menu and press and hold one of the applications. Then the main screen will appear with a trash icon. While holding one of the applications drag it onto the trash and an uninstallation dialog will appear.
Browser
When the tablet is connected to a network, open the Web browser application and enter the desired URL.

Video player:
Online video: The product supports HTML5 online video playback.
Local video: Click the Video Icon. The Player can loading new albums and photos automatically which stored in local disk or micro SD card, then select the videos to playback
Music player:
Click the music icon

Click the music files
you can enter the music player interface.
enter the player to play music.
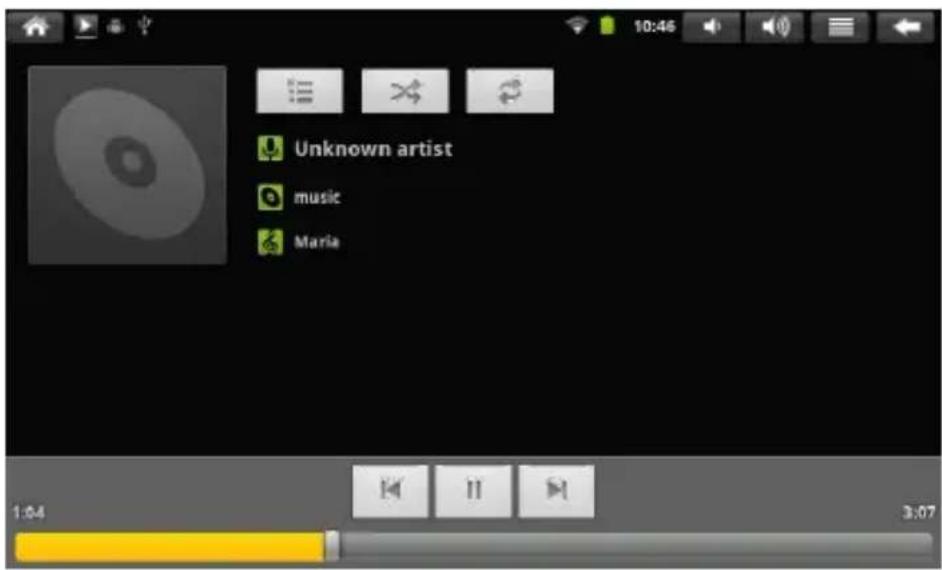
Photo Browser
Click "Gallery" to open Photo Browser directly, there will be a list of all images and video files.
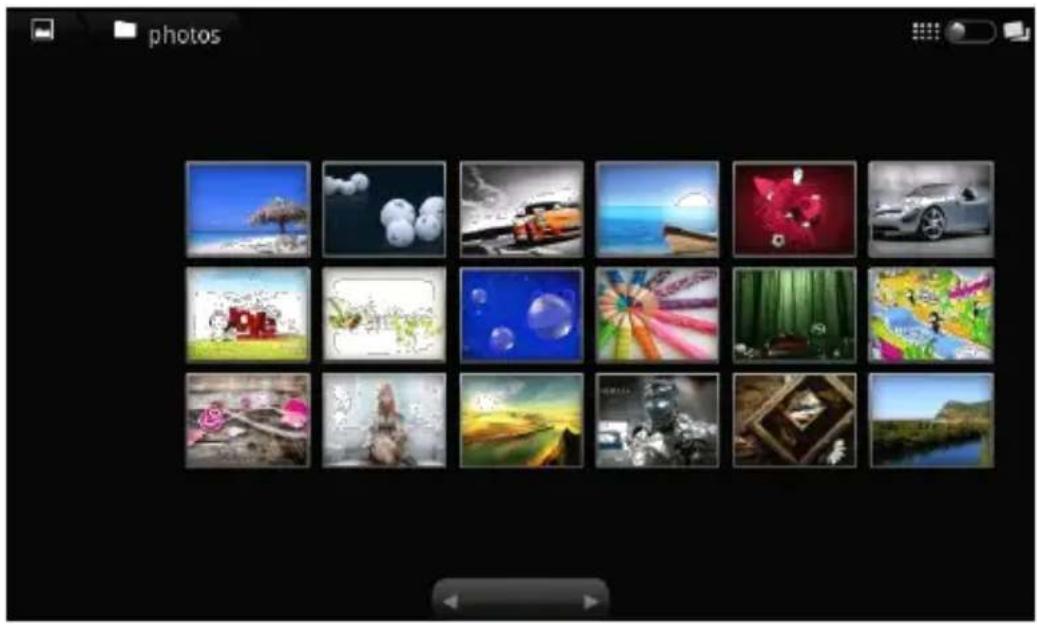
Select a picture file and enter the picture playback interface, as shown below.

Camera
Click the Camera icon

in the applications menu, as shown below

Click the camera shutter

to take photos or videos.
Sound Recorder
Click the recorder icon
in the applications menu, as show below:


Frequently Asked Questions
Android
Q: What Android OS version is on my Device?
A: 4.0
Q: What is APK?
A: APK is Android Package acronym that Android installation package.
Q: How to obtain the APK?
A: You can download via PC-side installation, you can also "Android market" online to download and install.
Q: Can I use any of my personal email addresses to send/receive email?
A: The device supports POP3 and SMTP accounts. Some free email accounts are not supported on mobile devices. Check with your email provider to see if you account is supported.
Q: Which media cards are compatible with my Device?
A: micro SD cards or TF cards.
Music
Q: What type of music files can I play on my device?
A: MP3, WMA, MP2, OGG, AAC, M4A, FLAC, APE, WAV Photos
Q: What type of photo files can I view on my device?
A: JPG, JPEG, BMP, JPG and PNG.
Video
Q: What type of video files can I play on my device?
A: AVI, 3GP, MP4, MPG, RM, RMVB, MOV, FLV, WMV, MKV(max 1080p full HD video).
Wi-Fi
Q: Do I need a Wi-Fi adapter to connect to the Internet?
A: No. The Wi-Fi adapter is built-in to the device.
Important Safety Precautions
Always follow these basic safety precautions when using your Tablet. This reduces the risk of fire, electric shock, and injury.
Do not expose this product to rain or moisture.
- Keep the device out of direct sunlight and heat sources.
Protect the power cord. Route power cords so that they are not likely to be walked on or pinched by items placed on or against them. Pay particular attention to the point where the cord attaches to the device.
- Only use the AC adapter included with the device. Using any other power adapter voids your warranty.
Do not remove the cover. There are no user-serviceable parts inside.
◆ Clean your Device
Treat the screen gently. To clean fingerprints or dust from the screen, we recommend using a soft, non-abrasive cloth such as a camera lens cloth.
Český
Prohlížení fotek
Fotoaparát
Klikněte na ikonu
Často Kladené Dotazy
Android
Vyberte +: Pre zvýšenie o 1, Vyberte - : pre zmenšenie o 1.
Prehliadanie fotiek
Fotoaparát
Kliknite na ikonu
Instalarea aplicatiilor si dezinstalarea
Instalati aplicatii
Redare video
Video online: Produsul suporta redare video online HTML5
Navigator Foto
Selectati o poza si intrati in interfata de redare a pozelor precum mai jos:

Camera
Click icoana Camera

A: JPG, JPEG, BMP, JPG and PNG.
Videolejátszó:
Képnézegető:
Kamera:
Kattintson a Kamera ikonra

Kattintson a kamerazárra

Your electronic world
Declaraon of Conformity
We, the undersigned:
Declare the following apparatus:
| Products name: | Tablet 7” 8GB |
| Brand and Model name: | OV-BaseTwo |
Hereby we conrm above product compliance with the European direcve of CE :
| EMC : | 2004/108/EC |
| LVD : | 2006/95/EC |
| R&TTE : | 1999/5/EC |
| ROHS : | 2011/65/EU |
| WE : | 1275/2008 |
Below standards were tested and passed :
| EMC : | ETSI EN 301 489-1 V1.8.1 (2008-04)ETSI EN 301 489-17 V2.1.1 (2009-05) |
| LVD : | EN 60950-1:2006 + A11:2009 + A1:2010 + A12:2011 |
| R&TTE : | EN 300328 V1.7.1:2006EN 62311:2008 |
Release date: 21.09.2012
OVERMAX
Your electronic world
OV-BaseTwo
- INSTRUKCJA OBSŁUGI
- PRZEGLĄDARKA ZDJĘĆ
- KAMERA
- BATTERY MANAGEMENT AND CHARGING
- 【TIPS】:
- BOOT AND SHUTDOWN
- CONNECT WITH PC
- BOTTOM BAR OF THE INTERFACE
- THE HOME SCREEN MENU
- BASIC OPERATION
- DATE AND TIME SETTINGS
- DISPLAY SETTINGS
- WIRELESS CONNECTION
- APPLICATIONS INSTALL AND UNINSTALL
- INSTALL APPLICATIONS
- UNINSTALL APPLICATIONS
- BROWSER
- VIDEO PLAYER
- MUSIC PLAYER
- PHOTO BROWSER
- CAMERA
- SOUND RECORDER
- FREQUENTLY ASKED QUESTIONS
- ANDROID
- MUSIC
- VIDEO
- WI-FI
- IMPORTANT SAFETY PRECAUTIONS
- ČESKÝ
- PROHLÍŽENÍ FOTEK
- FOTOAPARÁT
- ČASTO KLADENÉ DOTAZY
- PREHLIADANIE FOTIEK
- INSTALAREA APLICATIILOR SI DEZINSTALAREA
- REDARE VIDEO
- NAVIGATOR FOTO
- VIDEOLEJÁTSZÓ
- KÉPNÉZEGETŐ
- YOUR ELECTRONIC WORLD
- DECLARAON OF CONFORMITY
- OVERMAX
Brand : Overmax
Model : BaseTwo
Category : Tablet