L12DCB15E - Coffee maker Logik - Free user manual and instructions
Find the device manual for free L12DCB15E Logik in PDF.
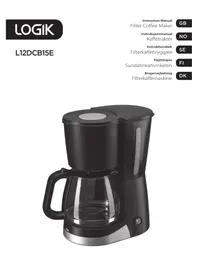


| Product Type | Filter Coffee Maker |
| Brand | Logik |
| Model | L12DCB15E |
| Voltage | 220-240V ~50Hz |
| Power Consumption | 915-1080W |
| Capacity | 12 cups (max water level) |
| Jug Material | Glass |
| Auto Shut-Off | Yes, after 40 minutes of inactivity |
| Keep Warm Plate | Yes |
| Drip-Stop Function | Yes, stops dripping when jug removed |
| Filter Type | Paper (basket filter) |
| Control | ON/OFF switch |
| Safety Features | Auto shut-off, overheat protection (inferred) |
| Cleaning | Descaling with white vinegar solution recommended |
| Included Accessories | Main unit, glass jug, funnel, paper filter, instruction manual |
| Color | Black (as depicted) |
| User Serviceable Parts | None; repairs by qualified personnel only |
| Usage Indoors | Yes, household use |
Frequently Asked Questions - L12DCB15E Logik
User questions about L12DCB15E Logik
0 question about this device. Answer the ones you know or ask your own.
Ask a new question about this device
Download the instructions for your Coffee maker in PDF format for free! Find your manual L12DCB15E - Logik and take your electronic device back in hand. On this page are published all the documents necessary for the use of your device. L12DCB15E by Logik.
USER MANUAL L12DCB15E Logik
Safety Warnings....4
Unpacking....14
Jug Use and Care....15
Product Overview....15
First Time Use....16
Operation 16
Funnel Assembly 17
Cleaning and Maintenance ....18
Cleaning Mineral Deposits....18
Hints and Tips....19
Specifications....19
For your continued safety and to reduce the risk of injury or electric shock, please follow all the safety precautions listed below.
- Read all the instructions carefully before using this appliance and keep them for future reference.
- Retain the manual. If you pass the appliance on to a third party, make sure to include this manual. • Make sure that your outlet voltage corresponds to the voltage stated on the rating label of the appliance.
- Unplug the appliance from the mains socket when not in use, or before cleaning any part of the appliance.
- Do not operate any appliance with a damaged mains cable or mains plug, or in an abnormal state. If the mains cable is damaged it must be replaced by the manufacturer, its service agent, or similarly qualified persons in order to avoid a hazard.
- Do not use an extension cable, it may result in fire, electrical shock and/or personal injuries.
- Do not let the mains cable hang over the edge of the table or counter, or touch hot surfaces.
- To disconnect, remove the mains plug from the mains socket. Never pull the mains cable to remove the mains plug from mains socket. • Never immerse the appliance in water and always keep the electrical contacts dry.
- Be careful not to get scalded by the steam. • Use handles or oven gloves. Accessible surfaces may get hot.
- Do not touch the appliance whilst in use as there are hot surfaces on this appliance.
- Never use the appliance if the jug shows any signs of cracks. Only use the jug supplied with this appliance. Handle the jug with caution as it is very fragile. • Never leave an empty jug on the warming plate otherwise the jug is liable to crack. • Never switch your appliance on without water in it.
- Stand the appliance on a stable flat surface before use. • Only use the appliance for its intended domestic use.
- This appliance can be used by persons aged from 8 years and above and persons with reduced physical, sensory or mental capabilities, or lack of experience and knowledge if they have been given supervision or instructions concerning the use of the appliance in a safe way and understand the hazards involved. Children should not play with the appliance. Cleaning and user maintenance should not be made by children unless they are older than 8 years old and are supervised.
- Keep the appliance and its cord out of reach of children less than 8 years old. • This appliance is intended for indoor household use and similar applications such as:
– farm houses and by clients in hotels, motels and other residential type environment;
– bed and breakfast type environment;
– catering and similar non-retail applications.
Children should be supervised to ensure that they do not play with the appliance.
Thank you for purchasing your new Filter Coffee Maker.
We recommend that you spend some time reading this instruction manual in order that you fully understand all the operational features it offers. You will also find some hints and tips to help you resolve any issues.
Read all the safety instructions carefully before use and keep this instruction manual for future reference.
Unpacking
Remove all items from the packaging. Retain the packaging. If you dispose of it please do so according to local regulations.
The following items are included:
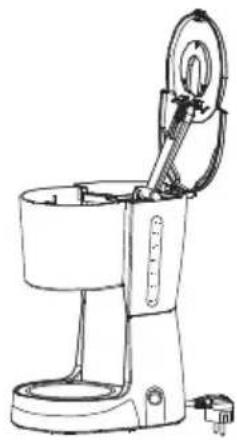
The Main Unit
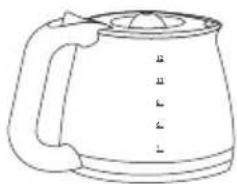
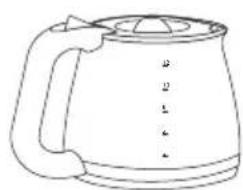
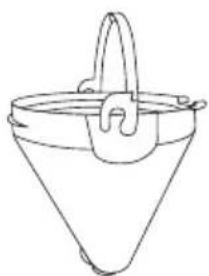
Jug Funnel
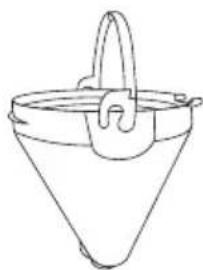
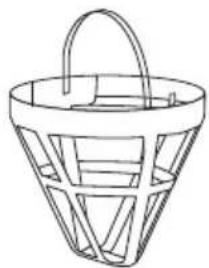
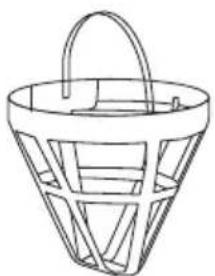
Filter
Instruction Manual
The jug may break if the following instructions are not followed:
- Do not set a hot jug on a wet or cold surface.
- Do not use a cracked jug or a jug with a loose or weakened handle.
- Do not clean the jug with cleaners, steel wool pads or other abrasive materials.
- Discard the jug immediately if it has boiled dry.
- Avoid sharp blows, scratches or rough handling.

To reduce the risk of fire or electrical shock, do not remove any service covers. There are no user serviceable parts inside. Repairs should be done by qualified personnel only.
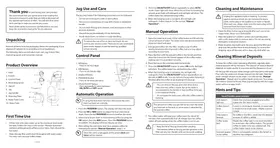
Product Overview
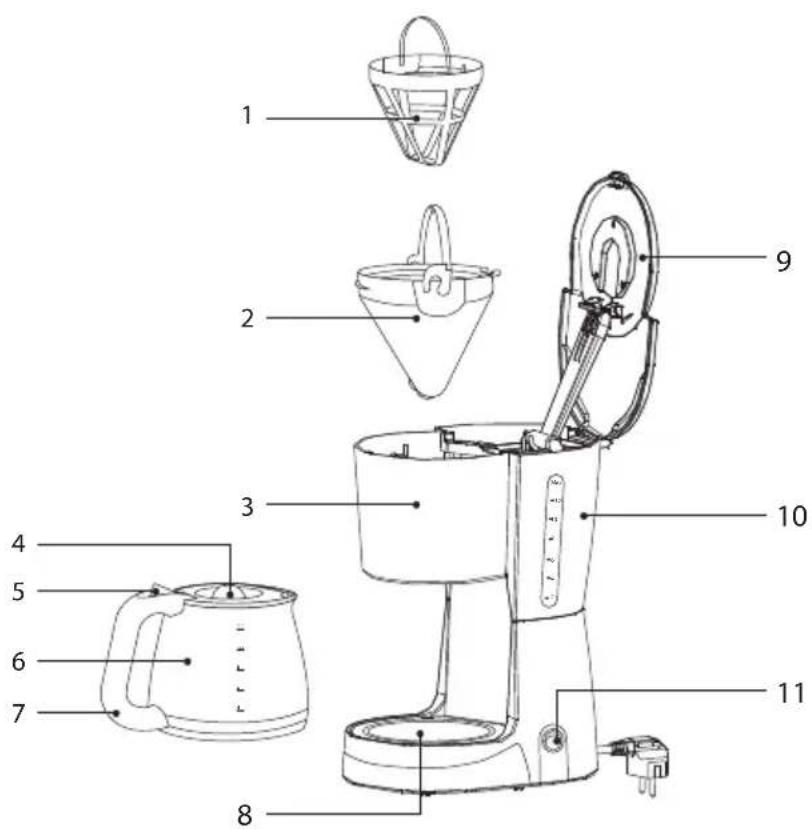
- Filter
- Funnel
- Funnel Support
- Jug Lid
- Open Lid Button
- Jug
- Jug Handle
- Warming Plate
- Water Tank Cover
- Water Tank
- ON/OFF Switch
- Fill the tank with clean water up to the maximum level 12. Follow the steps in "OPERATION" (without adding ground coffee) once or twice, then discard the hot water.
- Clean the jug, lid and funnel thoroughly with warm water. You may now use your coffee maker.

If the unit is idle for more than 40 minutes, it will automatically switch off. Push the power switch to OFF and then to ON to switch on the unit again.
Operation
- Open the water tank cover of the coffee maker and fill with the correct amount of water. The water level should not exceed the maximum level 12.
- Add ground coffee into the filter. Usually a cup of coffee needs a level spoonful of ground coffee, but you may adjust according to your taste.
- Place the filter with the ground coffee in the funnel and then place the funnel into the funnel support of the coffee maker, making sure it is assembled correctly, see the section "Funnel Assembly" for details.
- Place the jug on the warming plate horizontally.
- Plug the mains cable into the mains socket and switch the coffee maker on with the ON/OFF switch. The unit will start.

- You can remove the jug, pour and serve at any time once the coffee is made. The coffee maker will stop dripping automatically. The jug must be replaced within 15 seconds as the water is accumulated in the funnel which may overflow if the jug is not replaced shortly.
- Do not open the tank cover while the coffee maker is brewing.
- You can remove the jug when brewing is finished (about one minute after the coffee stops dripping into the jug).

If the unit is idle for more than 40 minutes, it will automatically switch off. Push the power switch to OFF and then to ON to switch on the unit again.
- Always turn the coffee maker off and unplug the mains cable from the mains socket when the coffee maker is not in use.

- Keep the lid of the jug closed when pouring.
- The brewed coffee in the jug and the grounds in the filter are very hot. Handle with care to avoid scalding.

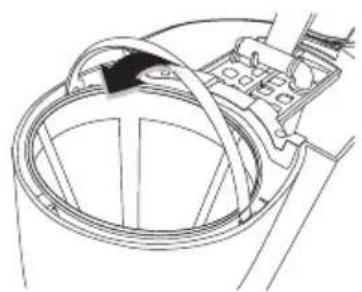
- Water will spill out of the funnel if the funnel is not locked firmly and properly. - The funnel should not move when locked properly.
- With the tank cover open, locate the slot on both sides of the coffee maker.
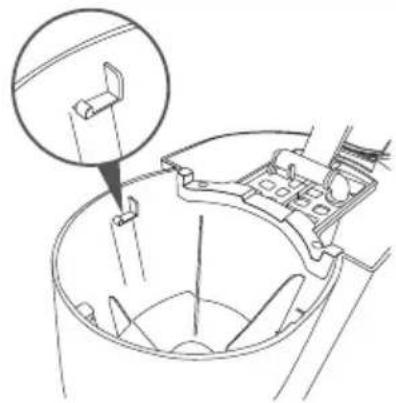
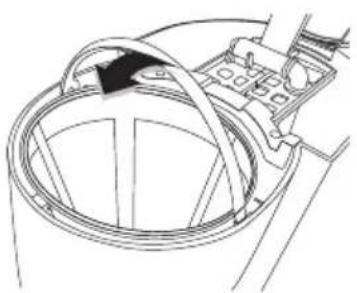
- Locate the tabs on the funnel and lower the funnel into the coffee maker with the handle upright.
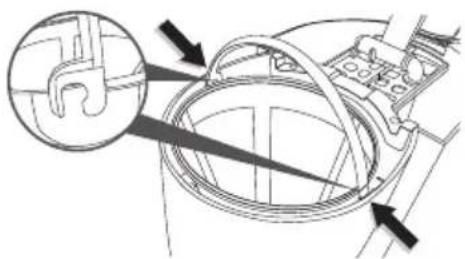
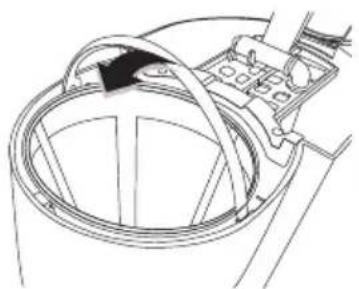
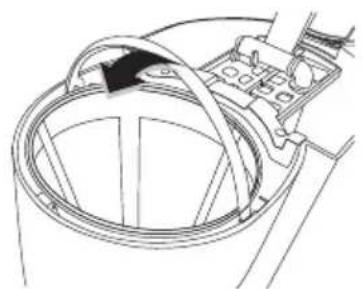
- Firmly press the funnel into the coffee maker till the funnel sits firmly in the tank, while holding the handle upright.
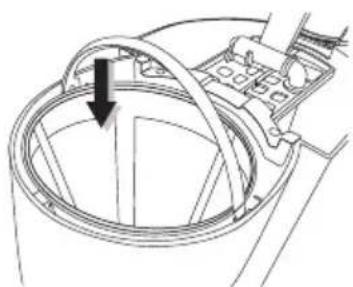
- Lower the handle.
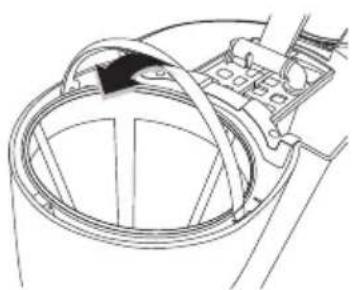

Be sure to unplug this appliance before cleaning. To protect against electrical shock, do not immerse the mains cable, mains plug or the appliance in water or liquids. After each use, always make sure the mains plug is first removed from the mains socket.
- Clean the filter, jug and jug lid after each use in hot, soapy water.
- Wipe the appliance's exterior surface with a soft, damp cloth to remove stains. Do not use strong detergents or aggressive cleaners.
- Water droplets may build up in the area above the filter and drip onto the product base during brewing. To control the dripping, wipe off the area with a clean, dry cloth after use.
- Use a damp cloth to gently wipe the warming plate. Never use abrasive cleaners to clean it.
Cleaning Mineral Deposits
To keep your coffee maker operating efficiently, you should regularly clean mineral deposits left by the water. The amount of mineral deposit will depend on the water quality in your area and the frequency of use.
Fill the jug with one part white vinegar and three parts cold water. Pour the water and vinegar mixture into the tank (do not place any coffee grounds in the appliance). Heat the water-vinegar solution as per steps 1-6 in the section "OPERATION". Repeat until no yellow liquid comes out, then pour away the mixture. Clean the filter, funnel, jug and jug lip with hot soapy water until no vinegar is left.
| Question Answer | |
| Why doesn’t the ON/OFF switch light up? | Check that you have plugged your coffee maker into the mains socket. |
| Why doesn’t the coffee brew? The funnel is not properly inserted, or there is a power outage, or the water tank is empty. | |
| Why does the coffee maker only brew water? | There is no coffee in the filter, check that you have added the desired amount of coffee. |
| Why does the coffee taste bad? Maybe you did not use the coffee grind recommended for automatic drip coffee makers. The ground coffee-to-water ratio was unbalanced. The coffee maker needs to be cleaned. | |
| Why do grounds appear in the coffee? | The filter is not properly seated in the funnel or the filter has collapsed. |
Specifications
| Model L12DCB15E | |
| Voltage Rating 220-240V ~50Hz | |
| Power Consumption 915-1080W |
Features and specifications are subject to change without prior notice.
NO
Thank you for purchasing your new Logik coffee maker.
Main unit
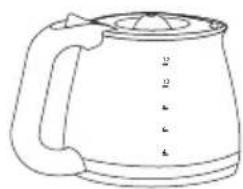
Jug Funnel
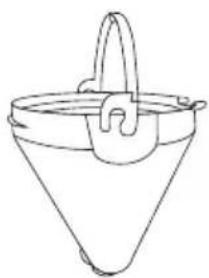
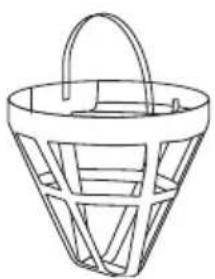
Filter
Instruction manual
- Filter
- Trakt
- Traktstøtte
- Kannelokk
- Lokkåpnerknapp
- Kanne
- Kannehåndtak
- Varmeplate
- Deksel til vanntank
- Vanntank
- PÅ/AV-bryter
NO
Førstegangsbruk
- Lower the handle.

Main unit
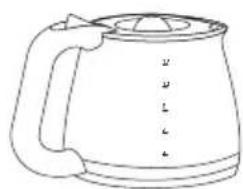
Jug Funnel
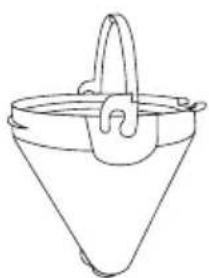
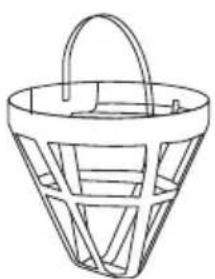
Filter
Instruction manual
- Lower the handle.

Device
Jug Funnel
Filter
User guide
- Lower the handle.

Main unit
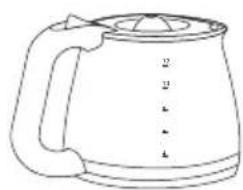
Jug Funnel
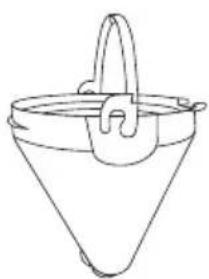
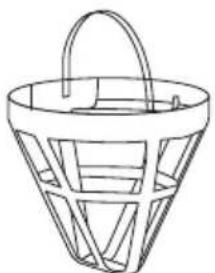
Filter
User guide


The symbol on the product or its packaging indicates that this product must not be disposed of with your other household waste. Instead, it is your responsibility to dispose of your waste equipment by handing it over to a designated collection point for the recycling of waste electrical and electronic equipment. The separate collection and recycling of your waste equipment at the time of disposal will help conserve natural resources and ensure that it is recycled in a manner that protects human health and the environment.
For more information about where you can drop off your waste for recycling, please contact your local authority, or where you purchased your product.
NO
GB www.knowhow.com/knowledgebank
NO www.elkjop.no/support
www.lefdal.com/support
SE www.elgiganten.se/support
Brand : Logik
Model : L12DCB15E
Category : Coffee maker