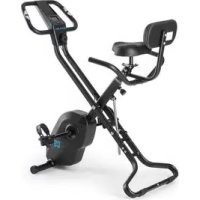
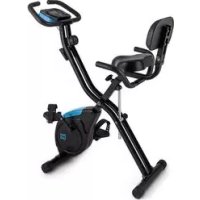
Swizor X - Exercise bike Capital Sports - Free user manual and instructions
Find the device manual for free Swizor X Capital Sports in PDF.


User questions about Swizor X Capital Sports
0 question about this device. Answer the ones you know or ask your own.
Ask a new question about this device
Download the instructions for your Exercise bike in PDF format for free! Find your manual Swizor X - Capital Sports and take your electronic device back in hand. On this page are published all the documents necessary for the use of your device. Swizor X by Capital Sports.
USER MANUAL Swizor X Capital Sports
natural_image
Line drawing of a stationary exercise machine with adjustable arm and legs (no text or symbols)Congratulations on purchasing this product. Please read and follow these instructions, in order to avoid damaging the item. We do not cover any damages that may arise from improper use of the item or the disregard of the safety instructions.
General Safety Notice
- Read all instructions before using.
- Do not place on or near a hot gas or electric burner or in a heated oven.
- To protect against a fire, electric shock or personal injury, do not immerse cord, electric plugs or device in water or other liquids.
- Do not expose the appliance to extreme temperatures. The appliance shall be used in moderate climates.
- Disconnect the appliance from the power source if it is not going to be used for a long time, if there is a thunderstorm or if it isn't working properly.
- The use of attachments that are not recommended by the appliance manufacturer may result in fire, electric shock or personal injury.
- The appliance is not a toy. Do not let the children play with it. Never let children insert foreign objects into the appliance.
- Do not use the appliance for other than intended use. This appliance has been designed solely for domestic use; the manufacturer's liability shall not be engaged in the event of any professional use, by any misuse or by any use not complying with the operating instructions.
- Save these instructions.
Special safety advice for the use of sports equipment
- Check all the bolts, nuts and other connections before using the machine for the first time to ensure the machine is in the safe condition.
- Place a suitable base (e.g. rubber mat, wooden board etc.) beneath the machine in the area of assembly to avoid dirt.
• Before beginning the training, remove all objects within a radius of 2 meters from the machine. - Your health can be affected by incorrect or excessive training. Consult a doctor before beginning the training program. He can define the maximum setting (Pulse. Watts. Duration of training etc) to which you may train yourself and can get precise information during training. This machine is not suitable for therapeutic purpose.
- Only train on the machine when it is in correct working way. Use only original spare parts for any necessary repairs.
- This machine can be used for only one person's training at a time.
- Wear training clothes and shoes that are suitable for fitness training with the machine. Your training shoes should be appropriate for the trainer.
- If you have a feeling of dizziness, sickness or other abnormal symptoms, please stop training and consult a doctor immediately.
- People such as children and handicapped persons should only use the machine in the presence of another person who can give aid and advice.
- The power of the machine increases with increasing the speed, and the reverse. The machine is equipped with adjustable knob that can adjust the resistance.
• Maximum user's weight is 120KGS.
natural_image
Technical line drawing of a mechanical component with no visible text or symbolsNO.1
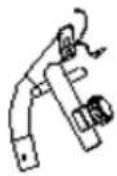
NO.2
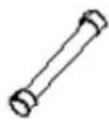
NO.3
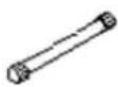
NO.4
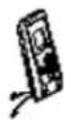
NO.13
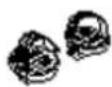
NO.6
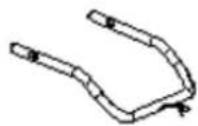
NO.8
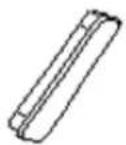
NO.11
natural_image
Simple line drawing of a mechanical lever or support structure (no text or symbols)NO.5
NO.10
NO.12
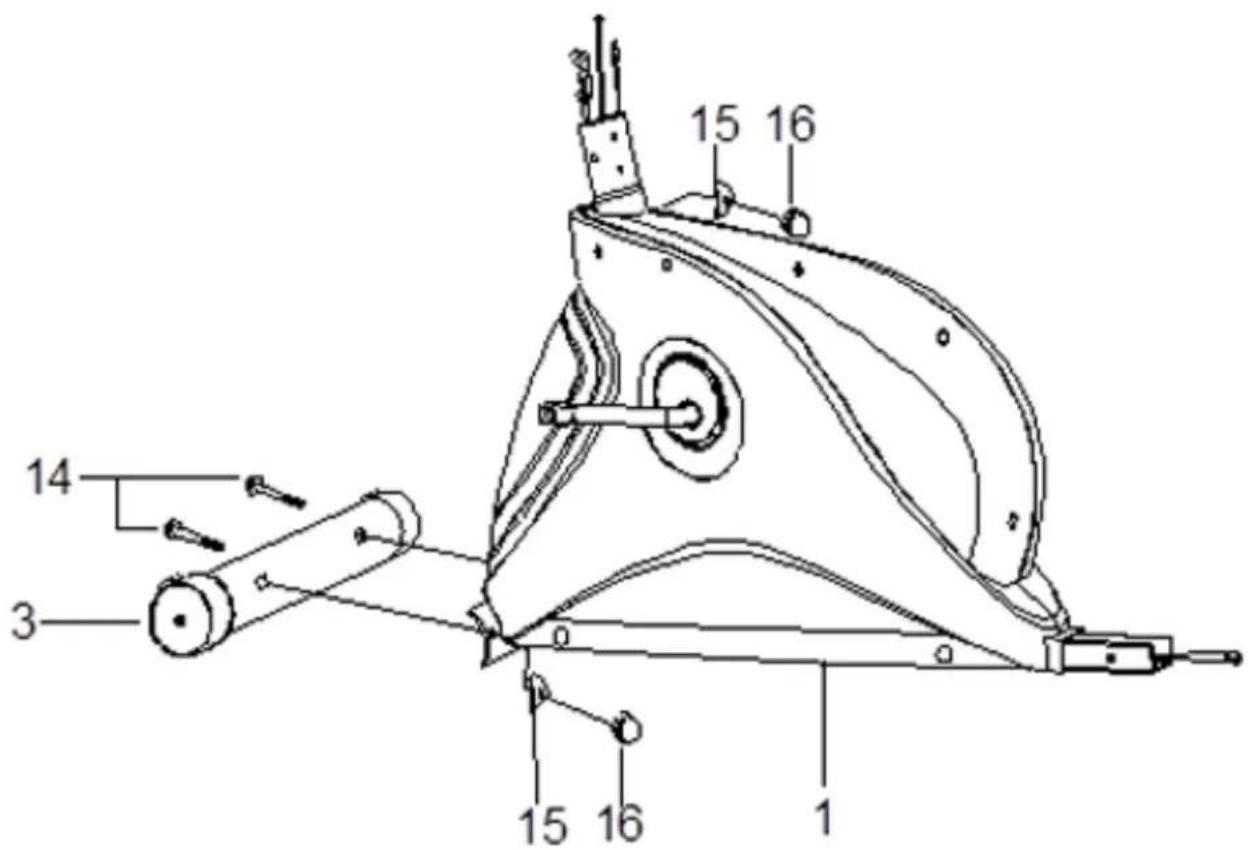
Attach the front stabilizer (3) to the front of the main frame (1), fasten with two carriage bolts (14), two curved washers (15) and two domed nuts (16).
text_image
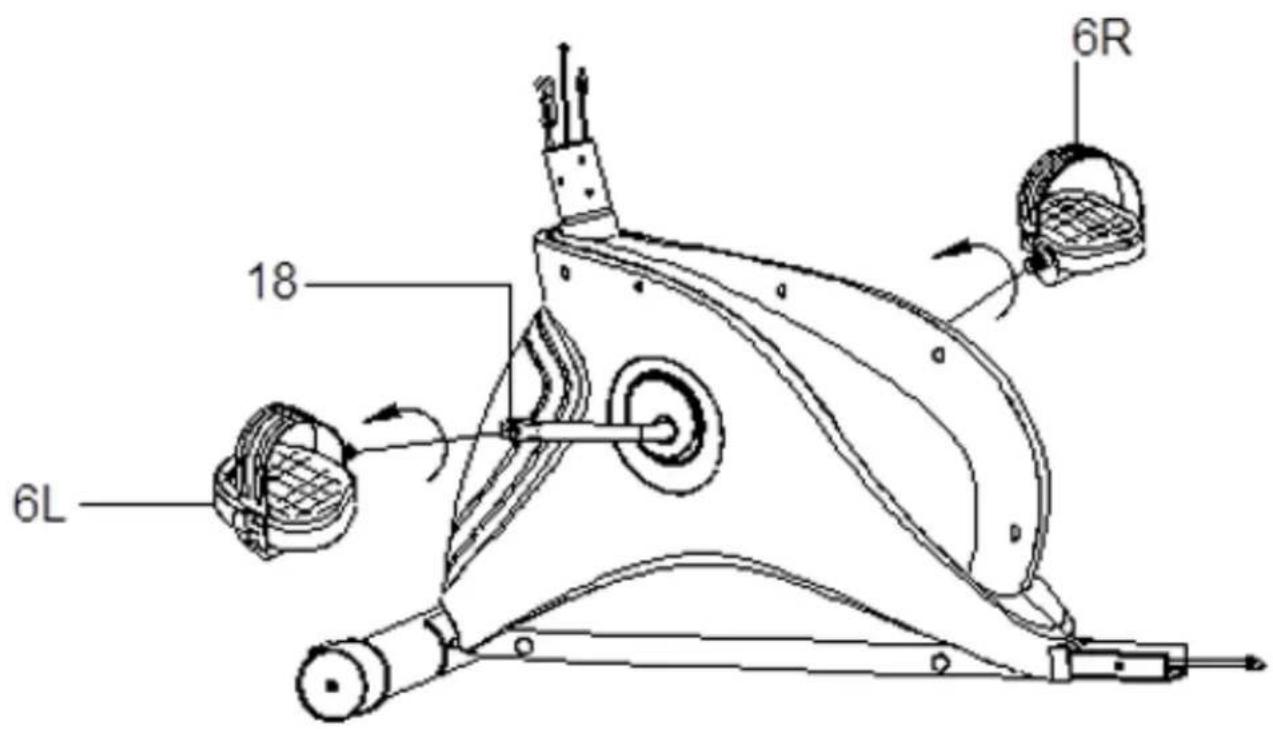
1 14 3 15 16 15 16 1Verbinden Sie die Pedale (6L / 6R) mit den Kurbelarmen am Hauptrahmen. Bitte beachten Sie: das linke Pedal muss gegen den Uhrzeigersinn eingeschraubt werden! The pedals (6L & 6R) are marked „L“ and „R“ - Left and Right. Connect them to their appropriate crank arms (18) on the main frame. The crank right arm is on the right- hand side of the cycle as you sit on it. Note : The right pedal should be threaded on clockwise and the left pedal anticlockwise.
text_image
6R 18 6LA.
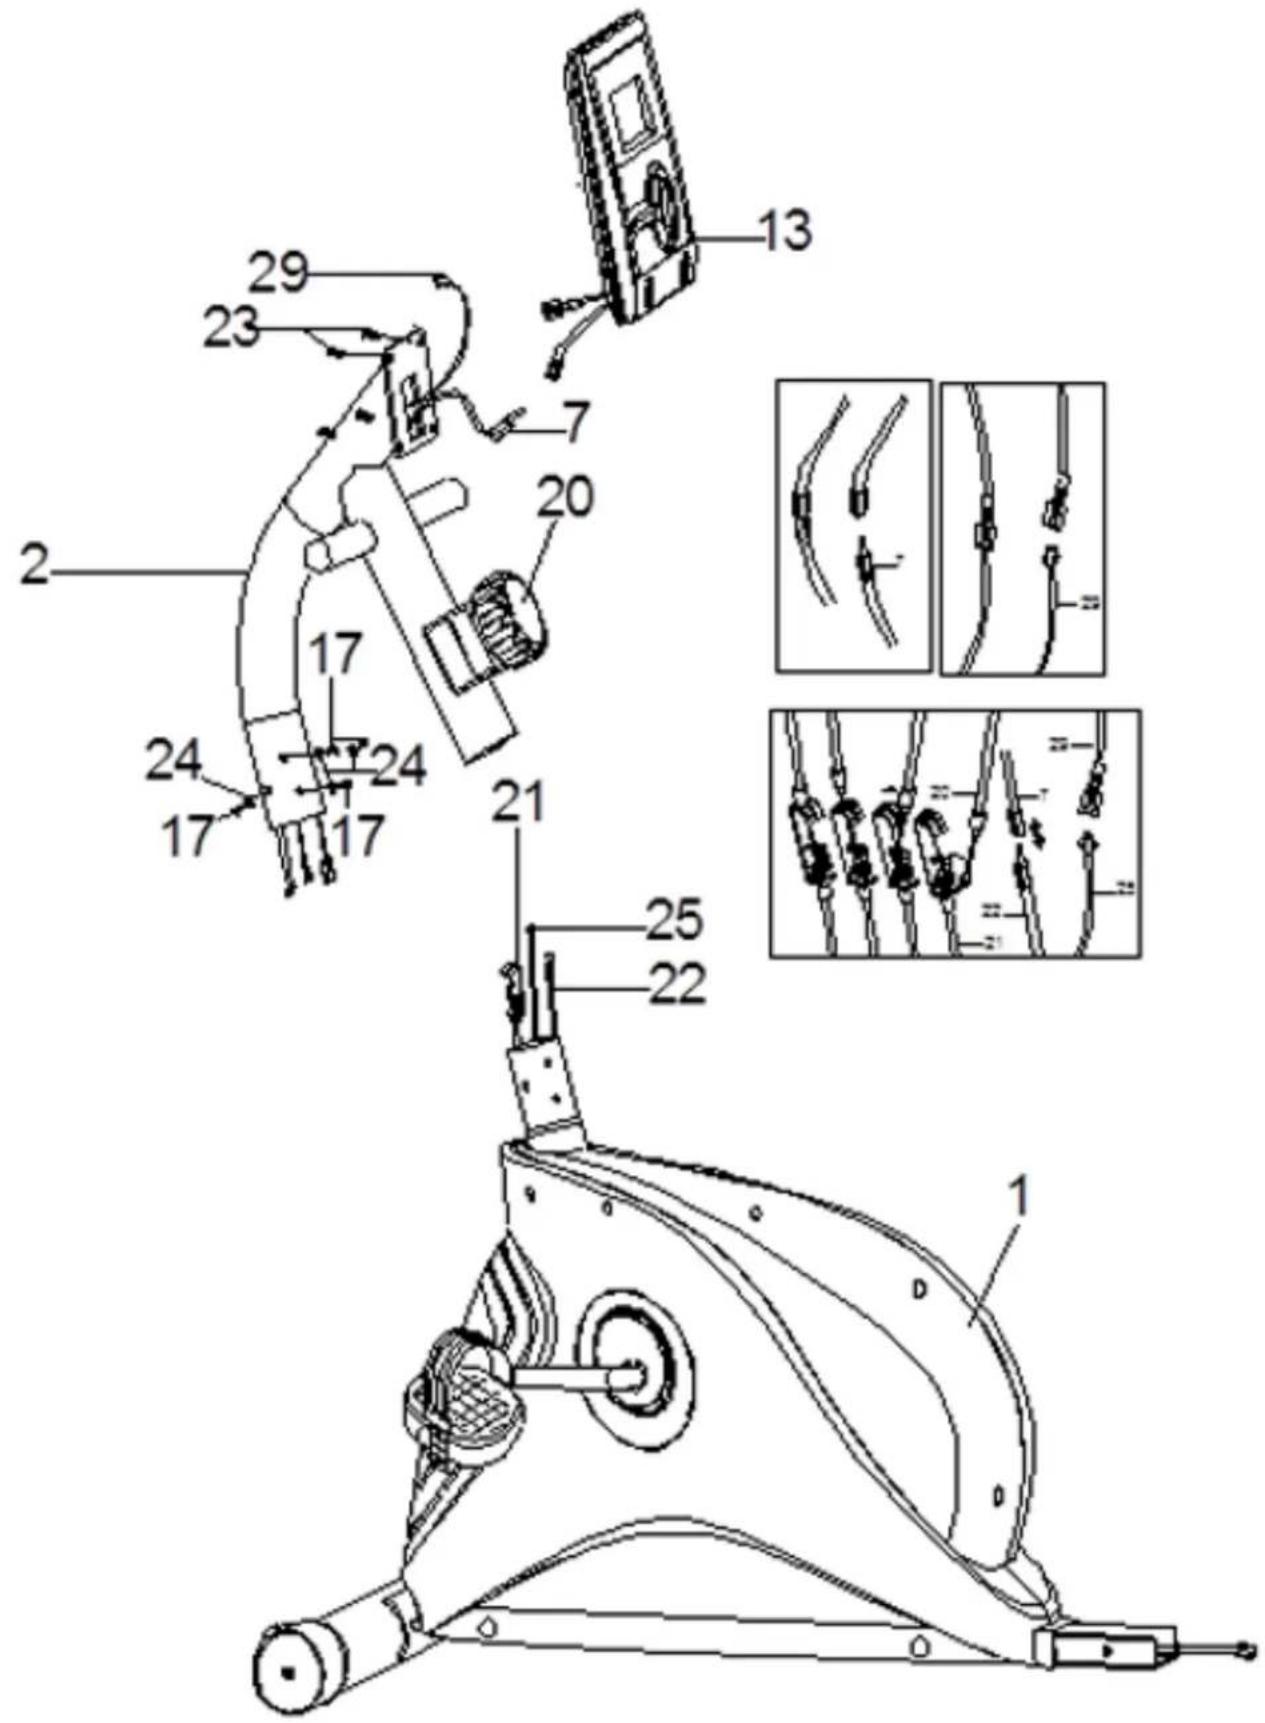
- Connect the bottom side of pulse wire 1 (7) with pulse wire 2 (22). Connect the bottom side of sensor wire 1 (29) with sensor wire 2 (25).
- Connect the extension cable of tension knob (20) with the lower tension cable (21).
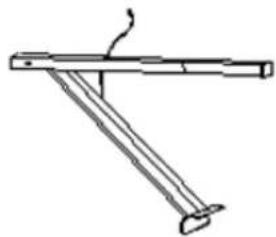
- Insert the front support (2) into the main frame (1) and fasten it with four sets of allen bolts (17) and curved washers (24).
B.
• Take down the four screws (23) which are pre-assembled on the meter (13).
- Connect the pulse wire 1 (7) with the pulse wire from the back of meter (13).
- Connect the sensor wire 1 (29) with the sensor wire from the back of meter (13).
• Then fasten the meter (13) with four screws (23).
text_image
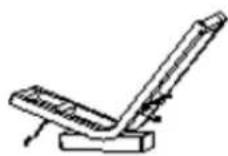
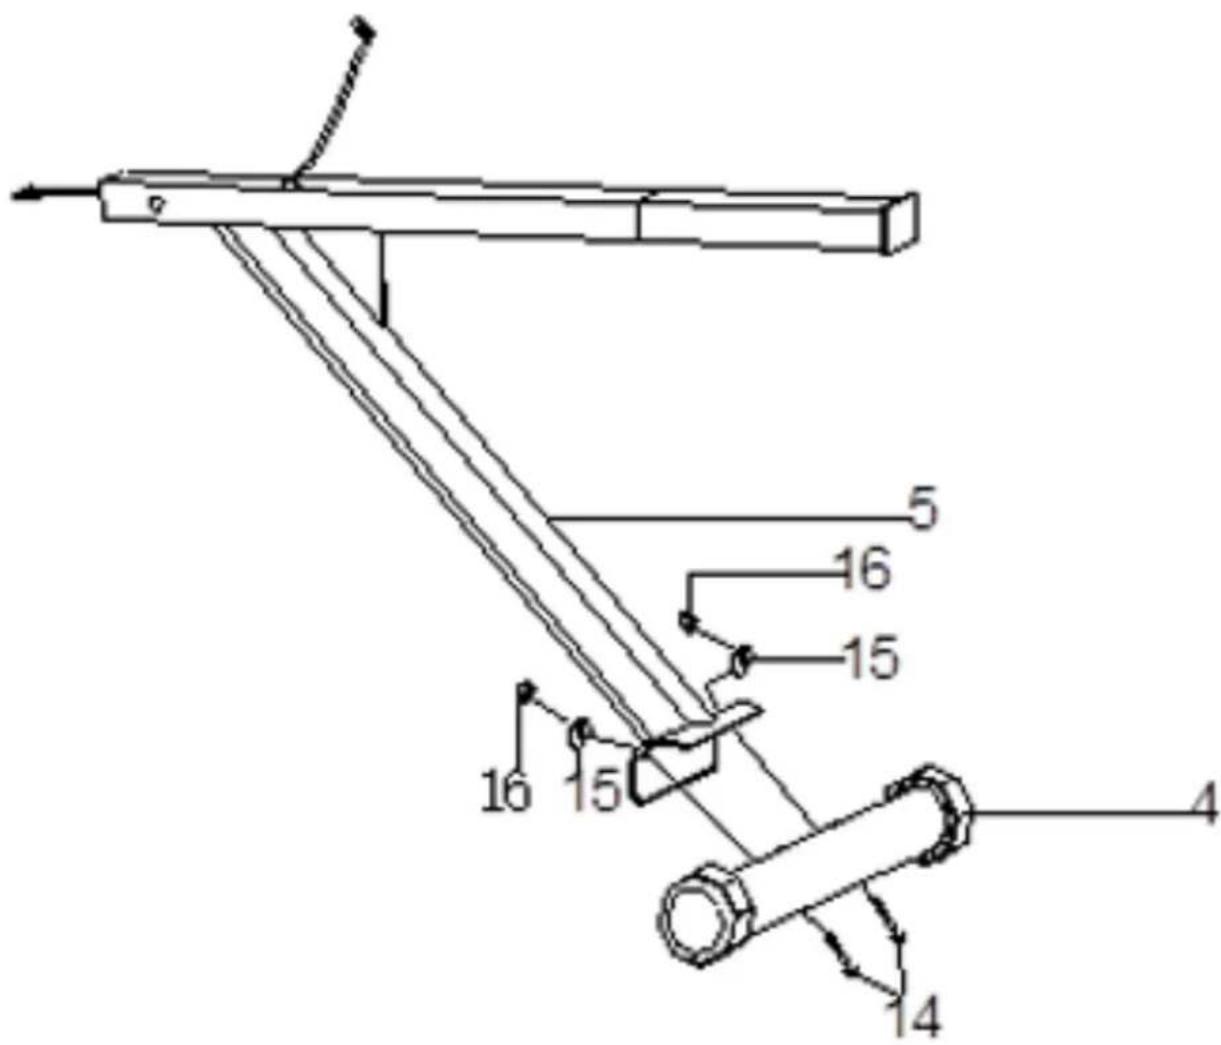
Technical diagram of a mechanical device with numbered parts and close-up insets for assembly or maintenance.Attach the rear stabilizer (4) to the rear of the rear support tube (5), fasten with two carriage bolts (14), two curved washers (15) and two domed nuts (16).
text_image
5 16 15 16 15 4 14Schritt 5 Step 5
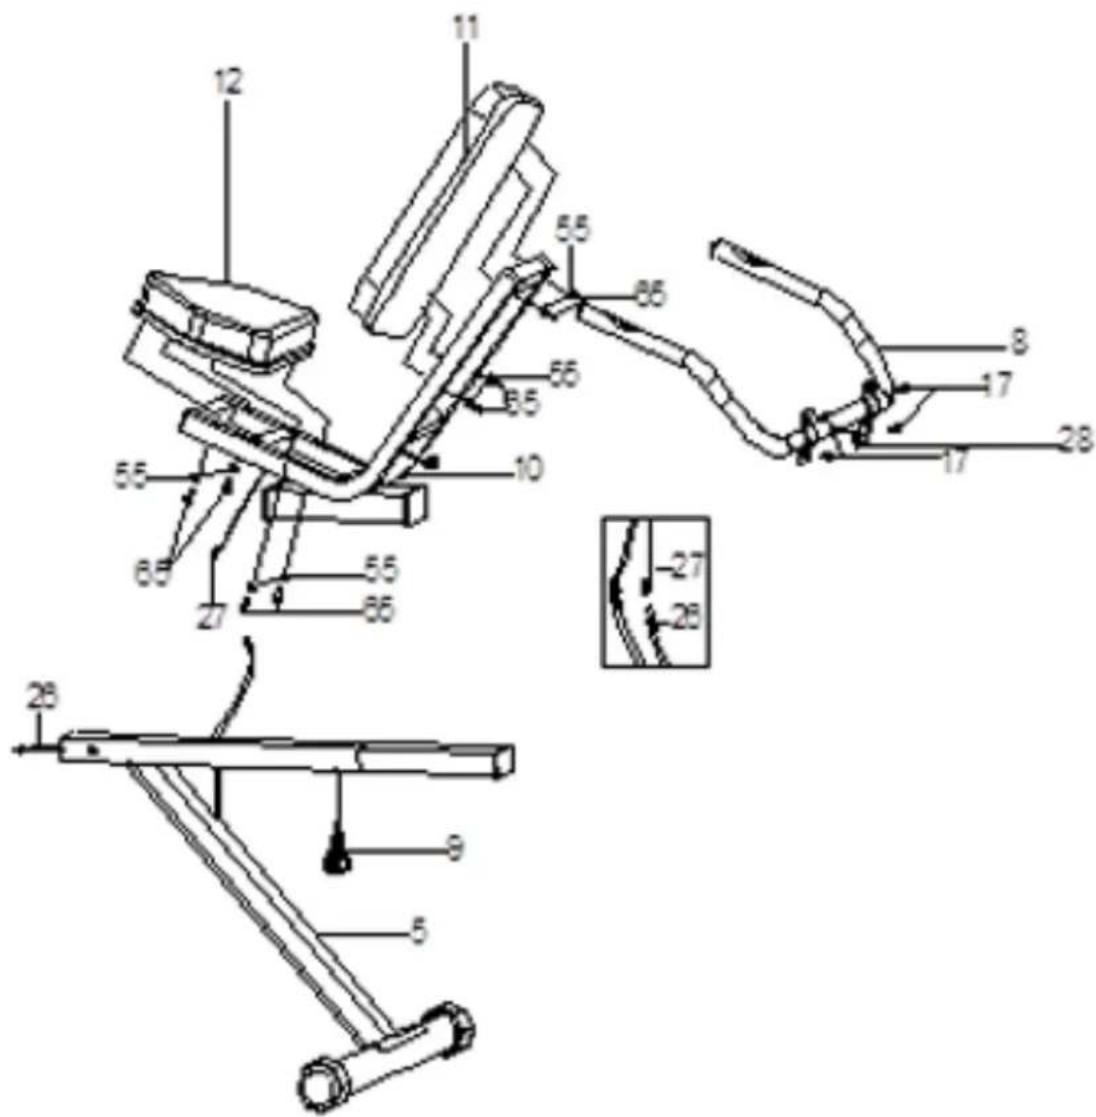
- Connect the pulse wire 3 (26) with pulse wire 4 (27).
- Attach the backrest support (10) to the rear support tube (5) and fasten it with a quick release knob (9) which you can adjust to the desired height.
- Attach the backrest (11) to the backrest support (10) and fasten it with four sets of allen screws (65) and flat washers (55).
- Attach the seat (12) to the backrest support (10) and fasten it with four sets of allen screws (65) and flat washers (55).
- Attach the handlebar (8) to the backrest support (10) and fasten it with four allen bolts (17). Connect pulse wire 4 (27) with hand pulse wire (28).
text_image
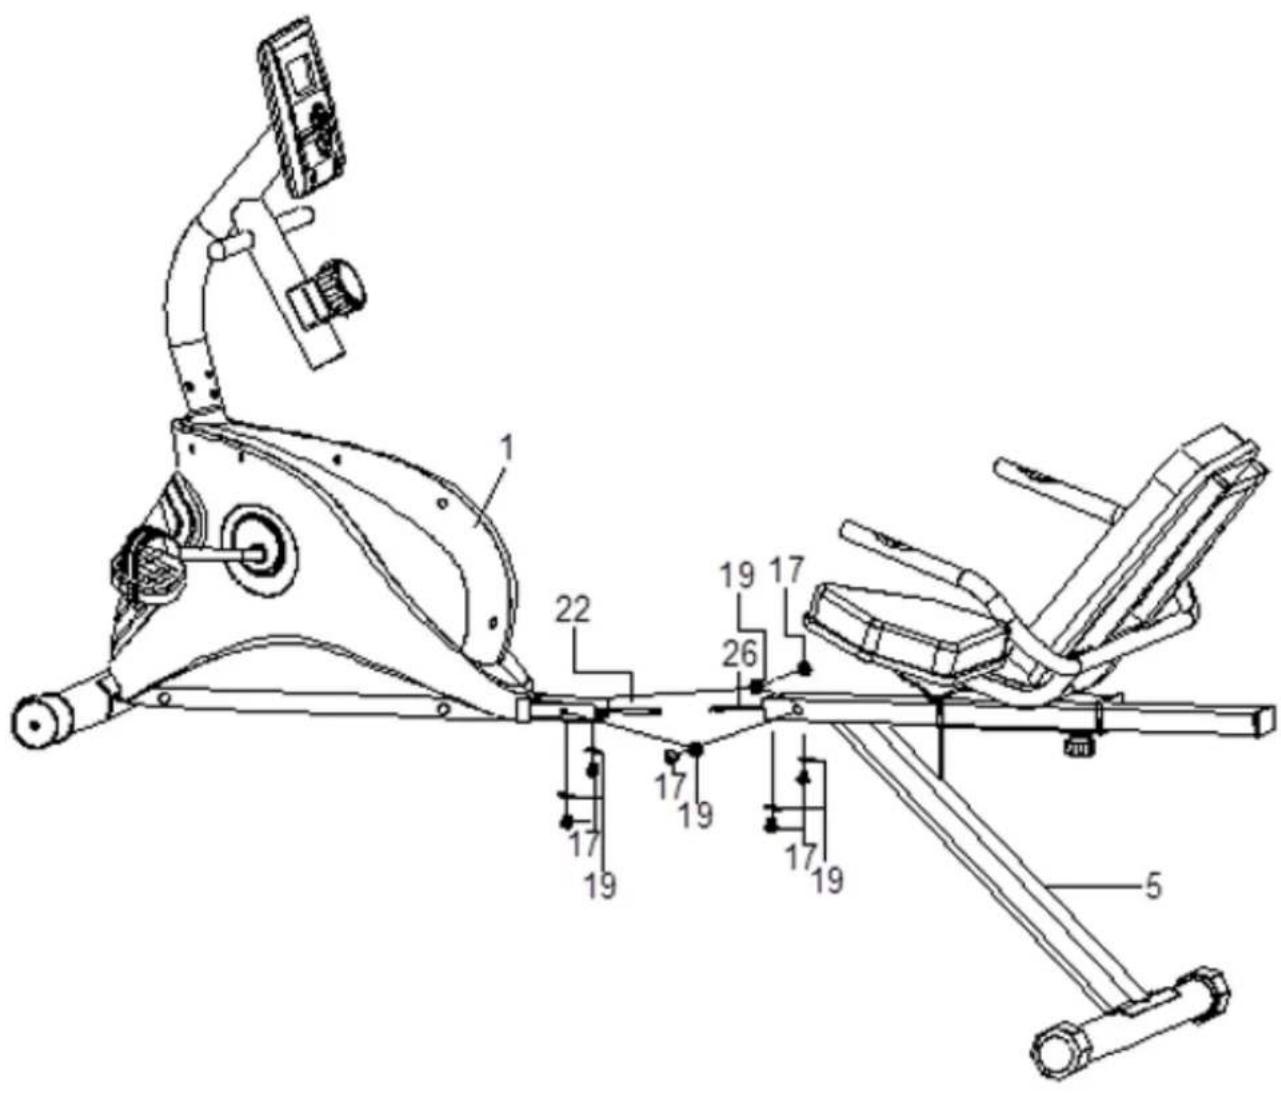
Technical diagram of a mechanical assembly with numbered components and dimension annotationsConnect the pulse wire 2 (22) with pulse wire 3 (26). Insert the sliding tube of rear support tube (5) into the main frame (1) and fasten it with six sets of allen bolts (17) and flat washers (19).
text_image
Technical diagram of a stationary exercise machine with numbered components and labeled parts
Trainings-Computer
Funktionen
You should input your personal data before workout. Press BODY FAT key to enter your personal data of sex, age, height and weight then the computer can save the data unless take out the batteries.
B. Clock Mode:
- The computer will enter the clock mode when there is no signal input or no keys be pressed after 4 minutes. You can press ENTER key to switch the clock and temperature at the clock mode or press other keys to quit the clock mode.
- You can set up the TIME or ALARM by holding ENTER key for over 2 seconds then you can set up TIME and ALARM by UP or DOWN keys.
- By holding the ENTER and UP keys together for over two seconds, you can check the current clock at "NO SPEED" mode.
Functions and Features
CLOCK Display the current clock in hour and minute and second.
| ALARM | You can set up your morning call or setting time by this computer and it will beep alarm 1 minute when your setting time is reached. |
| TEMPERATURE Display the current temperature. | |
| SCAN | During the exercise stage, the computer will automatically scan the function of TIME, SPEED, DISTANCE,CALORIES, PULSE, RPM,BODY FAT and PULSE RECOVERY per each for 6 seconds unless press the ENTER key to exit the auto-scan function. When the computer exits the manual-scan then the message window will show “SCAN” for 2 seconds then switch to auto-scan function. |
| TIME | hows your elapsed workout time in minutes and seconds. Your computer will automatically count up from 0:00 to 99:59 in one second intervals. You many also program your computer to count down from a set value by using the UP and DOWN keys. If you continue exercising once the time has reached 0:00, the computer will begin beeping, and reset itself to the original time set, letting you know your workout is done. |
| SPEED | Displays your workout speed value in KM/MILE per hour. If no speed signal input then the computer will display “NO SPEED” on the window. |
| DISTANCE | Displays the accumulative distance traveled during each workout up to a maximum of 99.9KM/MILE. |
| CALORIES | Your computer will estimate the cumulative calories burned at any given time during your workout. |
| PULSE | Your computer displays your pulse rate in beats per minute during your workout. If no pulse signal input then the computer will display “NO pulse” on the window. |
| RPM Your pedal cadence. | |
| AGE | Your computer is age-programmable from 10 to 99 years. If you do not set an age, this function will always default to age 35.During the START stage, leave your hands holding on grips or leave the chest transmitter attached and then press “PULSE RECOVERY” key, then the computer will show “HOLD SENSOR” to remind you. Time starts counting from 01:00 - 00:59 - - to 00:00. As soon as 00:00 is reached, the computer will show your heart rate recovery status with the grade F1.0 to F6.0 and message window will show your workout situation. The details as follows, |
| PULSE RECOVERY | 1.0 = OUSTANDING1.0 < F < 2.0 = EXCELLENT2.0 < F < 2.9 = GOOD3.0 < F < 3.9 = FAIR4.0 < F < 5.9 = BELOW AVERAGE6.0 = POORNote: If no pulse signal input then the computer will show “NO PULSE” on the message window. If the computer show “DETECTED FAIL” on the message window, please re-press the PULSE RECOVERY key and please make sure your hands are keeping well on the grips or the chest transmitter is attached well. |
Key function:
| UP | During the setting mode, press the key to increase the value of Time, Distance, Calories, Age, Weight, Height etc. and to select sex. During the CLOCK mode, you can set up clock and alarm by this key. |
| DOWN | During the setting mode, press the key to decrease the value of Time, Distance, Calories, Age, Weight, Height etc. and to select sex. During the CLOCK mode, you can set up clock and alarm by this key.Note: During the setting mode, you can hold UP and DOWN keys together for over two seconds then the setting value will reset to Zero or default value. |
| ENTER/RESET | a. Press the key to accept the current data entry.b. During the “NO SPEED” mode, by holding this key for over two seconds then the computer will re-power-on. |
| BODY FAT Press the key to enter your personal data before measure your body fat ratio. | |
| MEASURE | Press the key to get your body fat ratio and BMI and BMR.FAT %: Indicate your body fat percentage after measurement.BMI (Body Mass Index): BMI is a measure of body fat based on height and weight that applies to both adult men and women.BMR (Basal Metabolic Rate): Your Basal Metabolic Rate (BMR) shows the number of calories your body needs to operate. This doesn’t account for any activity, it’s simply the energy needed to sustain a heartbeat, breathing and normal body temperature. It measures the body at rest, not sleep, at room temperature. |
| PULSE RECOVERY See above | |
Error Messages
E: The speed over than 999.9 MPH/KPH then the computer will display "E".
Err: When measure the body fat function or pulse recovery function, if there is no pulse signal input within 20 seconds then the computer will display "Err". You can repress any keys to quit the Err message.
Disposal Considerations
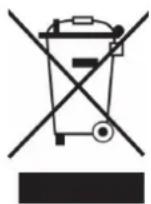
According to the European waste regulation 2002/96/EC this symbol on the product or on its packaging indicates that this product may not be treated as household waste. Instead it should be taken to the appropriate collection point for the recycling of electrical and electronic equipment. By ensuring this product is disposed of correctly, you will help prevent potential negative consequences for the environment and human health, which could otherwise be caused by inappropriate waste handling of this product. For more detailed information about recycling of this product, please contact your local council or your household waste disposal service.
Your product contains batteries covered by the European Directive. 2006/66/EC, which cannot be disposed of with normal household waste. Please check local rules on separate collection of batteries. The correct disposal of batteries helps prevent potentially negative consequences on the environment and human health.
Declaration of Conformity
Producer: Chal-Tec GmbH, Wallstraße 16, 10179 Berlin, Germany.
This product is conform to the following European Directives:
2004/108/EC (EMC) 2011/65/EU (RoHS)
CE