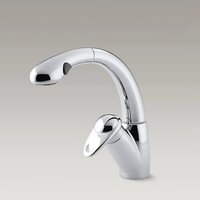
Avatar K-6350 - Faucet KOHLER - Free user manual and instructions
Find the device manual for free Avatar K-6350 KOHLER in PDF.


User questions about Avatar K-6350 KOHLER
0 question about this device. Answer the ones you know or ask your own.
Ask a new question about this device
Download the instructions for your Faucet in PDF format for free! Find your manual Avatar K-6350 - KOHLER and take your electronic device back in hand. On this page are published all the documents necessary for the use of your device. Avatar K-6350 by KOHLER.
USER MANUAL Avatar K-6350 KOHLER
Single-Control Kitchen Sink Faucets
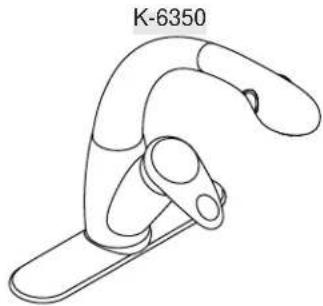
natural_image
Line drawing of a mechanical clamp or bracket with no text or symbolsM product numbers are for Mexico (i.e. K-12345M)
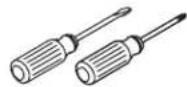
Assorted
Screwdrivers

Plumbers
Putty
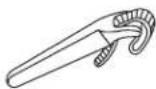
Strap Wrench

Thread Sealant
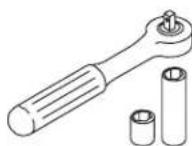
Socket Wrench with 7/16" Deep Socket
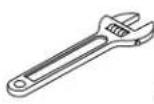
Adjustable Wrench
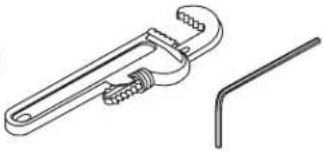
natural_image
Technical line drawing of an adjustable wrench and a separate angle tool (no text or symbols)Pipe Wrench
5/64" Hex Wrench
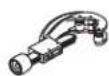
Tube Cutter
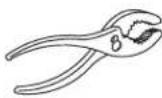
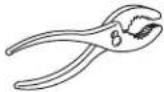
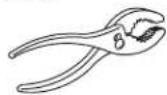
Pliers
Thank You For Choosing Kohler Company
We appreciate your commitment to Kohler quality. Please take a few minutes to review this manual before you start installation. If you encounter any installation or performance problems, please don't hesitate to contact us. Our phone numbers and web site are listed on the back cover. Thanks again for choosing Kohler Company.
Before You Begin
☐ Do not attach a dishwasher to the faucet spray outlet.
□ Observe all local plumbing codes and building codes.
□ Shut off the water supplies.
□ Carefully inspect waste and supply tubing for any sign of damage and replace if necessary.
☐ For new installations, assemble the faucet onto the sink before installing the sink.
☐ Before installation, unpack the new faucet and inspect it for damage. Return the faucet to the carton until you are ready to install it.
☐ Do not remove the faucet ground joints, as they contain important back-siphonage protection.
☐ Kohler Co. reserves the right to make revisions in the design of faucets without notice, as specified in the Price Book.
text_image
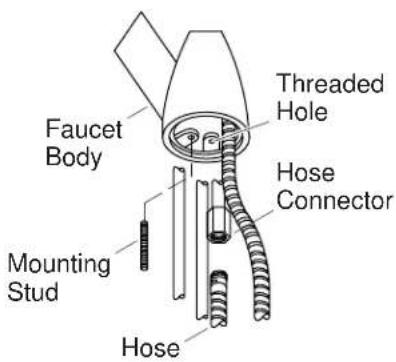
Faucet Body Mounting Stud Hose Threaded Hole Hose Connector1. Install the Mounting Stud
□ Disconnect the hose from the hose connector.
☐ Screw the mounting stud into the threaded hole at the bottom of the faucet body. The mounting stud should extend slightly beyond the threaded hole in the body.
text_image
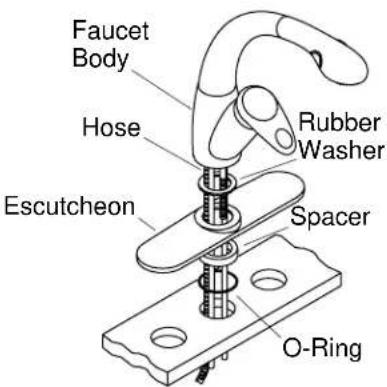
Faucet Body Hose Rubber Washer Escutcheon Spacer O-Ring2. Install the Escutcheon (Optional)
NOTE: For installation on marble, do not use plumbers putty. Use the self-adhesive gaskets provided. Remove the paper backing and apply the gaskets (adhesive side down) over the outside holes.
For 1-hole Installations:
☐ The escutcheon, spacer, and O-ring are not required. Slide the rubber washer over the faucet tubing and hose.
☐ Insert the faucet tubing and hose into the hole.
For 3-hole Installations:
□ Apply a bead of plumbers putty to the underside of the escutcheon according to the putty manufacturer's instructions.
☐ Insert the O-ring into the groove in the spacer.
☐ Slide the rubber washer, escutcheon, and spacer (O-ring side down) over the faucet tubing and hose.
☐ Insert the faucet tubing and hose into the center hole, carefully aligning the escutcheon.
□ Press down on the escutcheon.
□ Remove any excess putty.
text_image
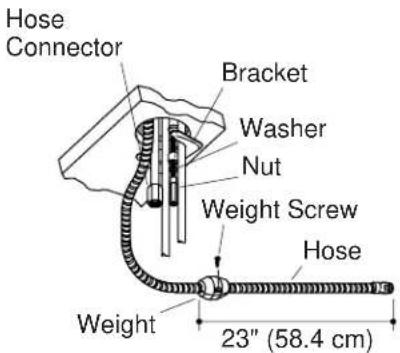
Hose Connector Bracket Washer Nut Weight Screw Hose Weight 23" (58.4 cm)3. Faucet Installation
☐ Position the bracket, washer and nut onto the mounting stud from the underside of the sink.
□ Position the faucet and escutcheon on the sink to obtain the desired alignment.
☐ Tighten the nut to secure the faucet onto the sink. For best access, use a socket wrench with a 7/16" deep socket.
NOTE: The weight must be installed to act as a pull stop and to prevent kinking damage to the hose.
☐ Attach the weight to the hose 23" (58.4 cm) from the loose end of the hose. The weight may be moved to adjust the pull-out length of the hose.
□ Carefully tighten the weight screws. Do not overtighten.
□ Reconnect the hose to the hose connector.
text_image
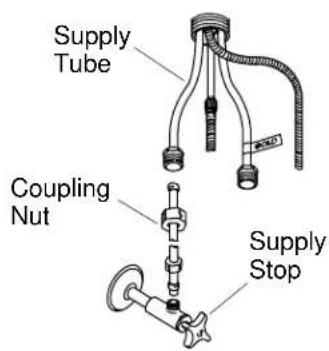
Supply Tube Coupling Nut Supply Stop4. Install the Supplies

CAUTION: Risk of restricted waterflow and product damage. Use extreme care when bending the supply tubes to avoid kinking.

CAUTION: Risk of back siphonage. Do not remove the ground joints from this faucet. The ground joints contain very important back-siphonage protection.
□ Install the sink using the sink manufacturer's instructions.
□ Connect the supply tubes to the supply stops. Left is hot, right is cold.
□ Tighten all connections.

natural_image
Line drawing of a kitchen sink with a coiled hose and handle (no text or symbols)5. Installation Checkout
□ Ensure that all coupling nuts are tight.
☐ Ensure that the lever handle is in the down position.
□ Remove the sprayhead and screen from the end of the hose.
□ Position the hose in the sink.
□ Turn on the main water supply.
□ Open the valve for one minute to flush the fitting.
□ Close the valve.
□ Reattach the sprayhead and screen.
□ Turn on the water and check for leaks.
□ Adjust as needed.
text_image
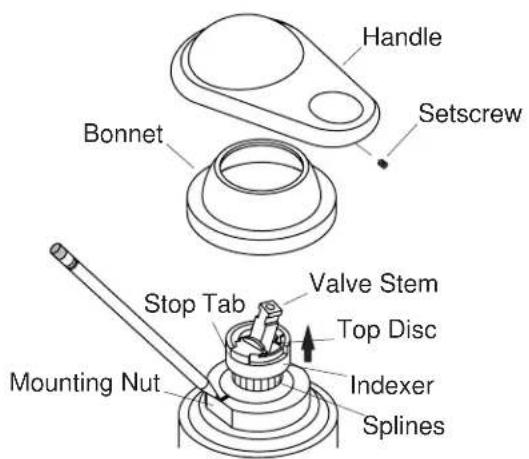
Handle Bonnnet Setscrew Stop Tab Valve Stem Top Disc Mounting Nut Indexer Splines6. Water Temperature Adjustments
NOTE: Prior to adjustment, make sure the handle is in the maximum hot position.
□ Remove the handle, setscrew, and bonnet.
☐ Turn on the water to the maximum temperature by pushing the valve stem up and turning it clockwise.
☐ Mark the current position of the temperature stop tab (top edge) on the mounting nut with a marker or pencil.
☐ Lift the indexer and top disc just enough to clear the valve splines and to allow rotation.
NOTE: Each spline notch is an average 9.5^ F ( 5.3^ C) change in temperature.
☐ Turn the indexer, top disc and valve stem counterclockwise until the desired temperature is achieved.
☐ Reinstall the indexer and top disc to the valve, making sure the top disc is snapped fully into the indexer.
☐ Turn off the water by pulling the valve stem down.
□ Reinstall the bonnet, handle, and setscrew.
natural_image
Technical line drawing of an adjustable wrench and a separate angle tool (no text or symbols)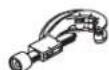
Pinces
natural_image
Line drawing of a kitchen faucet with a coiled hose (no text or symbols)natural_image
Technical line drawing of an adjustable wrench and a separate angle tool (no text or symbols)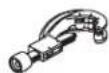
Llave ajustable
Llave para tubo
Llave hexagonal de 5/64"
Cortatubos
Pinzas




