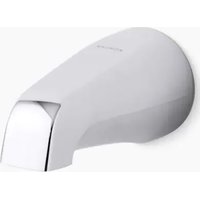
Coralais K-15135-S - Faucet KOHLER - Free user manual and instructions
Find the device manual for free Coralais K-15135-S KOHLER in PDF.


User questions about Coralais K-15135-S KOHLER
0 question about this device. Answer the ones you know or ask your own.
Ask a new question about this device
Download the instructions for your Faucet in PDF format for free! Find your manual Coralais K-15135-S - KOHLER and take your electronic device back in hand. On this page are published all the documents necessary for the use of your device. Coralais K-15135-S by KOHLER.
USER MANUAL Coralais K-15135-S KOHLER
natural_image
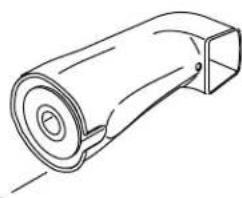
Simple line drawing of a curved, elongated object resembling a handle or bracket (no text or symbols)K-15137 K-15138
natural_image
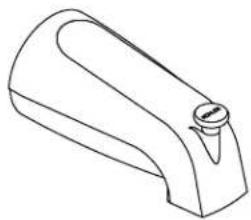
Line drawing of a mechanical component with a curved top and flange (no text or symbols)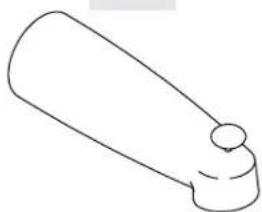
natural_image
Simple line drawing of a cylindrical object with a rounded top and a small circular protrusion at the bottom (no text or symbols)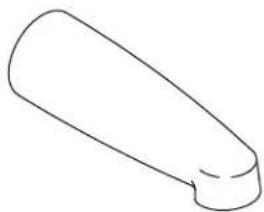
natural_image
Simple line drawing of a rounded rectangular object with a tapered end (no text or symbols)□ Observe all local plumbing and building codes.
□ Shut off the main water supply.
1. Prepare the Site
IMPORTANT! Secure the piping to the framing.
□ Install or relocate the water supplies as necessary.
NOTE: A typical bath and shower installation uses 1/2" copper tubing and adapters.
□ Use thread sealant on all threaded connections.
☐ Temporarily install 1/2"nipples to the bath and shower elbows, extending at least 2"(51 mm) beyond the finished wall.
□ Turn on the water supply and check for leaks.
□ Complete the finished wall.
Threaded Spouts
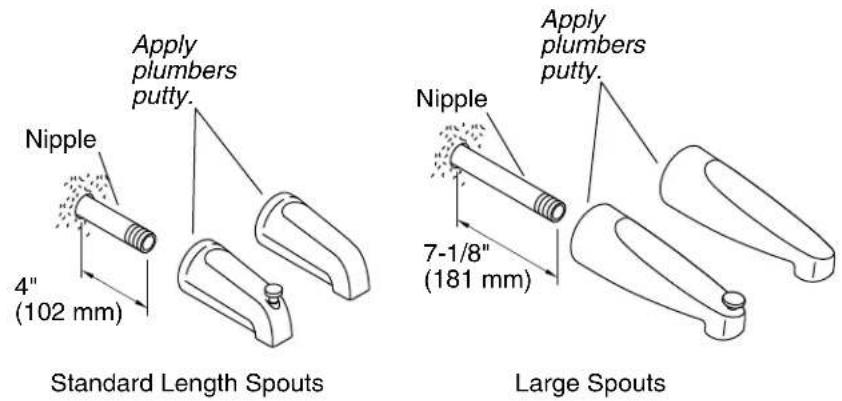
2. Install the Threaded Spout
NOTE: The following instructions are for threaded spout installations only. For slip-fit spout installations, proceed to the next section.
□ Remove the temporary nipple.
☐ If you are installing the standard spout, apply thread sealant and install a 1/2"NPT nipple, extending 4"(102 mm) beyond the finished wall, to the bath elbow.
☐ If you are installing the 8"(203 mm) spout, apply thread sealant and install a 1/2"NPT nipple, extending 7-1/8"(181 mm) beyond the finished wall, to the bath elbow.
□ Apply a bead of plumbers putty or other sealant to the back of the escutcheon according to the manufacturer's instructions.
□ Apply thread sealant to the nipple, and install the spout to the nipple.
□ Carefully tighten with a clean strap wrench.
□ Remove any excess putty.
text_image
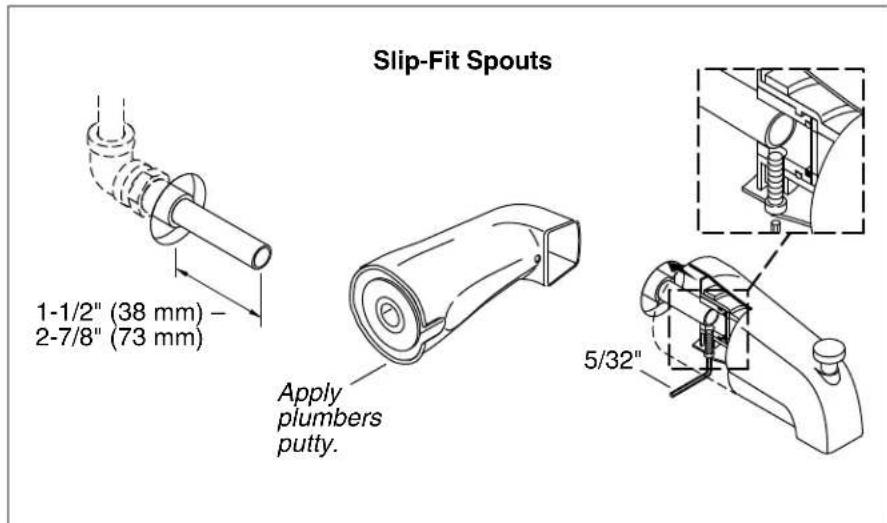
Slip-Fit Spouts 1-1/2" (38 mm) - 2-7/8" (73 mm) Apply plumbers putty. 5/32"3. Install the Slip-Fit Spout
NOTE: The following instructions are for slip-fit spout installations only. For threaded spout installations, go to the preceding section.
□ Remove the temporary nipple from the bath elbow.
☐ Install a tube that extends 1-1/2" to 2-7/8" past the finished wall.
□ Use emery paper to remove any burrs and to smooth the edge of the copper tubing.
☐ Loosen the setscrew with a 5/32"hex wrench.
☐ Slide the spout onto the copper tubing, push the spout base against the finished wall, and then carefully retighten the setscrew. Do not overtighten the setscrew.
□ Remove all excess putty or sealant.
text_image
1-1/2" (38 mm)1-1/2" (38 mm) 2-7/8" (73 mm)