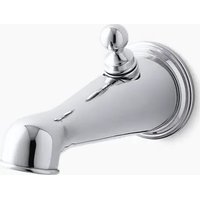
Antique K-330 - Faucet KOHLER - Free user manual and instructions
Find the device manual for free Antique K-330 KOHLER in PDF.


User questions about Antique K-330 KOHLER
0 question about this device. Answer the ones you know or ask your own.
Ask a new question about this device
Download the instructions for your Faucet in PDF format for free! Find your manual Antique K-330 - KOHLER and take your electronic device back in hand. On this page are published all the documents necessary for the use of your device. Antique K-330 by KOHLER.
USER MANUAL Antique K-330 KOHLER
Wall Mount Bath Spout
K-328 K-330
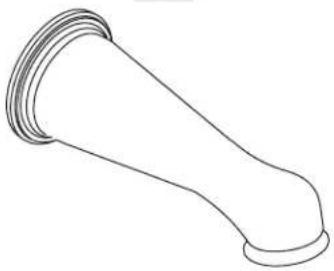
natural_image
Line drawing of a mechanical component with a flanged end and rounded top (no text or symbols)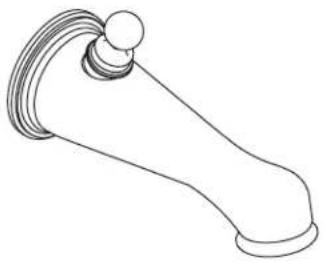
natural_image
Line drawing of a handle with a circular knob and curved base (no text or symbols)M product numbers are for Mexico (i.e. K-12345M)
Thank You For Choosing Kohler Company
We appreciate your commitment to Kohler quality. Please take a few minutes to review this manual before you start installation. If you encounter any installation or performance problems, please don't hesitate to contact us. Our phone numbers and website are listed on the back cover. Thanks again for choosing Kohler Company.
Before You Begin
□ Observe all local plumbing and building codes.
□ Shut off the main water supply.
☐ Kohler Co. reserves the right to make revisions in the design of products without notice, as specified in the Price Book.
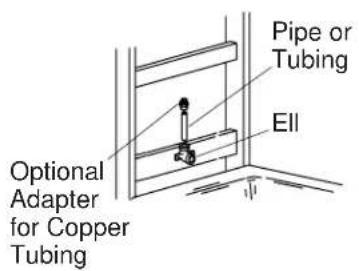
text_image
Optional Adapter for Copper Tubing Pipe or Tubing Ell1. Prepare the Site
□ Determine the installation location of the spout and install the support framing as required.
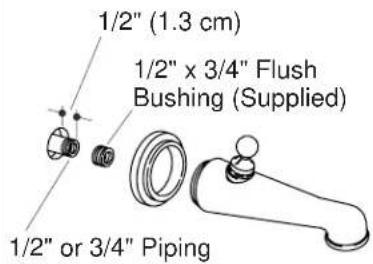
☐ When installing a spout with a diverter, install a 3/4" (or 1/2") temporary nipple, extending a minimum of 2" (5.1 cm) beyond the finished wall.
☐ When installing a non-diverter spout, install a 1/2" temporary nipple extending a minimum 2" (5.1 cm) beyond the finished wall.
□ Securely fasten the bath members to the framing.
☐ Turn on the water and check for leaks. Repair as required.
text_image
1/2" (1.3 cm) 1/2" x 3/4" Flush Bushing (Supplied) 1/2" or 3/4" Piping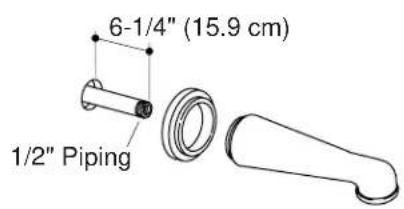
text_image
6-1/4" (15.9 cm) 1/2" Piping2. Install the Spout
When installing a spout with a diverter:
□ Remove the temporary nipple.
☐ If 3/4" piping is used, install a 3/4" nipple to extend 1/2" (1.3 cm) beyond the finished wall.
☐ If 1/2" piping is used, the supplied 3/4" to 1/2" reduction bushing should be installed now. Install a 1/2" nipple extending 1/2" (1.3 cm) beyond the finished wall.
□ Apply a bead of plumbers putty or other sealant to the back of the spout flange according to the manufacturer's instructions.
□ Slide the spout flange onto the spout.
□ Apply thread sealant to the nipple, and install the spout to the nipple.
□ Carefully tighten with a clean strap wrench.
When installing a non-diverter spout:
□ Remove the temporary nipple.
☐ Install a 1/2" nipple extending 6-1/4" (15.9 cm) beyond the finished wall.
□ Apply a bead of plumbers putty or other sealant to the back of the spout flange according to the manufacturer's instructions.
□ Slide the spout flange onto the spout.
Install the Spout (cont.)
□ Apply thread sealant to the nipple, and install the spout to the nipple.
□ Carefully tighten with a clean strap wrench.




