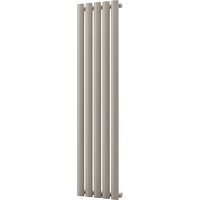
Tallheo - Frying Pan Blumfeldt - Free user manual and instructions
Find the device manual for free Tallheo Blumfeldt in PDF.


| Product type | Water radiator for central heating |
| Brand | Blumfeldt |
| Model | Tallheo |
| Category | Stove (wall-mounted radiator) |
| Material | Steel |
| Available dimensions | 60x30 cm to 180x41 cm, single or double layer |
| Typical height | 160 cm or 180 cm depending on model |
| Typical width | 30 cm to 100 cm depending on model |
| Estimated weight | 10 to 25 kg depending on size and configuration |
| Installation type | Wall-mounted, fixing with brackets and wall plugs |
| Supply | Hot water from central heating (temperature 0-100°C) |
| Main function | Heating rooms by radiation and convection |
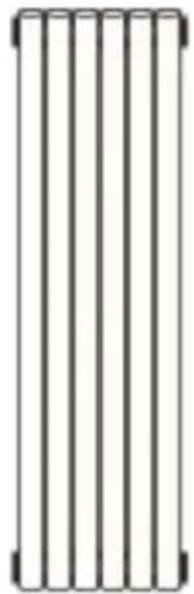
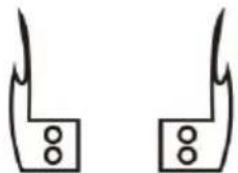
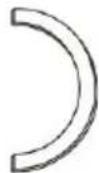
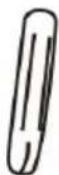
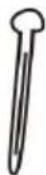
| Included components | Radiator, wall brackets (x4), silicone seals (x4), wall plugs (x8), long screws (x8), bleeder valve plug (x1), sealing plugs (x3) |
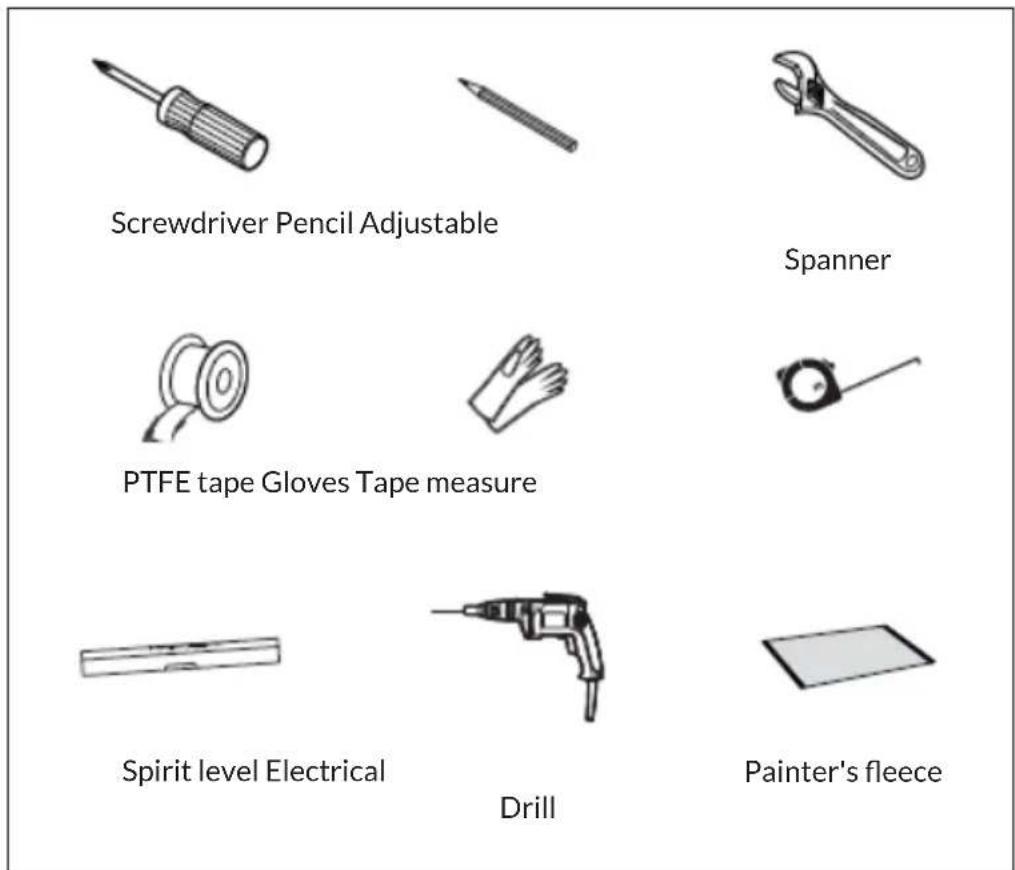
| Required tools | Screwdriver, pencil, flat wrench, PTFE tape, gloves, tape measure, spirit level, drill with 10 mm bit |
| Maintenance and cleaning | Wipe with a soft damp cloth; do not use abrasive or corrosive products |
| Child safety | Do not climb, grab or play with the radiator; hot surface during operation |
| Installation precautions | Comply with local regulations; sufficiently strong wall; bleed air after installation |
| Minimum ambient temperature | 1°C (below, drain to avoid freezing) |
| Maximum surface temperature | 48°C (above, attach a warning label) |
| Repairability | Bleeder plugs, sealing plugs and valves replaceable; leaks from welding require replacement |
| Warranty | Consult the seller or manual for terms |
Frequently Asked Questions - Tallheo Blumfeldt
User questions about Tallheo Blumfeldt
0 question about this device. Answer the ones you know or ask your own.
Ask a new question about this device
Download the instructions for your Frying Pan in PDF format for free! Find your manual Tallheo - Blumfeldt and take your electronic device back in hand. On this page are published all the documents necessary for the use of your device. Tallheo by Blumfeldt.
USER MANUAL Tallheo Blumfeldt


Tallheo
Heizkörper
Radiator
Radiateur
Radiador
Radiatore
| 10045402 | 10045403 | 10045404 | 10045405 | ||
| 10045406 | 10045407 | 10045408 | 10045409 | 10045410 | 10045411 |
| 10045412 | 10045413 | 10045414 | 10045415 | 10045416 | 10046802 |
| 10046803 | 10046804 | 10046805 | 10046806 | 10046807 | 10046808 |
| 10046809 | 10046810 | 10046811 | 10046812 | 10046813 | 10046814 |
| 10046815 |
Congratulations on your purchase. Please read the following instructions carefully and follow them to prevent potential damage. We accept no liability for damage caused by disregarding the instructions or improper use. Please scan the QR code to access the latest operating instructions and for further information about the product.
Cher client, chère cliente,
English 13
Français 23
Español 33
Italiano 43
INHALTSVERZEICHNIS
Berlin Brands Group UK Limited
PO Box 42
272 Kensington High Street
London, W8 6ND
United Kingdom
SICHERHEITSHINWEISE
Safety instructions 14
Required tools 15
Scope of delivery 15
Installation 17
After installation 21
Cleaning and care 21
Troubleshooting 22

TECHNICAL DATA
| Article number Dimensions (H x W) | |
| 10045402, 10045403, 10045404 60 x 100 cm - double layer | |
| 10045405, 10045406, 10045406 160 x 47 cm - single layer | |
| 10045408, 10045409, 10045410 160 x 47 cm - double layer | |
| 10045411, 10045412, 10045413 180 x 41 cm - single layer | |
| 10045414, 10045415, 10045416 180 x 41 cm - double layer | |
| 10046802, 10046803 60 x 30 cm - single layer | |
| 10046804, 10046805 60 x 30 cm - double layer | |
| 10046806, 10046807 60 x 60 cm - single layer | |
| 10046808, 1004689 60 x 60 cm - double layer | |
| 10046810, 10046811, 10046812 120 x 30 cm - single layer | |
| 10046813, 10046814, 10046815 120 x 30 cm - double layer | |
MANUFACTURER & IMPORTER (UK)
Manufacturer:
Chal-Tec GmbH, Wallstrasse 16, 10179 Berlin, Germany. info@electronic-star.de
Importer for Great Britain:
Berlin Brands Group UK Limited
PO Box 42
272 Kensington High Street
London, W8 6ND
United Kingdom
SAFETY INSTRUCTIONS
- Follow the installation instructions carefully to ensure that the unit is properly attached to the wall.
- To avoid a possible fire hazard, it is important that the appliance is installed in accordance with the specifications given in the instructions.
- The heater is intended for indoor use only, do not place the heater in a shower, steam room or any other place where the appliance may be exposed to water.
Child safety tips
- Please note that you are 100% responsible for the safety of your child at home. As soon as the radiator is installed, it can become a danger for children, as
(a) that radiator is not designed to support unreasonable additional weight, such as that of a child; and
b) the radiator becomes hot during use.
- For this reason, children must not climb on, reach for or play with the radiator or the heating rails as this can lead to accidents or injuries, e.g. due to heat, falling down or tearing the radiator off the wall.
Installation instructions
- Observe all local regulations for sanitary installations and buildings.
- Close the main water pipe.
- Read these instructions carefully to ensure proper installation.
- Make sure that the parts listed below are included in the scope of delivery.
Instructions for use
- The radiator must only be filled with water that has a temperature below 100° C.
Temperature: 0° C < t < 100° C
- If the temperature exceeds 48\ °C , place a warning sign near the product to prevent accidents due to burns or fire.
Note: If the ambient temperature drops below 1° C, drain the water to prevent freezing.
REQUIRED TOOLS
SCOPE OF DELIVERY
| Radiator (1x) Wall | mount (4x) Silicone seal (4x) | |
 |  |  |
| Dowel (8x) Long screw (8x) | ||
 |  | |
| Air vent (1x) Blanking plug (3x) | ||
 |  | |
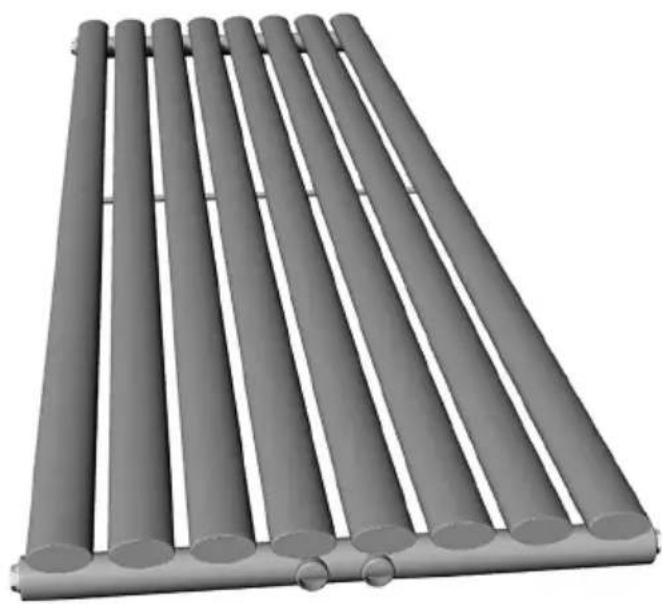
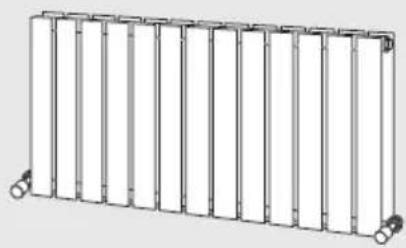
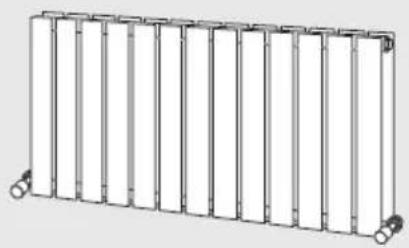
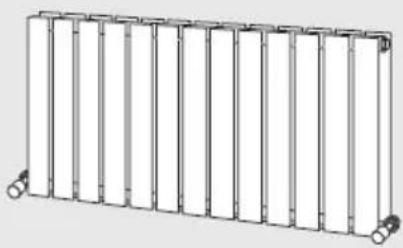
Tallheo radiator
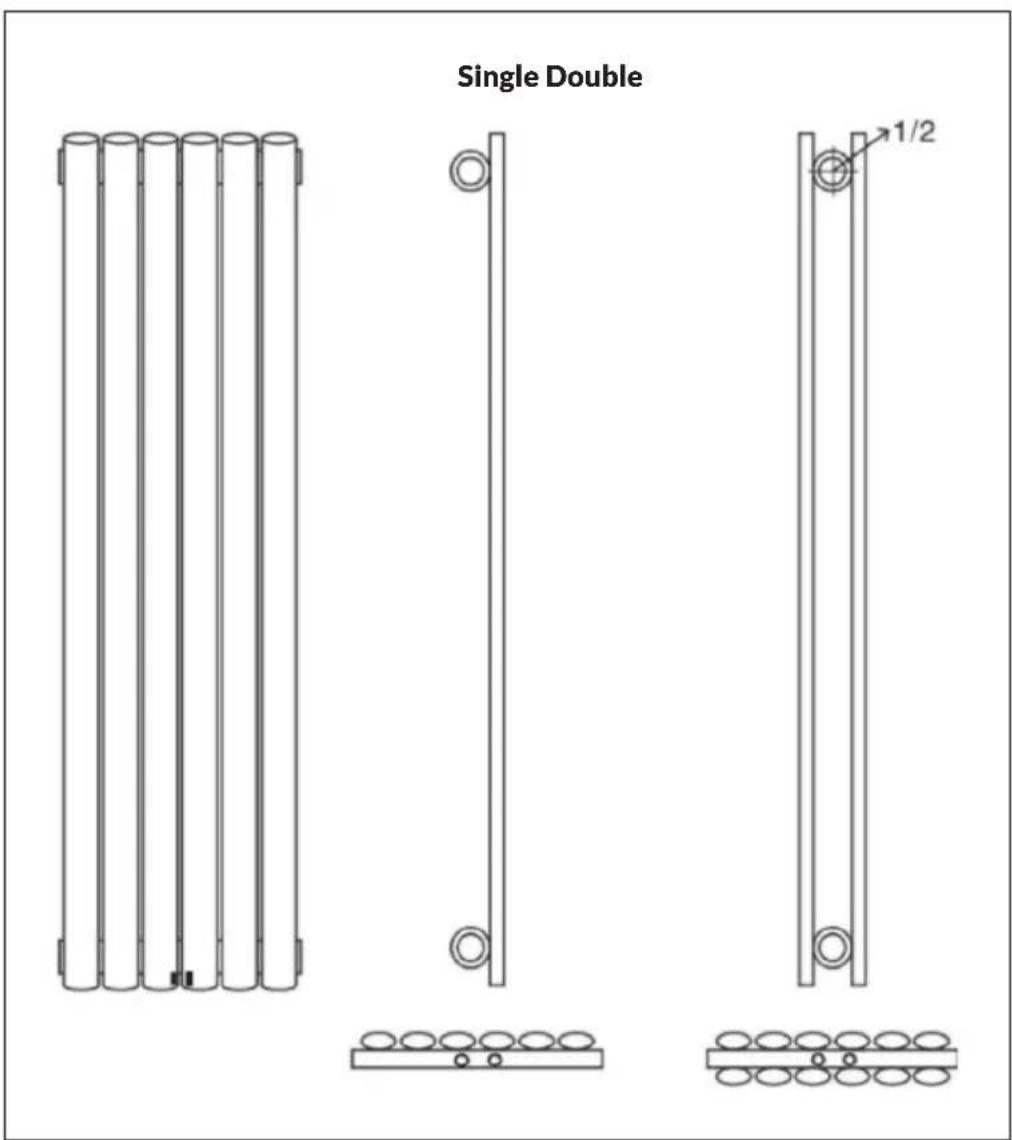
INSTALLATION
Preparation
- Check whether the scope of delivery is complete.
- Make sure the radiator is positioned so that it can be easily connected to the central heating system.
Step 1
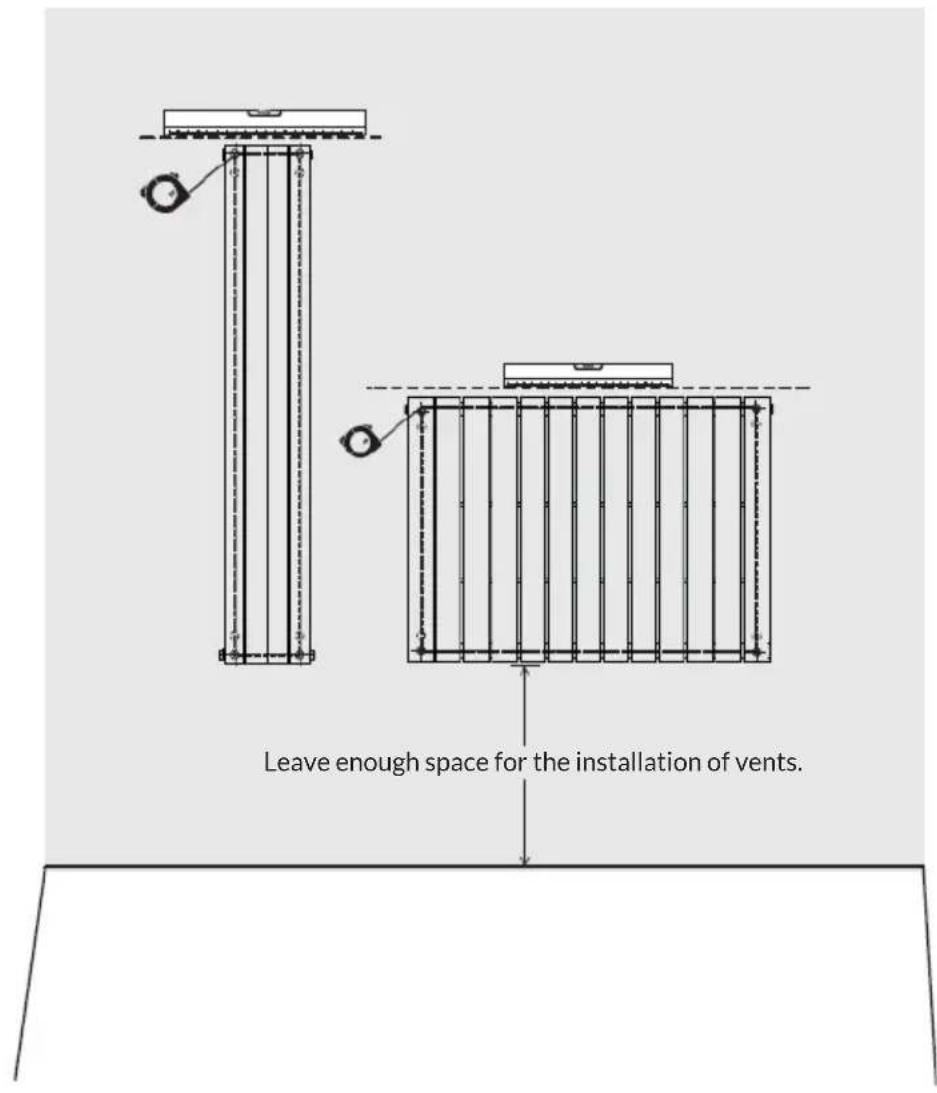
- Select the desired position for the radiator. Make sure the wall is strong enough to support the weight.
- Before installation, place a painter's fleece on the floor to prevent the loss of small parts.
- Mark the place where the wall brackets are to be attached. Make sure the top and bottom pair of wall brackets are positioned to be level.
Note:
These instructions can be used for both vertical and horizontal radiators. Please note that a vertical radiator cannot be hung horizontally. Similarly, a horizontal radiator should not be hung vertically.
Step 2
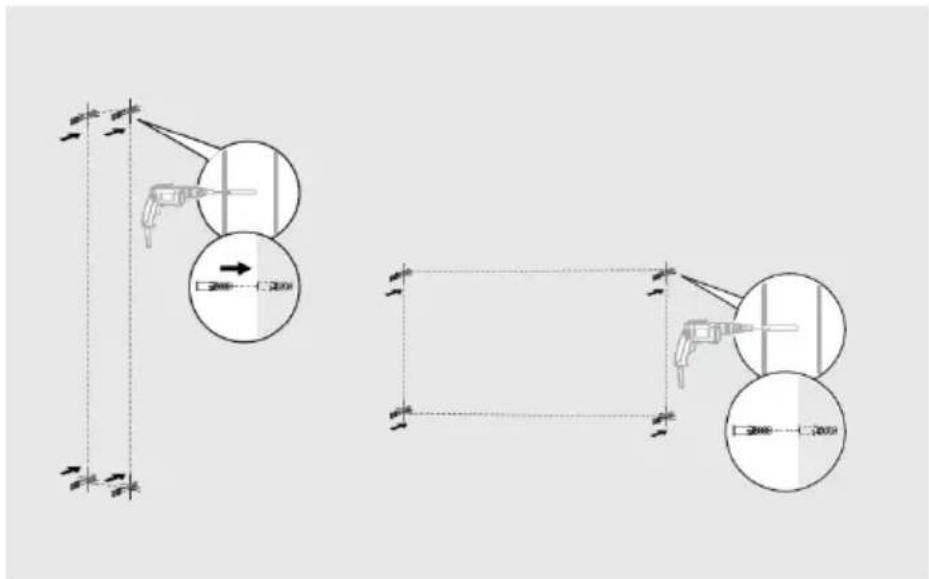
- Drill a hole and insert a dowel. Use a 10 mm diameter drill bit for the power drill.
Note: For false ceilings or stud walls, you can purchase other fixings at a DIY store.
Step 3
![graph TD A["Foot"] --> B{Step 1} B --> C["Foot Lift"] C --> D["Step 2"] D --> E["Foot Lift"] E --> F["Step 3"]](/content/2026/04/738462/images/cd4ffa6c85c0cf31e4f36203b546951b3f9606275532a7b1c7f9f135c7f4b4ad.jpg)
- Insert the screw through the silicone seal, then through the wall mount and into the dowel and screw the mount into place.
- Repeat this process for all the wall brackets you want to use (up to 8 brackets).
Step 4

Note: Note that the lower horizontal rail is fitted with a deflection block.
Wrap PTFE tape around the blanking plug and vent valve and screw them tight to the top of the radiator with a spanner.
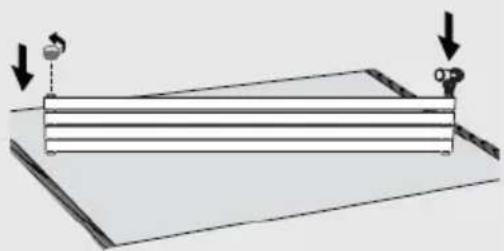
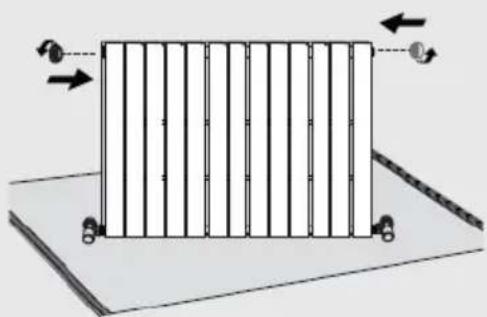
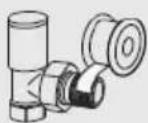
Tip: Stick the PTFE tape into the radiator in the opposite direction to the direction in which the valves are screwed in.
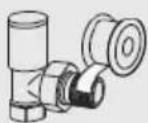
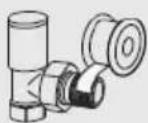
- Stick PTFE tape on the threads of the valves and screw the valves into the bottom of the radiator. Then tighten them with a spanner.
Step 5
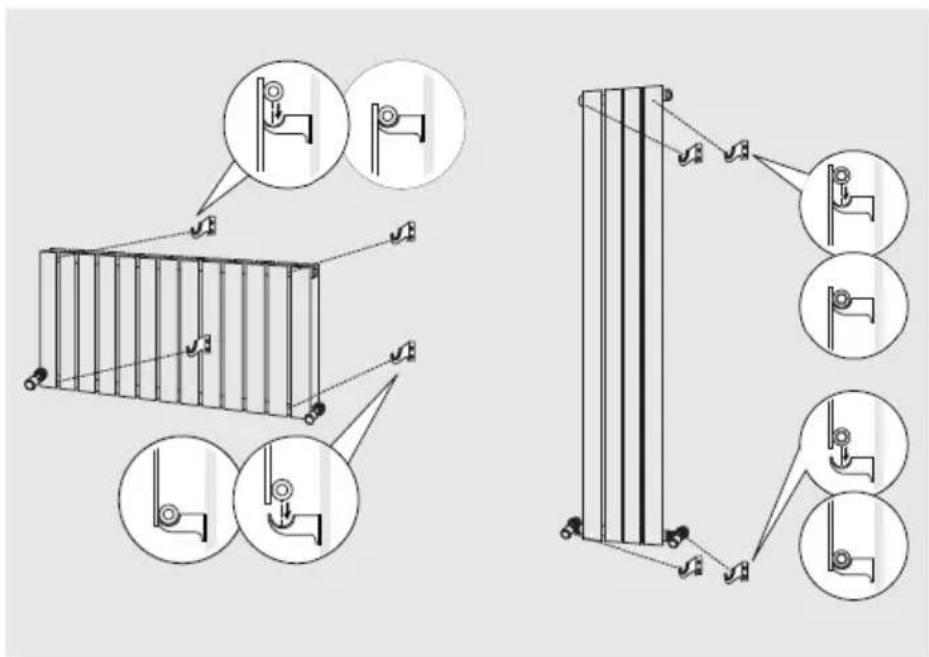
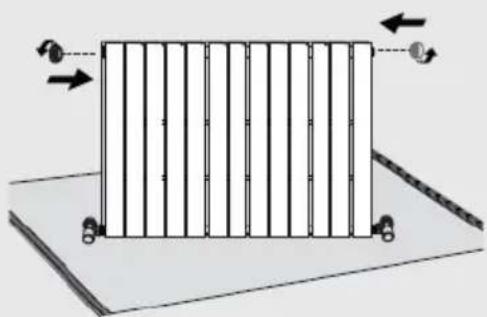
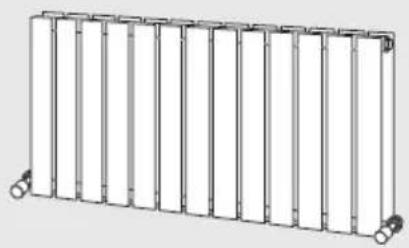
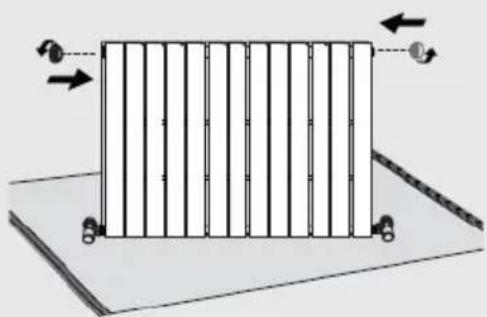
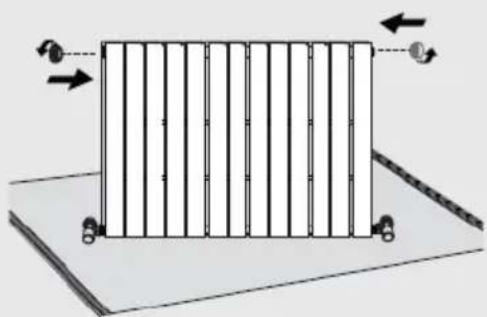
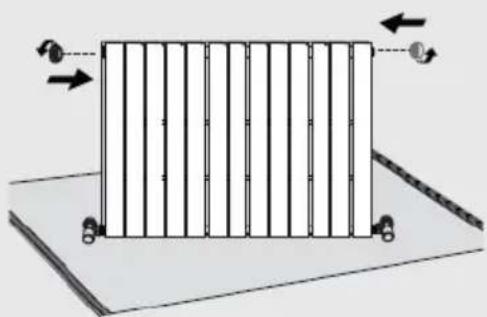
- Hang the radiator on the wall brackets and connect it to your central heating system.
Option
- Optionally, you can also connect the radiator through the bottom to your central heating system.
Step 6
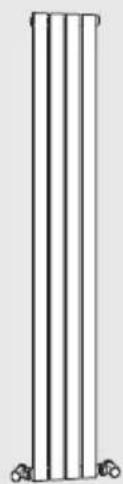
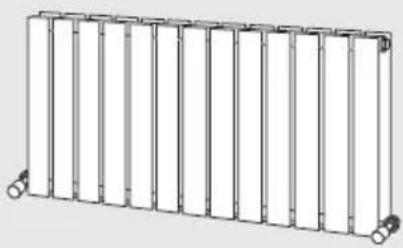
• After connecting the radiator, vent any air bubbles with the vent plug.
Note: Fill your system with inhibitor fluid after installation.
AFTER INSTALLATION
- Use a screwdriver to open the air vent. Open the valve and let the water flow into the radiator.
- Check all connections for leaks.
- When the water comes out of the air vent, there is no more air in the pipe.
- Close the air vent with a screwdriver and turn the valve open. The radiator is now ready for operation.
CLEANING AND CARE
- Wipe the surface clean with a soft damp cloth.
- Never use abrasive cleaners on this product as they will damage the surface.
- Radiators are made of steel and should therefore not be cleaned with corrosive or abrasive cleaning agents.
TROUBLESHOOTING
If your radiator is not working, knowing basic radiator troubleshooting can save you the stress and hassle that a non-working radiator can bring. Here, you will find a guide to solving the most common problems associated with electric radiators.
| Problem Cause Solution | ||
| Cold spots on the radiator | The water is not flowing properly through the radiator. | Make sure that there is no air in the radiator. "Bleed" the radiator to release the air. |
| Make sure that the valve is fully open so that the water can flow freely. Some radiators require a diversion to allow the water to flow properly around the unit. | ||
| Radiator leak The valve nut is loose. Tighten the valve nut. | ||
| Whistling noises or hissing water | The radiator was not correctly aligned during installation. | New installation |
| Clanking noise The radiator has been installed in a location that does not allow for expansion of the pipes. | New installation | |
SOMMAIRE
Berlin Brands Group UK Ltd
PO Box 42
272 Kensington High Street
London, W8 6ND
United Kingdom
CONSIGNES DE SÉCURITÉ

DATOS TÉCNICOS
| Número de artículo Dimensiones (alto x ancho) | |
| 10045402, 10045403, 10045404 60 x 100 cm - doble capa | |
| 10045405, 10045406, 10045406 160 x 47 cm - una capa | |
| 10045408, 10045409, 10045410 160 x 47 cm - doble capa | |
| 10045411, 10045412, 10045413 180 x 41 cm - una capa | |
| 10045414, 10045415, 10045416 180 x 41 cm - doble capa | |
| 10046802, 10046803 60 x 30 cm - una capa | |
| 10046804, 10046805 60 x 30 cm - doble capa | |
| 10046806, 10046807 60 x 60 cm - una capa | |
| 10046808, 1004689 60 x 60 cm - doble capa | |
| 10046810, 10046811, 10046812 120 x 30 cm - una capa | |
| 10046813, 10046814, 10046815 120 x 30 cm - doble capa |
Berlin Brands Group UK Limited
PO Box 42
272 Kensington High Street
London, W8 6ND
Reino Unido
PRODUTTORE E IMPORTATORE (UK)
Produttore:
Chal-Tec GmbH, Wallstraße 16, 10179 Berlino, Germania. info@electronic-star.de
Berlin Brands Group UK Limited
PO Box 42
272 Kensington High Street
London, W8 6ND
United Kingdom
AVVERTENZE DI SICUREZZA

- TALLHEO
- CHER CLIENT, CHÈRE CLIENTE
- INHALTSVERZEICHNIS
- SICHERHEITSHINWEISE
- MANUFACTURER & IMPORTER (UK)
- MANUFACTURER
- IMPORTER FOR GREAT BRITAIN
- SAFETY INSTRUCTIONS
- CHILD SAFETY TIPS
- INSTALLATION INSTRUCTIONS
- INSTRUCTIONS FOR USE
- REQUIRED TOOLS
- SCOPE OF DELIVERY
- TALLHEO RADIATOR
- INSTALLATION
- PREPARATION
- NOTE
- STEP 4
- STEP 6
- AFTER INSTALLATION
- CLEANING AND CARE
- TROUBLESHOOTING
- SOMMAIRE
- CONSIGNES DE SÉCURITÉ
- PRODUTTORE E IMPORTATORE (UK)
- PRODUTTORE
- AVVERTENZE DI SICUREZZA
Brand : Blumfeldt
Model : Tallheo
Category : Frying Pan