MFA-5L-GA - Fridge Vevor - Free user manual and instructions
Find the device manual for free MFA-5L-GA Vevor in PDF.

| Product Type | Portable Mini Refrigerator |
| Brand | Vevor |
| Model | MFA-5L-GA |
| Capacity | 4 L |
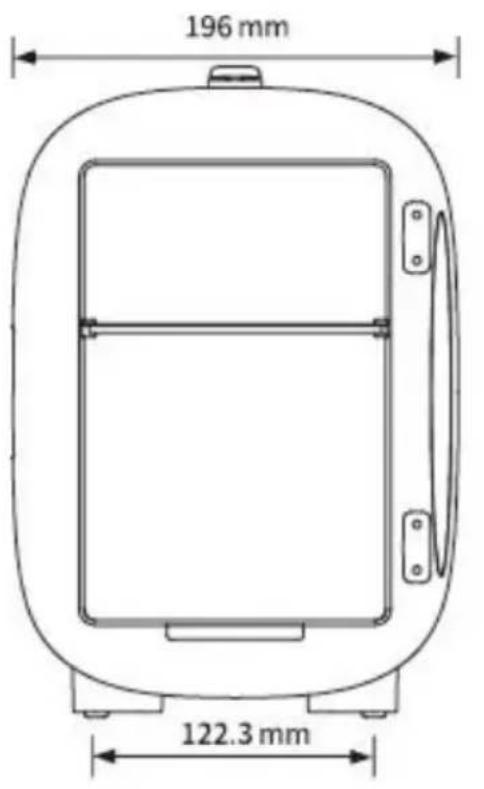
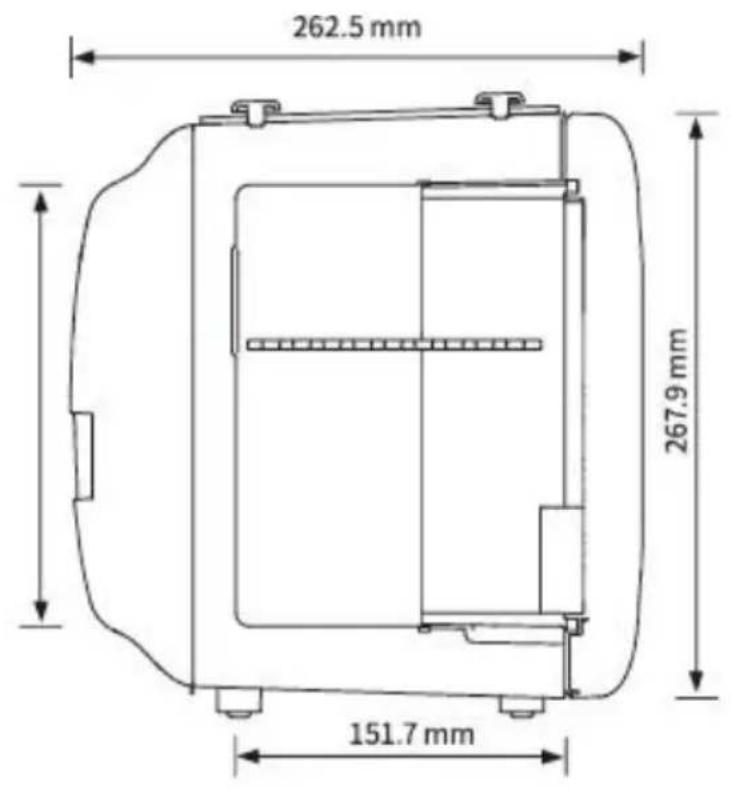
| Dimensions (L x W x H) | 196 x 267.9 x 262.5 mm |
| Weight | Approximately 2.5 kg |
| Power Supply | AC 100-240 V, 50/60 Hz or DC 9 V (cigarette lighter) |
| Cooling Power | 20 W |
| Heating Power | 15 W |
| Minimum Cooling Temperature | Up to 16-20 °C below ambient temperature |
| Heating Temperature | 45-55 °C |
| Main Functions | Cooling and Heating |
| Recommended Use | Home, camping, travel |
| Maintenance and Cleaning | Clean with a damp cloth; condensate tray and removable shelf washable with soapy water |
| Safety Instructions | Do not immerse in water; do not use if cord is damaged; keep a distance of 6 to 12 inches from the wall |
| Included Accessories | Power adapter, removable shelf/basket, condensate tray |
| Repairability | Spare parts available through customer service; replacement by a professional recommended |
Frequently Asked Questions - MFA-5L-GA Vevor
User questions about MFA-5L-GA Vevor
0 question about this device. Answer the ones you know or ask your own.
Ask a new question about this device
Download the instructions for your Fridge in PDF format for free! Find your manual MFA-5L-GA - Vevor and take your electronic device back in hand. On this page are published all the documents necessary for the use of your device. MFA-5L-GA by Vevor.
USER MANUAL MFA-5L-GA Vevor
Technical Support and E-Warranty Certificate www.vevor.com/support
PORTABLE MINI FRIDGE
MODEL: MFA-5L-GA
We continue to be committed to provide you tools with competitive price. "Save Half", "Half Price" or any other similar expressions used by us only represent of savings you might benefit from buying certain tools with us compared top brands and doses not necessarily mean to cover all categories of tools offered are kindly reminded to verify carefully when you are placing an order with us actually saving half in comparison with the top major brands.
VEVOR®
TOUGH TOOLS, HALF PRICE
PORTABLE MINI FRIDGE
MFA-5L-GA
natural_image
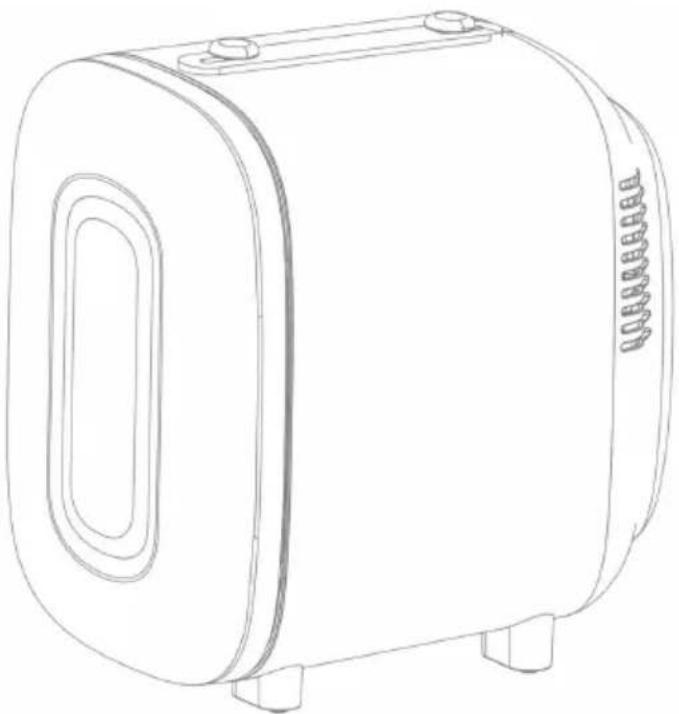
Line drawing of a cylindrical device with a side panel and mounting feet (no text or symbols)NEED HELP? CONTACT US!
Have product questions? Need technical support? Please feel fr contact us:

CustomerService@vevor.com
This is the original instruction, please read all manual instructions carefully operating. VEVOR reserves clear interpretation of our user manual. Appearance of the product shall be subject to the product you receive forgive us that we won't inform you again if there is any technology updates on our product.
SAFETY INSTRUCTIONS
WARNING: Read all safety warnings, instructions, illustrations and specifications provided with this electrical appliances. Failure to follow all instructions listed below may result in electric shock, fire and/or serious injury.
SAVE THESE INSTRUCTIONS for future reference.
WARNING:
- This appliance is not intended for use by persons (including children) with reduced physical, sensory or mental capabilities, or lack of experience and knowledge, unless they have been given supervision or instruction concerning of the appliance by a person responsible for their safety.
- Children should be supervised to ensure that they do not play with the appliance.
- Do not store explosive substances such as aerosol cans with a flammable propellant in this appliance.
- Suitable for camping use.
- The appliance shall not be exposed to rain.
- If the supply cord is damaged, it must be replaced by the manufacturer of service agent or a similarly qualified person in order to avoid a hazard.
- This appliance is intended to be used in household and similar application as
-staff kitchen areas in shops, offices and other working environments;
-farm houses and by clients in hotels, motels and other residential type environments;
-bed and breakfast type environments;
-catering and similar non-retail applications.
- Please according to local regulations regarding disposal of the appliance for flammable blowing gas. Before you scrap the appliance, please take off the dc to prevent children trapped.
Including the following
◎To prevent fire, electric shock, and/or injury, do not immerse power cords, or the fridge in water or other liquids.
◎Close supervision must be exercised when children use or near electrical appliances. Keep the mini-fridge and the power cords out of reach of children. Unplug the mini fridge from the socket when not in use and before cleaning cooling before putting on or removing parts and cleaning equipment.
©Do not operate any damaged equipment with a defective power cord or plug this case, contact Customer Service for assistance.
◎Use of accessories not recommended may result in fire, electric shock, or personal injury.
©Do not let wires hang over the edges of tables or counters or touch hot
◎ Do not place your mini fridge over or near a hot or electric stove, or in oven.
◎Leave a 6 to 12-inch gap between the rear fan of your mini fridge and a walls/obstacles for continuous optimized operation.
◎ When not in use, close the mini fridge and unplug it from the electrical
Disposal information
This product is subject to the provision of european Directive 2012/19/EU. The symbol showing a wheelie bin crossed through indicates that the product requires separate refuse collection in European Union. This applies to the product and all accessories marked with this symbol. Products marked as such may not discarded with normal domestic waste, but must be taken to acollection point for recycling electrical and electronic devices.
FCC statement:
This device complies with Part 15 of the FCC Rules. Operation is subject to following two conditions:(1) This device may not cause harmful interference, and (2) this device must accept any interference received, including interference that may cause undesired operation.
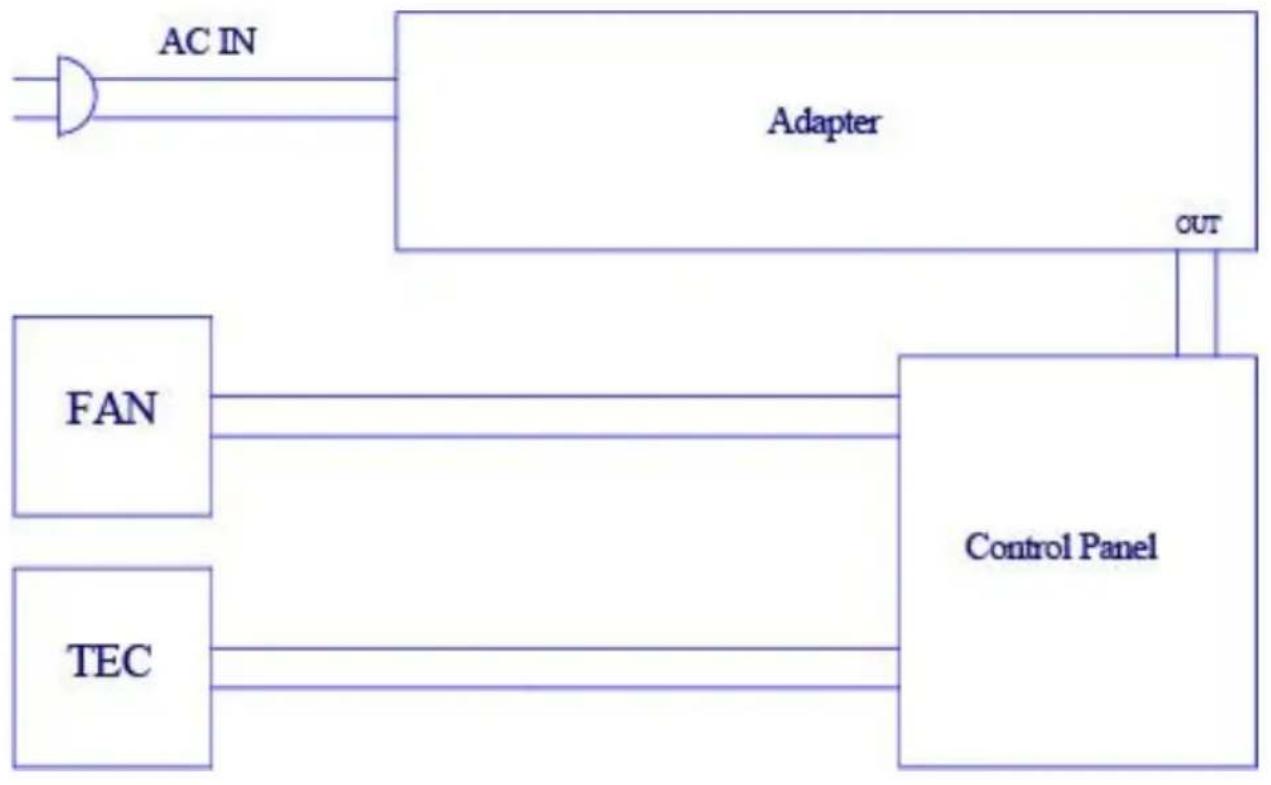
Electrical Schematic
flowchart
graph TD
    A["AC IN"] --> B["Adapter"]
    B --> C["Control Panel"]
    D["FAN"] --> C
    E["TEC"] --> C
    C --> F["OUT"]
DIAGRAM

natural_image
Line drawing of a rectangular device with a central oval opening, no text or symbols present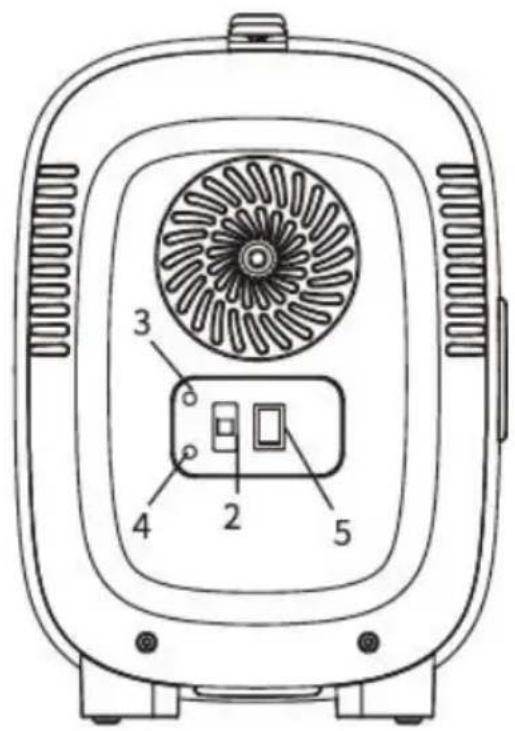
1.Carry Handle
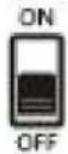
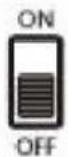
2.ON/OFF Switch
3.Green Indicator Light(Cooling)
4.Red Indicator Light (Heating)
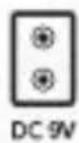
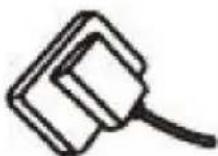
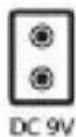
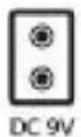
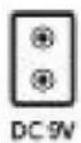
5.AC&DC Socket
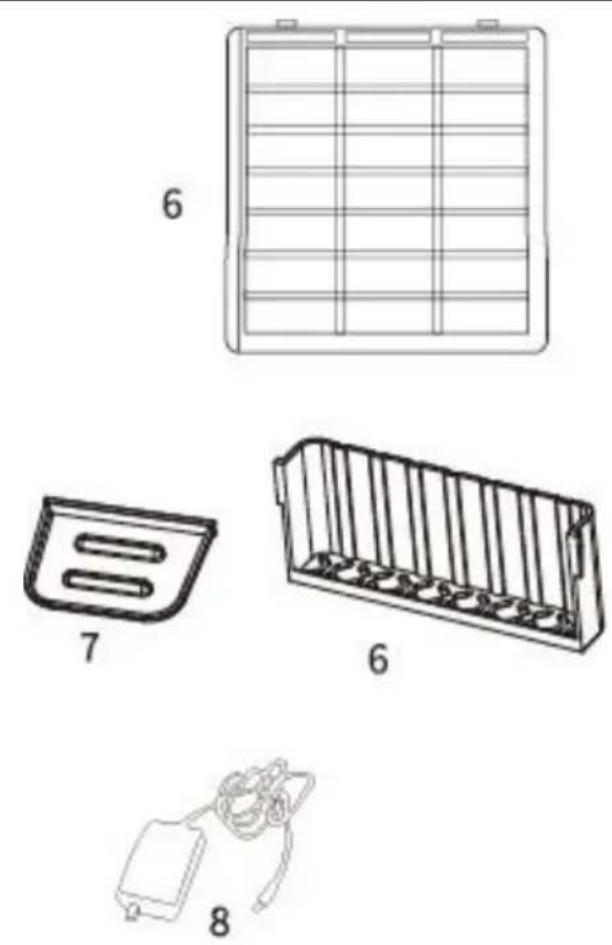
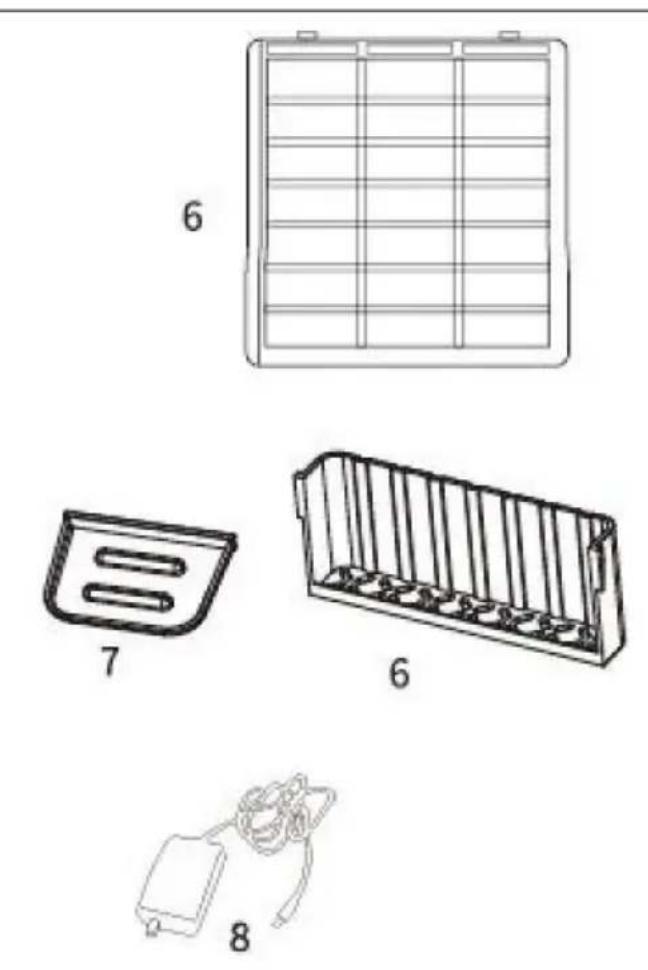
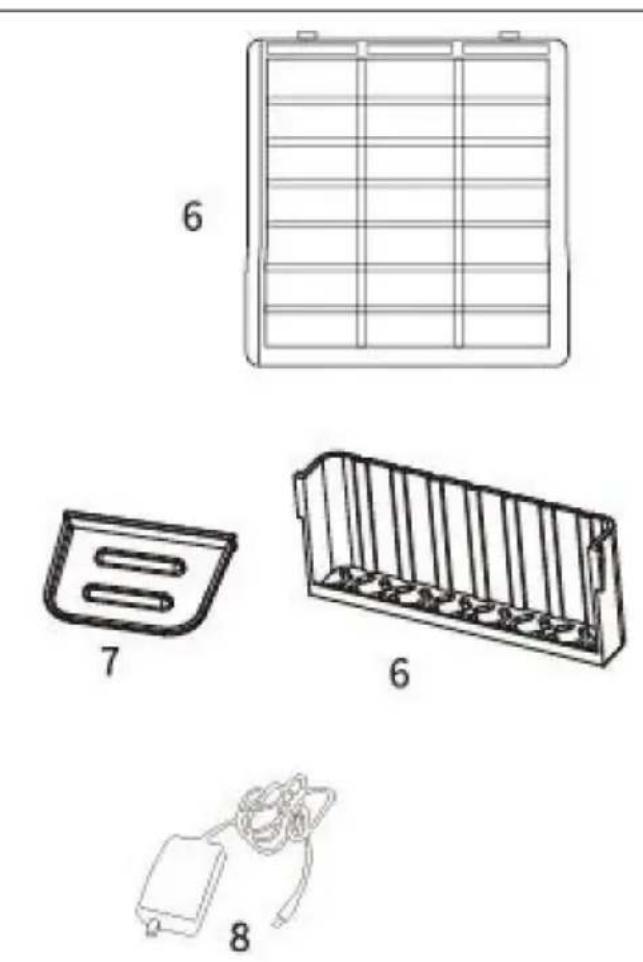
6.Removable Shelf&Basket
7.Condensate Tray
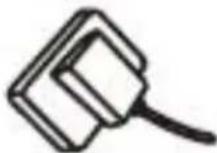
8.AC Adaptor
SIZE DESCRIPTION
SPECIFICATIONS
| Model No. | MFA-5L-GA | MFA-5L-GA |
| Capacity | 4L | 4L |
| Voltage | AC 100-240VAC, 50/60HzDC output 9V | AC 100-240VAC, 50/60HzDC output 9V |
| Power | Cooling: 20WHeating: 15W | Cooling: 20WHeating: 20W |
| Below ambient temperature | 60.8-68°F | 16-20°C |
| Heating temperature | 113-131°F | 45-55°C |
| Plug type | AdapterUSA version | AdapterEU version |
OPERATION GUIDE
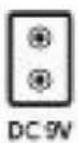
AC (Wall) Input Voltage : 100V-120V / 220V-240V
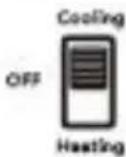
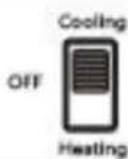
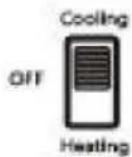
① Keep the switch at the "OFF" position before connecting.

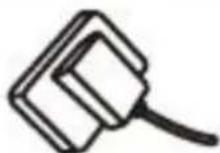
② Plug the AC power cord into the jack on the back of the fridge.
③ Place the fridge well and insert the plug into the wall plug.
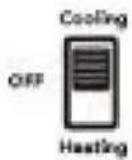
④ Set the switch to "Cooling" or "Heating" as your need.
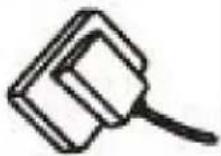
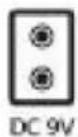
DC(Car) Model 9V
① Keep the switch at the "OFF" position before connecting.

② Plug the DC power cord into the jack on the back of the fridge.
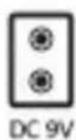
③ Place the fridge well and insert the plug into the car cigarette lighter.
④ Set the switch to "Cooling" or "Heating" as your need.
MORE TIPS FOR USING
Cooling:
◎For the fastest cooling, fill the fridge with chilled drinks.
©The lowest possible temperature depends on the surrounding environment.
©The cooler the ambient temperature, the colder the compact refrigerator gets
◎Ambient temperature refers to the temperature of the surrounding air. For example, if the device is used for cooling, the item can be cooled to 64.4^ F(18°C) below room temperature, then the device will keep the item cool at any temperature of 41^ F(5°C).
Heating:
©The product is designed to keep things warm. It is not intended to heat of things.
◎After turning off the mini fridge, hot items will stay warm for several hours provided the door is closed correctly.
CLEANING AND MAINTENANCE
Remove the power cord and plug when not in use and before storage.
Store the mini fridge in a cool, dry place. Always make sure your mini fridge completely dry before storage.
Always allow your mini fridge to cool completely with the door open before sit. Keeping the door open while it returns to room temperature will help prevent moisture and mold from potentially developing inside.
Wipe the mini fridge with a damp cloth or paper towel. Removable shelve/ba and condensate tray can be cleaned with soap, water and sponge.
FREQUENTLYASKED QUESTIONS
Q: What to do if the mini fridge is found not working?
A:
- Check the indicator lights. If the indicator is off or sometimes on, check the power connection status.
- Check the plugs to ensure they are in good contact, remove dirt from the needed.
| For DC(Car) Mode | Make sure to turn on the car fir st and the cigarette is 12V. |
| For AC(Wall) Mode | Ensure the working voltage matches the local voltage. |
Q: Why the mini fridge can not cool things to the temperature I want?
A:
- Ensure that the switch is set to cooling and check whether the fan works If the mini fridge is malfunctioning, contact us for help.
- The lowest possible temperature depends on the surrounding environment. colder the ambient temperature, the colder the fridge will become.
Three tips for better use the fridge
◎ Placed above 2 inches from the wall, good heat dissipation.
◎Better not use at high room temperatures. Better not to use below at 50 °F(10°C) room temperature when using cosmetic products.
Q: Is the mini fridge defective with some water/ice forming inside?
A: No. The mini fridge uses a semiconductor chip, and the temperature difference between inside and outside or the frequent opening of the door will lead to
formation of condensation or ice inside, which is a normal physical phenomenon. It is not suggested to keep the door open or open/close the door frequently. do not directly cool hot objects.
VEVOR®
TOUGH TOOLS, HALF PRICE
Technical Support and E-Warranty Certificate www.vevor.com/support
VEVOR®
TOUGH TOOLS, HALF PRICE
natural_image
Line drawing of a cylindrical device with a side panel and mounting feet (no text or symbols)BESOIN D'AIDE? CONTACTEZ-NOUS!
natural_image
Line drawing of a rectangular device with a central oval opening, no text or symbols present
Keep the switch at the "OFF" position before connecting.
②
Plug the AC power cord into the jack on the back of the fridge.

③
Place the fridge well and insert the plug into the wall plug.

④
Set the switch to "Cooling" or "Heating" as your need.
DC(Car) Model 9V
①
Keep the switch at the "OFF" position before connecting.

②
Plug the DC power cord into the jack on the back of the fridge.

③
Place the fridge well and insert the plug into the car cigarette lighter.

④
Set the switch to "Cooling" or "Heating" as your need.

PLUS DE CONSEILS D'UTILISATION
Refroidissement:
natural_image
Line drawing of a cylindrical device with a side panel and mounting feet (no text or symbols)Kundenservice@vevor.com
natural_image
Line drawing of a rectangular device with a central oval opening, no text or symbols present

Keep the switch at the "OFF" position before connecting.

②
Plug the AC power cord into the jack on the back of the fridge.

③
Place the fridge well and insert the plug into the wall plug.

④
Set the switch to "Cooling" or "Heating" as your need.

DC(Car) Model 9V
①
Keep the switch at the "OFF" position before connecting.

②
Plug the DC power cord into the jack on the back of the fridge.

③
Place the fridge well and insert the plug into the car cigarette lighter.
④
Set the switch to "Cooling" or "Heating" as your need.

Machine Translated by Google
natural_image
Line drawing of a cylindrical device with a side panel and mounting feet (no text or symbols)natural_image
Line drawing of a rectangular device with a central oval opening, no text or symbols present

Keep the switch at the "OFF" position before connecting.

②
Plug the AC power cord into the jack on the back of the fridge.
③
Place the fridge well and insert the plug into the wall plug.
④
Set the switch to "Cooling" or "Heating" as your need.

DC(Car) Model 9V
①
Keep the switch at the "OFF" position before connecting.

②
Plug the DC power cord into the jack on the back of the fridge.
③
Place the fridge well and insert the plug into the car cigarette lighter.

④
Set the switch to "Cooling" or "Heating" as your need.
ULTERIORI SUGGERIMENTI PER L'UTILIZZO
Raffreddamento:
natural_image
Line drawing of a cylindrical device with a side panel and mounting feet (no text or symbols)natural_image
Line drawing of a rectangular device with a central oval opening, no text or symbols present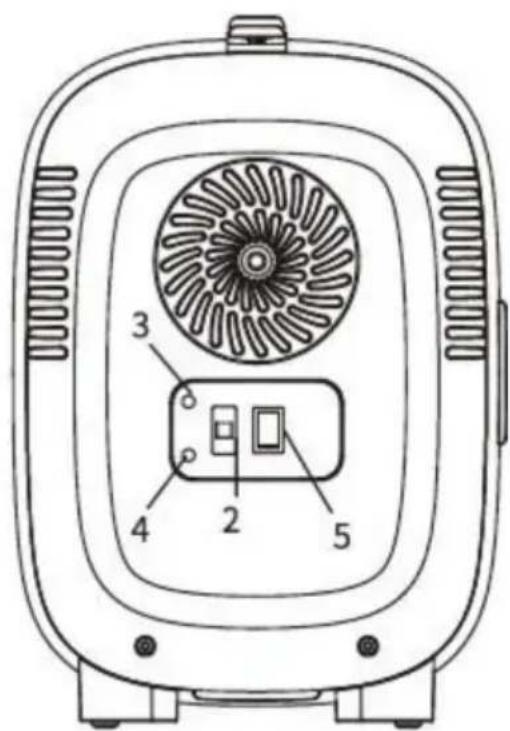
Keep the switch at the "OFF" position before connecting.

②
Plug the AC power cord into the jack on the back of the fridge.

③
Place the fridge well and insert the plug into the wall plug.

④
Set the switch to "Cooling" or "Heating" as your need.

DC(Car) Model 9V
①
Keep the switch at the "OFF" position before connecting.

②
Plug the DC power cord into the jack on the back of the fridge.
③
Place the fridge well and insert the plug into the car cigarette lighter.

④
Set the switch to "Cooling" or "Heating" as your need.

natural_image
Line drawing of a cylindrical device with a side panel and mounting feet (no text or symbols)POTRZEBUJESZ POMOCY? SKONTAKTUJ SIĘ Z NAMI!
natural_image
Line drawing of a rectangular device with a central oval opening, no text or symbols present

Keep the switch at the "OFF" position before connecting.

②
Plug the AC power cord into the jack on the back of the fridge.

③
Place the fridge well and insert the plug into the wall plug.

④
Set the switch to "Cooling" or "Heating" as your need.

DC(Car) Model 9V
①
Keep the switch at the "OFF" position before connecting.

②
Plug the DC power cord into the jack on the back of the fridge.
③
Place the fridge well and insert the plug into the car cigarette lighter.

④
Set the switch to "Cooling" or "Heating" as your need.

WIĘCEJ WSKAZÓWEK DOTYCZĄCYCH UŻYTKOWANIA
Chłodzenie:
Machine Translated by Google
natural_image
Line drawing of a cylindrical device with a side panel and mounting feet (no text or symbols)HULP NODIG? NEEM CONTACT MET ONS OP!
Klantenservice@vevor.com
natural_image
Line drawing of a rectangular device with a central oval opening, no text or symbols present

Keep the switch at the "OFF" position before connecting.

②
Plug the AC power cord into the jack on the back of the fridge.

③
Place the fridge well and insert the plug into the wall plug.

④
Set the switch to "Cooling" or "Heating" as your need.

DC(Car) Model 9V
①
Keep the switch at the "OFF" position before connecting.

②
Plug the DC power cord into the jack on the back of the fridge.

③
Place the fridge well and insert the plug into the car cigarette lighter.

④
Set the switch to "Cooling" or "Heating" as your need.

natural_image
Line drawing of a cylindrical device with a side panel and mounting feet (no text or symbols)BEHÖVER HJÄLP? KONTAKTA OSS!
natural_image
Line drawing of a rectangular device with a central oval opening, no text or symbols present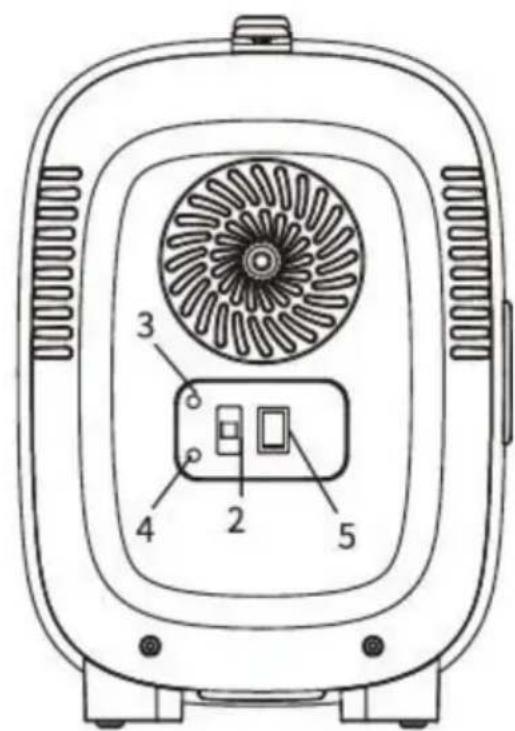

Keep the switch at the "OFF" position before connecting.

②
Plug the AC power cord into the jack on the back of the fridge.
③
Place the fridge well and insert the plug into the wall plug.

④
Set the switch to "Cooling" or "Heating" as your need.

DC(Car) Model 9V
①
Keep the switch at the "OFF" position before connecting.
②
Plug the DC power cord into the jack on the back of the fridge.

③
Place the fridge well and insert the plug into the car cigarette lighter.

④
Set the switch to "Cooling" or "Heating" as your need.