USER MANUAL YT6077 Vevor
METEOROLOGICAL STATION
MODEL:YT6077
We continue to be committed to providing you with tools at competitive prices. "Save Half", "Half Price", or any other similar expressions used by us only represent an estimate of savings you might benefit from buying certain tools with us compared to the major top brands and do not necessarily mean to cover all categories of tools offered by us. You are kindly reminded to verify carefully when placing an order with us if you are actually saving half in comparison with the top major brands.
MODEL:YT6077
Have product questions? Need technical support? Please feel free to contact us:

CustomerService@vevor.com
This is the original instruction. Please read all manual instructions carefully before operating. VEVOR reserves a clear interpretation of the user manual. The appearance of the product shall be subject to the product you received. Please forgive us that we won't inform you of any technology or software updates on our product.
 | Warning-To reduce the risk of injury, user must read instructions manual carefully. |
 | This product is subject to the provision of European Directive 2012/19/EC. The symbol showing a wheelie crossed through indicates that the product requires se refuse collection in the European Union. This applies product and all accessories marked with this symbol. Products marked as such may not be discarded with domestic waste, but must be taken to a collection p recycling electrical and electronic devices |
WEATHER STATION UNIT
![graph LR A["TIME SET"] --> B["ALARM"] B --> C["ALERT"] C --> D["▲/MAX/INN"] D --> E["SHOOZE/DIMMER"] E --> F["BCC/°C/°F"] F --> G["HEAT/DEN"] G --> H["CHANNEL"]](/content/2026/04/737012/images/e0110b69e85c2ff4186cc8f0071c7f200051eb0c459282a9c5d35ff669356abd.jpg)
![graph LR A["TIME SET"] --> B["ALARM"] B --> C["ALERT"] C --> D["▲/MAX/MIN"] D --> E["SNOOZE/DIMMER"] E --> F["▼/RCC/°C/°F"] F --> G["HEAT/DEW"] G --> H["CHANNEL"]](/content/2026/04/737012/images/93ab6f664de55dbf79a5cbc0e1e2f137b1a801a5ae0e4d6f8170632b564a6de1.jpg)
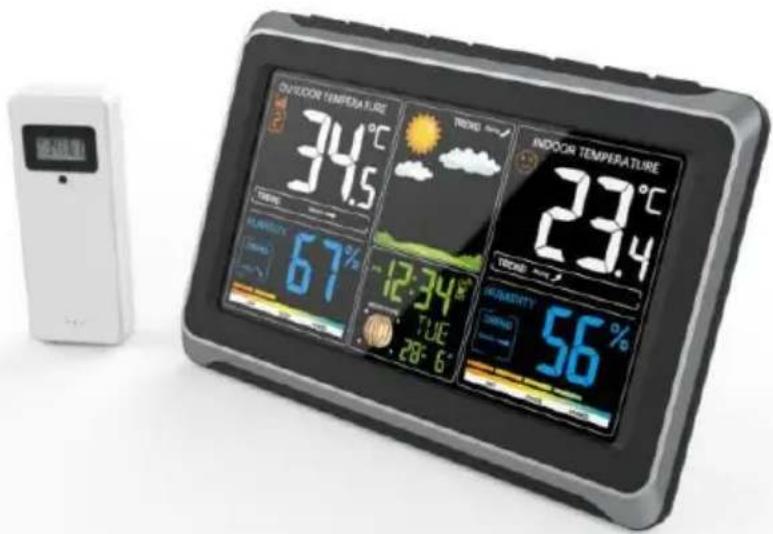
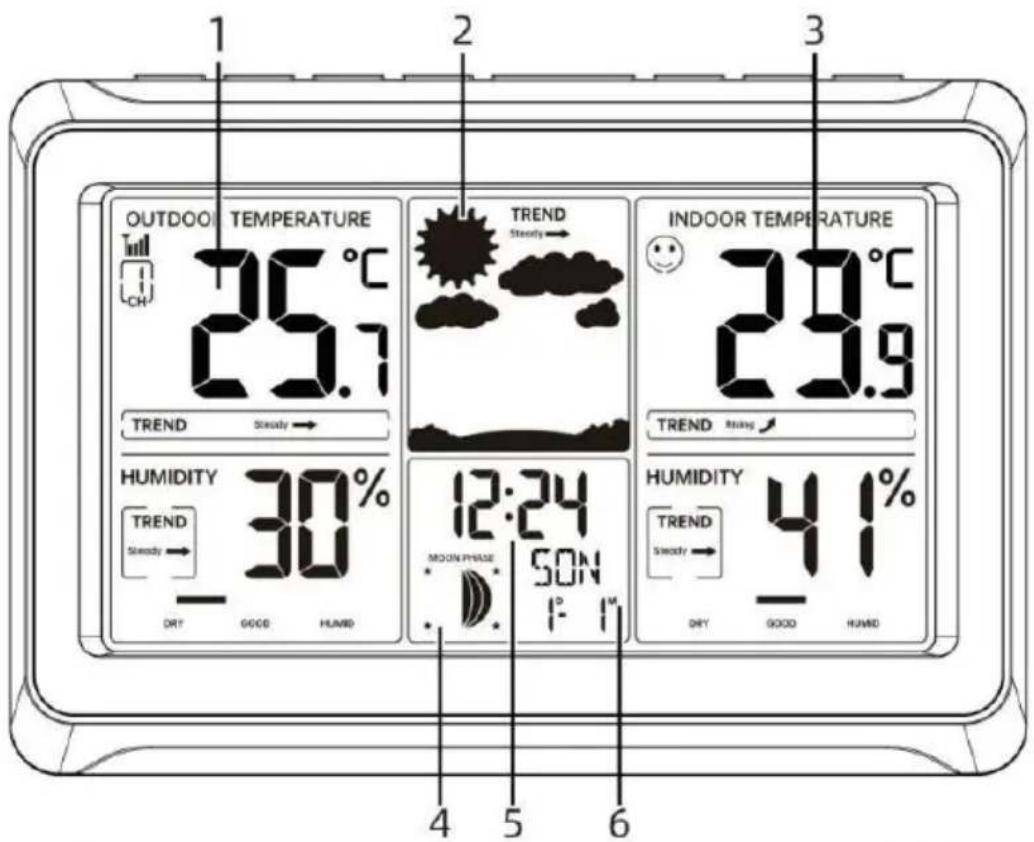
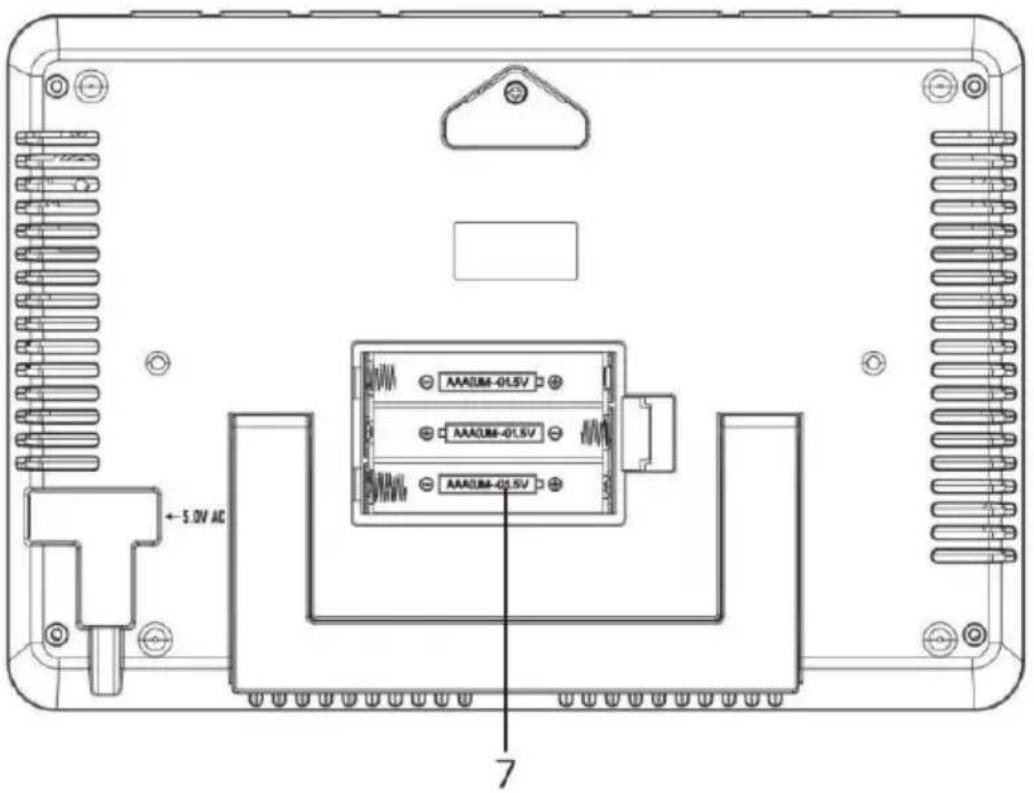
① Outdoor temperature/humidity reading ② Atmosphere display ③ Indoor temperature/humidity reading ④ Moon phase display ⑤ Time display ⑥ Weekday display and Calendar with month, date display ⑦ Battery compartment (3 x AAA batteries) ⑧ TIME SET button ⑨ ALARM button ⑩ ALERT button ⑪ ▲/MAX/MIN button ⑫ SNOOZE/DIMMER button ⑬ ▼/RCC/°C/°F button ⑭ HEAT/DEW button ⑮ CHANNEL button
MAIN FEATURES
● Colorful and big digit display with super bright backlight. - 8 functional buttons: TIME SET, ALARM, ALERT, ▲/MAX/MIN, SNOOZE/DIMMER, ▼/RCC/°C/°F, HEAT/DEW, CHANNEL. ● Self-setting accurate atomic time function. - Time display: Hour, minute. ● Calendar display: Month, date and weekday.
● Time zone: -12~12. - Alarm with snooze function.
- Display indoor & outdoor temperature (°C/°F) & humidity readings with trend.
● Low battery indication for both weather station and wireless sensor.
● 3-level brightness of backlight.
● 7 languages for weekdays display.
OUTDOOR TEMPERATURE & HUMIDITY SENSOR STATION
1. MAIN FEATURES
• Temperature & Humidity measurement. - Low Battery Indication.
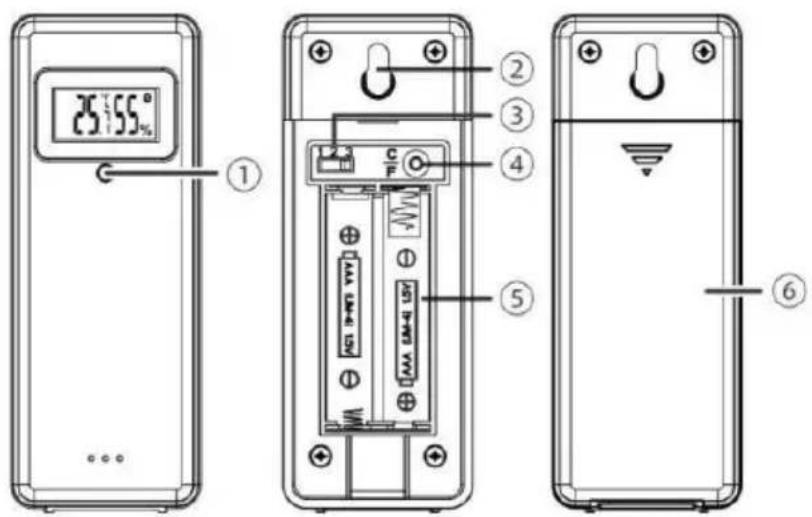
1 LED: Flashes when the unit transmits a reading. 2 Wall mount. 3 Channel switch: Channel 1, 2, 3 inside battery compartment. 4 Temperature unit switch: °C/°F, inside battery compartment. 5 Battery compartment: Use 2 x AAA batteries. 6 Battery door.
1. PAIR THE OUTDOOR REMOTE SENSOR
First of all, it needs to do the pairing between outdoor sensor and weather station. Please follow below procedure to pair the sensor.
1) Plug the included AC-AC adaptor into the weather station. (optional insert 3 new “AAA” alkaline batteries for backup. The screen is turned on. It starts to search sensor and register received sensor. During RF pairing, the signal strength icon animates until the sensor signal is received or for 5 minutes if no signal is available.
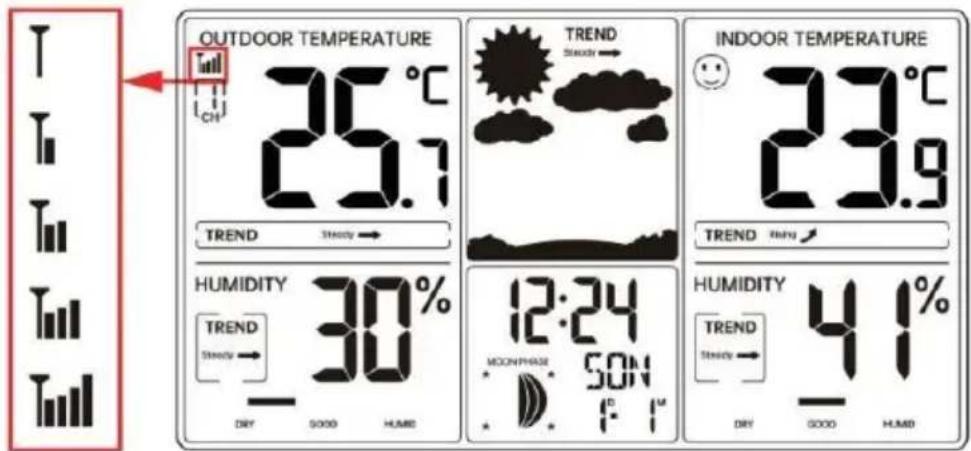
Note: If no sensors are paired, you can pair the sensor again manually by pressing and holding the 【CHANNEL】 key over 2 seconds. Please refer to “SEARCH FOR OUTDOOR SENSOR”.
2) Insert 2 new "AAA" alkaline batteries for the wireless outdoor remote sensor. 3) The wireless remote sensor will transmit the signal and LED will flash during transmission. 4) Keep the outdoor sensor 5-10 feet from the weather station. 5) When the RF connection is established, the temperature and humidity
readings will appear on the station.
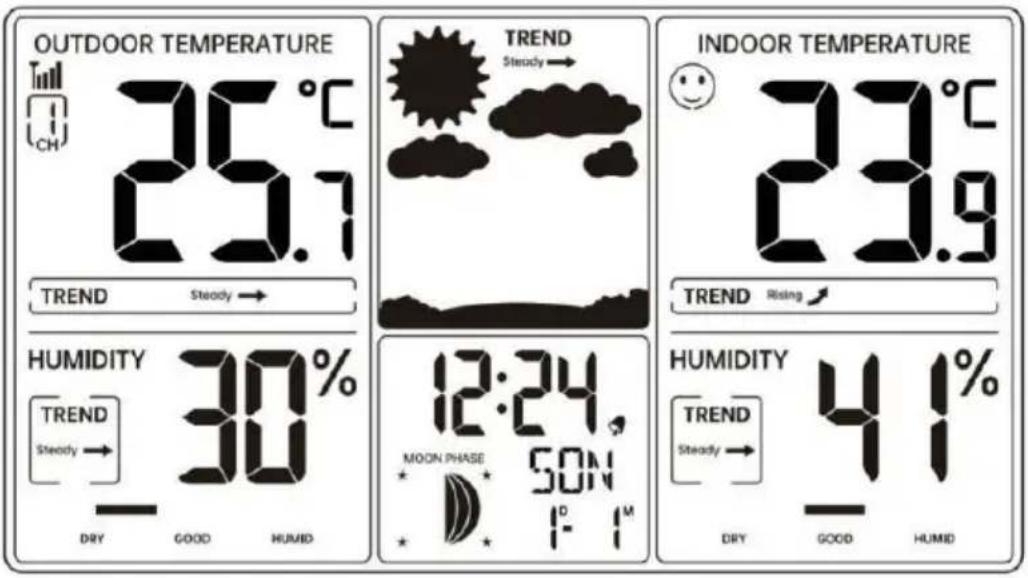
6) After the RF connection is established or 5 minutes of pairing time, weather station will automatically receive atomic clock signal, the receiving dot icon will be flashing.
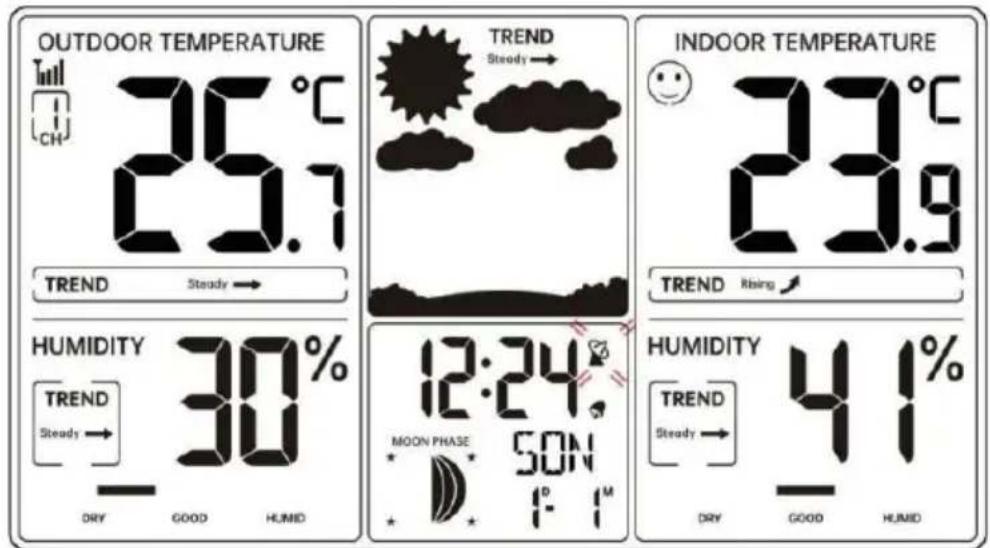
7) When the weather station detects the atomic clock signal, the signal strength indication will be shown.
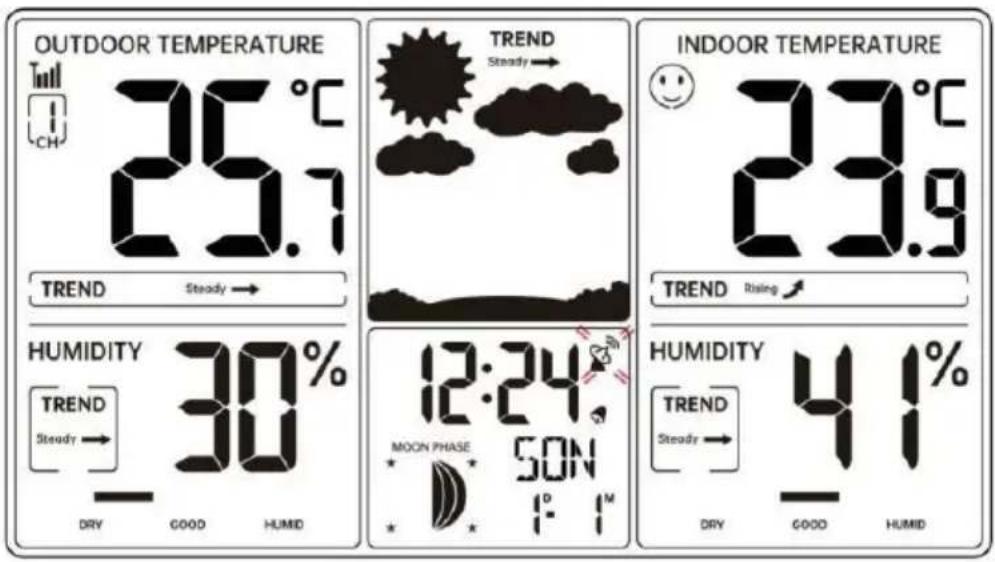
8) Keep the weather station away from interference sources such as electronic devices (TV, computer, microwave, radio, etc.). 9) When the atomic clock signal is received successfully, the time and date will be updated.
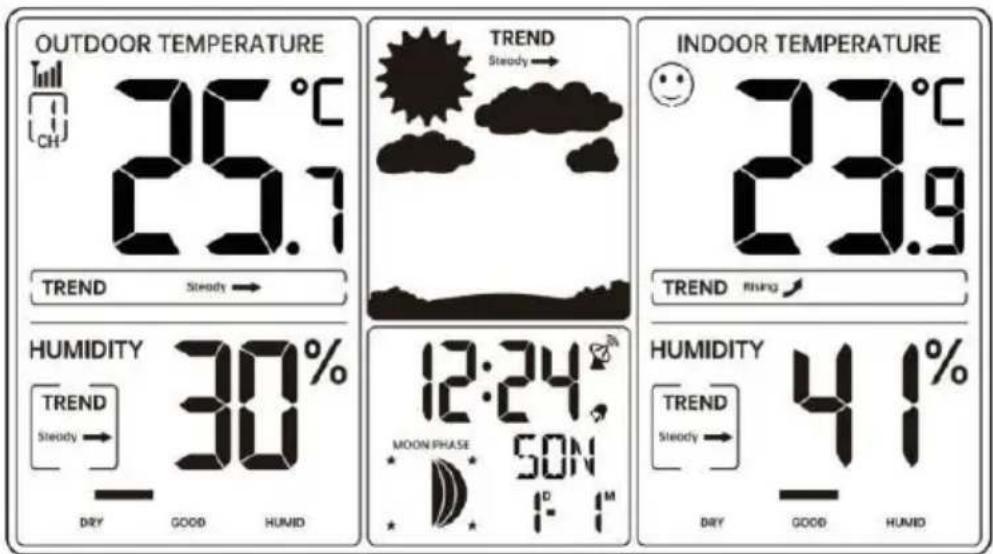
Normal Time Display
10) Allow the outdoor sensor and weather station to sit together for a few minutes to establish a strong connection. 11) Do not press any buttons for 15 minutes. 12) After 15 minutes, place the sensor in a shaded outdoor location.
ATOMIC CLOCK RECEPTION
- The weather station automatically begins to search for the DCF signal and update the time every day at 1:00 AM, 2:00 AM, 3:00 AM, and 5:00 AM.
- The Atomic Time tower icon will flash while searching and will become solid once connected.
1. MANUAL RCC RECEPTION
You can receive the atomic clock signal manually. In Normal display, press and hold ⑬【▼/RCC/°C/°F】 for over 2 seconds to manually receive the atomic clock signal.
The RCC receiving dot icon “” will flash and start atomic reception. When the atomic clock signal is received successfully, the time and date will be updated.
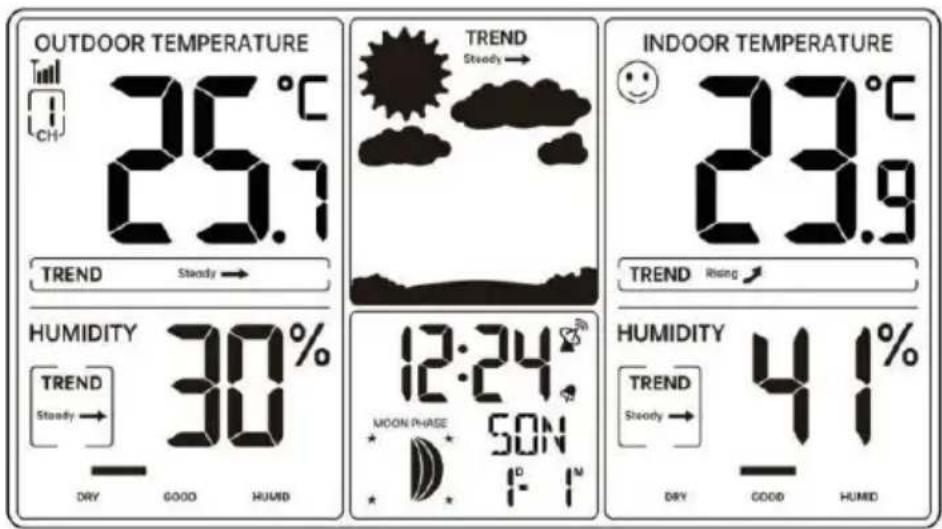
During atomic clock reception, press and release ⑬ 【▼/RCC/°C/°F】 button to exit atomic clock reception.
TIME SETTING
In Normal time display, press and hold ⑧ 【TIME SET】 for over 2 seconds to enter time setting mode.
Press and release ⑪ 【▲/MAX/MIN】 and ⑬ 【▼/RCC/°C/°F】 to adjust the values. Hold to adjust quickly.
Press and release ⑧ 【TIME SET】 to confirm and move to the next item.
1. SETTING ORDER
- RCC On/Off 2. Time Zone 3. Language
- Year 5. Month
- Date
- 12/24 Hour Format 8. Hour
- Minute
- End of Setting
1.) Press and hold ⑧ 【TIME SET】button entering the settings. RCC ON
flashes. Press ⑪ 【▲/MAX/MIN】and ⑬ 【▼/RCC/°C/°F】to set RCC on/off. Press ⑧ 【TIME SET】to select Time Zone.
Note: If RCC OFF is selected, you will skip time zone setting and year setting.
Note: If there is no valid operation within 20 seconds, it will automatically return to the normal display mode from the setting mode.
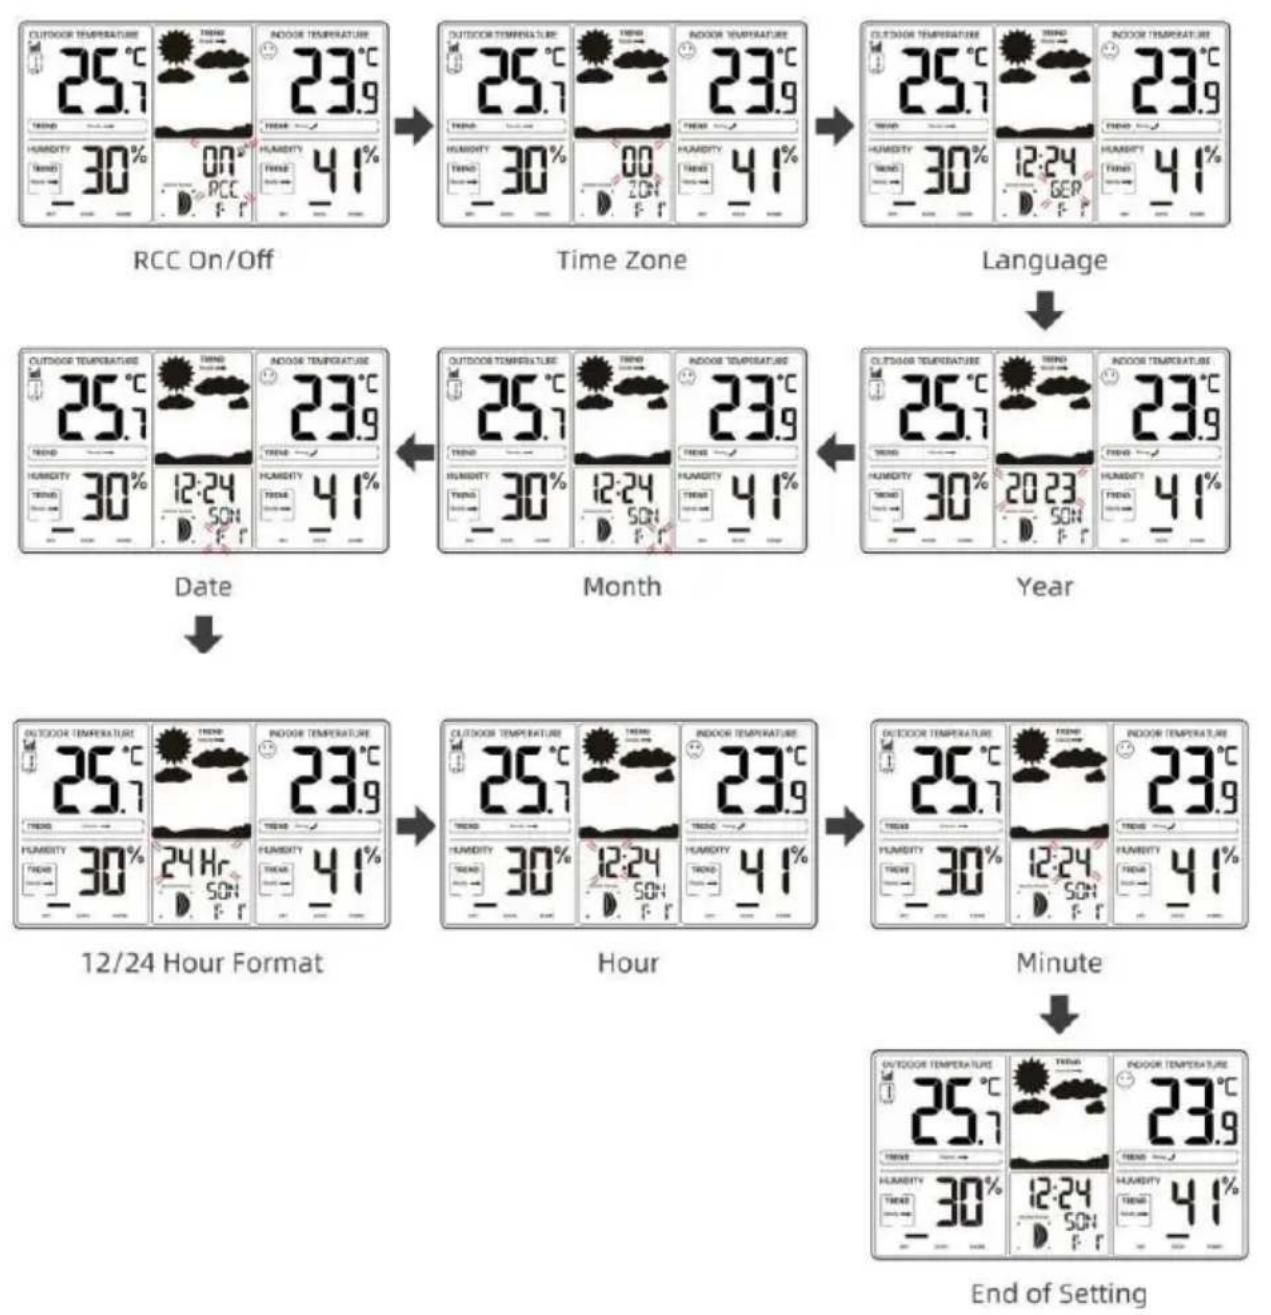
2. 7 LANGUAGES
GER (German), FRE (French), ITA (Italian), DUT (Dutch), SPA (Spanish), DAN (Danish), ENG (English)
SET ALARM TIME
1. CHECK ALARM TIME
In normal time display, press ⑨ 【ALARM】 to switch to alarm time display (Alarm time mode).
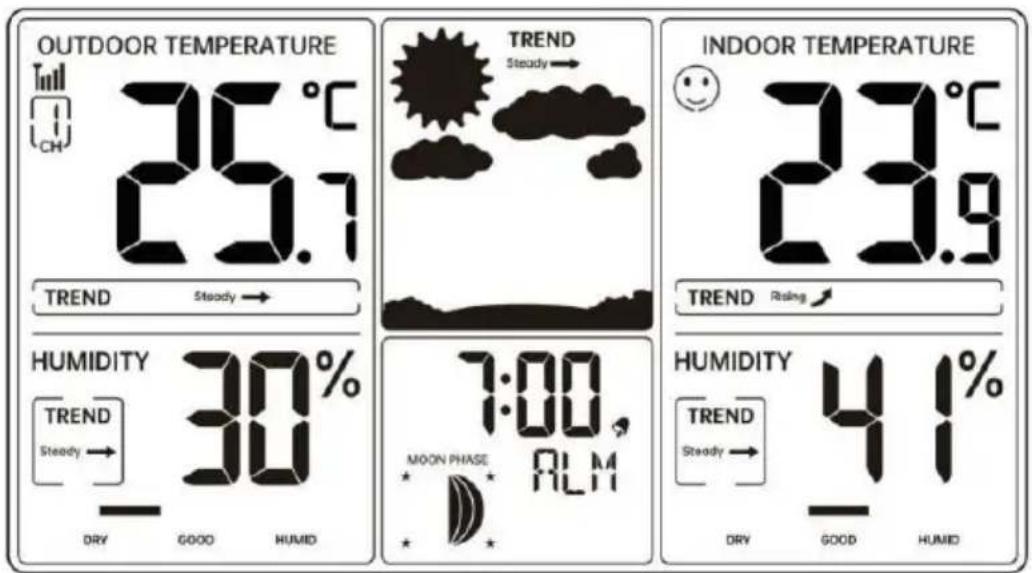
Alarm Time Mode
2. SETTING THE DAILY ALARMS
In alarm time display, press and release ⑨ 【ALARM】 to confirm and move to the next item.
- Press and hold ⑨ 【ALARM】 for over 2 seconds to enter alarm setting mode. The hour of the alarm starts to flash.

- Press ⑪ 【▲/MAX/MIN】 or ⑬ 【▽/RCC/°C/°F】 button to set the required alarm hours. Hold ⑪ 【▲/MAX/MIN】 or ⑬ 【▽/RCC/°C/°F】 button to adjust alarm hours quickly. Press ⑨ 【ALARM】 to select the minute of the alarm.
- When the minute of the alarm flashes.
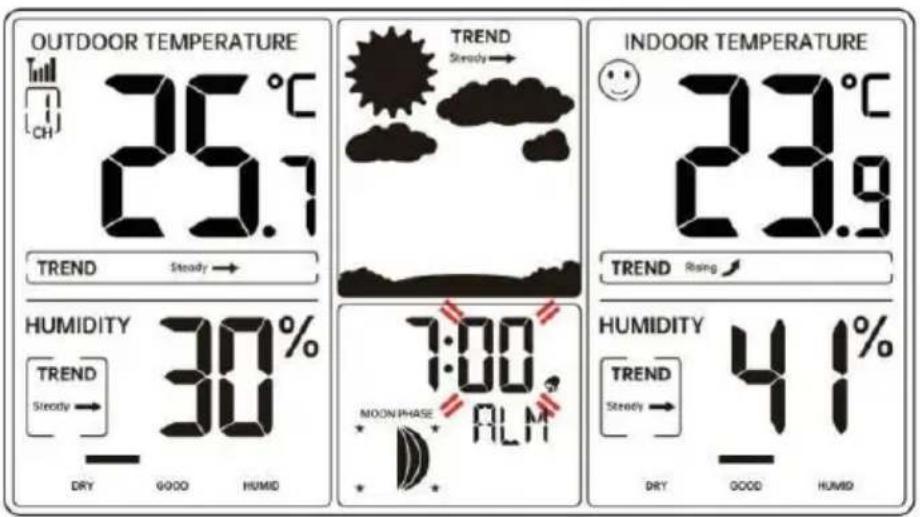
C/°F】 button to adjust alarm minutes quickly.
- Press ⑨ 【ALARM】 to save all settings and exit to alarm mode.
Note: If there is no valid operation within 20 seconds, it will automatically return to the normal display mode from the setting mode.
3. DEACTIVATE/ACTIVATE ALARM
- In Alarm time display, press ⑨ 【ALARM】 to select the Alarm on or off.
- If the alarm is on, its corresponding alarm icon will be shown on the display.
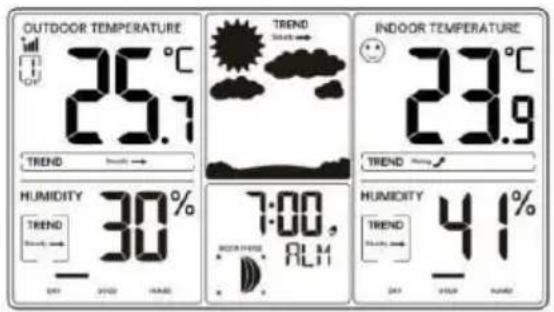
Alarm is on
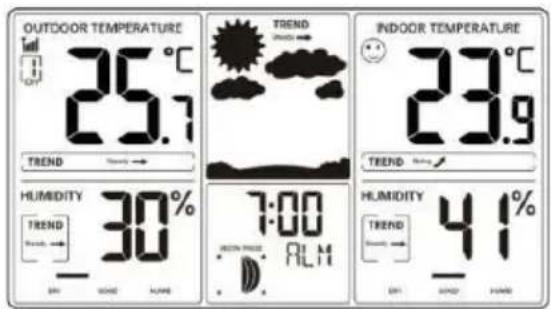
Alarm is off
4. SWITCHING OFF THE ALARM SIGNAL
- When the alarm is ringing, press any buttons except
⑫ 【Snooze/Dimmer】to stop the alarm signal. It is not necessary to reactivate the alarm. It will ring again this time next day.
5. SNOOZE FUNCTION
- When the alarm rings, press ⑫ 【Snooze/Dimmer】 button to pause the alarm. The snooze indicator icon keeps flashing.
● The alarm will resume after 5 minutes.
HEAT INDEX AND DEW POINT
- The value of HEAT INDEX is displayed when the outdoor temperature is ≥ 26.6 °C. The value of DEW POINT is displayed when the outdoor temperature is < 26.6 °C.
- Press ⑭【HEAT/DEW】to switch between heat index and dew point display, humidity is not displayed when heat/dew point index is visible.
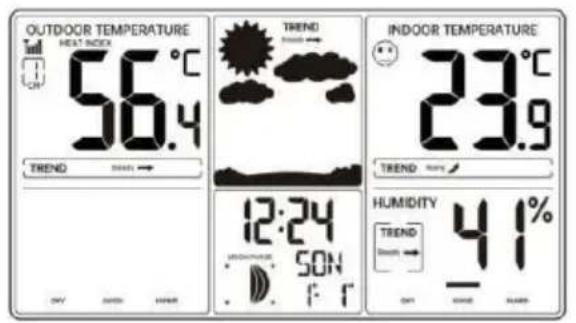
HEAT INDEX
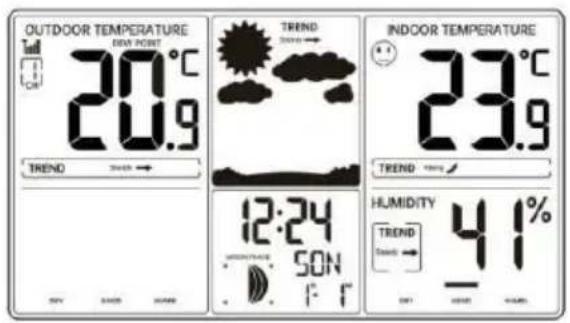
DEW POINT
TEMPERATURE AND HUMIDITY TREND
1. TEMPERATURE TREND
The temperature trend indicators update every 15 minutes and look back over the past hour.
- Change in temperature (2°F/1°C)
| Temperature has risen > 1°C/2°F in the past hour | Temperature has not changed more than 1°C/2°F in the past hour | Temperature has fallen < 1°C/2°F in the past hour |
 |  |  |
2. HUMIDITY TREND
The humidity trend indicators update every 15 minutes and look back over the past hour.
- Change in humidity (3% RH)
| Humidity has risen > 3% in the past hour | Humidity has not changed more than 3% in the past hour | Humidity has fallen < 3% in the past hour |
 |  |  |
3. TEMPERATURE AND HUMIDITY MAX/MIN RECORD
- Press 【11▲/MAX/MIN】 to display the maximum value of indoor/outdoor temperature and humidity, press again to display the minimum value, and press again to return to the normal display.
Note: If there is no valid operation within 5 seconds, it will automatically return to the normal display mode from the setting mode.
4. HUMIDITY COMFORT INDICATOR
- When the humidity is in the corresponding range, the corresponding number of grids is displayed.

ALERT FUNCTION
- In normal display mode, press ⑨ [ALARM] to turn on/off the alert function. When the alert function turns on, the icon and will display.
Note: Alert function is turned off by default when powering up.
1. CHECK ALERT VALUE
- In normal time display, press ⑩ [ALERT] to display the high alert value of indoor and outdoor temperature and humidity. The icon ⚠️ will display. Press ⑩ [ALERT] to display the low alert value of indoor and outdoor temperature and humidity. The icon will display.
- Press ⑩ [ALERT] to return to normal display mode.
2. SETTING THE ALERT
- In normal time display, press and hold ⑩ [ALERT] over 2 seconds to enter alert setting mode.
- Press and release ⑪ [▲/MAX/MIN] or ⑬ [▼/RCC/°C/°F] to adjust the values. Hold to adjust quickly.
- Press and release ⑩ [ALERT] to confirm and move to the next item.
The icon will display when the upper limit value is set. The icon will display when the lower limit value is set. The setting item flash
3. SETTING ORDER
(1) Outdoor temperature upper limit value (2) Outdoor temperature lower limit value (3) Outdoor humidity upper limit value (4) Outdoor humidity lower limit value (5) Indoor temperature upper limit value (6) Indoor temperature lower limit value (7) Indoor humidity upper limit value (8) Indoor humidity lower limit value (9) End of setting
Note: When setting the alert value, press 15 [CHANNEL] to switch to set for other outdoor temperature/humidity sensors.
4. ALARM
- When the temperature or humidity alert is activated, the corresponding value and alert icon or flashes. The alarm is automatically turned off after 1 minute of continuous ringing, but the alert icon still flash.
- If the alarm is not for the currently displayed outdoor sensor, only the alert icon will flash and the alarm will ring, but the alert value will not be displayed.
5. DEACTIVATE THE ALARM
- When the alarm is ringing, press any button to stop the alarm. The alert indicator icon keeps flashing.
- When the temperature or humidity returns to the alert value range, the alarm will automatically stop.
SWITCH READING DISPLAY FOR THE OUTDOOR TEMPERATURE/HUMIDITY SENSORS
- In normal display, press and release ⑮ 【CHANNEL】 to interchange the reading display for the outdoor temperature/humidity sensors. There are CH1, CH2, CH3, or cycle display.
- In cycle display mode, the outdoor temperature reading will be switched every 3 seconds.
COMFORT INDICATION
There are 3 stages of indication: Dry, Comfort, and Wet.
| Dry |  | Temperature is arbitrary, humidity < 40 % |
| Comfort |  | Temperature 20°C-28°C, humidity 40%-70% |
| Wet |  | Temperature is arbitrary, humidity > 70 % |
WEATHER FORECASTING FUNCTION
- The weather symbols indicate the weather fluctuation over the next 6-12 hours, not the current weather.
- Please take the weather forecast from your local weather forecasting service into account as well as the forecast from your weather station. If there are discrepancies between the information from your device and the local weather forecasting service, please take the advice of the latter as authoritative. The weather forecast is calculated from evaluation of fluctuations in
the barometric pressure and may deviate from the actual weather conditions.
The weather station displays the following weather symbols:
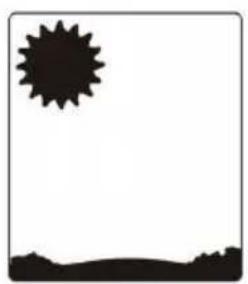
Sunny

Partly Sunny

Cloudy
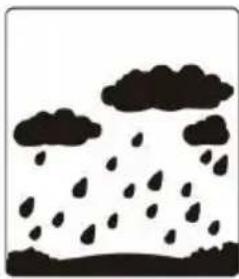
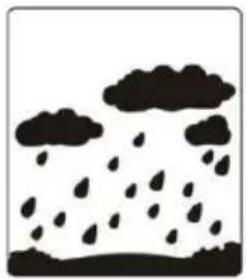
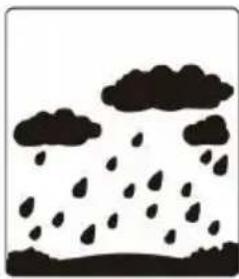
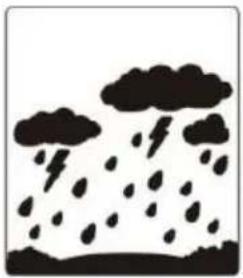
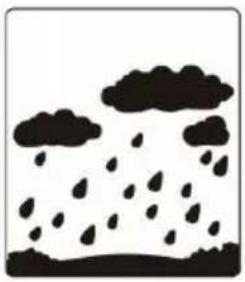
Light Rain
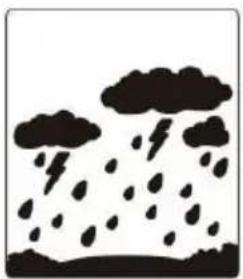
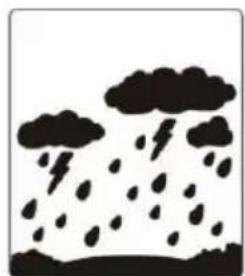
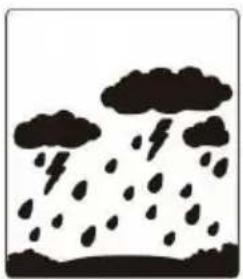
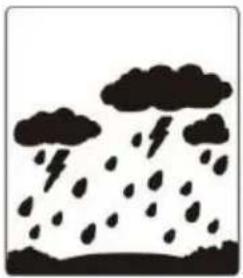
Heavy Rain
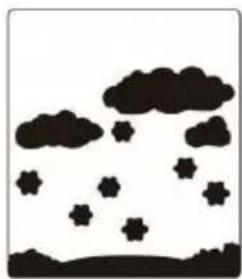
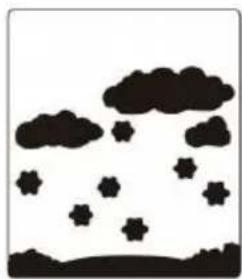
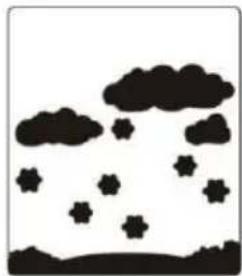
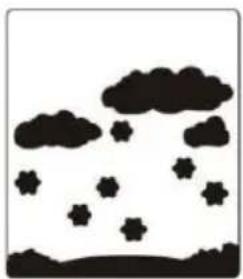
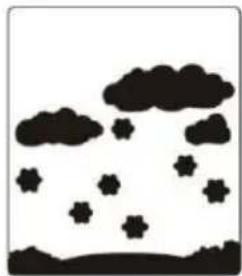
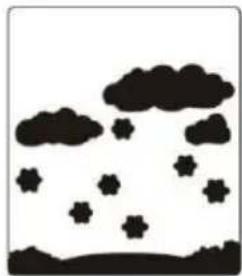
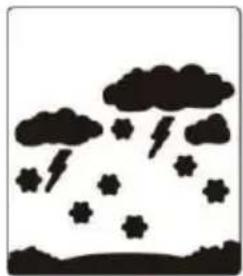
Light Snow
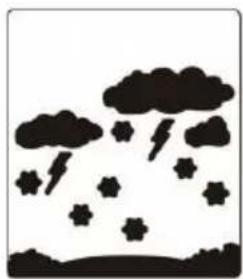
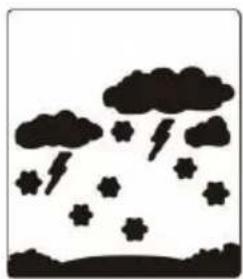
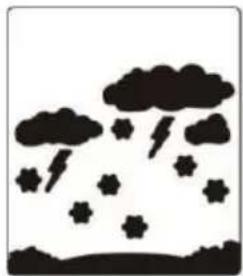
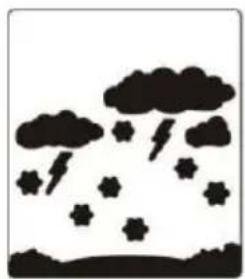
Heavy Snow
SEARCH FOR OUTDOOR SENSOR
- In Normal time display, press and hold ⑮ 【CHANNEL】 for over 2 seconds to search for the outdoor temperature and humidity sensor.
- The signal strength icon will animate until the sensor signal is received, or for 5 minutes if no signal is available, or the icon will display solid.



SWITCH TEMPERATURE UNIT
In Normal time display, press and release ⑮ 【CHANNEL】 to interchange the temperature unit between degree Celsius and degree Fahrenheit.
BACKLIGHT
- When operating with the power cable, there are 3 levels of backlight for adjustment.
- Press ①【SNOOZE/DIMMER】 to adjust backlight.
- When operating on batteries only, the backlight will come on (about 10 seconds) when ⑫ 【SNOOZE/DIMMER】 is pressed.
LOW BATTERY INDICATION
- Low battery icon by outdoor humidity: replace batteries in the sensors.
- Low battery icon by indoor humidity: replace batteries in the weather station.
Note: When the low battery icon is indicated, it means the battery level is low, which may affect normal functions. Please replace with new alkaline batteries soon to maintain normal operation.
FACTORY RESTART
If there is a malfunction, the Factory Restart is a great way to return the station to "out of the box" condition.
1. FACTORY RESTART
1.) Remove all power (batteries and AC-AC adaptor) from the outdoor sensor and weather station. 2.) Follow the operation "FIRST TIME TO USE" to start pairing the sensor.
IMPORTANT PLACEMENT GUIDELINES
- Mounting under an eave or deck rail works well.
- Mount the remote sensor on the North side to prevent incorrect readings.
- Be sure the outdoor sensor is mounted vertically to drain moisture. Mount at least 6 feet in the air for a strong RF (radio frequency) signal.
- To prevent wireless interference, place units at least 3 ft (0.9 m) from electronic devices (TV, computer, microwave, radio, etc.).
- To maximize atomic signal reception, place the weather station away from large metallic items, thick walls, metal surfaces, or other objects that may limit radio communication.
- The maximum wireless transmission range must be within 100m in open air, not including walls and floors.
CARE AND MAINTENANCE
- Do not mix old and new batteries.
- Do not mix Alkaline, Standard, Lithium, or Rechargeable batteries. Always purchase the correct size and grade of battery most suitable for intended use.
- Replace all batteries of a set at the same time.
- Clean the battery contacts and also those of the device prior to installation.
- Ensure the batteries are installed with correct polarity (+ and -).
- Remove batteries from equipment that is not to be used for an extended period of time.
- Promptly remove expired batteries.
SPECIFICATIONS
| Indoor | Temperature Range: 0. C - 50. C (32. F - 122. F)Humidity Range: 1 - 99% RH |
| Outdoor | Temperature Range: -50. C - 70. C (-58. F - 158. F)Humidity Range: -199% RHNote: Temperature below .-20 require Lithium batteries in the outdoor sensorDistance: 100mTransmission frequency: 433MHz |
| Power | Weather station primary AC-AC power: 5.0VAC, 0.15A AC-AC adaptor (included)Battery Backup: 3 x AAA, LR3 batteriesSensor: 2 x AAA, LR3 batteries |
| Dimension | Weather station: 205.9 x 141.6 x 26.5 mmSensors: 104 x 40 x 26 mm |
Made In China
VEVOR®
TOUGH TOOLS, HALF PRICE
Technical Support and E-Warranty Certificate
www.vevor.com/support
VEVOR®
ALARM FUNCTION
sunny

partly cloudy

cloudy
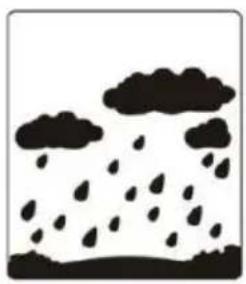
light rain
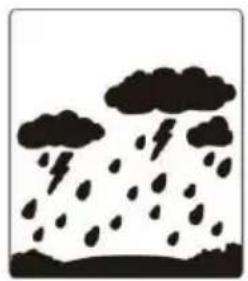
heavy rain
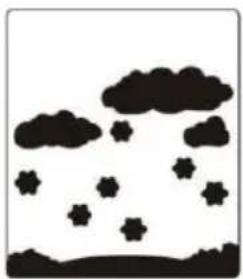
light snow
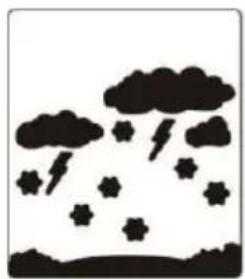
heavy snow
www.vevor.com/support
VEVOR®
2. TX BUTTONS ON BACK
1. MANUAL RECEPTION OF RCC
FUNCTION ALERT
DISCOMFORT INDICATION
Sunny

Partly Sunny

Sunny
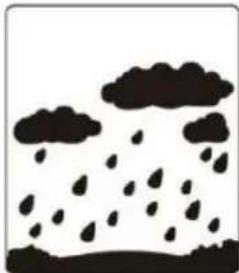
Moderate Rain

Heavy Rain
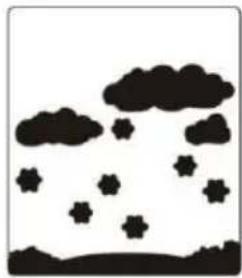
Moderate Snow
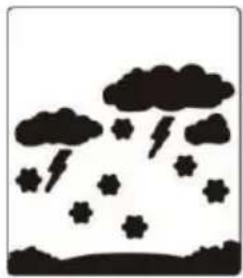
Heavy Snow
TEMPERATURE UNIT SWITCHING
LOW BATTERY INDICATION
1. RCC RECEPTION MANUAL
HEAT INDEX AND DEW POINT
HEAT INDEX AND DEW POINT
1% to 25% 26% to 39% 40% to 70% 71% to 83% 84% to 99%

DRY
GOOD
HUMID
COMFORT INDICATION
Sunny

Partly Sunny

Cloudy
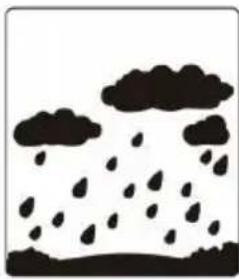
Light Rain
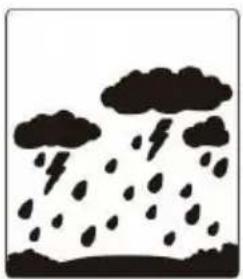
Heavy Rain
Light Snow
Heavy Snow
SWITCH TEMPERATURE UNIT
IMPORTANT MOVING DIRECTIONS
www.vevor.com/support
WEATHER STATION
MODEL: YT6077
1st RCC RECEPTION MANUAL
ALARM FUNCTION
COMFORT ADVERTISEMENT
son nig

Teil wei se

eBewilkat
Light rain
Heavy rain
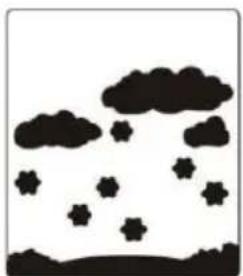
Light snowfall
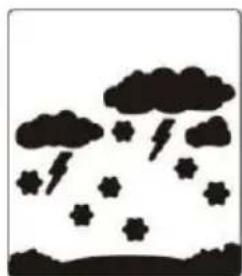
Heavy snowfall
TEMPERATURE UNIT
2. TX BUTTONS ON BACK
1. MANUAL RCC RECEPTION
ALERT FUNCTION
DISCOMFORT INDEX
Sunny

Partly Sunny

Sunny
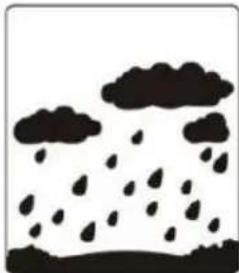
Moderate Rain
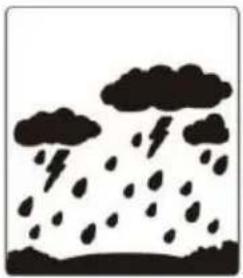
Heavy Rain
Moderate Snow
Heavy Snow
LOW BATTERY INDICATOR
Kundenservice@vevor.com
2.7 LANGUAGES
HEAT INDEX AND DEW POINT
HEAT INDEX AND DEW POINT
Sunny

Partly Sunny

Cloudy
Light Rain
Heavy Rain
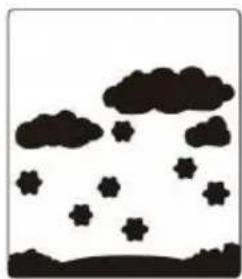
Light Snow
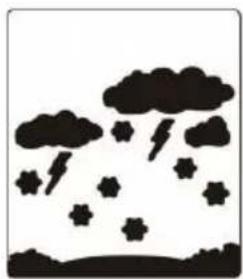
Heavy Snow
SEARCH FOR OUTDOOR SENSOR
Technical Support and E-Warranty Certificate
www.vevor.com/support
VEVOR®
ALARM FUNCTION
son nig

Teil wei se

eBewilkat
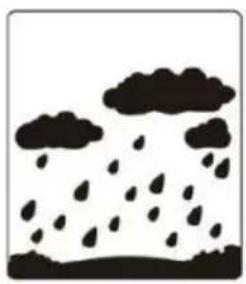
Light Rain
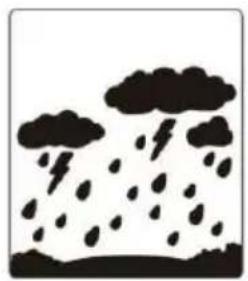
Heavy rain
Light snow
Heavy snow
Kundenservice@vevor.com
FIRST USE
1. COUPLING OF EXTERNAL TELECOMMUNICATION
ALARM FUNCTION
DISCOMFORT INDICATION

Sunny

Partly sunny

Sunny

Moderate rain
Heavy rain
Moderate snow
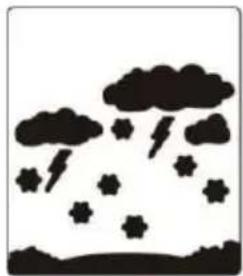
Heavy snow
TEMPERATURE UNIT SWITCHING
www.vevor.com/support
1. CONNECT THE EXTERNAL REMOTE SENSOR
2.7 LANGUAGES
HEAT INDEX AND DEW POINT
HEAT INDEX AND DEW POINT
2. HUMIDITY TREND
1% to 25% 26% to 39% 40% to 70% 71% to 83% 84% to 99%

DRY
GOOD
HUMID
Sunny
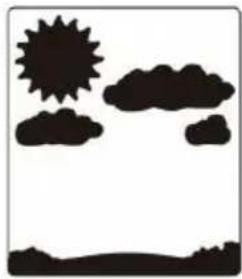
Partly Sunny

Cloudy
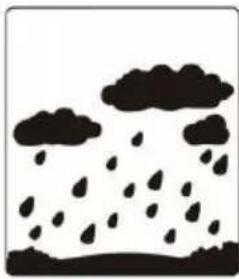
Light Rain
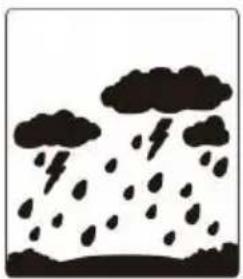
Heavy Rain
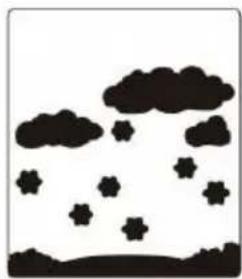
Light Snow
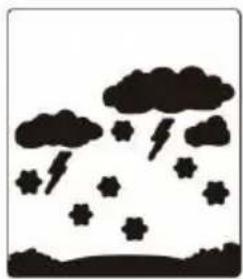
Heavy Snow
SEARCH FOR EXTERNAL SENSOR
SWITCH TEMPERATURE UNIT
www.vevor.com/support
WEATHER STATION
MODEL: YT6077
ALARM FUNCTION
son nig

Teil wei se

eBewilkat
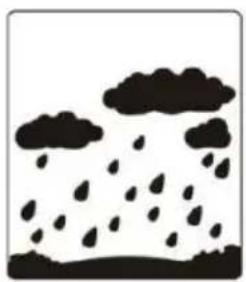
Light Rain
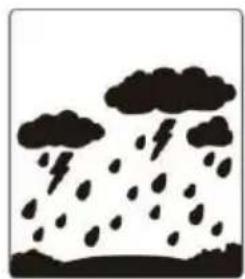
Heavy Rain
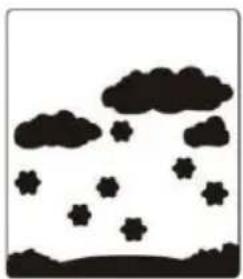
Light Snowfall
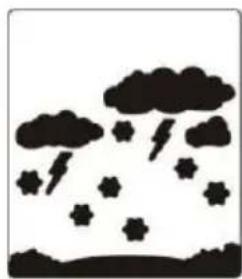
heavy snowfall
TEMPERATURE UNIT SWITCHING
www.vevor.com/support
VEVOR®
ATTENTION FUNCTION
DISCOMFORT INDICATION
Sunny

Partly Sunny

Sunny
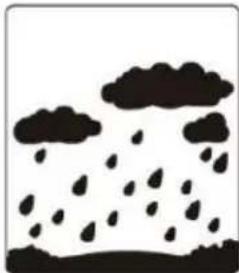
Moderate Rain
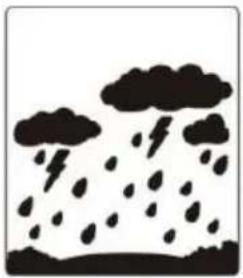
Heavy Rain
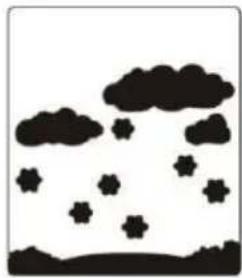
Moderate Snow
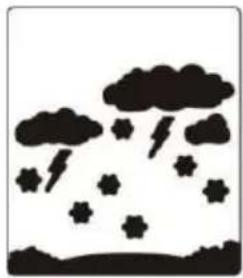
Heavy Snow
SEARCH FOR OUTDOOR SENSOR
TEMPERATURE UNIT SWITCHING
www.vevor.com/support
2.7 LANGUAGES
HEAT INDEX AND DEW POINT
HEAT INDEX AND DEW POINT
Sunny

Partly Sunny

Cloudy
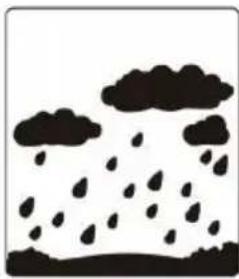
Light Rain
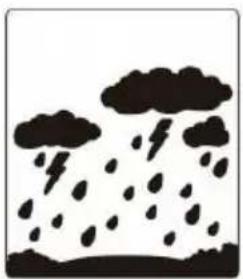
Heavy Rain
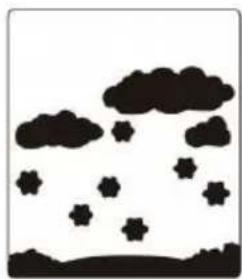
Light Snow
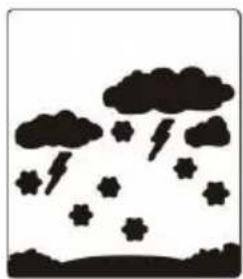
Heavy Snow
SEARCH FOR EXTERNAL SENSOR
SWITCH TEMPERATURE UNIT
FOR FIRST USE
1. PAIR THE EXTERNAL SENSOR
ALARM FUNCTION
TEMPERATURE UNIT
FIRST USE
1. EXTERNAL TELECOMMUNICATION HOOK
HEAT INDEX
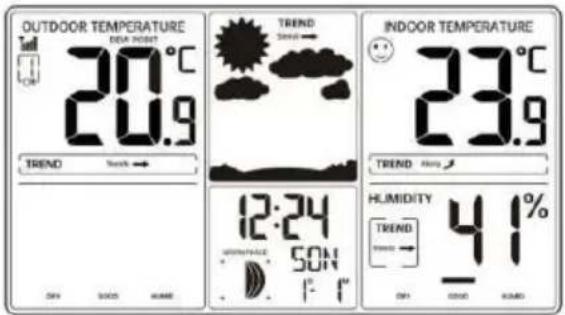
DEW POINT
TEMPERATURE AND HUMIDITY TREND
ALERT FUNCTION
COMFORT INDICATION
Sunny

Partly

Sunny
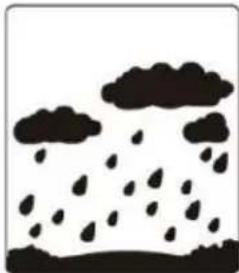
Moderate Rain
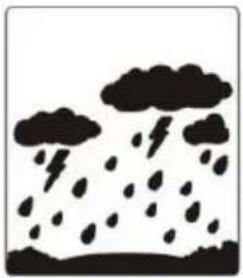
Heavy Rain
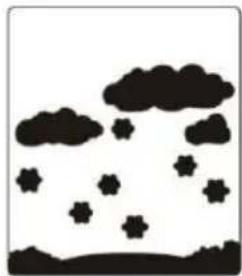
Moderate Snow
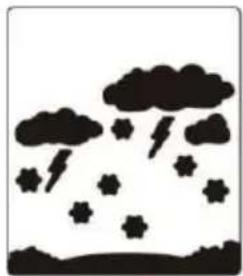
Heavy Snow
TEMPERATURE UNIT SWITCHING
2.7 LANGUAGES
HEAT INDEX AND DEW POINT
HEAT INDEX AND DEW POINT
2. HUMIDITY TREND
3. TEMPERATURE AND HUMIDITY MAX/MIN RECORD
1% to 25% 26% to 39% 40% to 70% 71% to 83% 84% to 99%

DRY
GOOD
HUMID
Sunny

Partly Sunny

Cloudy
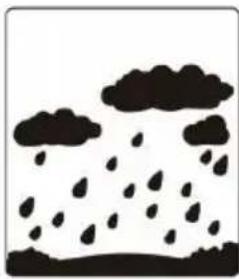
Light Rain
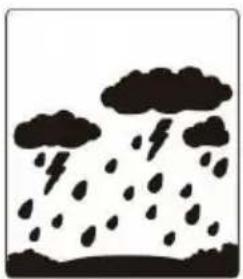
Heavy Rain
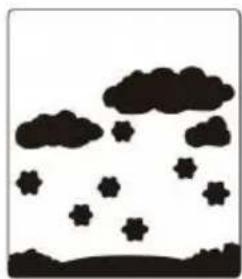
Light Snow
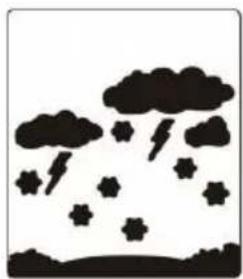
Heavy Snow
SEARCH FOR EXTERNAL SENSOR
SWITCH TEMPERATURE UNIT
www.vevor.com/support
WEATHER STATION
MODEL: YT6077
ALARM FUNCTION
TEMPERATURE UNIT
www.vevor.com/support
VEVOR®
FIRST USE
ALARM FUNCTION
1. VERIFICATION WITH ALARM VALUE
DISCOMFORT INDICATION
Sunny

Partly Sunny

Sunny
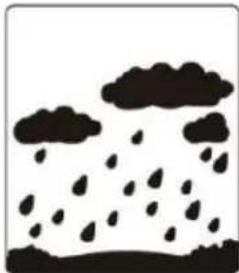
Moderate Rain
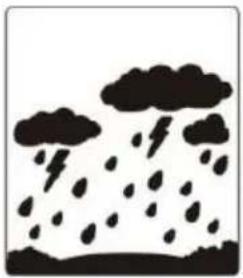
Heavy Rain
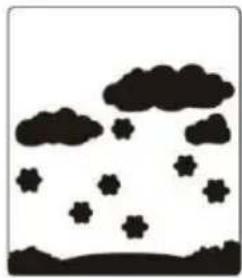
Moderate Snow
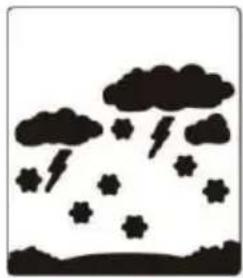
Heavy Snow
SENSOR TESTS OUTSIDE
TEMPERATURE UNIT SWITCHING
www.vevor.com/support
WEATHER STATION
MODEL:YT6077
CustomerService@vevor.com
1. COMBINE THE OUTDOOR DISTANCE SENSOR
2.7 LANGUAGES
3. ALARM DEACTIVATE/ACTIVATE
HEAT INDEX AND DEW POINT
HEAT INDEX AND DEW POINT
2. HUMIDITY TREND
1. CHECK WARNING VALUE
Sunny

Partly Sunny

Cloudy
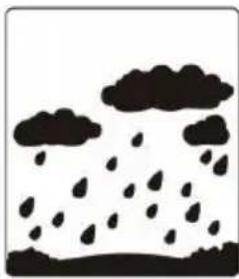
Light Rain
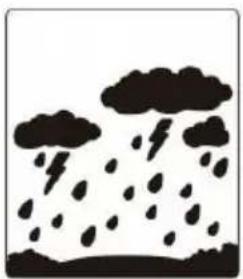
Heavy Rain
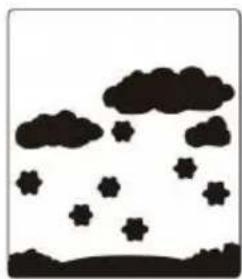
Light Snow
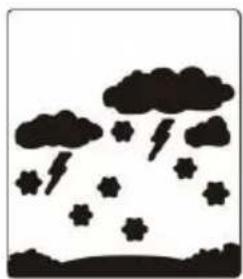
Heavy Snow
SEARCH FUNCTION FOR OUTDOOR SENSOR
certificate www.vevor.com/support
VEVOR®
Technical Support and E-warranty Certificate, www.vevor.com/support
WEATHER STATION
MODEL: YT6077
CustomerService@vevor.com
3. DEACTIVATE/ACTIVATE ALARM
HEAT INDEX AND DEW POINT
ALARM FUNCTION
www.vevor.com/support
VEVOR®
CustomerService@vevor.com
FIRST USE
1. CONNECTION OF EXTERNAL TELECOMMUNICATION
FUNCTION WARNING
1. VERIFICATION OF THE VALUE WARNING
DISCOMFORT INDICATION

Sunny

Partly Sunny

Sunny
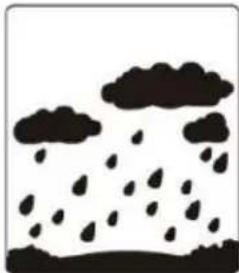
Moderate Rain
Heavy Rain
Moderate Snow
Heavy Snow
INVESTIGATION OF AN OUTDOOR SENSOR
TEMPERATURE UNIT SWITCHING
2. PRESS BACK
1. MANUAL RCC RECEPTION
2. 7 LANGUAGES
HEAT INDEX AND DEW POINT
Sunny

Partly Sunny

Cloudy
Light Rain
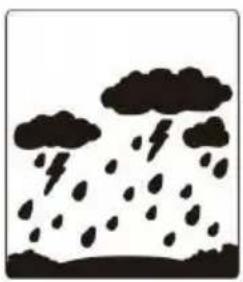
Heavy Rain
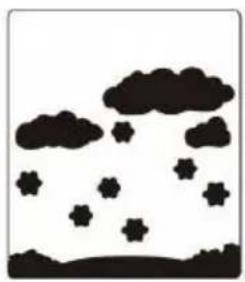
Light Snow
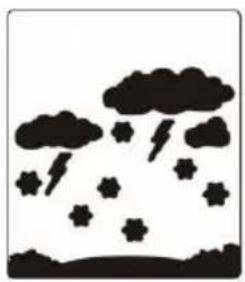
Heavy Snow
SEARCH FOR OUTDOOR SENSOR
www.vevor.com/support
VEVOR®
FUNCTION
sunny

partly cloudy

cloudy
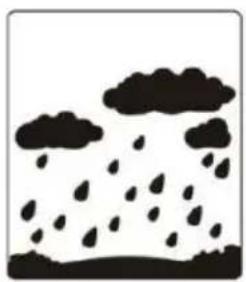
light rain
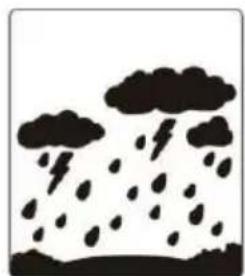
heavy rain
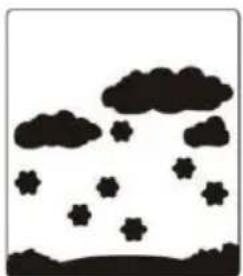
light snow
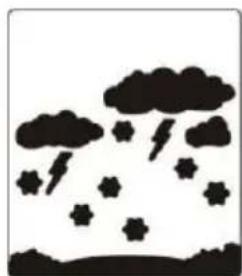
heavy snow
TEMPERATURE UNIT
www.vevor.com/support
VEVOR®
FIRST USE
1. CONNECTION OF EXTERNAL TELECOMMUNICATION
FUNGERAVARNA
DISCOMFORT INDEX
Sunny

Partly

Sunny
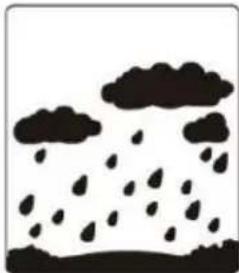
Moderate Rain
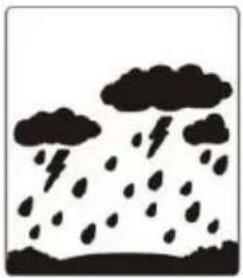
Heavy Rain
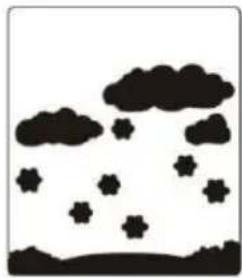
Moderate Snow
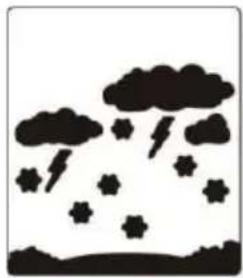
Heavy Snow
RESEARCH FROM OUTSIDE SENSOR