USER MANUAL SS-006 Vevor
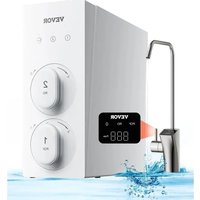
REVERSE OSMOSIS WATER FILTRATION SYSTEM
MODEL: SS-001/SS-002/SS-003/SS-004/SS-005/SS-006
We continue to be committed to providing you with tools at competitive prices. "Save Half", "Half Price", or any other similar expressions used by us only represent an estimate of savings you might benefit from buying certain tools with us compared to the major top brands and do not necessarily mean to cover all categories of tools offered by us. You are kindly reminded to verify carefully when placing an order with us if you are actually saving half in comparison with the top major brands.
MODEL: SS-001/SS-002/SS-003/SS-004/SS-005/SS-006
Have product questions? Need technical support? Please feel free to contact us:
This is the original instruction. Please read all manual instructions carefully before operating. VEVOR reserves a clear interpretation of the user manual. The appearance of the product shall be subject to the product you received. Please forgive us that we won't inform you if there are any technology or software updates on our product.
 | Warning-To reduce the risk of injury, user must read instructions manual carefully. |
 | This product is subject to the provision of European D 2012/19/EC. The symbol showing a wheelie bin crossed through indicates that the product requires separate refu collection in the European Union. This applies to the p and all accessories marked with this symbol. Products as such may not be discarded with normal domestic w must be taken to a collection point for recycling electri electronic devices |
 | FCC Information:CAUTION: Changes or modifications not expressly appro by the party responsible for compliance could void the authority to operate the equipment!This device complies with Part 15 of the FCC Rules. is subject to the following two conditions:1) This product may cause harmful interference.2)This product must accept any interference received, including interference that may cause undesired operatio WARNING: Changes or modifications to this product no expressly approved by the party.responsible for complian could void the user's authority to operate the product. Note: This product has been tested and found to com the limits for a Class B digital device pursuant to Par FCC Rules, These limits are designed to provide reaso protection against harmful interference in a residential installation.This product generates, uses and can radiate radio fre energy, and if not installed and used in accordance wi instructions, may cause harmful interference to radio communications. However, there is no guarantee thatinterference will not occur in a particular installation. If product does cause harmful interference to radio or tele reception,which can be determined by turning the product and on, the user is encouraged to try to correct the interference by one or more of the following measures.Reorient or relocate the receiving antenna.Increase the distance between the product and receive Connect the product to an outlet on a circuit different that to which the receiver is connected.Consult the dealer or an experienced radio/TV technic assistance. |
Matters needing attention
Important safety notice
- When the product is making water, there will be slight vibration and sound, which is a normal phenomenon.
- When the inlet water quality does not meet the municipal tap water standards, a pretreatment device should be installed before the product.
- The inlet water pressure of this water purifier is 0.1-0.4MPa. If the water pressure does not meet the requirements, please check. A pressurization or decompression device should be installed.
- If the machine fails, the power supply and water supply should be immediately cut off. Do not leave the faulty machine in operation status.
- Do not use other parts without the manufacturer's permission. If the machine breaks down, the warranty will end automatically.
- Please install and use according to the instructions of the product.
- This product can only be repaired in the manufacturer's authorized repair center. If you choose an unauthorized repair center, it may cause other unsafe factors.
- Please clean and replace the filter element regularly.
- When replacing the filter element, cut off the power supply and close the water inlet three-way ball valve.
- When the machine needs to be cleaned, do not directly spray water to clean the machine or put the water purifier into the water to clean.
- Do not use volatile liquids such as alcohol, gasoline, paint thinner or other materials to wipe the surface of the machine.
- Do not apply too much pressure or impact force to the product.
- Do not use water sources beyond 5-38 °C to avoid reducing the life of the filter element.
- When the water temperature is below 5°C, turn off the water inlet, open the faucet and drain the water for about 1 minute, so that the water inside the machine is discharged from the concentrated water pipe to prevent ice damage to the machine.
- Avoid storing in places exposed to strong sunlight, which can easily cause aging of water purifier components.
Warning
- The adapter should be installed vertically on the wall or cabinet box and do not place the adapter flat at the bottom of the cabinet.
- Do not use broken power supplies or plugs, and loose sockets.
- If the power cord is damaged, in order to avoid danger, it must be replaced by a designated professional after-sales maintenance technician.
- Do not touch the plug with wet hands.
- Do not use under high water pressure.
- Do not put flammable, explosive, volatile, or strong magnetic materials in the water purifier.
- Children and incapacitated persons should use this product under the guidance of their guardians.
- In addition to maintenance technicians, other people must not disassemble or maintain the product, to avoid causing fire,
electric shock.
- Use the new hose assembly that came with the purifier. The old hose assembly cannot be reused.
A. Products and Accessories
| Picture | Name | Picture | Name |
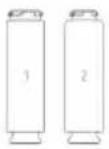 | 2 filter elements |  | specification |
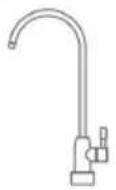 | faucet | 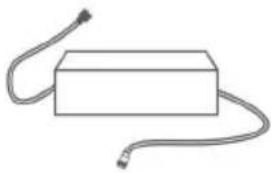 | Power adapter |
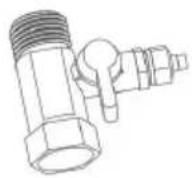 | Water inlet three-way ball valve | 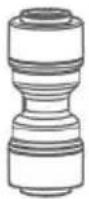 | Quick connector |
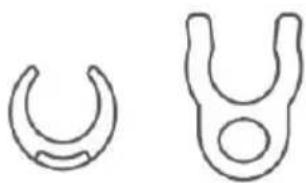 | 1/4" anti-drop clip |  | 3/8" anti-drop clip |
 | White 3/8"PE tube |  | White 1/4"PE tube |
B. Functional diagram
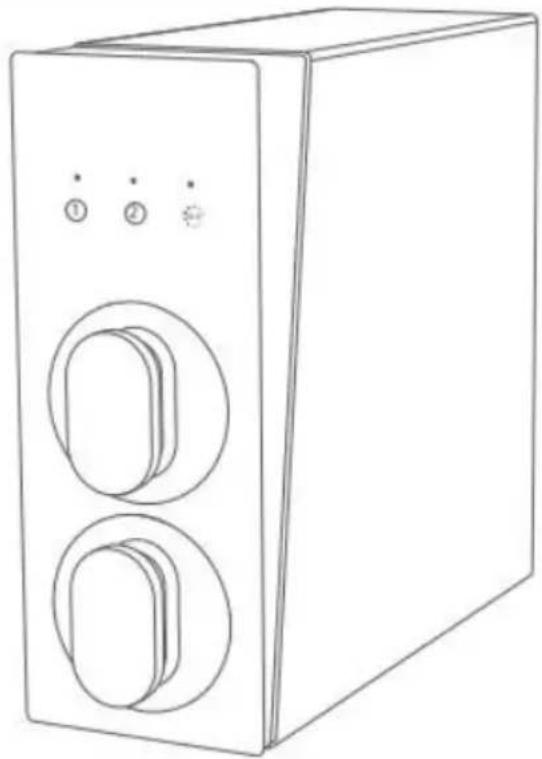
![graph TD A["Filter life indicator"] --> B["①"] C["Power indicator light"] --> D["②"] E["Operation"] --> F["●"] G["Integrated PCF3in1 Polypropylene carbon rod Composite filter element(PCF)"] --> H["●"] I["Integrated reverse osmosis membrane Composite filter element"] --> J["●"] style A fill:#f9f,stro…](/content/2026/04/736517/images/86a508d60d2b91d8755e71b59bc8c6ad2c022698ee526c61f39201f215487efc.jpg)
![graph TD A["Water inlet three-way ball valve"] --> B["Municipal tap water"] B --> C["Concentrated water"] C --> D["Flooding"] D --> E["Pure water"] E --> F["Pure water"] F --> G["Drain pipe/floor drain"] G --> H["Water dragon head"] I["Concentrated water"] --> J["Pure water flooding"] K["Power sourc…](/content/2026/04/736517/images/295bdba4a7a3e8e6f80a42736ac7f10e7537a6916774b64ad3111b2ec4745fd1.jpg)
C. Filter element name and recommended replacement cycle
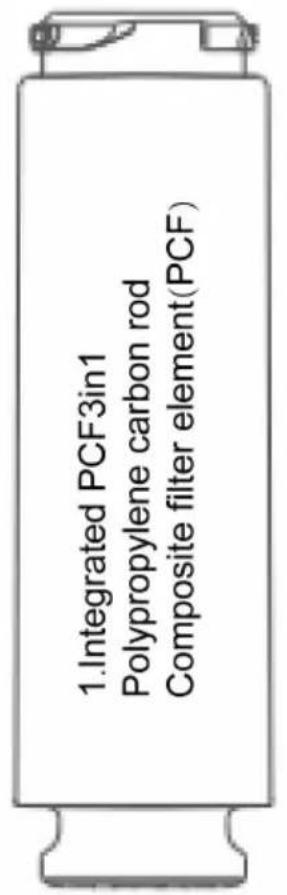
1
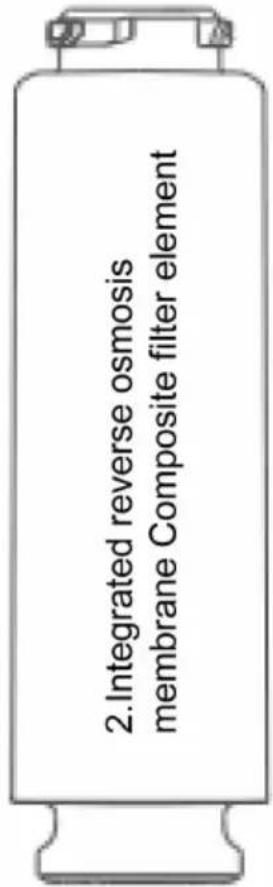
2
| Filter element | 1 | 2 |
| Filter element name | Integrated PCF3in1Polypropylene carbon rodComposite filter element (PCF) | Integrated reverse osmosis membraneComposite filter element |
| Filter function | Effectively remove sediment rust and suspension from water Substance, residual chlorine and odor; Effective improvement of carbon rodsThe taste of the water, th absorption of the different color odor in the water. | Filter water arsenic, cadmium, chromium (hexavalent), Lead, fluoride, nitrate nitrogen, tetrachloride Carbon,trichloromethane |
| Filter function | Effectively remove sediment rust and suspension from water Substance, residual chlorine and odor; Effective improvement of carbon rods The taste of the water, th absorption of the different color odor in the water. | Filter water arsenic, cadmium, chromium (hexavalent), Lead, fluoride, nitrate nitrogen, tetrachloride Carbon, trichloromethane |
| Recommended replacement cycle | 6 to 12 months | 24 to 36 months |
| Recommended replacement cycle | 6 to 12 months | 24 to 36 months |
!!! It is recommended that the replacement cycle of the filter element, the expected cycle, due to the poor water quality, water temperature usage in various regions
The actual service cycle is different. The recommended replacement cycle is for reference only.
D. Installation method
- Open the package and take out the host and parts package. 2. Check that the machine body, packing cases, and warranty serial number are consistent.
- Confirm the position and space of the whole machine and reserve a two-pin socket. 4. Confirm the water pressure, water pressure requirements: 0.1-0.4Mpa! ! ! Before installation, close the water source to prevent water leaks.
E. Installation method
- Install the water inlet three-way ball valve.

F. Install the faucet
- Insert the faucet into the hole reserved on the sink. Use the shims and nuts from the sink panel to tighten the underside so that it is fixed in the water slot.
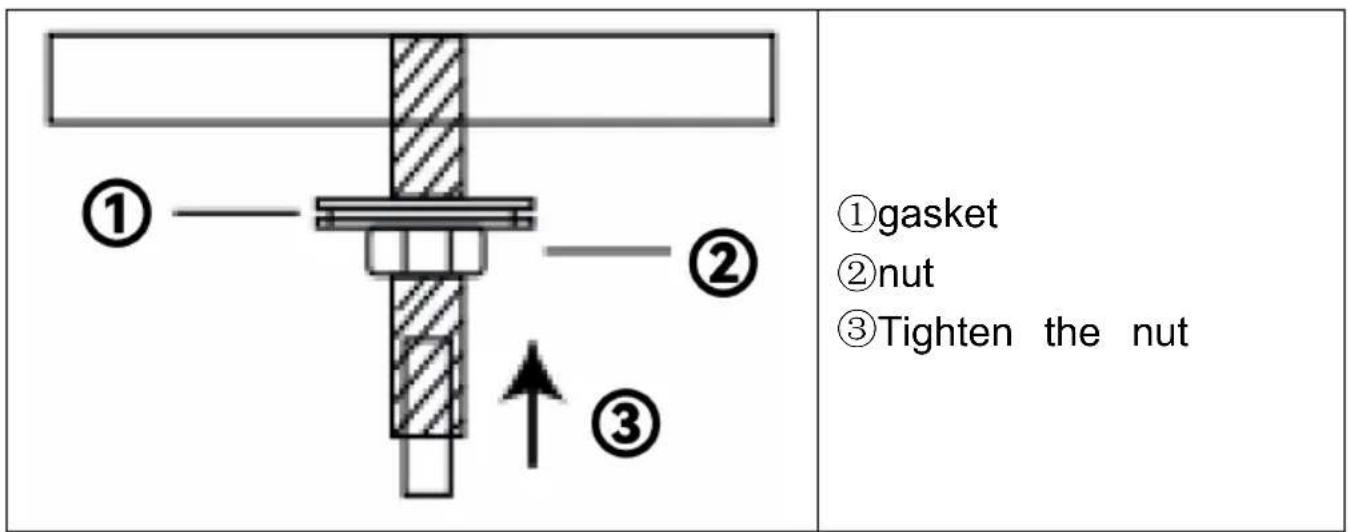
- Insert the 1/4" quick connector into the bottom of the threaded rod.
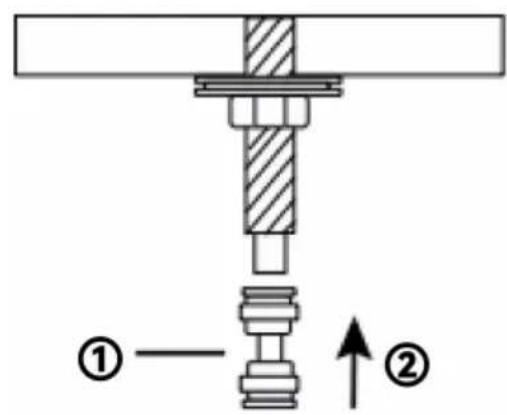
① 1/4" Fast splice
② Insert 1/4" Quick connect
- Force the 1/4" PE tube into the 1/4" quick connector.

① Port
② PE pipe
- Insert the 1/4" PE tube to the bottom and then pull out, clamp into the anti-fall clamp.
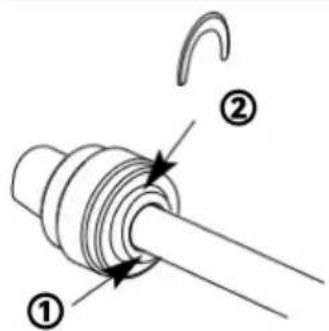
① Clip head
② Clamp into anti-fall clamp
- If you need to pull out the water pipe, first take off the anti-fall clamp, hold down the clip, and pull out the hose.
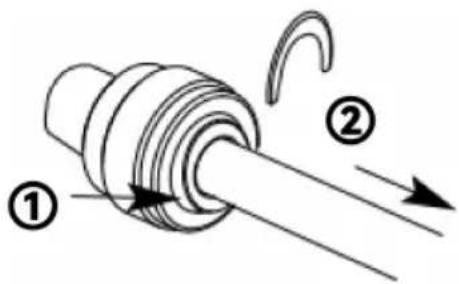
①Hold the clip head
②Remove the clamp by pulling it outward
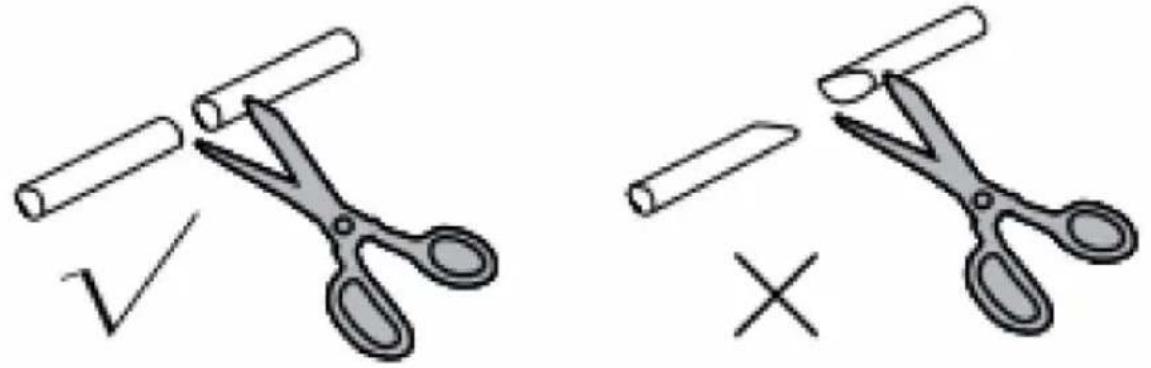
- When cutting water pipes, cut the nozzle of the water pipe flat. Do not cut the pipe at a diagonal angle.
G. Installation method
Component connection (refer to the functional diagram)
Remove the white and blue plugs at the inlet and outlet, and mark the pipe and the back of the machine in sequence
Connect the interface; connect the white thick water pipe and fix the drain pipe or floor drain.
![graph TD A["Power source"] --> B["Connect the power adapter"] C["Concentrated water"] --> D["Concentrated water"] E["Pure water"] --> F["Pure water"] G["flooding"] --> H["Flooding"] I["Connect the three-way ball valve"] --> J["Connecting faucet Pure water joint"] K["Connect the drain/floor drain (Ca…](/content/2026/04/736517/images/fdd2459322c31072bb24dbe2d0ad074561380f08b364289c1d4b618de6ea8029.jpg)
!!!After the water pipe is installed, be sure to install the blue anti-clamp.
Each pipeline is connected according to the side mark, and confirm after the connection is completed.
H. Method for first installation of the filter element
- Rotate the new filter in a clockwise direction and align the lock with the icon.
![graph TD subgraph_A["Loop A"] A1["Loop 1"] --> A2["Loop 2"] A3["Loop 3"] --> A4["Loop 4"] A5["Loop 5"] --> A6["Loop 6"] A7["Loop 7"] --> A8["Loop 8"] A9["Loop 9"] --> A10["Loop 10"] A11["Loop 11"] --> A12["Loop 12"] A13["Loop 13"] --> A14["Loop 14"] A15["Loop 15"] --> A16["Loop 16"] A17["Loop 17"] -…](/content/2026/04/736517/images/40f37e1ae5f348d8a308f5e840422128edcf2c68daf4fe6b9c0ff440b0c54248.jpg)
| A.clockwise | B.The lock is aligned with |
- Complete the installation of the other filter elements in sequence.
![graph TD A["①"] --> B["②"] B --> C["②"] C --> D["②"] D --> E["②"] E --> F["②"] F --> G["②"] G --> H["②"] H --> I["②"] I --> J["②"] J --> K["②"] K --> L["②"] L --> M["②"] M --> N["②"] N --> O["②"] O --> P["②"] P --> Q["②"] Q --> R["②"] R --> S["②"] S --> T["②"] T --> U["②"] U --> V["②"] V --> W["②"]…](/content/2026/04/736517/images/d242eb82421ff94a2ea9dc4f44dc4c2dadfc50d0072f7e1a55f3c31d9f0ca223.jpg)
I. Usage method
First use
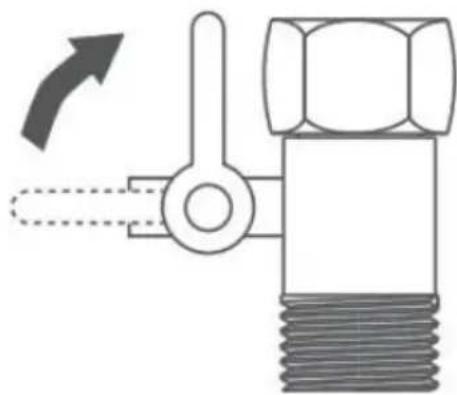
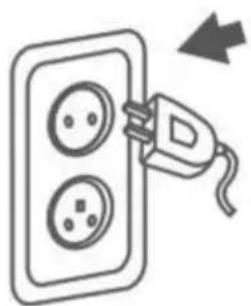
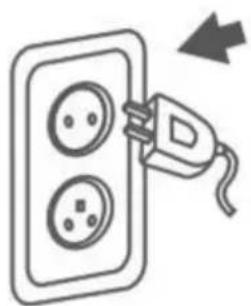
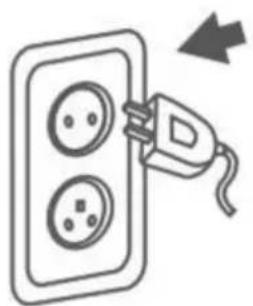
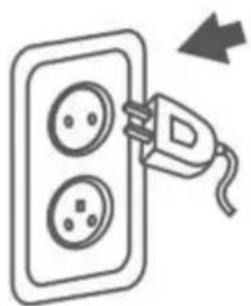
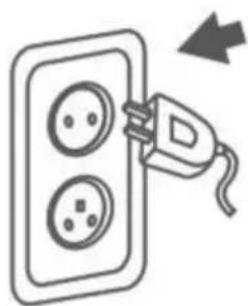
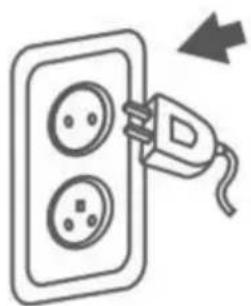
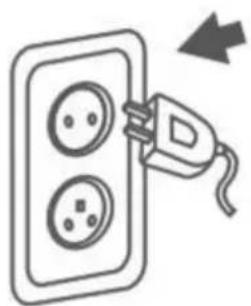
Open the water three-way ball valve and plug it in.
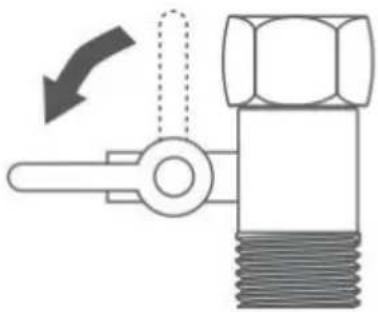
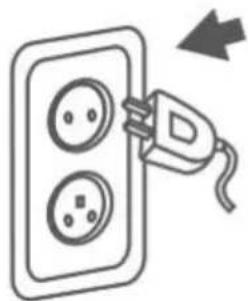
Filter flushing
When using or replacing the filter element for the first time, rinse the element.
Due to the characteristics of the reverse osmosis membrane, the membrane contains moisturizing ingredients (the main ingredient is food grade sweet oil). In order to produce better tasting water after installation, it is recommended to use the machine as much as possible on the first day of installation. The filtered water is not recommended for drinking and can be used for kitchen cleaning.
If the above operation cannot be performed, it is recommended to open the faucet every 2 hours after installation.
Discharge the water for 20 minutes, and repeat the operation steps more than 7 times before drinking directly.
Display function description
![graph TD A["①"] --> B["Filter life indicator"] C["②"] --> D["Power indicator light"] E["Integrated PCF3in1 Polypropylene carbon rod composite Filter reset key"] --> A F["Integrated reverse osmosis membrane Composite filter reset key"] --> G["operation"]](/content/2026/04/736517/images/2f0631f55635993ca1d695ad2f4361a8845d72fe17075ebbbaf4f0995c06072b.jpg)
| Pilot lamp | Display form | Display description |
 | Long bright (blue) | Filter element norma |
| Flicker (red) | Filter element life is about to expire, Please prepare the filter cartridge for replacement in advance |
| Long bright (red) | The life of the filte element has expired |
 | Not bright | Power off |
| Flicker (red) | Machine failure |
| Long bright (blue) | Be running |
J. Replace filter element
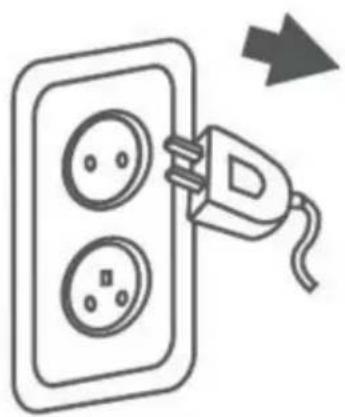
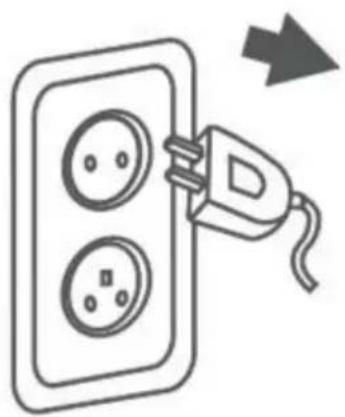
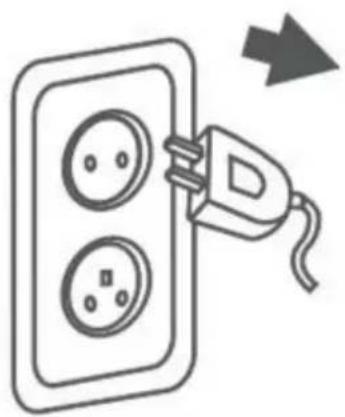
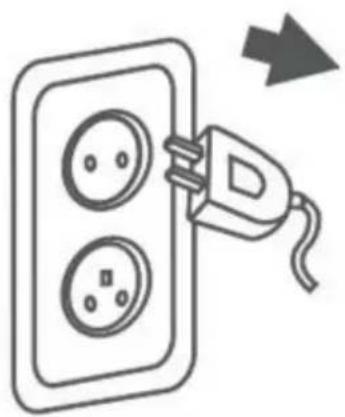
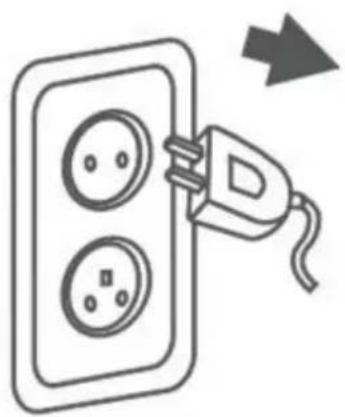
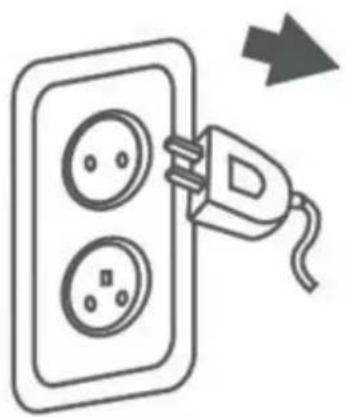
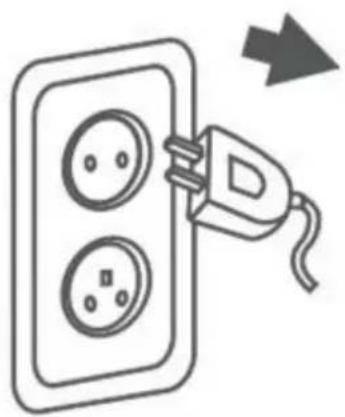
- Close the water inlet three-way ball valve and unplug the power supply.
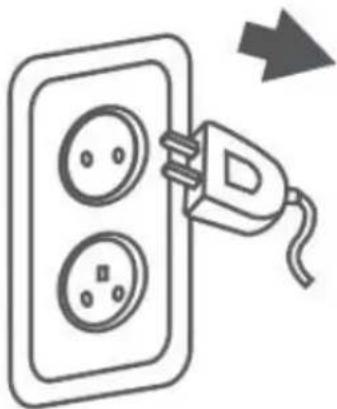
- Remove the filter element to be replaced by rotating it in the counterclockwise direction.
![graph TD subgraph Region C A["Circle with contour 2 RO"] --> B["Arrow to region C"] B --> C["Arrow to region D"] end subgraph Region D D["Circle with contour 2 RO"] --> E["Arrow to region D"] E --> F["Arrow to region D"] end](/content/2026/04/736517/images/fe03cb015aff28218ce9f9e48be1e755ffcce6c2dd4f31950b9c6cf5ac7e4eed.jpg)
- Rotate the new filter in a clockwise direction and align the lock icon.
![graph TD subgraph E A["Circle with 2 RO"] --> B["Arrow with '2' and '1.2'"] end subgraph F C["Circle with 2 RO"] --> D["Arrow with '2' and '1.2'"] end](/content/2026/04/736517/images/b2fc8f44445e7a4d9b55c08e59fd60145ec06d90018c8759dbc15d02f6597f8b.jpg)
| E.clockwise | F.The lock is aligned with the |
4. Filter reset method
Long press the corresponding filter for 3 seconds, hear the chord sound, the icon turns blue and stays lit, the filter reset is successful. Procedure.
![graph TD A["① operation"] --> B["②"] B --> C["① Long press 3S"] D["② RO"] --> E["②"] F["① PCF"] --> G["②"] style A fill:#f9f,stroke:#333 style B fill:#ccf,stroke:#333 style C fill:#cfc,stroke:#333 style D fill:#fcc,stroke:#333 style E fill:#ffc,stroke:#333 style F fill:#fcc,stroke:#333](/content/2026/04/736517/images/4c47632c5227b28c29164e00759bb61e5385cd1d3f644ebcf8daae213d14c69e.jpg)
5. Machine flushing method
After installation, the filter element should be washed at all levels for the first time. Test the washing method of the filter element used for the first time.
K. Routine maintenance
Water purifier body maintenance
- Please wipe with a soft cloth.
- For stubborn stains or dust, please dampen a cloth with a little warm water and wipe.
- Do not use volatile liquids such as alcohol, gasoline, paint thinner, or other materials to wipe the surface of the machine.
The surface of the machine.
Do not use the water purifier for a long time.
- Please close the water inlet three-way ball valve and unplug the power.
- Before use again, please open the water inlet three-way ball valve, then power on and start the water purifier. 3. Open the water purification faucet; the first water may contain fine carbon powder or bubbles, which is normal.
Rinse until clean and turn off the faucet; then it can be used normally.
!!!During use, it is prohibited to place flammable and explicit items next to the water purifier to avoid danger.
L. Troubleshooting
| Fault phenomenon | Fault cause | Troubleshooting method |
| The water purifier does not start | The power supply not switched on the switch is not turned on | Check whether the power plug is loose or not plug in, and whether the power switch is turned on |
| Adapter failure | Check whether the adapter indicator is off |
| Water purifier leak | Component damage | Immediately cut off the power supply and close to water inlet three-way ball valve, and contact the after-sales personnel |
| The filter element water pipe is not connected properly | Check whether the filter element is installed proper and whether the water pi connection is loose |
| Water purifier start-upThe tap doesn't come out. | Cold water valve three-way ball valve is not open | Please open the corresponding valve |
| Water purifier start-upLow faucet flow | Pipe bending | Check incoming, concentrated, and pure water pipes |
| Inlet tee ball valve not fully open | Check that the water inlet three-way ball valve is fu open |
| Cartridge clogging | Replace the filter cartridge contact after-sales personne |
| Effluent quality is poor | Filter element failure | Replace the filter cartridge contact after-sales personne |
| Poor inlet quality | Please confirm the quality municipal tap water and consider installing a pretreatment device |
| The water purifier does not stop Or start and stop repeatedly | The faucet is no fully turned off | Please turn off the tap completely |
M. Electrical schematic diagram![graph LR A["AC100-240V 50/60Hz"] --> B["AC/DC"] B --> C["DC24V"] C --> D["Control board"] D --> E["Booster pump"] D --> F["Water inlet solenoid valve"] D --> G["Wastewater solenoid valve"] H["High voltage switch"] --> D](/content/2026/04/736517/images/131094dc49b9e92b8715d817402b03072fdcf782f84dd4bce895a625ed71cfcd.jpg)
N. Water treatment process diagram![graph LR A["Municipal tap water"] --> B["Integrated PCF3in1 Polypropylene carbon rod(front) Composite filter element (PCF)"] B --> C["Booster pump"] C --> D["Integrated reverse osmosis membrane Composite filter element"] D --> E["Check valve"] E --> F["High voltage switch"] F --> G["Integrated PCF3i…](/content/2026/04/736517/images/34803383bfef293589a9f03e9686d99259735d4da847af58f1fb77e2700438d1.jpg)
O. Technical specification
| Product name | REVERSE OSMOSIS WATER FILTRATION SYST |
| Product model | SS-001/SS-002 | SS-003/SS-004 | SS-005/SS-006 |
| Rated power | 75W | 80W | 80W |
| Rated power supply | DC24V/3A(Via AC100-240V 50/60Hz adapter) | DC24V/4A(Via AC100-240V 50/60Hz adapter) | DC24V/5A(Via AC100-240V 50/60Hz adapter) |
| Inlet pressure | 0.1-0.4MPa |
| Product size | 397*137*347mm |
VEVOR®
TOUGH TOOLS, HALF PRICE
Technical Support and E-Warranty Certificate
www.vevor.com/support
VEVOR®
2
Clockwise East
O. Technical Specifications
2
G. Installation Method
Filter flushing:
O. Technical Data
2
Washing the
www.vevor.com/support
2
1/4" quick coupling
port
PE tube
clip head
C. counterclockwise
D. unlock
NEED HELP? CONTACT US!
2
2
| ①② | yClipkop
yKlem in anti-valklem |
Flush filter
| C.tegen de klok in | D.Ontgrendelen |
O. Technical specification
| Productnaam OMGEKEERD OSMOSE WATERFILTRATIESYSTEEM |
| Productmodel SS-001/SS-002 SS-003/SS-004 SS-005/SS-006 |
| Nominaal vermogen | 75W | 80W | 80W |
| Nominalevoeding | DC24V/3A (via Wisselstroom 100-240V 50/60Hz adapter) | DC24V/4A (Via Wisselstroom 100-240V 50/60Hz adapter) | DC24V/5A (Via Wisselstroom 100-240V 50/60Hz adapter) |
| Inlaatdruk | 0,1-0,4 MPa |
| Productgrootte | 397*137*347mm |
VEVOR®
TOUGH TOOLS, HALF PRICE
Technical support and e-warranty certificate www.vevor.com/support
VEVOR®
NEED HELP? CONTACT US!
G. Installation method
A. Clockwise
Filter flushing when
O. Technical specification
| Produktnamn VATTENFILTRERINGSSYSTEM FÖR VATTENFILTRERING AV OSMOS |
| Produktmodell SS-001/SS-002 SS-003/SS-004 SS-005/SS-006 | |
| Märkeffekt | 75W | 80W | 80W |
| Nominell strömförsörjning | DC24V/3A(Via AC100-240V 50/60Hz adapter) | DC24V/4A (Via AC100-240V 50/60Hz adapter) | DC24V/5A(Via AC100-240V 50/60Hz adapter) |
| Inloppstryck | 0,1-0,4 MPa |
| Produktstorlek | 397*137*347mm |
VEVOR®
TOUGH TOOLS, HALF PRICE
www.vevor.com/support