FE-HT-HLB03 - Toys Vevor - Free user manual and instructions
Find the device manual for free FE-HT-HLB03 Vevor in PDF.


User questions about FE-HT-HLB03 Vevor
0 question about this device. Answer the ones you know or ask your own.
Ask a new question about this device
Download the instructions for your Toys in PDF format for free! Find your manual FE-HT-HLB03 - Vevor and take your electronic device back in hand. On this page are published all the documents necessary for the use of your device. FE-HT-HLB03 by Vevor.
USER MANUAL FE-HT-HLB03 Vevor
Technical Support and E-Warranty Certificate www.vevor.com/support
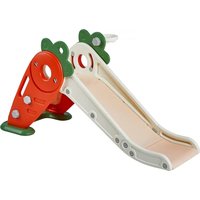
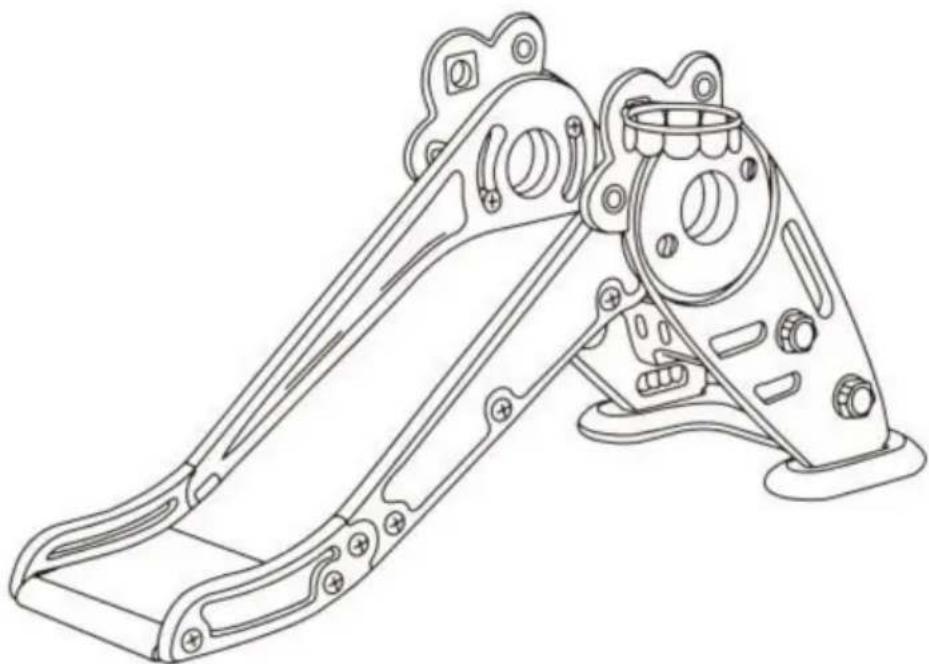
CHILDREN'S SLIDE
MODEL:FE-HT-HLB03
We continue to be committed to provide you tools with competitive price. "Save Half", "Half Price" or any other similar expressions used by us only represent of savings you might benefit from buying certain tools with us compared top brands and does not necessarily mean to cover all categories of tools offered are kindly reminded to verify carefully when you are placing an order with us actually saving half in comparison with the top major brands.
VEVOR®
TOUGH TOOLS, HALF PRICE
MODEL:FE-HT-HLB03
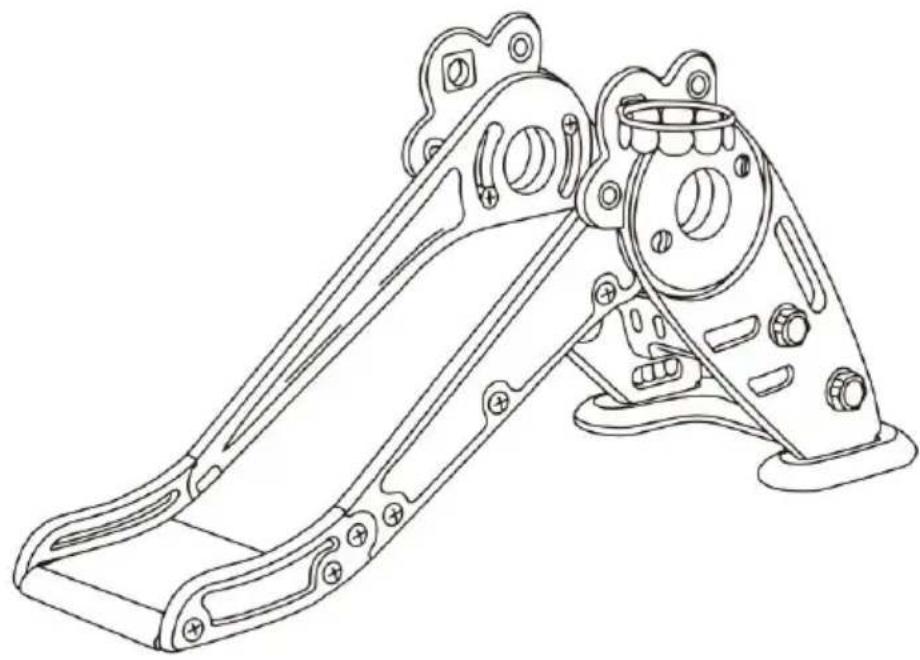
natural_image
Technical line drawing of a mechanical bracket assembly (no text or symbols)NEED HELP? CONTACT US!
Have product questions? Need technical support? Please feel from contact us:
Technical Support and E-Warranty Certificate www.vevor.com/support
This is the original instruction, please read all manual instruction carefully before operating. VEVOR reserves a clear interpretation user manual. The appearance of the product shall be subject to product you received. Please forgive us that we won't inform you there are any technology or software updates on our product.
WARNING:
Read this material before using this product. Failure to do so ca result in serious injury.

WARNING:
ADULT ASSE MBLY REQUIRED.
- Keep these instructions for future reference.
- To prevent serious injury, children must not use the equipment until properly installed.
- Falls onto hard surfaces can result in head or other serious injuries. Never place on concrete, asphalt, wood, packed earth, grass or other surfaces. Carpet over hard floors may not prevent injury. Always use protective surfacing on the ground under and surrounding the playgrou equipment according to the enclosed “Consumer Information Sheet for Playground Surfacing Materials.” Maximum fall height protection up to 2 feet (0.6 m) required.
- Adult supervision required. Do not leave children unattended.
- Shoes must be worn at all times.
- This product is intended for indoor/outdoor domestic family use only.
- Observing the following statements and warnings reduces the likeliho of serious or fatal injury.
- Place this product on level ground and at least 6'6" (2 m) away 1 object. Objects to be avoided include, but are not limited to, fences, buildings, overhead branches, laundry lines or electrical wires.
- It is recommended that the orientation of the assembled product be that direct sunlight is minimized on surfaces intended for standing or sitting.
- Instruct children on proper use of this product, only after properly and not in a manner other than intended.
- Do not allow children to climb on product when product is wet.
- Instruct children not to attach items to the product that are not sp designed for use with the product such as, but not limited to, jump clotheslines, pet leashes, cables and chains, as they may cause a strangulation hazard.
- Instruct children to remove their bike or other sports helmet before playing on this product.
- Dress children appropriately: do not allow children to wear loose-fitting clothing including ponchos, scarves and garments with drawstrings.
Well-fitting shoes must be worn at all times.
- Warning. Only for domestic use.
MAINTENANCE

WARNING:
Failure to perform periodic checks could cause this product to overturn or ca fall.
The following checks should be performed at the beginning and end of each season and twice monthly during the usage period:
- Reinstall any plastic parts, such as swing seats or any other items that were removed for the cold season.
- Tighten all hardware.
- Lubricate all metallic moving parts at the beginning of the play season and per month during the play season. • Check all protective coverings on bolts, edges, and corners. Replace if they are loose, cracked, or missing.
- Check all moving parts including swing seats, ropes, cables, and chains for rust, or other deterioration. Replace if any of these conditions exist.
- Check metal parts for rust. If found, sand and repaint using a nonlead-bas paint meeting the requirements of 16 CFR 1303.
- Rake and check depth of loose fill protective surfacing materials to prevent compaction and to maintain appropriate depth. Replace as necessary.
• Take this product indoors or do not use when temperatures fall below 0^ F/
DISPOSAL
- Disassemble and dispose of equipment in such a manner that no hazardous conditions such as, but not limited to, small parts and sha edges exist at the time equipment is discarded.
natural_image
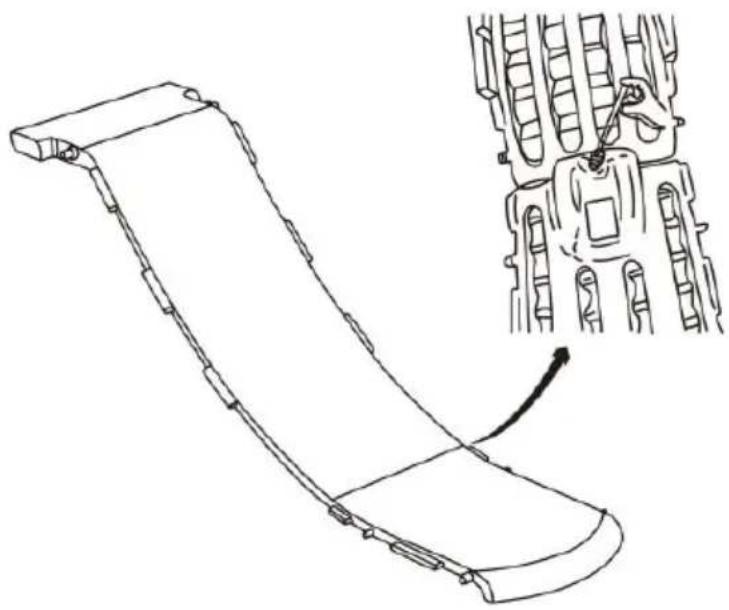
Technical line drawing of a curved mechanical component with an inset showing a hand holding a tool (no text or symbols present)Step1: Place the slide rail (top) on the buffer plate (bottom), align the holes, and then use a screwdriver to tighten the screws from the back.
text_image
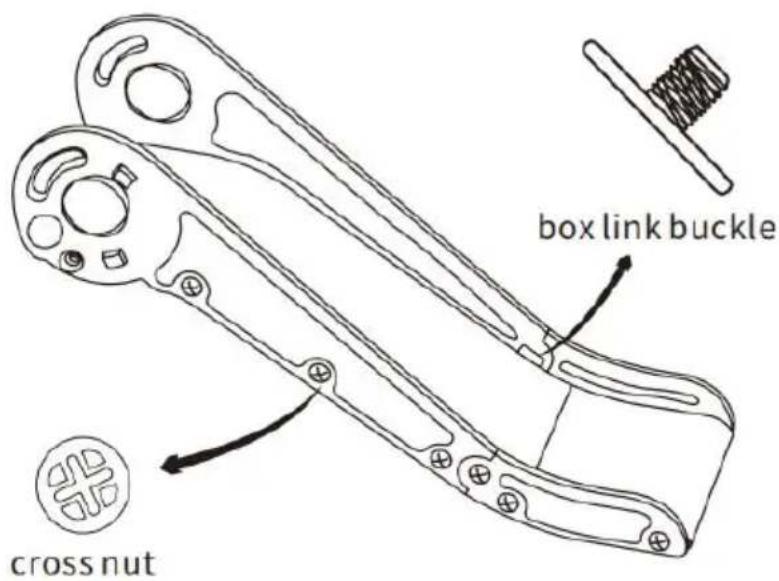
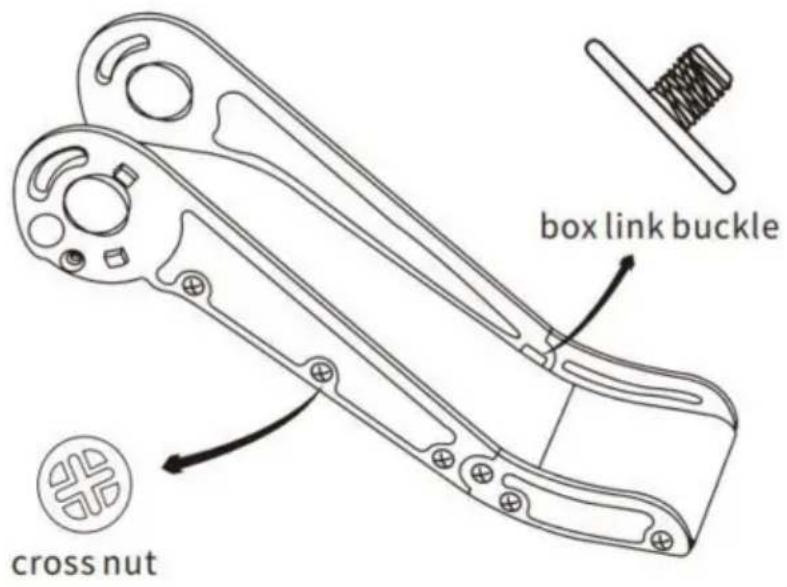
box link buckle cross nutStep2: Install large side plate and small side plate on both sides and screw on cross screw nuts.
natural_image
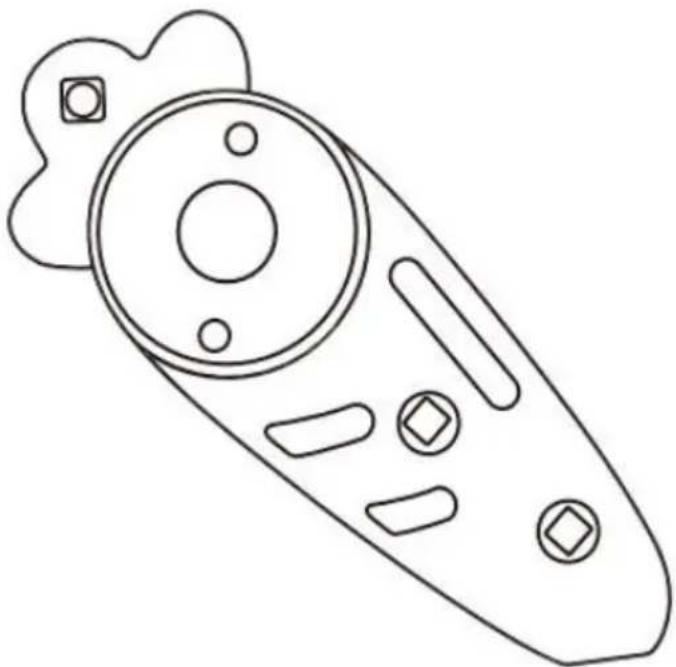
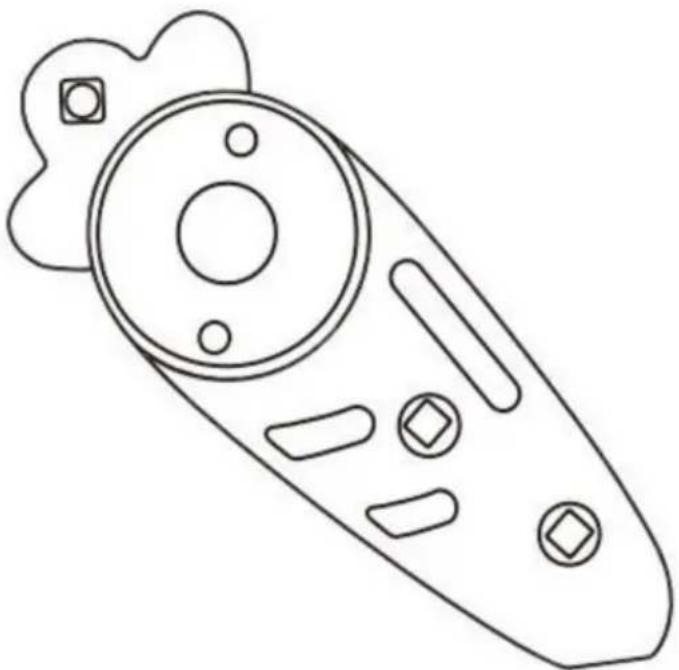
Line drawing of a remote control device with buttons and a circular dial (no text or symbols)Step3: Take out the side plate of radish and assemble it with the head of radish。

natural_image
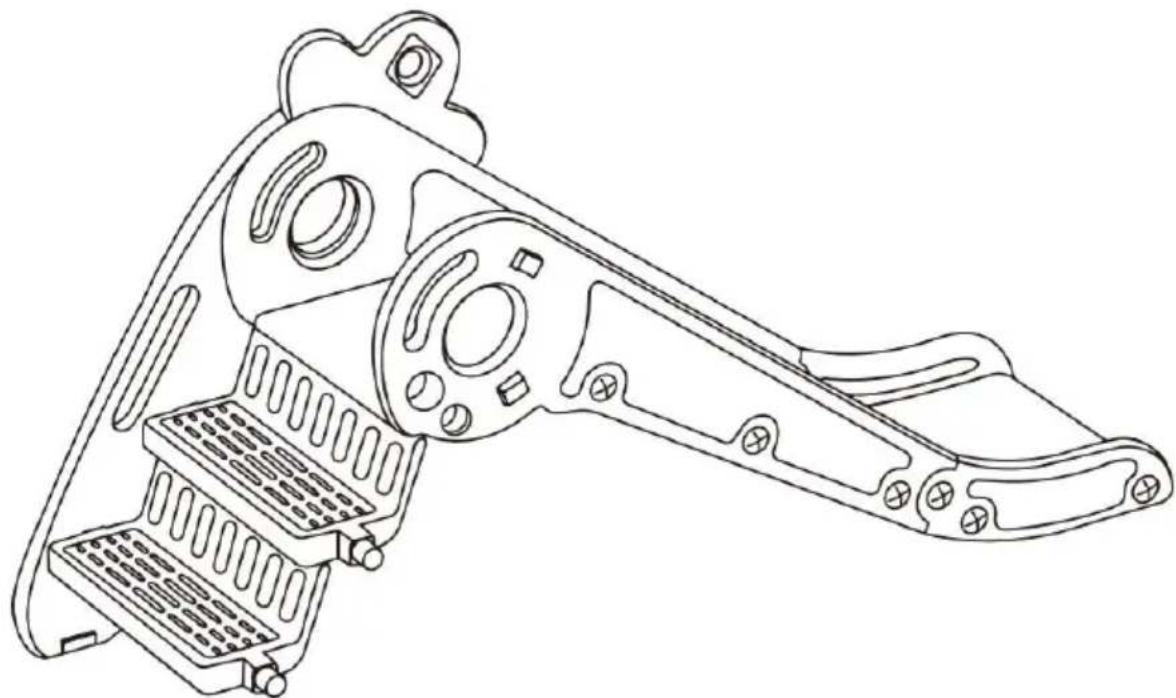
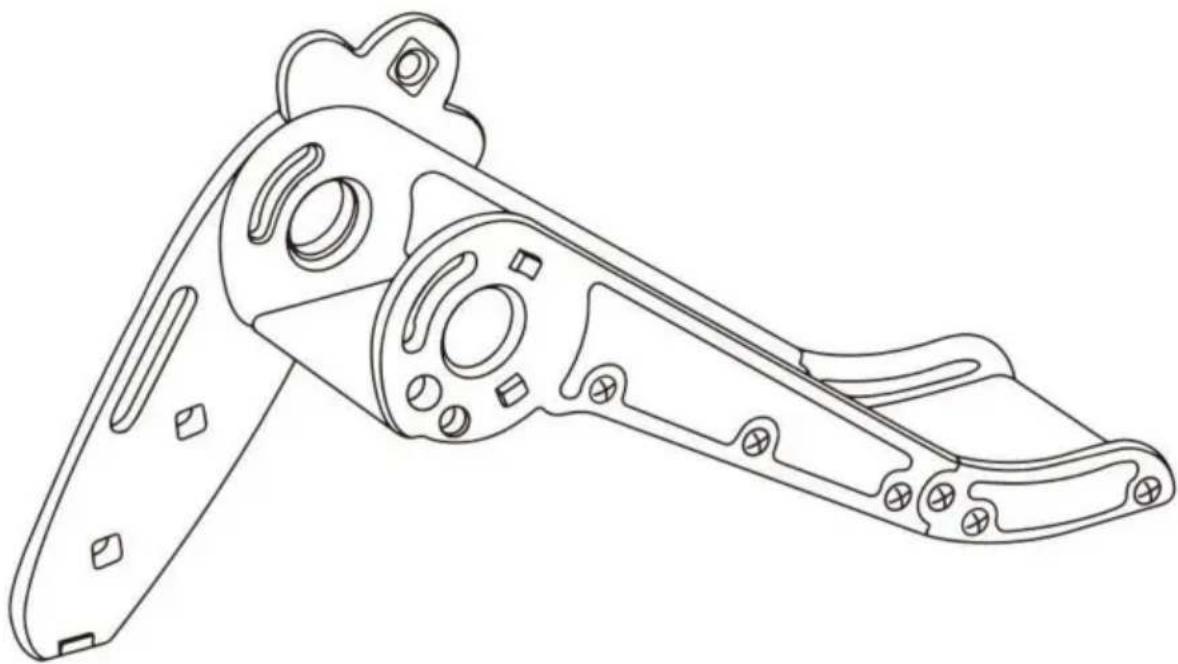
Technical line drawing of a mechanical bracket component (no text or symbols)Step4: And assemble to one side of the assembled slide and screw on the fixing screw.
natural_image
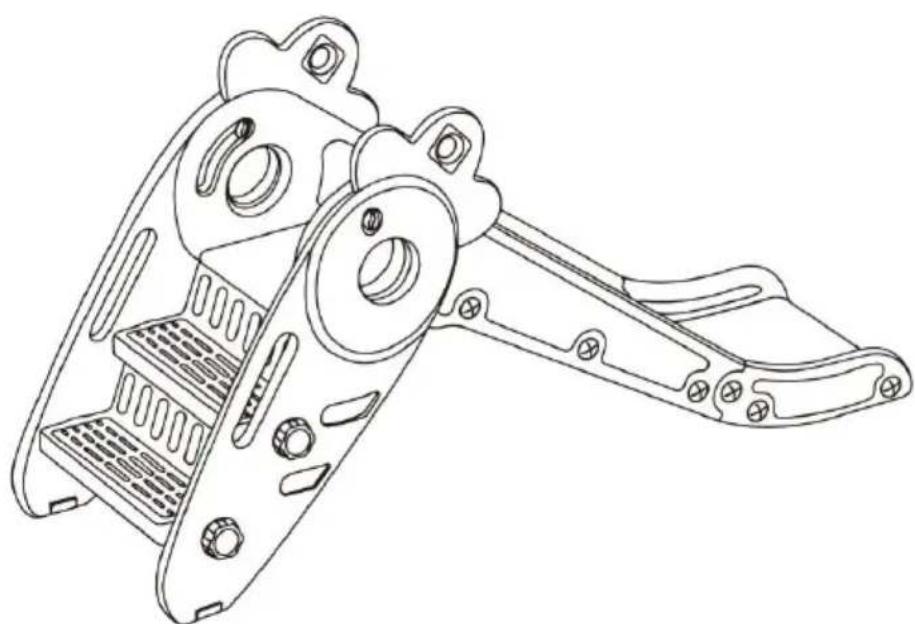
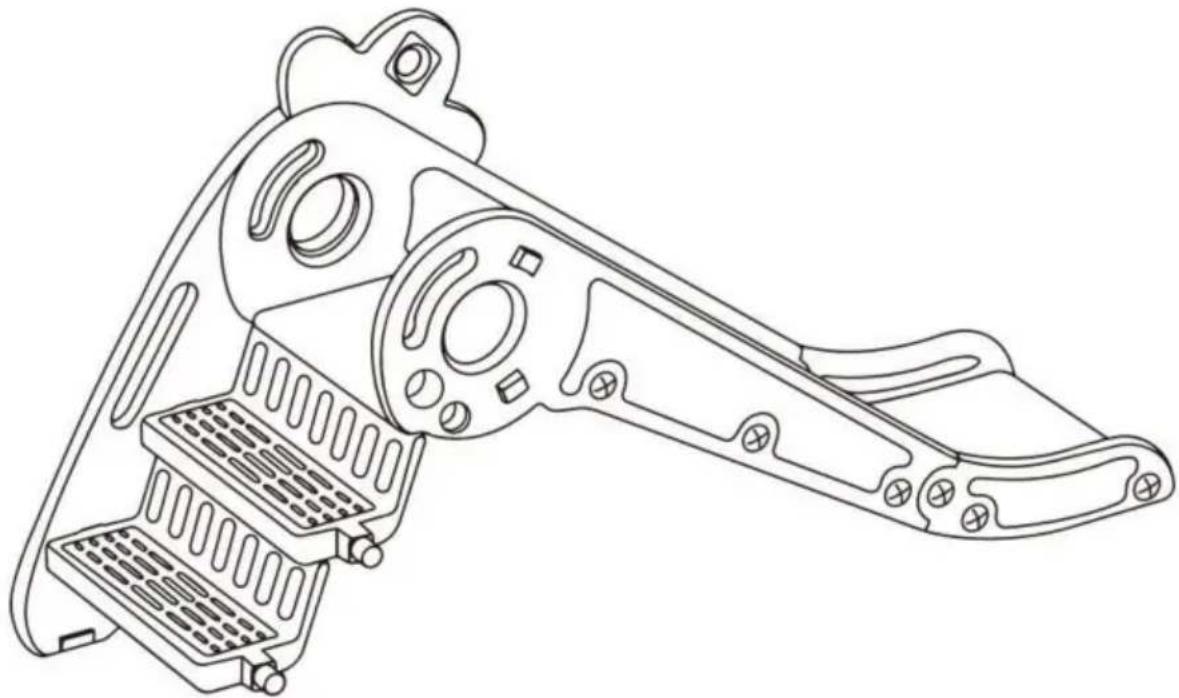
Technical line drawing of a mechanical device with internal components and mounting holes (no text or symbols)Step5: TInstall the pedal, screw on the fixing nut.
natural_image
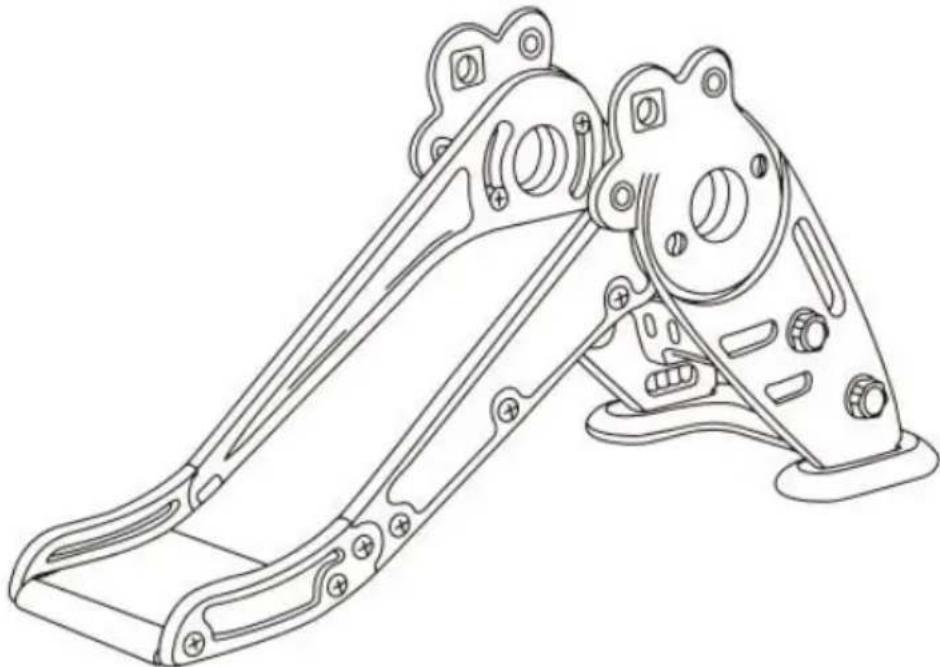
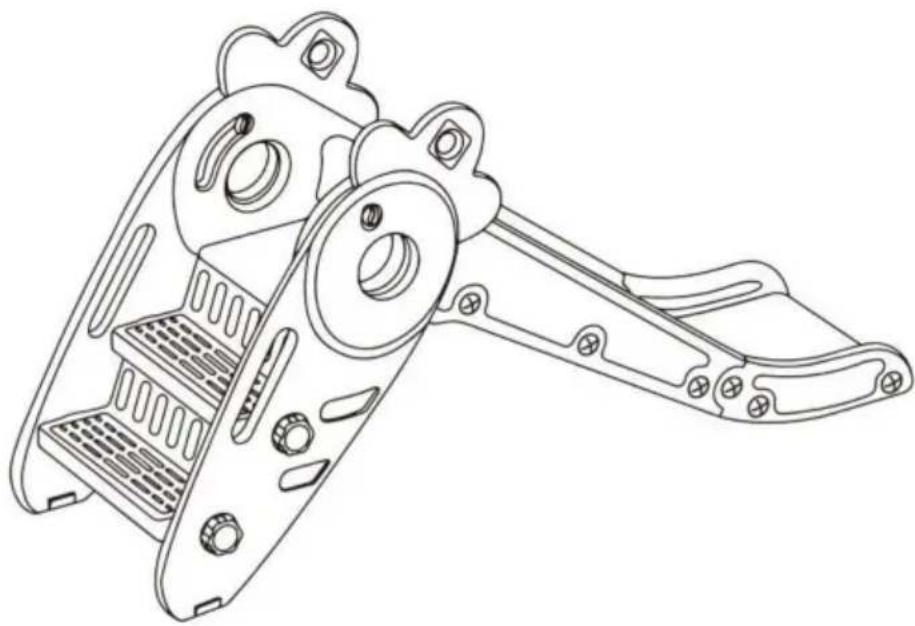
Technical line drawing of a mechanical linkage component (no text or symbols)Step6: assemble the radish side plate and radish head on the other side。Screw on the fixing nut and the fixing screw。
natural_image
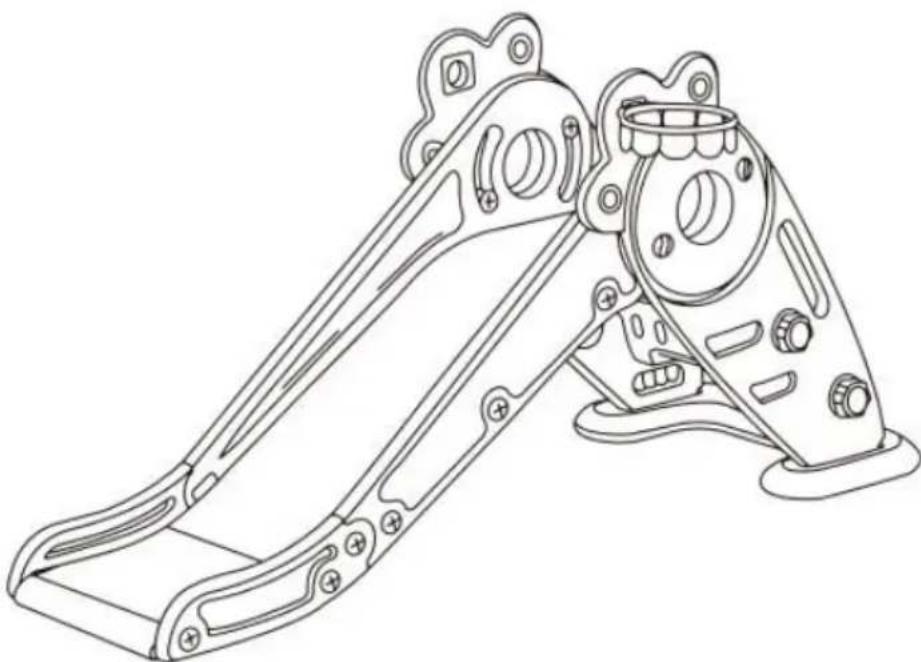
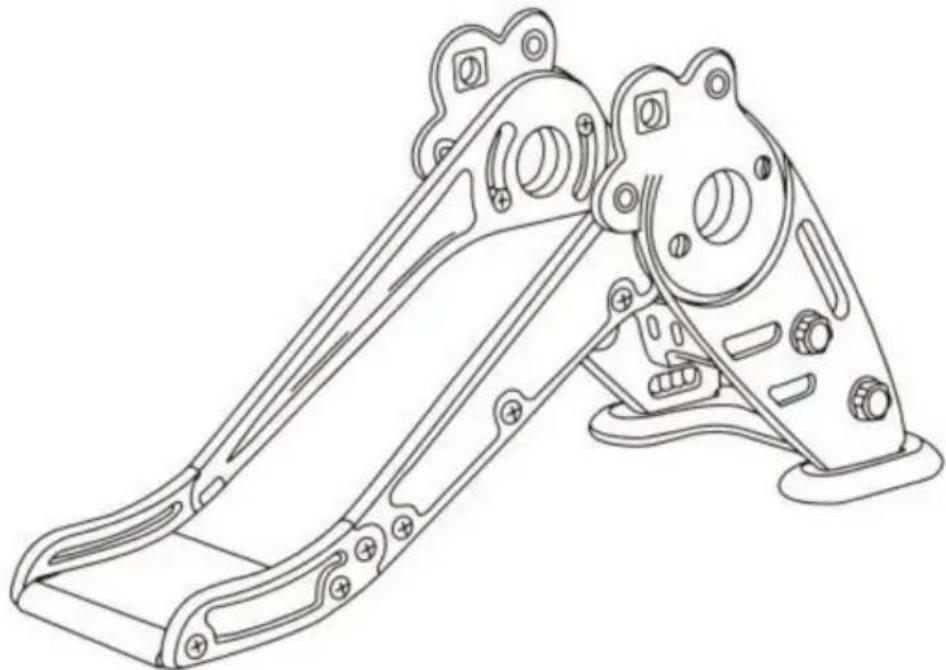
Technical line drawing of a mechanical assembly with mounting holes and brackets (no text or symbols)Step7:After checking the tightening of the screw and nut, install the floor and 2 non-slip sleeves!Install 3 non-slip sleeves on the bottom of the slide head!
natural_image
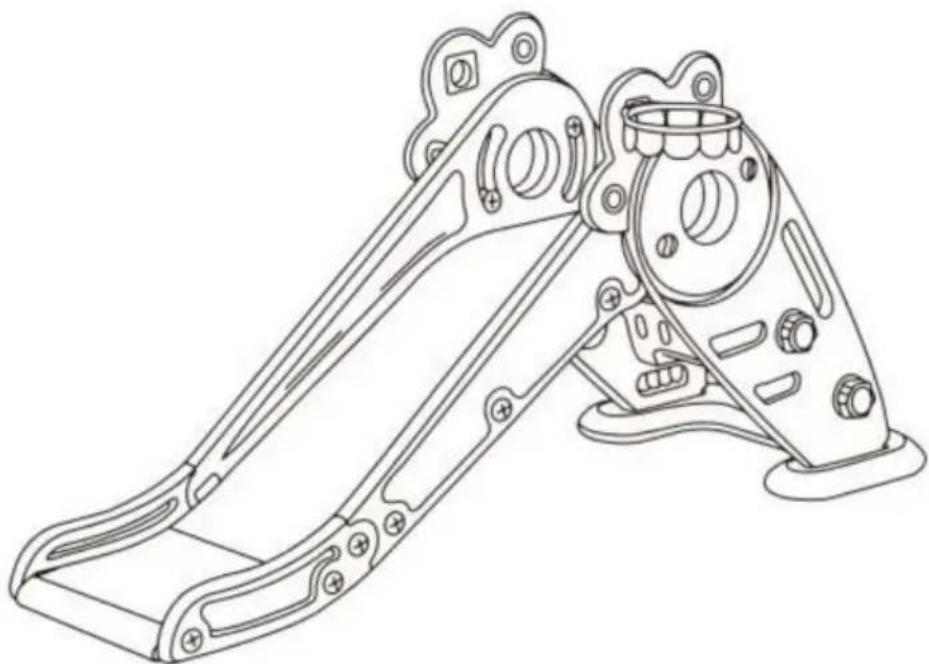
Technical line drawing of a mechanical assembly with mounting holes and a central housing (no text or symbols)Step8: Finally put the basketball hoopAssemble with the turnip side board, the installation is complete!
| Accessories | |
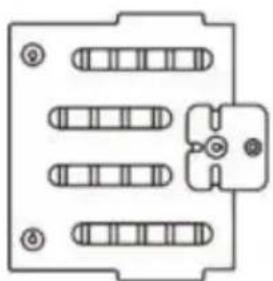 | 1PC |
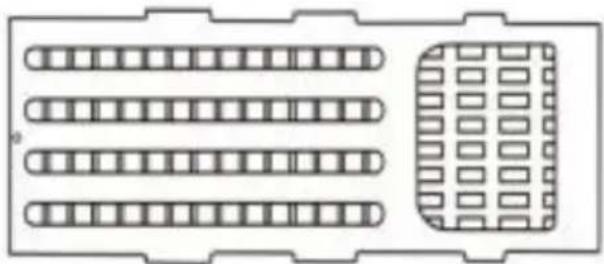 | 1PC |
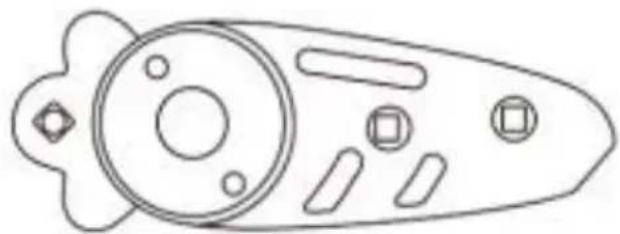 | 2PCS |
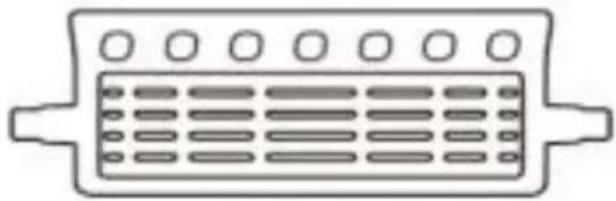 | 2PCS |
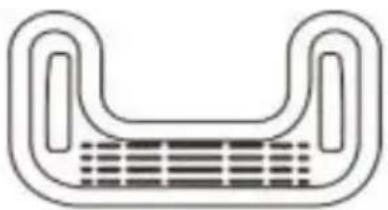 | 1PC |
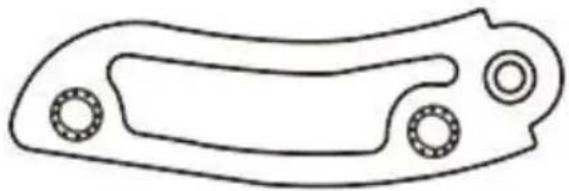 | 2PCS |
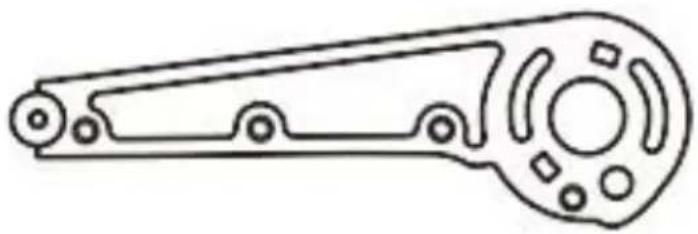 | 2PCS |
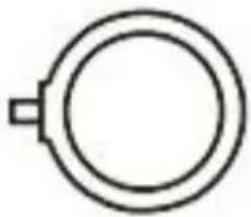 | 1PC |
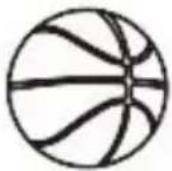 | 1PC |
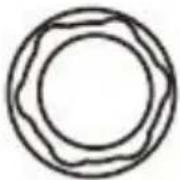 | 5PCS |
 | 16PCS |
 | 5PCS |
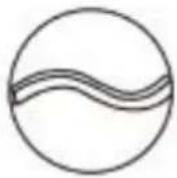 | 5PCS |
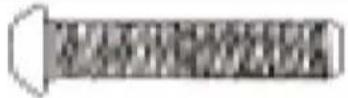 | 1PC |
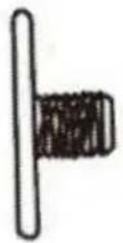 | 2PCS |
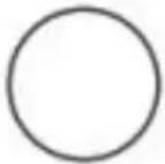 | 6PCS |
 | 1PC |
Manufacturer: Shanghaimuxinmuyeyouxiangongsi
Address: Shuangchenglu 803nong11hao1602A-1609shi, baoshanqu, shanghai 200000 CN.
Imported to AUS: SIHAO PTY LTD. 1 ROKEVA STREETEASTWOOD NSW 2122 Australia
Imported to USA: Sanven Technology Ltd. Suite 250, 9166 Anaheim Place, Rancho Cucamonga, CA 91730
| UK | REP |
YH CONSULTING LIMITED. C/O YH Consulting
Limited Office 147, Centurion House, London
Road, Staines-upon-Thames, Surrey, TW18 4AX
| EC | REP |
E-CrossStu GmbH
Mainzer Landstr.69,
60329 Frankfurt am Main.
VEVOR®
TOUGH TOOLS, HALF PRICE
Technical Support and E-Warranty Certificate www.vevor.com/support
VEVOR®
TOUGH TOOLS, HALF PRICE
natural_image
Technical line drawing of a mechanical device with mounting holes and internal components (no text or symbols)BESOIN D'AIDE? CONTACTEZ-NOUS!
natural_image
Technical line drawing of a curved mechanical component with an inset showing a close-up of a component (no text or symbols present)Step1: Place the slide rail (top) on the buffer plate (bottom), align the holes, and then use a screwdriver to tighten the screws from the back.
text_image
box link buckle cross nutStep2: Install large side plate and small side plate on both sides and screw on cross screw nuts.
natural_image
Line drawing of a remote control device with buttons and a circular dial (no text or symbols)Step3: Take out the side plate of radish and assemble it with the head of radish。
natural_image
Technical line drawing of a mechanical bracket component (no text or symbols)Step4: And assemble to one side of the assembled slide and screw on the fixing screw.
natural_image
Technical line drawing of a mechanical device with multiple ports and mounting holes (no text or symbols)Step5: TInstall the pedal, screw on the fixing nut.
natural_image
Technical line drawing of a mechanical device with multiple components and mounting holes (no text or symbols)Step6: assemble the radish side plate and radish head on the other side。Screw on the fixing nut and the fixing screw。
natural_image
Technical line drawing of a mechanical assembly with mounting flanges and housing (no text or symbols)Step7: After checking the tightening of the screw and nut, install the floor and 2 non-slip sleeves! Install 3 non-slip sleeves on the bottom of the slide head!
natural_image
Technical line drawing of a mechanical assembly with mounting holes and housing (no text or symbols)Step8: Finally put the basketball hoopAssemble with the turnip side board, the installation is complete!
YH CONSULTING LIMITED. C/O YH Consulting Limited Bureau 147,
Centurion House, London Road, Staines-upon-Thames, Surrey,
TW18 4AX
| REPRÉSENTANT DE LA CE |
E-CrossStu GmbH
Mainzer Landstr.69,
natural_image
Technical line drawing of a mechanical assembly with mounting holes and internal components (no text or symbols)natural_image
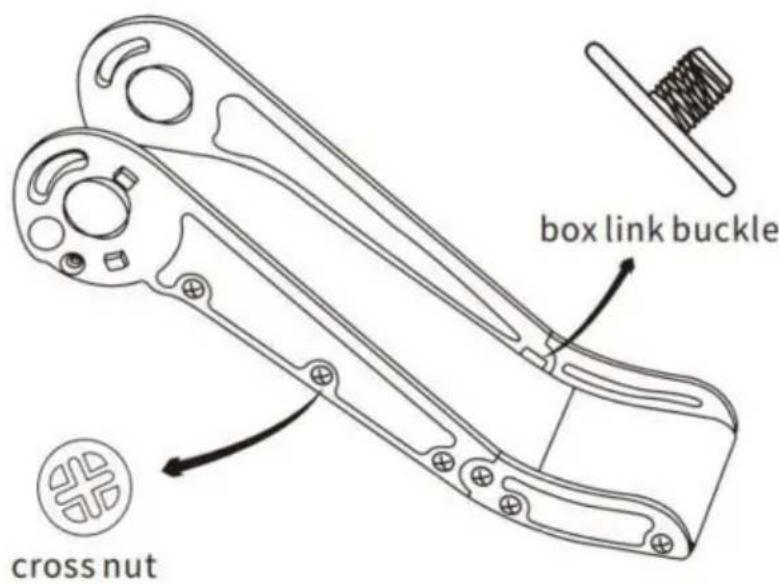
Technical line drawing of a curved mechanical component with an inset showing a close-up of internal components (no text or symbols)Step1: Place the slide rail (top) on the buffer plate (bottom), align the holes, and then use a screwdriver to tighten the screws from the back.
text_image
box link buckle cross nutStep2: Install large side plate and small side plate on both sides and screw on cross screw nuts.
natural_image
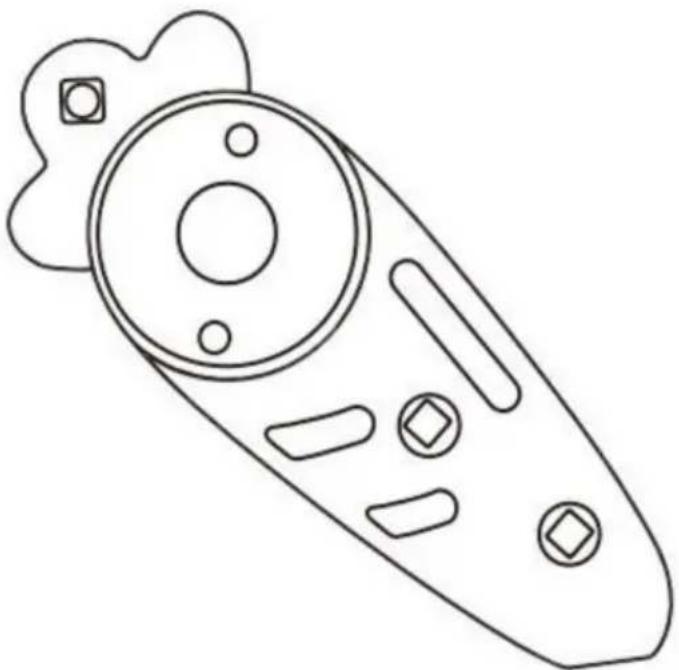
Line drawing of a remote control device with buttons and a circular dial (no text or symbols)Step3: Take out the side plate of radish and assemble it with the head of radish。
natural_image
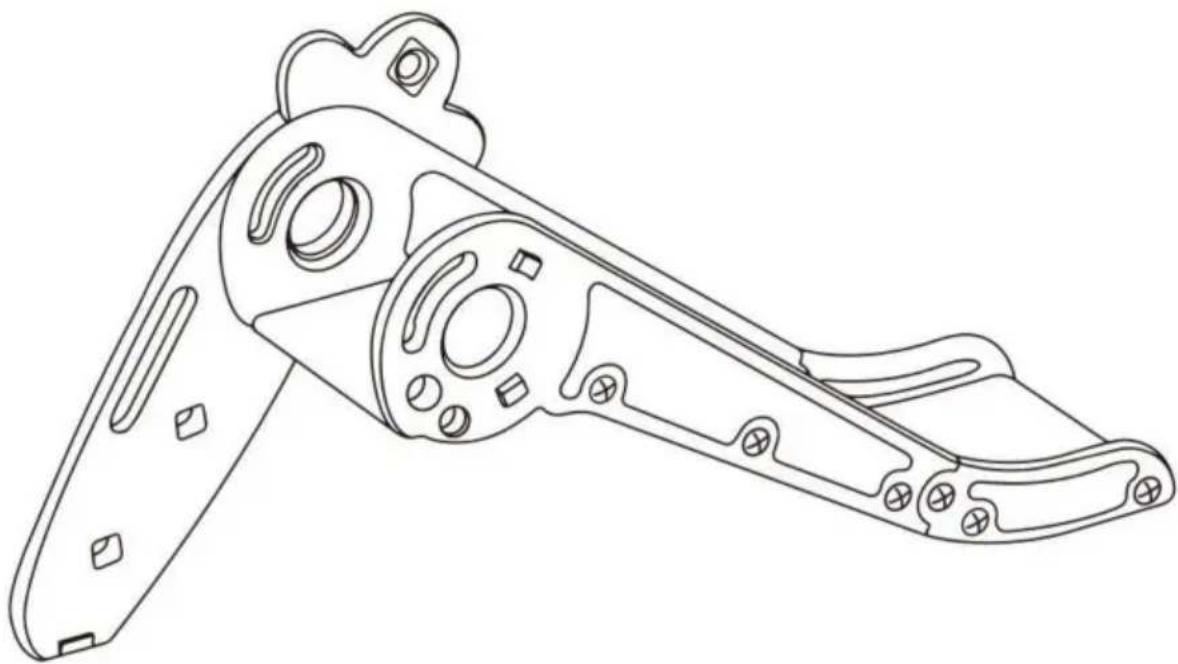
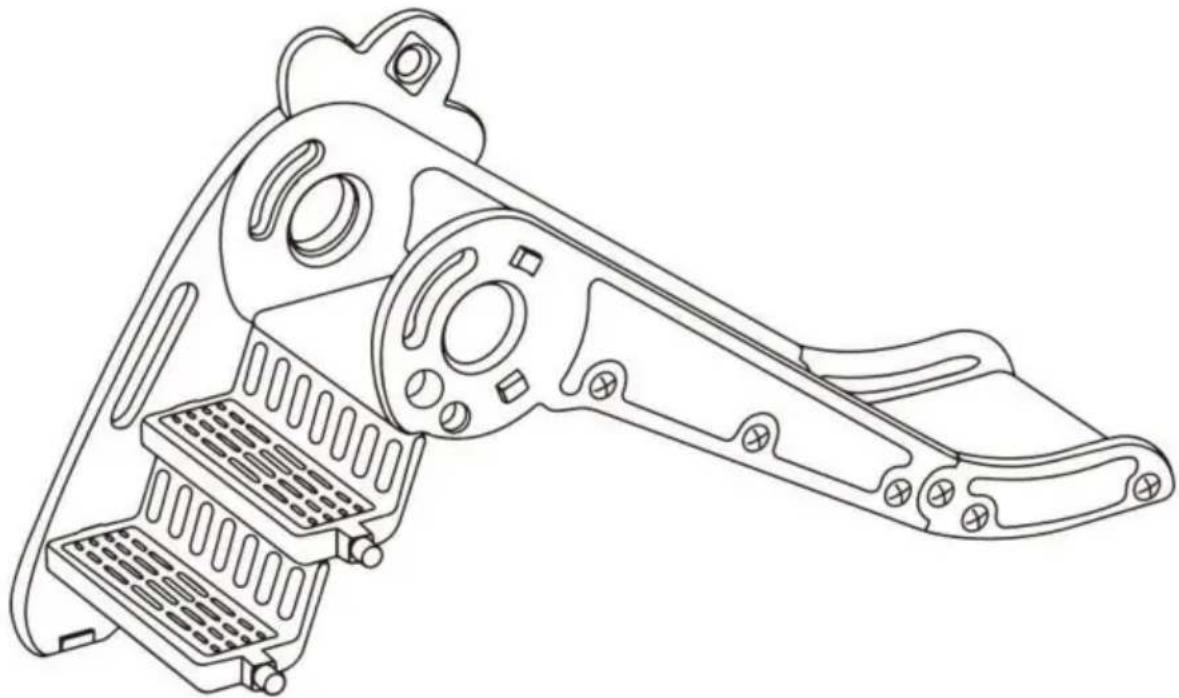
Technical line drawing of a mechanical bracket component (no text or symbols)Step4: And assemble to one side of the assembled slide and screw on the fixing screw.
natural_image
Technical line drawing of a mechanical device with multiple ports and mounting holes (no text or symbols)Step5: TInstall the pedal, screw on the fixing nut.
natural_image
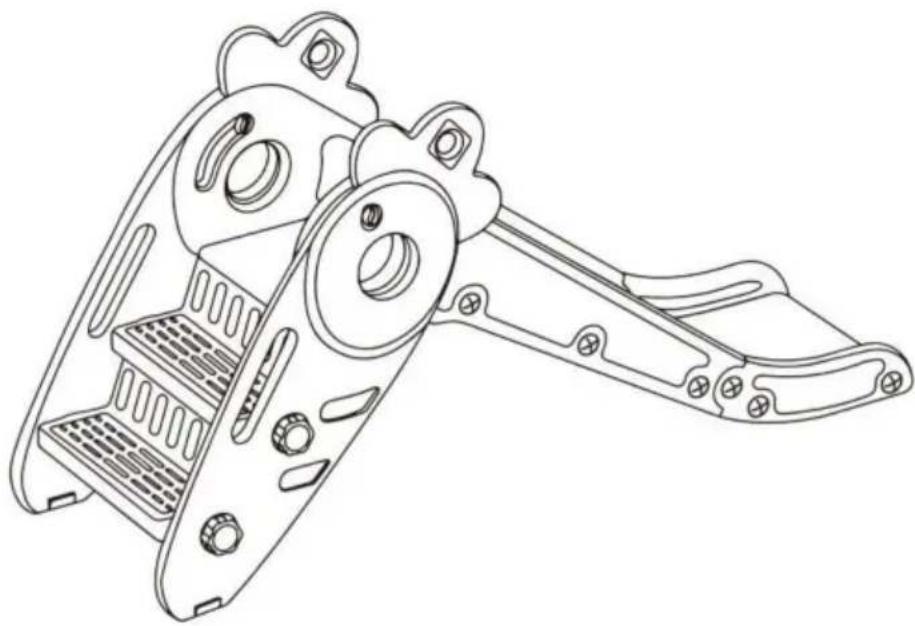
Technical line drawing of a mechanical device with multiple components and mounting holes (no text or symbols)Step6: assemble the radish side plate and radish head on the other side。Screw on the fixing nut and the fixing screw。
natural_image
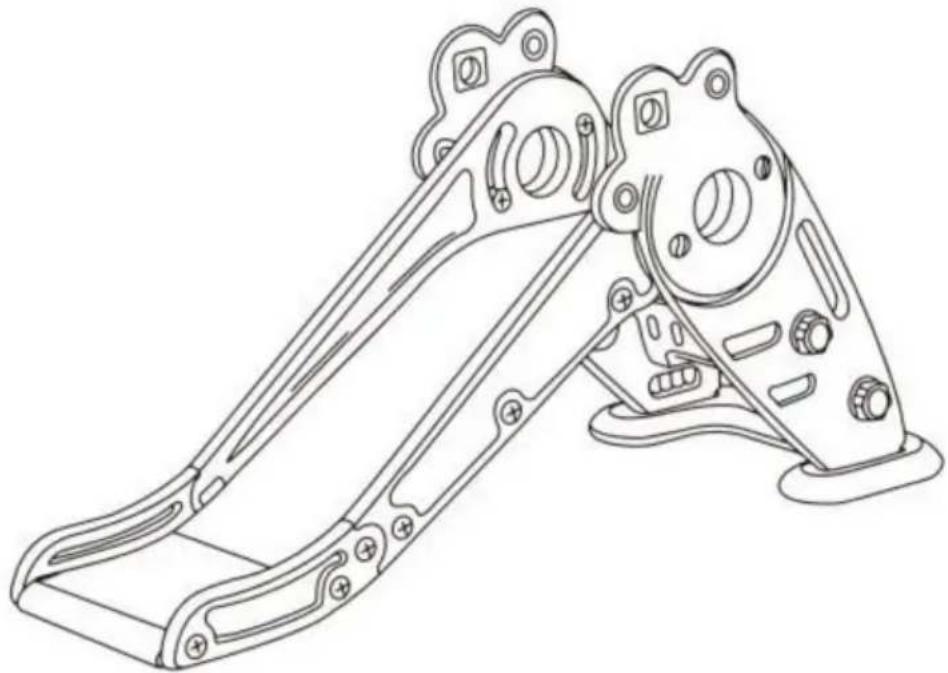
Technical line drawing of a mechanical assembly with mounting holes and brackets (no text or symbols)Step7: After checking the tightening of the screw and nut, install the floor and 2 non-slip sleeves! Install 3 non-slip sleeves on the bottom of the slide head!
natural_image
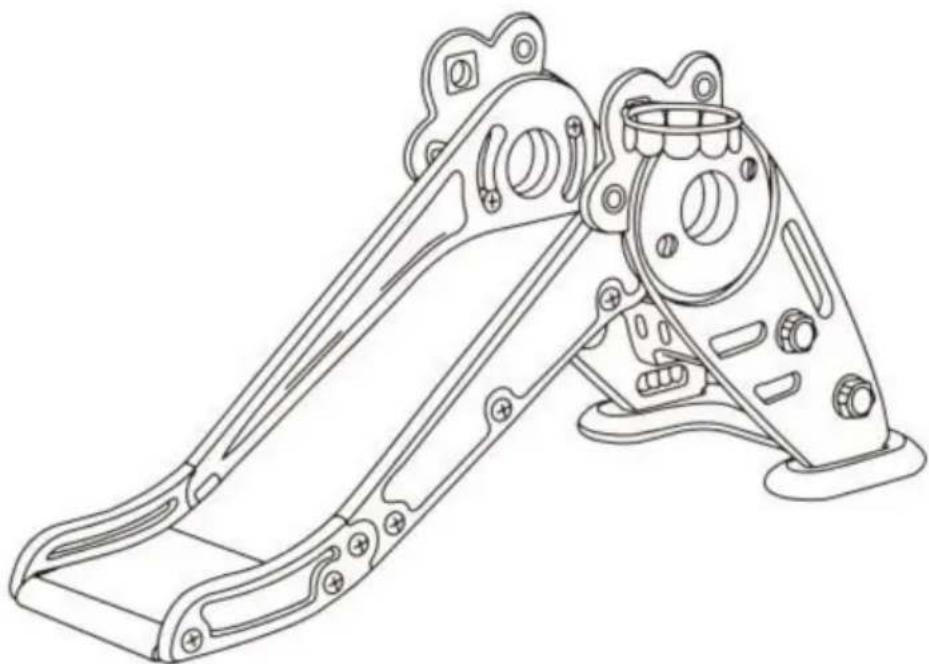
Technical line drawing of a mechanical bracket assembly (no text or symbols)Step8: Finally put the basketball hoopAssemble with the turnip side board, the installation is complete!
YH CONSULTING LIMITED. C/O YH Consulting Limited Office 147, Centurion House, London Road, Staines-upon-Thames, Surrey, TW18 4AX
| Vertreter der EG |
www.vevor.com/support
VEVOR®
TOUGH TOOLS, HALF PRICE
natural_image
Technical line drawing of a mechanical assembly with mounting holes and internal components (no text or symbols)natural_image
Technical line drawing of a curved mechanical component with an inset showing a close-up of a component (no text or symbols present)Step1: Place the slide rail (top) on the buffer plate (bottom), align the holes, and then use a screwdriver to tighten the screws from the back.
text_image
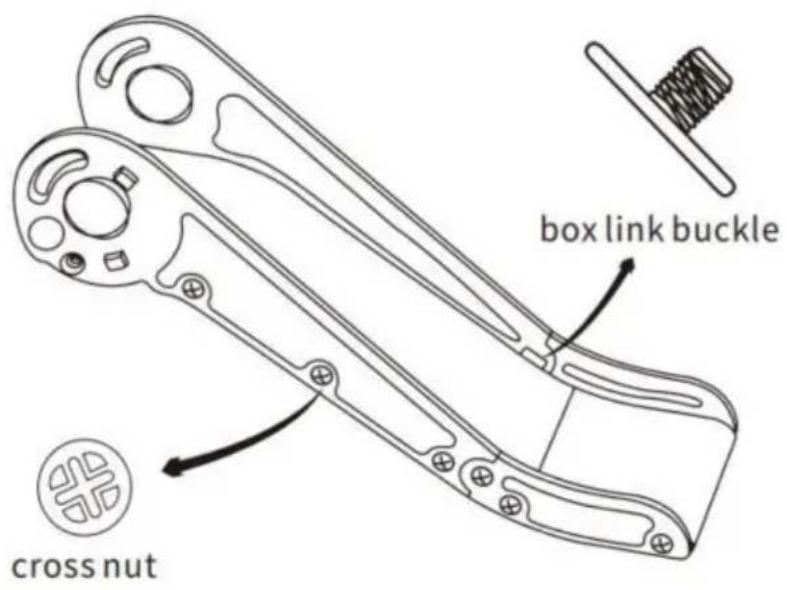
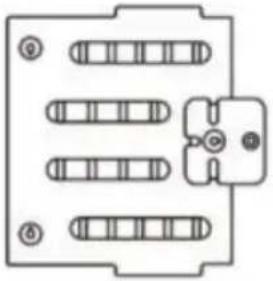
box link buckle cross nutStep2: Install large side plate and small side plate on both sides and screw on cross screw nuts.
natural_image
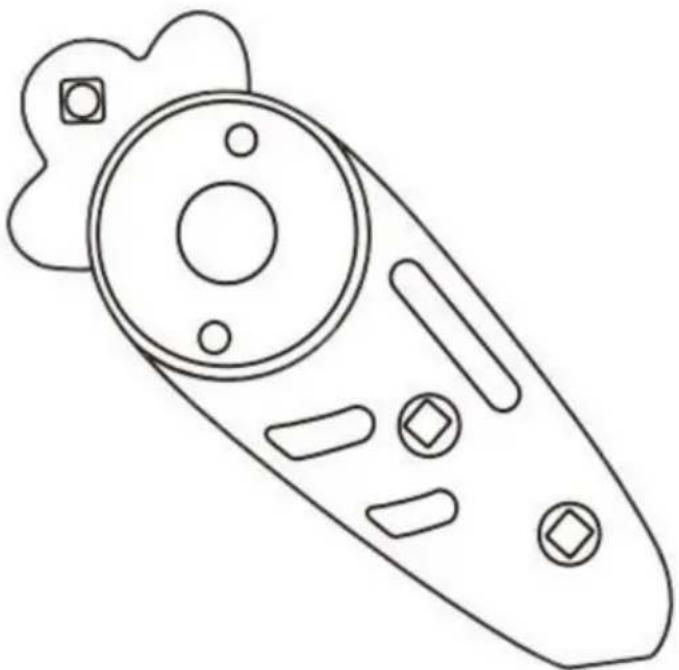
Line drawing of a remote control device with buttons and a circular dial (no text or symbols)Step3: Take out the side plate of radish and assemble it with the head of radish。
natural_image
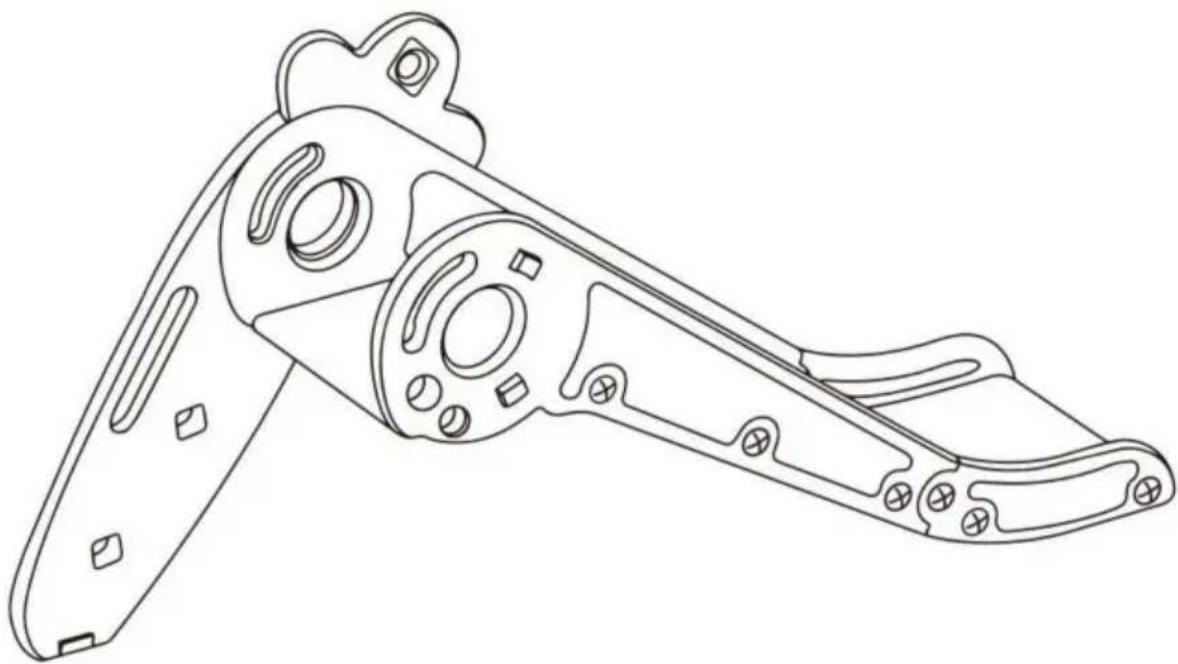
Technical line drawing of a mechanical bracket component (no text or symbols)Step4: And assemble to one side of the assembled slide and screw on the fixing screw.
natural_image
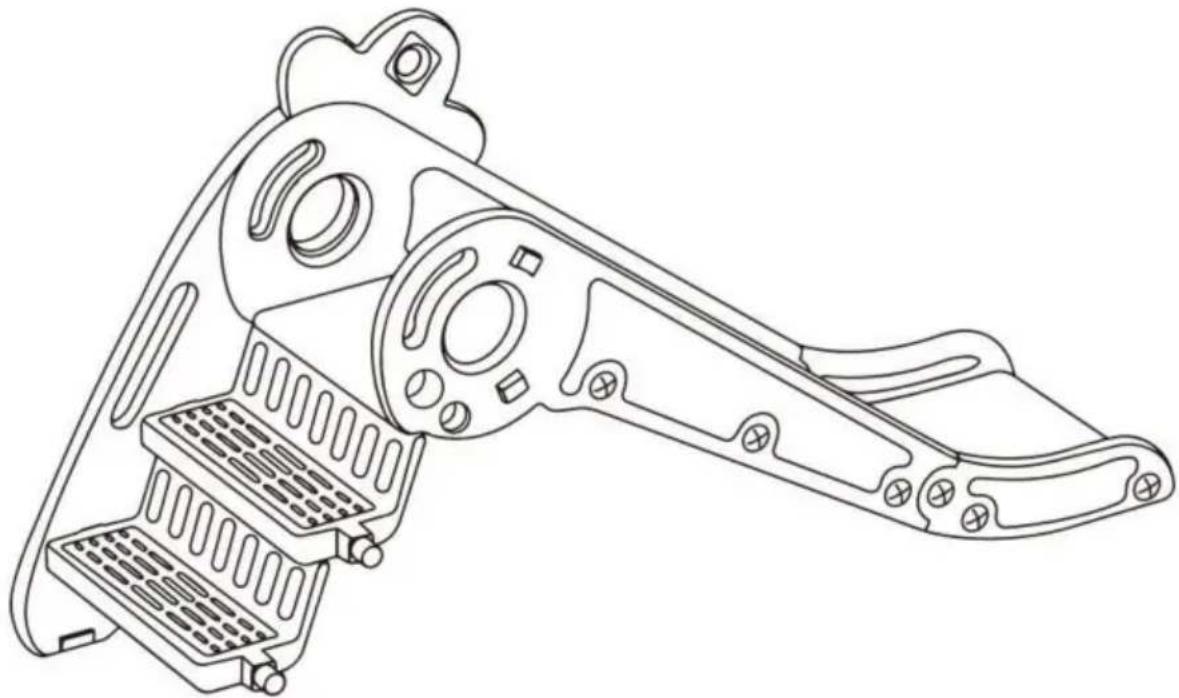
Technical line drawing of a mechanical device with multiple ports and mounting holes (no text or symbols)Step5: TInstall the pedal, screw on the fixing nut.
natural_image
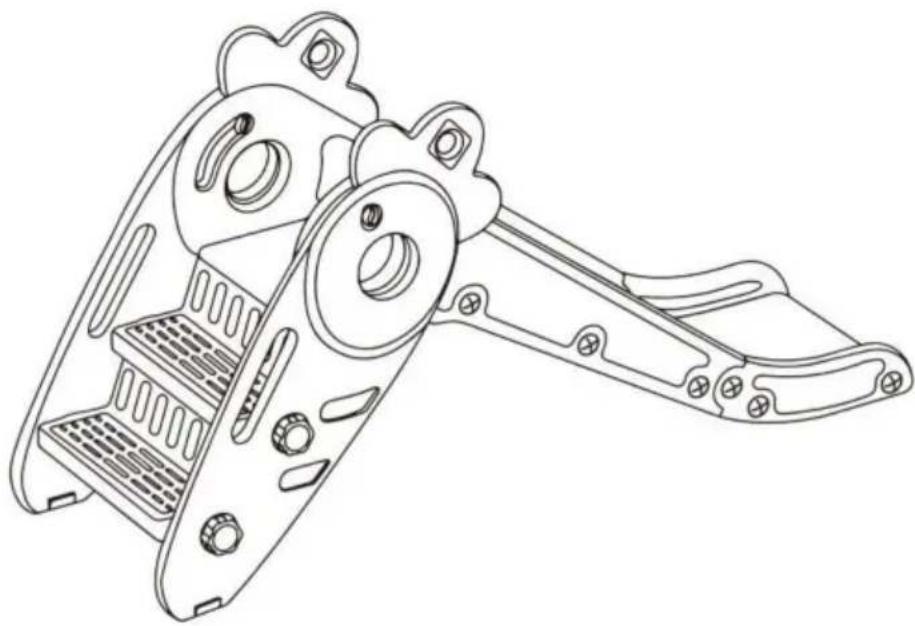
Technical line drawing of a mechanical device with multiple components and mounting holes (no text or symbols)Step6: assemble the radish side plate and radish head on the other side。Screw on the fixing nut and the fixing screw。
natural_image
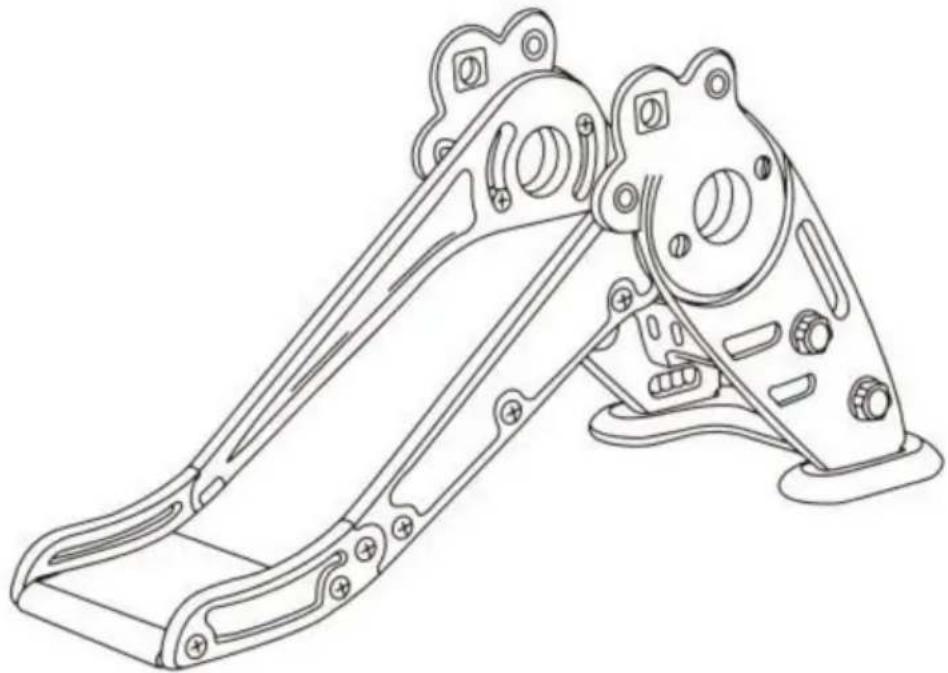
Technical line drawing of a mechanical assembly with mounting holes and brackets (no text or symbols)Step7: After checking the tightening of the screw and nut, install the floor and 2 non-slip sleeves! Install 3 non-slip sleeves on the bottom of the slide head!
natural_image
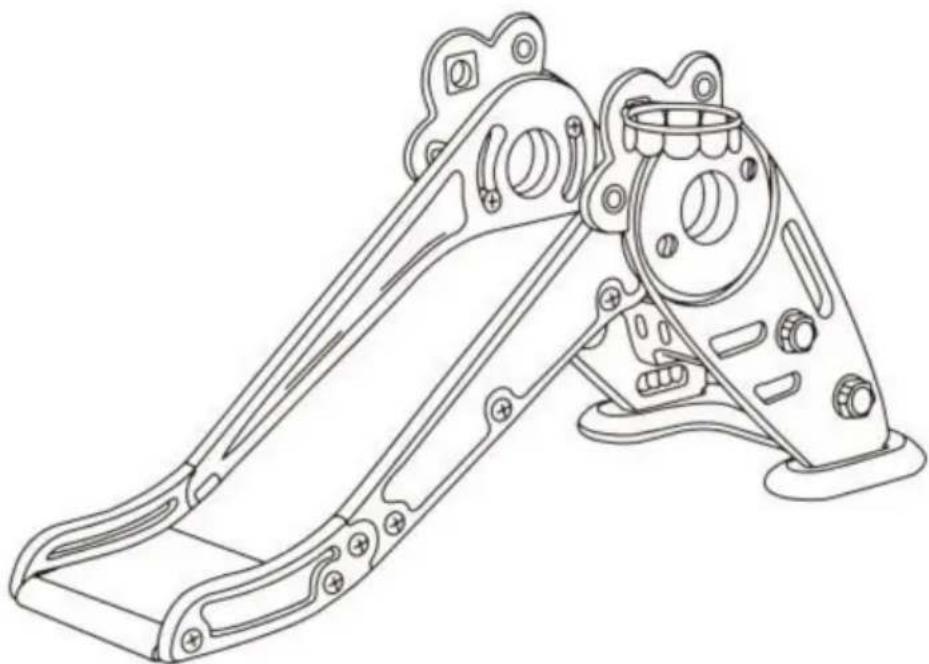
Technical line drawing of a mechanical bracket assembly (no text or symbols)Step8: Finally put the basketball hoopAssemble with the turnip side board, the installation is complete!
| Accessori | |
 | 1 pz. |
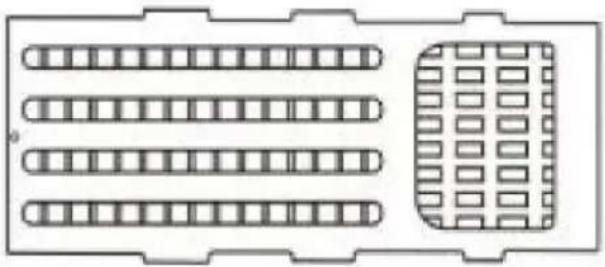 | 1 pz. |
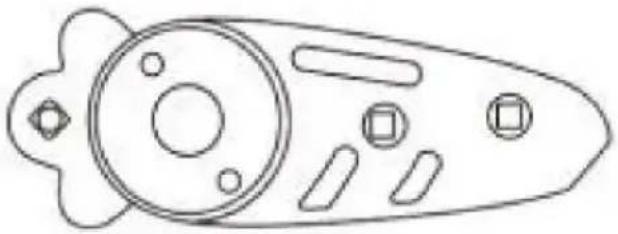 | 2 PZ |
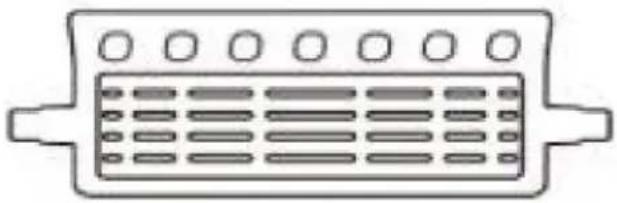 | 2 PZ |
 | 1 pz. |
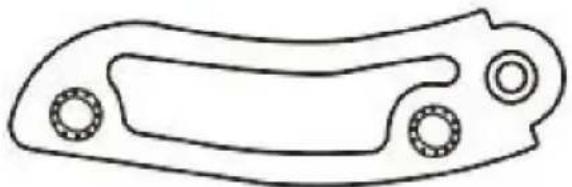 | 2 PZ |
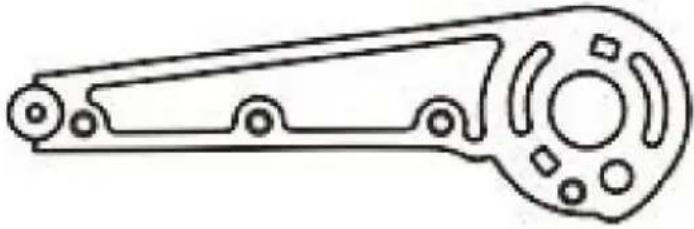 | 2 PZ |
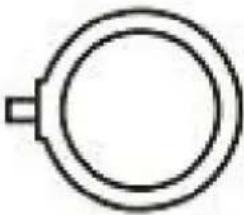 | 1 pz. |
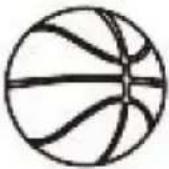 | 1 pz. |
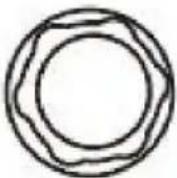 | 5 PZ |
 | 16 PZ |
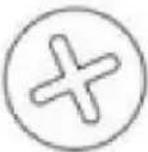 | 5 PZ |
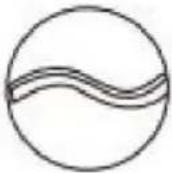 | 5 PZ |
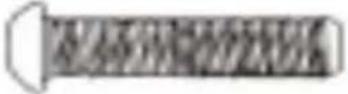 | 1 pz. |
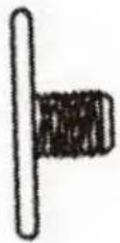 | 2 PZ |
 | 6 PZ |
 | 1 pz. |
Importato in AUS: SIHAO PTY LTD. 1 ROKEVA STREETEASTWOOD NSW 2122 Australia Importato negli
USA: Sanven Technology Ltd. Suite 250, 9166 Anaheim Place, Rancho Cucamonga, CA 91730
| RAPPRESENTANZA DEL REGNO UNITO |
YH CONSULTING LIMITED. C/O YH Consulting Limited
Ufficio 147, Centurion House, London Road, Staines-upon-Thames, Surrey, TW18 4AX
natural_image
Technical line drawing of a mechanical device with mounting holes and internal components (no text or symbols)natural_image
Technical line drawing of a curved mechanical component with an inset showing a close-up of a mechanical assembly (no text or symbols)Step1: Place the slide rail (top) on the buffer plate (bottom), align the holes, and then use a screwdriver to tighten the screws from the back.
text_image
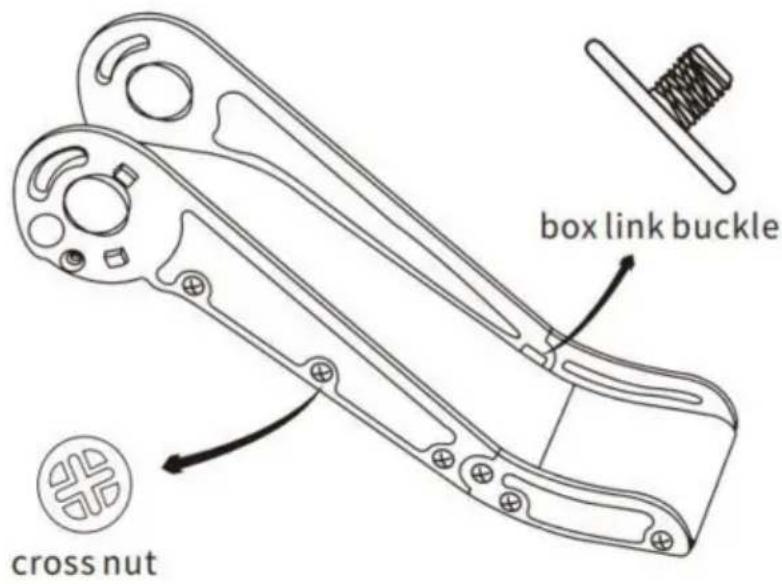
box link buckle cross nutStep2: Install large side plate and small side plate on both sides and screw on cross screw nuts.
natural_image
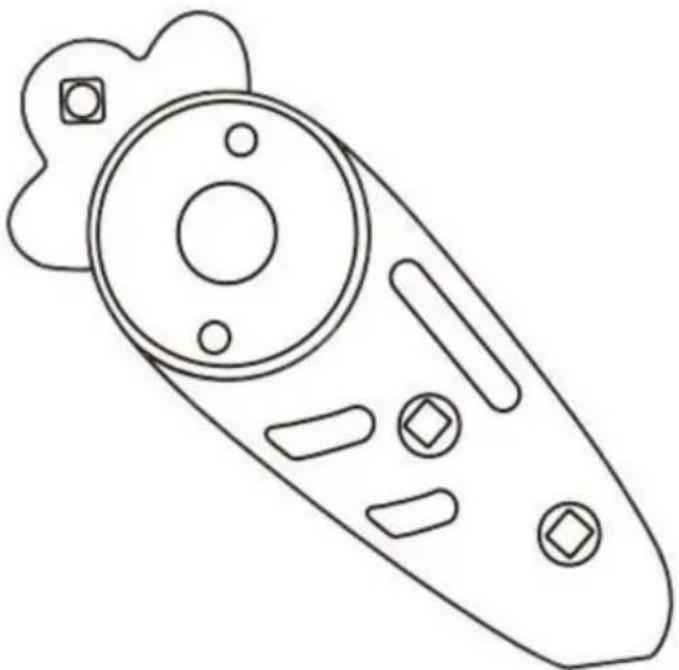
Line drawing of a remote control device with buttons and a circular dial (no text or symbols)Step3: Take out the side plate of radish and assemble it with the head of radish。
natural_image
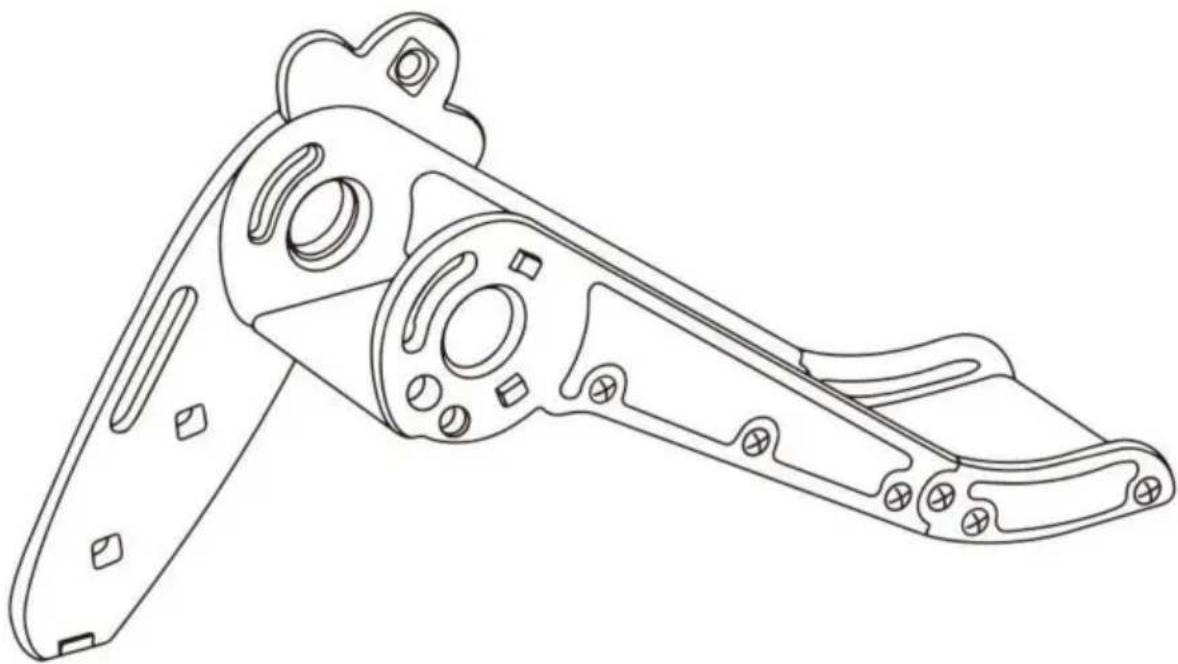
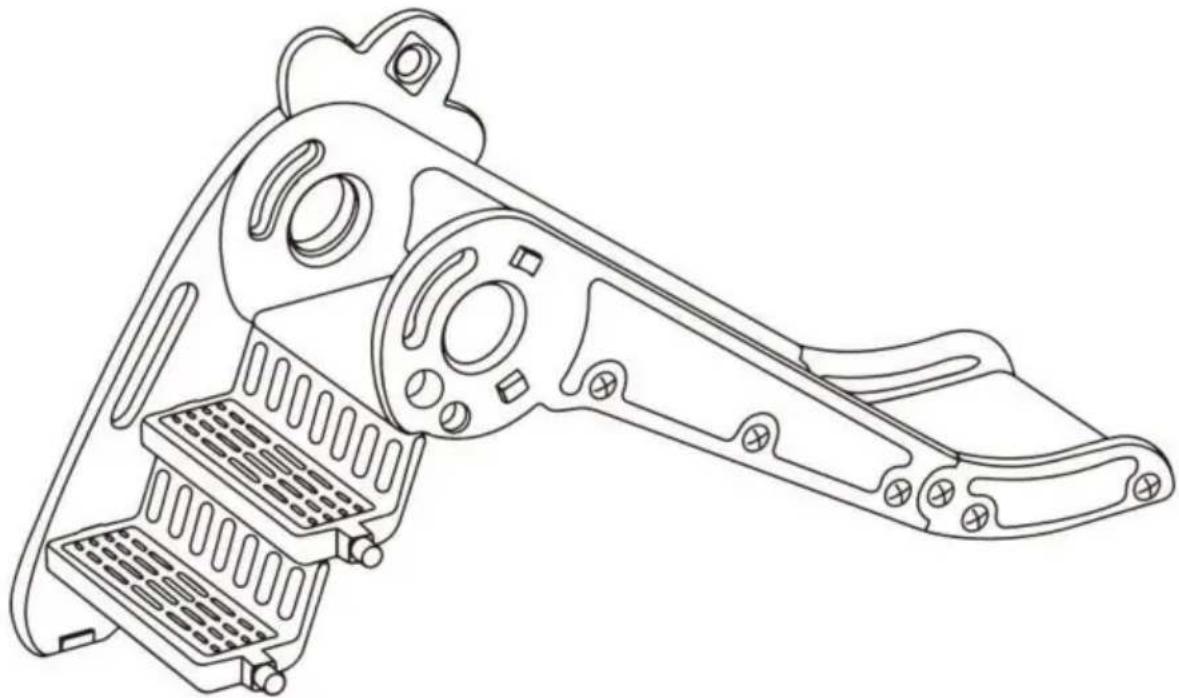
Technical line drawing of a mechanical bracket component (no text or symbols)Step4: And assemble to one side of the assembled slide and screw on the fixing screw.
natural_image
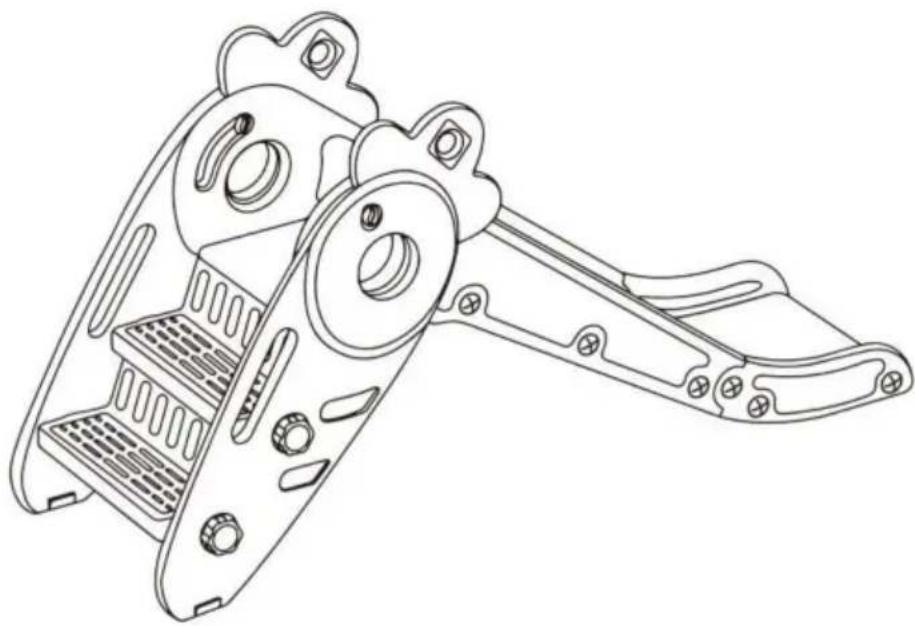
Technical line drawing of a mechanical device with multiple ports and mounting holes (no text or symbols)Step5: TInstall the pedal, screw on the fixing nut.
natural_image
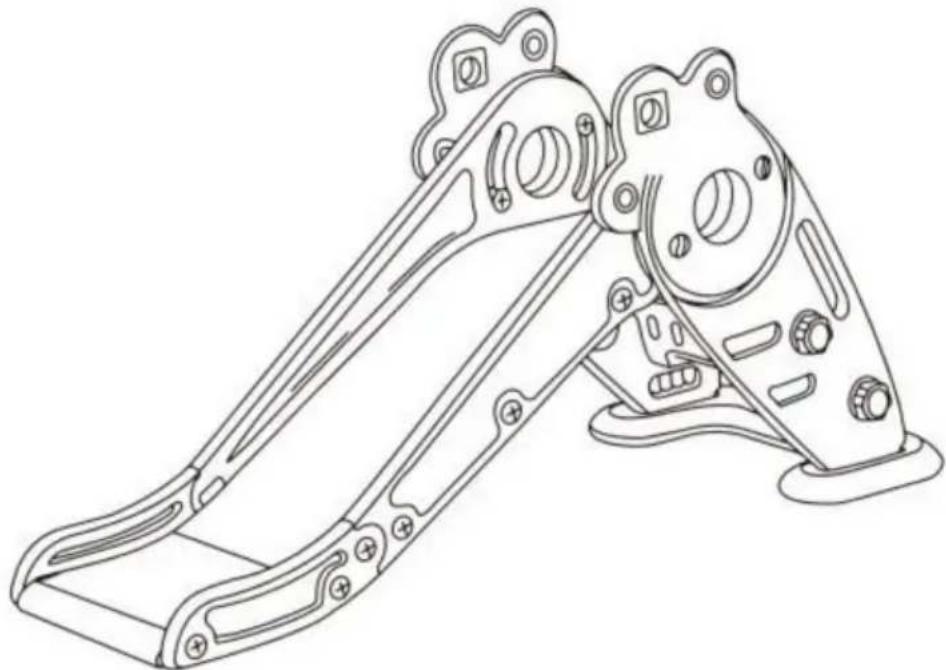
Technical line drawing of a mechanical device with multiple components and mounting holes (no text or symbols)Step6: assemble the radish side plate and radish head on the other side。Screw on the fixing nut and the fixing screw。
natural_image
Technical line drawing of a mechanical assembly with mounting flanges and housing (no text or symbols)Step7: After checking the tightening of the screw and nut, install the floor and 2 non-slip sleeves! Install 3 non-slip sleeves on the bottom of the slide head!
natural_image
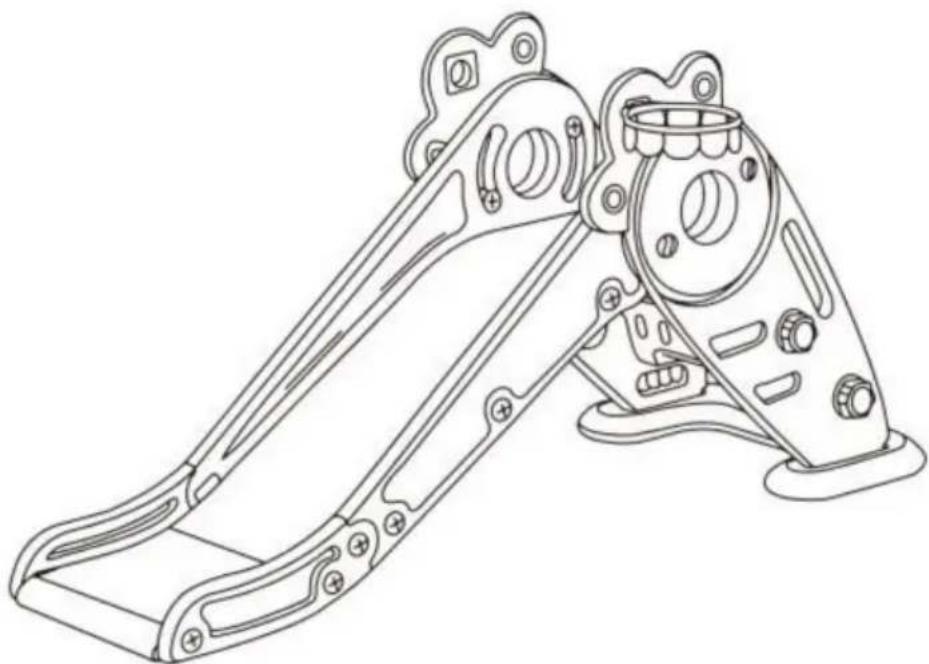
Technical line drawing of a mechanical bracket assembly (no text or symbols)Step8: Finally put the basketball hoopAssemble with the turnip side board, the installation is complete!
Limited Oficina 147, Centurion House, London Road, Staines-
upon-Thames, Surrey, TW18 4AX
| REPRESENTANTE CE |
E-CrossStu GmbH
natural_image
Technical line drawing of a mechanical device with mounting holes and internal components (no text or symbols)POTRZEBUJESZ POMOCY? SKONTAKTUJ SIĘ Z NAMI!
natural_image
Technical line drawing of a curved mechanical component with an inset showing a close-up of a component (no text or symbols present)Step1: Place the slide rail (top) on the buffer plate (bottom), align the holes, and then use a screwdriver to tighten the screws from the back.
text_image
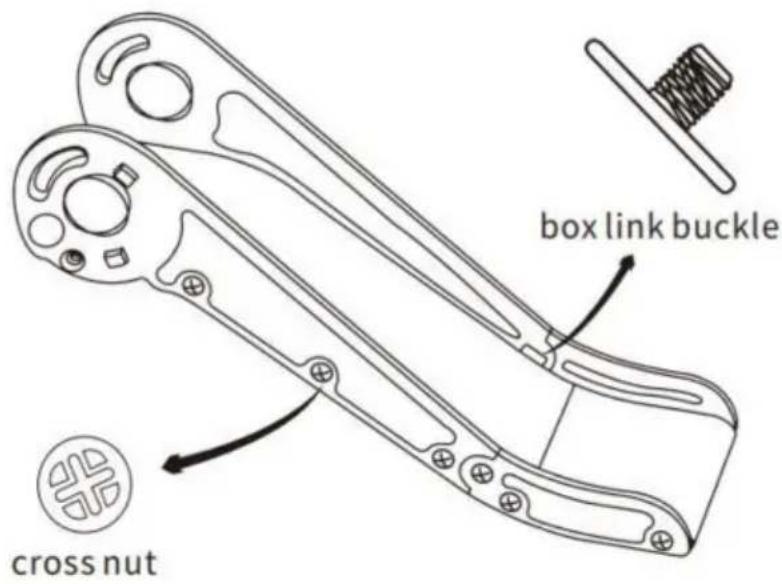
box link buckle cross nutStep2: Install large side plate and small side plate on both sides and screw on cross screw nuts.
natural_image
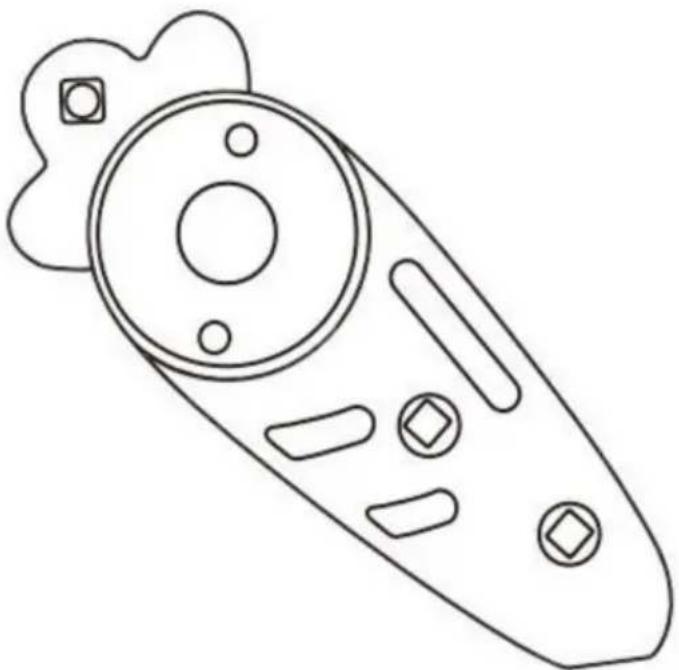
Line drawing of a remote control device with buttons and a circular dial (no text or symbols)Step3: Take out the side plate of radish and assemble it with the head of radish。
natural_image
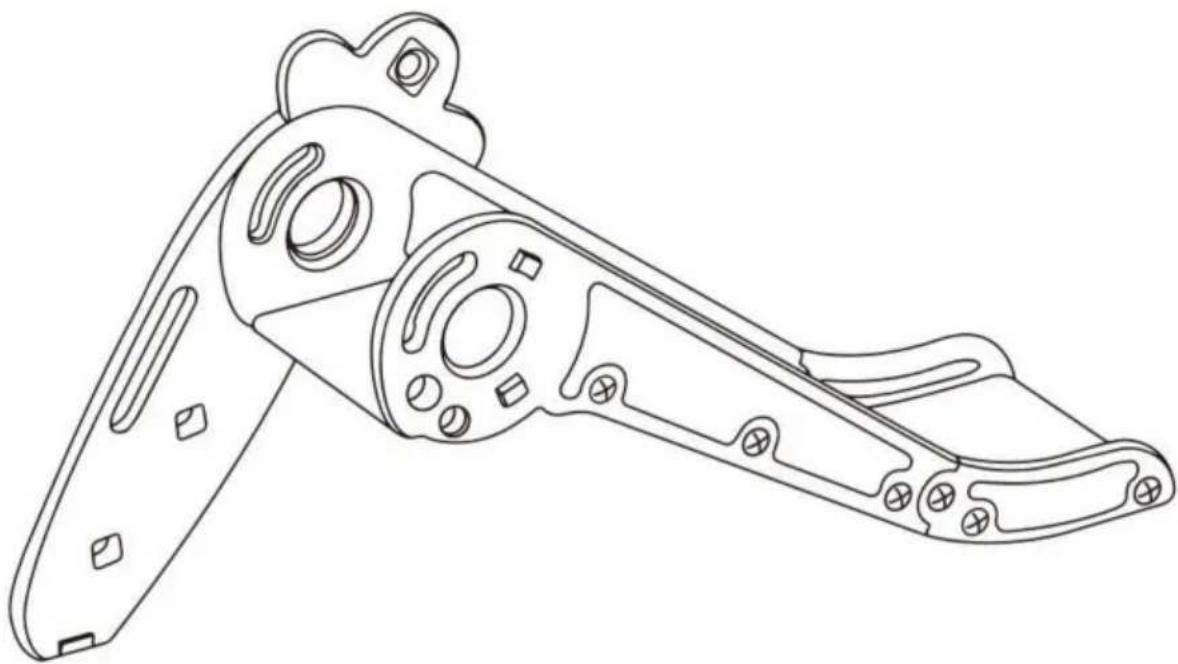
Technical line drawing of a mechanical bracket component (no text or symbols)Step4: And assemble to one side of the assembled slide and screw on the fixing screw.
natural_image
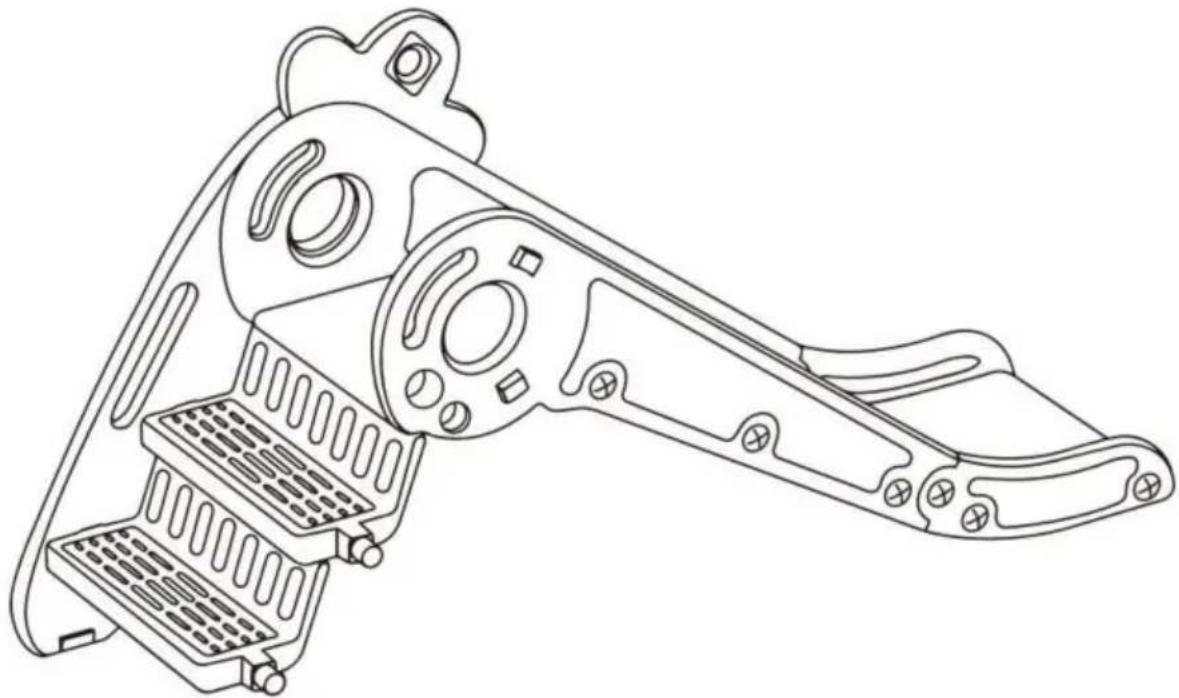
Technical line drawing of a mechanical device with multiple ports and mounting holes (no text or symbols)Step5: TInstall the pedal, screw on the fixing nut.

natural_image
Technical line drawing of a mechanical device with multiple components and mounting holes (no text or symbols)Step6: assemble the radish side plate and radish head on the other side。Screw on the fixing nut and the fixing screw。
natural_image
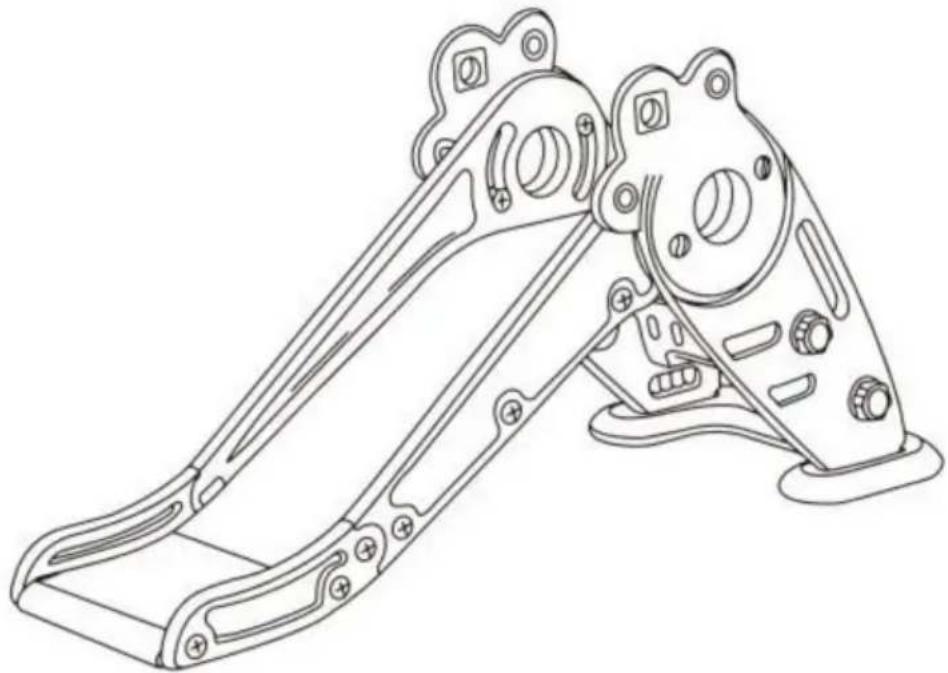
Technical line drawing of a mechanical assembly with mounting holes and brackets (no text or symbols)Step7: After checking the tightening of the screw and nut, install the floor and 2 non-slip sleeves! Install 3 non-slip sleeves on the bottom of the slide head!
natural_image
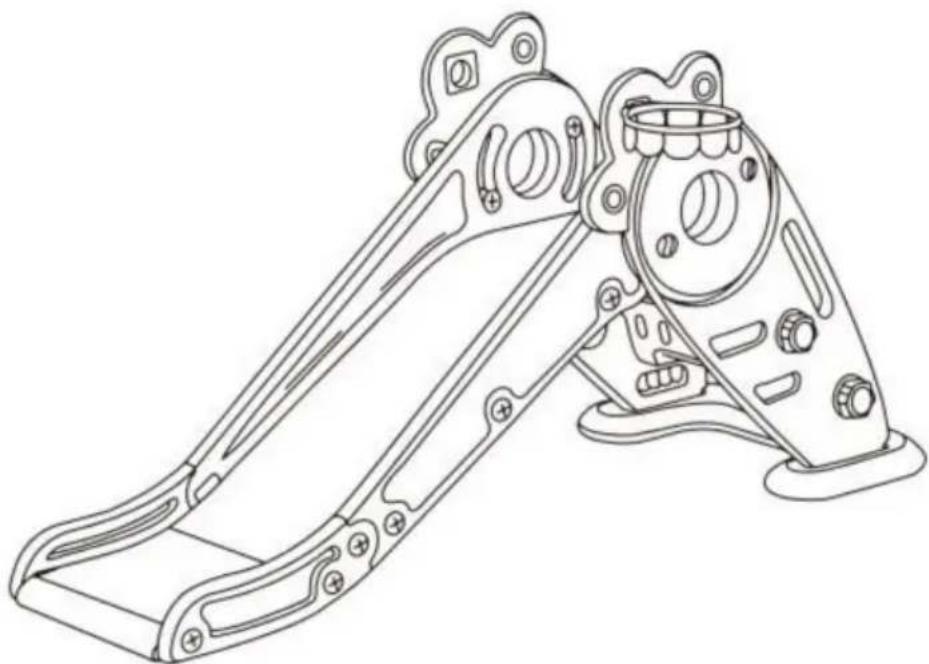
Technical line drawing of a mechanical assembly with mounting holes and housing (no text or symbols)Step8: Finally put the basketball hoopAssemble with the turnip side board, the installation is complete!
YH CONSULTING LIMITED. C/O YH Consulting Limited
Biuro 147, Centurion House, London Road, Staines-upon-Thames, Surrey, TW18 4AX
| Przedstaw ciel UE |
E-CrossStu GmbH
Mainzer Landstr.69,
60329 Frankfurt nad Menem.
VEVOR®
TOUGH TOOLS, HALF PRICE
natural_image
Technical line drawing of a mechanical device with mounting holes and internal components (no text or symbols)HULP NODIG? NEEM CONTACT MET ONS OP!
natural_image
Technical line drawing of a curved mechanical component with an inset showing a close-up of a component (no text or symbols present)Step1: Place the slide rail (top) on the buffer plate (bottom), align the holes, and then use a screwdriver to tighten the screws from the back.
text_image
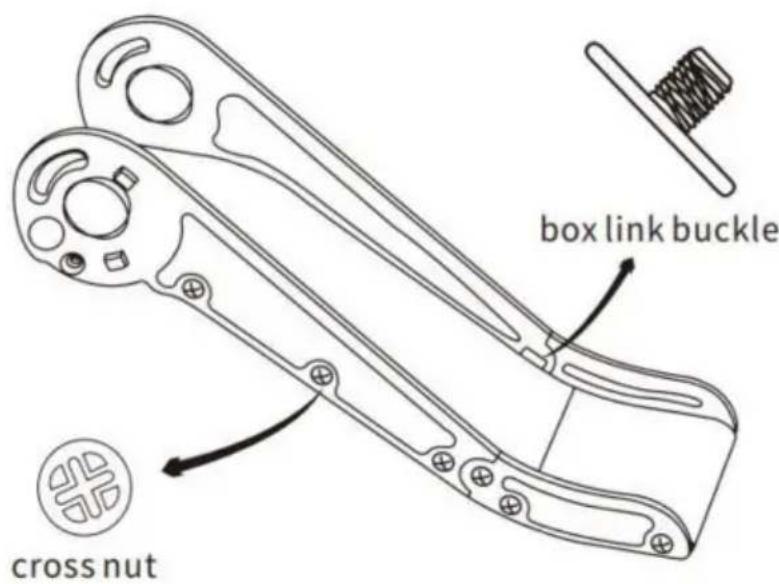
box link buckle cross nutStep2: Install large side plate and small side plate on both sides and screw on cross screw nuts.
natural_image
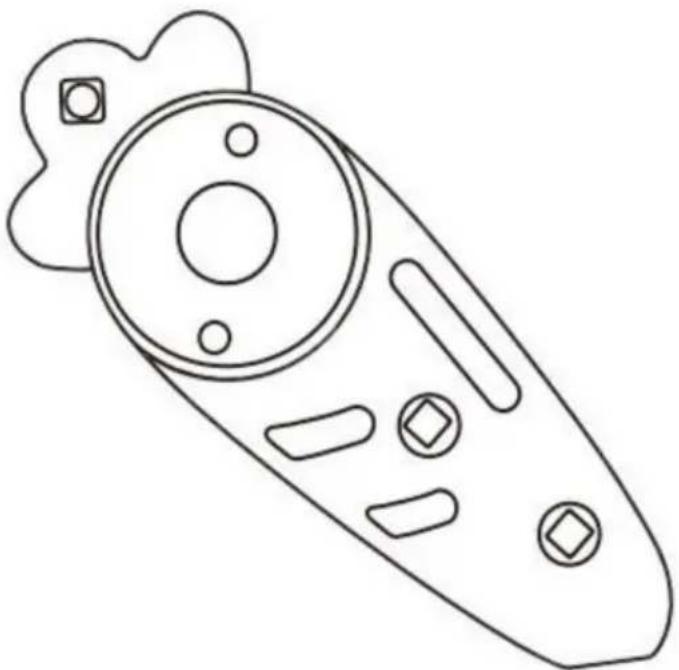
Line drawing of a remote control device with buttons and a circular dial (no text or symbols)Step3: Take out the side plate of radish and assemble it with the head of radish。
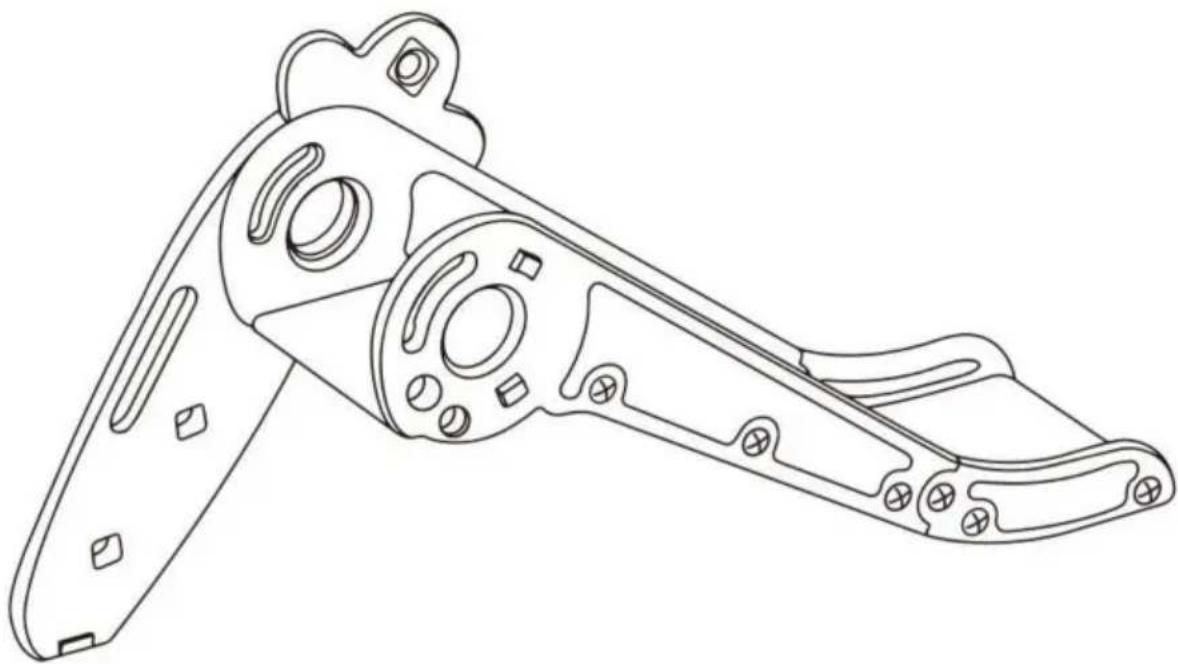
natural_image
Technical line drawing of a mechanical bracket component (no text or symbols)Step4: And assemble to one side of the assembled slide and screw on the fixing screw.
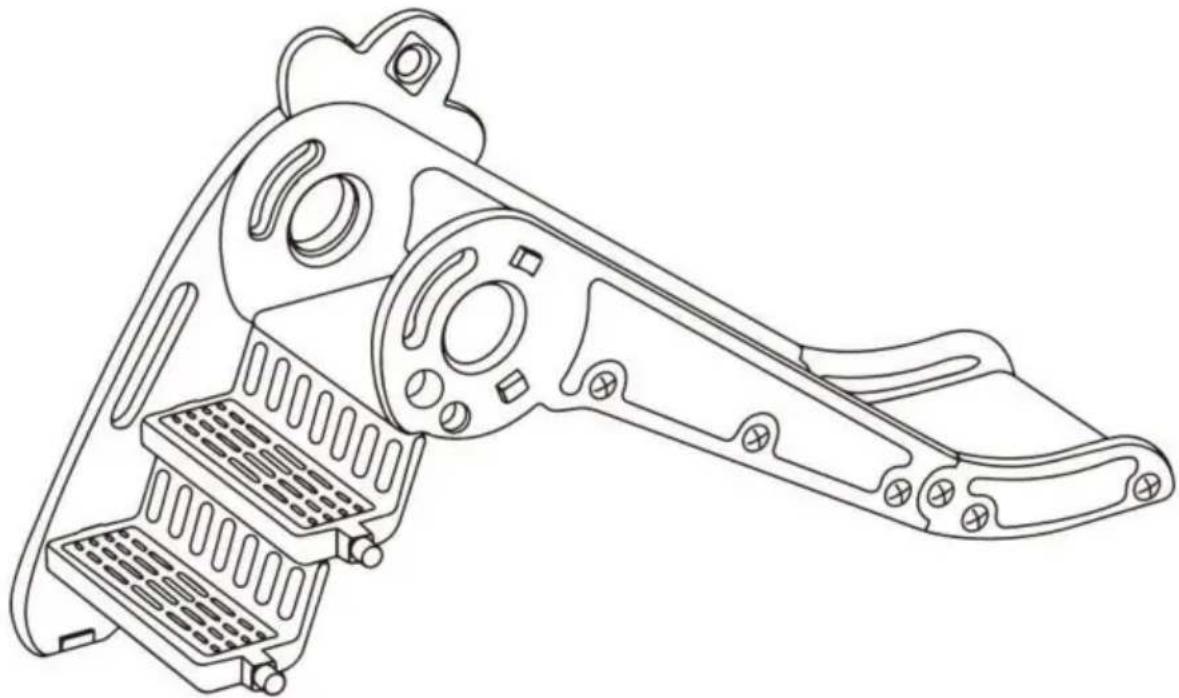
natural_image
Technical line drawing of a mechanical device with multiple ports and mounting holes (no text or symbols)Step5: TInstall the pedal, screw on the fixing nut.
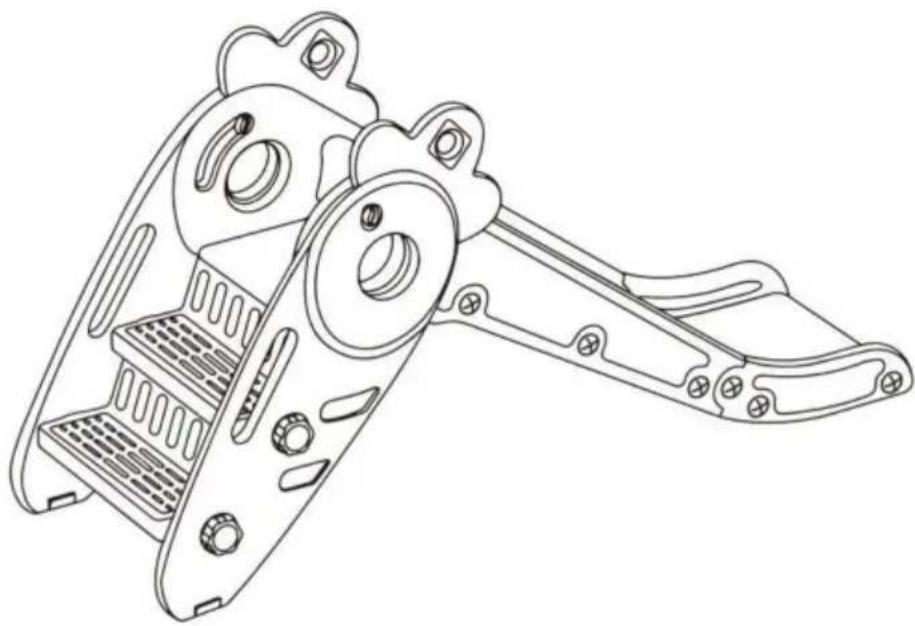
natural_image
Technical line drawing of a mechanical device with multiple components and mounting holes (no text or symbols)Step6: assemble the radish side plate and radish head on the other side。Screw on the fixing nut and the fixing screw。
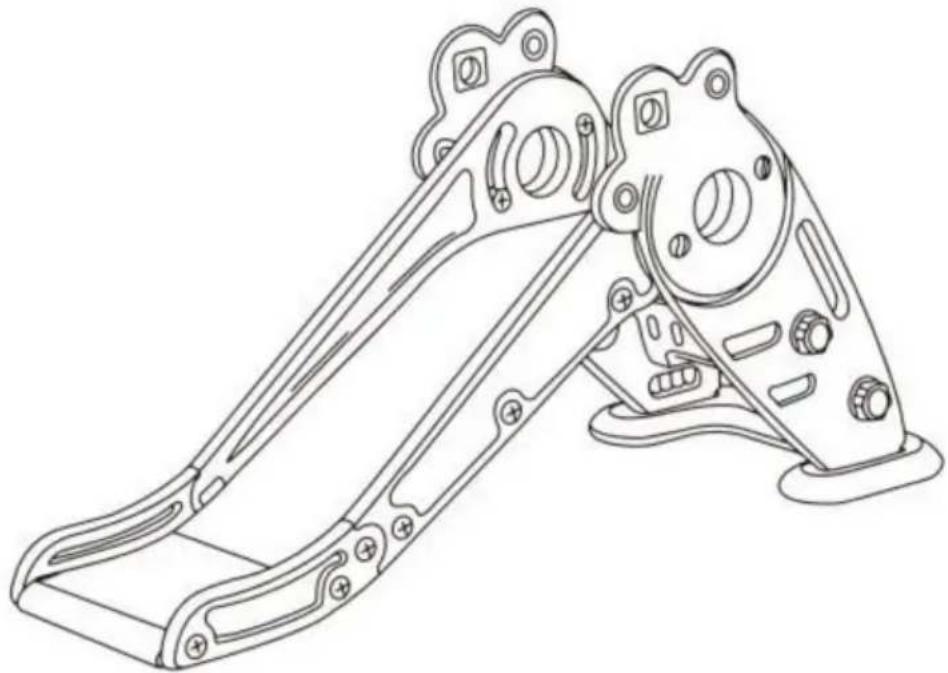
natural_image
Technical line drawing of a mechanical assembly with mounting holes and brackets (no text or symbols)Step7: After checking the tightening of the screw and nut, install the floor and 2 non-slip sleeves! Install 3 non-slip sleeves on the bottom of the slide head!
natural_image
Technical line drawing of a mechanical assembly with mounting holes and housing (no text or symbols)Step8: Finally put the basketball hoopAssemble with the turnip side board, the installation is complete!
| Accessoires | |
 | 1 STUK |
 | 1 STUK |
 | 2 STUKS |
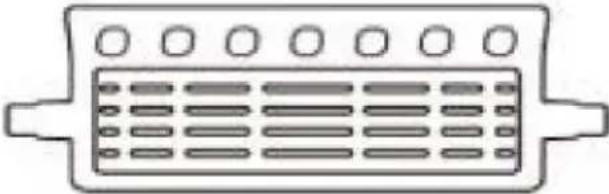 | 2 STUKS |
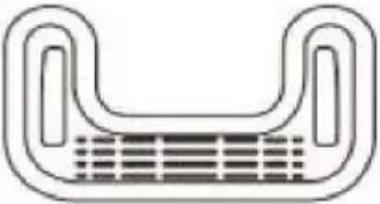 | 1 STUK |
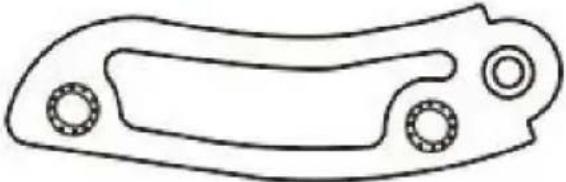 | 2 STUKS |
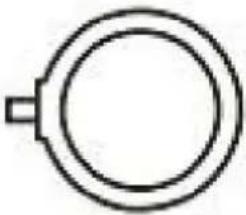 | 1 STUK |
| 5 STUKS |
| 16STUKS |
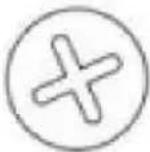 | 5 STUKS |
| 1 STUK |
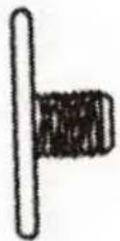 | 2 STUKS |
| 6 STUKS |
 | 1 STUK |
Fabrikant: Shanghaimuxinmuyeyouxiangongsi Adres:
Shuangchenglu 803nong11hao1602A-1609shi, baoshanqu, shanghai 200000 CN.
YH CONSULTING LIMITED. C/O YH Consulting Limited Kantoor 147,
Centurion House, London Road, Staines-upon-Thames, Surrey, TW18
4AX
text_image
EC-REPE-CrossStu GmbH
Mainzer Landstr.69,
natural_image
Technical line drawing of a mechanical device with mounting holes and internal components (no text or symbols)BEHÖVER HJÄLP? KONTAKTA OSS!
natural_image
Technical line drawing of a curved mechanical component with an inset showing a close-up of a component (no text or symbols present)Step1: Place the slide rail (top) on the buffer plate (bottom), align the holes, and then use a screwdriver to tighten the screws from the back.
text_image
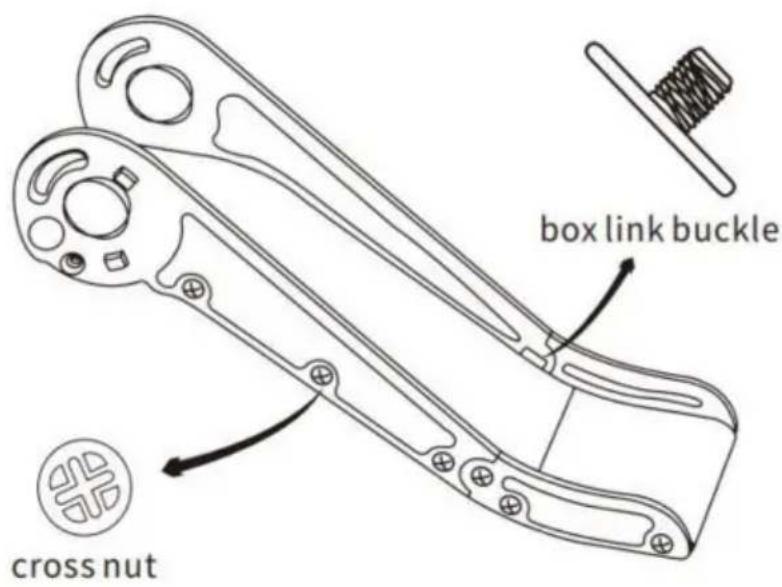
box link buckle cross nutStep2: Install large side plate and small side plate on both sides and screw on cross screw nuts.

natural_image
Line drawing of a remote control device with buttons and a circular dial (no text or symbols)Step3: Take out the side plate of radish and assemble it with the head of radish。
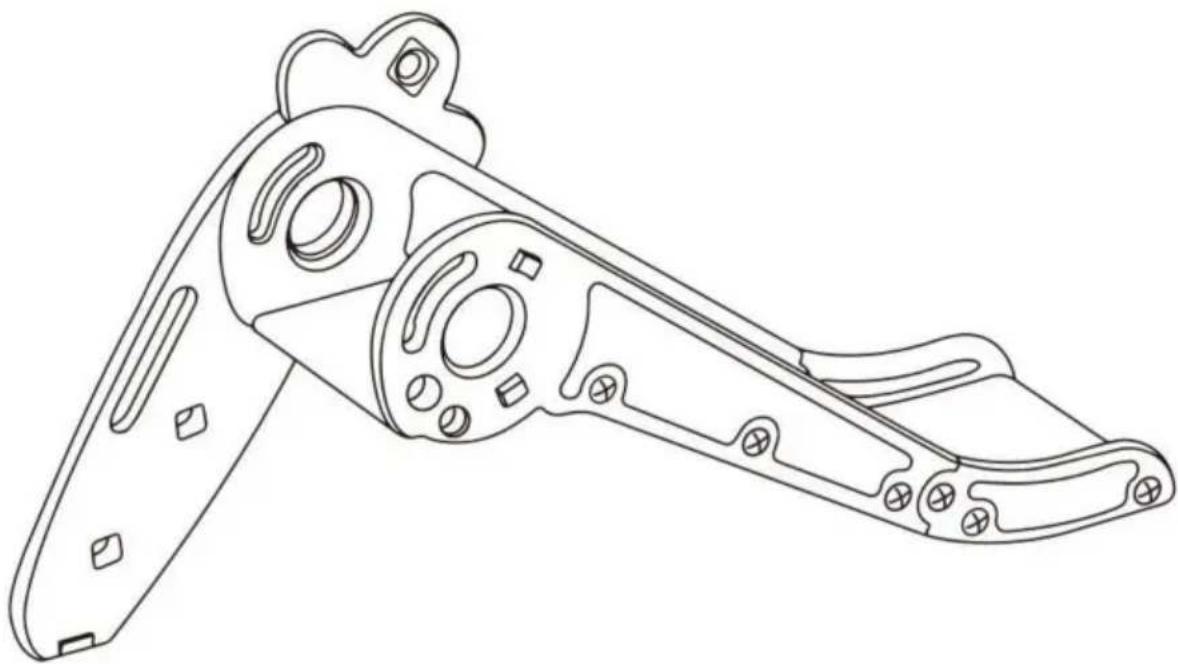
natural_image
Technical line drawing of a mechanical bracket component (no text or symbols)Step4: And assemble to one side of the assembled slide and screw on the fixing screw.
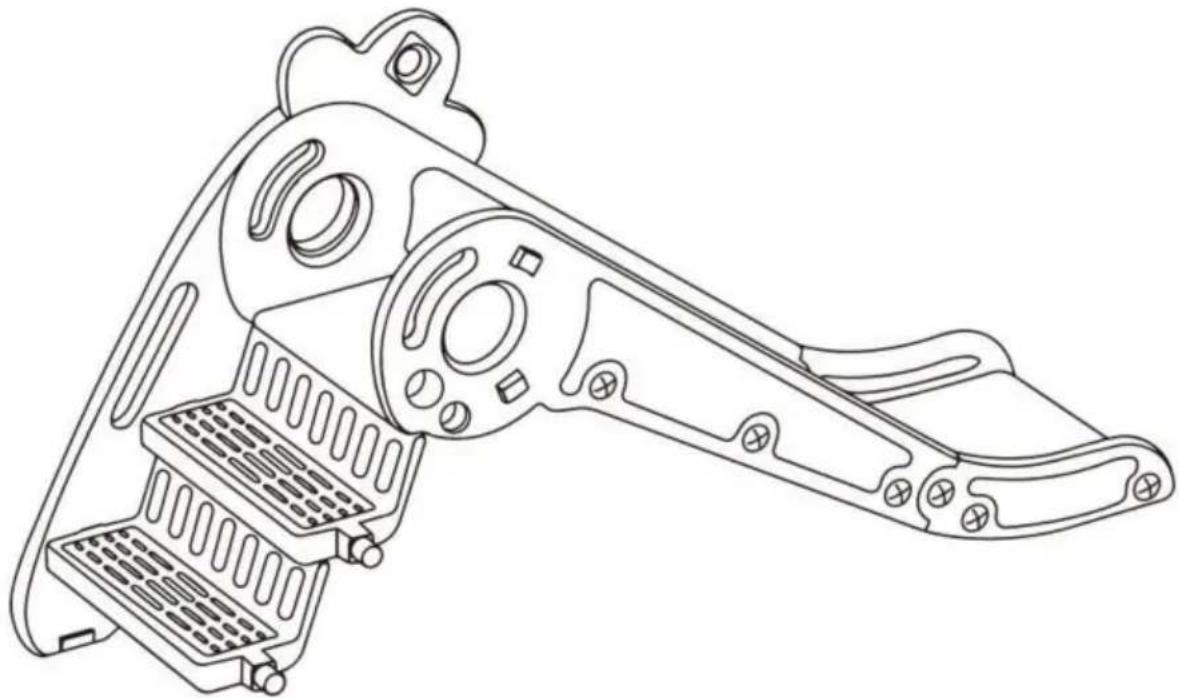
natural_image
Technical line drawing of a mechanical device with multiple ports and mounting holes (no text or symbols)Step5: TInstall the pedal, screw on the fixing nut.
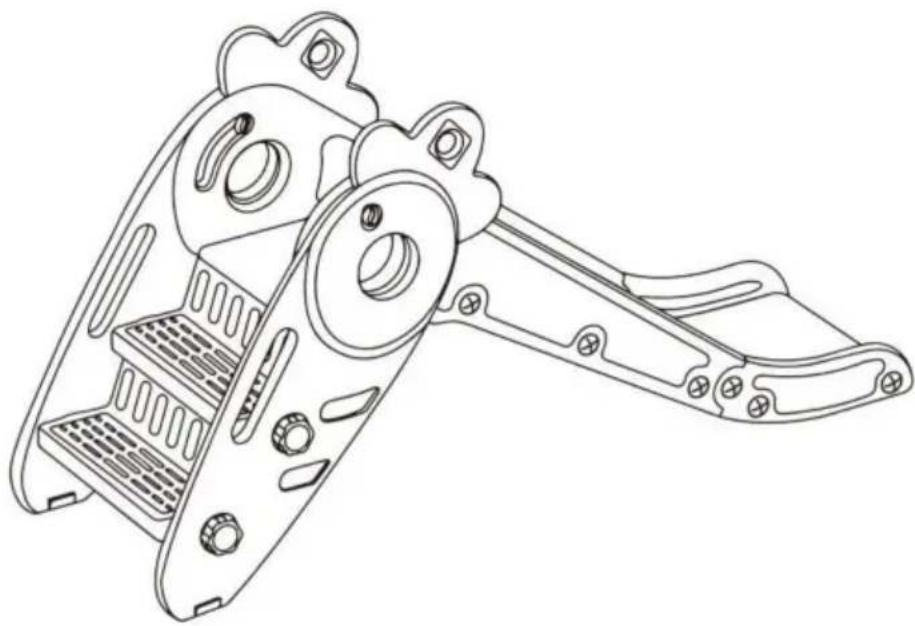
natural_image
Technical line drawing of a mechanical device with multiple components and mounting holes (no text or symbols)Step6: assemble the radish side plate and radish head on the other side。Screw on the fixing nut and the fixing screw。
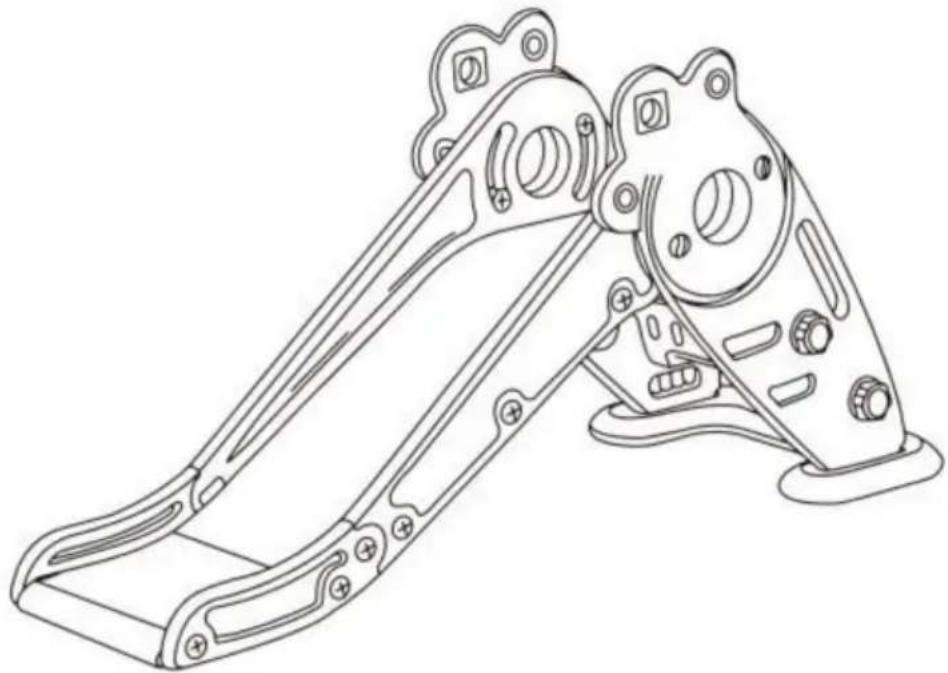
natural_image
Technical line drawing of a mechanical assembly with mounting holes and brackets (no text or symbols)Step7: After checking the tightening of the screw and nut, install the floor and 2 non-slip sleeves! Install 3 non-slip sleeves on the bottom of the slide head!
natural_image
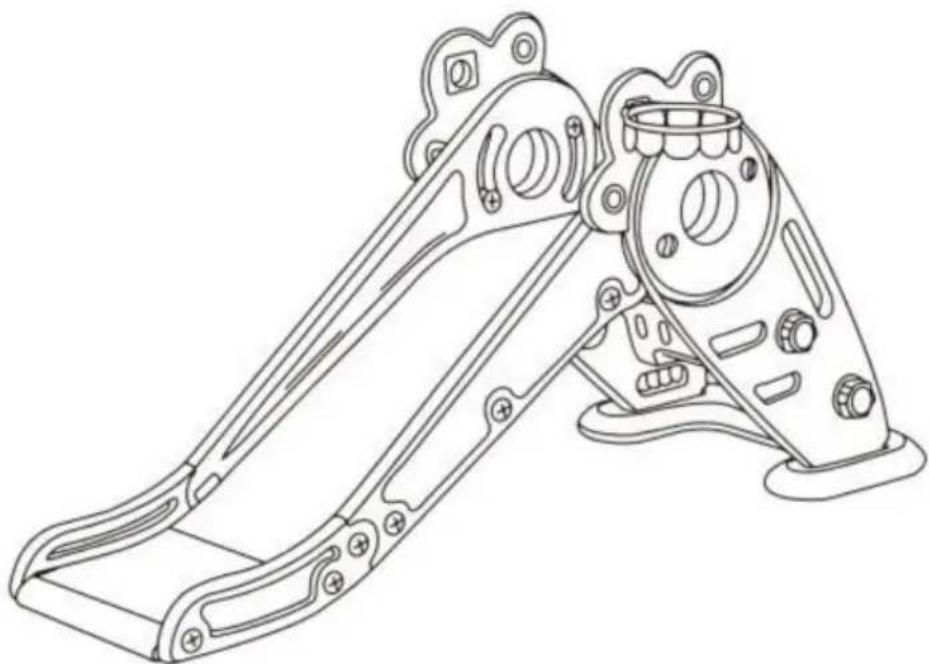
Technical line drawing of a mechanical assembly with mounting holes and housing (no text or symbols)Step8: Finally put the basketball hoopAssemble with the turnip side board, the installation is complete!
| Tillbehör | |
| 1 st |
| 1 st |
| 2 st |
| 2 st |
| 1 st |
| 2 st |
| 2 st |
 | 1 st |
| 5 st |
| 16 st |
| 5 st |
| 5 st |
| 1 st |
| 2 st |
| 6 st |
| 1 st |
Tillverkare: Shanghaimuxinmuyeyouxiangongsi Adress:
Shuangchenglu 803nong11hao1602A-1609shi, baoshanqu, shanghai 200000 CN.
Importerad till AUS: SIHAO PTY LTD. 1 ROKEVA STREETEASTWOOD NSW 2122
YH CONSULTING LIMITED. C/O YH Consulting
Limited Office 147, Centurion House, London
Road, Staines-upon-Thames, Surrey, TW18 4AX
| EC | REP |
E-CrossStu GmbH
Mainzer Landstr.69,
60329 Frankfurt am Main.
VEVOR®
TOUGH TOOLS, HALF PRICE
www.vevor.com/support