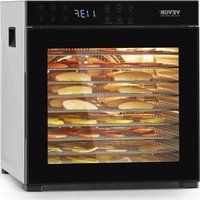
FD-1018 - Dehumidifier Vevor - Free user manual and instructions
Find the device manual for free FD-1018 Vevor in PDF.


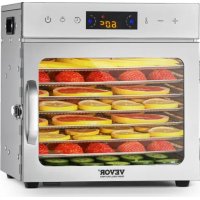
| Product Type | Food Dehydrator |
| Brand | Vevor |
| Model | FD-1018 |
| Dimensions (L x W x H) | 340 x 405 x 365 mm |
| Rated Power | 1000 W |
| Motor Power | 35 W |
| Lamp Power | 25 W |
| Heating Power | 1000 W |
| Rated Voltage | 120 V / 220 V (depending on version) |
| Rated Frequency | 60 Hz / 50 Hz |
| Number of Trays | 6 (including mesh sheet and drip tray) |
| Tray Material | SUS 304 Stainless Steel |
| Mesh Sheet Material | PP (Polypropylene) |
| Adjustable Temperature | 30°C to 75°C in 5°C increments |
| Adjustable Time | 0.5 h to 24 h in 30 min increments |
| Automatic Programs | 6 presets: DIY, apple, lemon, banana, mushroom, meat & fish |
| Special Features | Independent interior lamp, touch screen |
| Usage | Indoor use only |
| Cleaning | Unplug and let cool before cleaning; do not immerse base; clean after each use |
| Safety | Automatic shutdown not mentioned; do not use with liquid foods; do not leave unattended |
| Warranty | Electronic warranty certificate at www.vevor.com/support |
Frequently Asked Questions - FD-1018 Vevor
User questions about FD-1018 Vevor
0 question about this device. Answer the ones you know or ask your own.
Ask a new question about this device
Download the instructions for your Dehumidifier in PDF format for free! Find your manual FD-1018 - Vevor and take your electronic device back in hand. On this page are published all the documents necessary for the use of your device. FD-1018 by Vevor.
USER MANUAL FD-1018 Vevor
Technical Support and E-Warranty Certificate www.vevor.com/support
FOOD DEHYDRATOR
MODEL:FD-1018
We continue to be committed to provide you tools with competitive price. "Save Half", "Half Price" or any other similar expressions used by us only represents an estimate of savings you might benefit from buying certain tools with us compared to the major top brands and does not necessarily mean to co all categories of tools offered by us. You are kindly reminded to verify carefully when you are placing an order with us if you are actually Saving Half in comparison with the top major brands.
MODEL:FD-1018
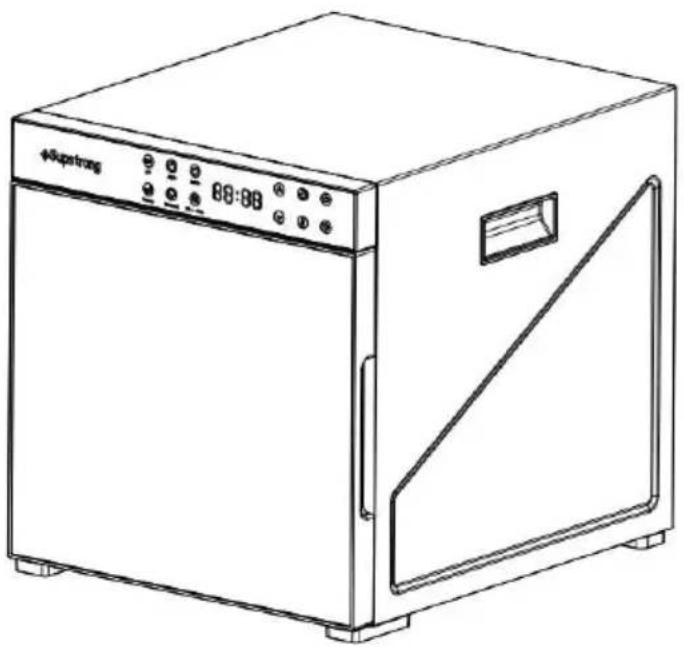
natural_image
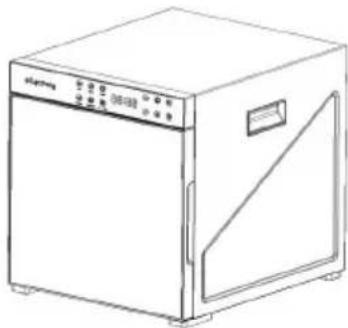
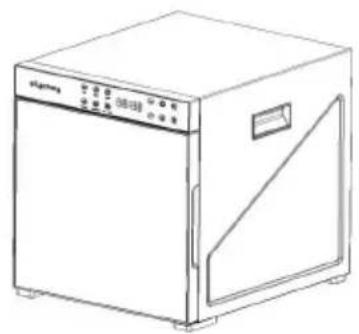
Line drawing of a simple laboratory oven with control panel and side door (no text or symbols)NEED HELP? CONTACT US!
Have product questions? Need technical support? Please feel free to contact us:
Technical Support and E-Warranty Certificate www.vevor.com/support
This is the original instruction, please read all manual instructions carefully before operating. VEVOR reserves a clear interpretation of o user manual. The appearance of the product shall be subject to the product you received. Please forgive us that we won't inform you ag there are any technology or software updates on our product.
 | Warning-To reduce the risk of injury, user must read instructions manual carefully. |
 | Warning- For Indoor Use Only |
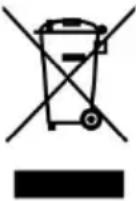 | CORRECT DISPOSALThis product is subject to the provision of European D 2012/19/EC. The symbol showing a wheelie bin crossed through indicates that the product requires separate refu collection in the European Union. This applies to the p and all accessories marked with this symbol. Products as such may not be discarded with normal domestic w must be taken to a collection point for recycling electri electronic devices |
IMPORTANT
Before using this product, please read and understand this instruction manual carefully, and keep it in a safe place; this price is only for use in homes or similar places.
Danger:
Do not immerse the base in water or any other liquid, and do rinse under the tap.
Do not use this product to dry liquid foods.
Please read carefully and keep the instruction wel
WARNINGS
- Before connecting the product to the power supply, please check w the voltage marked on the product is consistent with the local power voltage, and all components are installed correctly.
- Do not allow children or persons with intellectual disabilities to use product unattended.
- This product should be used on a stable table, not on an inclined blanketed table.
- When going out or not in use for a long time, please be sure to power plug from the socket.
- After the first power-on, there is a smell, please continue to use it not abnormal.
- Do not operate or plug in or out the power plug with wet hands electric shock.
- Do not use this product to dry liquid foods.
- Do not use bleach or chemical disinfectant solutions/tablets in this product.
- Do not use steel wool, abrasive cleaners, or corrosive liquids (such acetone or alcohol) to clean the product.
- The longest continuous use time should not exceed 72 hours each so as not to affect the service life of the dryer.
- Do not use this product if the power cord, plug or other accessories damaged.
- If the power cord is damaged, in order to avoid danger, it must be replaced by professionals from the manufacturer, its maintenance department or similar departments.
- Please do not use accessories or components made by other manufacturers or other manufacturers that are not recommended.
- It is forbidden to modify or lengthen the power cord of this product way.
- It is forbidden to use this product outdoors, or to use this product purposes.
- All accessories are only suitable for the use of this product. It is to be used for other purposes or on other similar products to avoid - It is forbidden to yank the power cord of the product or tie the p to an object at a favorable angle.
- Non-professionals are not allowed to disassemble any internal components to avoid danger.
- It is forbidden to move this product when it is plugged in. You can off when necessary, unplug the power plug, and move it to a suitable location.
- If you have any questions, please contact the relevant service center dealer for help.
- Before cleaning the product, you must first unplug the power plug it cool down.
- Do not place any food (including water and seasonings and food) of saucepan
- Do not put any objects into the hot air outlet hole.
- Never use a microwave oven to heat any other parts of the produ
- This appliance can be used by children aged from 8 years and at persons with reduced physical, sensory or mental capabilities or lack of experience and knowledge if they have been given supervision or instruction concerning use of the appliance in a safe way and unders the hazards involved. Children shall not play with the appliance. Clear and user maintenance shall not be made by children without supervisi
Control panel: touch button operation
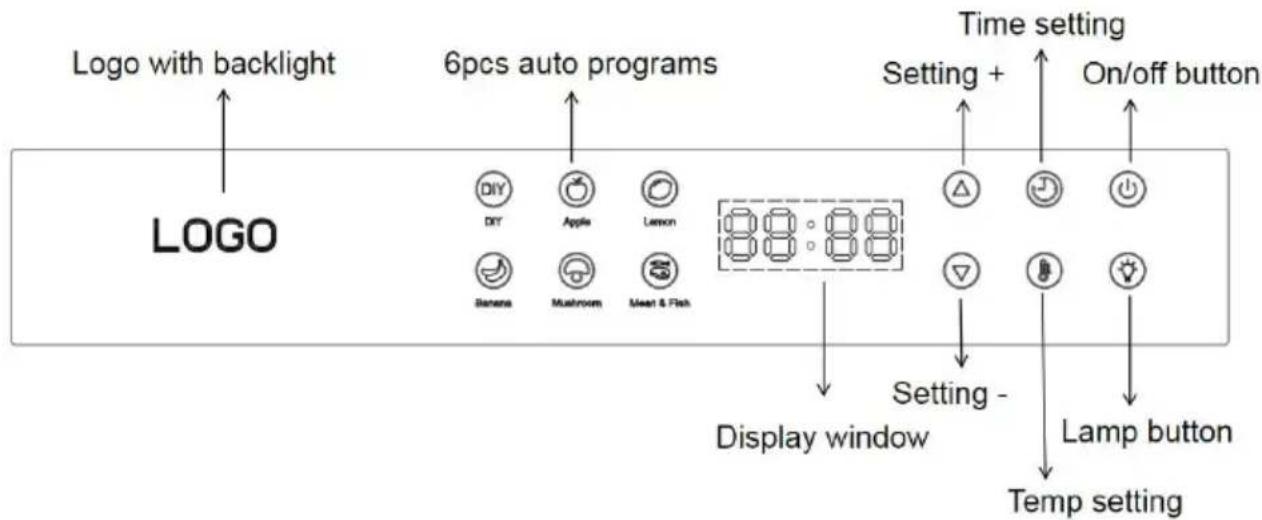
flowchart
graph TD
    A["LOGO"] --> B["Logo with backlight"]
    B --> C["6pcs auto programs"]
    C --> D["Display window"]
    D --> E["Time setting + On/off button"]
    E --> F["Lamp button"]
    F --> G["Temp setting"]
    style A fill:#f9f,stroke:#333
    style B fill:#ccf,stroke:#333
    style C fill:#cfc,stroke:#333
    style D fill:#fcc,stroke:#333
    style E fill:#cff,stroke:#333
    style F fill:#ffc,stroke:#333
    style G fill:#fcf,stroke:#333
| Item No. | Power | Motor Power | Lamp Power | Heating Power | Executive Standard |
| FD-10 18 | 120V~60Hz/220V~50Hz The whole power is 1000W | 35W | 25W | 1000W | IEC600335-1IEC60335-2-9UL1026+CSAC22.2 No.64 |
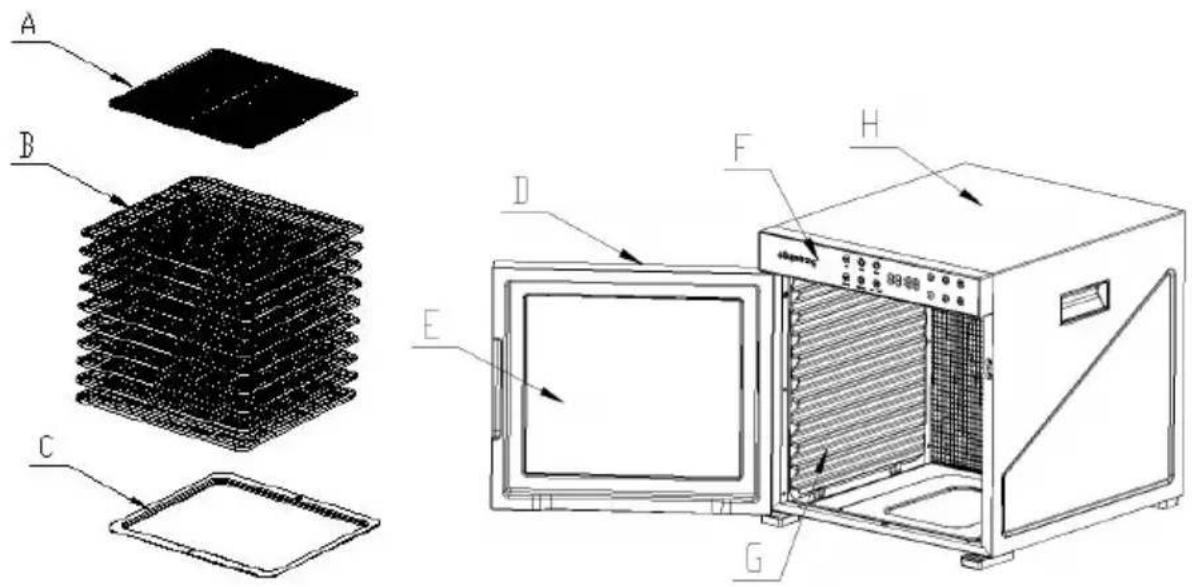
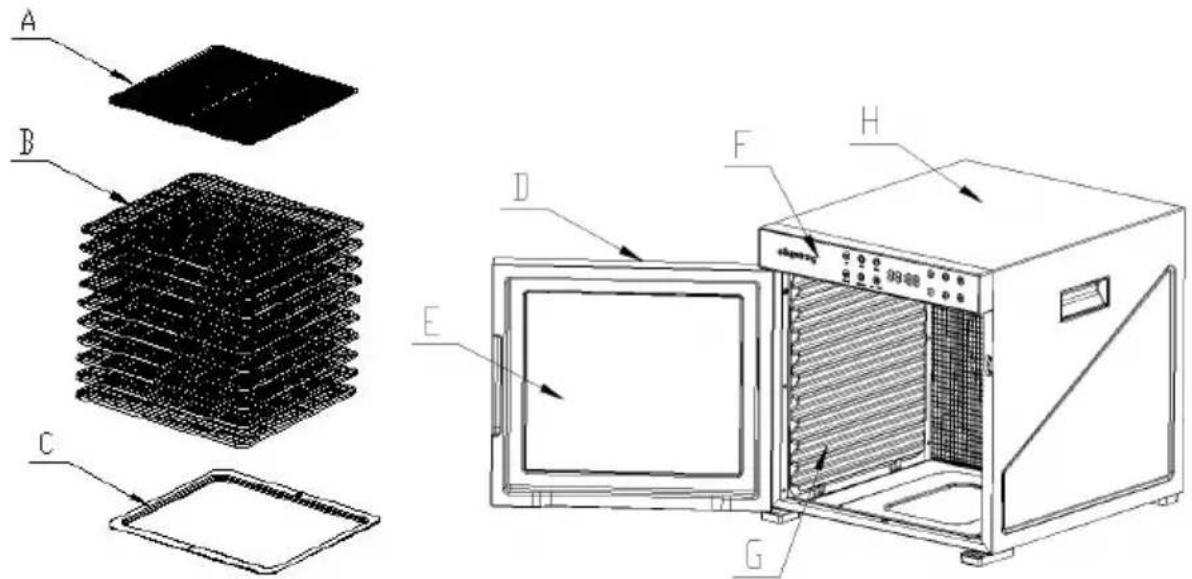
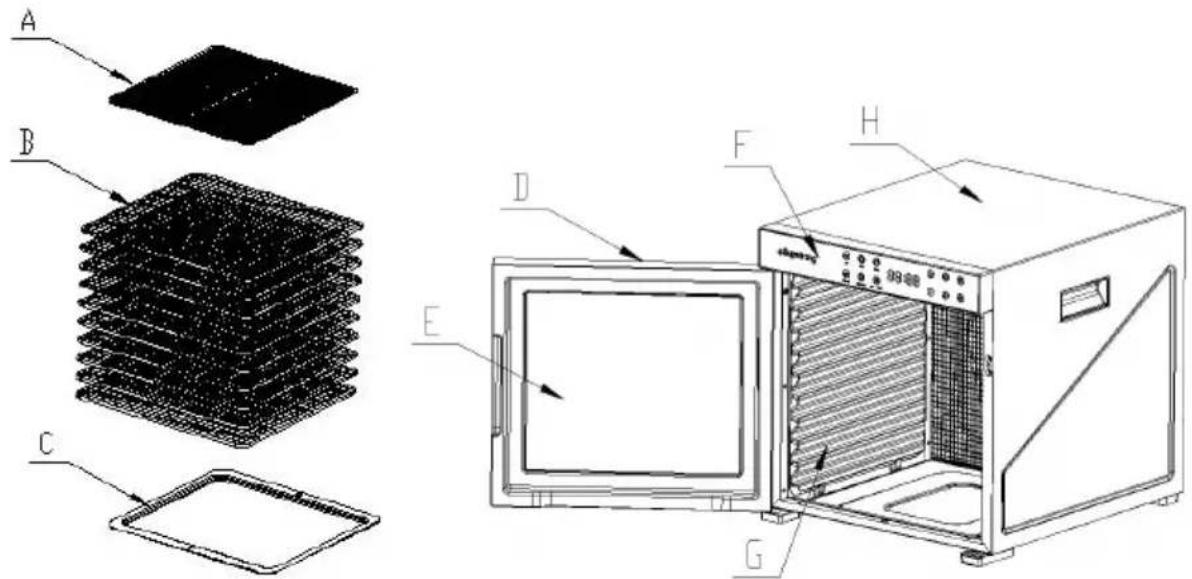
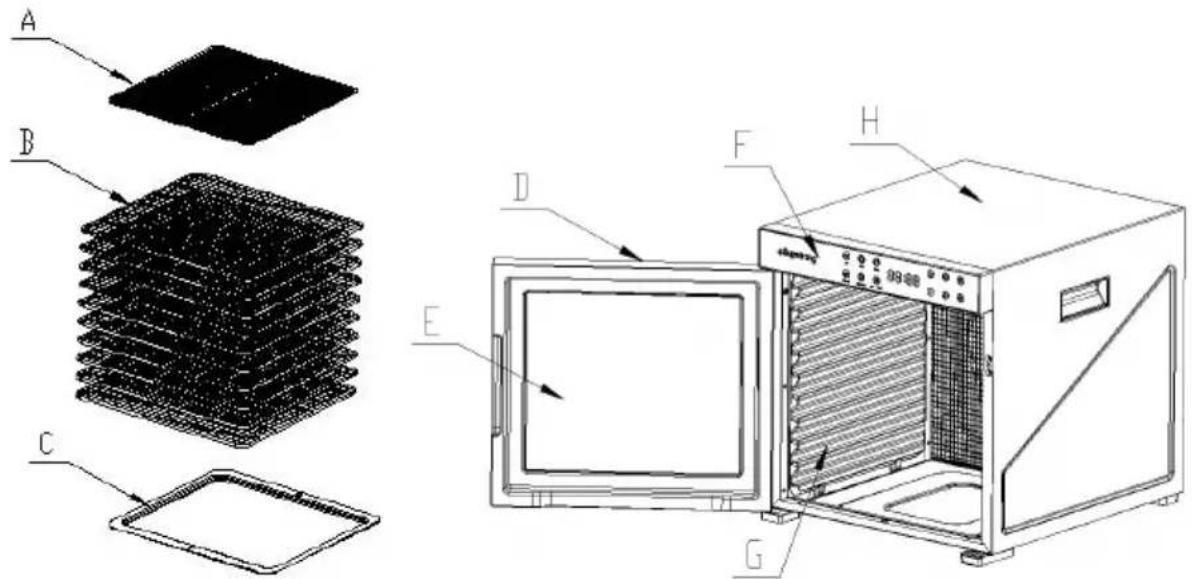
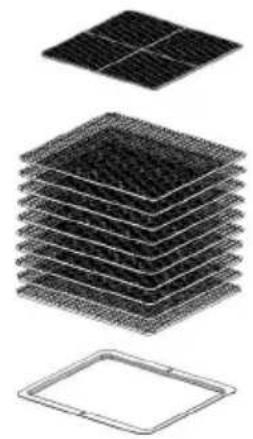
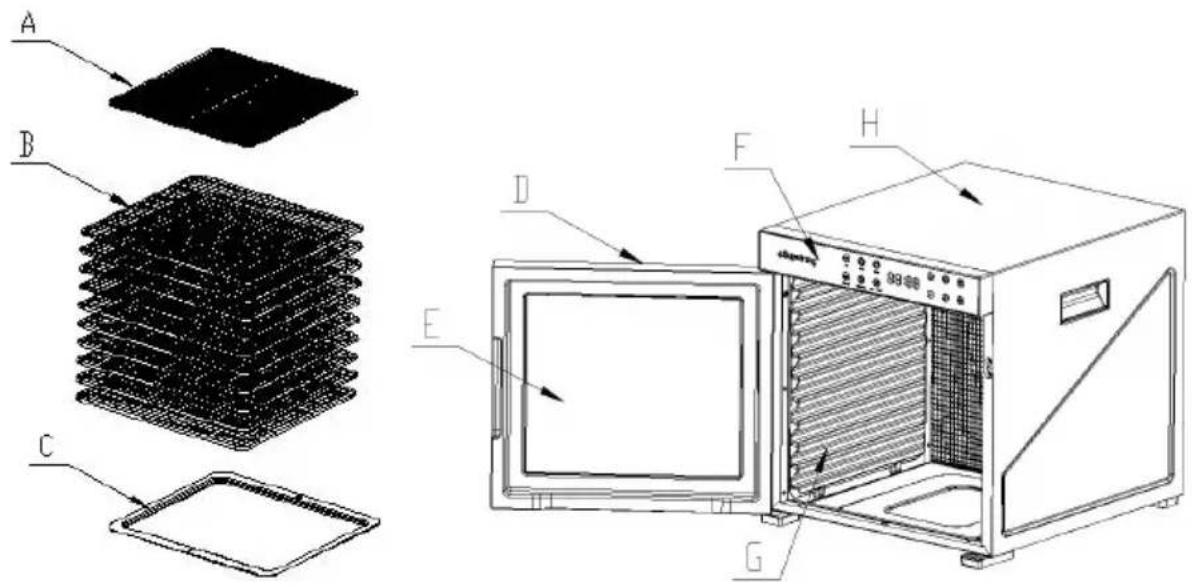
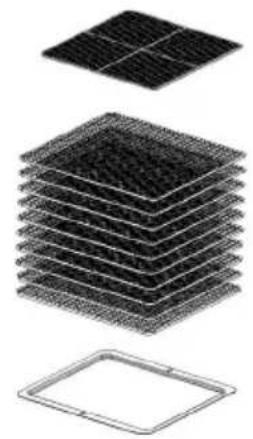
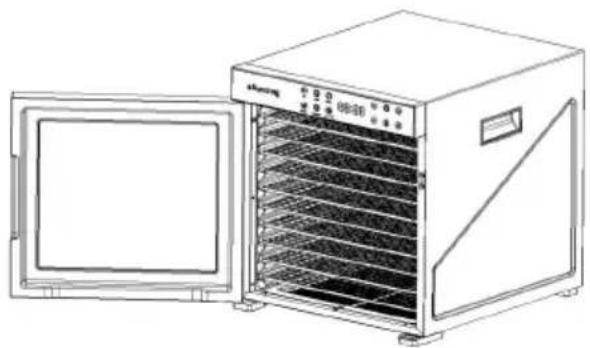
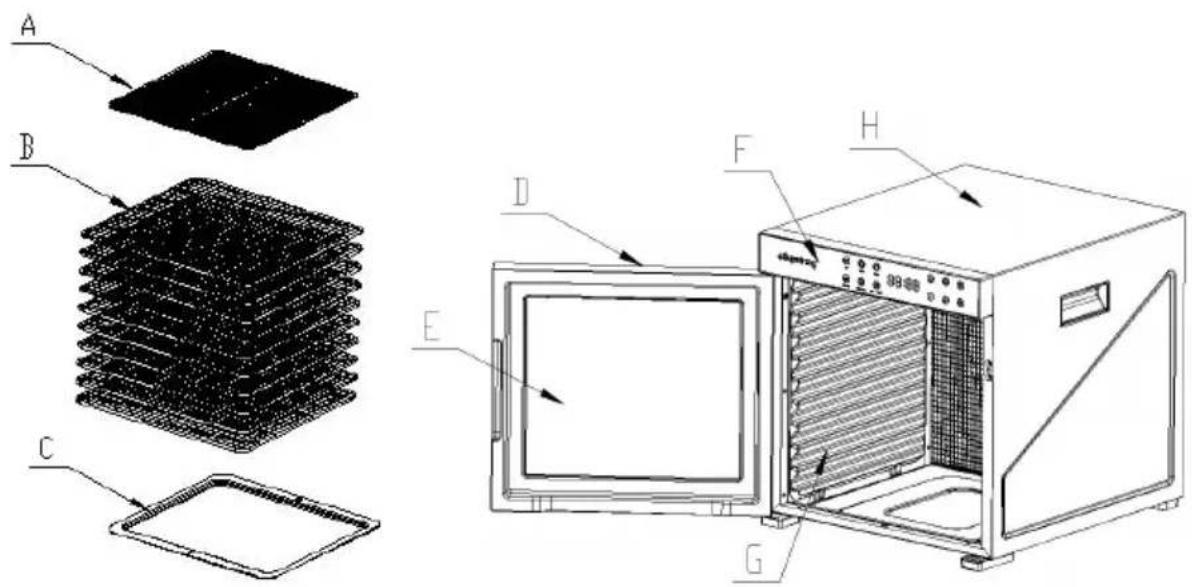
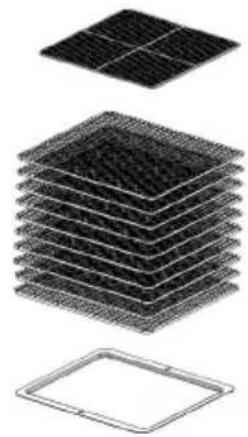
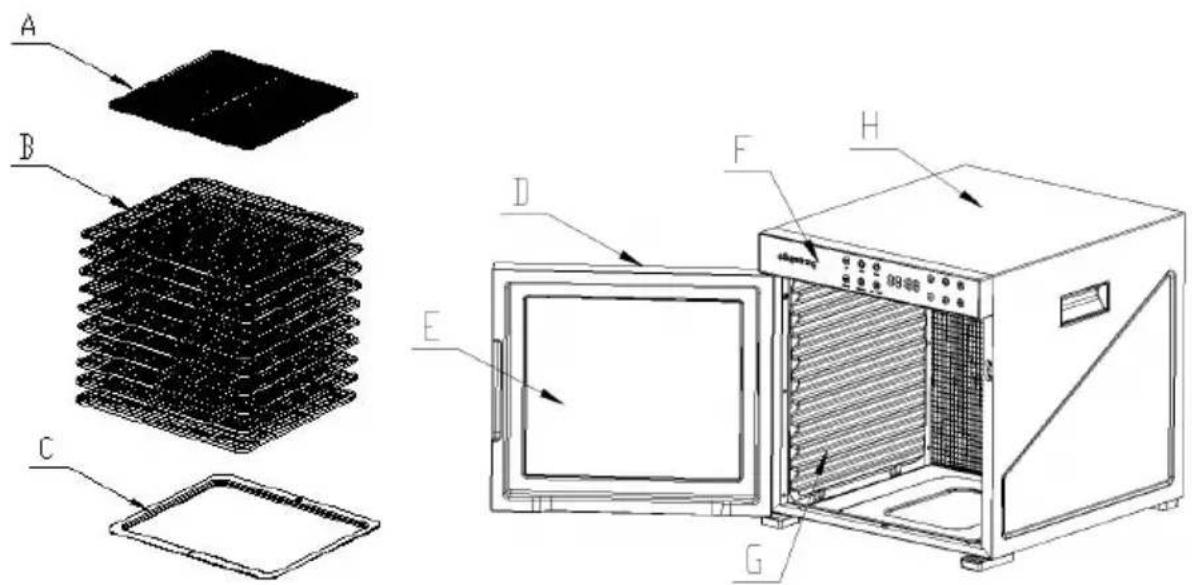
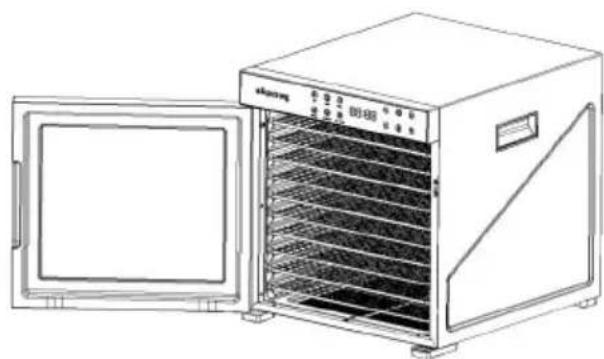
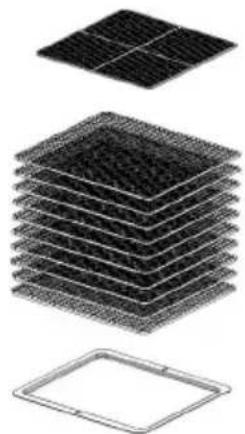
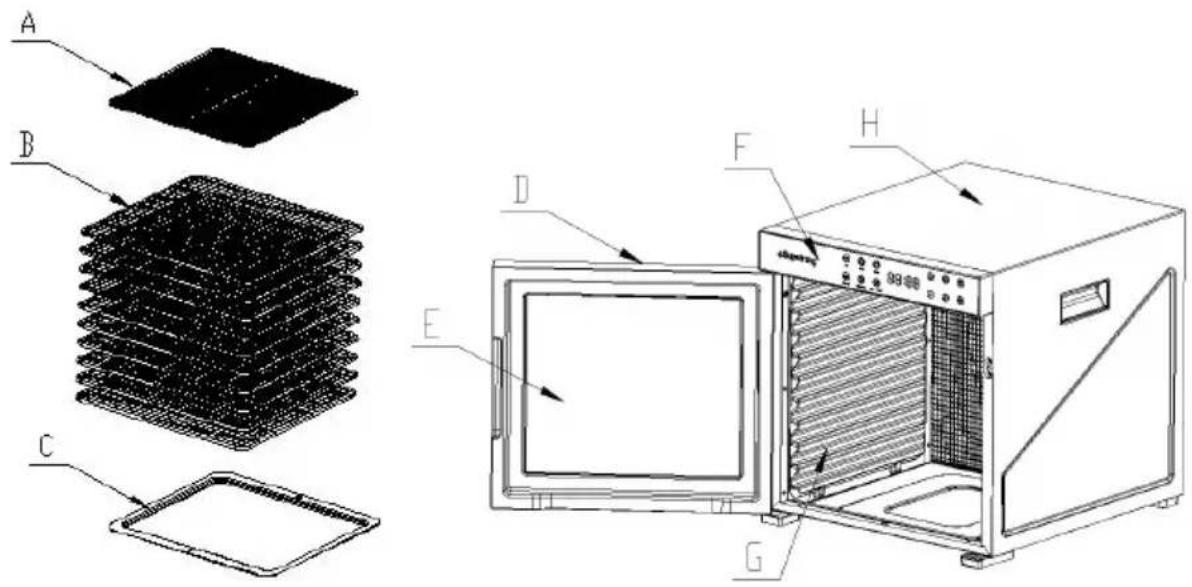
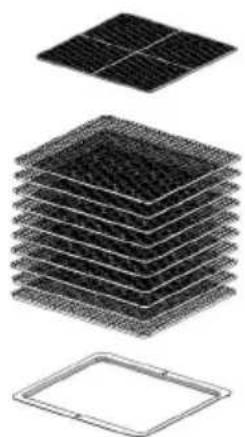
A. Mesh sheet: It is used to hold small foods that need to be dried, dehydrated.
B. Drying Trays: It is used to hold food that needs to be dried and dehydrated.
C . Drip Tray: Used to support the fines and fallen juice of the upper layer of food.
D. Door: It is used to seal the outlet of hot air and bottom air.
E. Glass Door: It is used to block hot air and observe the state of inside.
F. Control Panel: Used to control the work of the machine.
G. Lateral plate: It is used to store the food that needs to be dried dehydrated on the shelf.
H. Housing: Hardware material
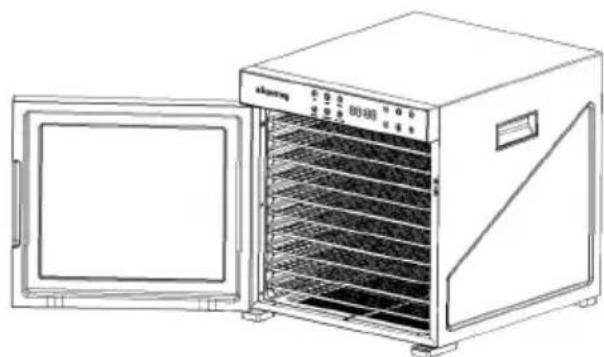
ACCESSORY DISASSEMBLY METHOD
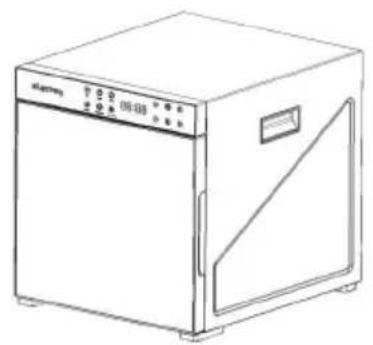
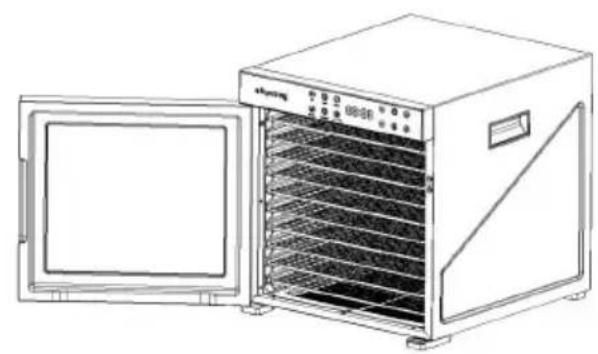
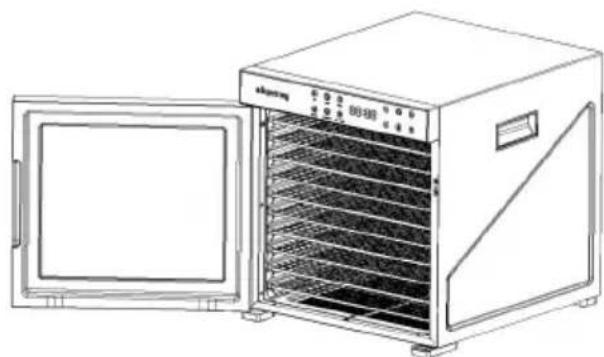
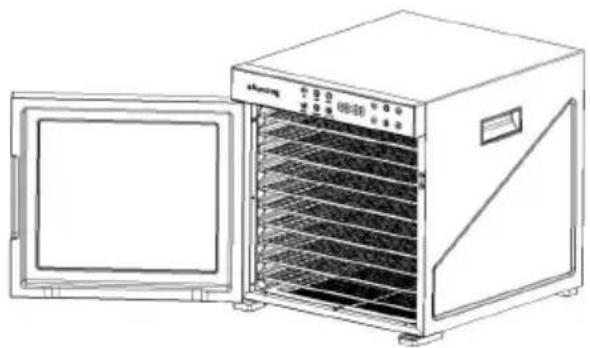
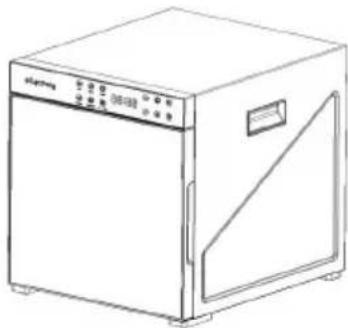
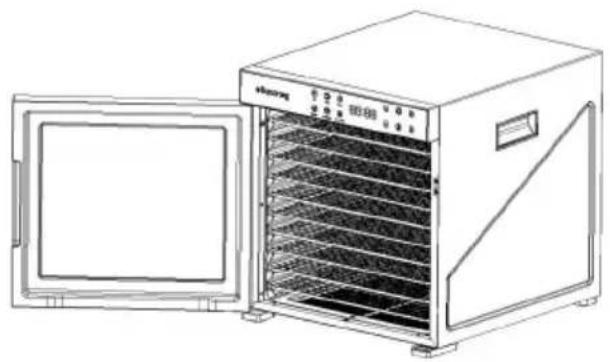
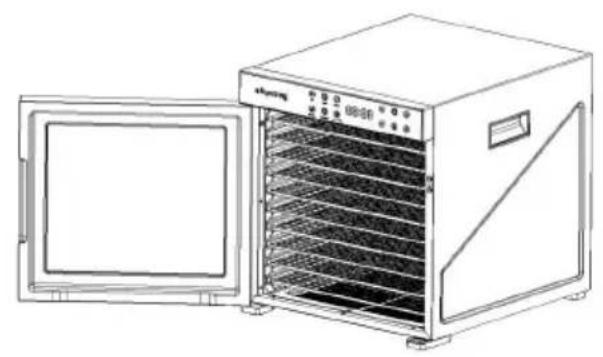
A. Take out the machine.
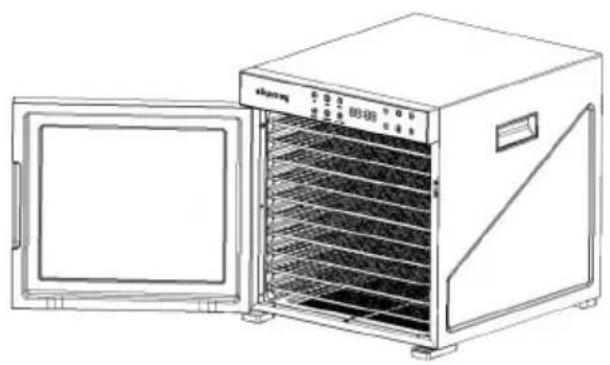
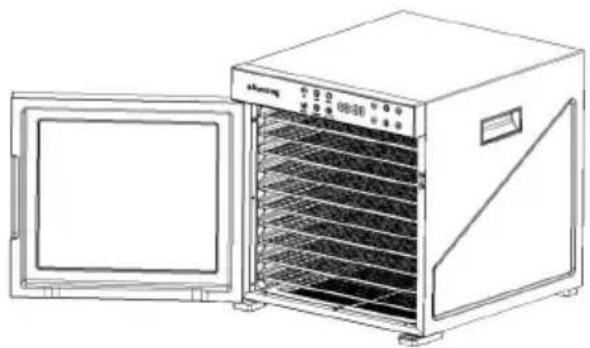
B.Open the door.
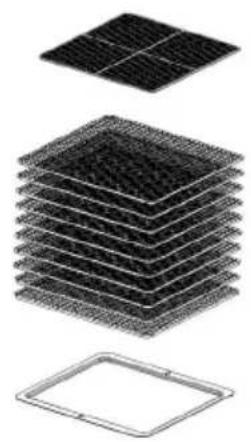
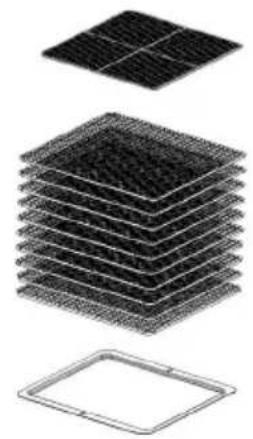
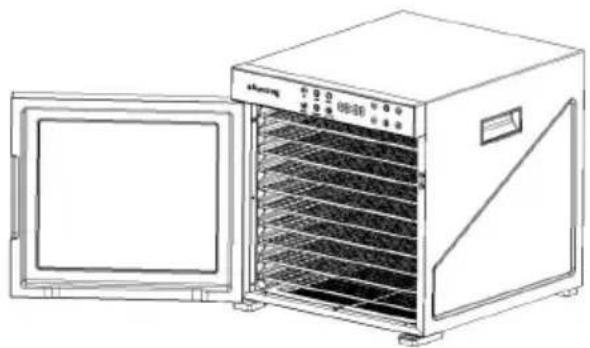
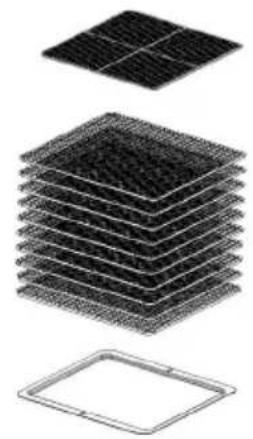
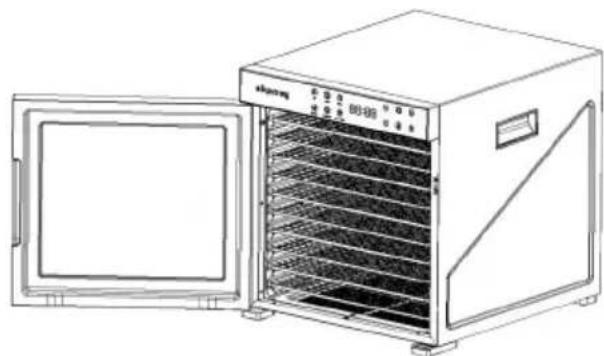
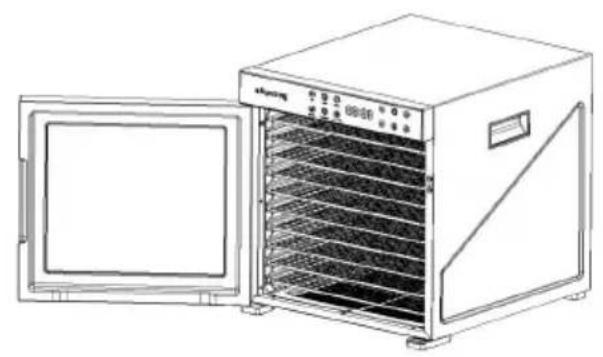
C.Take out the drying trays or mesh sheet.
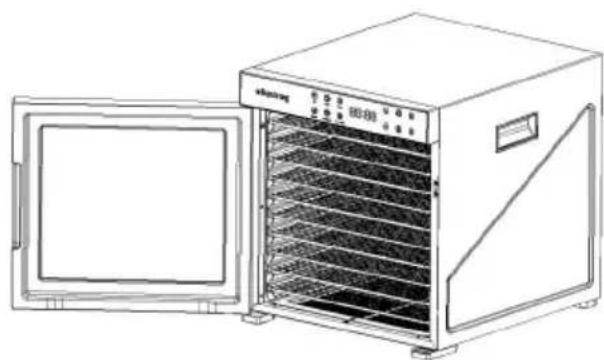
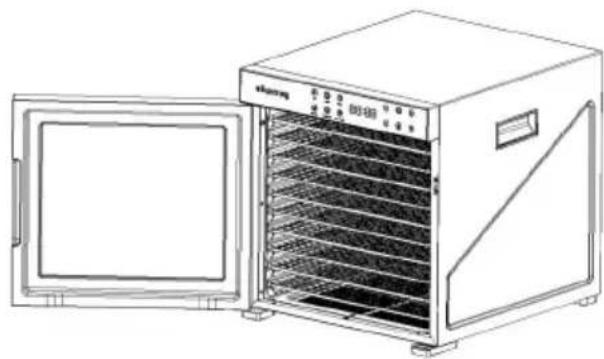
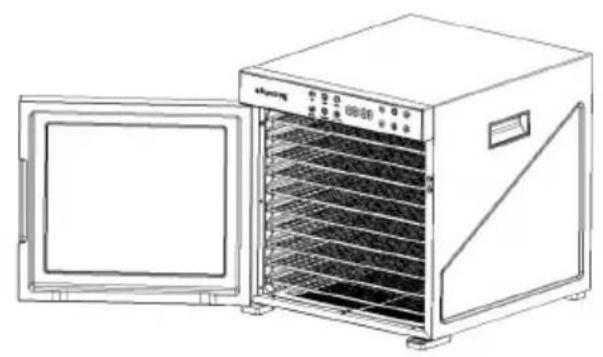
D. Put the food drying trays (if you need to use mesh sheet, please mesh sheet on the empty trays) back to the machine.
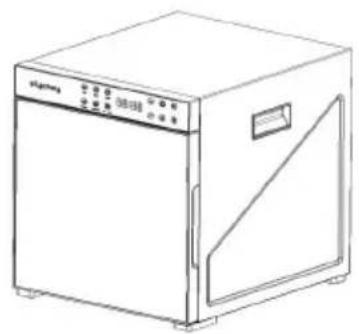
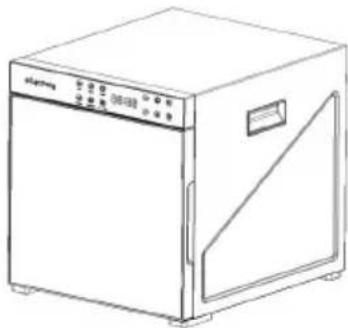
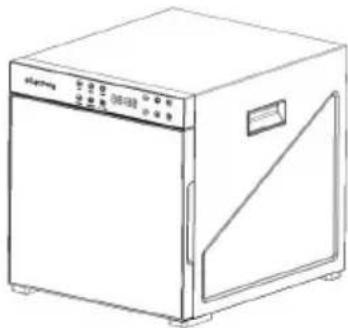
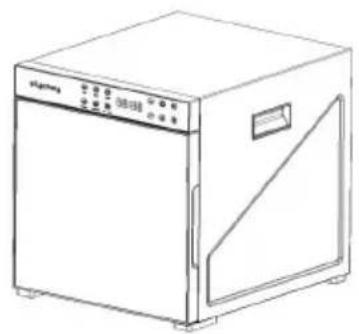
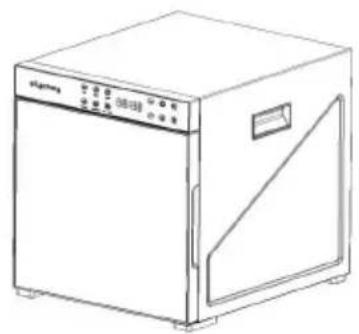
E.Close the door.
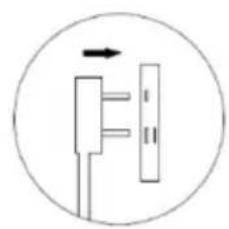
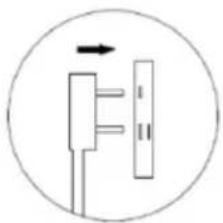
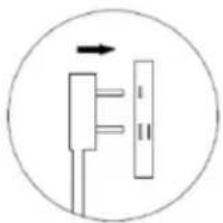
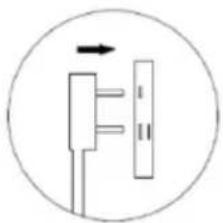
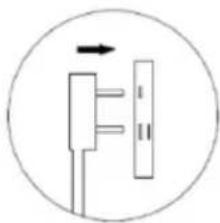
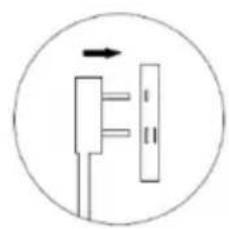
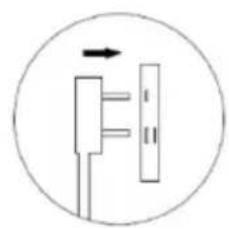
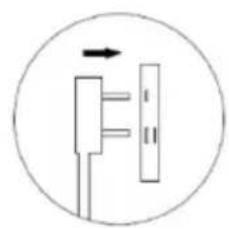
F. Insert the plug into the socket.
G. Operate the control panel and select functions
A.
natural_image
Line drawing of a simple laboratory oven with control panel and side door (no text or symbols)B.
natural_image
Line drawing of an industrial oven with a door open and a rack-mounted unit (no text or symbols visible)C.
natural_image
Stacked grid structure diagram showing layered components (no text or symbols)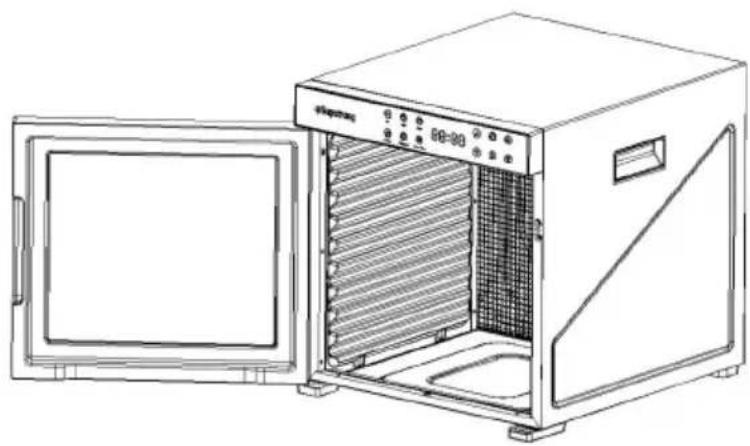
natural_image
Line drawing of a portable oven with lid open, showing internal cooling unit and control panel (no text or symbols)D.
natural_image
Line drawing of a laboratory oven with a lid open and internal rack (no text or symbols)E.
natural_image
Line drawing of a simple kitchen oven with control panel and side door (no text or symbols)F.
natural_image
Simple line drawing of a vertical connector with an arrow pointing to it, enclosed in a circle (no text or symbols)G.

HOW TO USE THE FUNCTION:
1. Drying function:
1.1 Put the food on the baking net and put it in the machine, clc door.
1.2 Powering on the Power Supply .
1.2 Press the power switch
1.4 Select the desired recipe in the recipe area, click once to select twice to cancel, cancel can be re-selected.
1.5 To adjust the required temperature, first click the temperature
adjustment activation button, then click the upper triangle to
increase the temperature, and the lower triangle to reduce the temperature. Each adjustment will increase or decrease 5 degrees.
1.6 To adjust the required time, first click the time adjustment activ button , then click the upper triangle to increase the time, and
the lower triangle to reduce the time. Each adjustment will add or subtract 30 minutes.
1.7 After selection, press the Start button to start, and the machine will start heating.
1.8 The inner lamp can be turned on and off at any time and is independent.
2. Food processing:
2.1 Function description
The food on the control panel has a pre-set drying time and temperature. However, users can customize the drying time and temperature according to their preferences.
In addition to the food on the control panel, the baking time and temperature of the rest of the food need to be set by the user, c bake according to the recommended time and temperature below, the user can also adjust the time and temperature according to the act situation.
| Icon display | Icon |  | 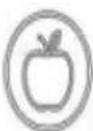 | 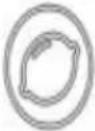 | 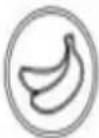 |  | 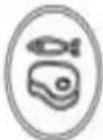 |
| Name | DIY | Apple | Lemon | Banana | Mushroom | Meat & Fish | |
| Temperature (°C) | 35 | 75 | 75 | 75 | 75 | 75 | |
| Time (h) | 0.5 | 9 | 12 | 12 | 10 | 10 | |
2.2 Fruit pretreatment:
2.21 Dilute the juice (1/4 cup of juice and 2 cups of water), and
the food to be dried for about 2 minutes. (Note: Fruit juice is match food, such as apple juice for dried apples.)
2.22 Food processing table:
| Food name | Ingredient Specifications | Temp°C | Dry state | Time/hour |
| Apricot | Cut in half and remove pits. Cut in half with the side facing down | 60-65 | Soft | 18-20 |
| Banana | Peel and cut into 3mm sl | 65-70 | Crispy | 12-14 |
| Fig | Wash, remove stains, and into quarters. Dry side dov | 60-65 | Soft | 18-20 |
| Kiwi | Wash and cut into 6mm s | 60-65 | Soft | 8-11 |
| Peach | Wash, peel, core and cut halves or slices | 60-65 | Soft | 8-17 |
| Pear | Wash, core and peel and into circles | 60-65 | Soft | 4-8 |
| Pineapple | Peel, remove the fiber pa and remove the core. Cut 6mm slices | 60-65 | Soft | 11-18 |
| Rhubarb | Wash and cut into a lengt 25 mm | 60-65 | Soft | 6-10 |
| Strawberry | Wash and cut into 6mm sl | 60-65 | Soft | 7-15 |
| Watermelon | Peel, cut into wedges, an remove seeds. Cut into 1 mm pieces. | 60-65 | Soft and sticky | 8-10 |
| Pitaya | Peel and cut into 3mm sl | 65-70 | Crispy | 10-14 |
| Apple | Wash, core and peel and into circles | 60-65 | Soft | 7-15 |
2.3 Vegetable pretreatment:
2.31 Treat with steam, boiling water or oil. Recommended for g legumes, cauliflower, broccoli, asparagus and potatoes.
2.32 Put the prepared vegetables in boiling water for about 3-5 minutes, drain them and put them in a shelf.
2.33 Soak the vegetables in lemon juice for about 2 minutes.
| Food name | Ingredient Specifications | Temp°C | Dry state | Time/hour |
| Artichoke | Cut into 8mm strips and cook for about 10 minutes | 50-55 | fragile | 6-14 |
| Legumin osae | Cut and steam until translucent and even, spread on a fine mesh | 45-55 | Hard/fragile | 10-18 |
| Brussels Leaf | Pure leaves without rhizomes | 50-55 | Fragile | 8-30 |
| Cauliflower | Steamed softly, cut | 50-55 | Tough | 6-16 |
| Celery | Cut 7mm thick slices | 50-55 | Fragile | 6-14 |
| Chinese chives | cut | 50-55 | Fragile | 6-10 |
| Garlic | Peeled and sliced | 50-55 | Fragile | 6-16 |
| Black pepper | entire | 65-70 | Fragile | 8-14 |
| Onion | slice | 50-55 | Fragile | 8-14 |
| Pea | Steam for 3-5 minutes | 65-70 | Fragile | 8-14 |
| Spinach | Steamed till withered | 50-55 | Fragile | 6-16 |
| Asparagus | After washing, cut into 25mm pieces | 50-55 | Crispy | 4-6 |
| Beet | Steam, cool, remove root and heads; cut into 25 pieces | 50-55 | Crispy | 9-12 |
| Beetroot | Take out the 10mm top preferably peel it thorough and then cut into 5mm slices° | 50-55 | Soft | 9-12 |
| Brocoli | Cut open and boil soft, into 10mm pieces | 50-55 | Crispy | 10-14 |
| Cabbage | Wash and cut into 3 m long strips | 50-55 | Crispy | 8-11 |
| Carrot | Trim the top and bottom shave the skin clean. Steamed softly and cut in 3mm thick slices | 50-55 | Flexible | 7-11 |
| Corn | Cut the corn kernels from the corncob and spread them on the mesh shee | 50-55 | Crispy | 7-10 |
| Cucumber | Wash and cut into 3mm s ces | 50-55 | Flexible | 4-8 |
| Eggplant | Wash and peel, cut into 6mm slices | 50-55 | Flexible | 4-8 |
| Mushroom | Wash and cut into 8mn slices | 50-55 | Flexible | 4-7 |
| Radish | Scrub and steam bleach needed) and cut into 8m slices | 50-55 | Soft/Flexible | 7-11 |
| Chili | Wash and remove the se and white parts. Cut int 6mm long strips or ring | 50-55 | Flexible | 4-8 |
| Potato | Wash and peel. Steam f about 4-6 minutes until sCut into 6mm slices. | 50-55 | Crispy/s oft | 7-13 |
| Pumpkin | Wash and cut into 6mrslices | 50-55 | Flexible | 10-14 |
| Tomato | After washing, cut into 6r rounds | 50-55 | Flexible | 10-14 |
| Squash | Wash and cut into 5mrslices | 50-55 | Crispy | 7-11 |
| Sweet potato | Wash and peel. Steam 14-6 minutes. Cut into 6mslices. | 50-55 | Crispy/soft | 7-13 |
2.4 Food pretreatment such as meat and fish:
2.41 Lean meat (without fat and oil layer): It is recommended to marinate the meat before drying to maintain its natural taste and make tender. Salt should be used when marinating to help absorb water from meat and to keep it fresh. Marinating standard: 1/2 cup of bean past garlic, mashed; 2 tablespoons of brown sugar; 2 tablespoons of ketch 1/2 cup of Worcestershire sauce; 5/4 teaspoons of salt; 1 /2 teaspoon onion powder; 1/2 teaspoon of pepper; mix all the above ingredients. Meat is cut into small cubes and put into the machine.
2.42 Poultry meat: All poultry meat must be cooked before dry in Steamed or grilled is best.
2.43 Fish: It is recommended to steam or roast before drying (in the oven at 200 degrees for 20 minutes).
| Food name | Ingredient Specifications | Tem p°C | Dry state | Time/hour |
| Jerky | Use lean meat to remove much fat as possible, as will deteriorate over time. Cut into 6mm thick slice and place on the shelf | 60-70 | Flexible | 7-8 |
| Nuts and dried fruits | Spread evenly on the me sheet | 50-55 | Hard/Fragile | 8-14 |
2.5 Vanilla and other pretreatment:
2.51 Rinse and shake off excess water, and remove spoiled le Spread the vanilla loosely on the shelf.
| Food name | Ingredient Specifications | Temp°C | Dry state | Time/hour |
| Vanilla/herb | Spread the ingredientsloosely on the shelf insteack stacking them | 40-50 | Soft/Fragile | 8-12 |
| Scented tea | Spread the scented tealoosely on the shelf, do stack | 30-40 | Flexible | 10-18 |
CLEANING AND MAINTENANCE:
- Please turn off the machine before cleaning, unplug the power plu it must be dry before the next use.
- Please take out the accessories according to the method of assembly and disassembly, and clean them separately.
- The product should be cleaned immediately after each use of the product.
- Do not immerse the host in water or other liquids, and do not rich host under the tap.
- Do not use bleach or chemical disinfectant solutions/tablets in this product.
- Do not use steel wire balls, abrasive cleaners or corrosive liquids as gasoline, acetone or alcohol) to clean the product.
- After cleaning, dry the host and all accessories.
- Please clean relevant accessories in time after use.
COMMON PROBLEM ANALYSIS:
1 Dried fruit machine does not work/does not heat?
1.1 Check whether the socket and power cable plug are properly connected.
1.2 Check whether the power cord is intact. If the power cord is damaged, it must be replaced by the manufacturer or its maintenance department or similar professionals to avoid danger.
- The indicator is not on:
2.1 Is there a power failure?
2.2 Is the power cable plugged into a socket? Is the power outlet off?
- The button does not respond:
3.1 Check whether the middle button is not pressed. -- Please press middle button.
3.2 Whether there is liquid on the hand or panel. -- Please dry th
3.3 Are you wearing gloves on your hands? -- Do not wear gloves 4, display "E1" or "E3": indicates that the product is faulty, to the manufacturer or related maintenance point for maintenance.
Note:
After the above phenomenon analysis still can not eliminate the fault, please contact the company's maintenance point or dealer,
non-professional personnel are strictly prohibited to disassemble the machine.
Product specifications:
| Product name | Food Dehydrator | |
| Product number | FD-1018 | |
| Rated voltage | 120V | 220V |
| Rated frequency | 60Hz | 50Hz |
| Rated power | 1000W | |
| Size ( L x W x H ) | 340*405*365mm | |
| Picture | 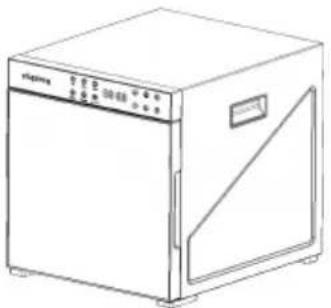 | |
Details of food contact materials:
| This product and food contact materials are i compliance with relevant food safety standards | |||
| Part Name | Material | Standard | |
| Drying trays | SUS 304# | GB4806.7-2016 | |
| Mesh sheet | PP | ||
| Drip tray | PP | ||
| Conditions of use: stainless steel parts avoid conta strong acid substances | |||
Tips:
- If the above content is inconsistent with the actual product due to r or parts changes, please refer to the actual product without prior noti Please understand!
VEVOR®
TOUGH TOOLS, HALF PRICE
Technical Support and E-Warranty Certificate
www.vevor.com/support
VEVOR®
TOUGH TOOLS, HALF PRICE
natural_image
Line drawing of a simple laboratory oven with control panel and side door (no text or symbols)POTRZEBUJESZ POMOCY? SKONTAKTUJ SIĘ Z NAMI!
ACCESSORIES AND INSTRUCTIONS
ACCESSORY DISASSEMBLY METHOD
A. Wyjmij maszynę .
B. Otwórz drzwi .
natural_image
Line drawing of a simple laboratory oven with control panel and side door (no text or symbols)B.
natural_image
Line drawing of an open industrial oven with cooling unit (no text or symbols)C.
natural_image
Stacked grid structure diagram with three distinct components, no text or symbols present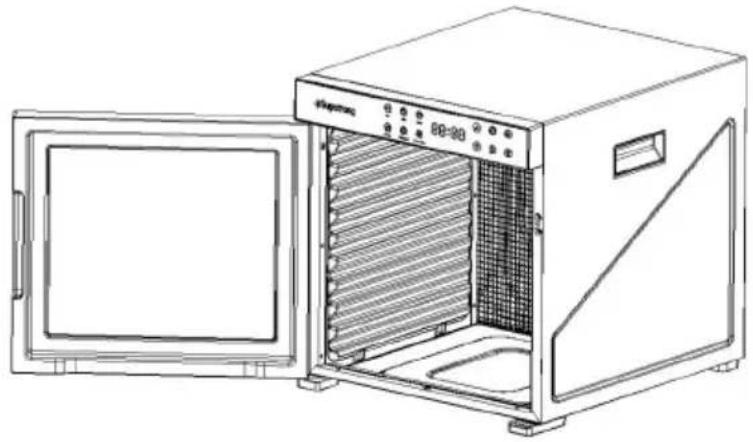
natural_image
Line drawing of a laboratory oven with lid open and side panel, showing internal drying rack (no text or symbols)D.
natural_image
Line drawing of a laboratory oven with cooling unit and open door (no text or symbols)E.
natural_image
Line drawing of a simple kitchen oven with control panel and door (no text or symbols)F.
natural_image
Simple line drawing of a connector with an arrow indicating direction, enclosed in a circle (no text or symbols)G.

JAK KORZYSTAĆ Z FUNKCJI:
www.vevor.com/support
VEVOR®
TOUGH TOOLS, HALF PRICE
www.vevor.com/support
LEBENSMITTEL-DÖRGERÄT
MODELL: FD-1018
natural_image
Line drawing of a simple laboratory oven with control panel and side door (no text or symbols)ACCESSORIES AND INSTRUCTIONS
ACCESSORY DISASSEMBLY METHOD
natural_image
Line drawing of a simple kitchen oven with control panel and door (no text or symbols)B.
natural_image
Line drawing of a laboratory oven with lid open and side panel, no text or symbols presentC.
natural_image
Stacked grid structure diagram with three distinct components, no text or symbols present
natural_image
Line drawing of a laboratory oven with lid open and side panel, showing internal drying rack (no text or symbols)D.
natural_image
Line drawing of a laboratory oven with a door open and a rack inside (no text or symbols)E.
natural_image
Line drawing of a simple kitchen oven with control panel and door (no text or symbols)F.
natural_image
Simple line drawing of a connector with an arrow indicating direction, enclosed in a circle (no text or symbols)G.

SO VERWENDEN SIE DIE FUNKTION:
www.vevor.com/support
VEVOR®
TOUGH TOOLS, HALF PRICE
natural_image
Line drawing of a simple laboratory oven with control panel and side door (no text or symbols)BESOIN D'AIDE? CONTACTEZ-NOUS!
ACCESSORIES AND INSTRUCTIONS
ACCESSORY DISASSEMBLY METHOD
A. Retirez la machine .
natural_image
Line drawing of a simple laboratory oven with control panel and side door (no text or symbols)B.
natural_image
Line drawing of a laboratory oven with lid open and side panel showing internal drying rack (no text or symbols)C.
natural_image
Stacked grid structure diagram with three distinct components, no text or symbols present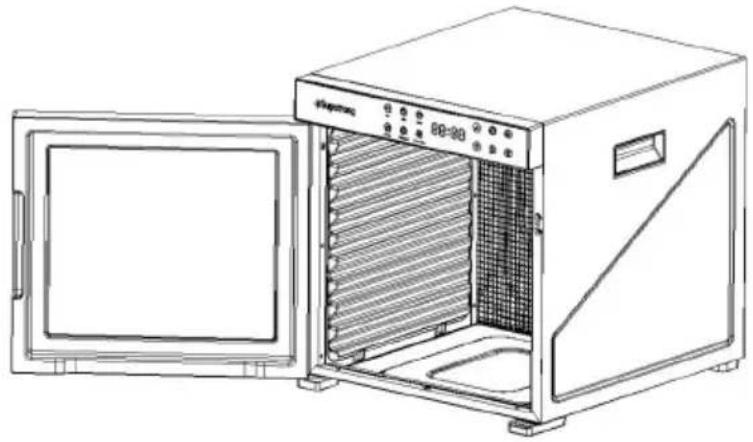
natural_image
Line drawing of a laboratory oven with lid open and side panel, showing internal drying rack (no text or symbols)D.
natural_image
Line drawing of a laboratory oven with open lid and rack-mounted dish (no text or symbols)E.
natural_image
Line drawing of a simple kitchen oven with control panel and door (no text or symbols)F.
natural_image
Simple line drawing of a connector with an arrow indicating direction, enclosed in a circle (no text or symbols)G.

COMMENT UTILISER LA FONCTION :
www.vevor.com/support
VOEDSELDROGER
MODEL: FD-1018
natural_image
Line drawing of a simple laboratory oven with control panel and side door (no text or symbols)HULP NODIG? NEEM CONTACT MET ONS OP!
ACCESSORIES AND INSTRUCTIONS
ACCESSORY DISASSEMBLY METHOD
natural_image
Line drawing of a simple kitchen appliance with front panel and side door (no text or symbols)B.
natural_image
Line drawing of a laboratory oven with open lid and side panel (no text or symbols)C.
natural_image
Stacked grid structure diagram with three distinct components, no text or symbols present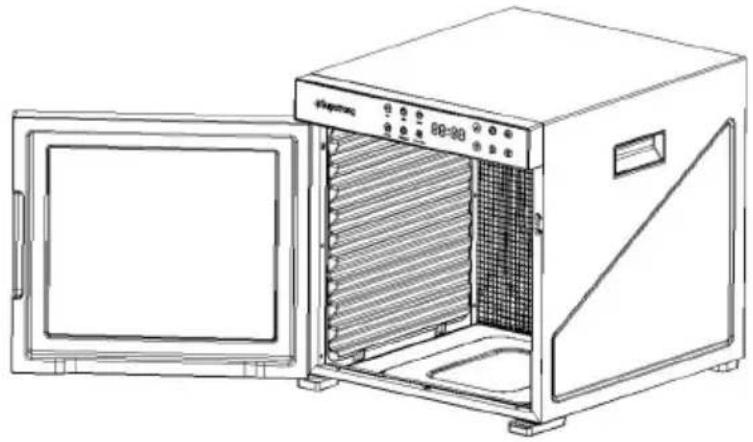
natural_image
Line drawing of a laboratory oven with lid open and side panel, showing internal drying rack (no text or symbols)D.
natural_image
Line drawing of a laboratory oven with open lid and rack-mounted dish (no text or symbols)E.
natural_image
Line drawing of a simple kitchen oven with control panel and door (no text or symbols)F.
natural_image
Simple line drawing of a vertical connector with an arrow pointing to it, enclosed in a circle (no text or symbols)G.

HOE DE FUNCTIE TE GEBRUIKEN:
1. Droogfunctie :
www.vevor.com/support
VEVOR®
TOUGH TOOLS, HALF PRICE
natural_image
Line drawing of a simple laboratory oven with control panel and side door (no text or symbols)BEHÖVER HJÄLP? KONTAKTA OSS!
ACCESSORIES AND INSTRUCTIONS
ACCESSORY DISASSEMBLY METHOD
A. Ta ut maskinen .
B. Öppna dörren .
natural_image
Line drawing of a simple kitchen oven with control panel and door (no text or symbols)B.
natural_image
Line drawing of a laboratory oven with cooling unit and lid (no text or symbols)C.
natural_image
Stacked grid structure diagram showing layered components (no text or symbols)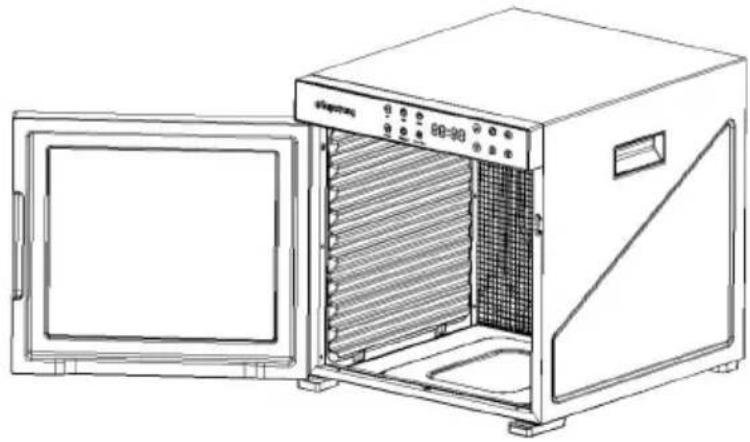
natural_image
Line drawing of a portable oven with lid open, showing internal cooling unit and control panel (no text or symbols)D.
natural_image
Line drawing of a laboratory oven with a door open and a rack-mounted unit (no text or symbols visible)E.
natural_image
Line drawing of a simple kitchen oven with control panel and side door (no text or symbols)F.
natural_image
Simple line drawing of a vertical connector with an arrow pointing to it, enclosed in a circle (no text or symbols)G.

HUR MAN ANVÄNDER FUNKTIONEN:
1. Torkfunktion :
www.vevor.com/support
VEVOR®
TOUGH TOOLS, HALF PRICE
natural_image
Line drawing of a simple laboratory oven with control panel and side door (no text or symbols)ACCESSORIES AND INSTRUCTIONS
ACCESSORY DISASSEMBLY METHOD
natural_image
Line drawing of a simple kitchen oven with control panel and door (no text or symbols)B.
natural_image
Line drawing of a laboratory oven with open door and side panel (no text or symbols)C.
natural_image
Stacked 3D grid structure diagram with no text or symbols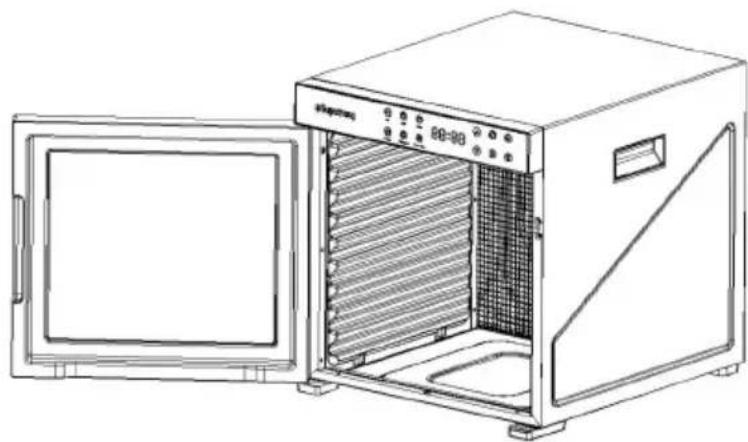
natural_image
Line drawing of a laboratory oven with lid open and side panel, showing internal structure (no text or symbols)D.
natural_image
Line drawing of a laboratory oven with cooling unit and side panel (no text or symbols)E.
natural_image
Line drawing of a simple laboratory oven with control panel and side door (no text or symbols)F.
natural_image
Simple line drawing of a vertical connector with an arrow pointing to it, enclosed in a circle (no text or symbols)G.

natural_image
Line drawing of a laboratory oven with control panel and side door (no text or symbols)ACCESSORIES AND INSTRUCTIONS
ACCESSORY DISASSEMBLY METHOD
natural_image
Line drawing of a simple kitchen appliance with no visible text or symbolsB.
natural_image
Line drawing of a laboratory oven with open lid and side panel (no text or symbols)C.
natural_image
Stacked 3D grid structure diagram with no text or symbols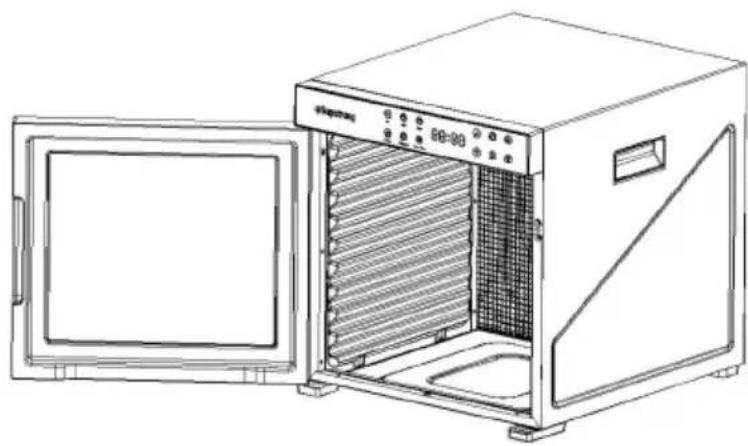
natural_image
Line drawing of a portable oven with lid open, showing internal rack and control panel (no text or symbols)D.
natural_image
Line drawing of a laboratory oven with cooling unit and side panel (no text or symbols)E.
natural_image
Line drawing of a simple laboratory oven with control panel and side door (no text or symbols)F.
natural_image
Simple line drawing of a vertical connector with an arrow pointing to it, enclosed in a circle (no text or symbols)G.

- FOOD DEHYDRATOR
- MODEL:FD-1018
- NEED HELP? CONTACT US!
- Technical Support and E-Warranty Certificate www.vevor.com/support
- IMPORTANT
- Danger:
- WARNINGS
- ACCESSORY DISASSEMBLY METHOD
- HOW TO USE THE FUNCTION:
- Drying function:
- Food processing:
- Function description
- Fruit pretreatment:
- Vegetable pretreatment:
- Food pretreatment such as meat and fish:
- Vanilla and other pretreatment:
- CLEANING AND MAINTENANCE:
- COMMON PROBLEM ANALYSIS:
- Tips:
- VEVOR®
- TOUGH TOOLS, HALF PRICE
- POTRZEBUJESZ POMOCY? SKONTAKTUJ SIĘ Z NAMI!
- ACCESSORIES AND INSTRUCTIONS
- JAK KORZYSTAĆ Z FUNKCJI:
- LEBENSMITTEL-DÖRGERÄT
- SO VERWENDEN SIE DIE FUNKTION:
- BESOIN D'AIDE? CONTACTEZ-NOUS!
- COMMENT UTILISER LA FONCTION :
- VOEDSELDROGER
- HULP NODIG? NEEM CONTACT MET ONS OP!
- HOE DE FUNCTIE TE GEBRUIKEN:
- Droogfunctie :
- BEHÖVER HJÄLP? KONTAKTA OSS!
- HUR MAN ANVÄNDER FUNKTIONEN:
- Torkfunktion :
Brand : Vevor
Model : FD-1018
Category : Dehumidifier