
FX1+1 - Beehive Vevor - Free user manual and instructions
Find the device manual for free FX1+1 Vevor in PDF.
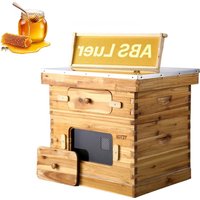


| Product Type | Beehive |
| Brand | Vevor |
| Model | FX1+1 |
| Dimensions | 562 x 462 x 515 mm |
| Material | Fir wood |
| Surface Treatment | Wax boiling process |
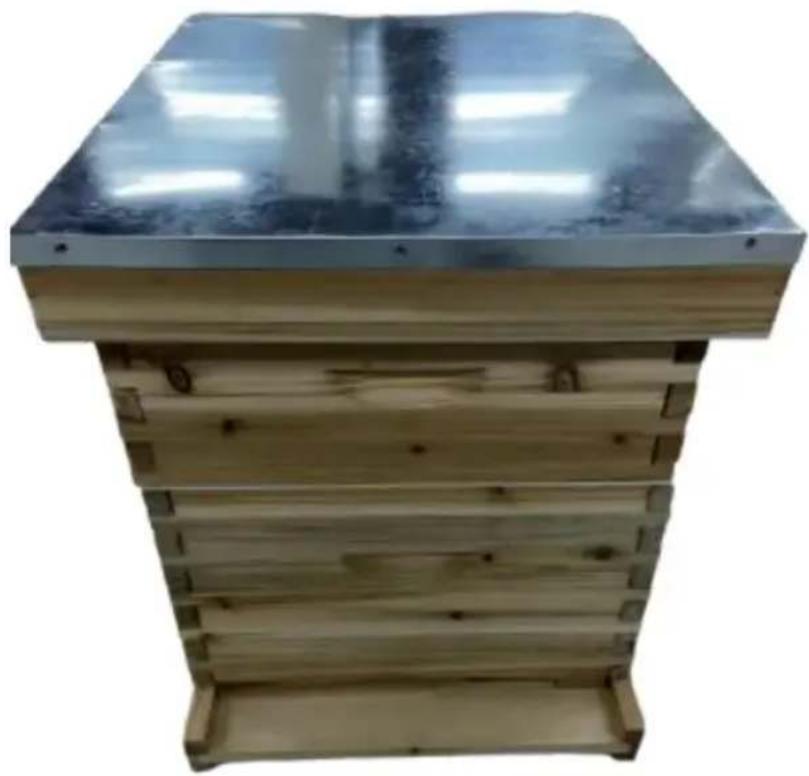
| Main Components | Box 240, box 170, bottom board, inner cover, outer cover, queen excluder, frames, windows, screws and nails |
| Number of Frames | 20 frames of 240 and 20 frames of 170 (included) |
| Window Type | Acrylic panel with coaming |
| Maintenance | Regularly use beeswax; close the window in cold, rainy, and windy weather |
| Safety Instructions | Read the manual carefully before use; use a rubber hammer or cardboard for assembly |
| Tools Required for Assembly | Rubber hammer, board or cardboard |
| Repairability | Spare parts available: frames, screws, windows, boards; screws included |
| Manufacturer | Shanghaimuxinmuyeyouxiangongsi, Shanghai, China |
| CE Representative | E-CrossStu GmbH, Frankfurt am Main, Germany |
| US Importer | Sanven Technology Ltd., Rancho Cucamonga, CA |
| Australia Importer | SIHAO PTY LTD., NSW 2122 |
Frequently Asked Questions - FX1+1 Vevor
User questions about FX1+1 Vevor
0 question about this device. Answer the ones you know or ask your own.
Ask a new question about this device
Download the instructions for your Beehive in PDF format for free! Find your manual FX1+1 - Vevor and take your electronic device back in hand. On this page are published all the documents necessary for the use of your device. FX1+1 by Vevor.
USER MANUAL FX1+1 Vevor
Affordable. Reliable. Home Improvement.
BEE HIVE
MODEL: FX1+1
MODEL: FX1+1
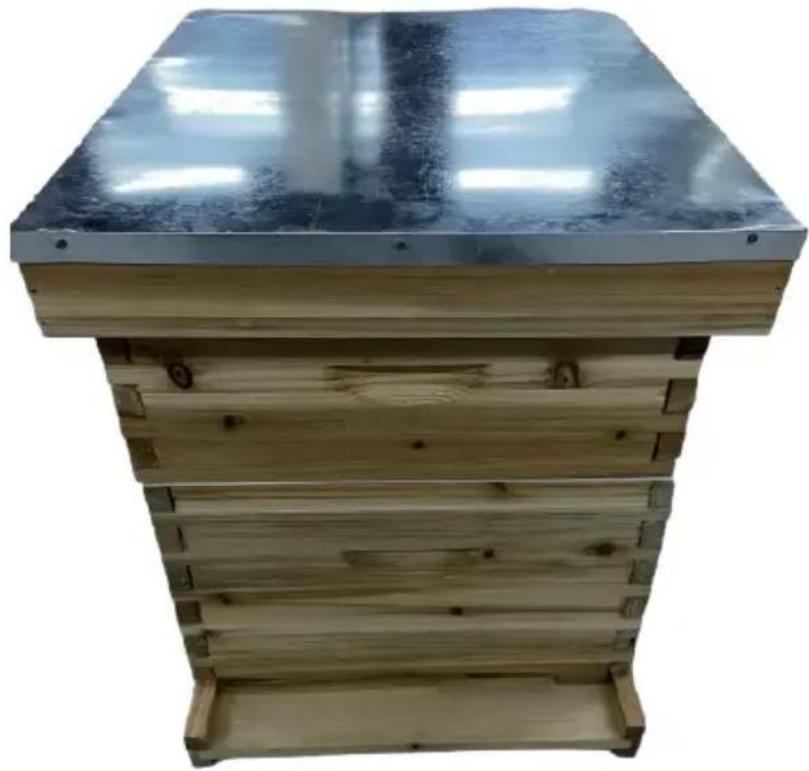
This is the original instruction. Please read all manual instructions carefully before operating. VEVOR reserves a clear interpretation of the user manual. The appearance of the product shall be subject to the product you received. Please forgive us that we won't inform you again if there are any technology or software updates on our product.

Warning: To reduce the risk of injury, the user must read the manual carefully.
INSTALLATION NOTES
NOTES:
- Try to choose hard ground for installation.
- Prepare installation tools in advance (rubber hammer and wood).
- Carefully read this installation manual and confirm the quantity of accessories according to the list.
MODEL AND PARAMETERS
| Model | FX1+1 |
| Product size | 562*462*515mm |
| Cabinet material | Fir wood |
| Surface treatment | Wax boiling process |
COMPONENTS
A1 240 Coaming 1 (×2)
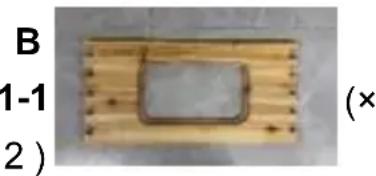
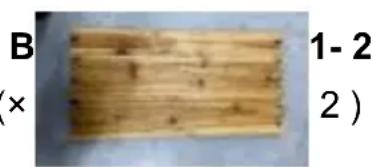
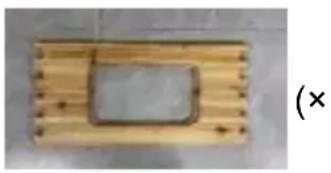
B1-1 (×2)
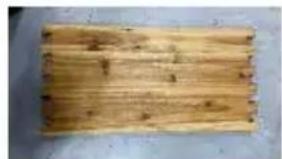
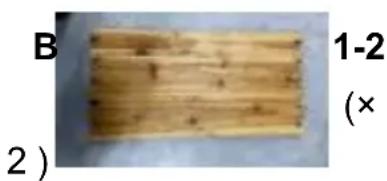
B1-2 (×2)
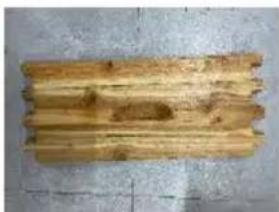
A2 170 Coaming 1 (×2)
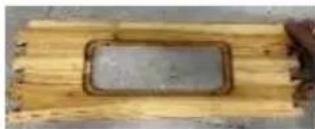
B2-1 (×2)
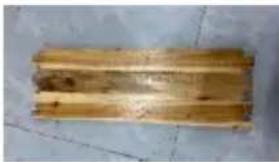
B2-1 (×2)
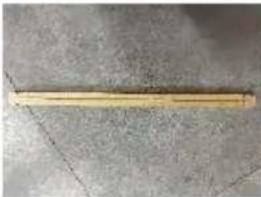 C 170/240 Mainframe bar 1(×20) C 170/240 Mainframe bar 1(×20) | 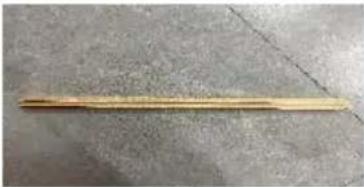 D 170/240 Main frame 2(×20) D 170/240 Main frame 2(×20) | 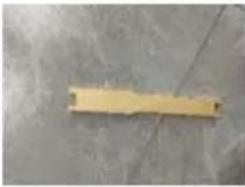 E1 240 Frame ba (×20) E1 240 Frame ba (×20) |
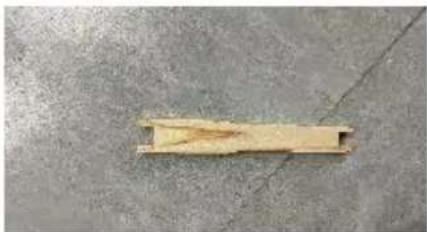 E2 170 Frame bar (×20) E2 170 Frame bar (×20) | 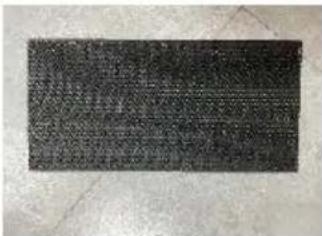 F1 240 Foundation sheet (×10) F1 240 Foundation sheet (×10) | 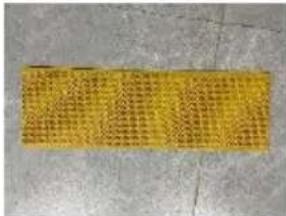 F2 170 Foundation sheet (×10) F2 170 Foundation sheet (×10) |
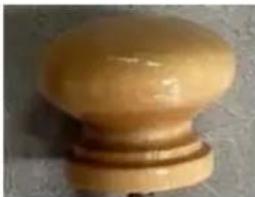 G Handle (×2) G Handle (×2) |  H Screw M4x30 (×2) H Screw M4x30 (×2) | 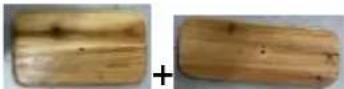 I-1 I-2I Window pane (×2 I-1 I-2I Window pane (×2 |
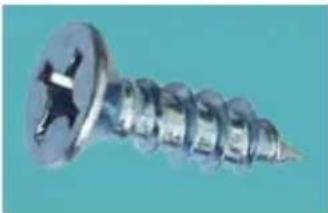 J Self-tapping screw M4x20 (×4) J Self-tapping screw M4x20 (×4) | 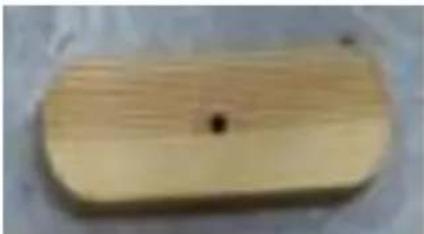 K Small plank (×4) K Small plank (×4) | 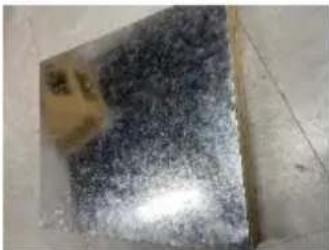 L Top Cover (×1) L Top Cover (×1) |
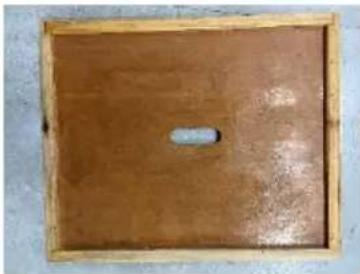 M Inner Cover (×1) M Inner Cover (×1) | 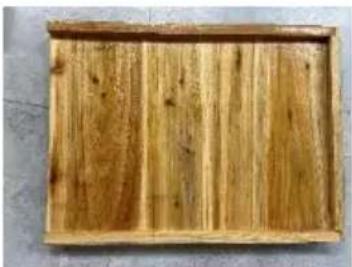 N Bottom Board(x1) N Bottom Board(x1) | 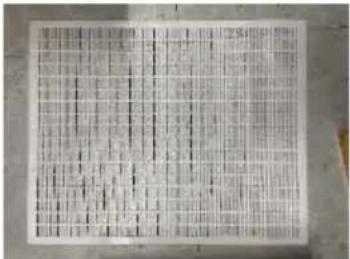 O Queen Excluder (x1) O Queen Excluder (x1) |
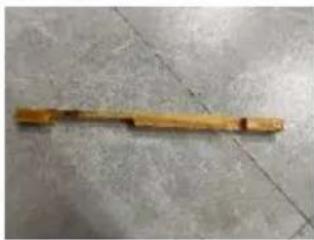
P Entrance Reducer (×1)
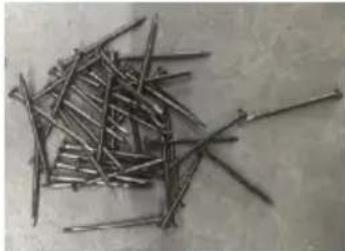
Q Iron nails (×80)
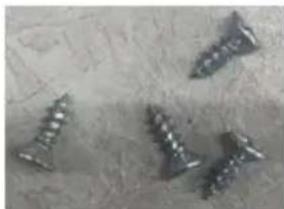
R Self-tapping screw M3x12 (×8)
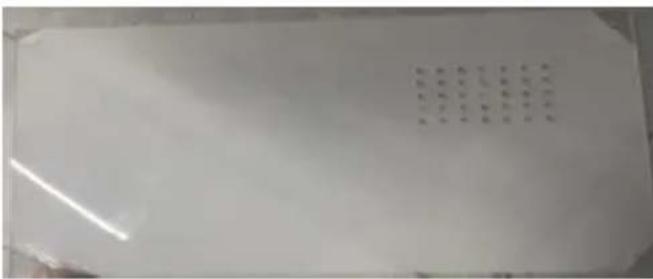
S Acrylic panel window (×2)
ASSEMBLY
240 BOX
1. Installation of 240 box
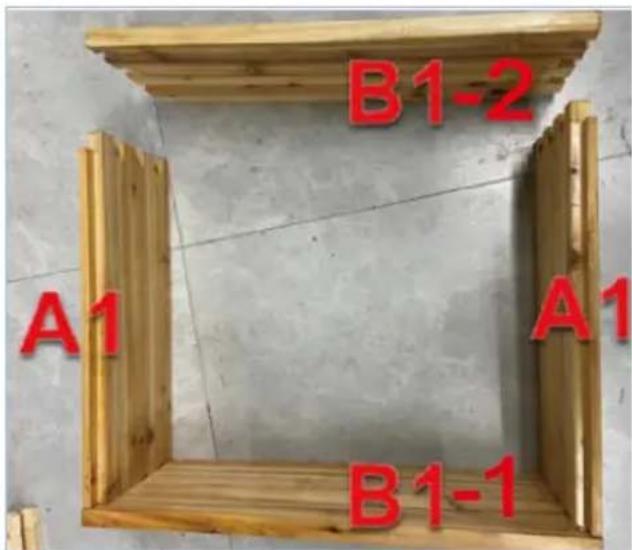
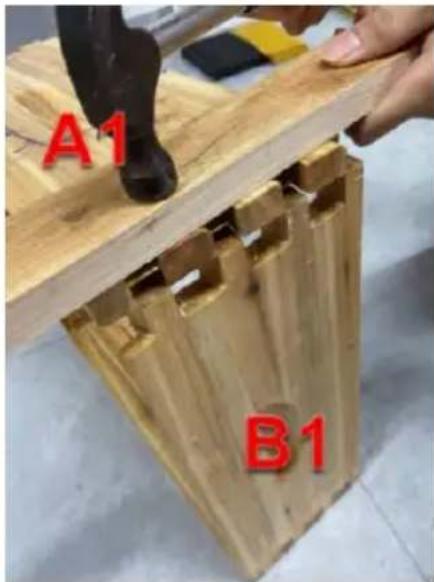
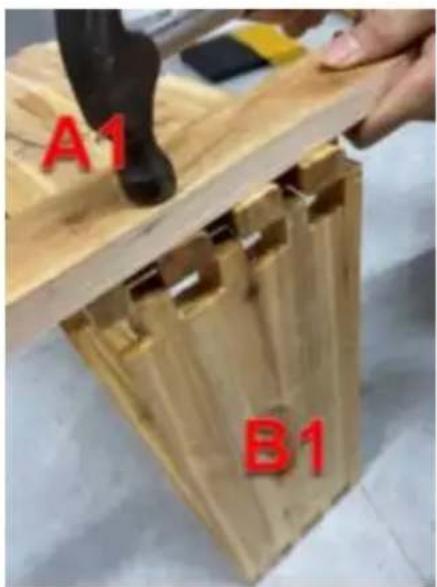
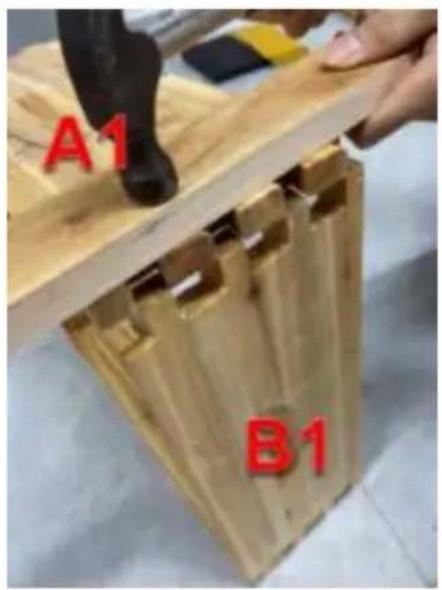
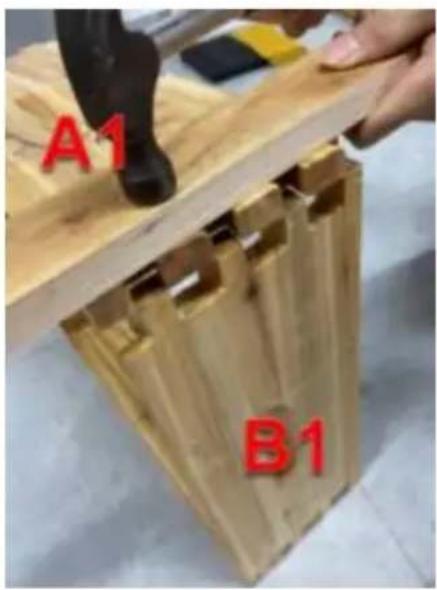
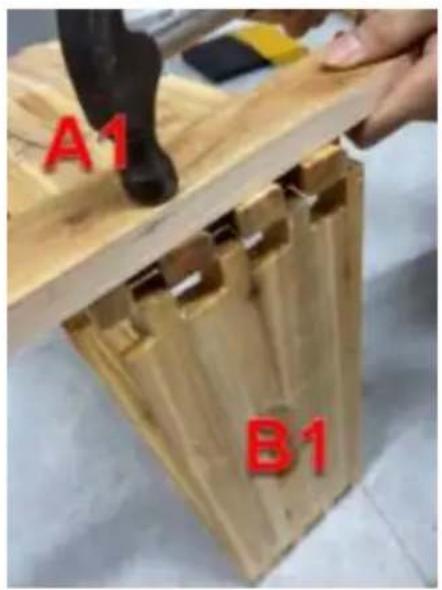
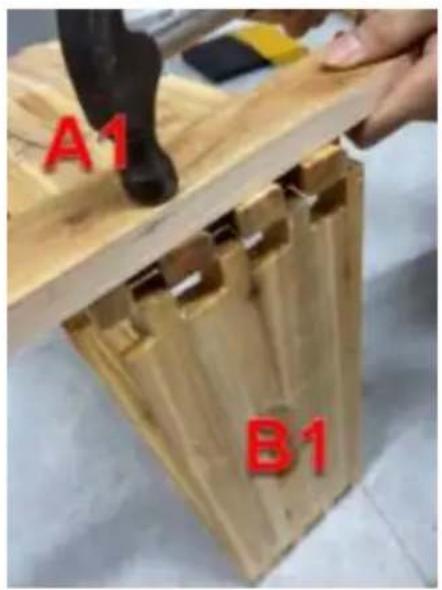
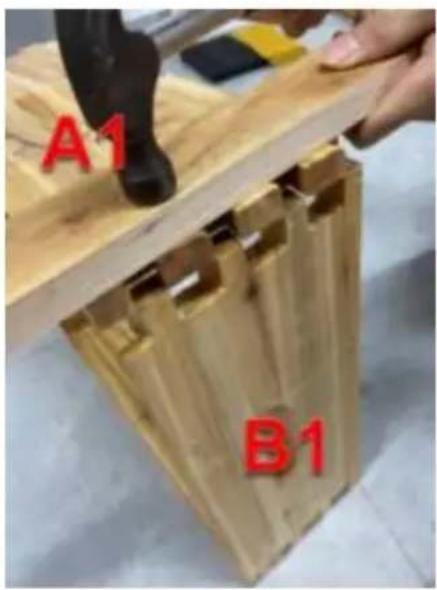
Step 1: Take two pieces of A1 and two pieces of B1 (B1-1 & B1-2).
respectively, and connect them with a rubber hammer (note that it is allowed to knock them directly, but put a board or cardboard on them and knock them in evenly).
2. Installation of 240 frame
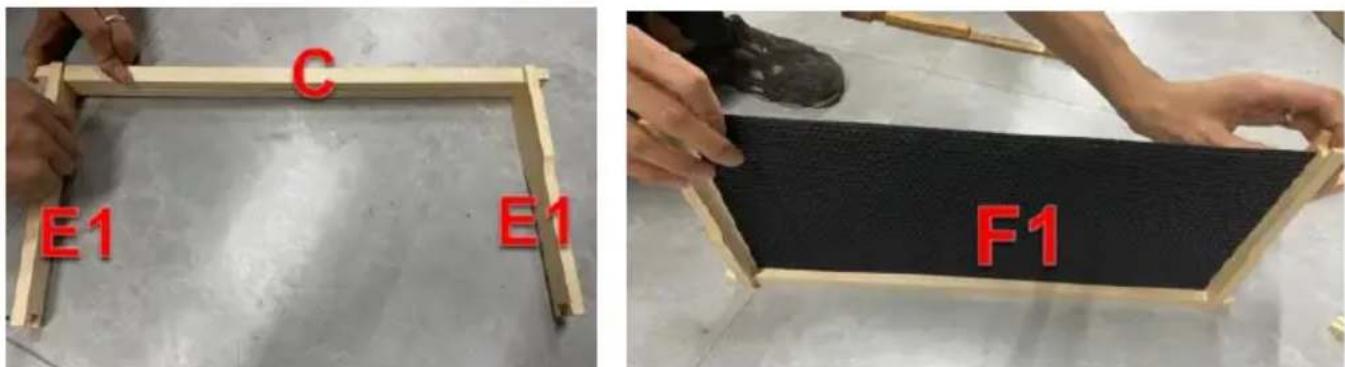
Step 1: Take 2 pieces of E1 and 1 piece of C, insert them into the card slot to connect them, then take 1 piece of F1 and insert it into the slot, finally take 1 piece of D and insert it into the slot to complete a set of frames.
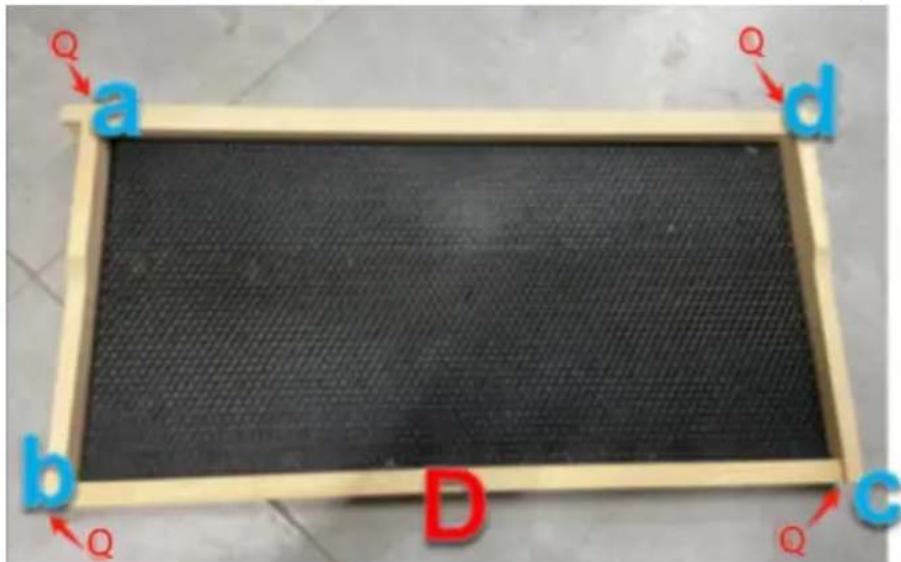
Step 2: Connect with 4 pieces of Q at positions a/b/c/d.
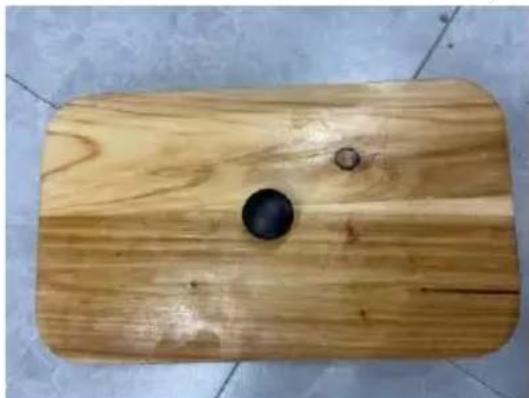
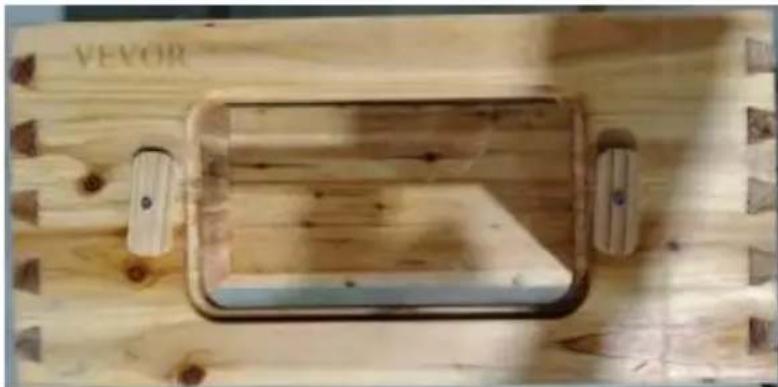
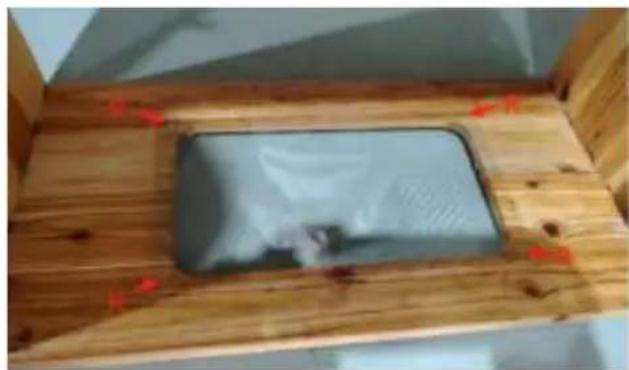
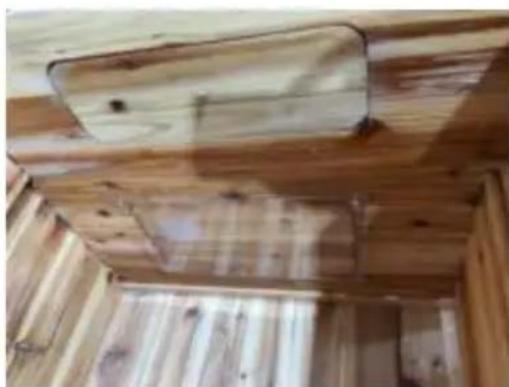
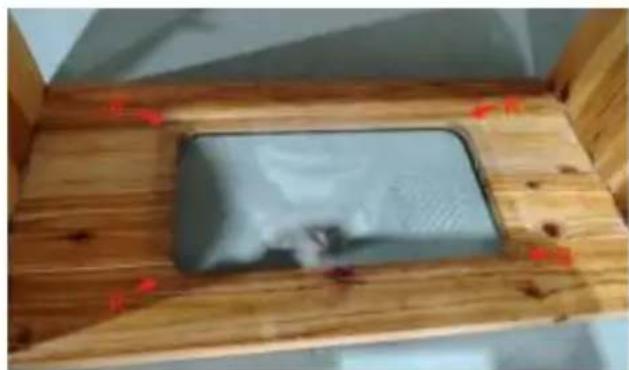
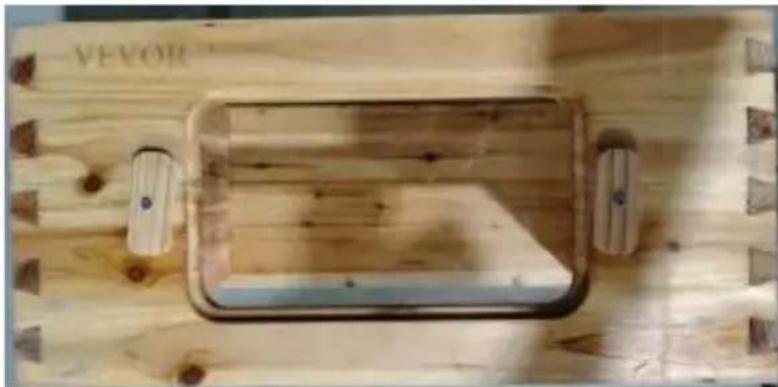
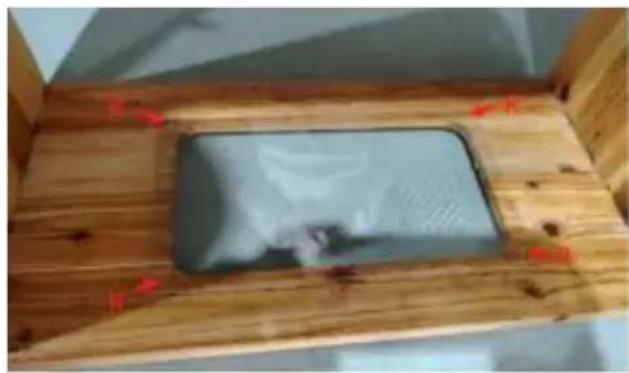
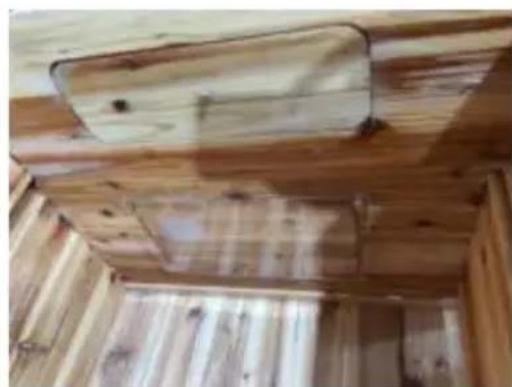
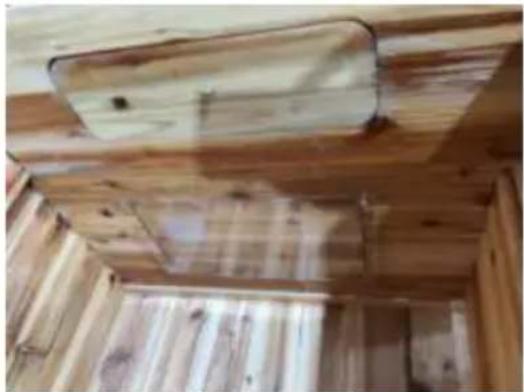
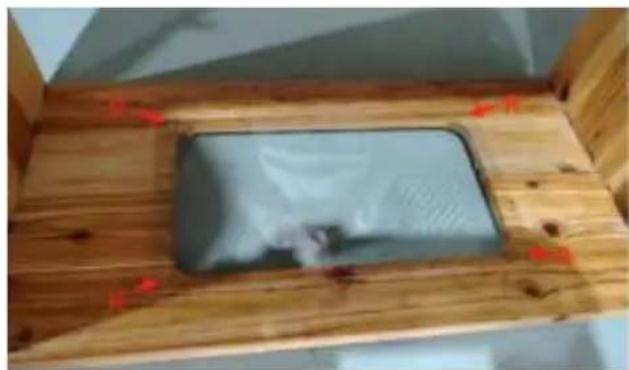
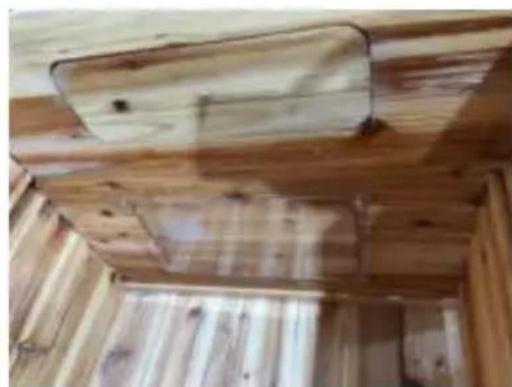
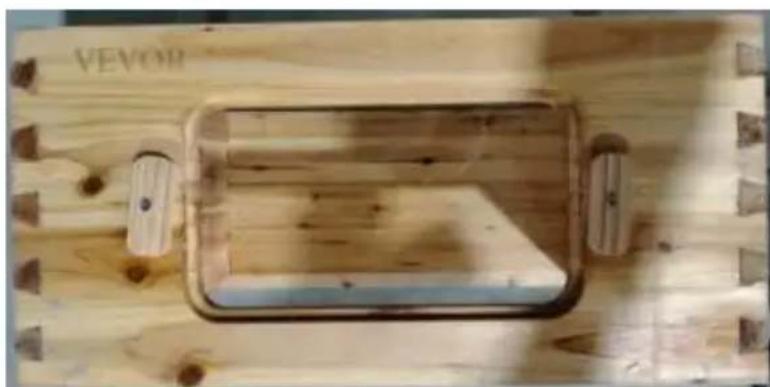
3. Installation of the window
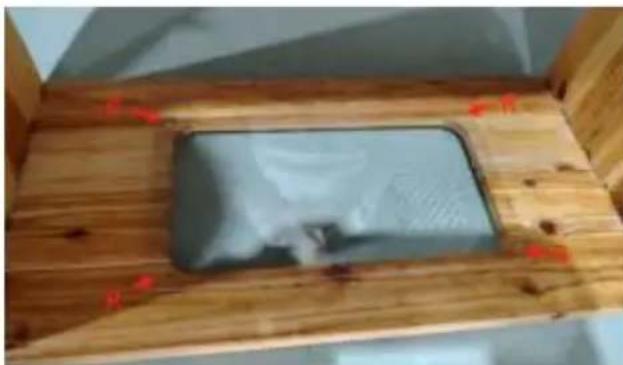
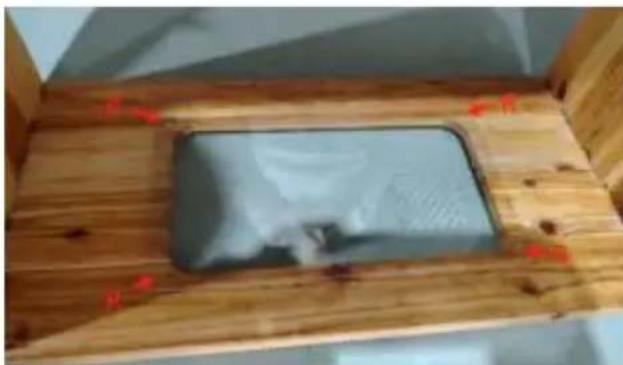
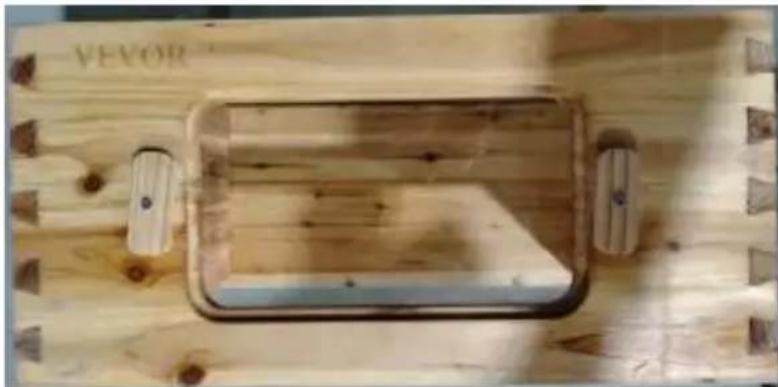
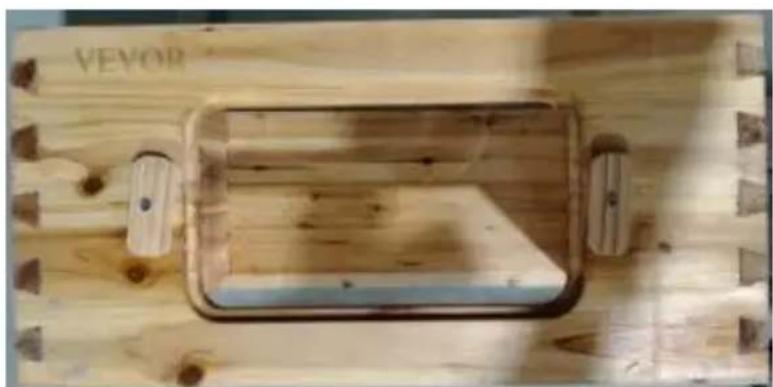
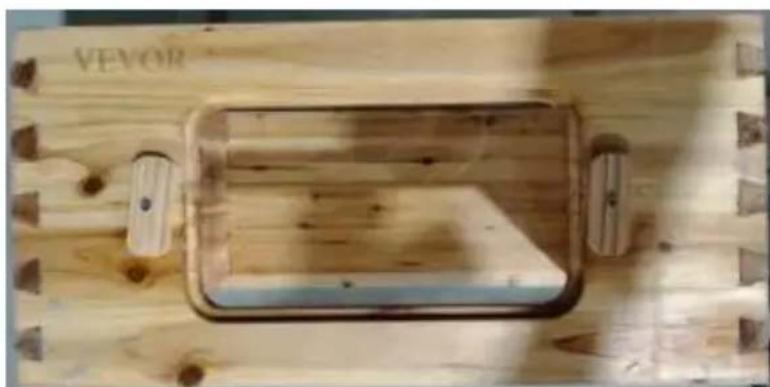
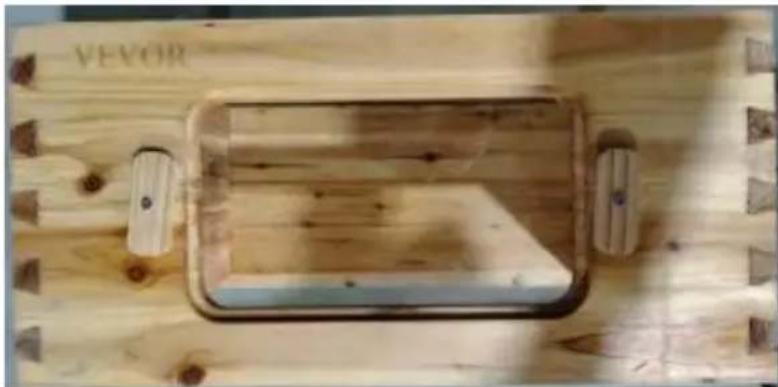
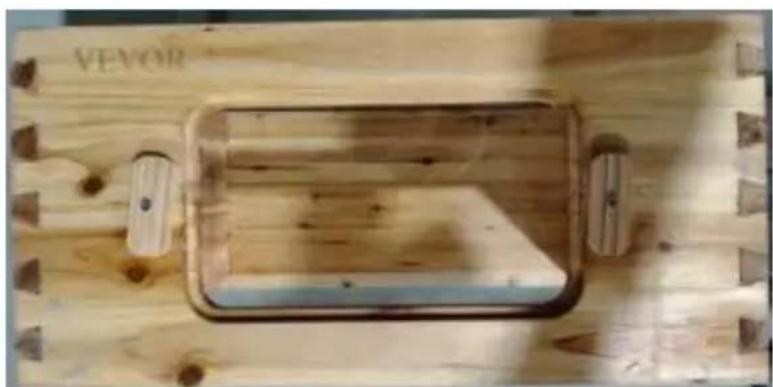
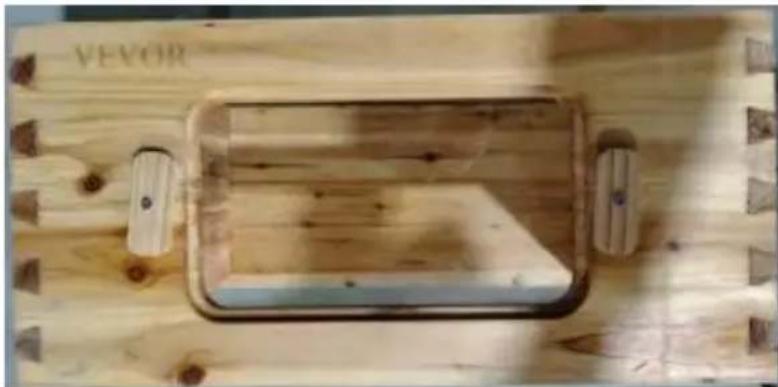
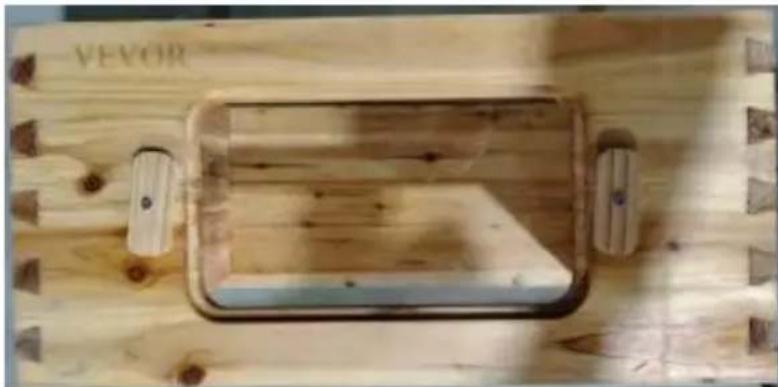
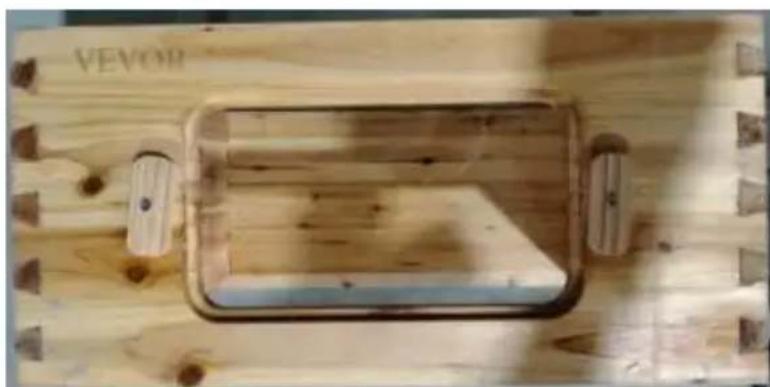
Step 1: Take G, H, and I-1 to assemble the cover plate.
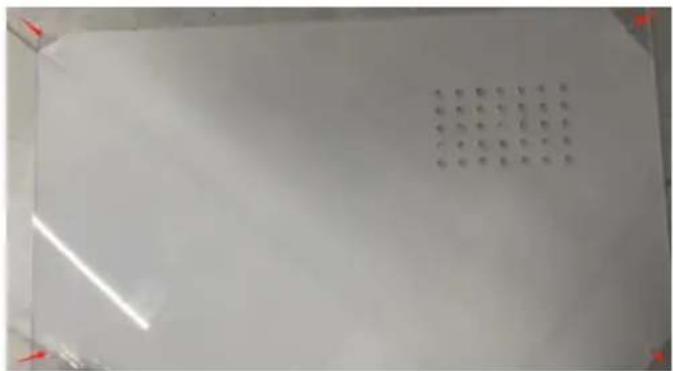
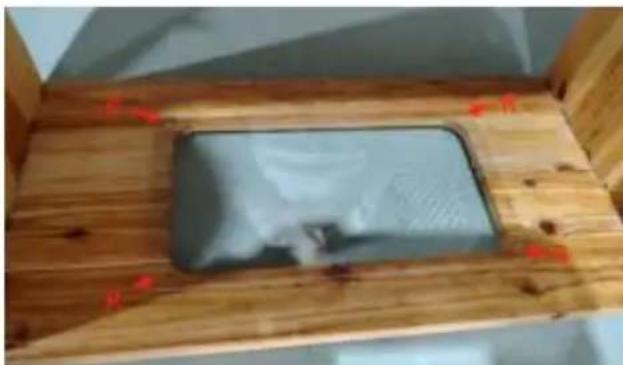
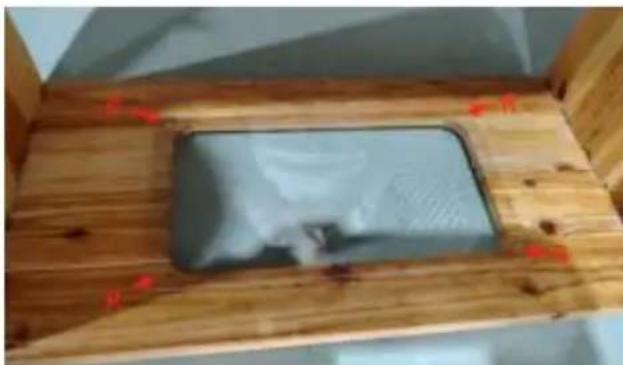
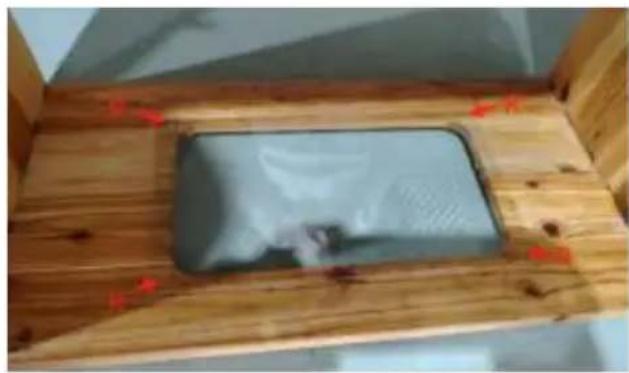
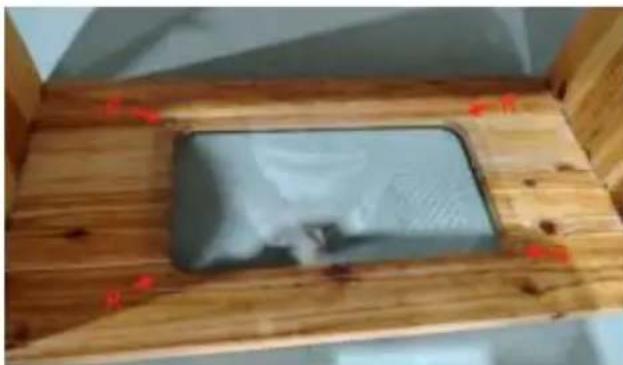
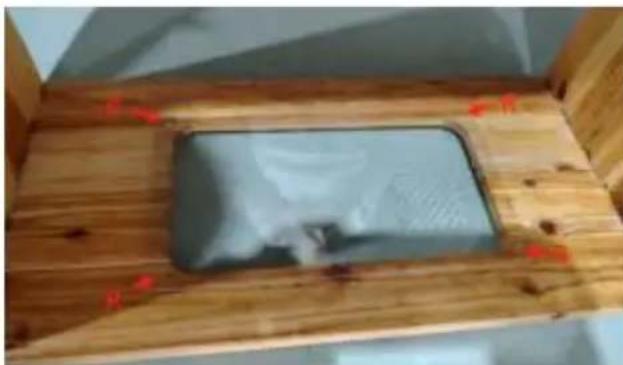
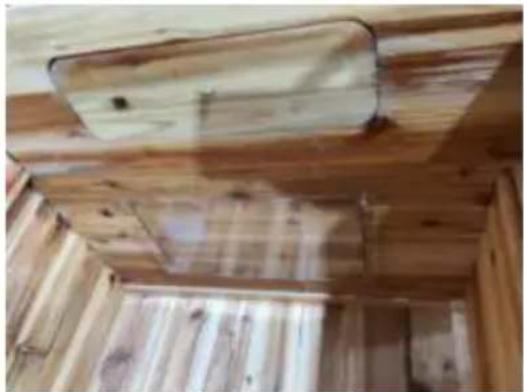
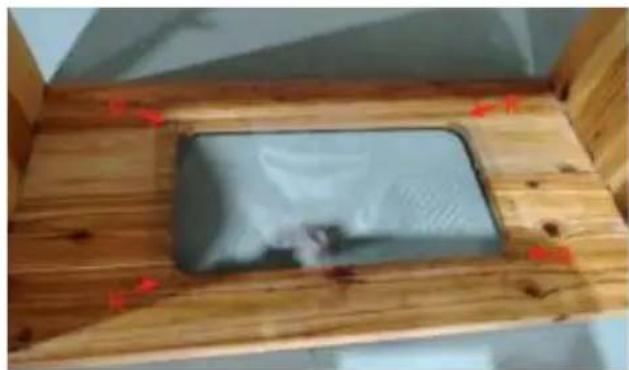
Step 2: Take S and peel off the film from the corners, then take S and R to assemble the coaming.
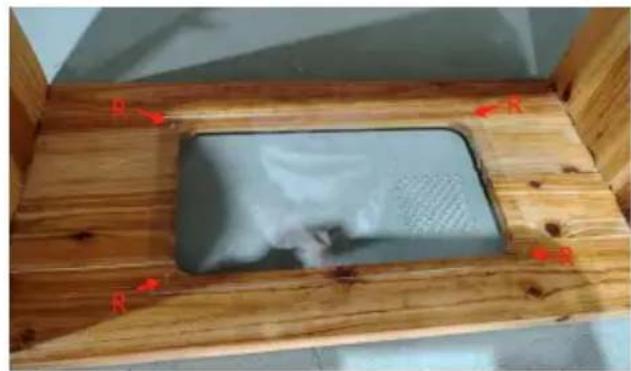
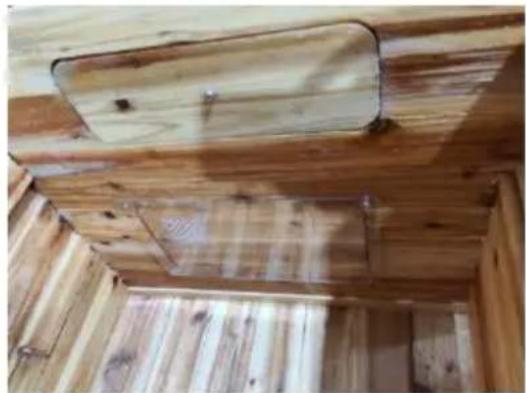
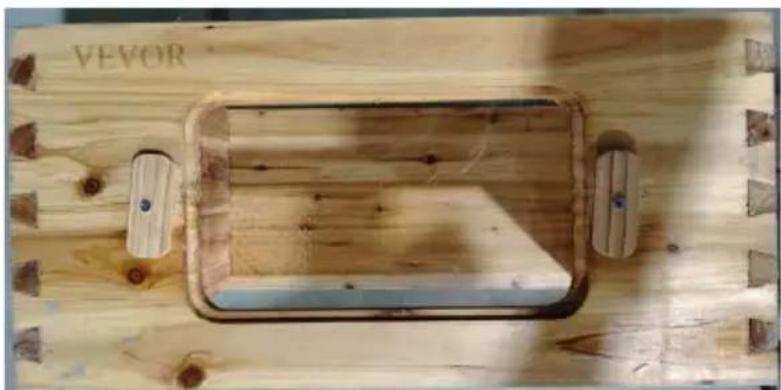
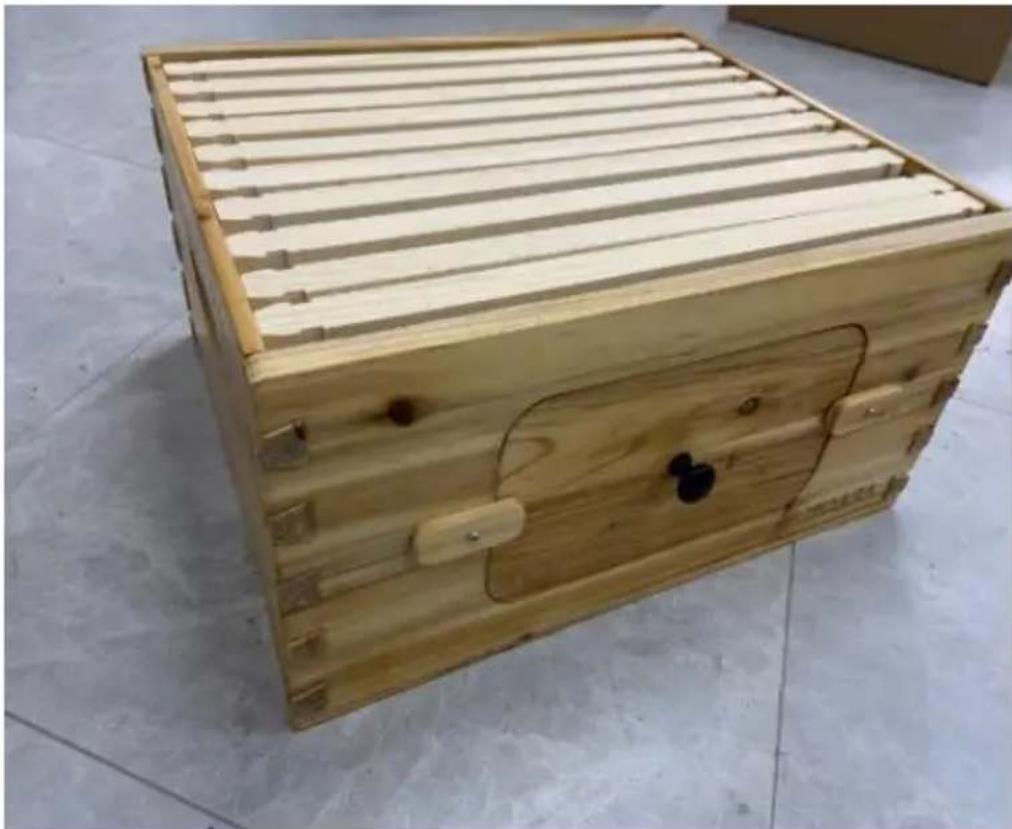
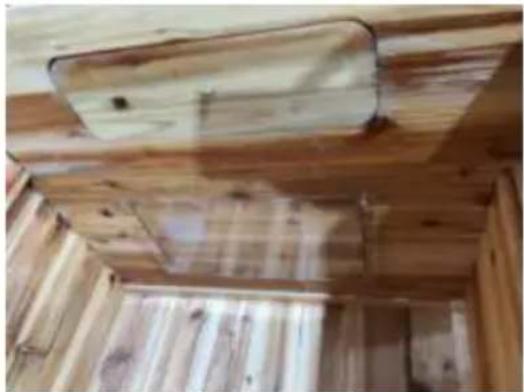
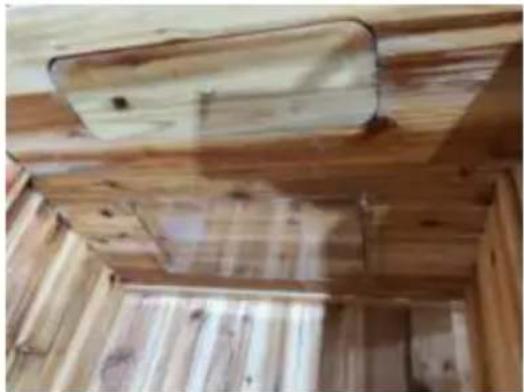
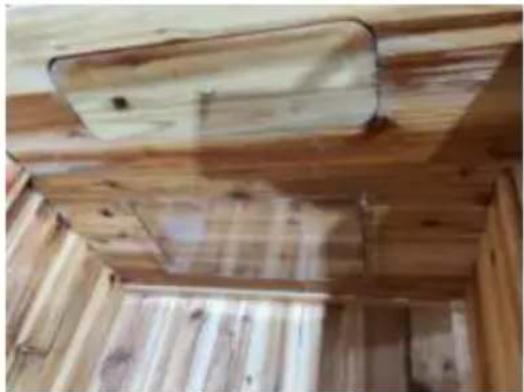
Step 3: Take J and K to assemble the window pressing plates on both sides and put 10 sets of foundations and frames into the box.
170 BOX
4. Installation of 170 box
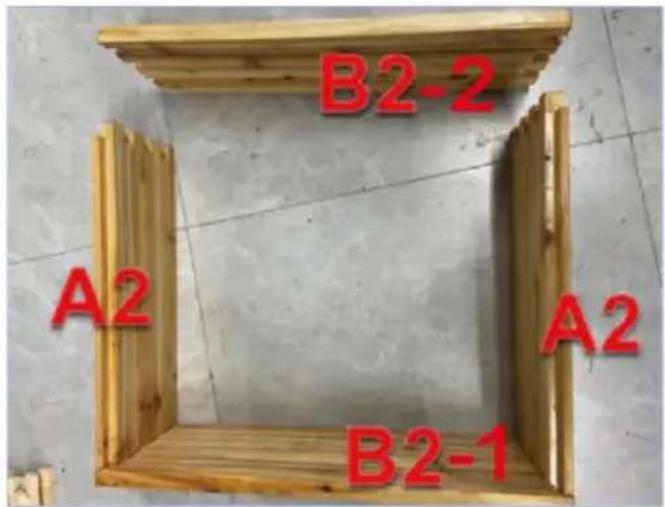
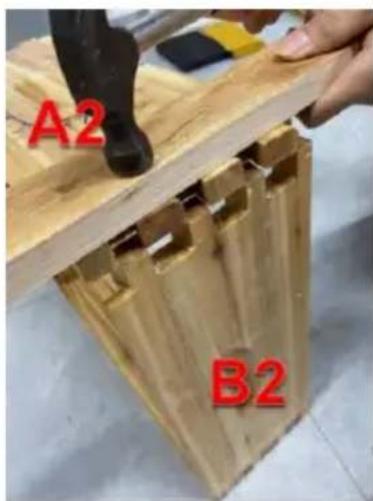
Step 1: Take two pieces of A2 and two pieces of B2 (B2-1 & B2-2)
respectively, and connect them with a rubber hammer (note that it is allowed to knock them directly, but put a board or cardboard on them to knock them in evenly).
5. Installation of 170 frame
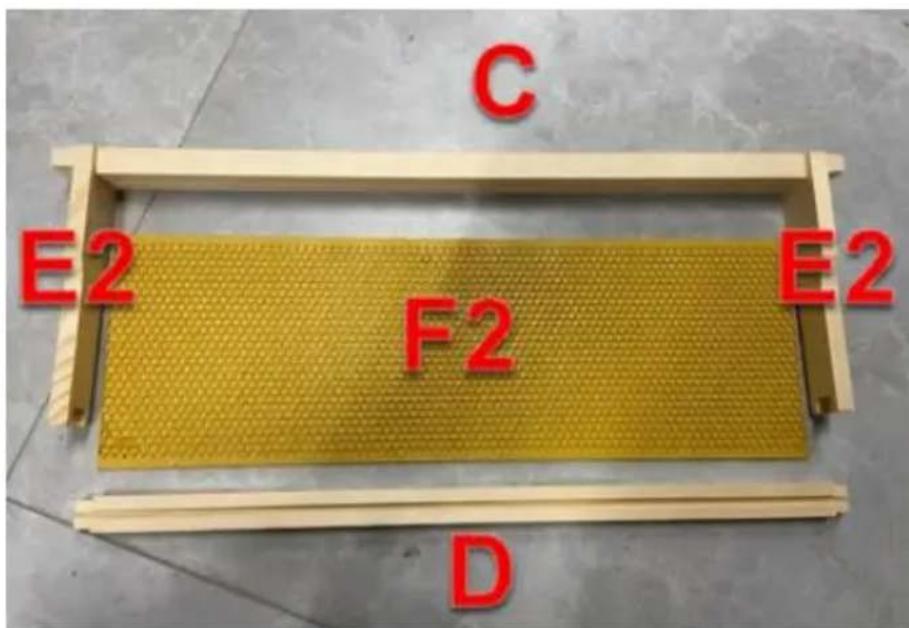
Step 1: Take 2 pieces of E2 and 1 piece of C, insert them into the card slot to connect them, then take 1 piece of F2 and insert it into the slot, finally take 1 piece of D and insert it into the slot to complete a set of frames.
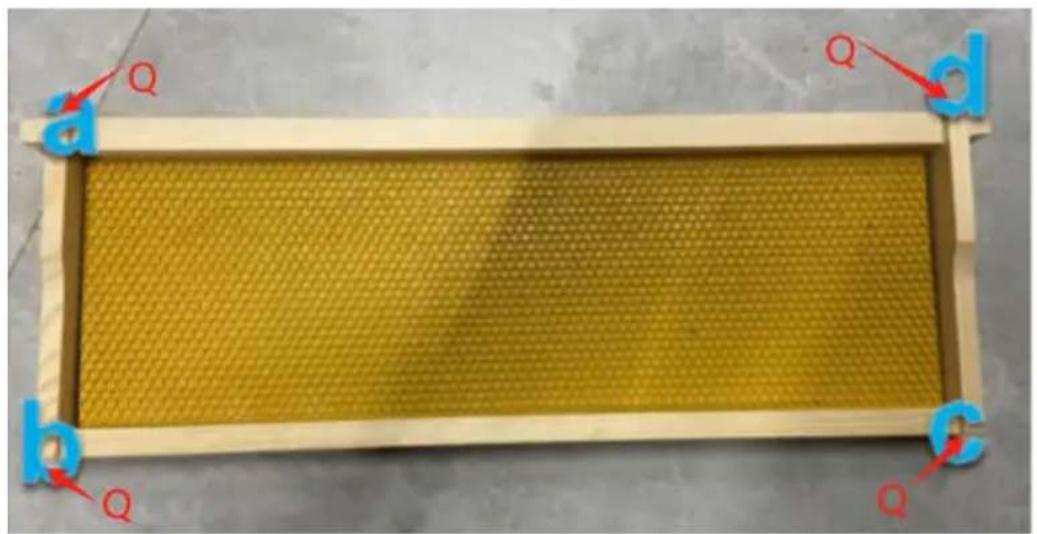
Step 2: Connect with 4 pieces of Q at positions a/b/c/d.
6. Installation of the window
Step 1: Take G, H, and I-2 to assemble the cover plate.
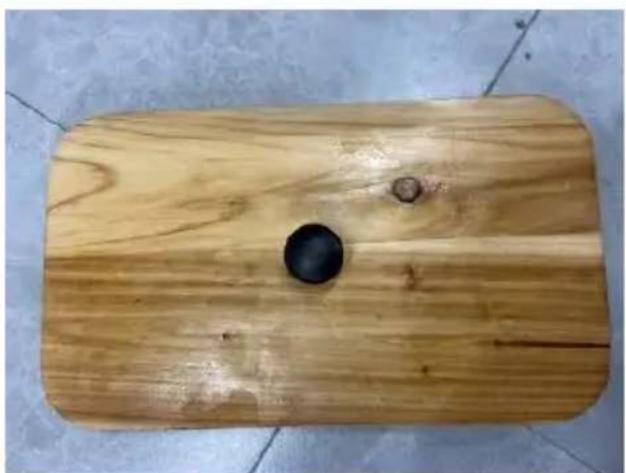
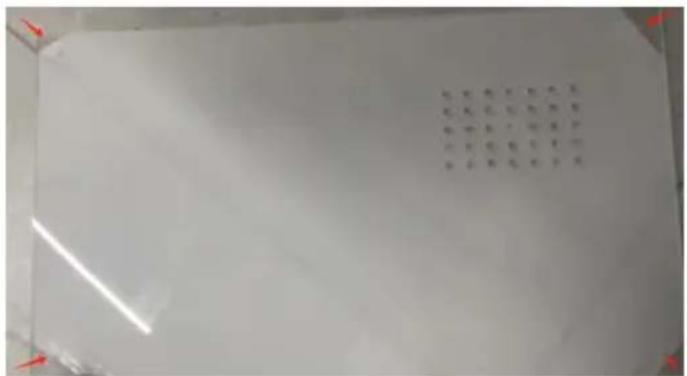
Step 2: Take N and peel off the film from the corners, then take N and M to assemble the coaming.
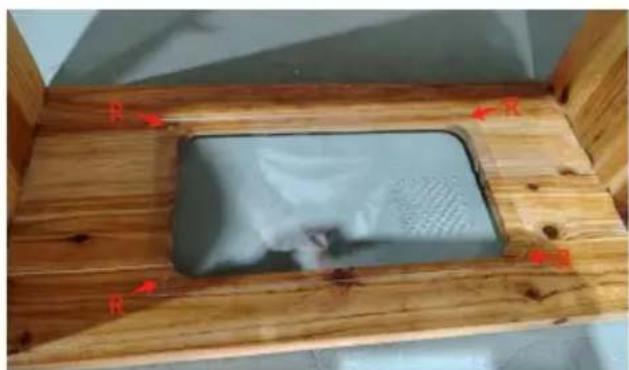
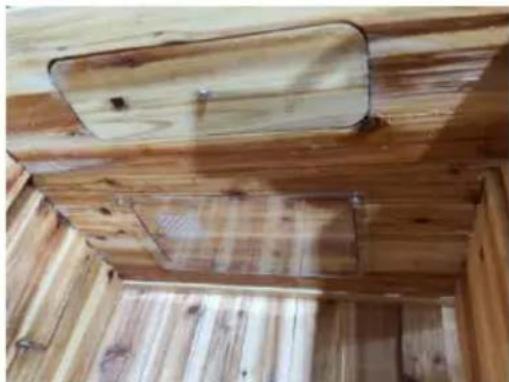
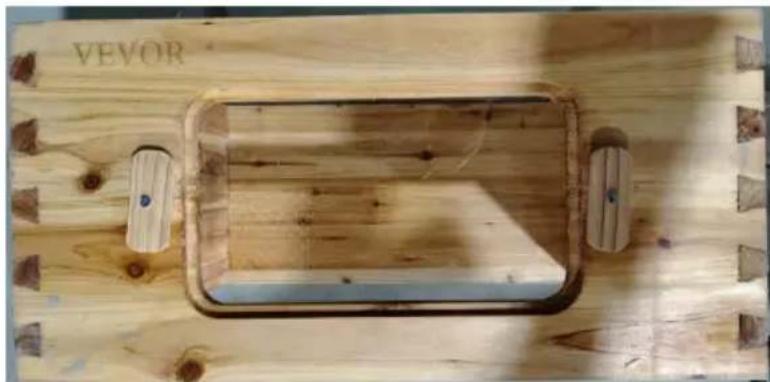
Step 3: Take J and K to assemble the window pressing plates on both sides and put 10 sets of foundations and frames into the box.
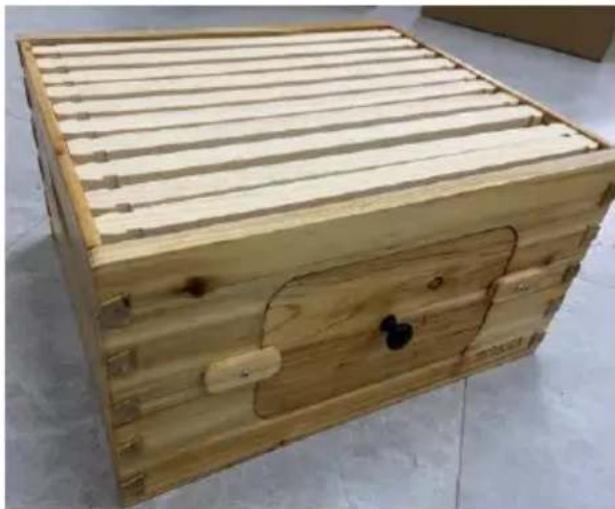
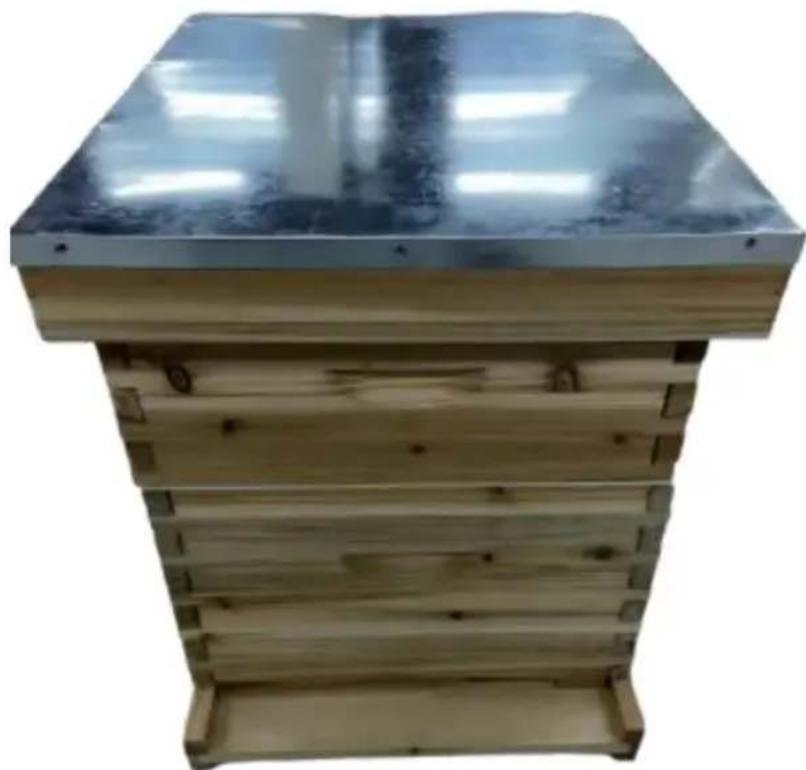
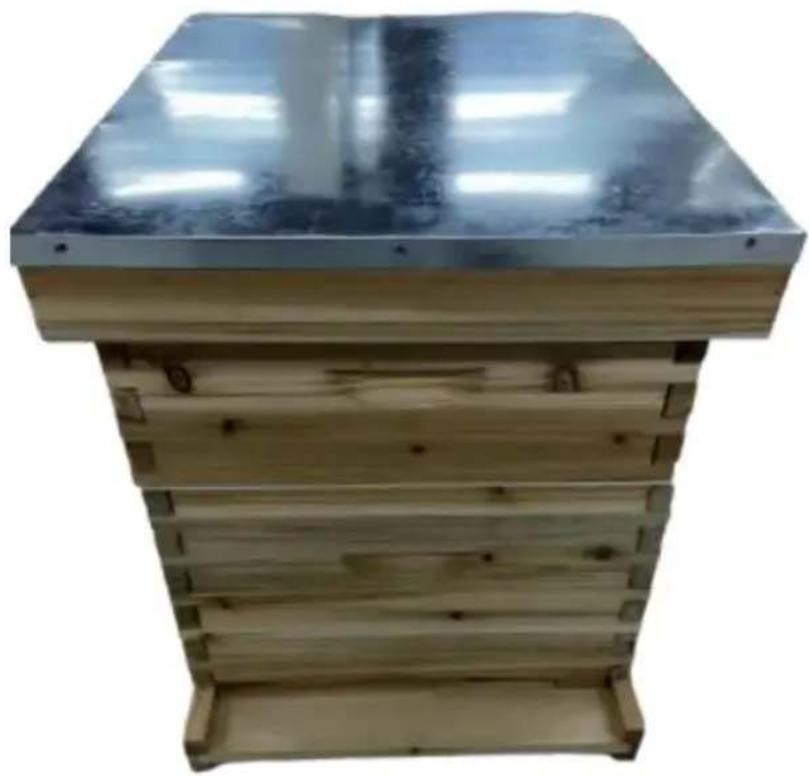
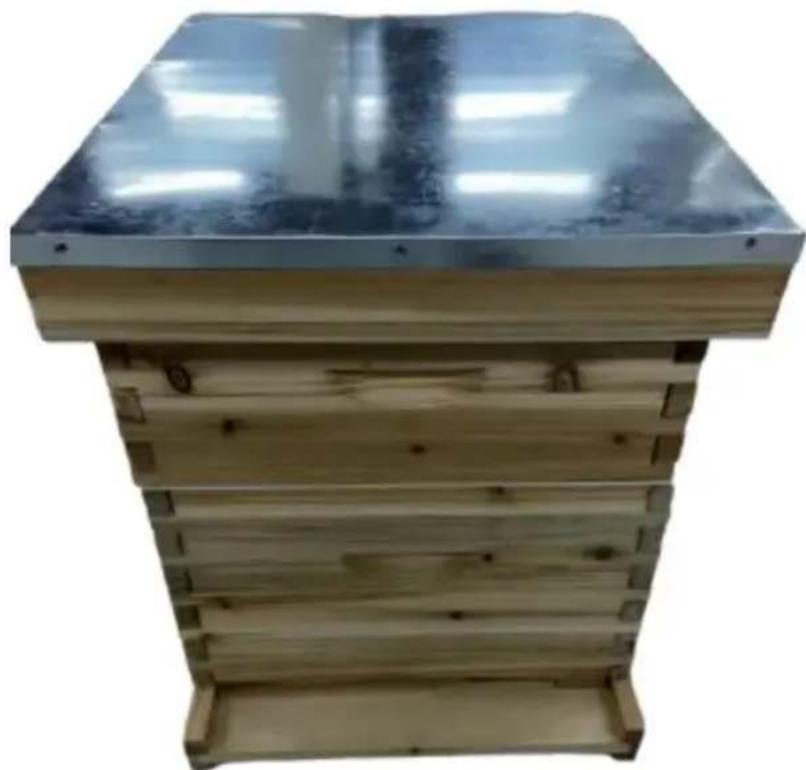
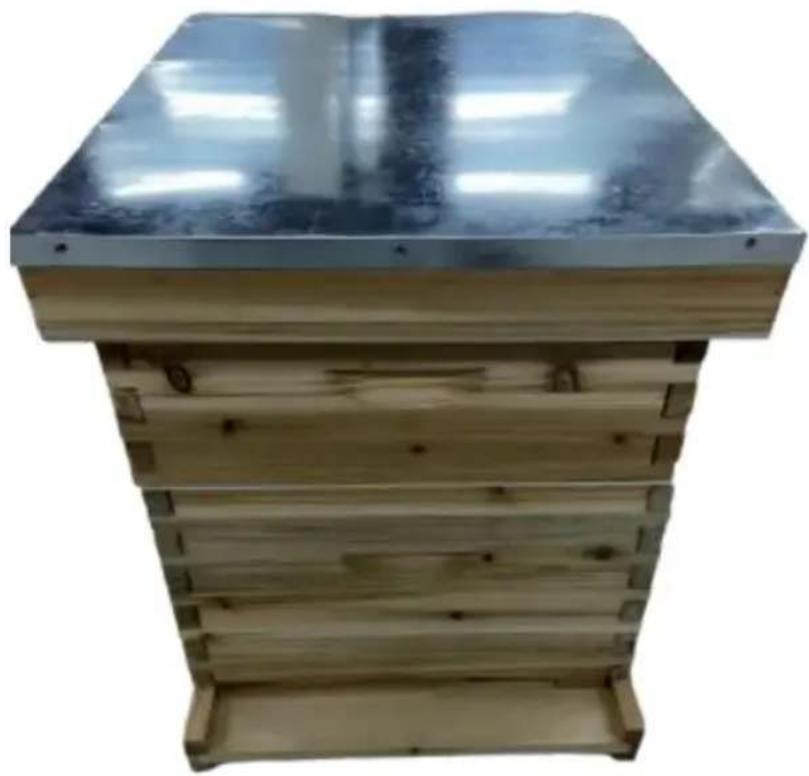
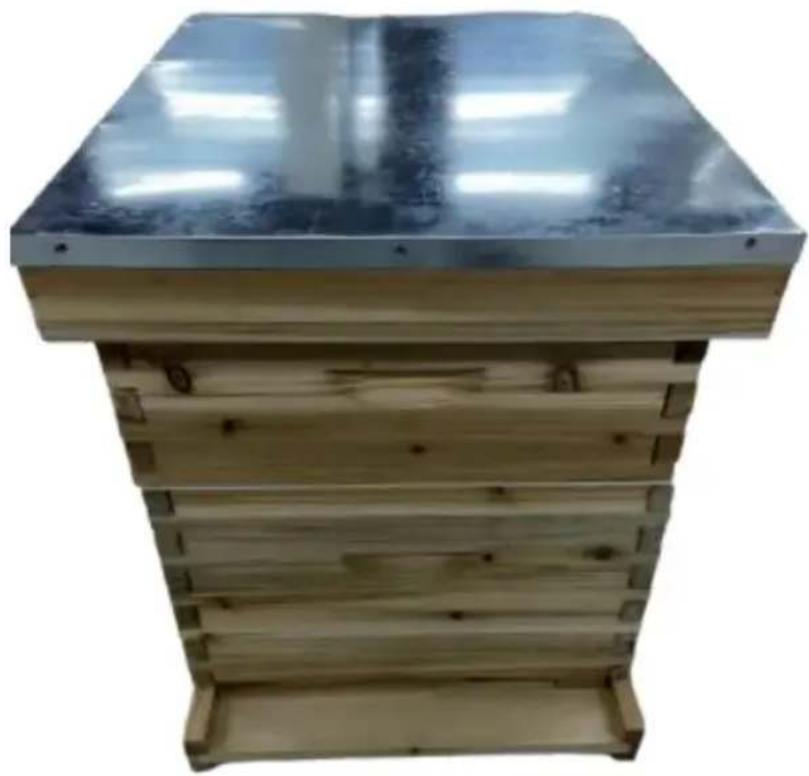
Finally, please assemble according to the following figure:
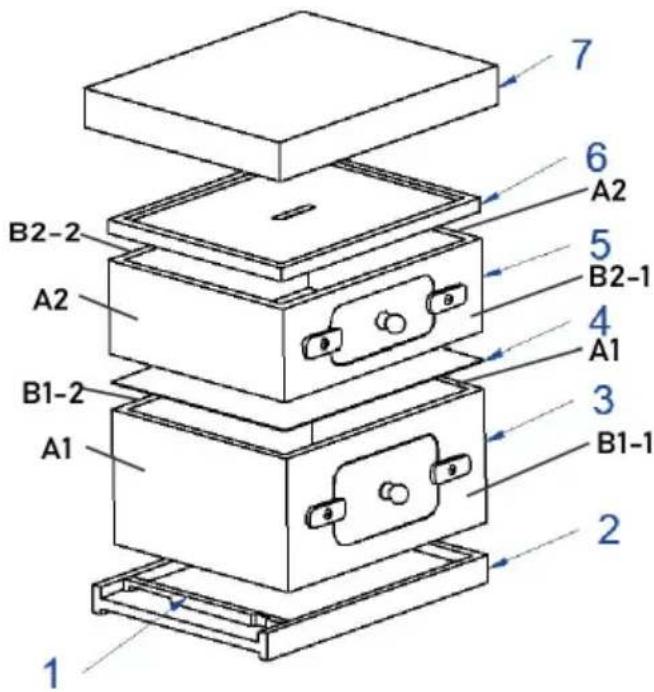
| Indes | Name | Qty |
| 1 | Entrance Reducer | 1 |
| 2 | Bottom Board | 1 |
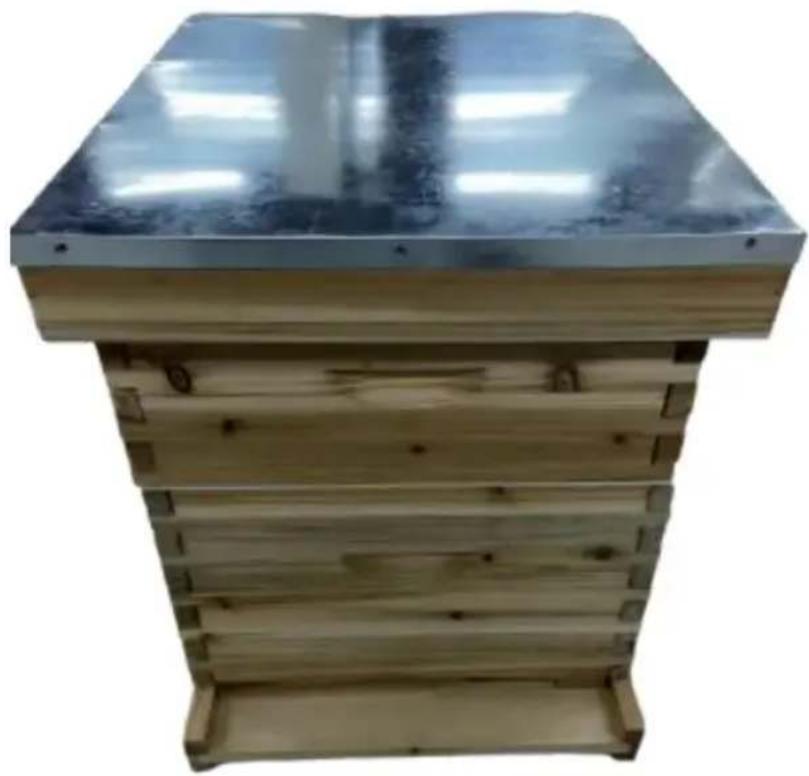
| 3 | 240 Box | 1 |
| 4 | Queen Excluder | 1 |
| 5 | 170 Box | 1 |
| 6 | Inner Cover | 1 |
| 7 | Top Cover | 1 |
| Details of beehive enclosure boa | ||
| Indes | Name | Qty |
| A1 | Lower side panel | 2 |
| B1-1 | Lower front panel | 1 |
| B1-2 | Lower back panel | 1 |
| A2 | Upper side panel | 2 |
| B2-1 | Upper front panel | 1 |
| B2-2 | Upper back panel | 1 |
MAINTENANCE
- Please use beeswax regularly for maintenance.
- Close the bee window in cold, rainy, and windy weather.
Manufacturer: Shanghai Muxin Wood Industry Co., Ltd.
Address: Room 1602A-1609, No. 11, Lane 803, Shuangcheng Road, Baoshan District, Shanghai 200000, China.
EC REP: E-CrossStu GmbH.
Mainzer Landstr. 69, 60329 Frankfurt am Main.
UK REP: YH CONSULTING LIMITED.
C/O YH Consulting Limited, Office 147, Centurion House, London Road, Staines-upon-Thames, Surrey, TW18 4AX. Imported to AUS: SIHAO PTY LTD.
1 Rokeva Street, Eastwood NSW 2122, Australia.
Imported to USA: Sanven Technology Ltd.
Suite 250, 9166 Anaheim Place, Rancho Cucamonga, CA 91730.

VEVOR
Affordable. Reliable. Home Improvement.
UL
MODEL: FX1+1
MODEL: FX 1+1
A1 240 Coaming 1(× 2

8. Frame assembly 24 0
17 0 BOX
12. Window installation
C/O YH Consulting Limited Office 147, Centurion House, London Road Staines-upon-Thames, Surrey, TW18 4AX
Imported to AUS: SIHAO PTY LTD.
1 ROKEVA STREETEASTWOOD NSW 2122 Australia
Imported to USA: Sanven Technology Ltd.
Apartment 250, 9166 Anaheim Place, Rancho Cucamonga, CA 9173

VEVOR
Affordable. Reliable. Home Improvement.
BEEHIVE
MODEL: FX1+1
MODEL: FX 1+1
170 BOX
C/O YH Consulting Limited Office 147, Centurion House, London Road
Staines-upon-Thames, Surrey, TW18 4AX
Suite 250, 9166 Anaheim Place, Rancho Cucamonga, CA 91730

VEVOR
Affordable. Reliable. Home Improvement.
BEEHIVE
MODEL: FX1+1
MODEL: FX 1+1
(×
170 BOX
22. Installation of 170 box
Affordable. Reliable. Home Improvement.
BIJENKORF
MODEL: FX1+1
MODEL: FX 1+1
17 0 DOOS
Staines-upon-Thames, Surrey, TW18 4AX
Suite 250, 9166 Anaheim Place, Rancho Cucamonga, CA 91730

VEVOR
Affordable. Reliable. Home Improvement.
BIKUPA
MODEL: FX1+1
MODEL: FX 1+1
17 0 LÅDA
C/O YH Consulting Limited, Kontor 147, Centurion House, London Road, Staines-upon-Thames, Surrey, TW18 4AX
Imported to Australia: SIHAO PTY LTD.
1 ROKEVA STREET, EASTWOOD NSW 2122, Australia
Imported to USA: Sanven Technology Ltd.
Suite 250, 9166 Anaheim Place, Rancho Cucamonga, CA 91730

VEVOR
Affordable. Reliable. Home Improvement.
BEEHIVE
MODEL: FX1+1
MODEL: FX1+1
A1 240 Arm 1 (×2)
B 1-1/2)
B 2)
| B-1 | 2(×) | B 2(×) | -12) | |
| Un 2 17 0 Brazo 1(×) | 2) | |||
| C 170/240 Principalbarra de marco 1( ×2 | D 170/240 Barra delmarco principal 2 (×20) | E1 24 0 Barra demarco ( × 20) |
17 0 BOX
Affordable. Reliable. Home Improvement.
HIVE
MODEL: FX1+1
MODEL: FX 1+1
A1 240 C oaming 1(×
B 1-1
2)
B (×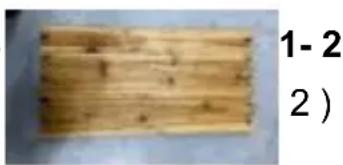
17 0 BOX
UK REPRESENTATIVE: YH CONSULTING LIMITED. C/O YH Consulting Limited Office 147, Centurion House, London Road Staines-upon-Thames, Surrey, TW18 4AX Imported into AUS: SIHAO PTY LTD.
1 ROKEVA STREET EASTWOOD NSW 2122 Australia
Suite 250, 9166 Anaheim Place, Rancho Cucamonga, CA 91730

Brand : Vevor
Model : FX1+1
Category : Beehive