
YF-YM08 - Food machine Vevor - Free user manual and instructions
Find the device manual for free YF-YM08 Vevor in PDF.
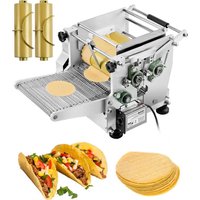


| Product Type | Corn Tortilla Machine |
| Brand | Vevor |
| Model | YF-YM08 |
| Main Use | Making chapati, tortillas, rotis and crêpes |
| Production Capacity | Up to 1000 pieces per hour |
| Conveyor Belt Material | Stainless steel |
| Adjustments | Adjustable thickness and speed |
| Product Shape | Round or oval, customizable diameter |
| Power Supply | AC, voltage compatible with mains (check label) |
| Cleaning | Damp cloth, do not immerse main body |
| Safety | Unplug before cleaning, do not touch moving parts while operating |
| Replaceable Parts | Cutting knife, scraping wire, rubber feet |
| Accessories Included | Stand, rubber feet, wrench, screwdriver |
| Operating Temperature | Do not use near flames or heat sources |
| Warranty | Electronic warranty via www.vevor.com/support |
| Standards | Compliant with Part 15 of FCC rules, WEEE directive 2012/19/EU |
Frequently Asked Questions - YF-YM08 Vevor
User questions about YF-YM08 Vevor
0 question about this device. Answer the ones you know or ask your own.
Ask a new question about this device
Download the instructions for your Food machine in PDF format for free! Find your manual YF-YM08 - Vevor and take your electronic device back in hand. On this page are published all the documents necessary for the use of your device. YF-YM08 by Vevor.
USER MANUAL YF-YM08 Vevor
Technical Support and E-Warranty Certificate www.vevor.com/support
CORN TORTILLA MACHINE
MODEL: YF-YM08
We continue to be committed to providing you with tools at competitive prices. "Save Half", "Half Price", or any other similar expressions used by us only represent an estimate of savings you might benefit from buying certain tools with us compared to the major top brands and do not necessarily mean to cover all categories of tools offered by us. You are kindly reminded to verify carefully when placing an order with us if you are actually saving half in comparison with the top major brands.
MODEL: YF-YM08
NEED HELP? CONTACT US!
Have product questions? Need technical support? Please feel free to contact us:
Technical Support and E-Warranty Certificate www.vevor.com/support
This is the original instruction. Please read all manual instructions carefully before operating. VEVOR reserves a clear interpretation of the user manual. The appearance of the product shall be subject to the product you received. Please forgive us that we won't inform you again if there are any technology or software updates on our product.
IMPORTANT SAFEGUARDS

WARNING! Read all safety warnings, instructions, illustrations, and specifications provided with this electrical appliance. Failure to follow all instructions listed below may result in electric shock and/or serious injury.
- There shouldn't be anything else on the counter.
- There is no abnormal phenomenon after the power is switched on.
- It must be placed on a horizontal plane in order to avoid dangerous shaking back and forth during use.
- It is necessary to develop the habit of turning off the switch when operation is suspended. Do not plug the power cord into a socket not in use. Please unplug the power cord after use and before cleaning and maintenance.
- Please unplug the machine from the power supply before cleaning, assembling, or disassembling.
- Do not place the product within the reach of children. Children should be supervised to ensure that they do not play with the appliance.
- This appliance can be used by children aged from 8 years and above and persons with reduced physical, sensory or mental capabilities or lack of experience and knowledge if they have been given supervision or instruction concerning use of the appliance in a safe way and understand the hazards involved. Children shall not play with the appliance. Cleaning and user maintenance shall not be made by children without supervision.
- Do not unplug the machine before it stops operation.
- If the supply cord is damaged, it must be replaced by the manufacturer, its service agent, or similarly qualified persons in order to avoid a hazard.
- Electric Shock Danger! Non-professional personnel are forbidden to repair the products, otherwise it may result in electrical shock. When failures happen, it should be repaired by qualified maintenance personnel.
- WARNING! It is strictly prohibited to put the main body into the water to clean. It can only be scrubbed with a wet towel. The machine must be cool before cleaning.
- Please check that the specified supply voltage in the product is consistent with the supply voltage (AC only).
- Avoid power cord damage. Do not squeeze, bend, or friction it, and keep it away from heat sources and open fires. The power cord does not to blade.
- The power cord should be laid flat. Do not pull the power cord to make the product fall down, which may cause damage.
- Do not use the product on wet ground. Do not touch the product, power cord, or plug with wet hands.
- Do not disassemble the product at will. Do not let something ent insert into the product, which may cause damage.
- Only accessories provided by the seller or manufacturer can be used for the product. We will not be responsible for any failure caused by accessories from other manufacturers, which are not covered by warranty.
- Do not use the product on uneven, damp, or non-heat-resistant surfaces to avoid damage or failure.
- Do not place the product directly on fire or near a heat source, otherwise the product will be damaged or even result in danger.
- When the plug is plugged into the socket, it must be fully inserted; otherwise, poor contact will cause the components to overheat and burn.
- Do not leave the product to work with no one watching. If the product is overheating, please stop working immediately and unplug the power.
- If part of the product catches fire, do not directly use water to extinguish the fire, but use a wet cloth to cover the fire site.
- Please store the plastic bags and do not allow children to play with them to prevent a risk of suffocation.
- It is prohibited to put the main body of the machine and the power cord into any liquid.
- Do not open the case door, and hands are strictly forbidden from touching the moving parts while the machine is operating.
SAVE THESE INSTRUCTIONS
Accessories Installation
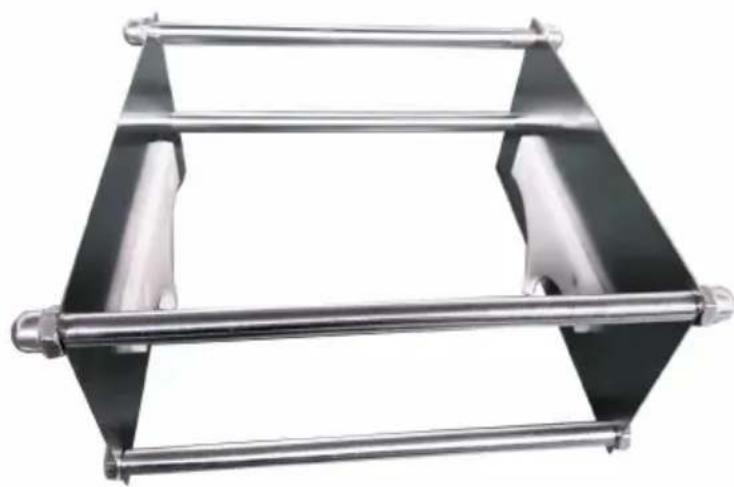
- For bracket installation, use four connecting rods to fix the left and right fixing plates with screws as shown in the figure:
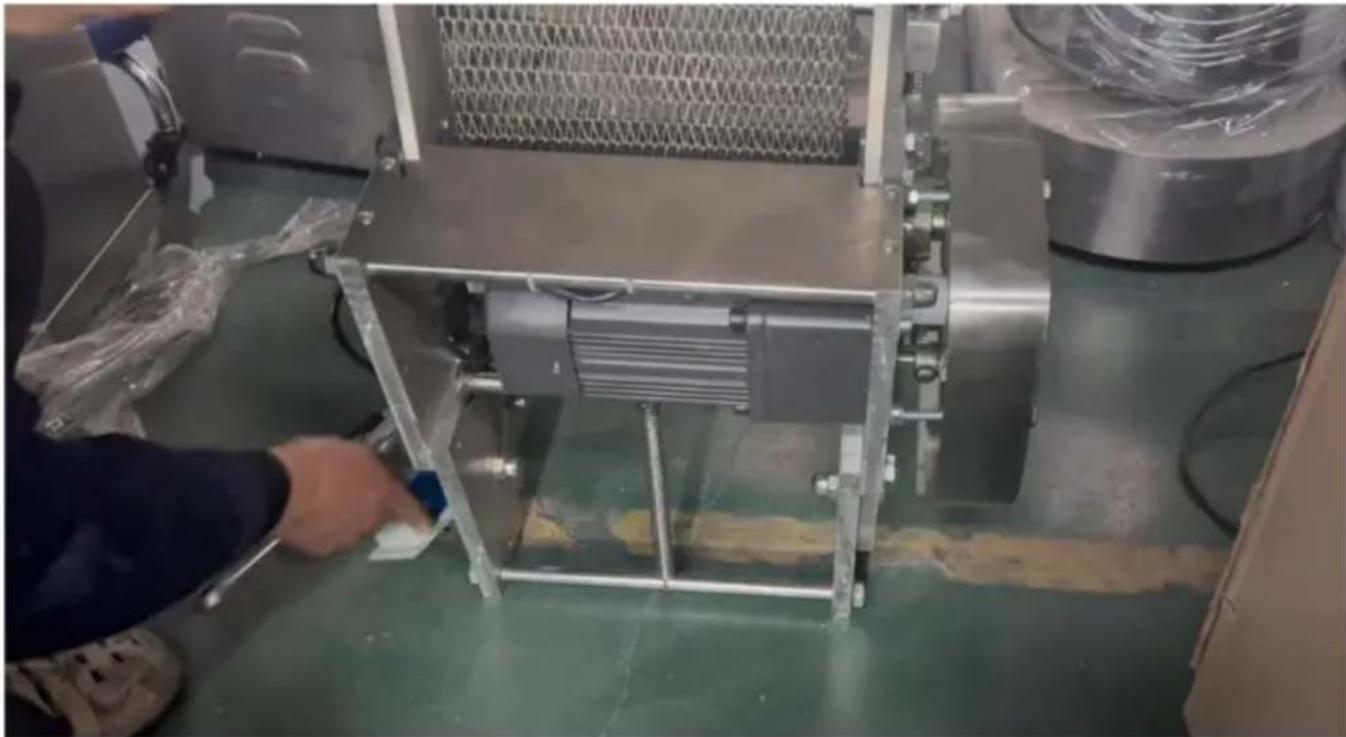
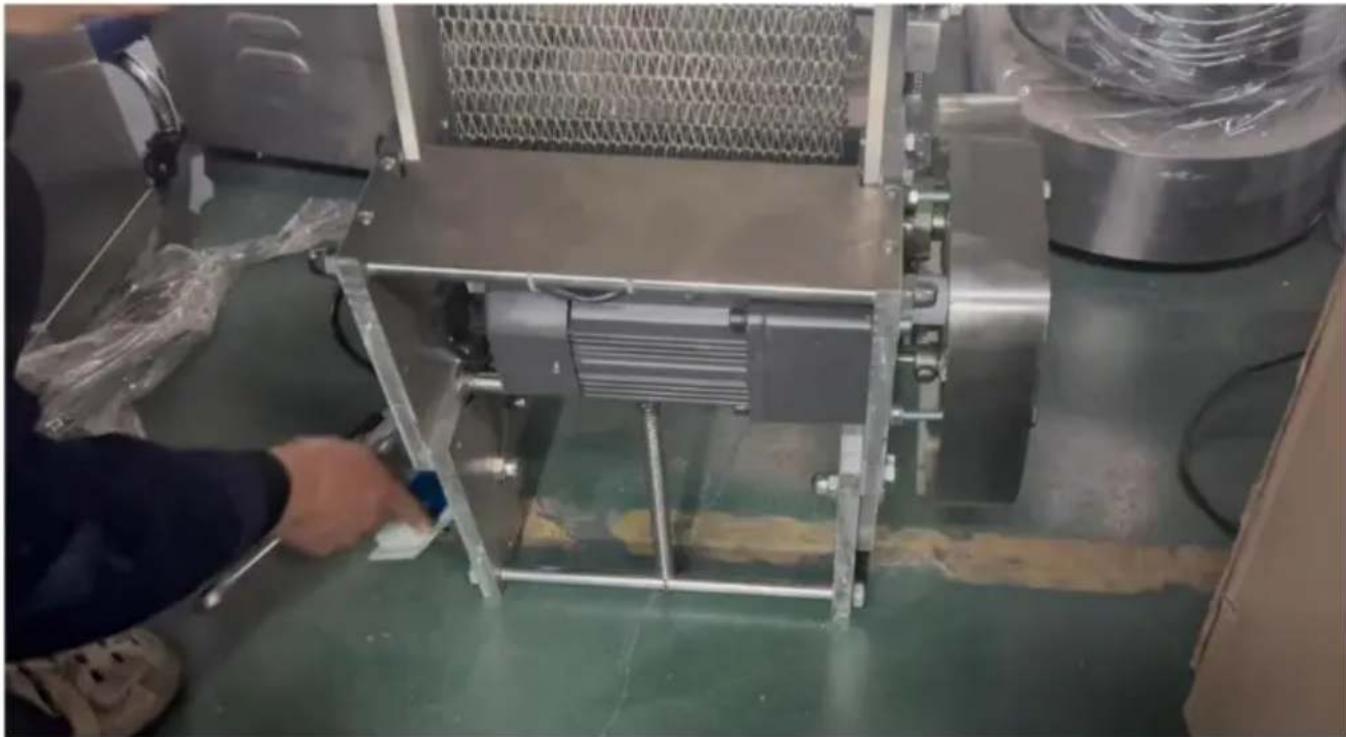
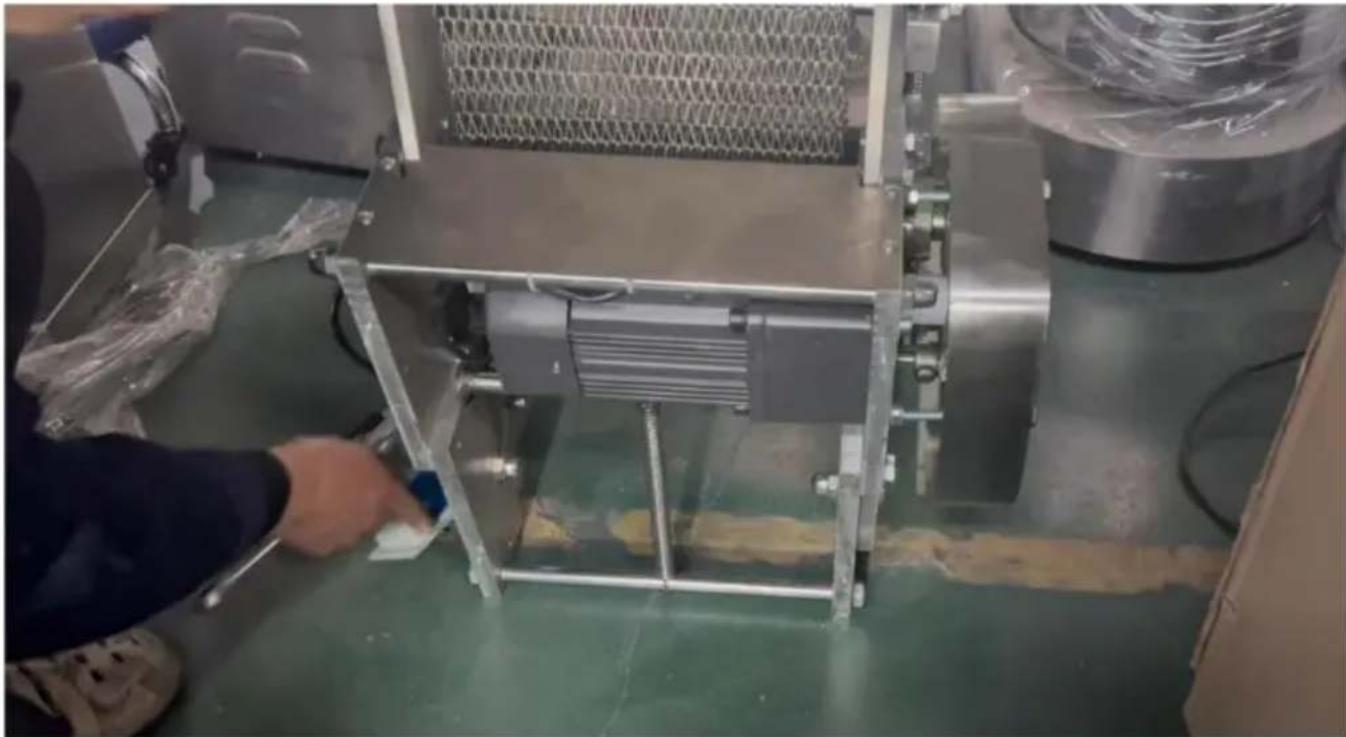
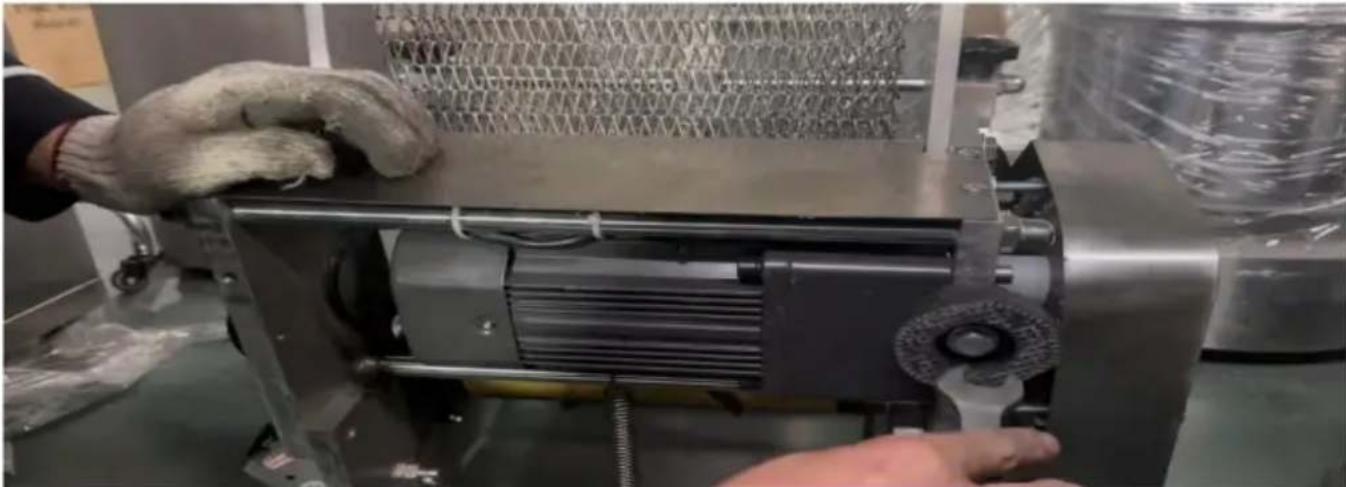
- Install the rubber feet: place the machine upside down, and then tighten the four rubber feet respectively with a wrench.
2.1. Tip the machine over.
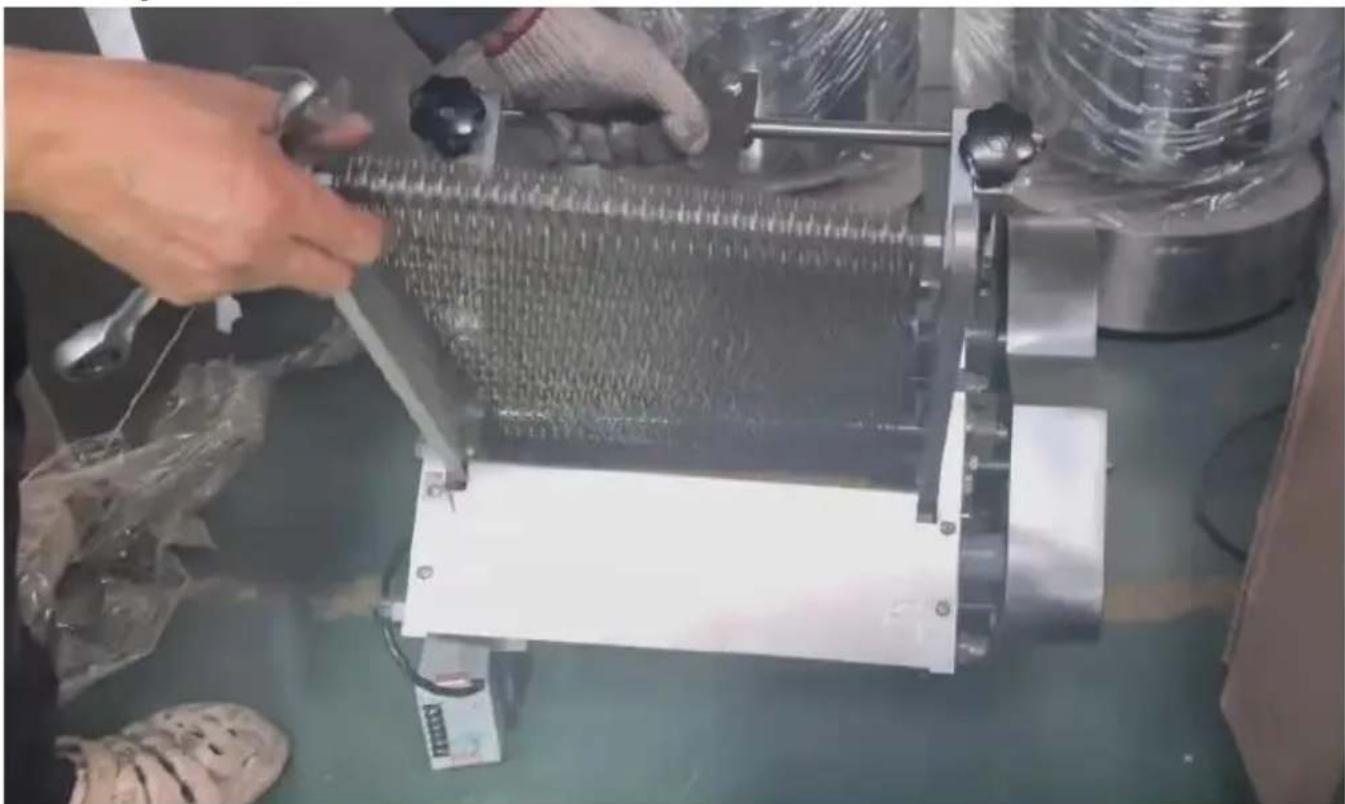
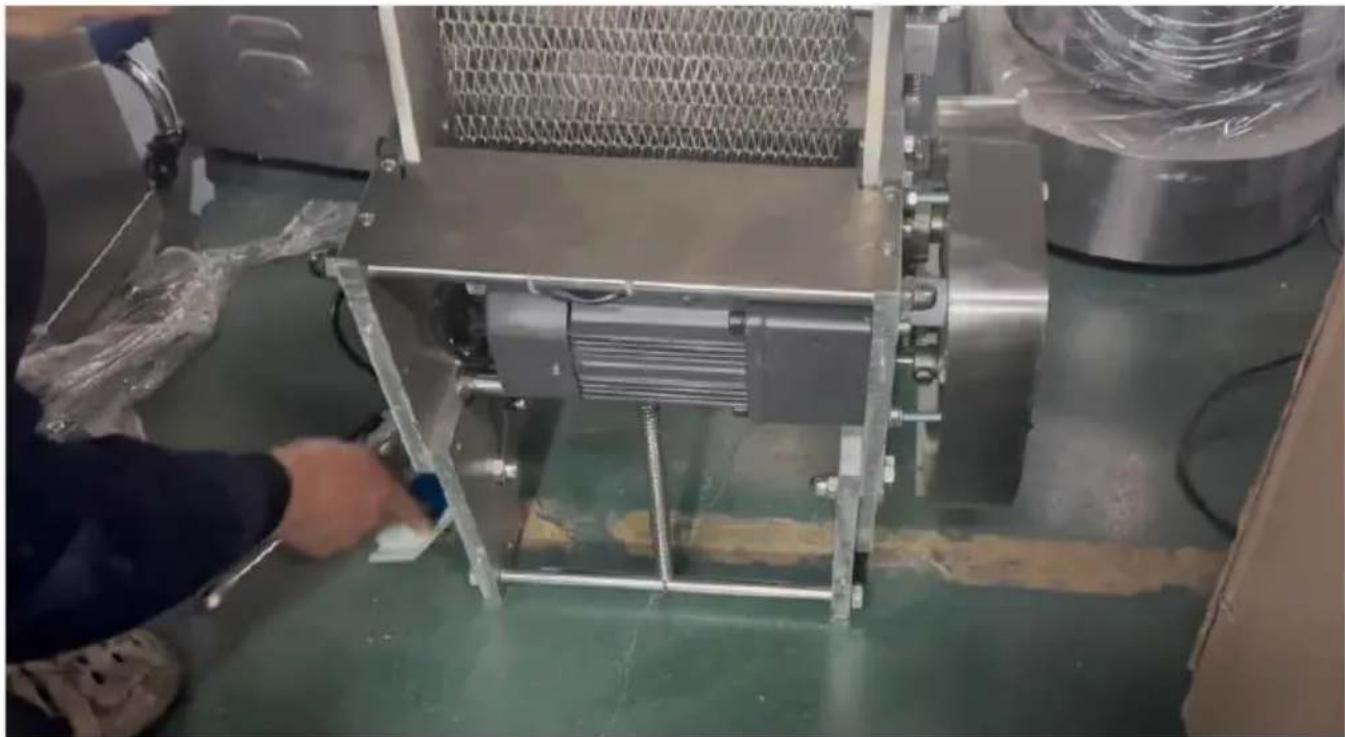
2.2. Insert the foot pad into the empty hole (the hole is shown in the picture).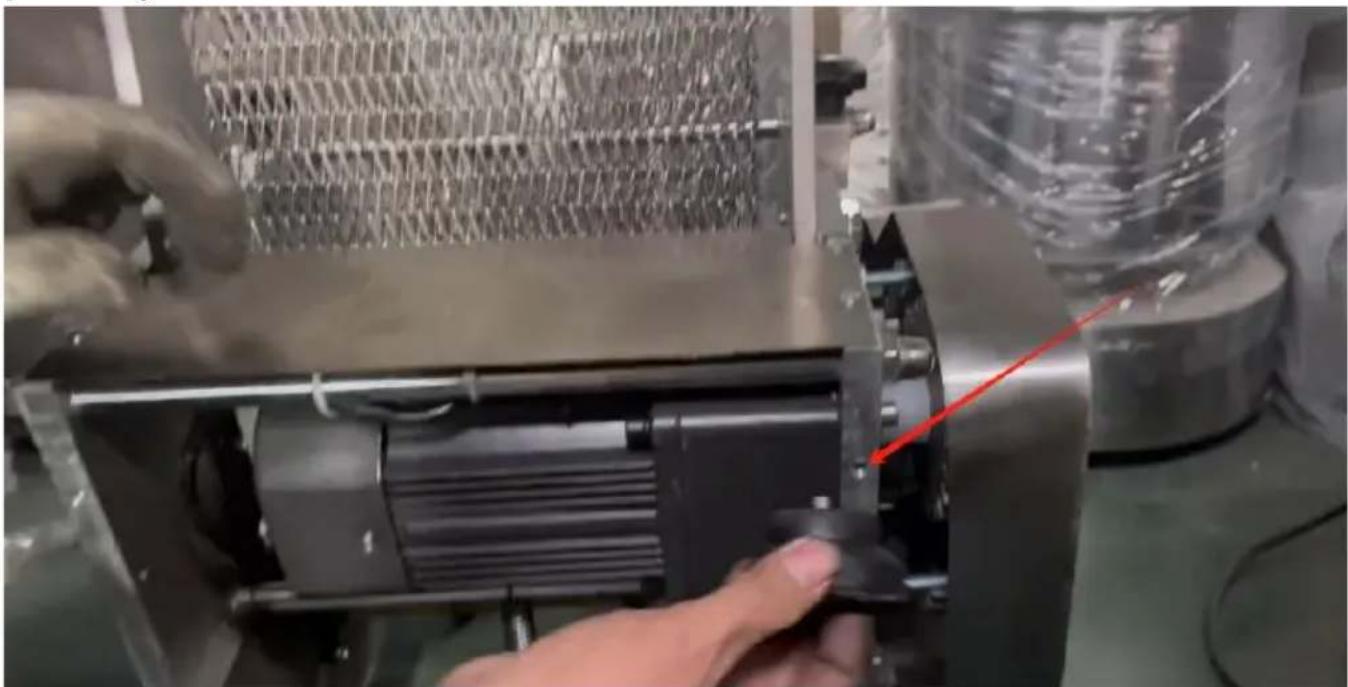
2.3. Tighten the foot pads.
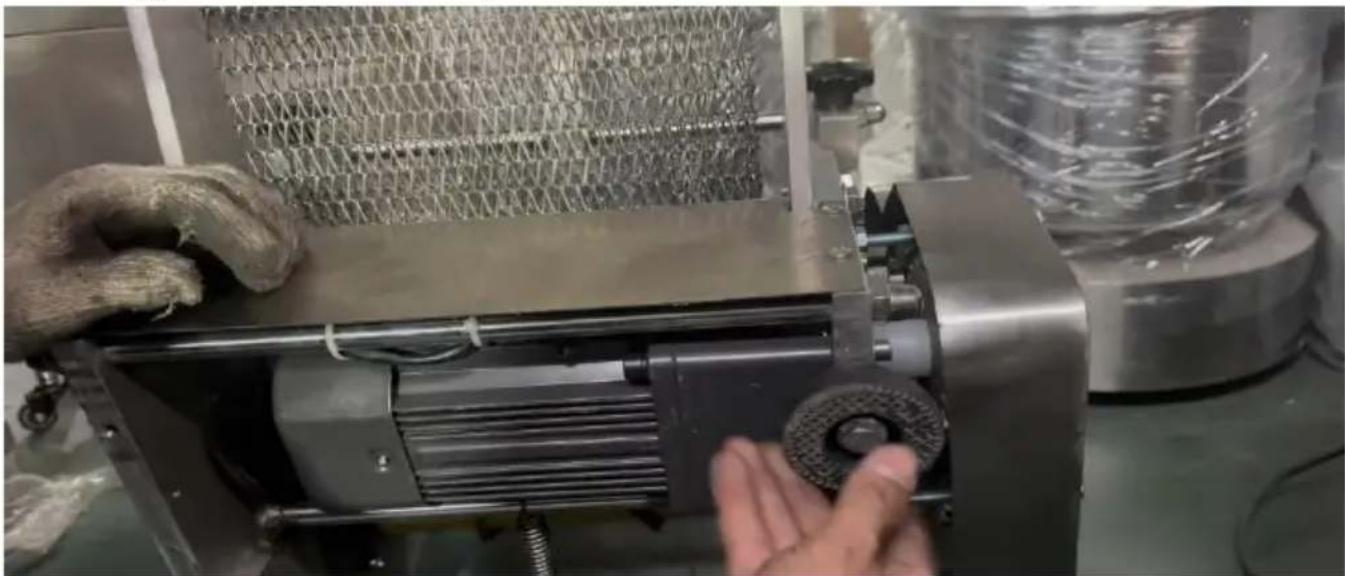
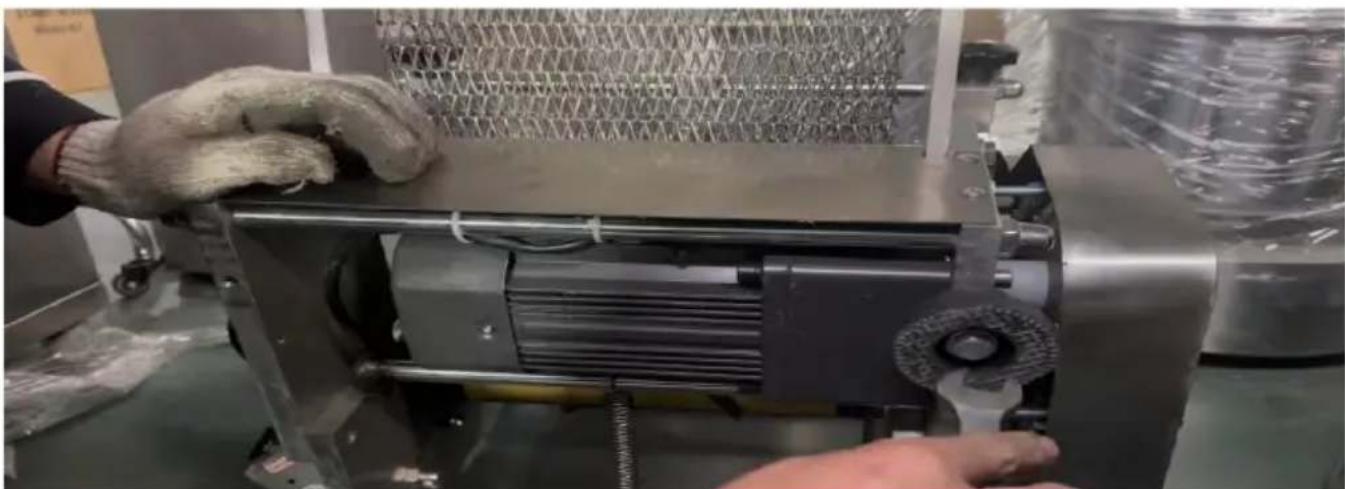
2.4. The same goes for the remaining three holes.

2.5. After the installation is completed, as shown in the figure, you can turn the machine back again.
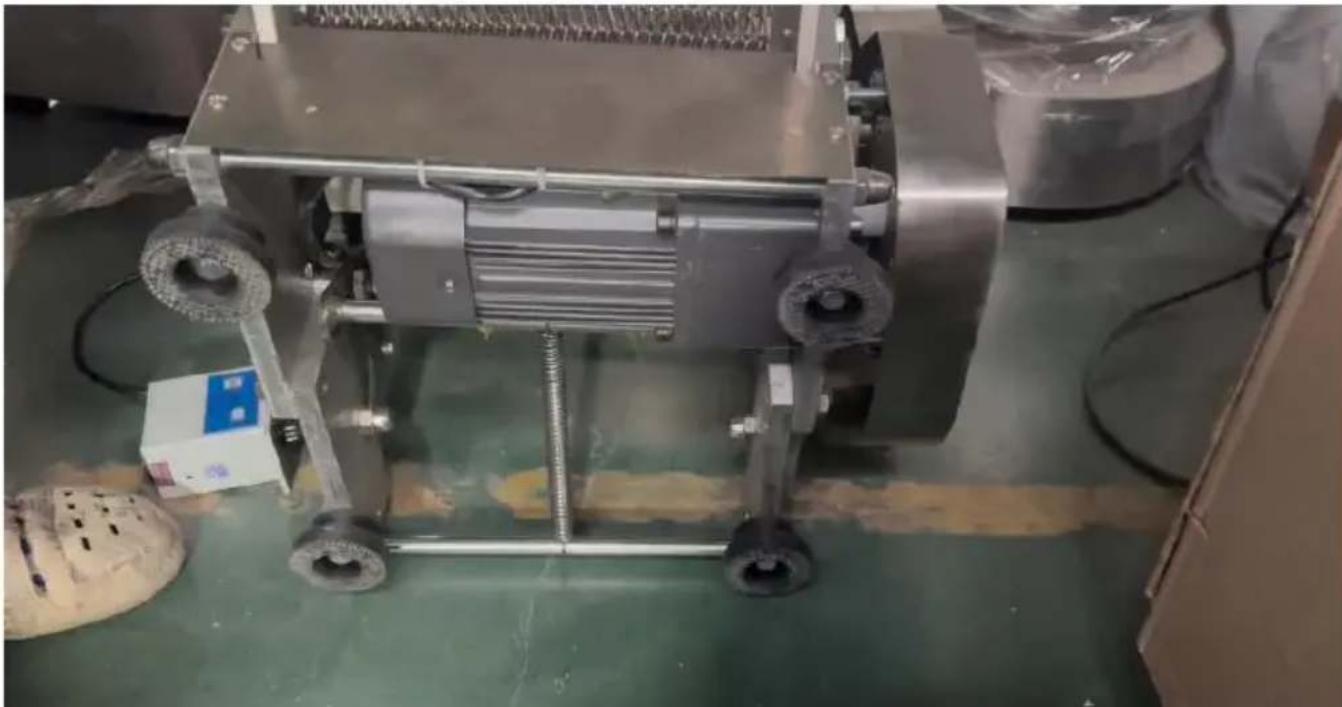
2.6. Workflow Diagram:
![graph TD A["Tip the machine over"] --> B["Insert the foot pad into the empty"] B --> C["Tighten the foot pads"] C --> D["The same goes for the remaining three holes"] D --> E["turn the machine back again"]](/content/2026/04/734394/images/f80244ed168658e2fff970ddef8b3022b92111ac40f5c9f85943d55deb90265c.jpg)
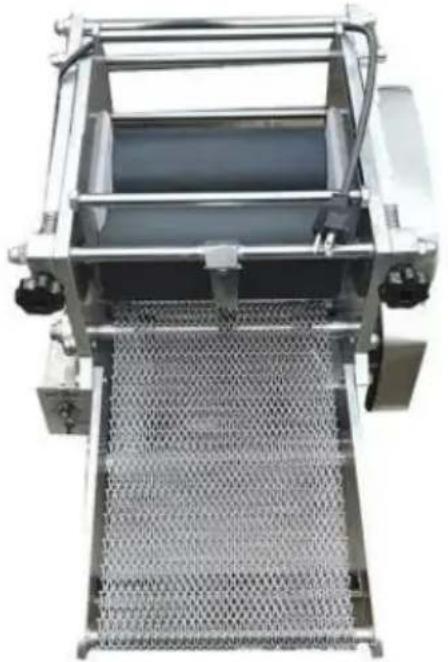
- Fix the stainless steel conveyor belt
3.1. Flip down the stainless steel conveyor belt first (to the bottom)
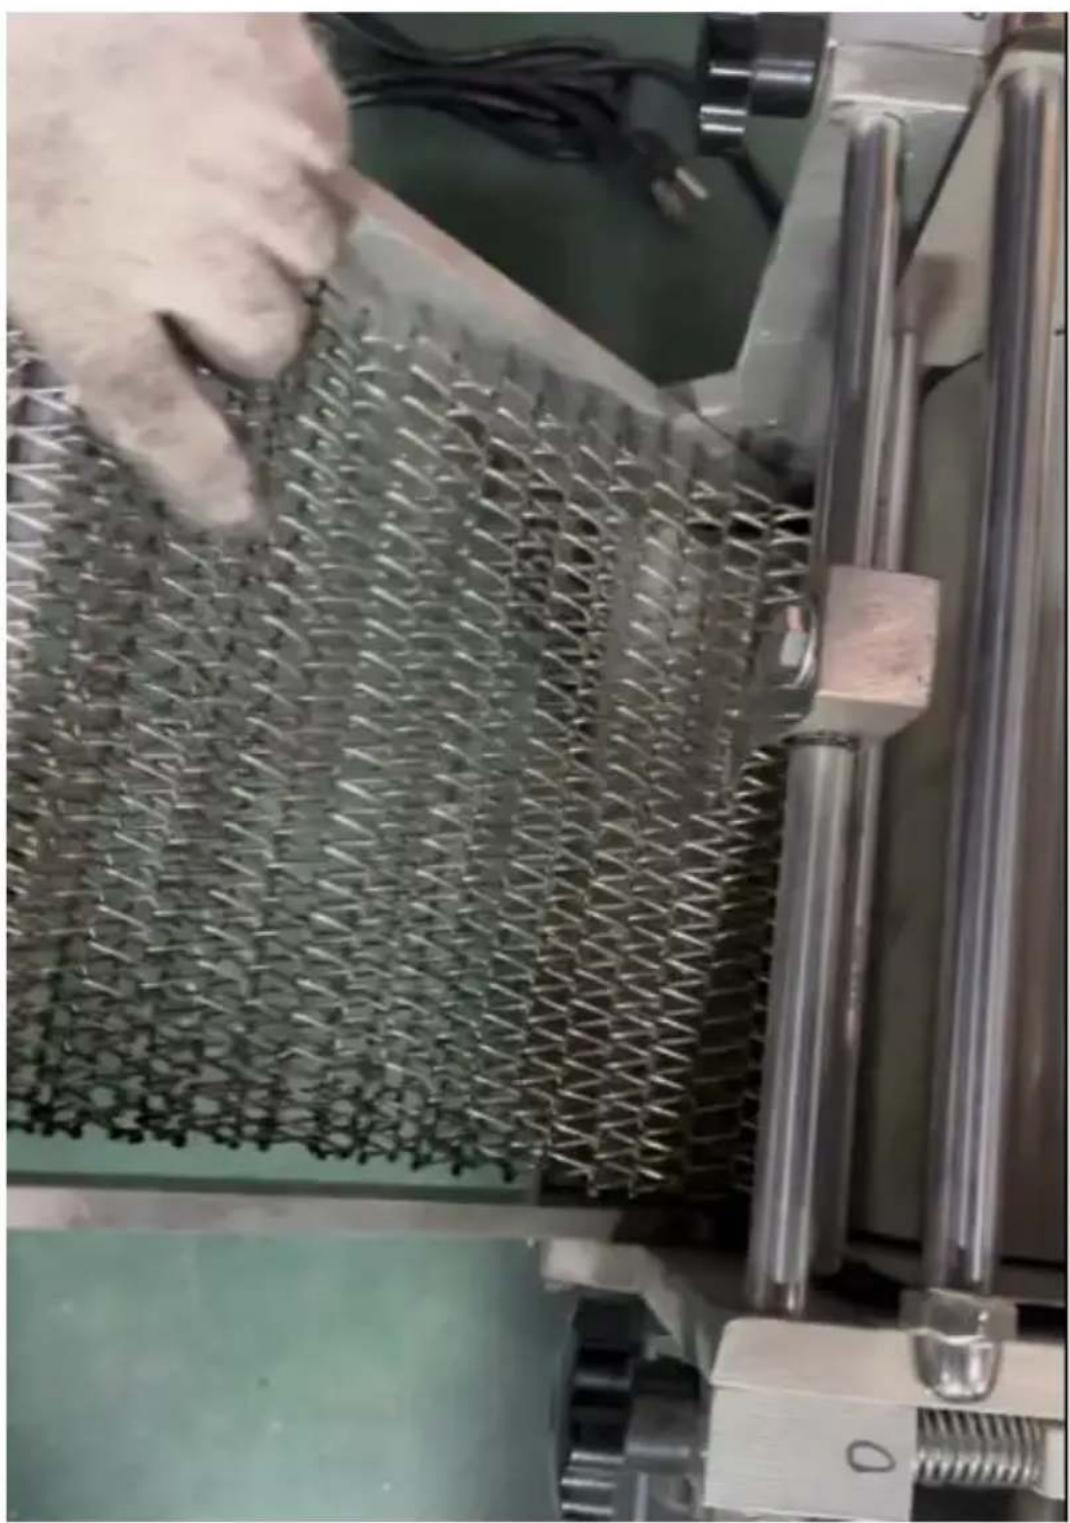
3.2. Install screws (one on the other side should also be installed)
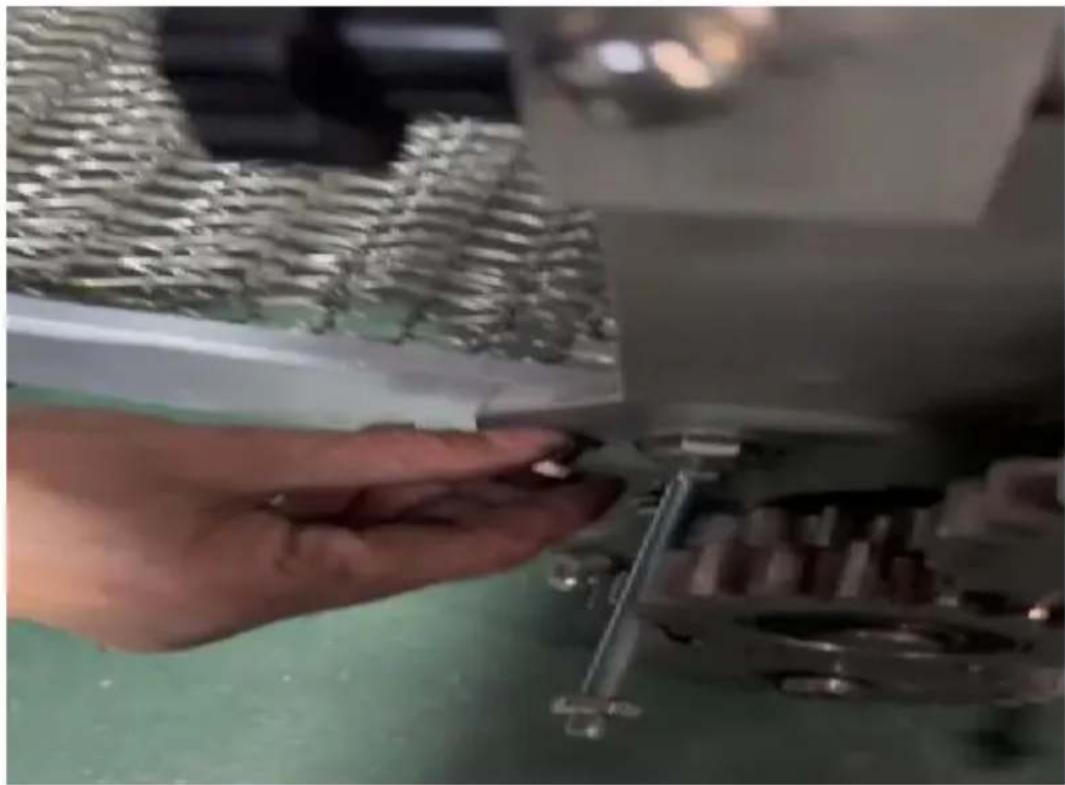
3.3. Take a screwdriver and tighten the screws.
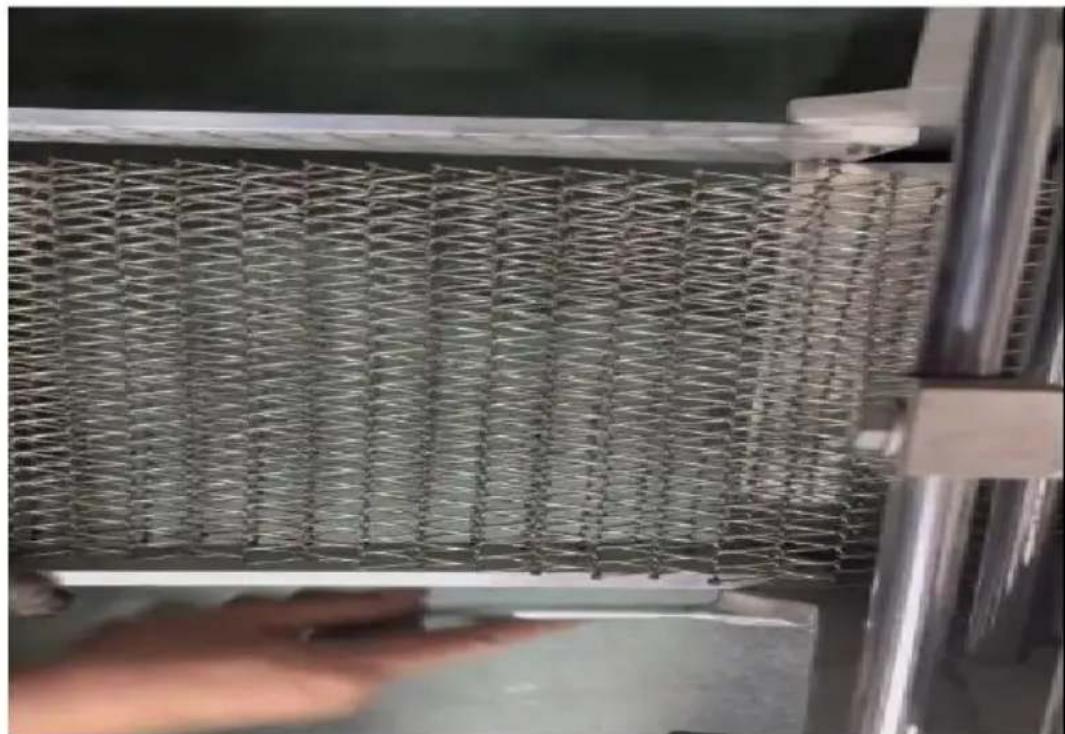
3.4. Workflow Diagram:
![graph TD A["Flip down the stainless steel conveyor belt first."] --> B["Install screws"] B --> C["Take a screwdriver and tighten the screws"]](/content/2026/04/734394/images/3a34c4641b3a5b6fecbc5a76a05bfac401884f83aef67afb666fd9edabbabb00.jpg)
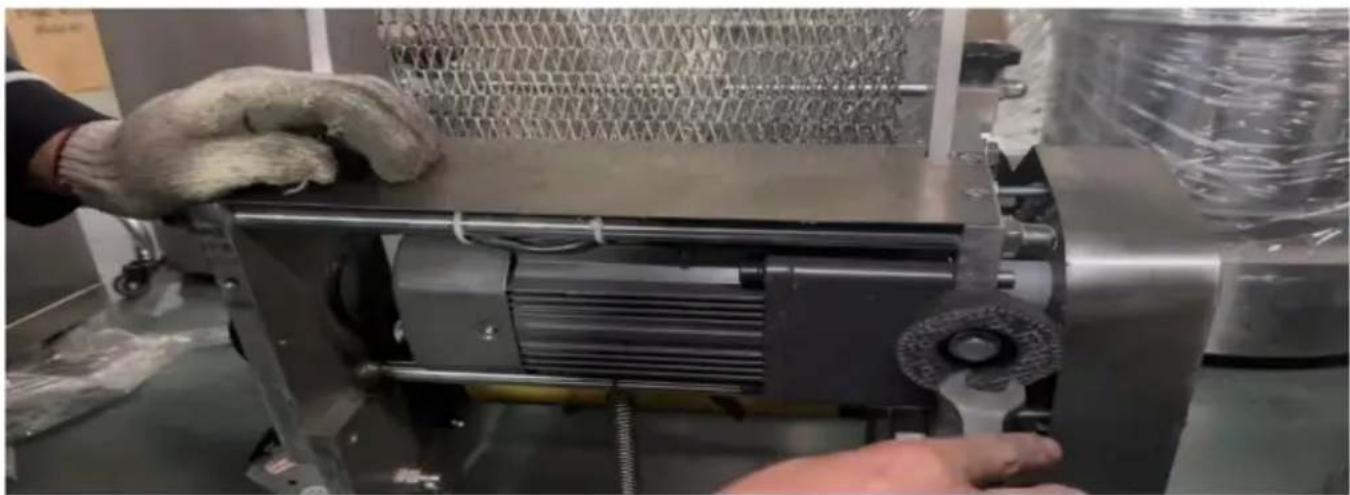
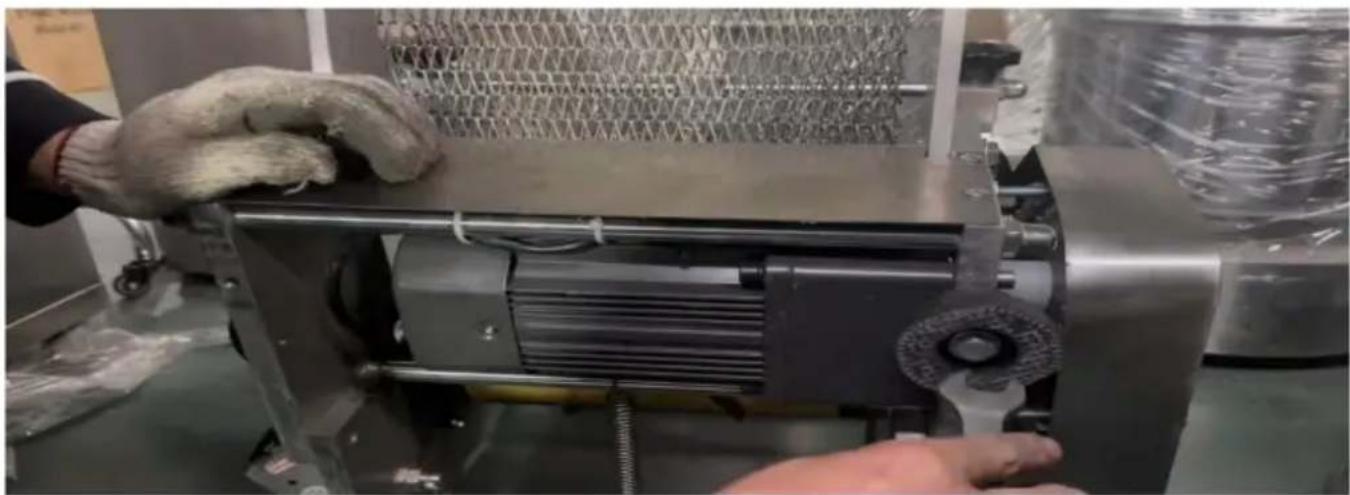
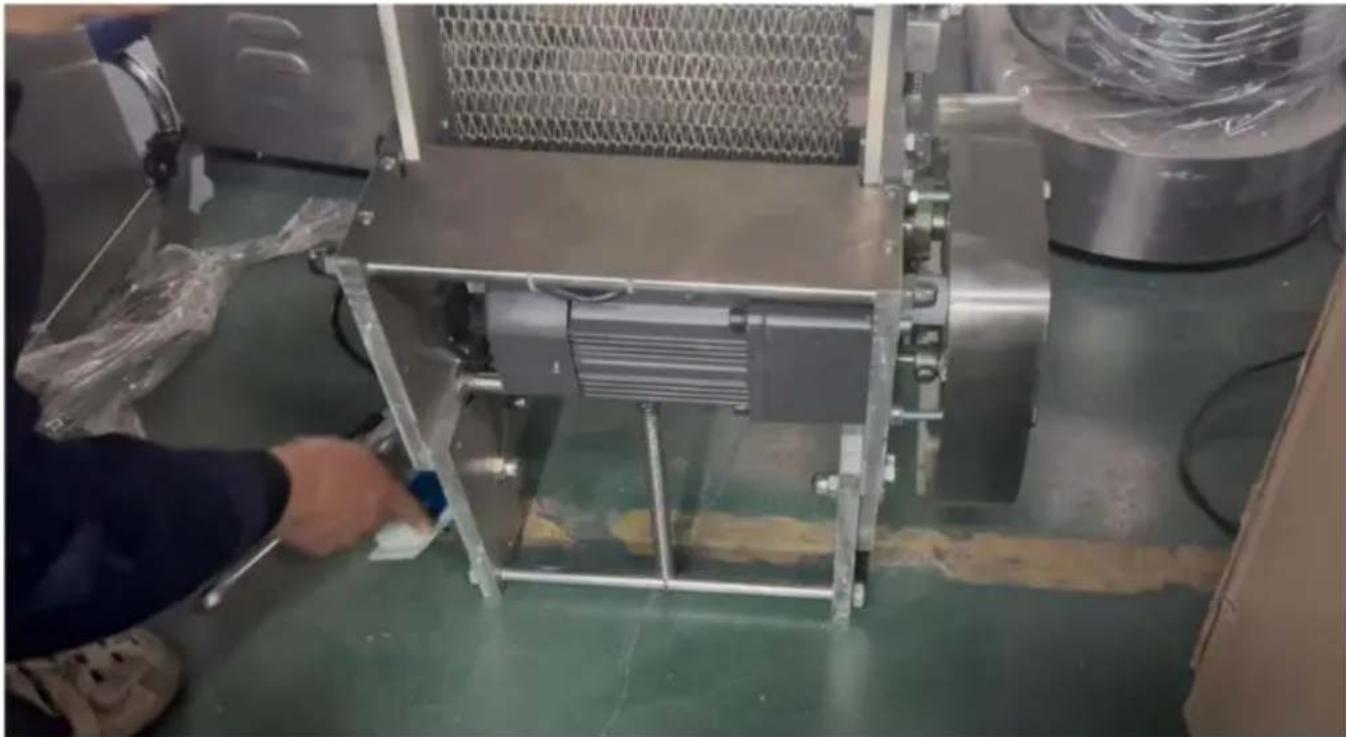
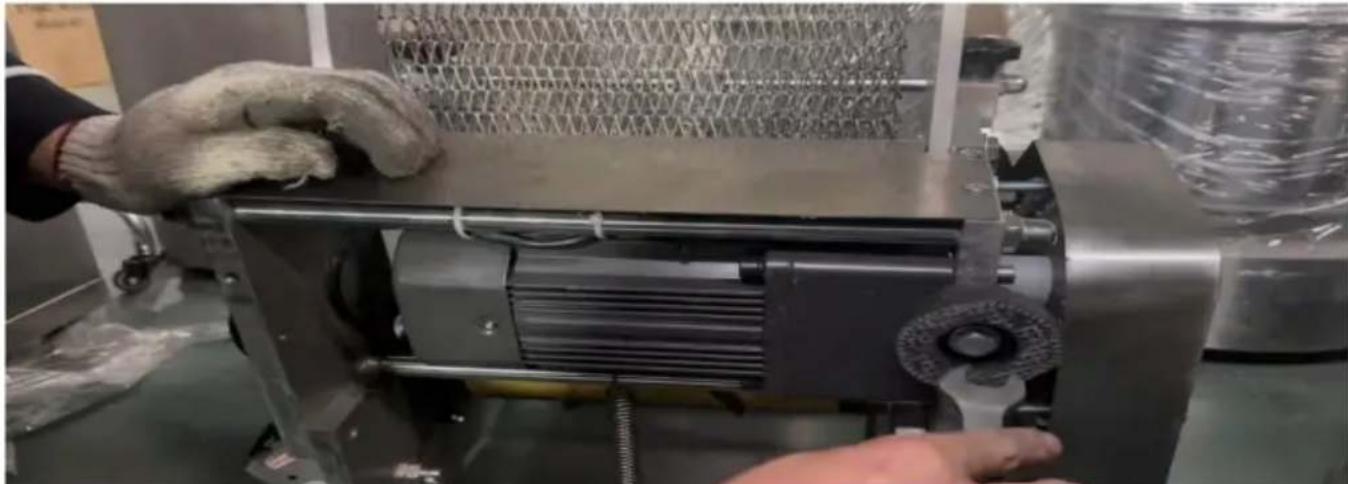
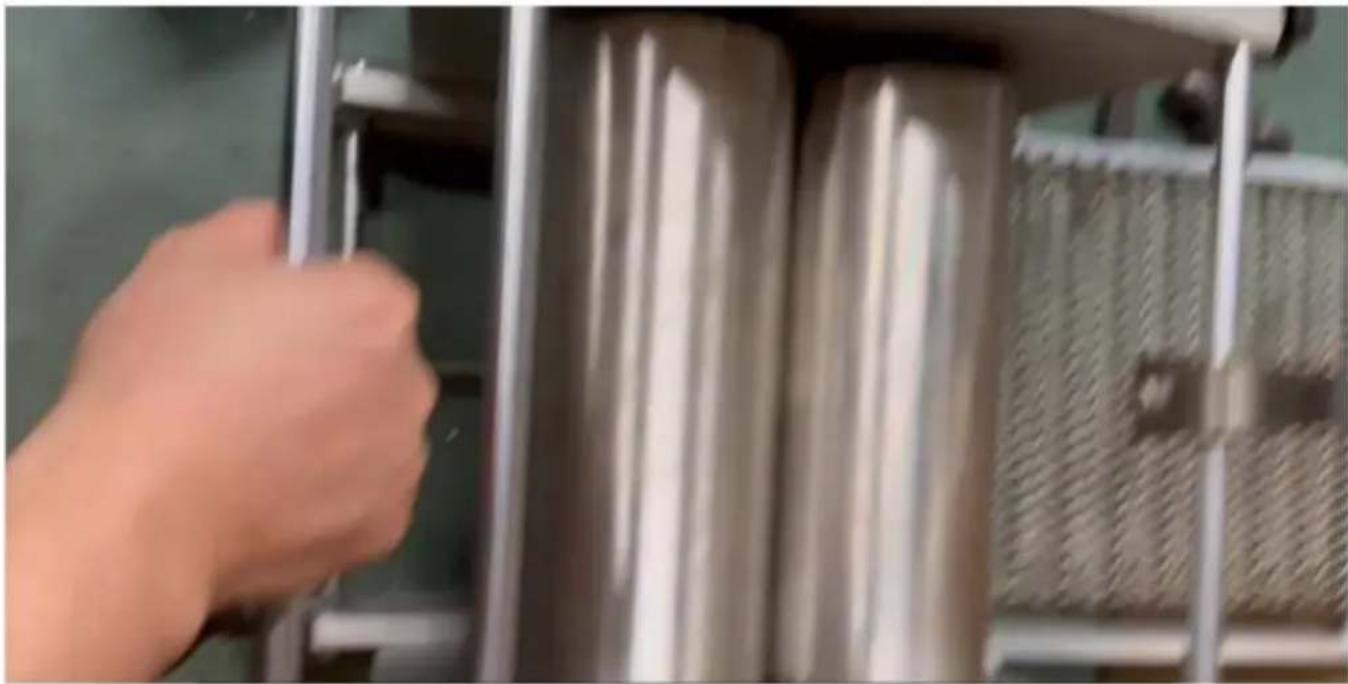
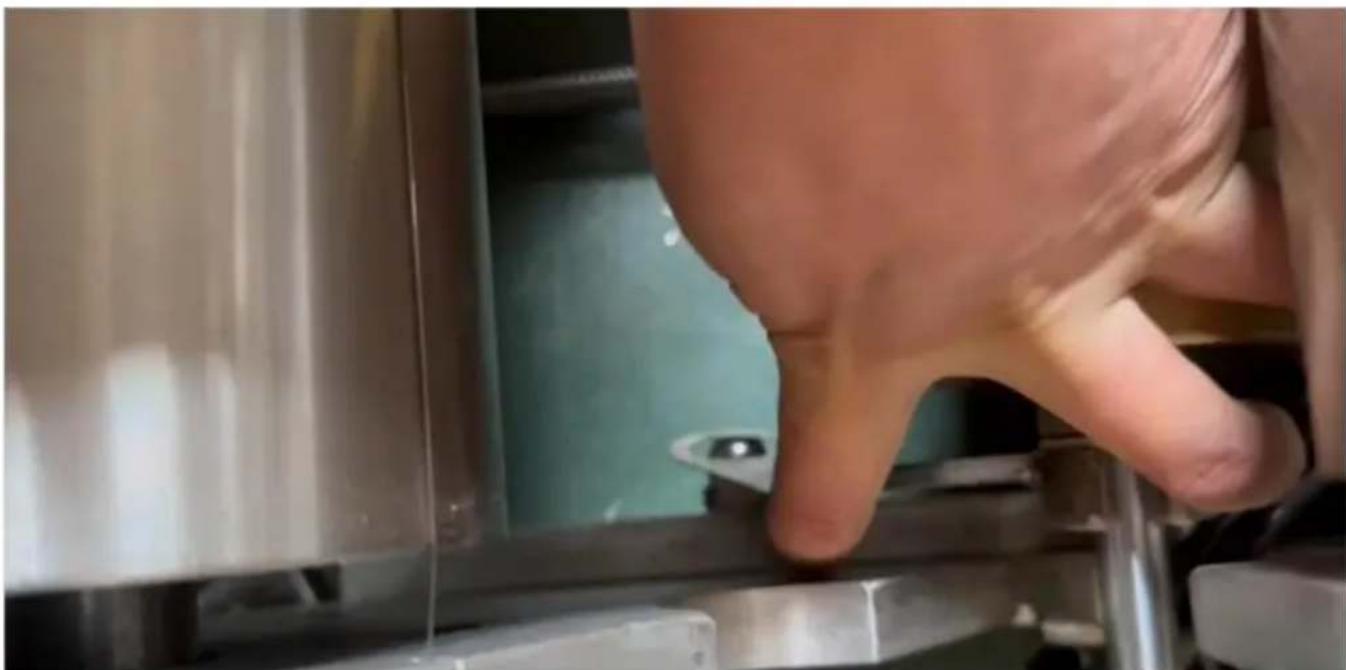
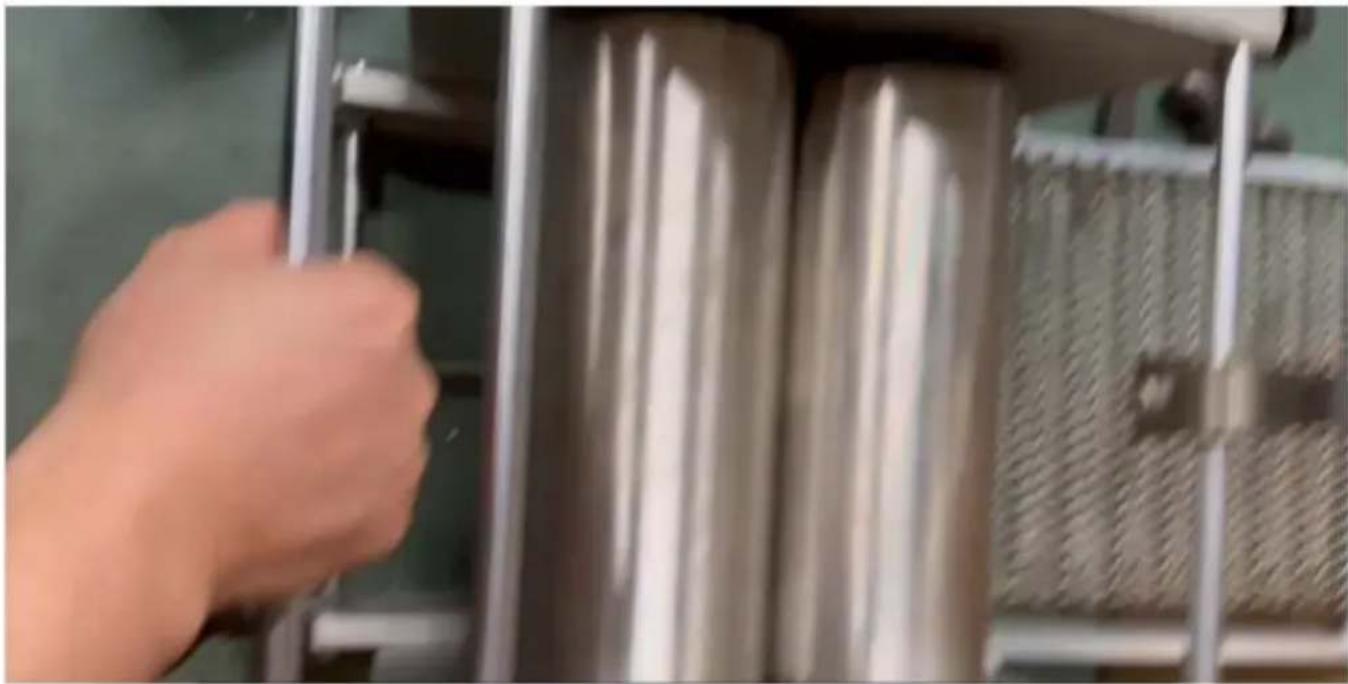
- Replace the cutting knife, take out the support, and then press down pull rod, so that the two large rollers of the machine are separated, then pull down the pull hook and hang it on the screw, then install a knife on the fixed card slot, and then remove the pull button to let back naturally, and finally lift the pull rod up to close the machine, and the support on.
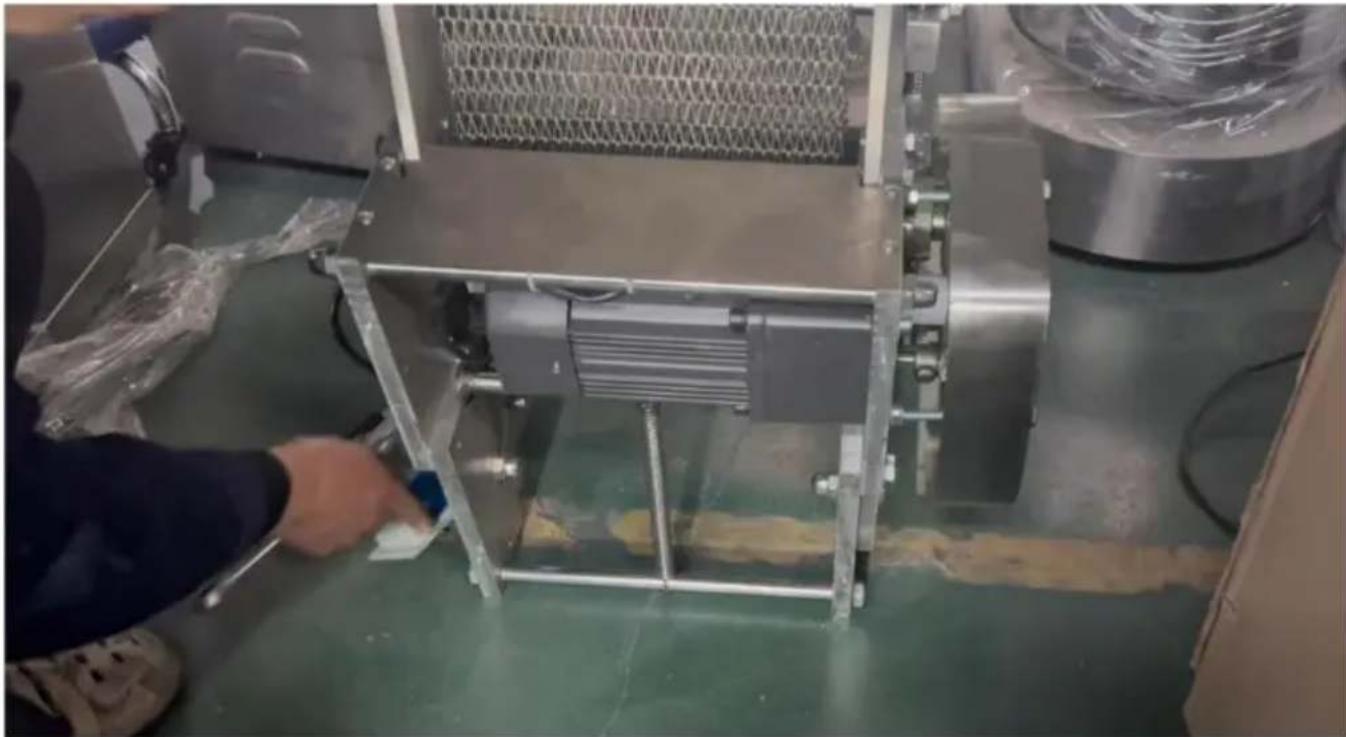
4.1. Remove the rack (as shown in the figure)
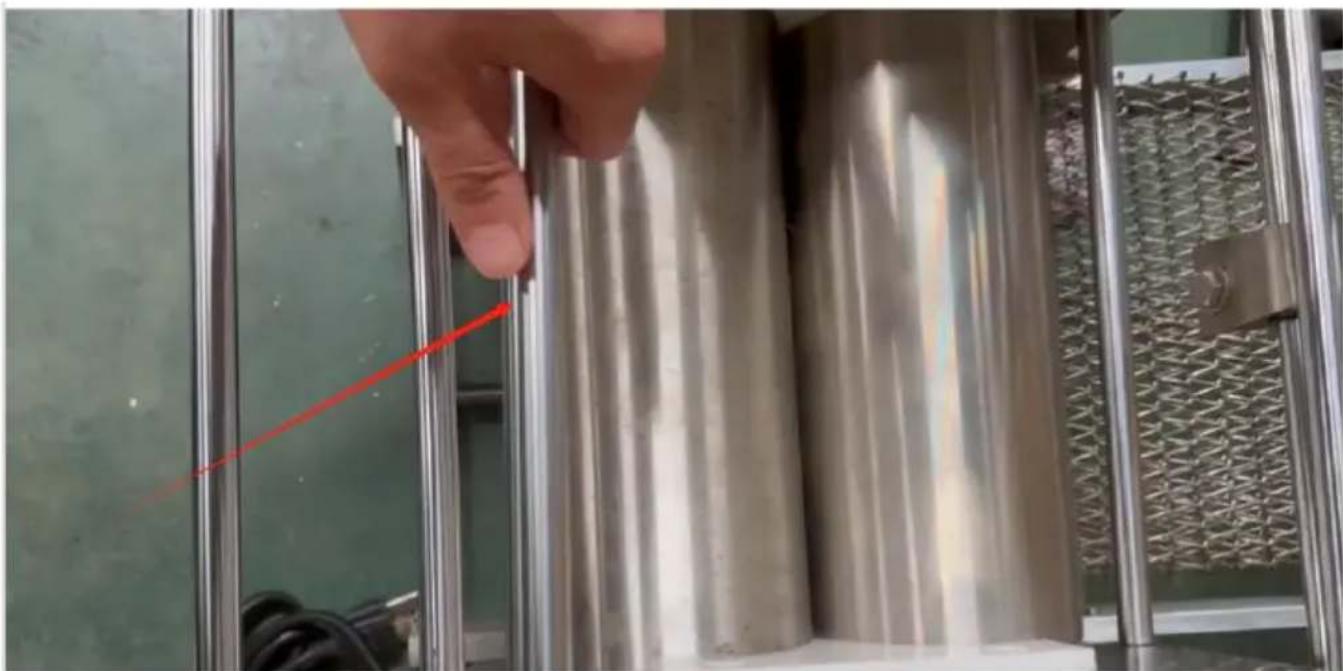
4.2. Hold and squeeze this rod down with your arm
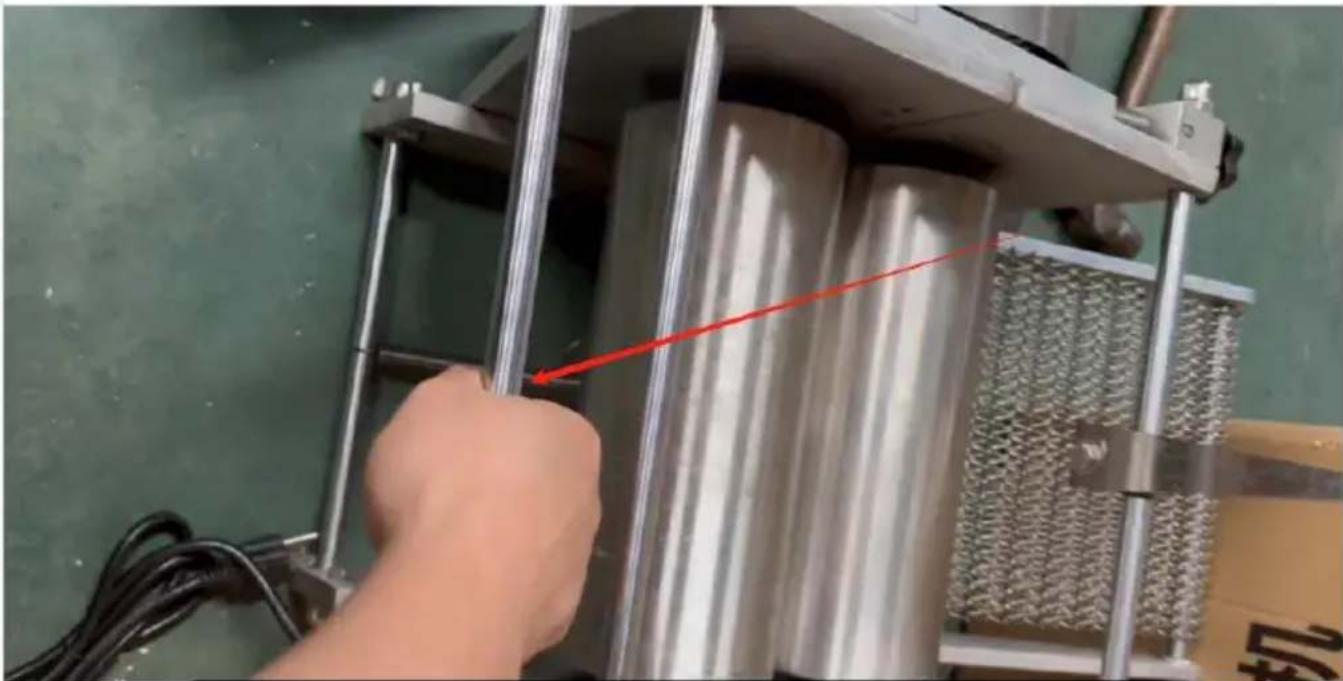
4.3. After the extrusion is completed, hang the hook (as shown I arrow 1 in the figure) to the screw (as shown by the arrow 2 in figure)
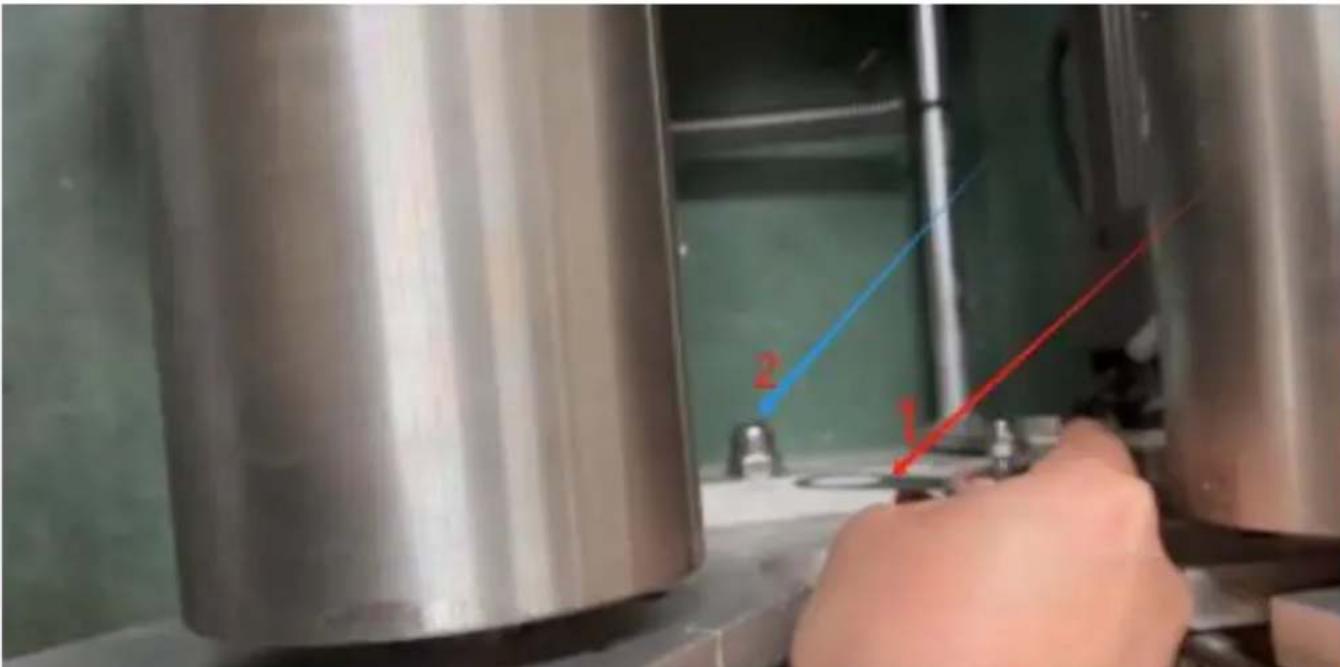
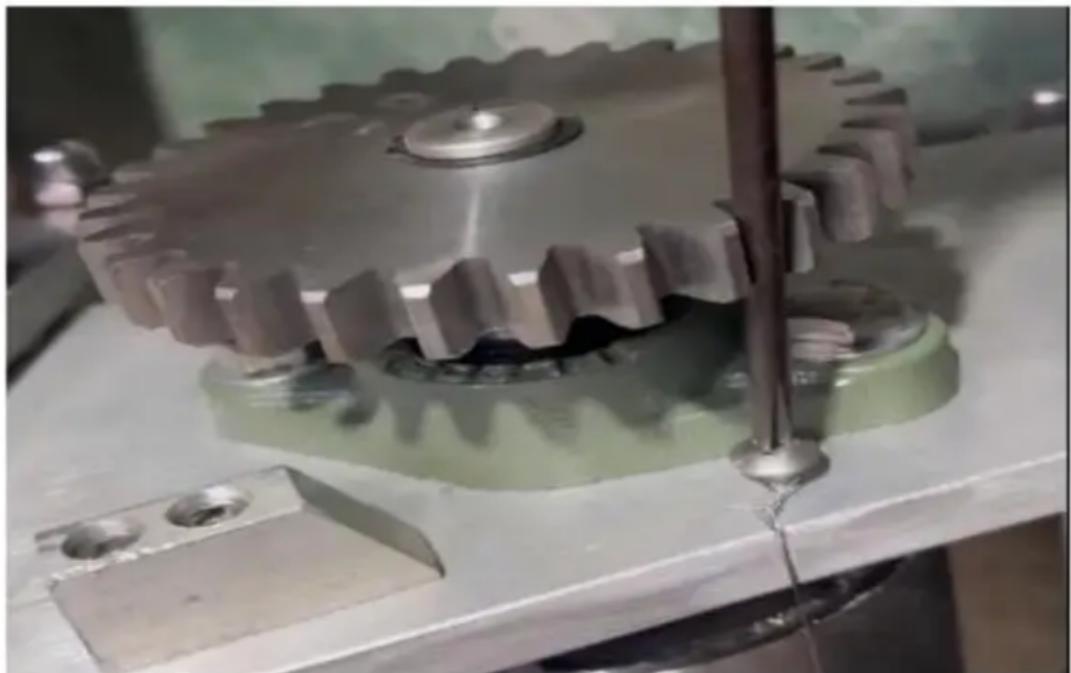
4.4. Install the dough knife and place it in the groove shown in picture
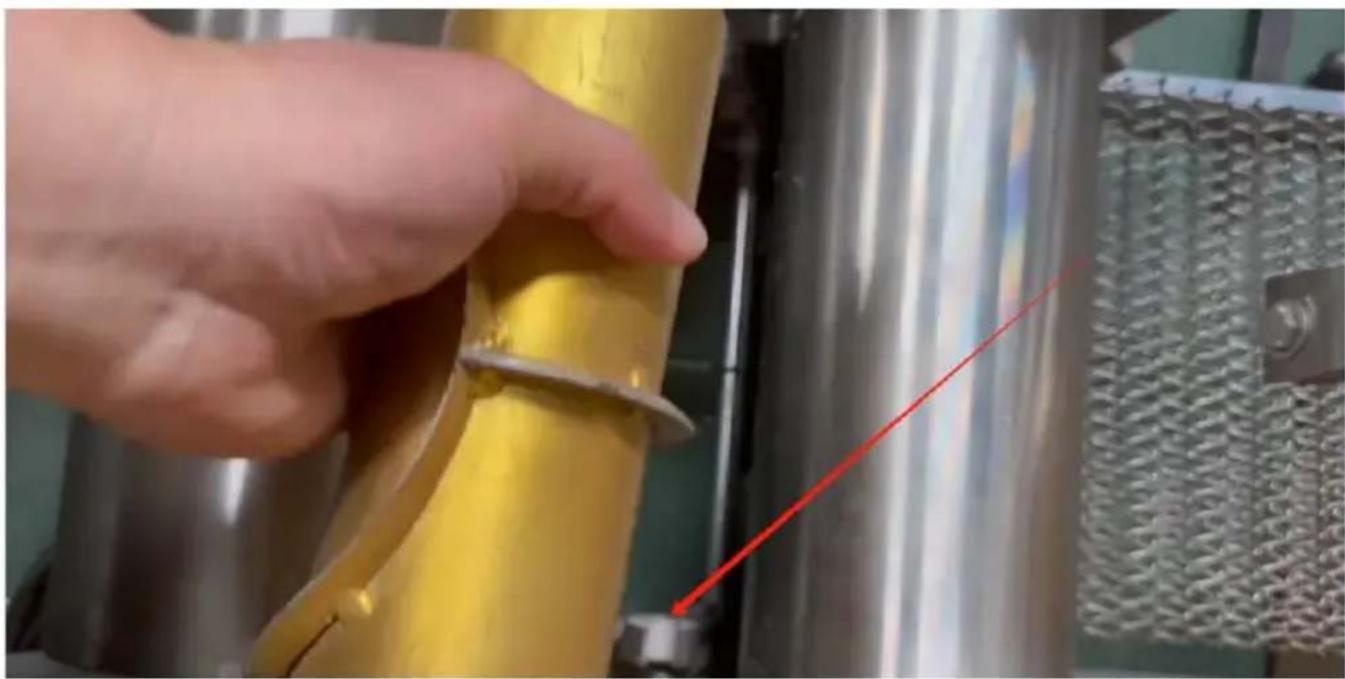
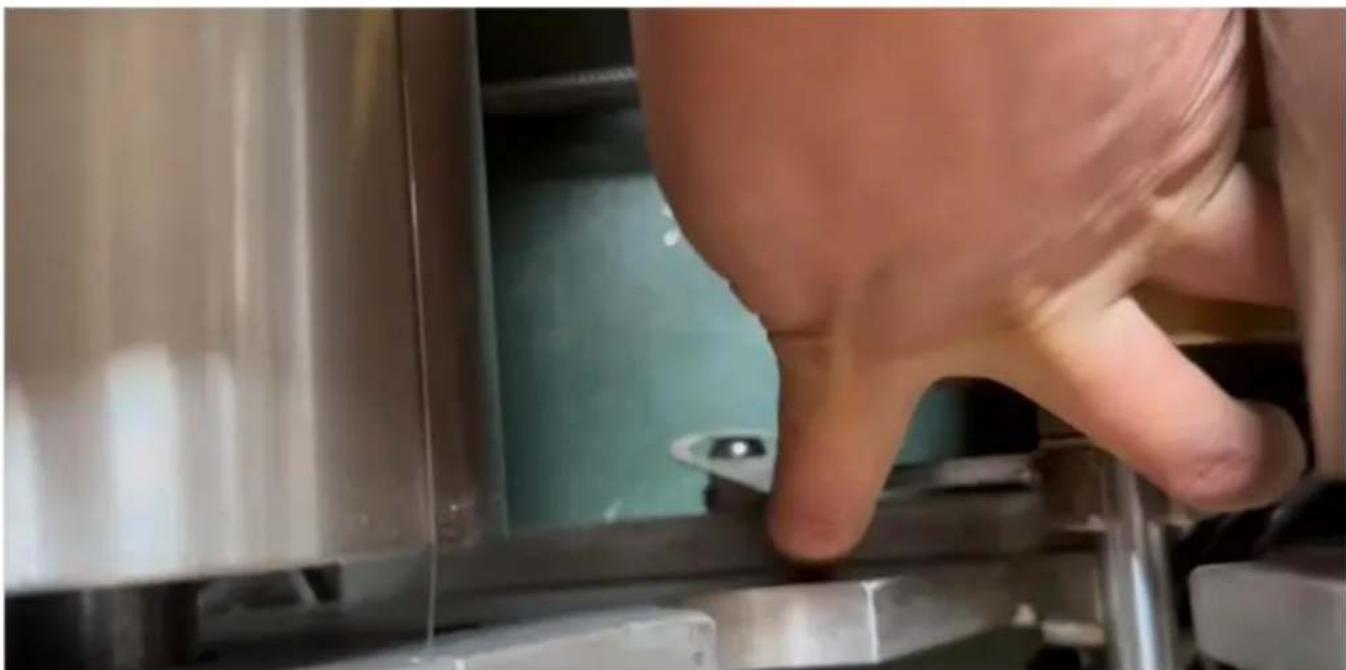
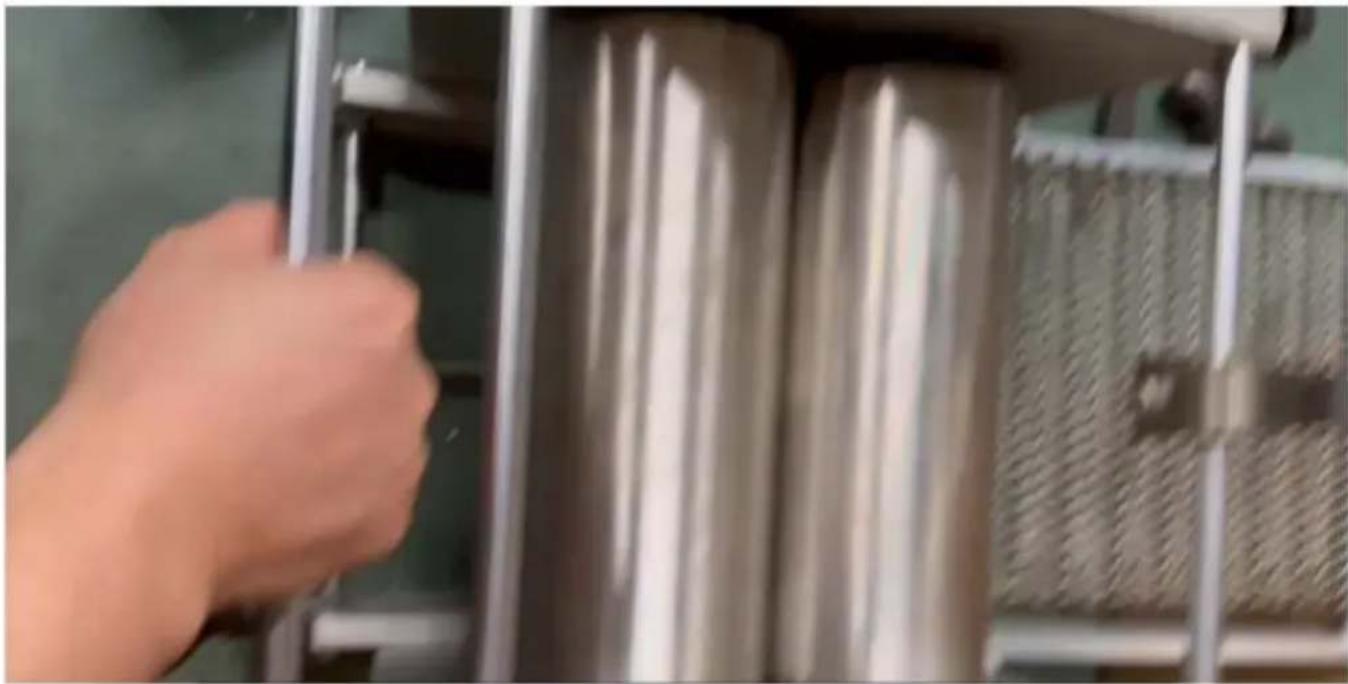
4.5. Remove the hook
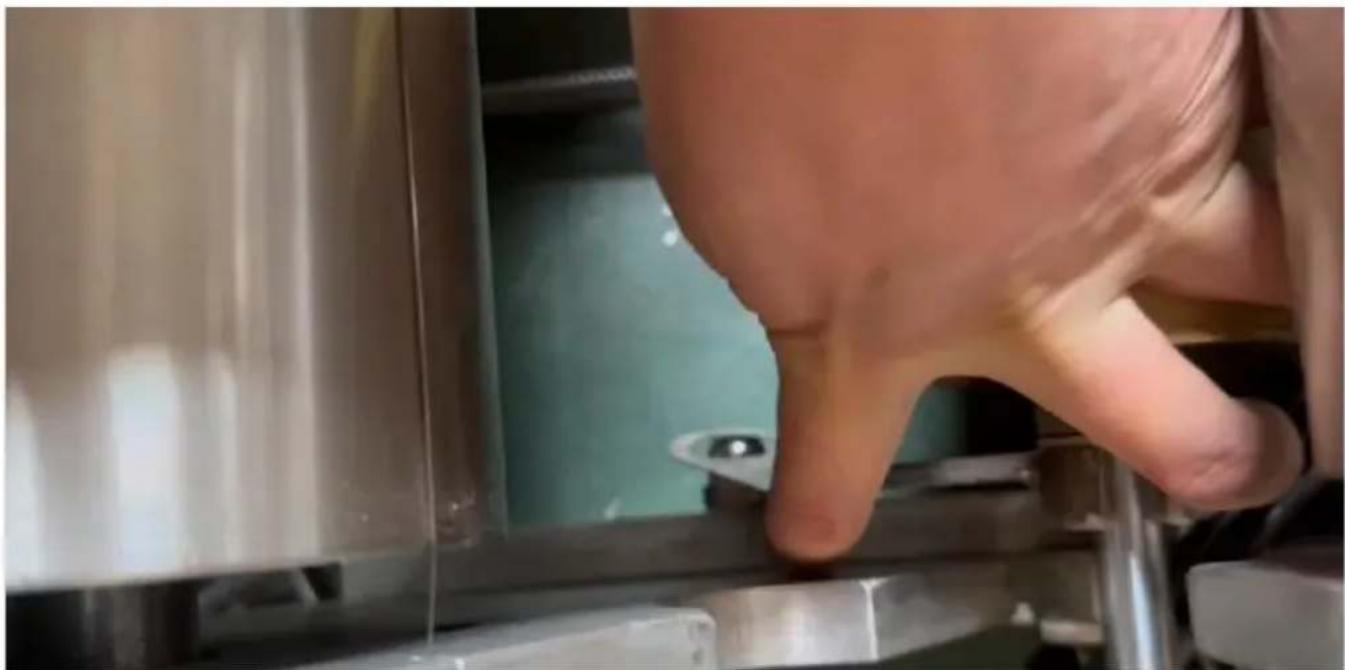
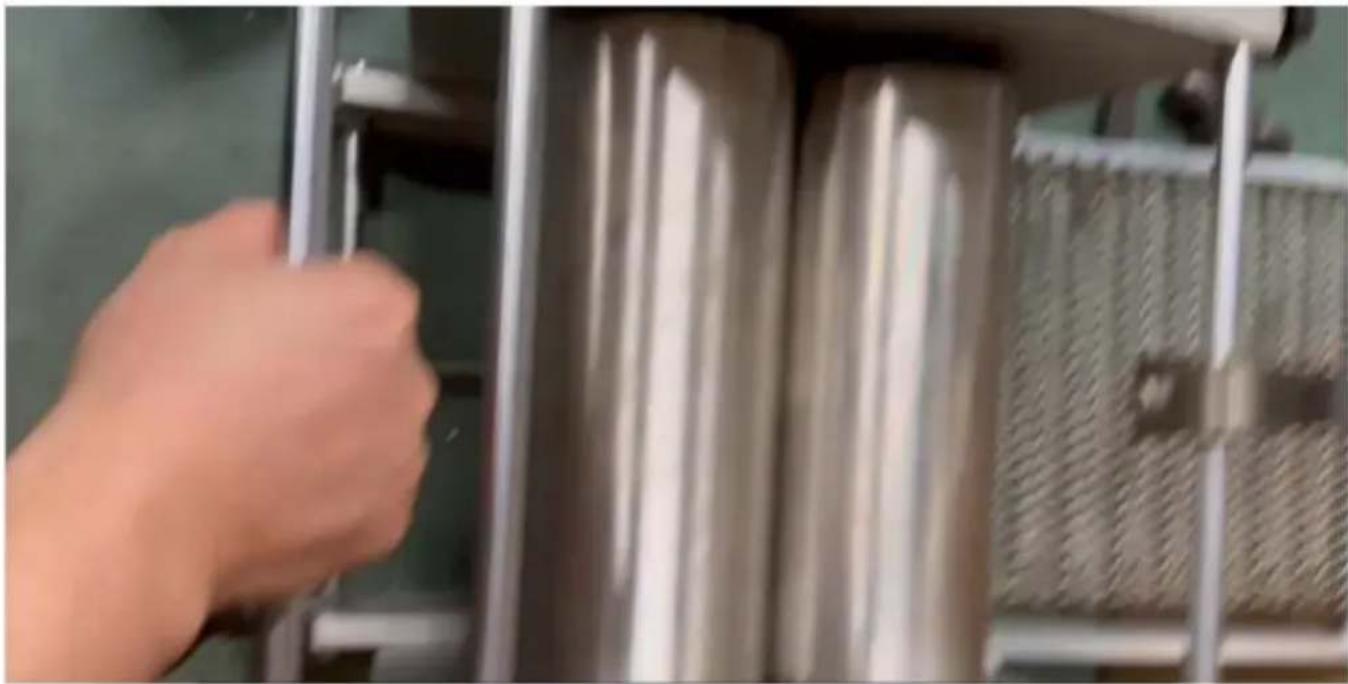
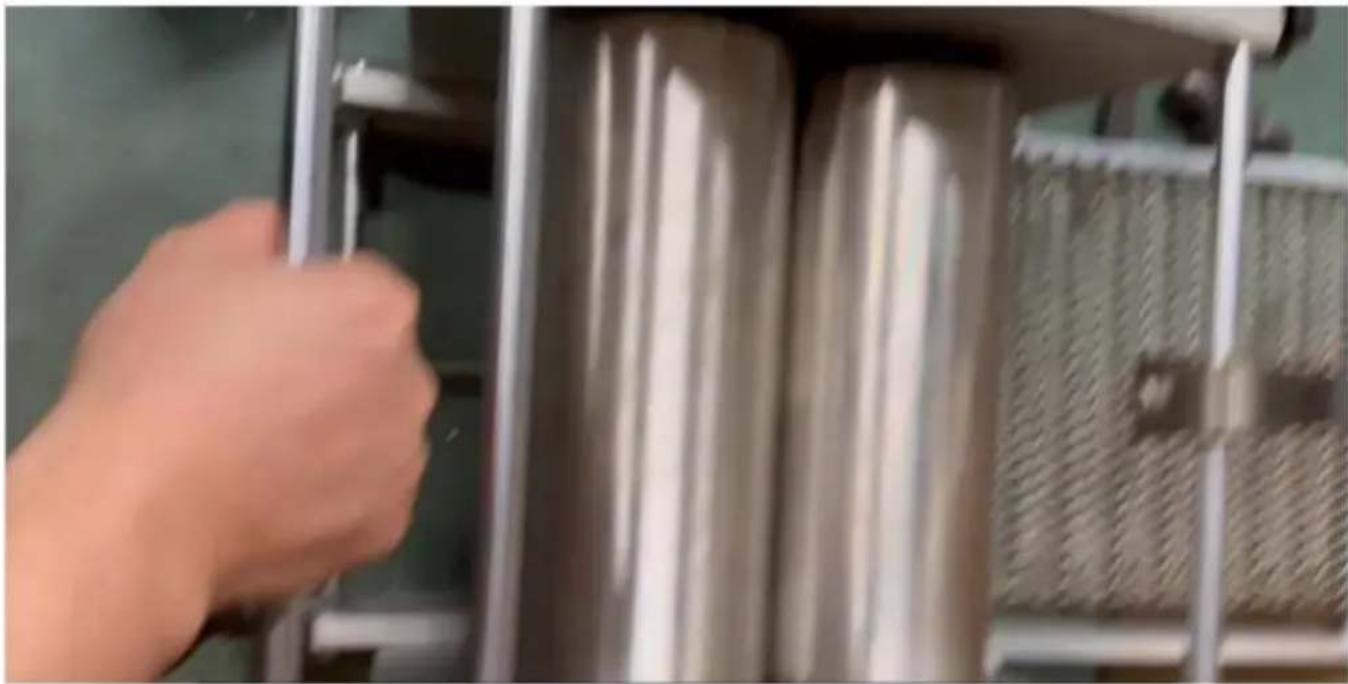
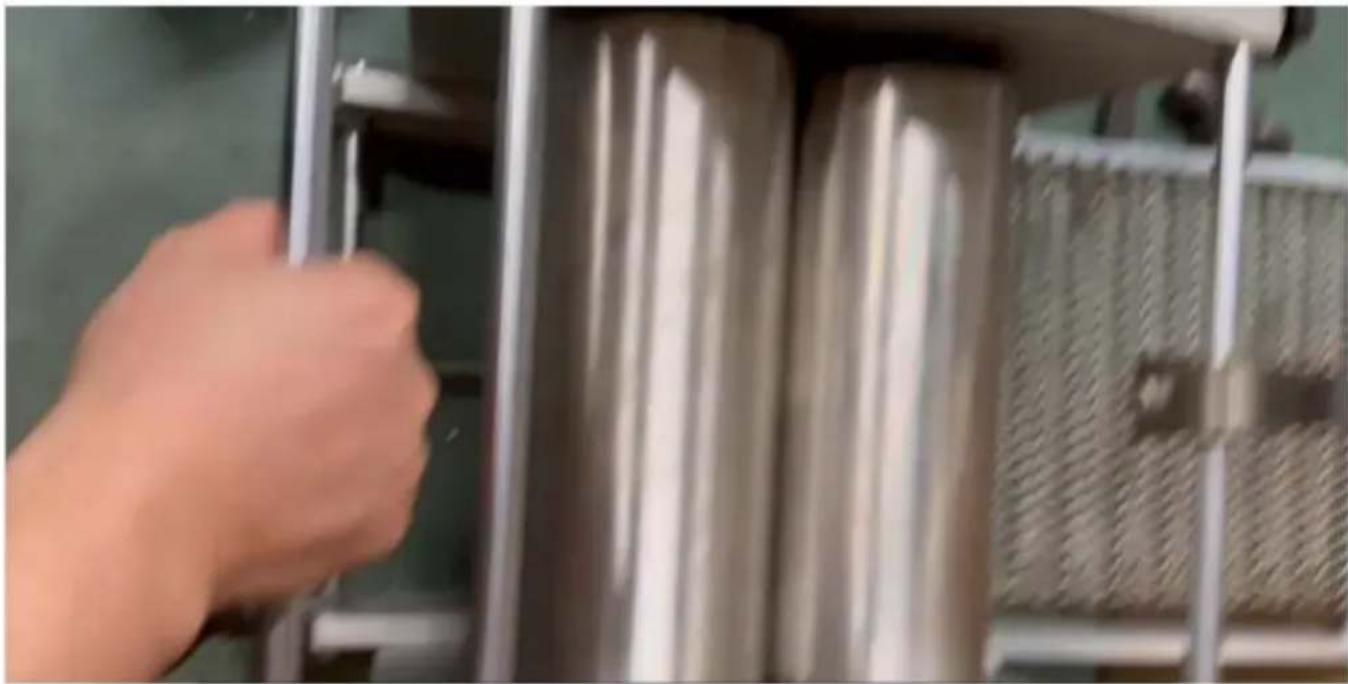
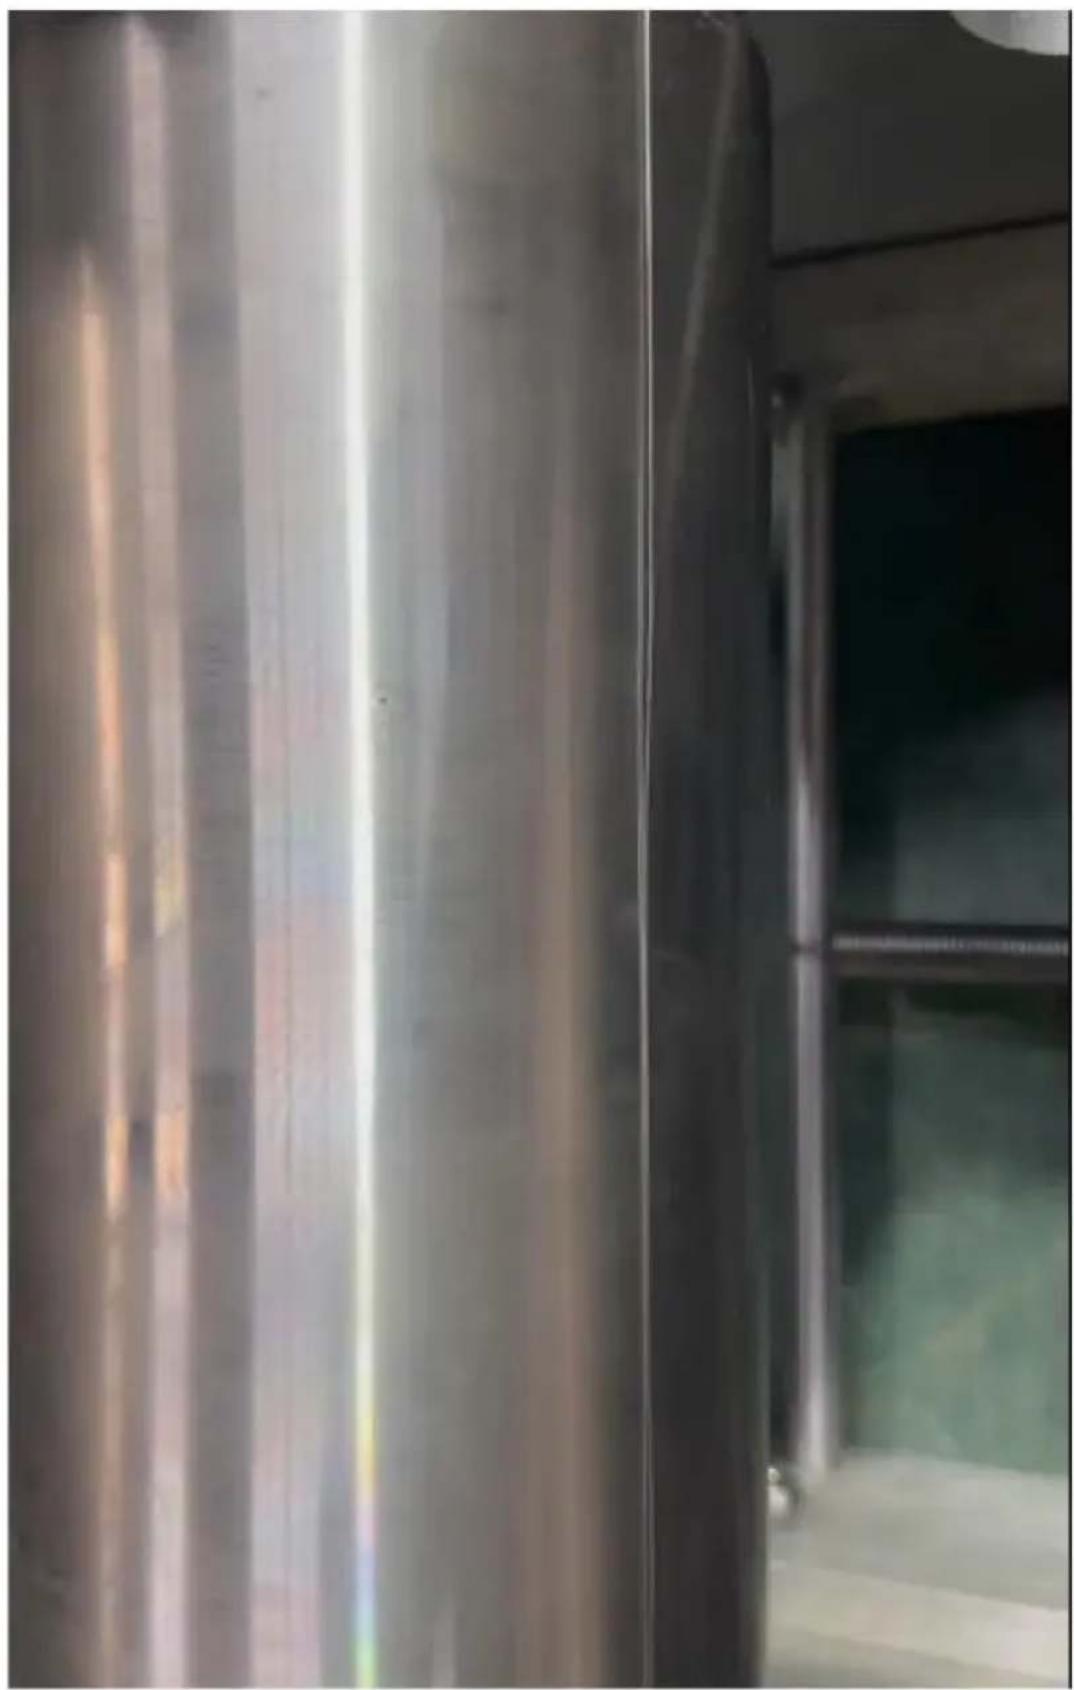
4.6. Buckle the two rollers together
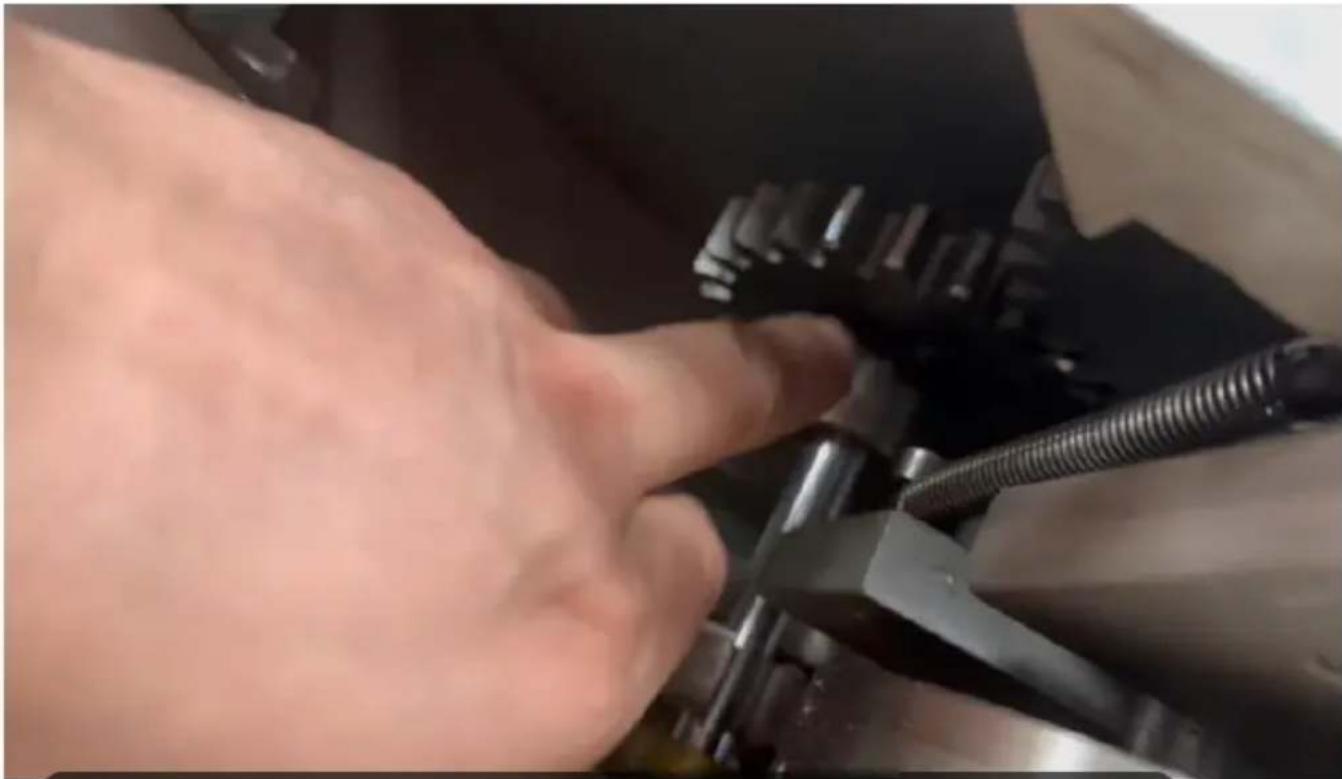
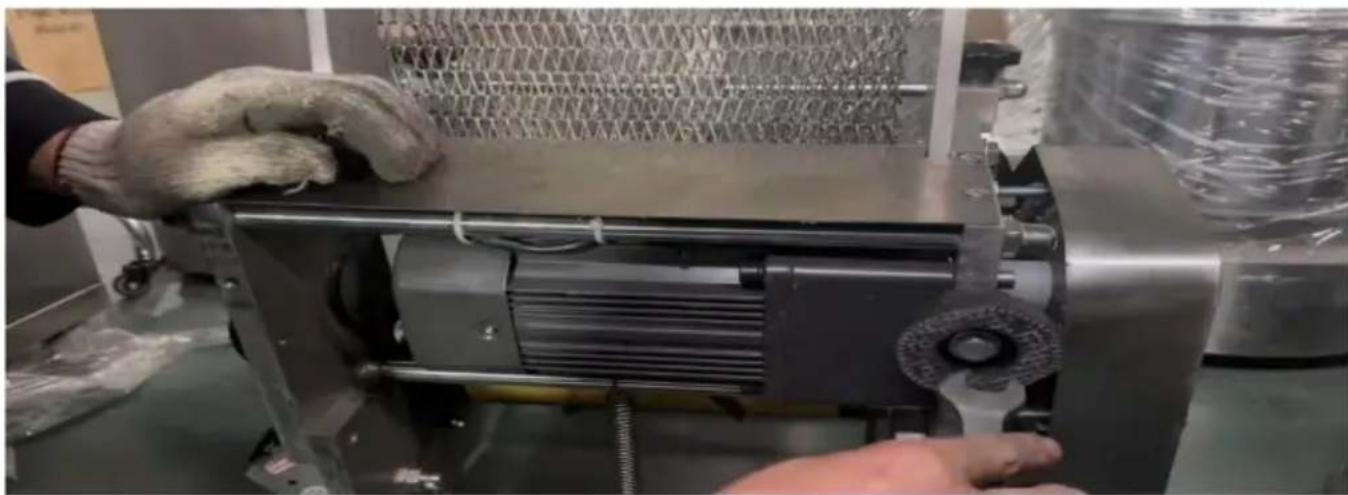
4.7. Hold the outermost rod and pull it up to lift the machine. After lifting as shown in the figure.
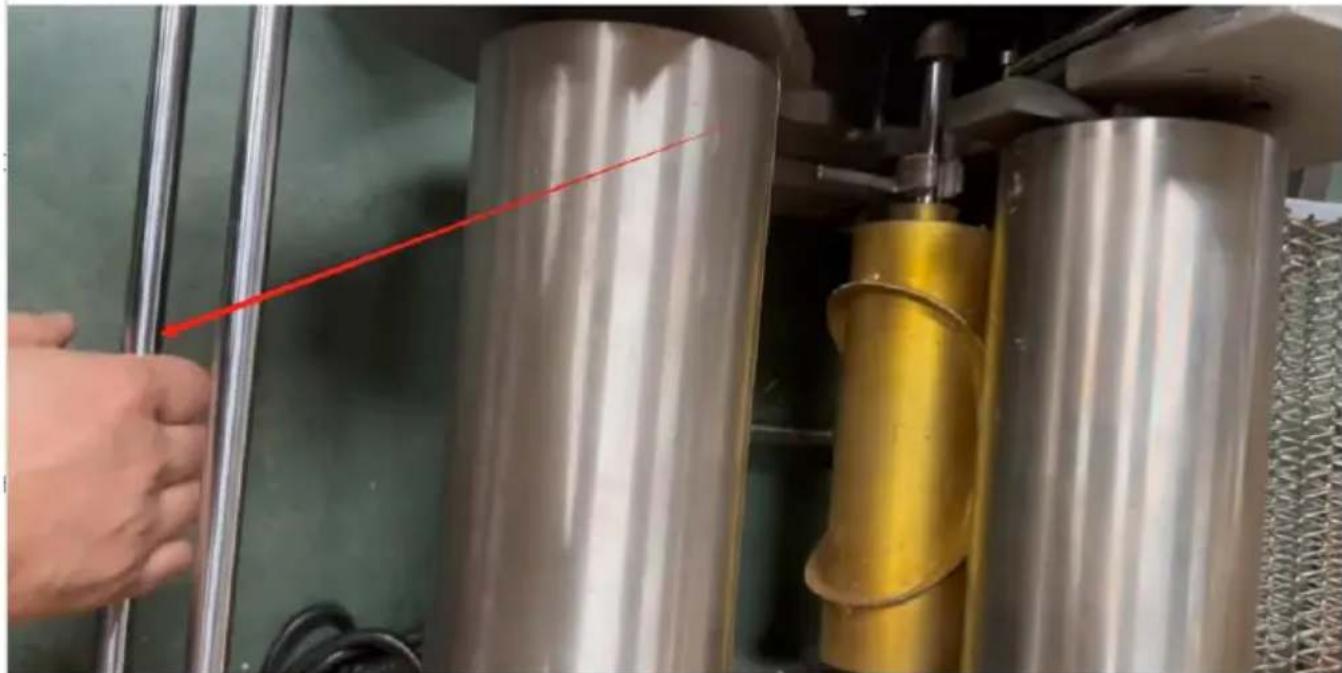
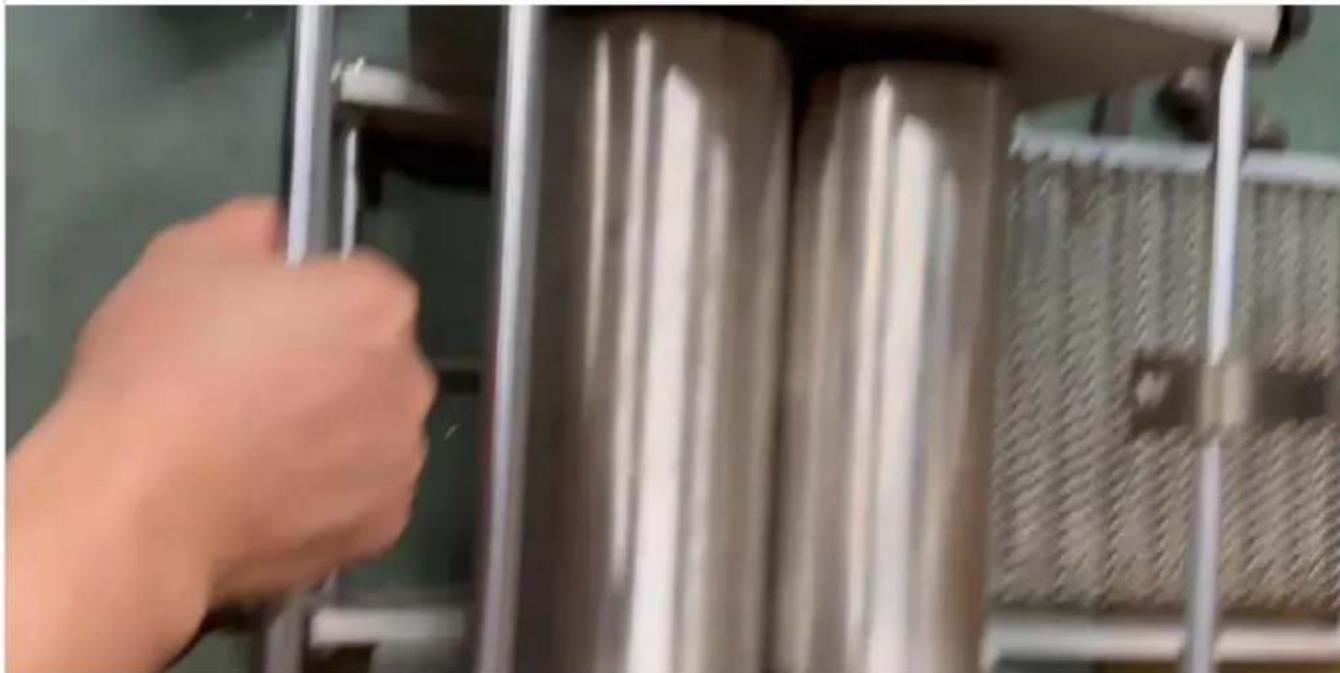
4.8. Reinstall the rack (as shown in the figure) and the operation is complete.
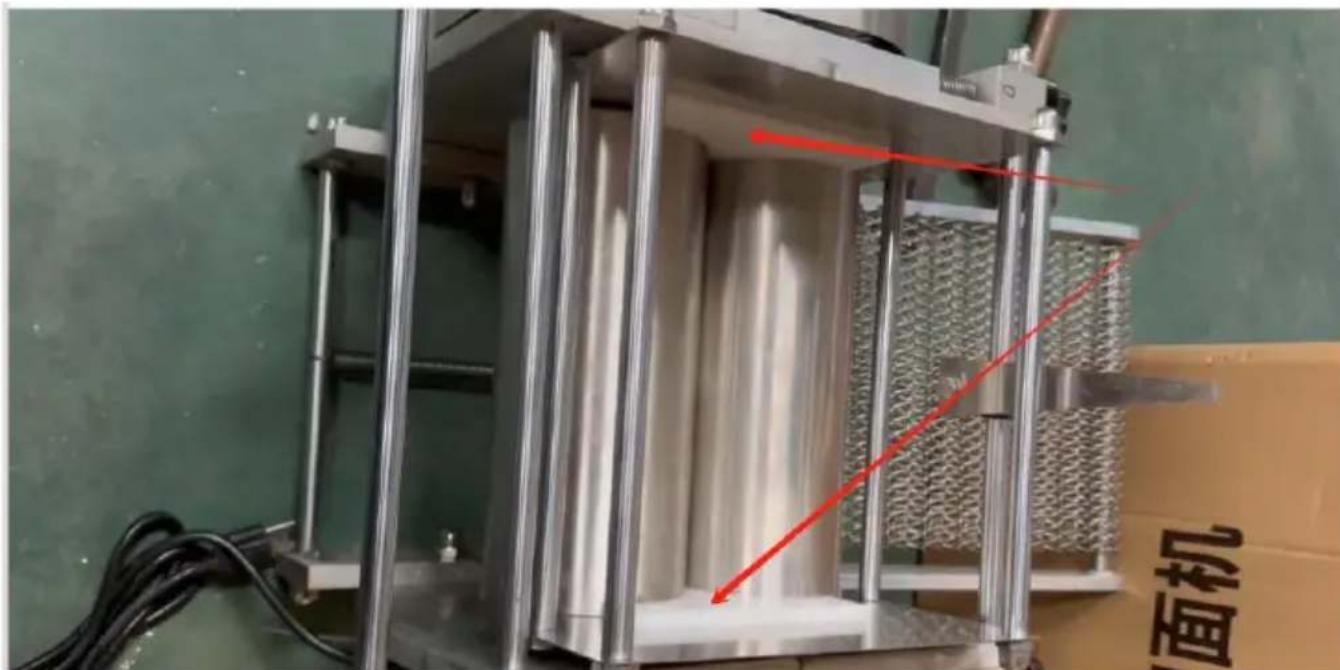
4.9. Workflow Diagram:
![graph TD A["Remove the rack"] --> B["Hold and squeeze this rod down with your arm"] B --> C["After the extrusion is completed, hang the hook to the screw."] C --> D["Install the dough knife and place the dough knife in the groove"] D --> E["Remove the hook"] E --> F["Let the two rollers buckle toget…](/content/2026/04/734394/images/a492a26266eee048d28d7507c1a39db52f588cee264184cd39ec488a4c479827.jpg)
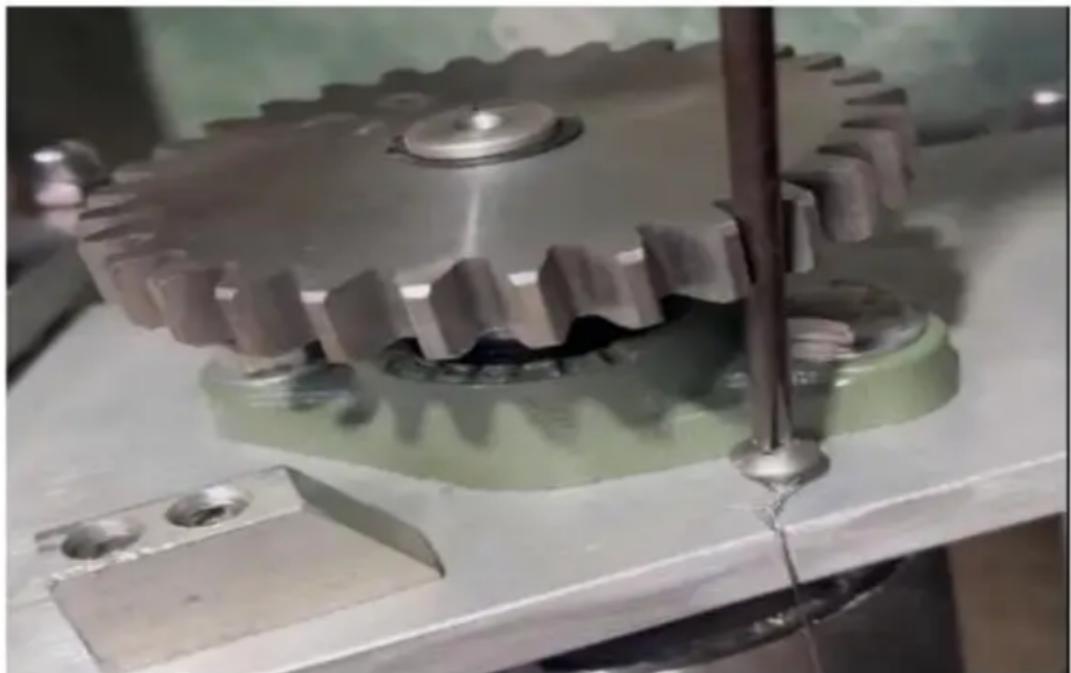
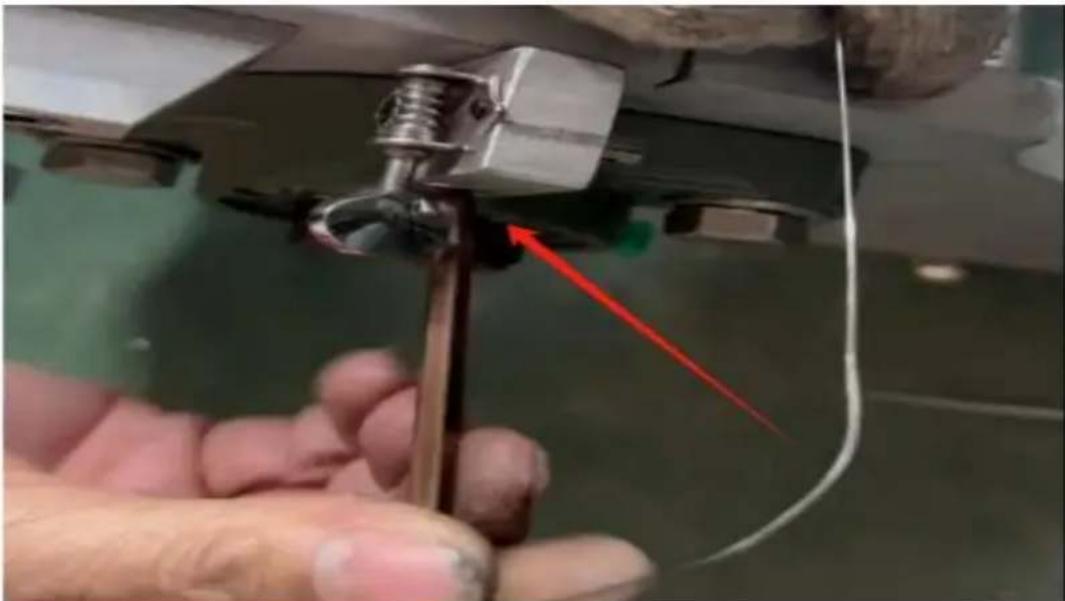
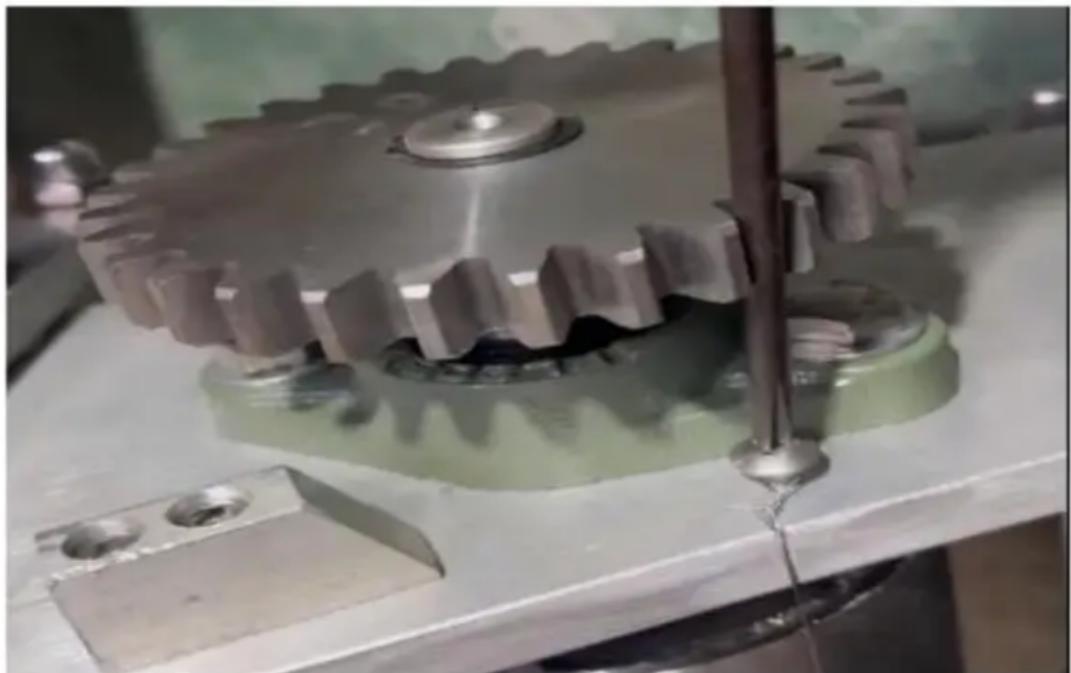
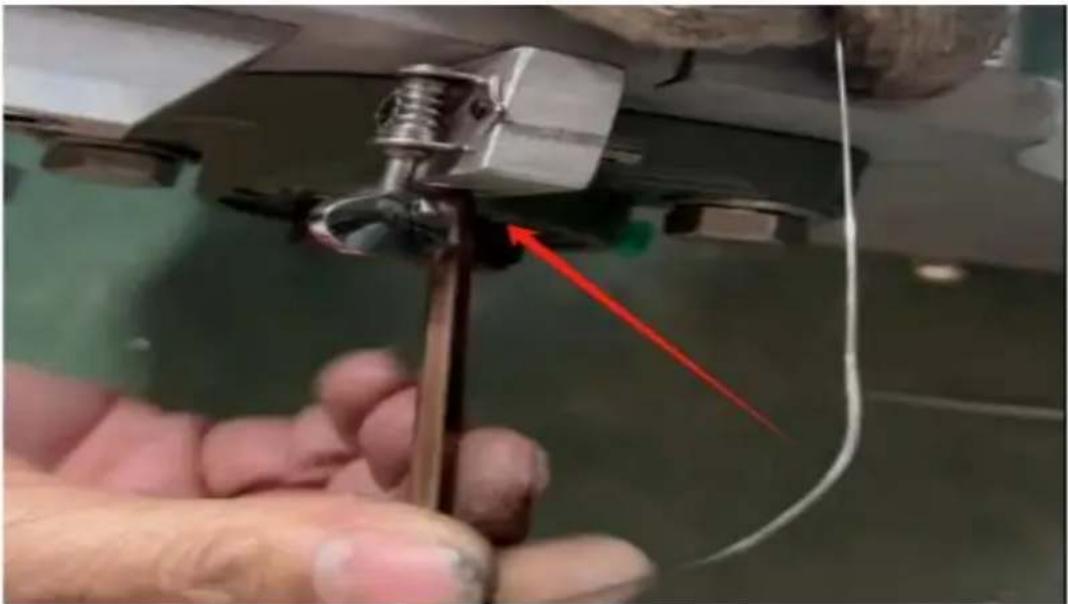
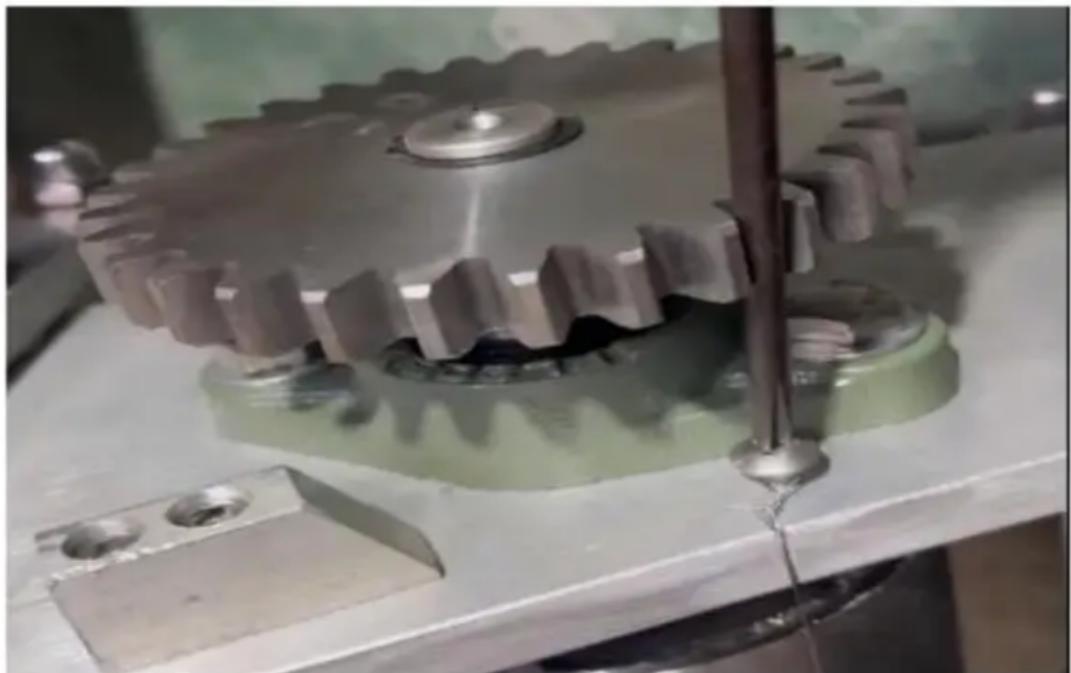
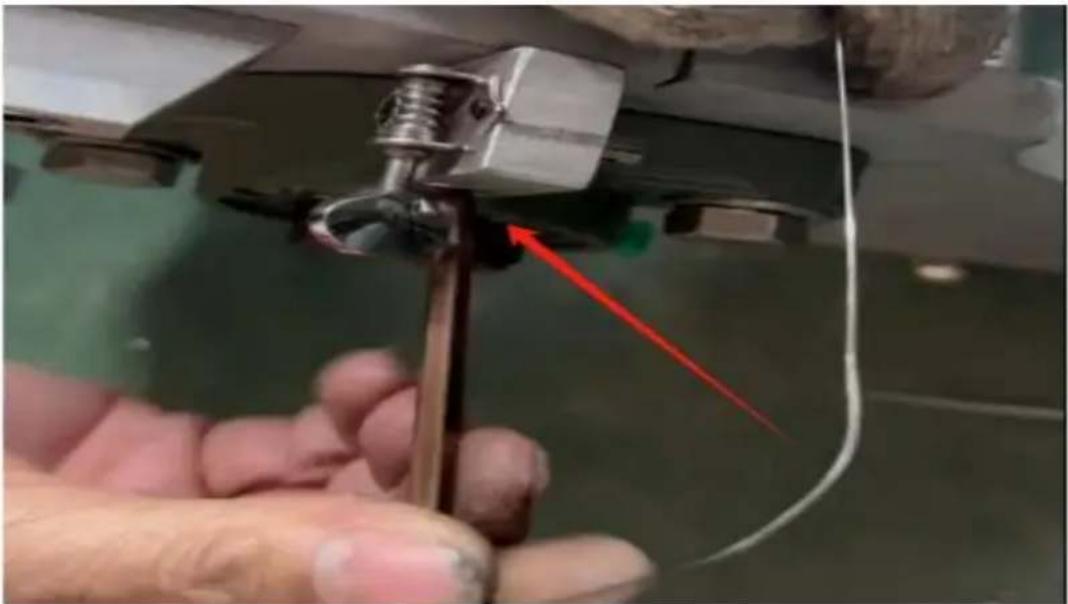
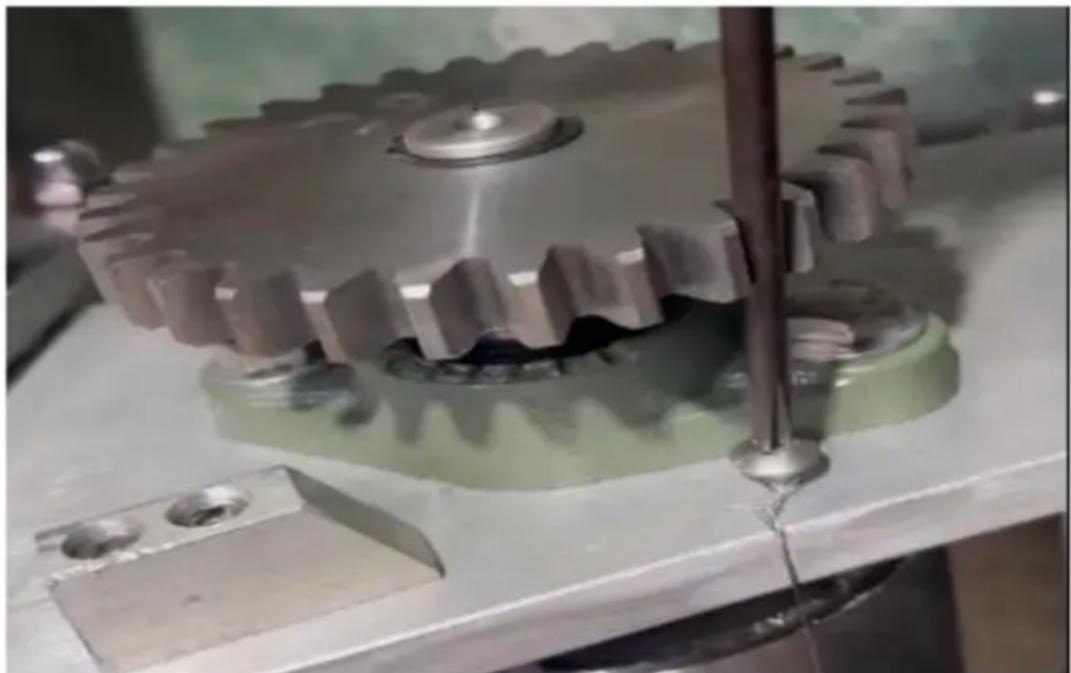
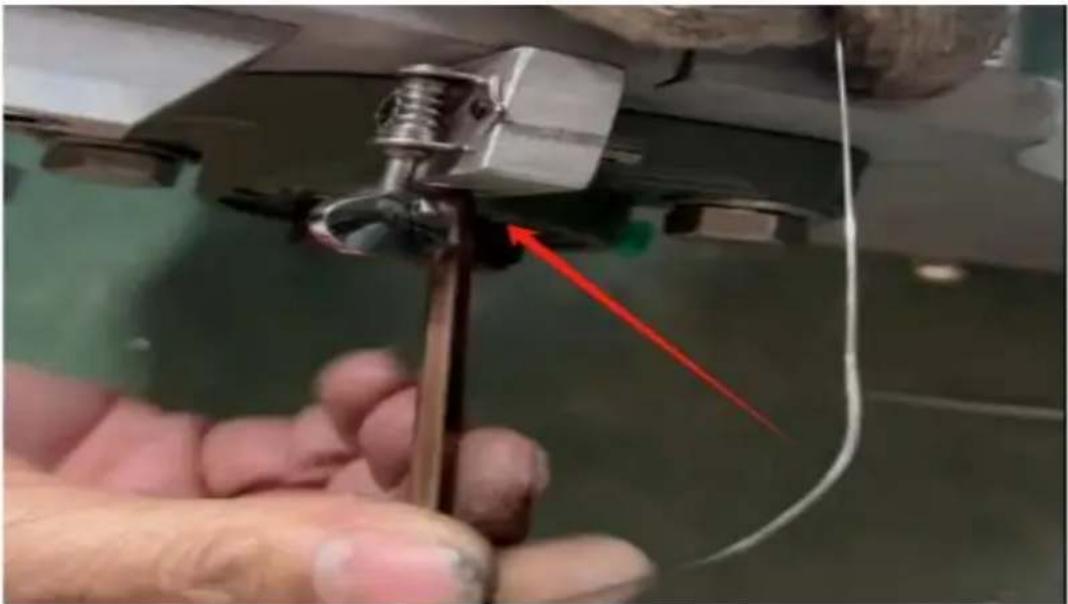
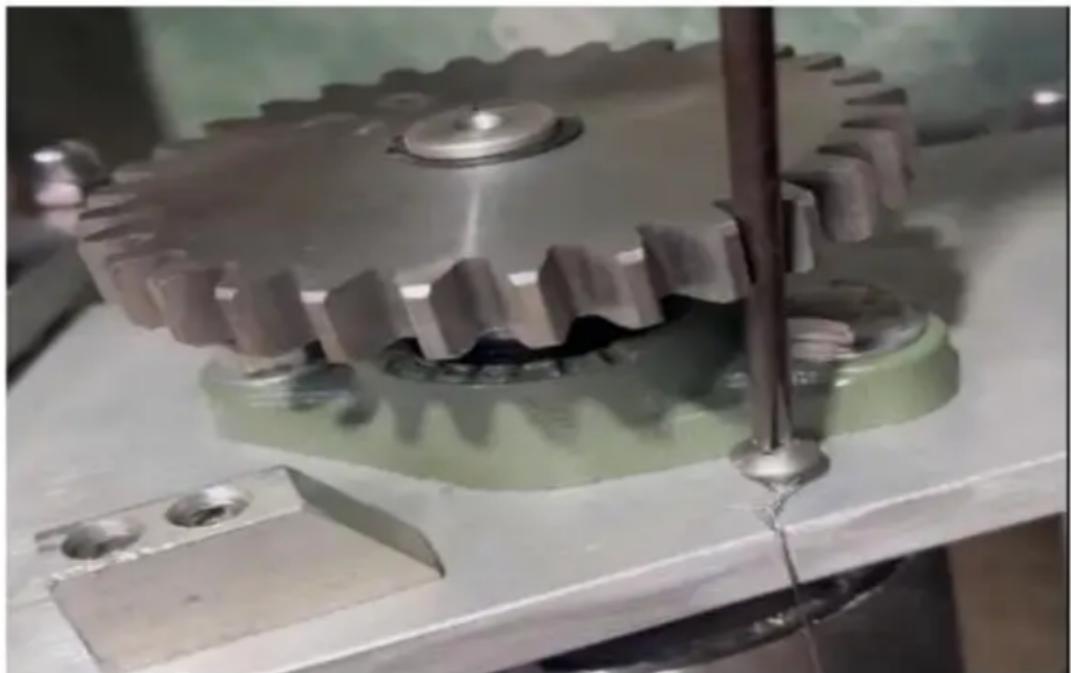
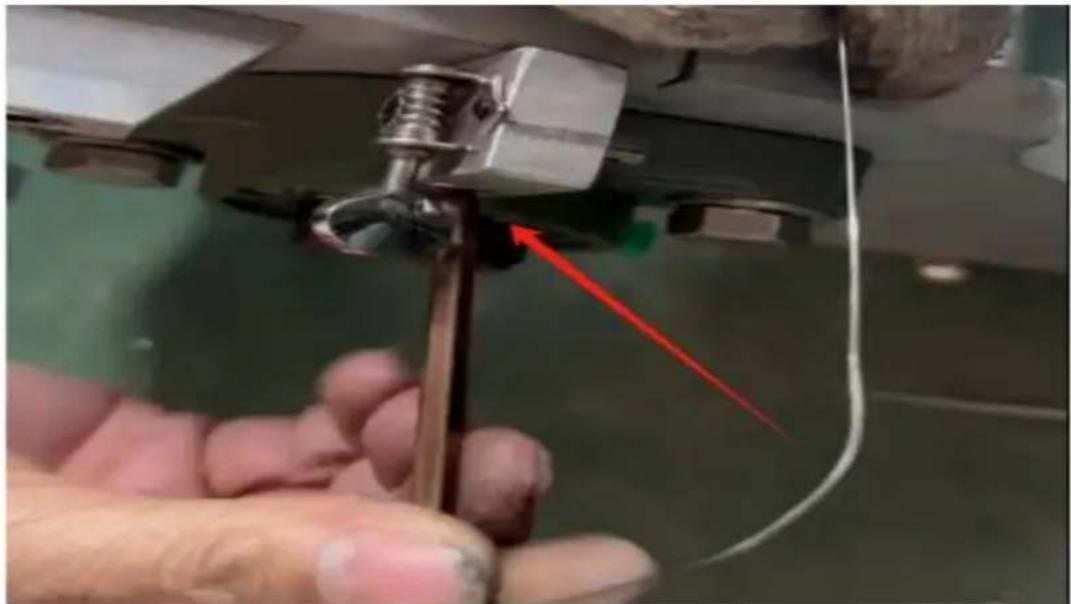
- Replace the surface scraping wire: fix the surface scraping wire to the screw, pass it through the two small round holes, then fix it to the adjustment screw at the other end, and use the adjustment screw to tighten the scraping line.
5.1. First, use pliers to bend the wire into a circle.
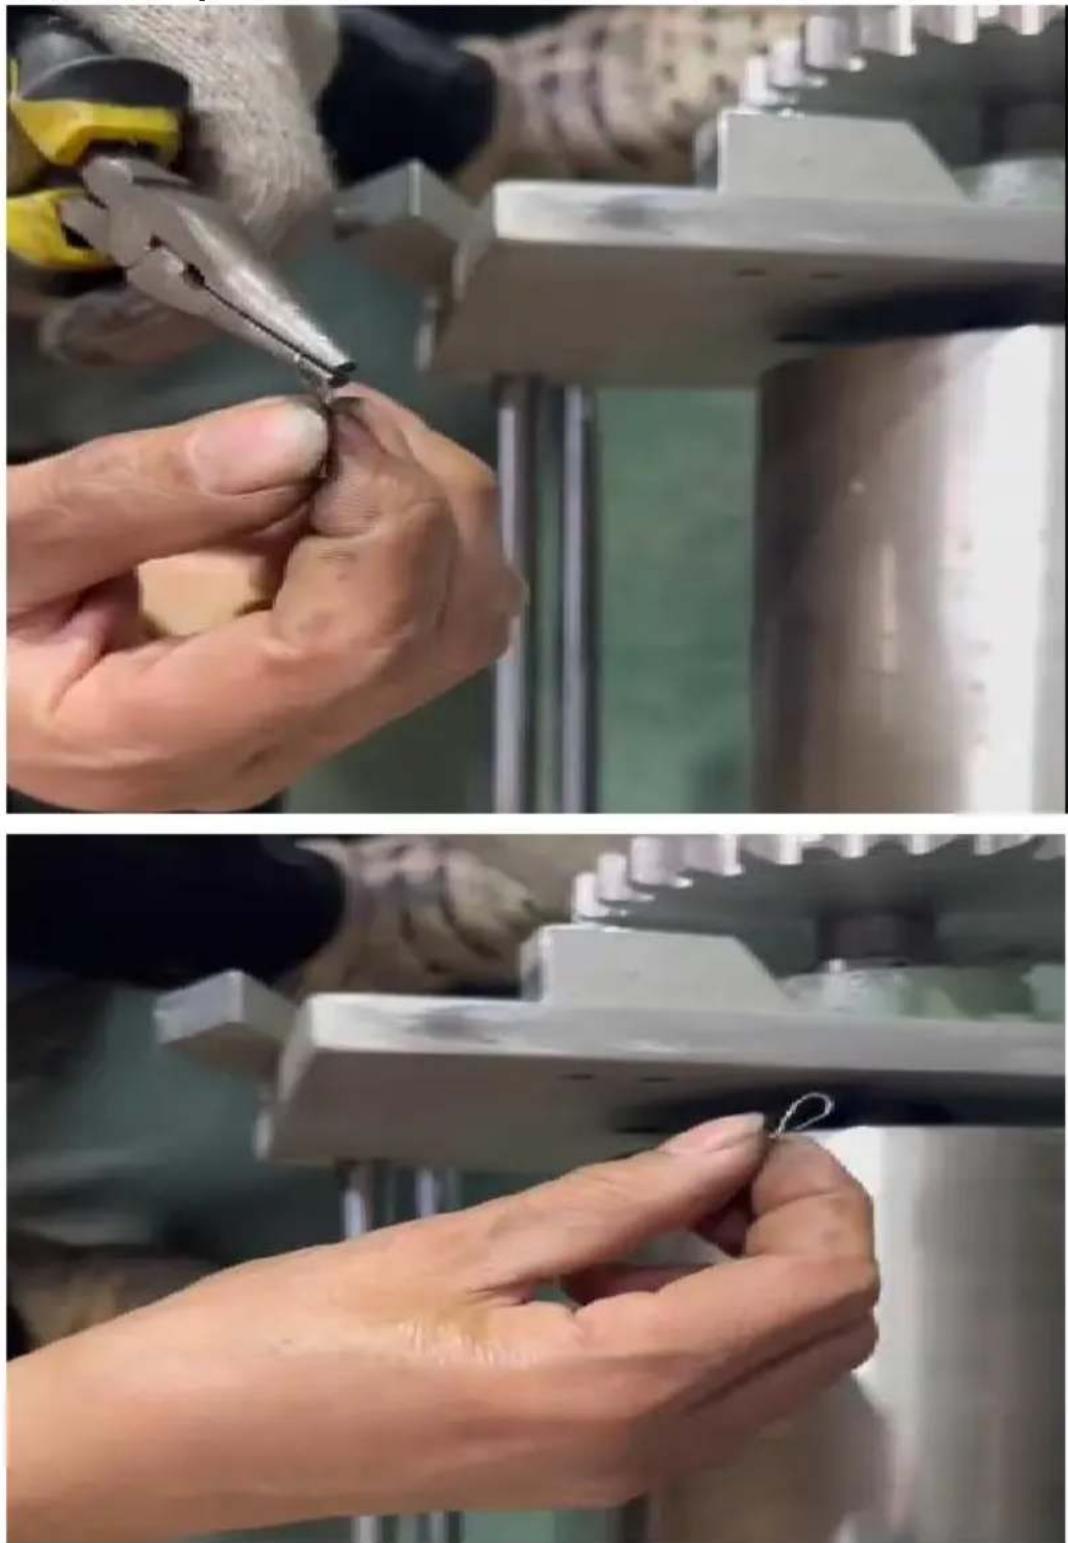
5.2. Remove the screws shown in the picture.
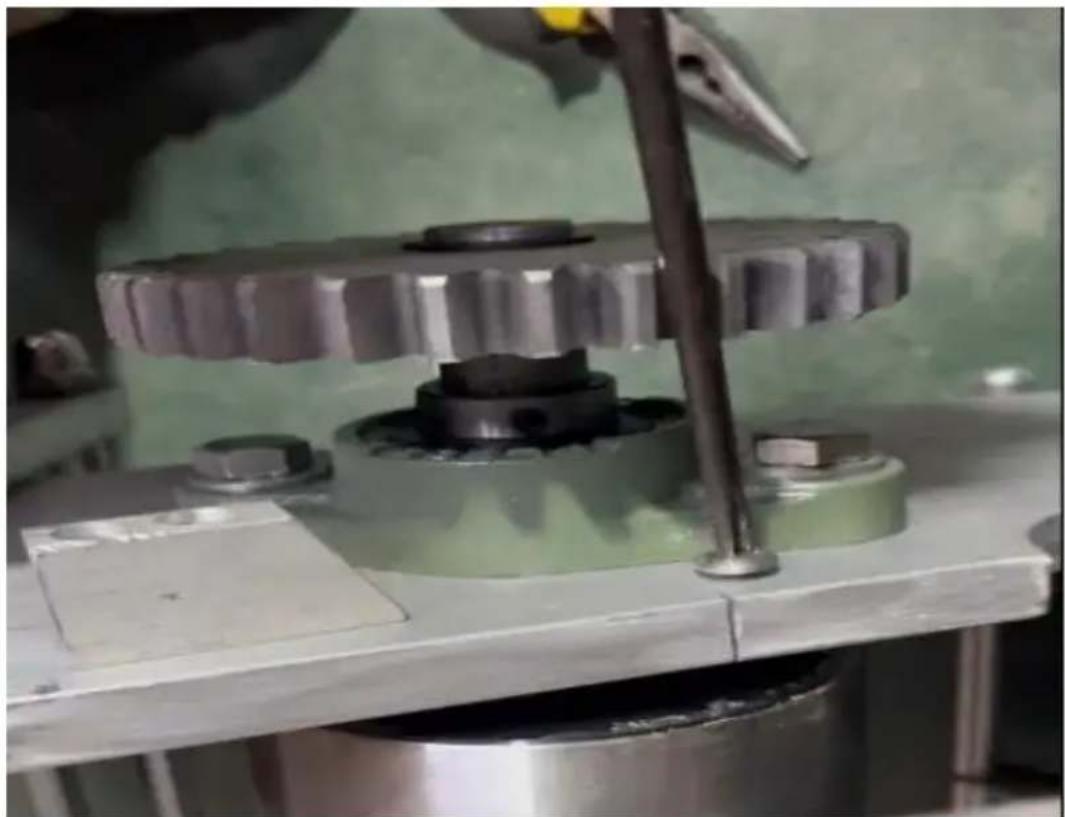
5.3. Put on the wire, then insert it back into the original position and tighten it.
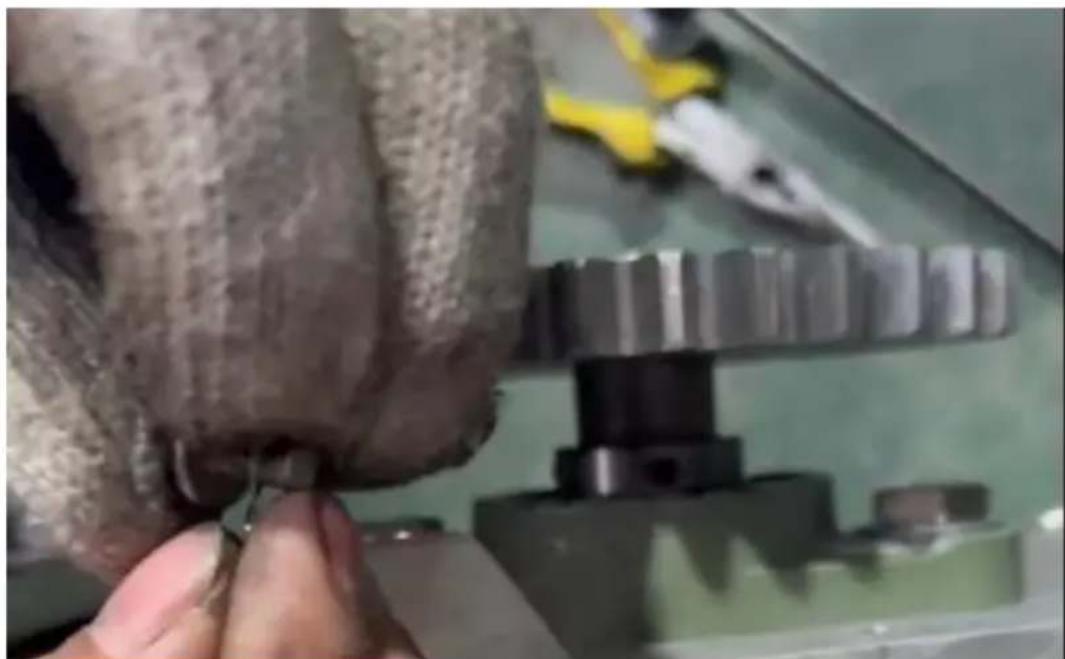
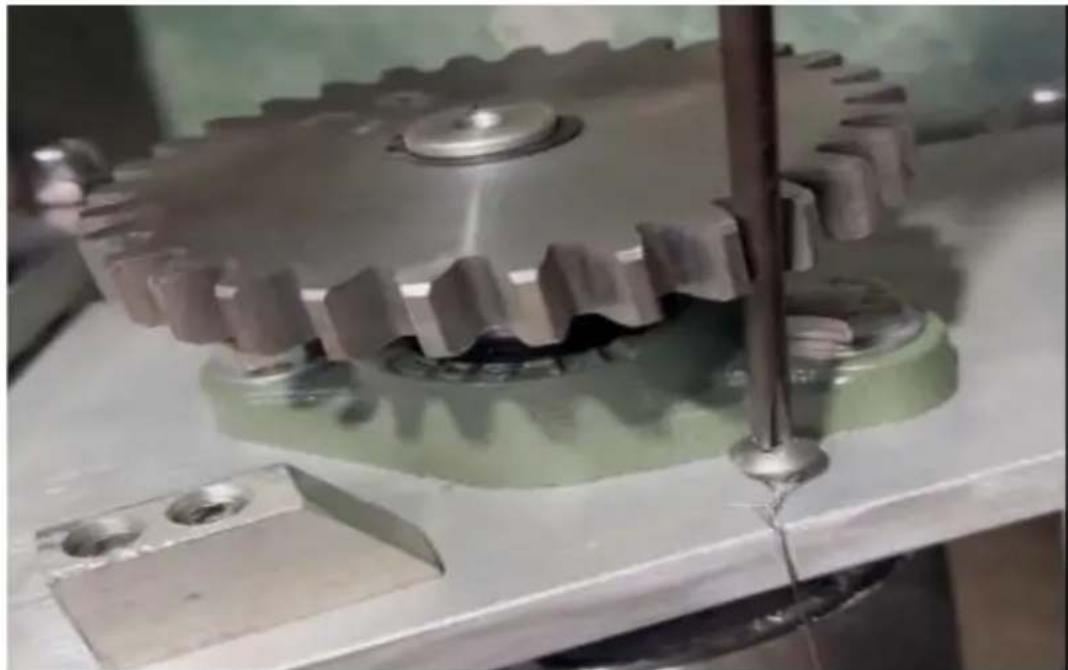
5.4. Snap the wire into the seam and pull it to the other side.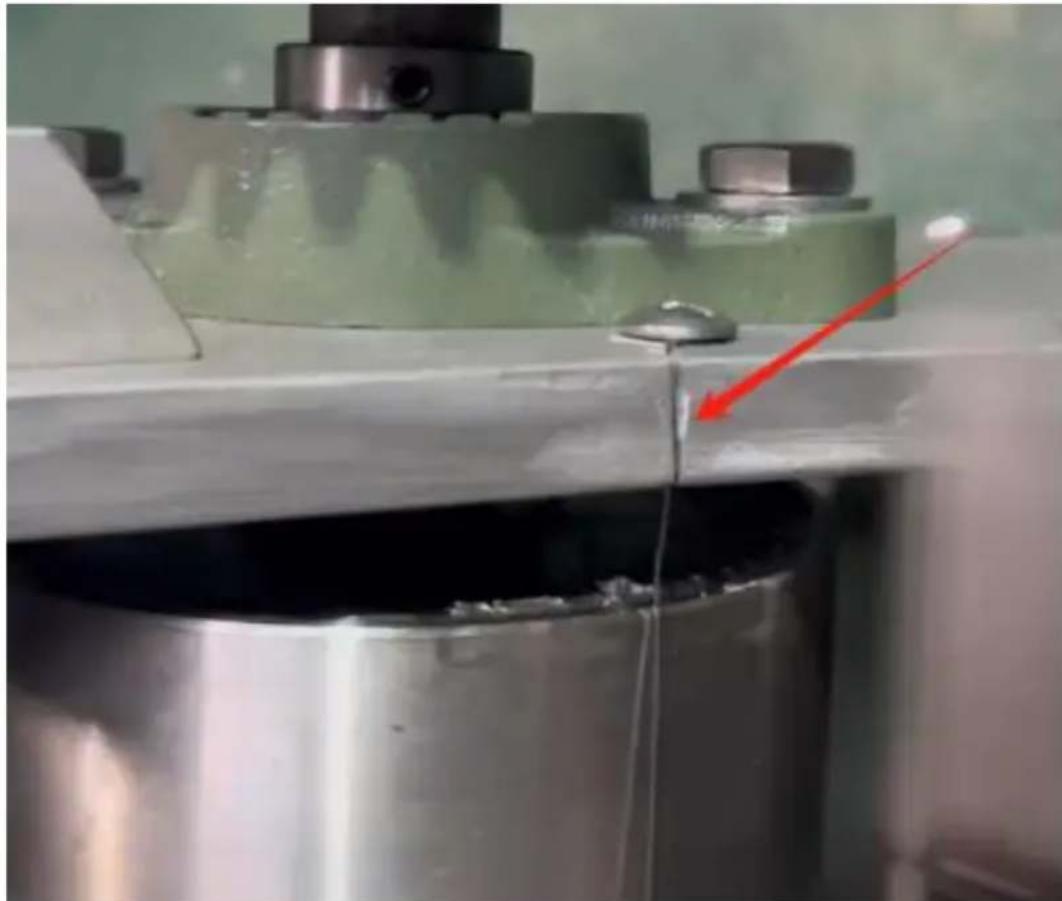
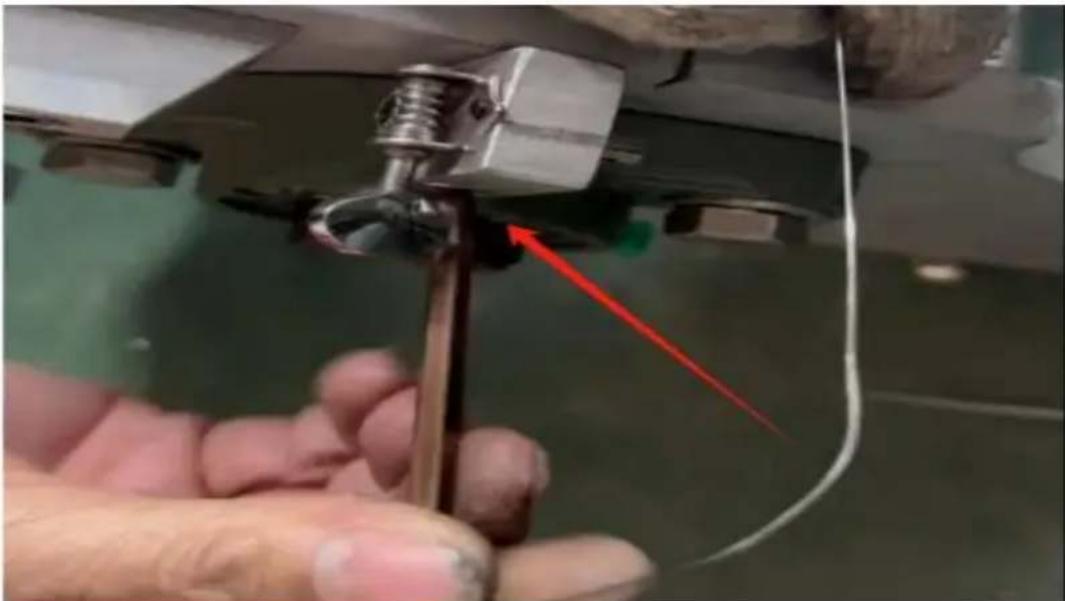
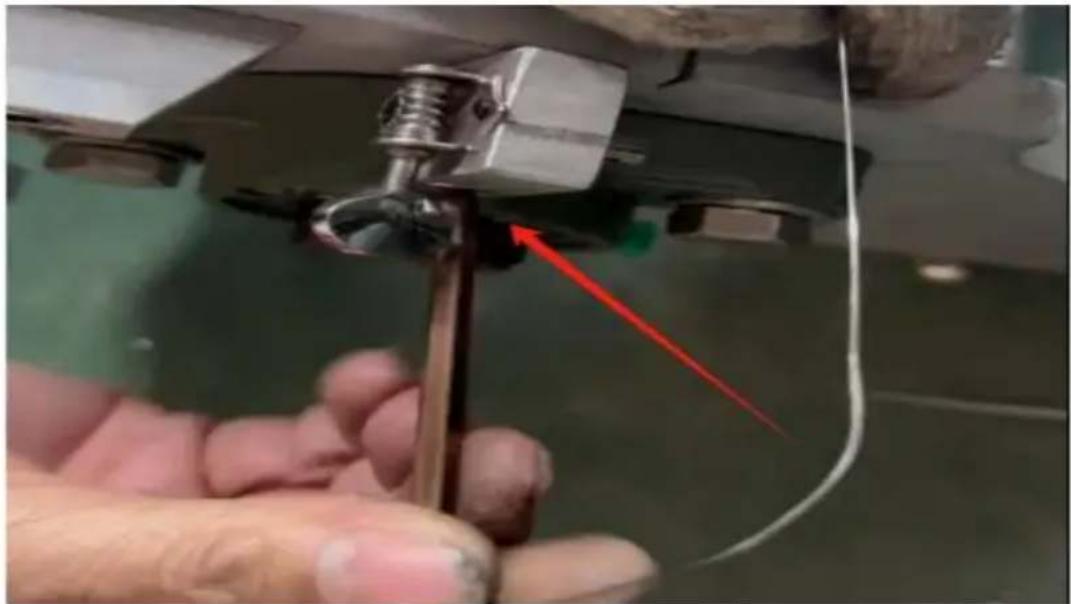
5.5. Unscrew the object in the picture with a screwdriver and pass the wire through the small hole of the object.
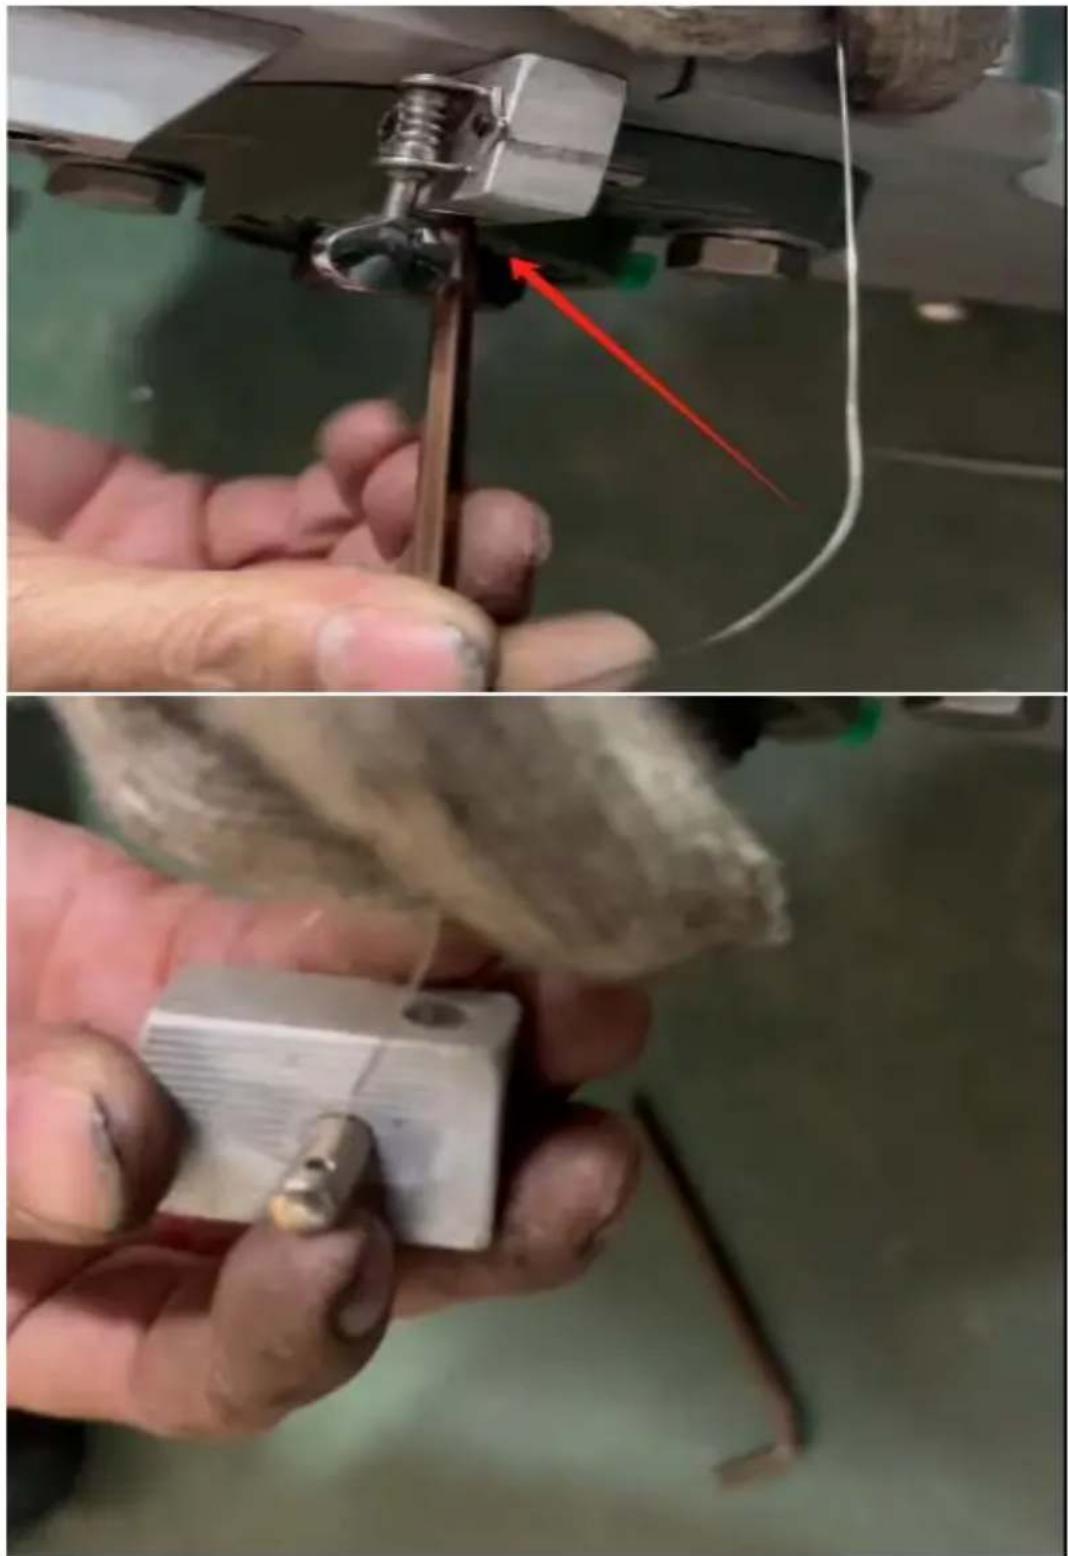
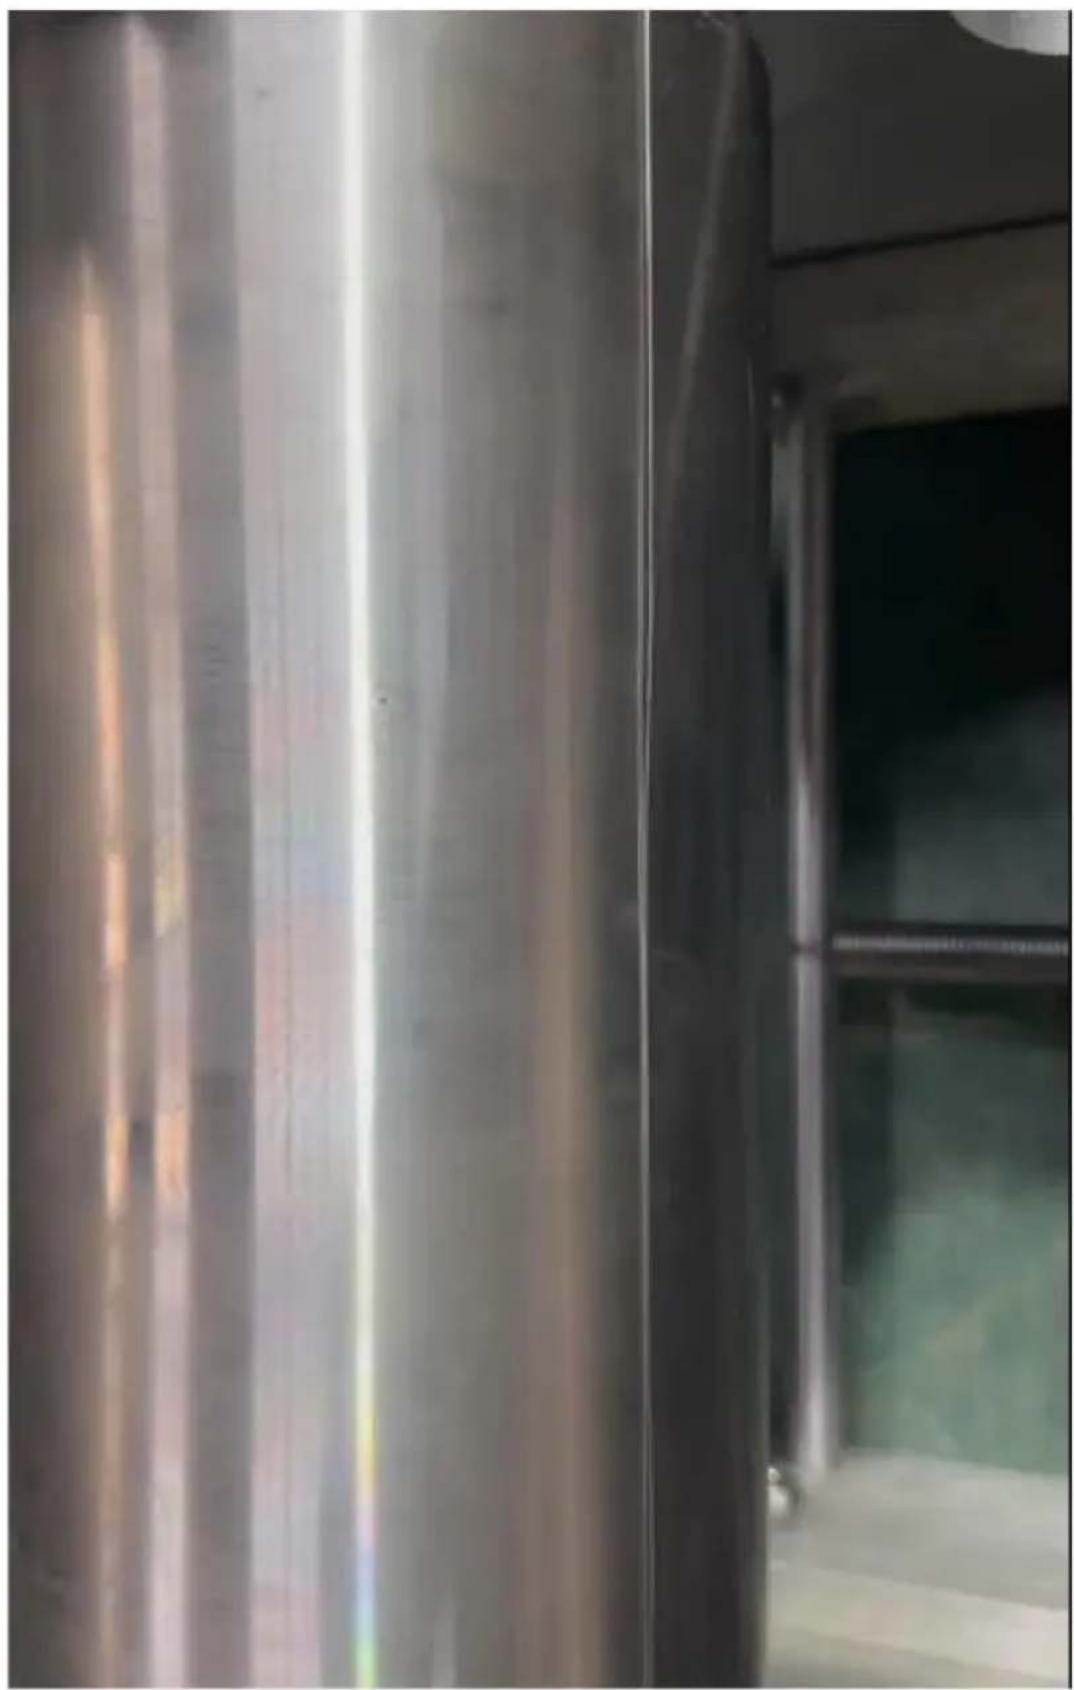
5.6. Pull the wire tight and insert it into the gap (as shown in the picture).
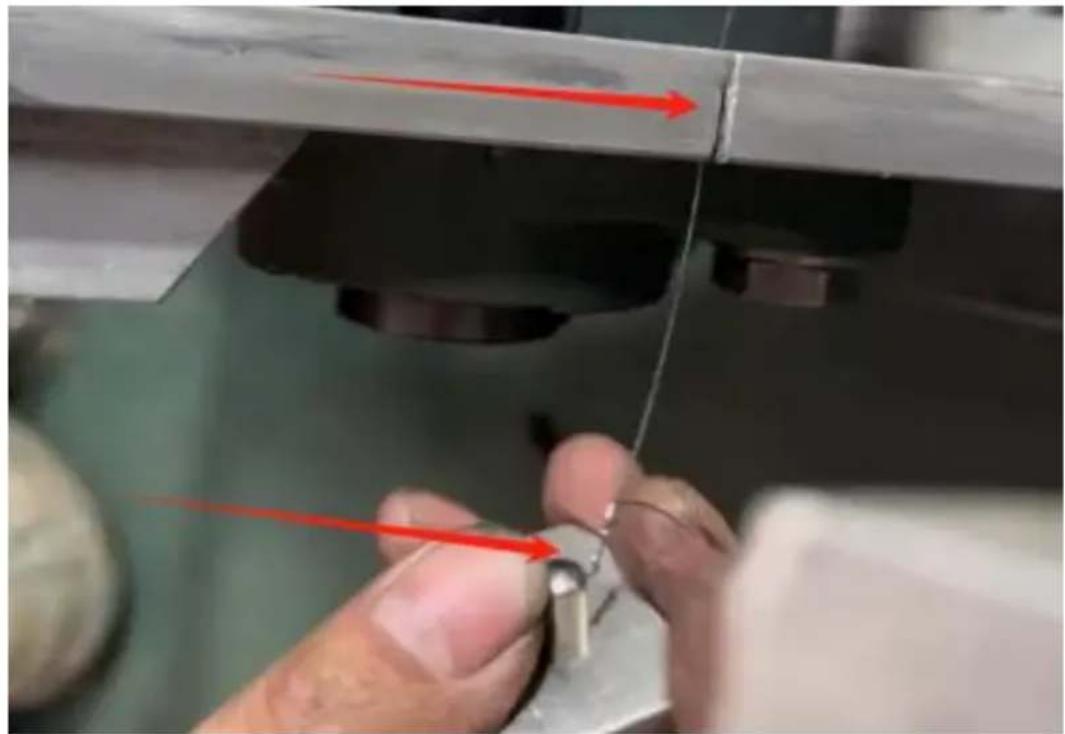
5.7. Fix the adjustment buckle back again.
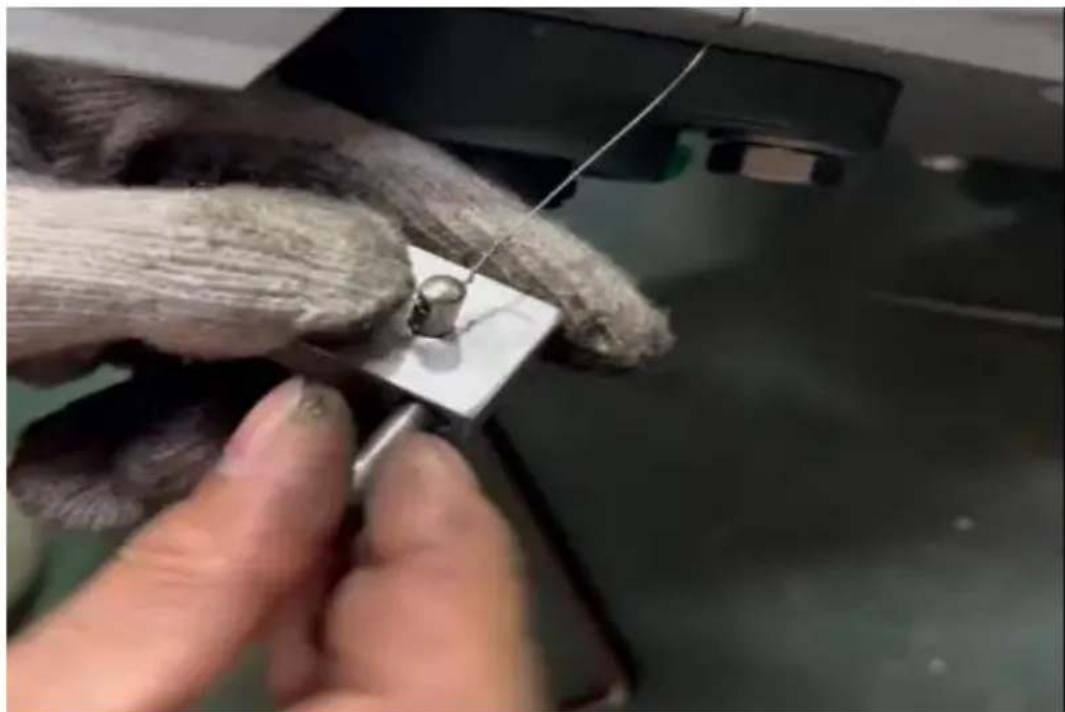
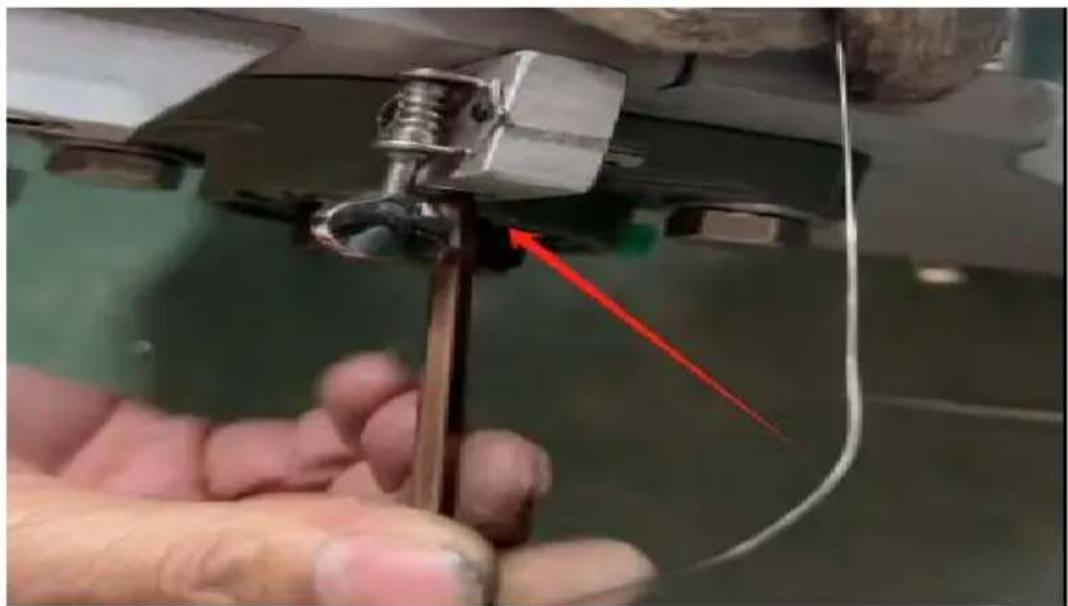
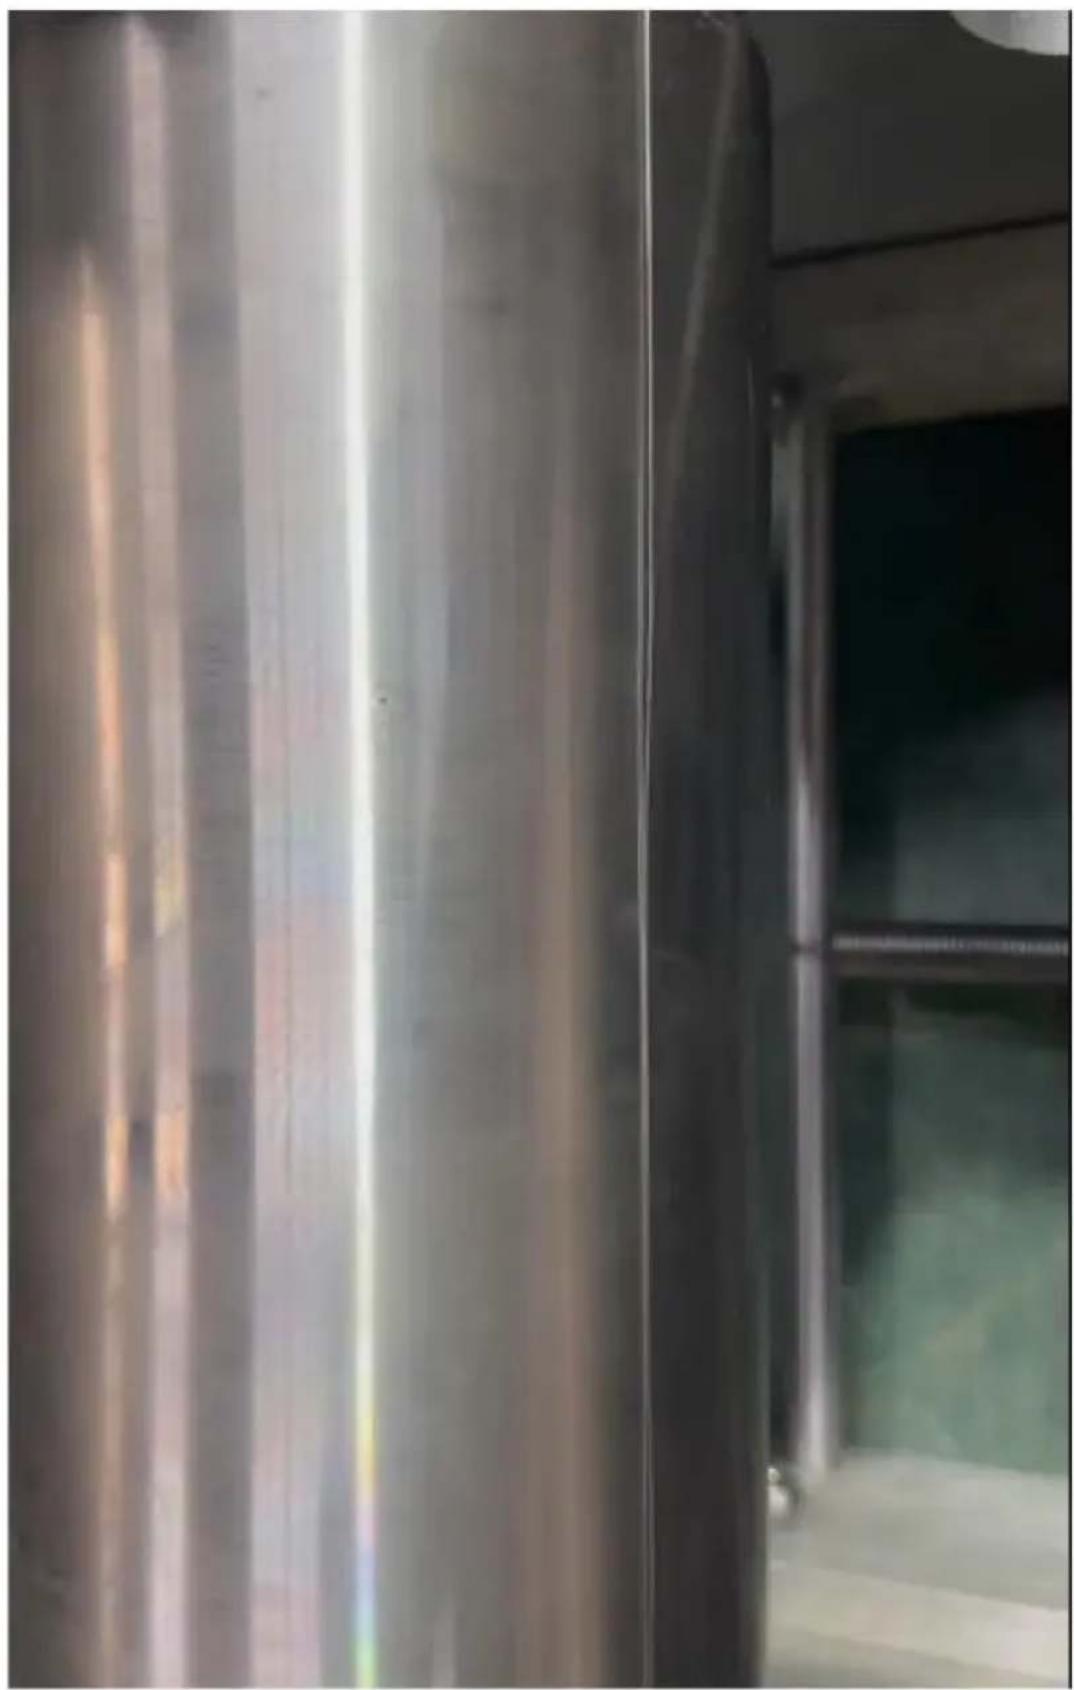
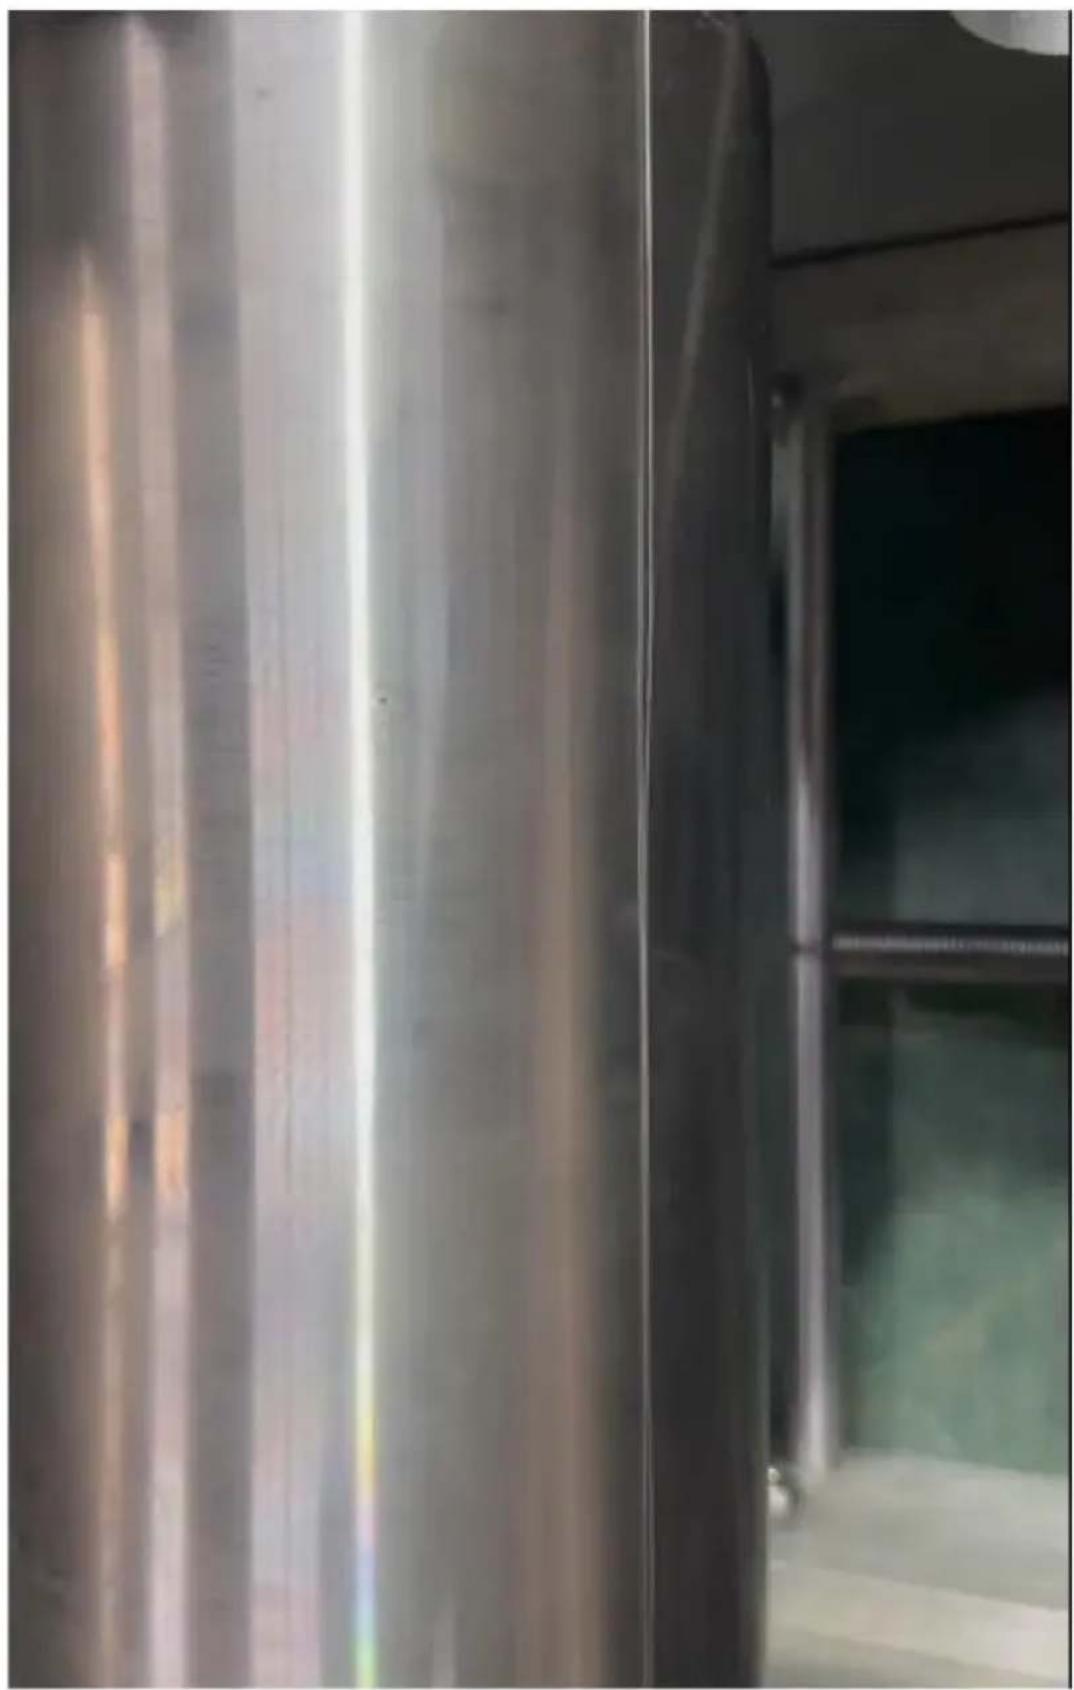
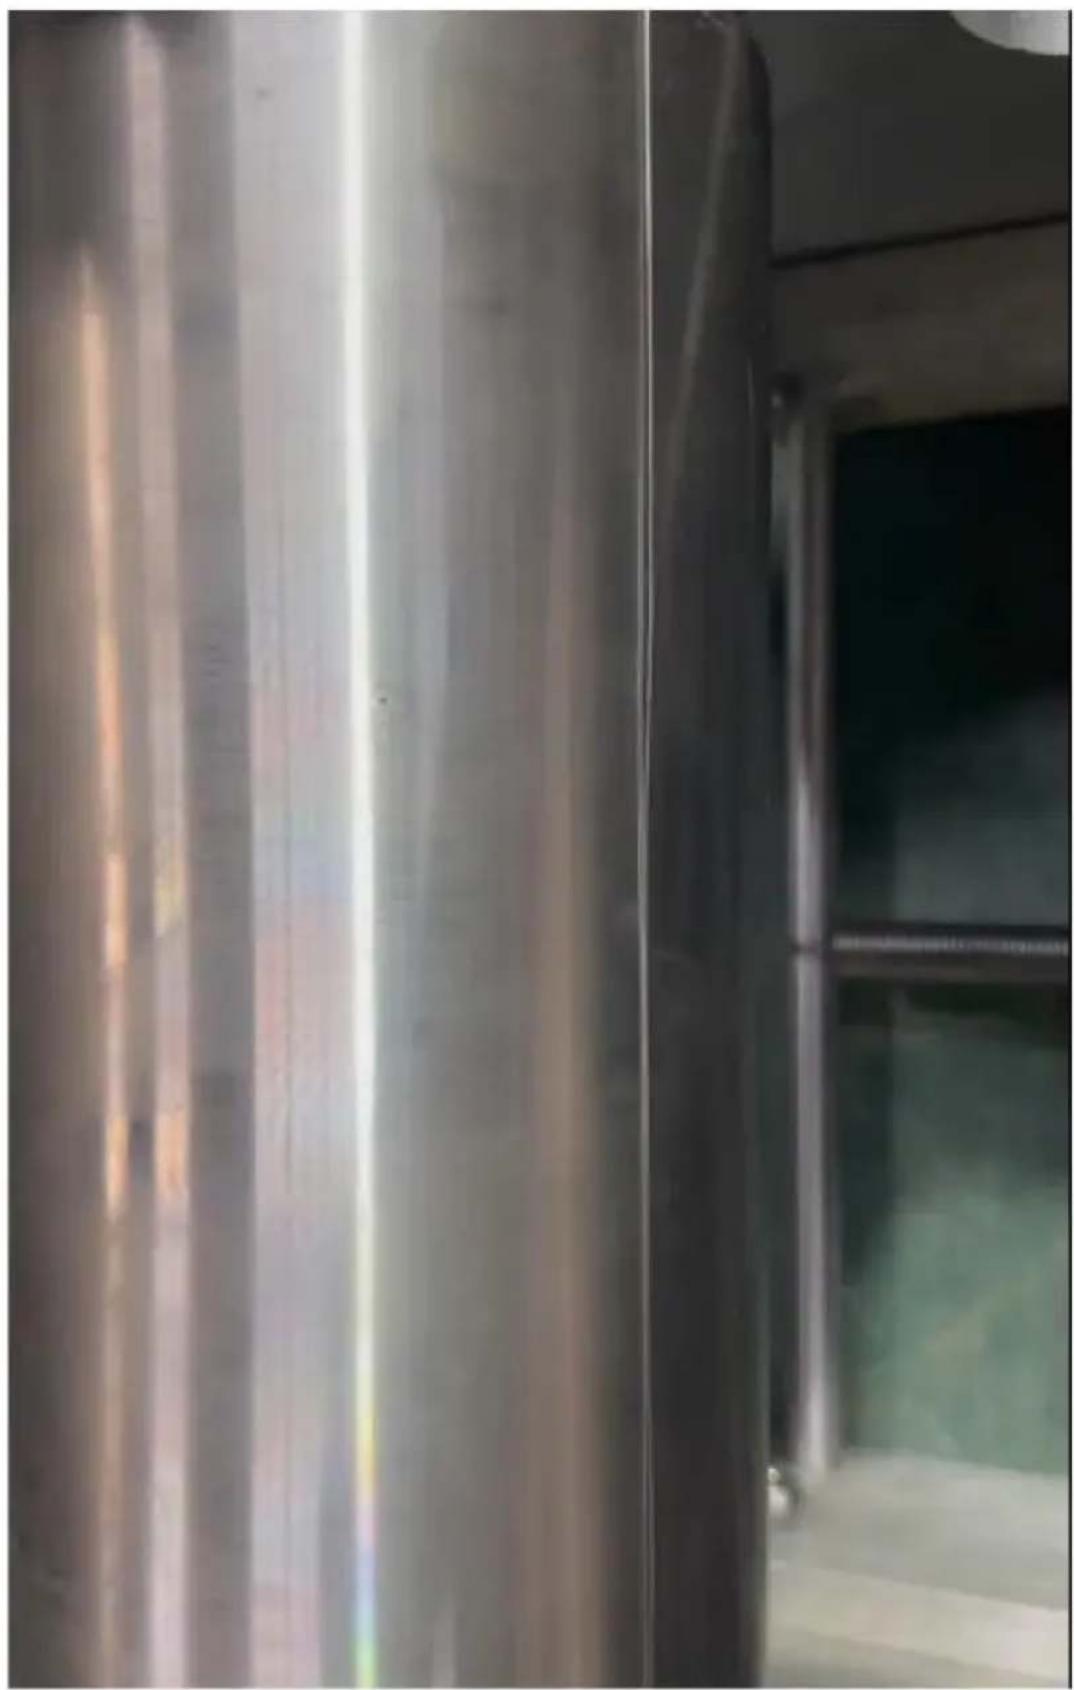
5.8. Tighten the wire to fit the drum tightly through the adjustment buckle.
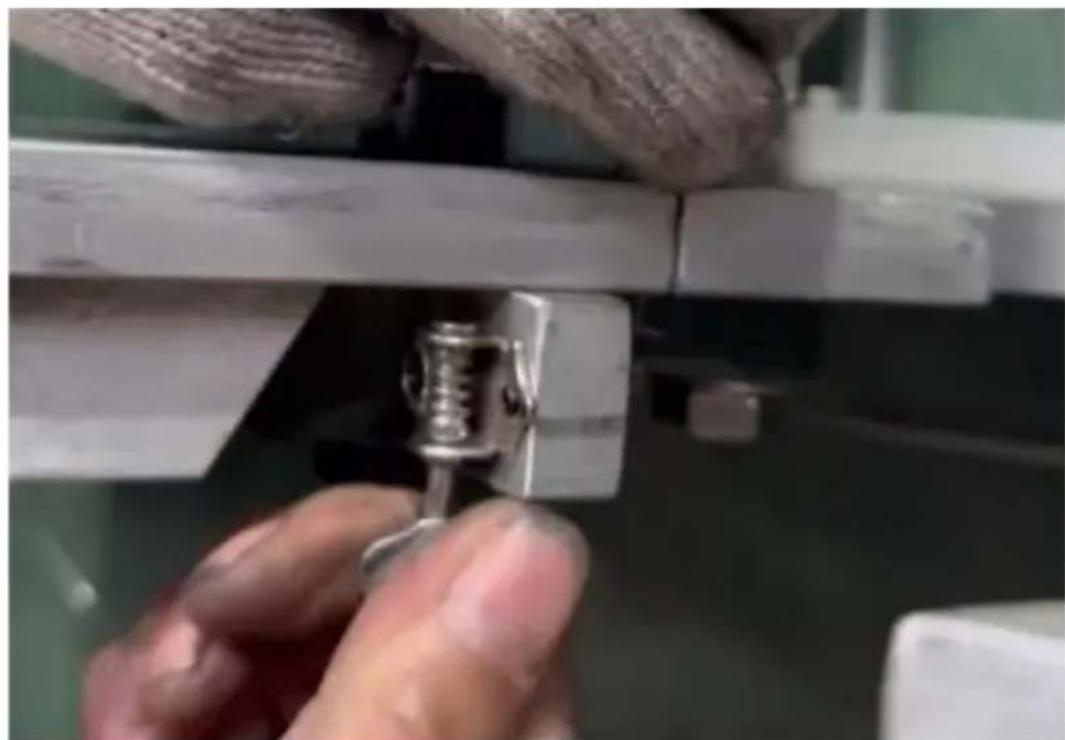
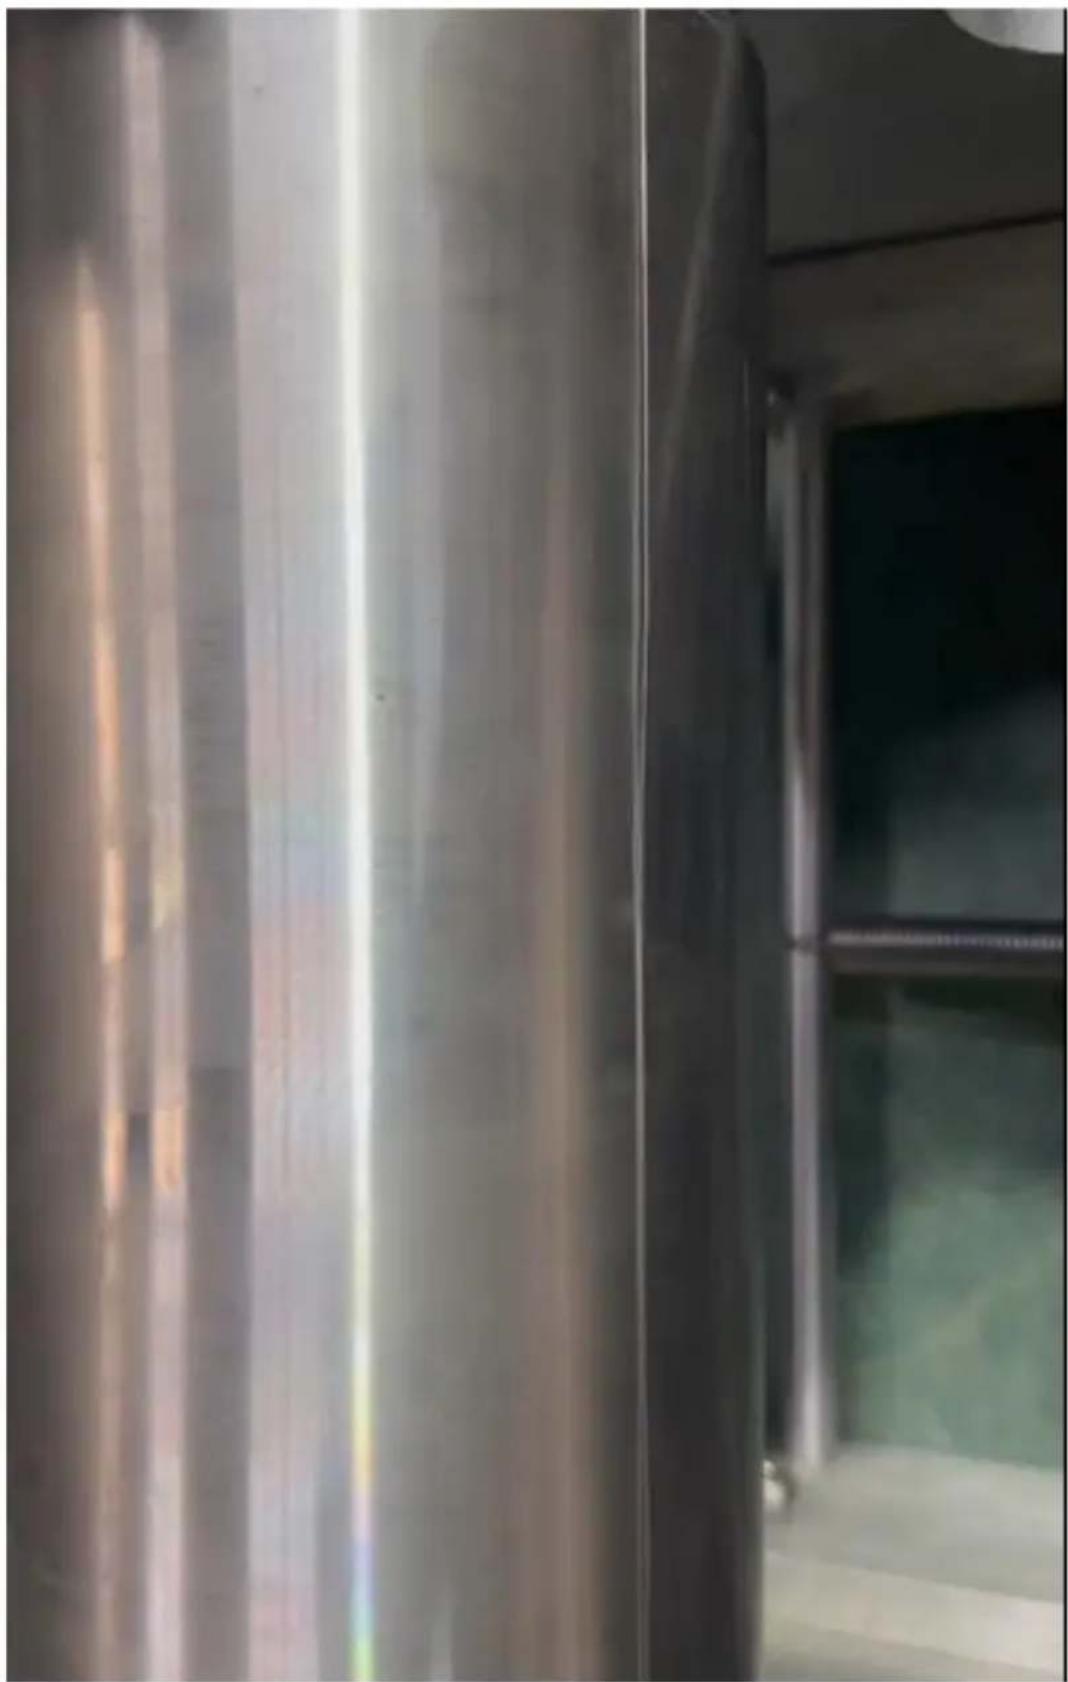
5.9. Workflow Diagram:
![graph TD A["use pliers to bend the wire into a circle"] --> B["Unscrew out the screws in the picture"] B --> C["Put on the wire, then insert it back into the original position and tighten it."] C --> D["Snap the wire into the seam and pull it to the other side"] D --> E["pass the wire through the sm…](/content/2026/04/734394/images/936400f8b500cfe09105afc5ef3abaf7cb8462c68854c7f1aa5c022bfbc2664f.jpg)
- The thickness of the cake is adjusted by adjusting two large nuts.
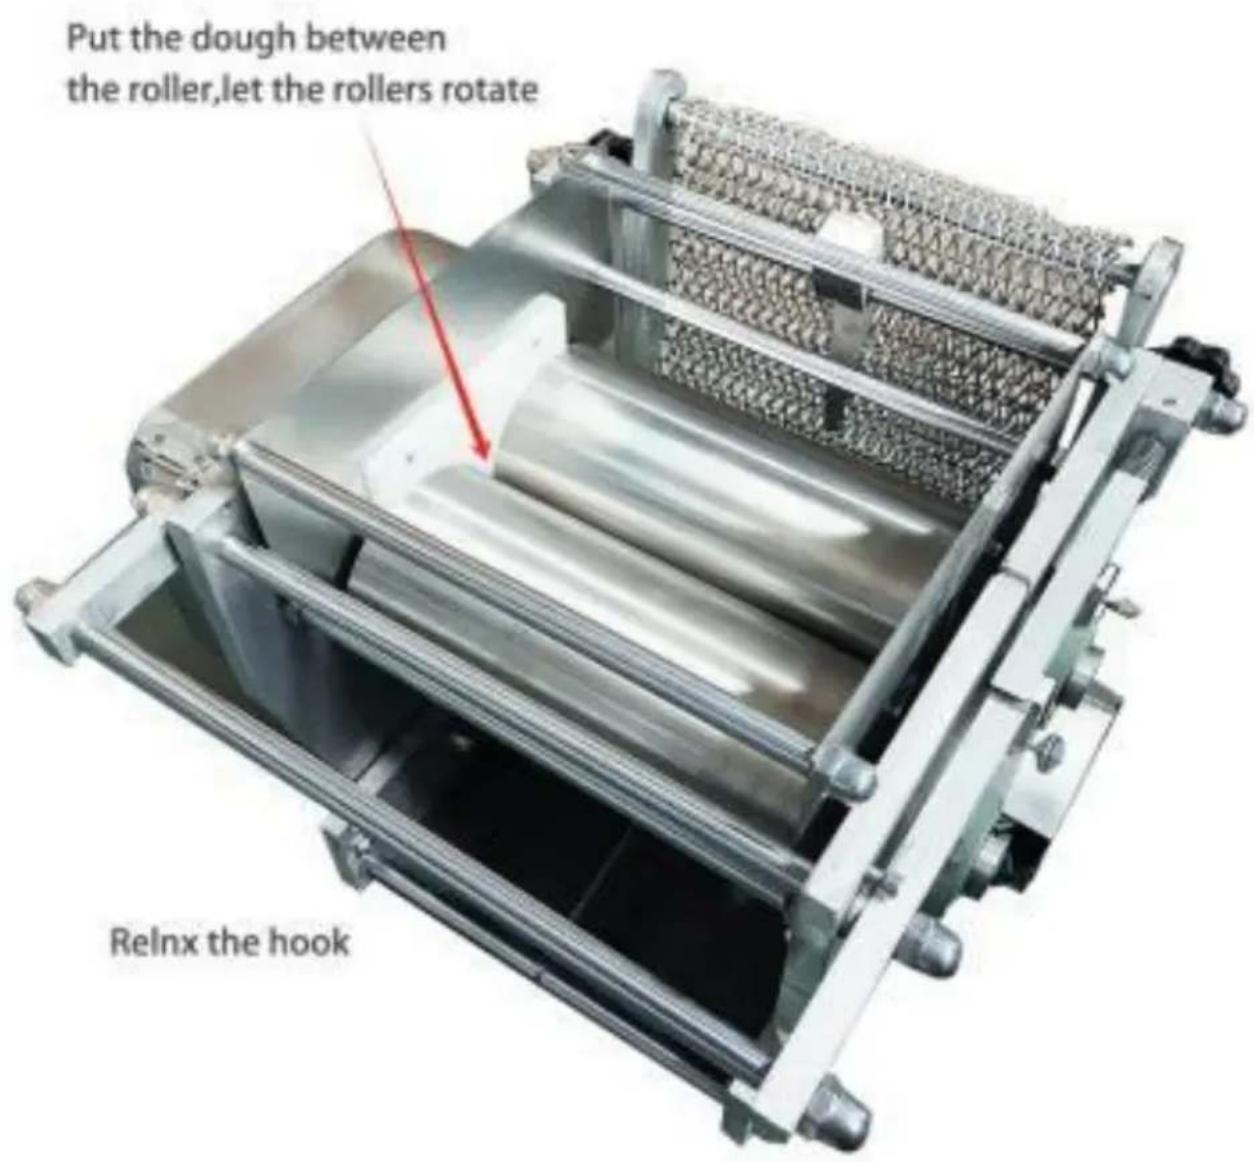
Operation Instruction
- Prepare some flour, water and a little salt.
- First, put salt into the flour and mix them evenly; second, add water and mix them evenly too; third: after the dough forms, knead the dough for 3-5 minutes until it is smooth; fourth: cover the dough and let it ferment for 10 minutes.
- Turn on the machine switch and let it run for a few seconds, then
- Place the dough between the two rollers and let the rollers turn several rounds,
hook it at the bottom of the machine, then the mold will cut the dough into circular shapes.
- If the dough overflows from the roller, put the dough back between the rollers and repeat the operation.
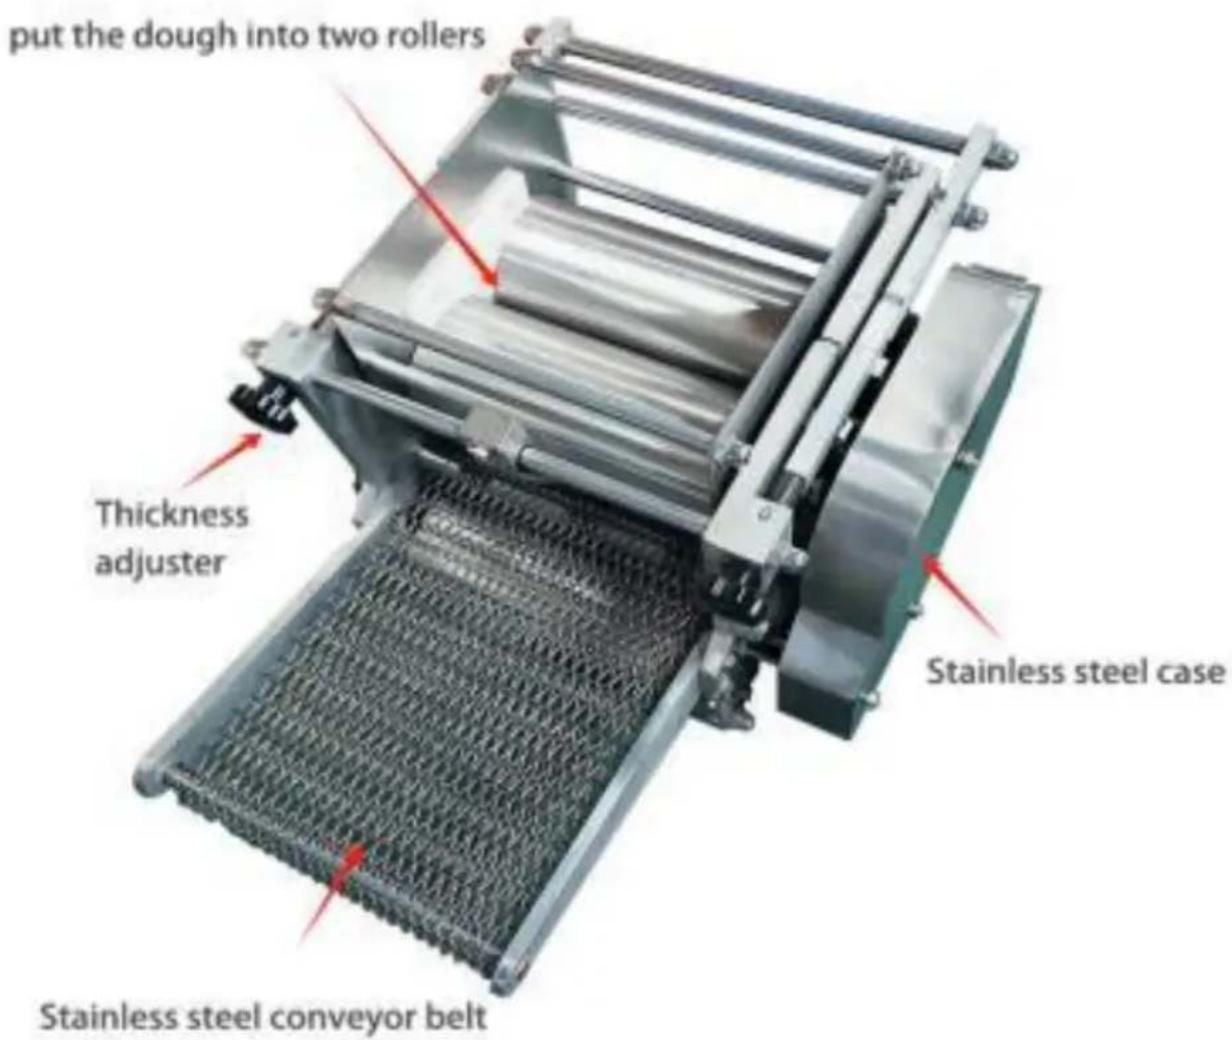
Introduction of Corn Tortilla Making Machine
This machine is suitable for making chapati, tortillas, and other pancakes. It presses the dough with two rollers to make thin, round roti, chapati, and pancakes.
It is specially designed for making roti and other pancakes. A good forming machine for you.
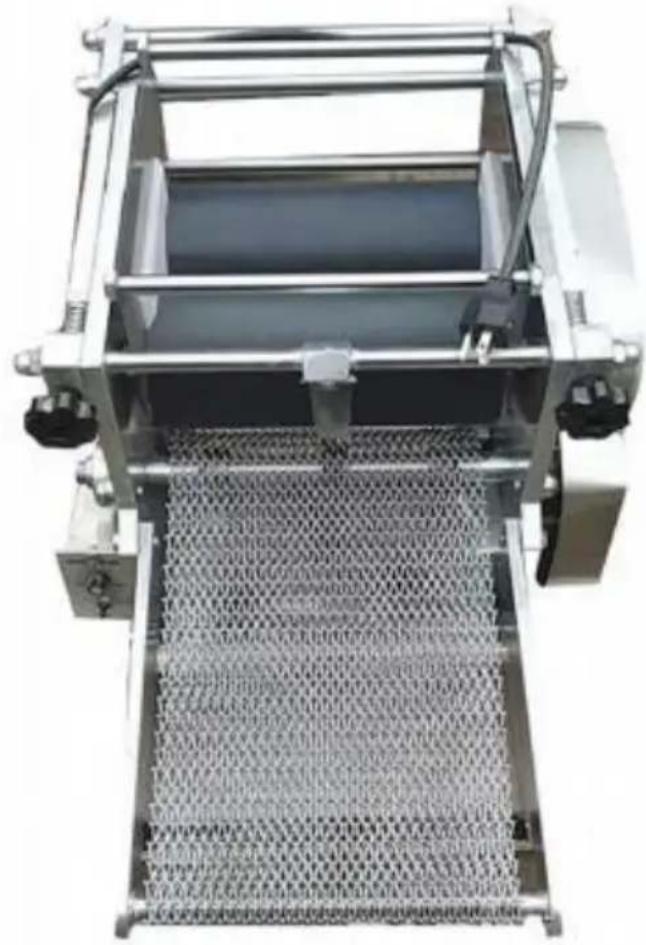
Features of Corn Tortilla Making Machine
- Fast Speed: It can produce nearly one thousand pieces of chapati per hour, equivalent to the work of 20 people or more.
- Low Cost: The consumption cost for every thousand pieces is less than 1 dollar.
- Good Molding: The product is even in thickness, smooth, and easy to open.
- No Pollution: It replaces traditional open flame smoke heating, is
environmentally friendly and healthy, has a small hidden area and saves floor space.
Advantage of Corn Tortilla Making Machine
- The thickness and speed can be adjusted.
- The shape of product is clear, clean and round/oval as you need
- The diameter can be customized according to your requirements, including the shape and size.
CORRECT DISPOSAL
This product is subject to the provision of European Directive 2012/19/EU. The symbol showing a wheelie bin crossed through indicates that the product requires separate refuse collection in the European Union. This applies to the product and all
accessories marked with this symbol. Products marked as such may be discarded with normal domestic waste, but must be taken to a collection point for recycling electrical and electronic devices.
FCC Information
CAUTION: Changes or modifications not expressly approved by the party responsible for compliance could void the user's authority to operate the equipment!
This device complies with Part 15 of the FCC Rules. Operation is subject to the following two conditions:
1) This product may cause harmful interference. 2) This product must accept any interference received, including interference that may cause undesired operation.
WARNING: Changes or modifications to this product not expressly approved by the party responsible for compliance could void the user's authority to operate the product.
Note: This product has been tested and found to comply with the limits for a Class B digital device pursuant to Part 15 of the FCC Rules. These limits are designed to provide reasonable protection against harmful interference in a residential installation.
This product generates, uses and can radiate radio frequency energy, and if not installed and used in accordance with the instructions, may cause harmful interference to radio communications. However, there is no guarantee that interference will not occur in a particular installation. If this product does cause harmful interference to radio or television reception, which can be determined by turning the product off and on, the user is encouraged to try to correct the interference by one or more of the following measures.
This product generates, uses, and can radiate radio frequency energy. If not installed and used in accordance with the instructions, it may cause harmful interference to radio communications. However, there is no guarantee that interference will not occur in a particular installation. If this product does cause harmful interference to radio or television reception, which can be determined by turning the product off and on, the user is encouraged to try to correct the interference by one or more of the following measures.
- Increase the distance between the product and receiver.
- Increase the distance between the product and receiver.
- Connect the product to an outlet on a circuit different from that to which the receiver is connected.
- Consult the dealer or an experienced radio/TV technician for assistance.
TOUGH TOOLS, HALF PRICE
Technical Support and E-Warranty Certificate
www.vevor.com/support
VEVOR®
TOUGH TOOLS, HALF PRICE
BESOIN D'AIDE? CONTACTEZ-NOUS!
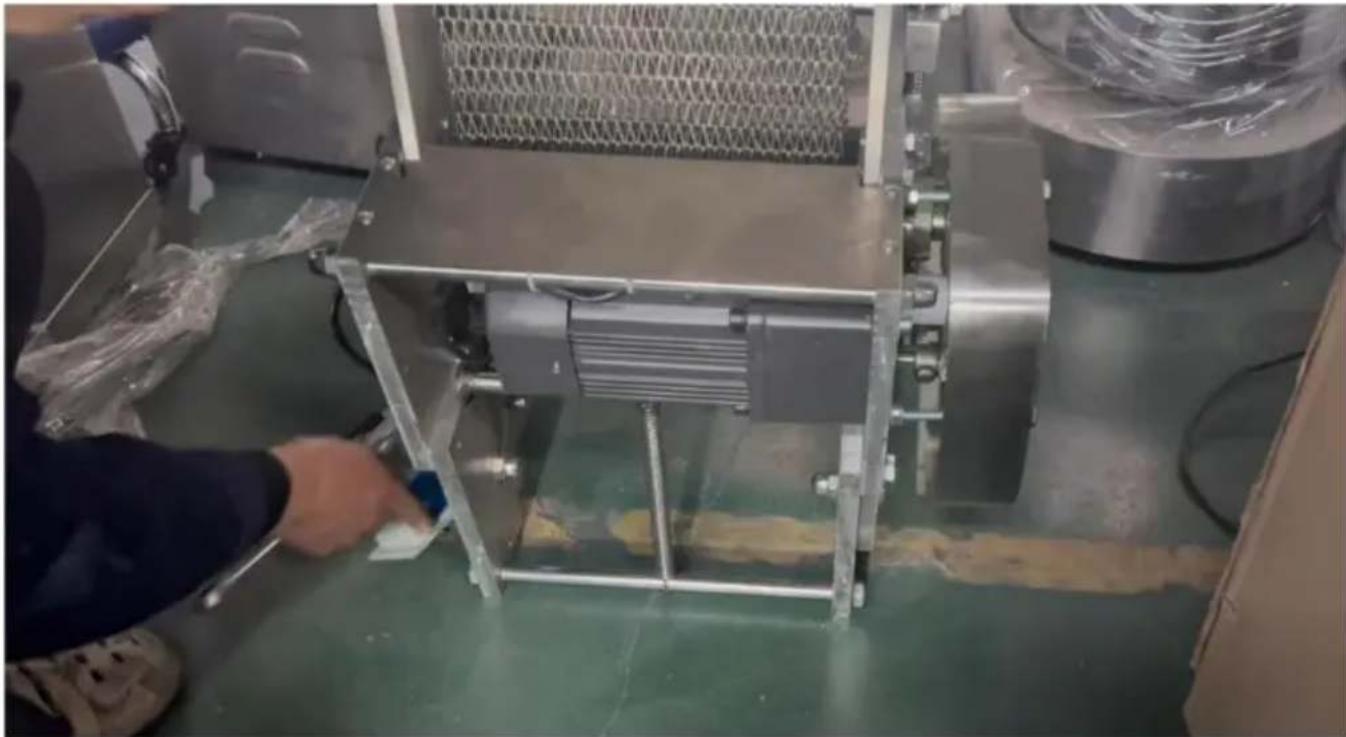
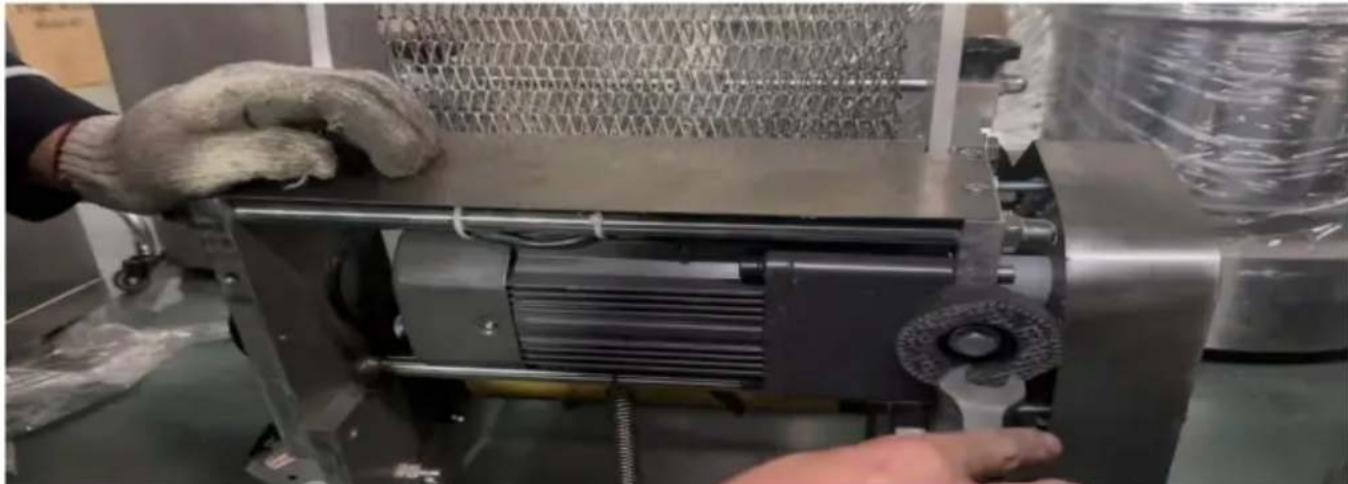
4.5. Remove the hook
User manual
User manual
www.vevor.com/support
VEVOR®
TOUGH TOOLS, HALF PRICE
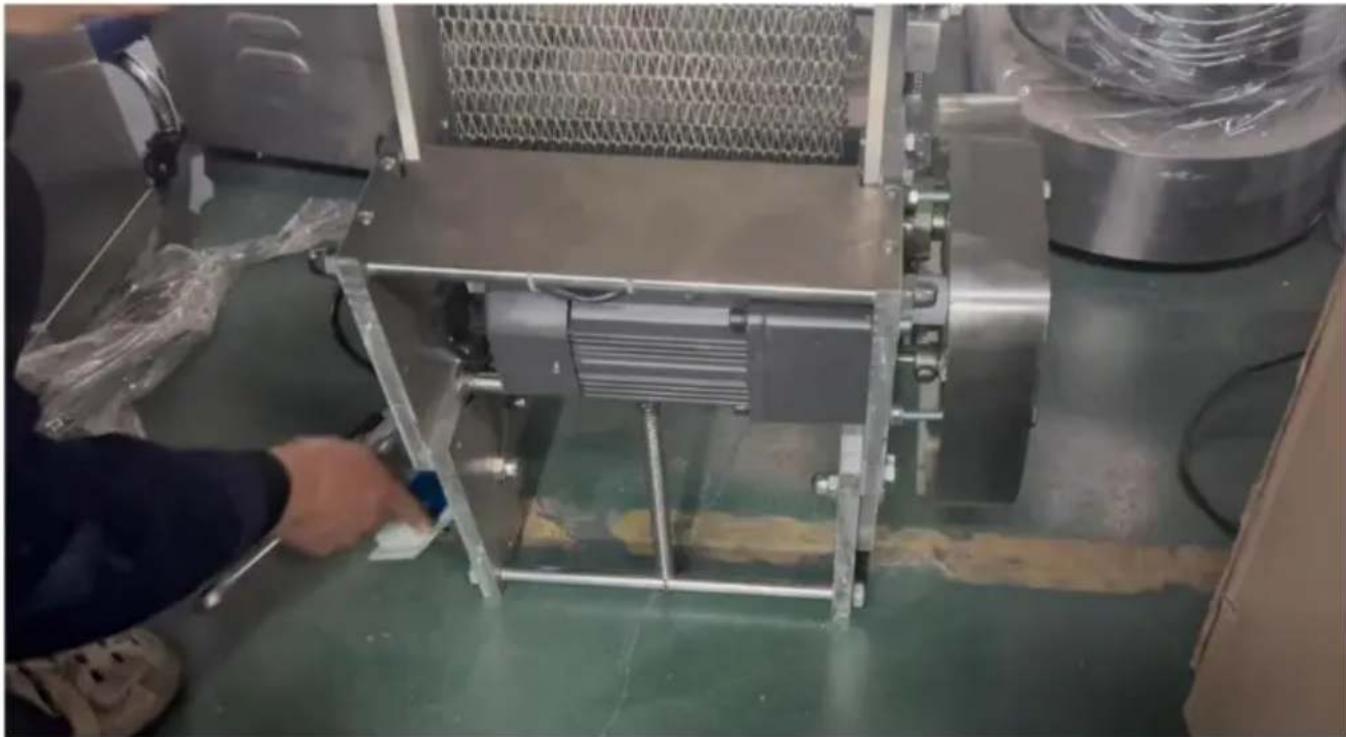
2.3. Tighten the feet.
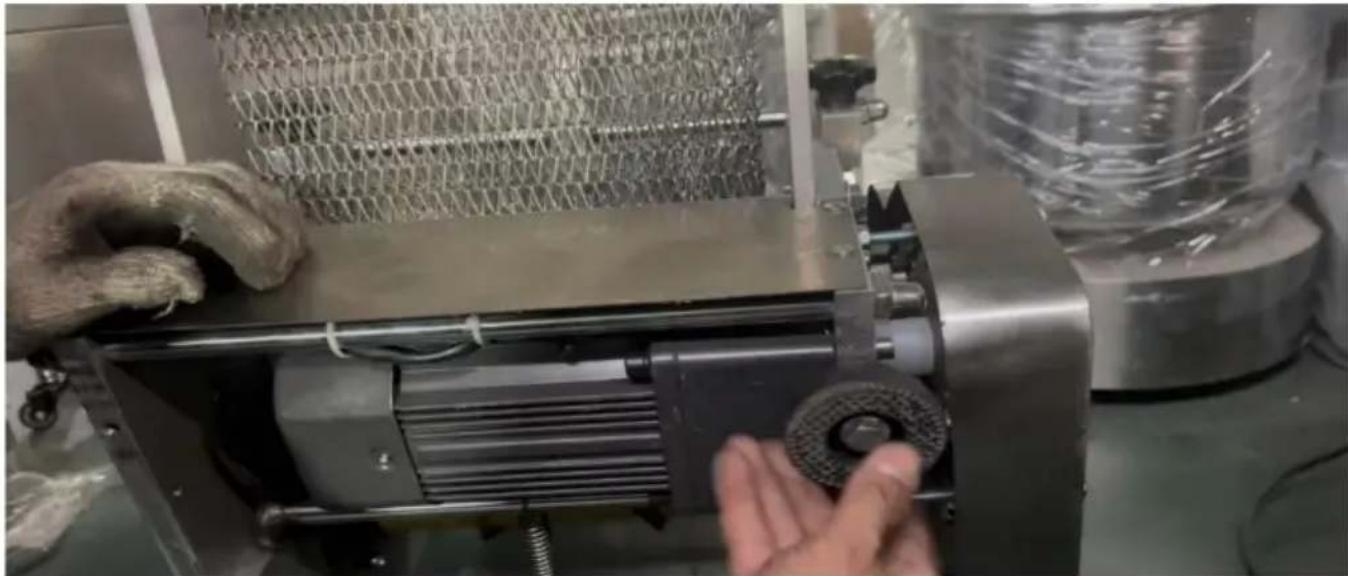
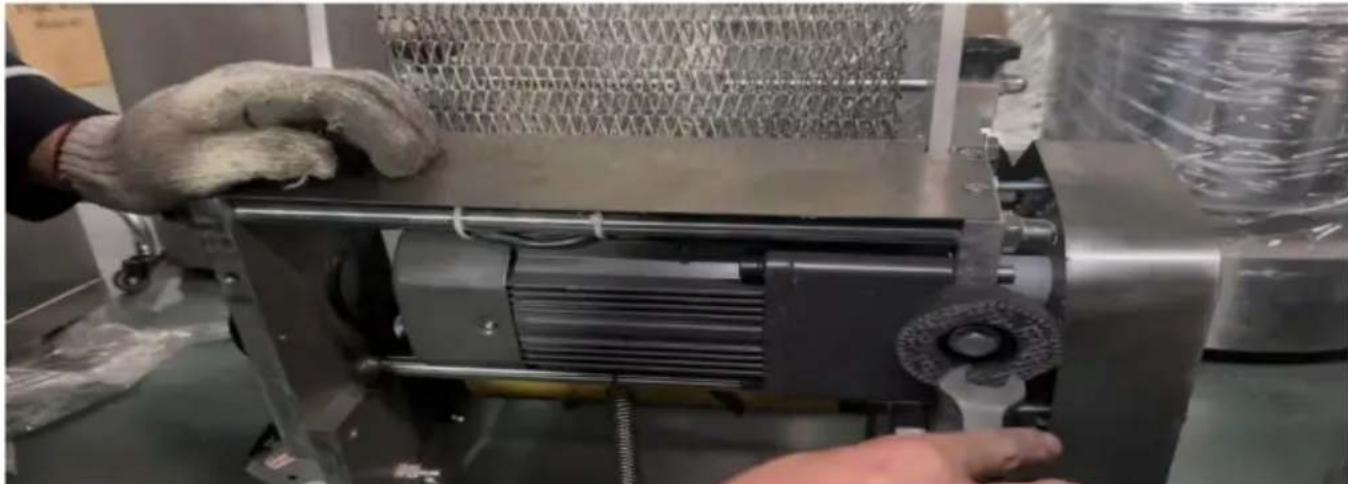

NEED HELP? CONTACT US!
4.5. Remove the hook
User manual
NEED HELP? CONTACT US!
2.6. Work flow diagram:
![graph TD A["Tip the machine over"] --> B["Insert the foot pad into the empty"] B --> C["Tighten the foot pads"] C --> D["The same goes for the remaining three holes"] D --> E["turn the machine back again"]](/content/2026/04/734394/images/a7dabfdcea91f81a647c81c6437857613655298847a9a19458192e0ae4f277e9.jpg)
3.4. Work flow diagram:
![graph TD A["Klap de roestvrijstalen eerst de lopende band."] --> B["Install screws"] B --> C["Take a screwdriver and tighten the screws"]](/content/2026/04/734394/images/a05579ec72eb4565dda50cb58703f07862e173b151ffe7da432961a9fa594d7a.jpg)
4.9. Work flow diagram:
![graph TD A["Remove the rack"] --> B["Hold and squeeze this rod down with your arm"] B --> C["After the extrusion is completed, hang the hook to the screw."] C --> D["Install the dough knife and place the dough knife in the groove"] D --> E["Remove the hook"] E --> F["Let the two rollers buckle toget…](/content/2026/04/734394/images/9bfdc97e626912bee9c62f3be1e74b444794dd3356368dcba684a6a629054c07.jpg)
5.9. Work flow diagram:
![graph TD A["use pliers to bend the wire into a circle"] --> B["Unscrew out the screws in the picture"] B --> C["Put on the wire, then insert it back into the original position and tighten it."] C --> D["Snap the wire into the seam and pull it to the other side"] D --> E["pass the wire through the sm…](/content/2026/04/734394/images/0d81267534b4db489062cf37dc3ac79d78dbc3838dd540085a37c2d9870d8e5a.jpg)
warranty certificate www.vevor.com/support
VEVOR®
TOUGH TOOLS, HALF PRICE
NEED HELP? CONTACT US!
- Fix the stainless steel conveyor belt
4.5. Remove the hook

Operating instructions
Features of Corn Tortilla Making Machine
www.vevor.com/support
- CORN TORTILLA MACHINE
- NEED HELP? CONTACT US
- IMPORTANT SAFEGUARDS
- SAVE THESE INSTRUCTIONS
- ACCESSORIES INSTALLATION
- TIGHTEN THE FOOT PADS
- WORKFLOW DIAGRAM
- REMOVE THE RACK (AS SHOWN IN THE FIGURE)
- HOLD AND SQUEEZE THIS ROD DOWN WITH YOUR ARM
- AFTER THE EXTRUSION IS COMPLETED, HANG THE HOOK (AS SHOWN I ARROW 1 IN THE FIGURE) TO THE SCREW (AS SHOWN BY THE ARROW 2 IN FIGURE)
- BUCKLE THE TWO ROLLERS TOGETHER
- HOLD THE OUTERMOST ROD AND PULL IT UP TO LIFT THE MACHINE. AFTER LIFTING AS SHOWN IN THE FIGURE
- OPERATION INSTRUCTION
- INTRODUCTION OF CORN TORTILLA MAKING MACHINE
- FEATURES OF CORN TORTILLA MAKING MACHINE
- ADVANTAGE OF CORN TORTILLA MAKING MACHINE
- CORRECT DISPOSAL
- FCC INFORMATION
- TOUGH TOOLS, HALF PRICE
- BESOIN D'AIDE? CONTACTEZ-NOUS
- USER MANUAL
- VEVOR®
- TIGHTEN THE FEET
- WORK FLOW DIAGRAM
- REMOVE THE HOOK
- OPERATING INSTRUCTIONS
Brand : Vevor
Model : YF-YM08
Category : Food machine