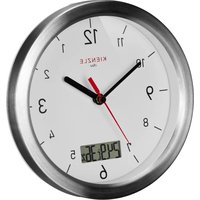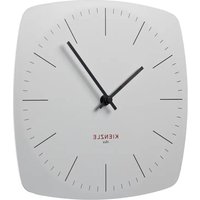
14976 - Clock Kienzle - Free user manual and instructions
Find the device manual for free 14976 Kienzle in PDF.


User questions about 14976 Kienzle
0 question about this device. Answer the ones you know or ask your own.
Ask a new question about this device
Download the instructions for your Clock in PDF format for free! Find your manual 14976 - Kienzle and take your electronic device back in hand. On this page are published all the documents necessary for the use of your device. 14976 by Kienzle.
USER MANUAL 14976 Kienzle
natural_image
Close-up of a white analog clock face showing time, hands, and a central dial (no text or symbols on the clock face itself)EN Visit our website via the following QR Code or web link to find further information on this product or the available translations of these instructions.
text_image
Image containing a document icon with horizontal lines and a bracket, likely representing text or document layout.INFOS+DOWNLOADS:
natural_image
Simple shield icon with a checkmark inside, no text or symbols presentGARANTIE · WARRANTY · GARANTÍA · GARANZIA

www.bresser.de/warranty_terms


Paper | Supporting responsible forestry
FSC® C145597
EN Instruction manual....8
FR Manuel d'instructions....12
NL Handleiding 16
download/14976/14976_CE.pdf
14. GARANTIE & SERVICE
- About this manual 9
- General safety instructions 9
- Scope of delivery 9
- Parts Overview 9
- Getting started/Power supply 9
6.Time setting 9 - Quick Start 10
- Manual time setting 10
- Mounting/Positioning 10
- Troubleshooting 10
- Cleaning and Maintenance 11
- Disposal 11
- EC Declaration of Conformity 11
- Warranty & Service 11
text_image
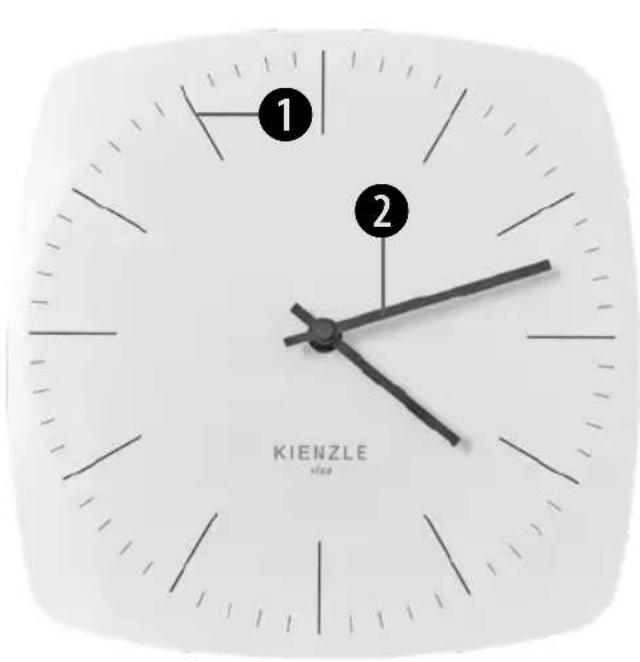
1 2 KIENZLE alsoATTENTION! Take particular care when mounting the clock on the wall! Even light contact with the clock hands can cause damage!
text_image
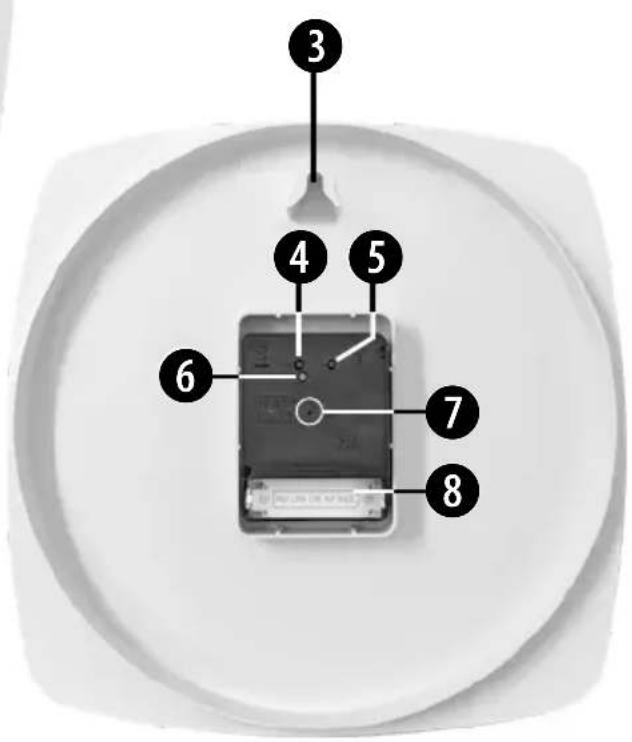
Diagram of a device with numbered parts labeled 3 through 8, showing internal components and connections.1. ABOUT THIS MANUAL
This instruction manual is to be considered part of the device. Before using the device, please read the safety instructions and the user manual carefully. Keep this user manual for future reference. If the device is sold or passed on, the instruction manual must be provided to the new owner/user of the product. The device is intended for indoor use only!
2. GENERAL SAFETY INSTRUCTIONS
- Choking hazard! Keep packaging material, like plastic bags and rubber bands, out of the reach of children, as these materials pose a choking hazard.
- RISK of ELECTRIC SHOCK! This device contains electronic components that operate via a power source (batteries). Children should only use the device under adult supervision. Only use the device as described in the manual; otherwise, you run the risk of an electric shock.
- RISK of FIRE/EXPLOSION! Do not expose the device to high temperatures. Use only the recommended batteries. Do not short-circuit the device or batteries, or throw them into a fire. Excessive heat or improper handling could trigger a short-circuit, a fire or an explosion!
- Do not immerse the unit in water.
- Do not subject the unit to excessive force, shock, dust, extreme temperature or high humidity, which may result in malfunction, shorter electronic life span, damaged batteries and distorted parts.
- Do not disassemble the device. In the event of a defect, please contact your dealer. The dealer will contact the Service Centre and can send the device in to be repaired, if necessary.
- Use only the recommended batteries. Always replace weak or empty batteries with a new, complete set of batteries
at full capacity. Do not use batteries from different brands or with different capacities. Remove the batteries from the unit if it has not been used for a long time.
- The manufacturer is not liable for damage related to improperly installed batteries!
3. SCOPE OF DELIVERY
Wall clock, 1x AA/LR6 battery, Instruction manual
4. PARTS OVERVIEW
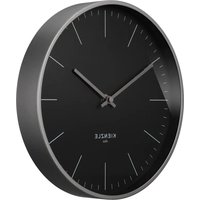
- Dial plate
- Clock hands (hours, minutes)
- Wall mount
- M.SET button
- REC button
- RESET button
- Locking pin
- Battery compartment
5. GETTING STARTED/ POWER SUPPLY
- Remove the locking pin (7) from the clockwork. The clock can be operated only after the pin has been removed.
- Insert one battery (1.5V, AA/LR6) into battery compartment (8). Please ensure the polarities (+/-) of the batteries match upon installation.
6. TIME SETTING
NOTE! After the clock received the DCF time signal the time will be set according to the Central European time (CET). Summer and winter time change (and reverse) is also set automatically.
7. QUICK START
- Insert the battery into the clock.
- The clock will automatically search for the time signal.
- After about one minute, the minute and hour hands will start moving (this clock has no second hand).
- It usually takes 3 to 14 minutes to receive the signal.
- Once the signal is received, the hands will stop briefly to set the correct time.
Automatic time setting via DCF time signal
After inserting the battery the time will be set automatically via DCF signal. This process may take a few minutes. During this process the clock hands will turn several times with interruption until they will display the right time.
Initiate to receive the DCF time signal manually
NOTE! Use this function when e.g. automatic summer/winter time change does not work or the wall clock temporarily receives no time signal.
- Press and hold the REC button (5) for 3 seconds to start manual search for the DCF signal.
- The clock hands will move to their start position (12:00 a.m.) and a the wall clock then tries to receive the signal.
- Wait approx. 2-5 minutes until the current time will be displayed.
8. MANUAL TIME SETTING
NOTE! It is necessary to set the time manually in places where no radio signal is received.
- Press and hold the M.SET button (4) for approx. 3 seconds.
- When the minutes hand starts moving you can the set the time manually:
- Press the M.SET button shortly to set the time in minutes steps.
-
Press and hold the M.SET button to set the time continuously.
-
Release M.SET button to stop manual setting and save the time automatically and exit manual time setting mode.
9. MOUNTING/POSITIONING
The wall clock can be mounted on walls with the wall mount (3).
ATTENTION! Take particular care when mounting the clock on the wall! Even light contact with the clock hands can cause damage!
NOTE! Make sure you have mounted or placed the device in a safe way. Otherwise the device may fall down and heavy damages can occur for which the manufacturer is not liable.
10. TROUBLESHOOTING
Transmission collision
Signals from other household devices, such as door bells, home security systems and entry controls, may interfere with those of this product and cause temporarily reception failure. This is normal and does not affect the general performance of the product. The transmission of the radio signal will resume once the interference recedes.
Other malfunctions
If there is no response from the wall clock by keystrokes or if any other malfunctions occur perform the following steps.
NOTE! With this procedure all received data will be deleted.
- Press RESET button (6) with a pointed instrument (e.g. pen).
- The clock hands will move to their start position (12:00 a.m.
- Wait approx. 2-5 minutes until the current time will be displayed.
11. CLEANING AND MAINTENANCE
Before cleaning the device, disconnect it from the power supply (remove batteries)!
Only use a dry cloth to clean the exterior of the device. To avoid damaging the electronics, do not use any cleaning fluid.
Protect the device from dust and moisture. The batteries should be removed from the unit if it has not been used for a long time.
12. DISPOSAL

Dispose of the packaging materials properly, according to their type, such as paper or cardboard. Contact your local waste-disposal service or environmental authority for information on the proper disposal.

Do not dispose of electronic devices in the household garbage!
As per Directive 2012/19/EU of the European Parliament on waste electrical and electronic equipment and its adaptation into German law, used electronic devices must be collected separately and recycled in an environmentally friendly manner.
13. EC DECLARATION OF CONFORMITY
CE Hereby, Bresser GmbH declares that the equipment type with article number 14976 is in compliance with Directive: 2014/53/EU. The full text of the EU declaration of conformity is available at the following internet address: http://www.bresser.de/download/14976/14976_CE.pdf
14. WARRANTY & SERVICE
The regular warranty period is 2 years and begins on the day of purchase. To benefit from an extended voluntary warranty period as stated on the gift box, registration on our website is required.
You can consult the full warranty terms as well as information on extending the warranty period and details of our services at www.bresser.de/warranty_terms.