VLAM - Heating Sonnenkönig - Free user manual and instructions
Find the device manual for free VLAM Sonnenkönig in PDF.


User questions about VLAM Sonnenkönig
0 question about this device. Answer the ones you know or ask your own.
Ask a new question about this device
Download the instructions for your Heating in PDF format for free! Find your manual VLAM - Sonnenkönig and take your electronic device back in hand. On this page are published all the documents necessary for the use of your device. VLAM by Sonnenkönig.
USER MANUAL VLAM Sonnenkönig
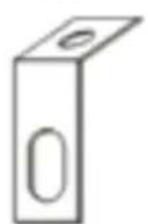
Connection part QTY 3



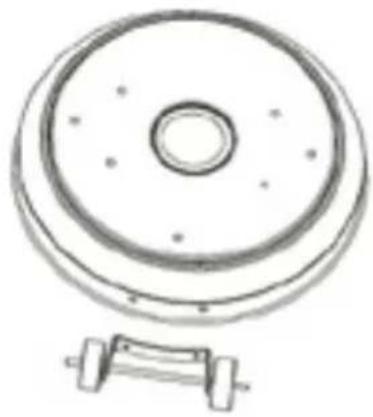
ÉTAPE 1
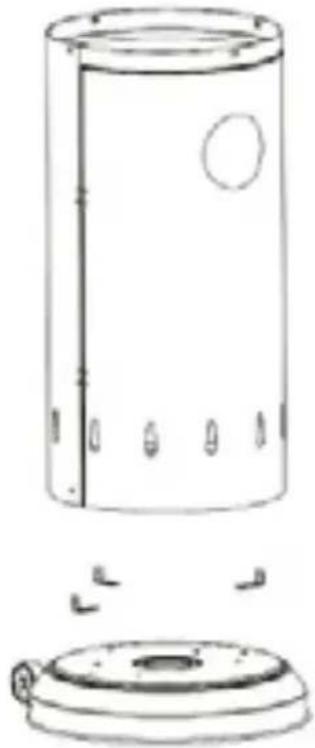
ÉTAPE 2 ÉTAPE 3
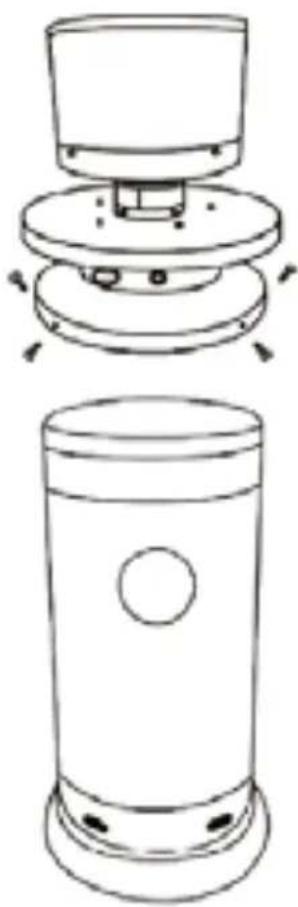
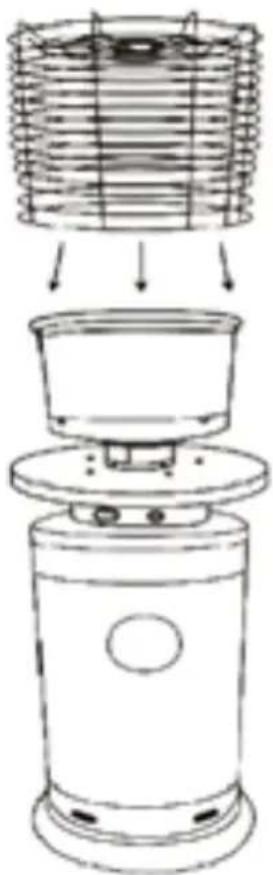
ÉTAPE 4
ÉTAPE 1
Modifications techniques
Connection part QTY 3

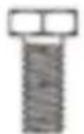
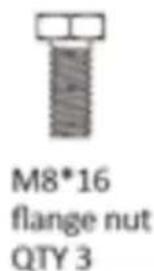
M8*16 flange nut QTY 3

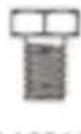
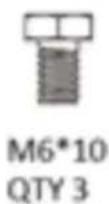
M6*10
QTY 3

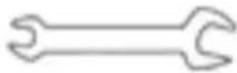
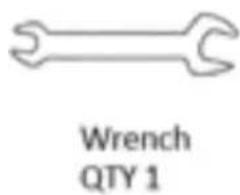
Wrench QTY1
1 Safety Instructions 42
2 Heater stand and location 44
3 Gas requirements 44
4 Leak test 45
5 Operation and storage 45
6 Cleaning and maintenance. 46
7 Parts description 47
8Assembly instructions 49
9 Warranty / Disposal / Technical change 50
1 Safety instructions

Please read before first commissioning the safety instructions carefully and observe the safety instructions to prevent damage due to misuse, improper operation, and improper environmental conditions to be avoided. Keep these for later reference.
Check the device after removing the packaging for damage. Do not put the unit in case of suspected corruption in operation and consult a specialist. The recyclable packaging material must not be stored or disposed accessible for young children, but must be disposed of properly.
This appliance is only for the purpose for which it was explicitly developed, ie be used for heating rooms. Any other use is regarded as improper and therefore dangerous. The supplier is not liable for damage to persons and / or property damage due to an improper or incorrect use.
Repairs to electrical appliances must only be carried out by trained personnel only. Improperly performed repairs and alterations to the equipment can have dangerous consequences for the user according to what the warranty will be rejected.
- For use outdoors or in amply ventilated areas. An amply ventilated area must have a minimum of 25% of the surface area open.
- Do not use the patio heater indoors, as it may cause personal injury or property damage.
- This outdoor heater is not intended to be installed on recreational vehicles and/or boats.
- Installation and repair should be done by a qualified service person.
- Improper installation, adjustment, or alterations can cause personal injury or property damage.
- Do not attempt to alter the unit in any manner.
- Never replace or substitute the regulator with any regulator other than the factory-suggested replacement.
- Do not store gasoline or other flammable vapors or liquids in the heater unit.
- The whole gas system, including the hose, regulator, pilot and burner should be inspected for leaks or damage before use. The appliance should be checked by a qualified service person.
- All leak tests should be done with a soap solution. Never use an open flame to check for leaks.
- Do not use the heater until all connections have been leak tested.
-
Turn off the gas valve immediately if smell of gas is detected. Turn the cylinder valve OFF. If the leak is at the connection between the hose and the regulator: tighten the connection and perform another leak test. If bubbles continue to appear the hose should be returned to the place of purchase. If the leak is at the connection between the regulator and the cylinder valve disconnect.
-
Reconnect, and perform another leak test. If you continue to see bubbles after several attempts, the cylinder valve is defective and should be returned to its place of purchase.
- Do not transport heater while it's operating.
- Do not move the heater after it has been turned off until the temperature has cooled down.
- Keep the ventilation opening of the cylinder free and clear of debris.
- Do not paint the radiant screen, control panel or top canopy reflector.
- Control casing, burner and circulation air passageways of the heater must be kept clean. Clean the appliance as needed.
- The LPG tank should be turned off when the heater is not in use.
- turn off and check the heater immediately if any of the following occurs:
The heater does not reach temperature.
- The burner makes a popping noise during use (a slight noise is normal when the burner is extinguished).
Smell of gas in conjunction with an extremely yellow flames.
- The LPG regulator/hose assembly must be located out of pathways where people may trip over it or in an area where the hose will not be subject to accidental damage.
- Any guard or other protective device removed for servicing the heater must be replaced before operating the heater.
- Adults and children should stay away from the high temperature surface to avoid burns or clothing ignition.
Children should be carefully supervised when they are in the area of the heater. - Only change the gas cylinder in a well-ventilated area, away from any source of ignition (candles, cigarettes, other flame producing appliances, ...);
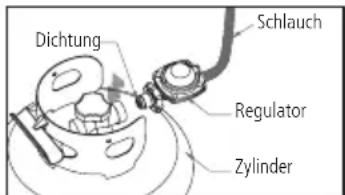
- Check that the regulator seal is correctly fitted and able to fulfill its function as shown in the picture on the right.
- Close the gas supply at the valve of the gas cylinder or the regulator after use.
- In the event of a gas leak, the appliance shall not be used or if lit the gas supply shall be shut off and the appliance shall be checked before it is used again.
- Check the hose at least once per month, each time the cylinder is changed or it has nod been used fpr a long time.
- If it shows signs of cracking, splitting or other deterioration the hose shall be replaces with a new hose of the samen lenght and of equivalent quality.
2 Heater stand and location
- The heater is primarily for outdoor use only. Always ensure that sufficient fresh air is supplied.
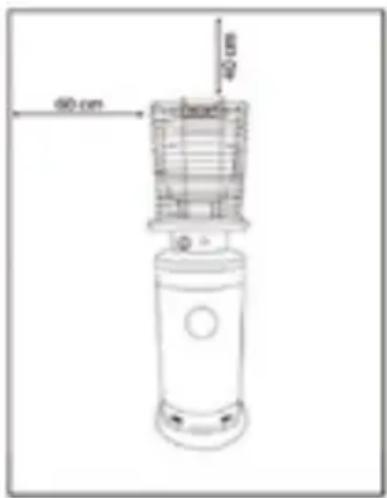
- Always maintain proper clearance to combustible materials, i.e. minimum 40~cm above and minimum 60~cm on the sides.
- The heater must be placed on level firm ground.
- Never operate the heater in an explosive environment, such as areas where gasoline or other flammable liquids or vapors are stored.
- To protect the heater from strong wind, anchor the base securely to the ground with screws.
3 Gas requirements
- Use propane or butane only.
- The pressure regulator and hose assembly to be used must conform to local standards.
- The installation must conform to local regulations, or in the absence of local regulations, with the standard for the storage and handling of liquid petroleum gases.
- A dented, rusted or damaged propane tank may be hazardous and should be checked by your gas supplier. Never use a propane tank with a damaged valve connection.
- The propane tank must be arranged to provide for vapor withdrawal from the operating cylinder.
- Never connect an unregulated propane tank to the heater.
4 Leak test
Gas connections on the heater are leak tested at the factory prior to shipment. A complete gas tightness check must be performed at the installation site because of possible mishandling in shipment or excessive pressure being applied to the heater.
EN
- Make a soap solution of one part liquid detergent and one part water. The soap solution can be applied with a spray bottle, brush or rag. Soap bubbles will appear in case of a leak.
- The heater must be checked with a full cylinder.
- Make sure the safety control valve is in the OFF position.
- Turn the gas supply ON.
- In case of a leak, turn off the gas supply. Tighten any leaking fittings, then turn the gas supply on and recheck.
- Never leak test while smoking!
5 Operation and storage
To turn on the heater:
- Turn on the valve on the gas supply cylinder completely.
- Press and turn the control knob to Hi position.
-
Press and hold the control knob for 30 seconds. While holding down the control knob, press the igniter button several times until the pilot flame lights. Release the control knob after the pilot flame has lighted up.
-
If a new tank has just been connected, please allow at least one minute for the air in the gas pipeline to purge out trough the pilot hole.
- When lighting the pilot flame make sure that the control knob is continuously held down while pressing the igniter button. The control knob can be released after the pilot flame lighted up.
- Pilot flame can be watched and checked from the small round window with sliding lid located at the bottom of the flame screen (to the left or right side of the controller).
-
If the pilot flame does not light or goes out, repeat step 3.
-
After the pilot flame has lighted up, turn the control knob to maximum position and leave it there for 5 minutes or more before turning the knob to the desired temperature position.
To turn off the heater:
- Turn the control knob to LO position.
- Press and turn the control knob to OFF position.
- Completely turn off the valve on the gas supply cylinder.

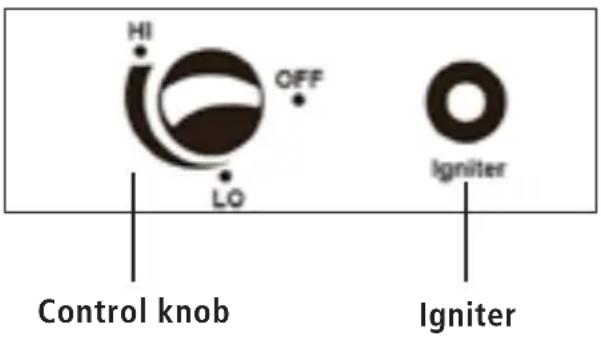
Off: The heater stops work
Lo: Minimum temperature position
Hi: Maximum temperature position
Storage:
- Always close the gas valve of the gas cylinder after use or in case of any malfunction.
- Remove the pressure controller and the hose.
- Check the leak-tightness and for any damage of the gas valve. If you suspect any damage, have it changed by your gas dealer.
- Never store a liquid gas cylinder in a sub-terranean area or at places without sufficient air ventilation.
6 Cleaning and maintenance
- Wipe off powder coated surfaces with soft, moist rag. Do not clean heater with cleaners that are combustible or corrosive.
- Remove debris from the burner to keep it clean and safe for use.
- Cover the burner unit with the optional protective cover when the heater is not in use.
7 Parts description
EN
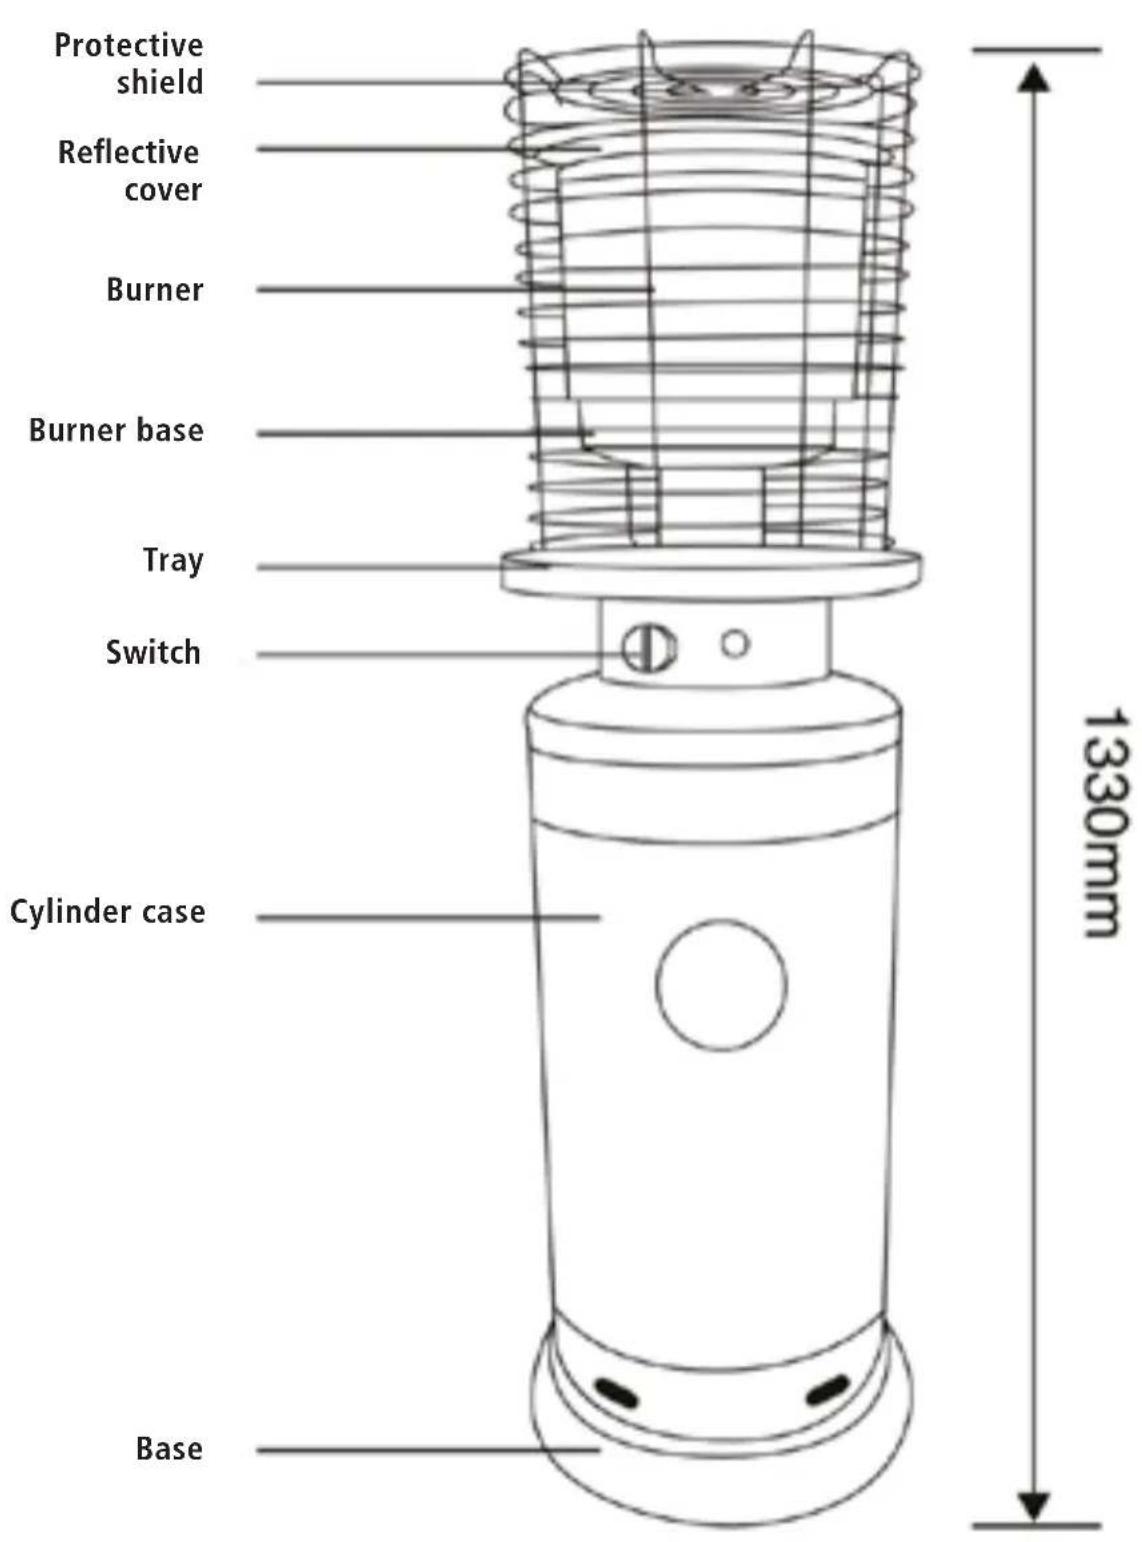
Construction and characteristics:
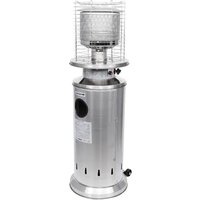
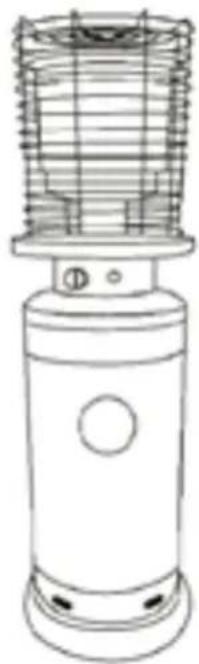
- Transportable terrace/garden heater with tank housing
- Stell housing with powder-coating or made of stainless steel
Gas hose connections with metal clamp (screw caps for Germany) - Heat emission from reflector

Specifications
Use propane or butane only
Max. wattage: 12000 watts
- CE tested
- Use the proper regulator according to the outlet pressure of the regulator as shown in the table
Table for the injector
| Appliance category 3+ | (28-30/37) 3B/P(30) 3 B/P | (50) 3B/P(37) | |||
| Types of gas Butane Propane | LPG Gas Mixtures | LPG Gas Mixtures | LPG Gas Mixtures | ||
| Gas pressure 28-30 mbar 37 mbar 30 mbar 50 mbar 37 mbar | |||||
| Total Heat (HS): (QN) | 12 kW (Butane: 873 g/h • Propane: 857 g/h) | ||||
| Injector size 1.88 mm | to main burner0.18 mmtot pilot burner | 1.55 mmto main burner0.18 mmtot pilot burner | 1.65 mmto main burner0.18 mmtot pilot burner | ||
| The marking, for example, 1.88 on the injector, indicates that the size of the injector is 1.88mm. | |||||
- The hose and regulator assembly must conform to local standards.
- The regulator outlet pressure should meet the corresponding gas category in the table of injector.
The appliance requires an approved hose of 1.5m length.
8 Assembly instructions
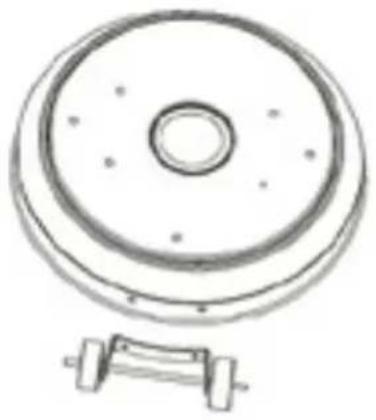
STEP1
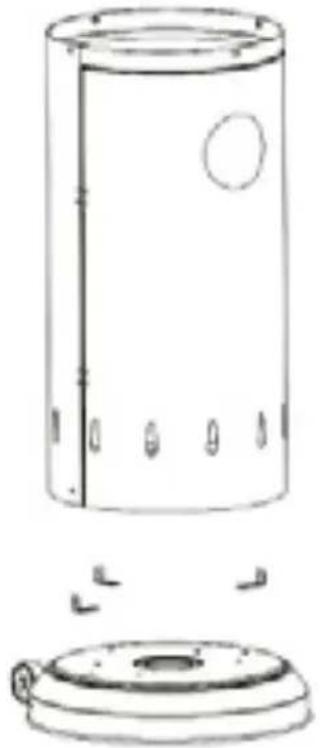
STEP 2 STEP 3
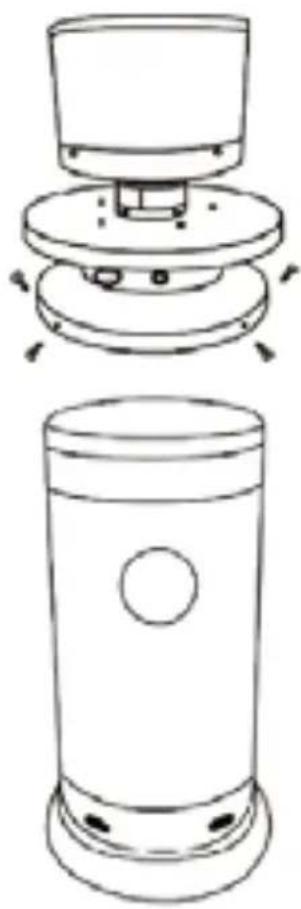
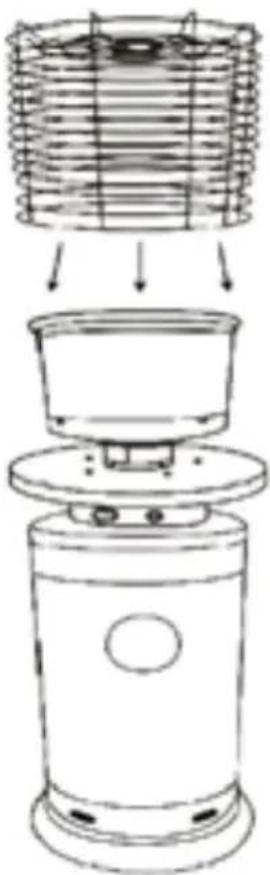
STEP4
STEP1
1.1 Assemble the wheels to the base
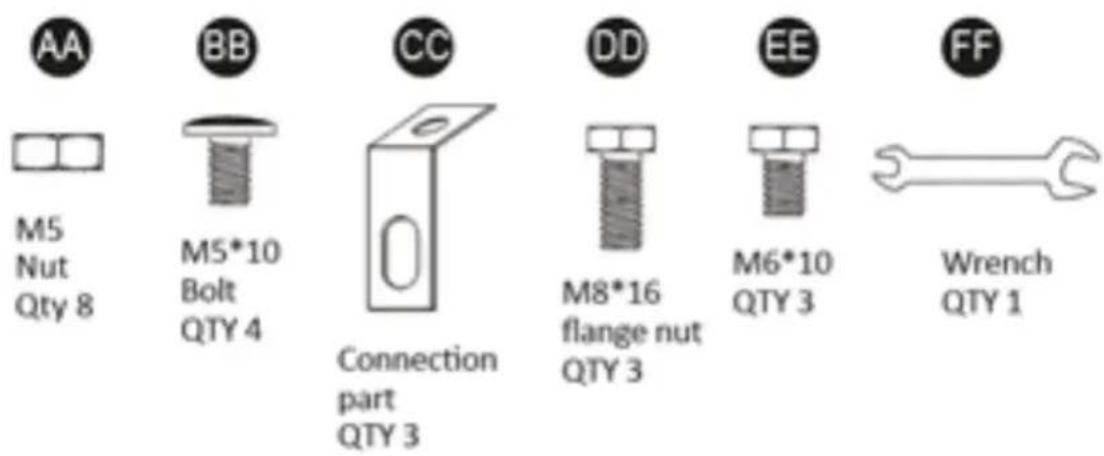
1.2 Use 2 pcs M8*16 and 2 pcs M8 nuts and 4 pcs bolts
STEP 2
2.1 Assembly the base to the tank
2.2 Use 3 pcs CC and 3 pcs DD M816 flange nut and 3 pcs EE M610
STEP3
3.1 Put the burner on the tank
3.2 Use 4 pcs AA M5 nuts and 4 pcs
BB M5*10 bolts
STEP4
4.1 Assemble the protective guard on the burner
4.2 Use 4 pcs AA M5 nuts
11 Warranty / Disposal / Technical change

Warranty
The Products are controlled just before delivery. If despite a lack of your product, try trustfully your seller. Please bring your receipt, as this is to be submitted for each warranty. The guarantee period is 24 months from date of purchase.
Disposal
The device must be disposed of properly. The device can be distributed free of charge for disposal at each dealer.
Technical changes
Reserving technical changes in technology and design.
This appliance can be used by children aged from 8 years and above and persons with reduced physical, sensory or mental capabilities or lack of experience and knowledge if they have been given supervision or instruction concerning use of the appliance in a safe way and understand the hazards involved. Children shall not play with the appliance. Cleaning and user maintenance shall not be made by children without supervision. Please make sure to place the device on a suitable and waterproof surfaces, so that spilled liquids can not cause harm.
CE declaration of Conformity
This device complies with the following standards
EN 14543:2017
2016/426
DISPOSAL INSTRUCTIONS FOR THE ELECTRICAL PART OF THE PRODUCT
In accordance with Article 26 of the Decree-Law of 14 March 2014 implementing Directive 2012/19/EC and the Law of 4 March 2014 implementing Directive 2011/65/EC on the reduction of the use of hazardous substances in electrical and electronic equipment and on waste management.
EN
The crossed-out dustbin symbol on the machine or packaging indicates that the waste generated at the end of its useful life must be collected separately from other waste. The user must therefore take the device to the appropriate collection points at the end of its service life. Sort electronic and electrical waste or send the purchase of new, equivalent devices back to the dealer in a one-to-one process. L'adeguata separate collection for subsequent commissioning of the equipment to be recycled, treatment and environmentally sound disposal, helps to avoid possible adverse effects on the environment and health and promote the reuse and/or recycling of the materials to which they belong. composed the equipment.
Misuse of this product by the user will result in the application of the administrative penalties provided for in the applicable legislation. Batteries contained in the device must be disposed of separately in the appropriate containers for the collection of used batteries.

DISPOSAL OF BATTERIES AND ACCUMULATORS
In accordance with Legislative Decree 188 of 20 November 2008 implementing Directive 2006/66/EC on batteries, accumulators and related waste, the symbol of the crossed-out waste bin on the battery indicates that the disposal of used batteries in household waste is prohibited.
Single-use and rechargeable batteries contain substances that are highly polluting for the environment. The user is obliged to dispose of used batteries at collection points in the municipality or in appropriate containers. This service is free. In this way, legal requirements are adhered to and the environment protected. The symbols identifying hazardous materials that may be present in single-use and rechargeable batteries are as follows: Hg = Mercury, Cd = Cadmium, Pb = Lead.
Company
Armin Schmid
Olensbachstrasse 9-15
CH-9631 Ulisbach
Tel. Int. +41 71 987 60 60
Tel.Nat.0848870850
www.sonnenkoenig.ch
Company
Armin Schmid