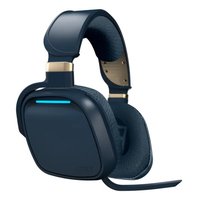
TX70+ - Headphones Gioteck - Free user manual and instructions
Find the device manual for free TX70+ Gioteck in PDF.


User questions about TX70+ Gioteck
0 question about this device. Answer the ones you know or ask your own.
Ask a new question about this device
Download the instructions for your Headphones in PDF format for free! Find your manual TX70+ - Gioteck and take your electronic device back in hand. On this page are published all the documents necessary for the use of your device. TX70+ by Gioteck.
USER MANUAL TX70+ Gioteck
Features and Controls 03
Setup 04
Operation 05
System Settings 06-07
Specifications 07
Precautions / Help 08
Limited Warranty 09
CE 09-10
Other languages 11
PACKAGE CONTENTS
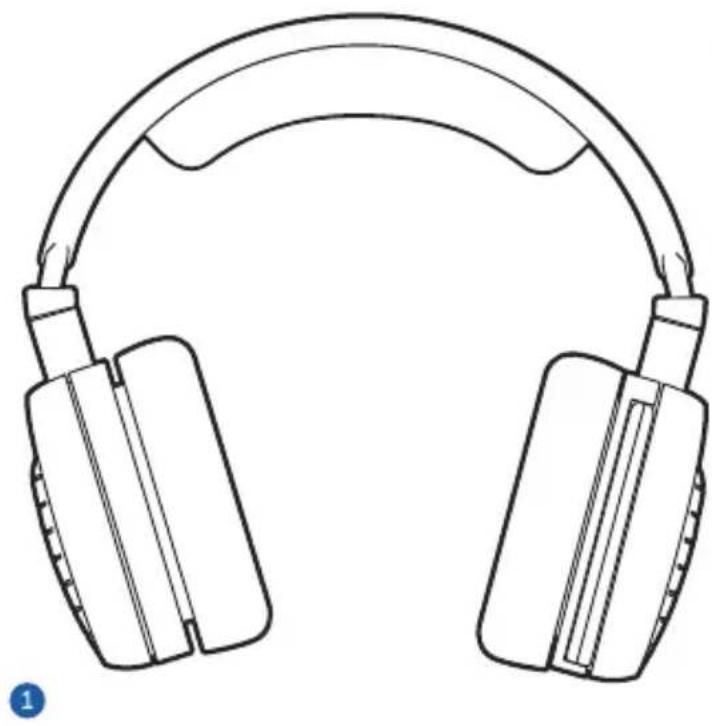
natural_image
Line drawing of a pair of outdoor headphones with earbuds and headband (no text or symbols)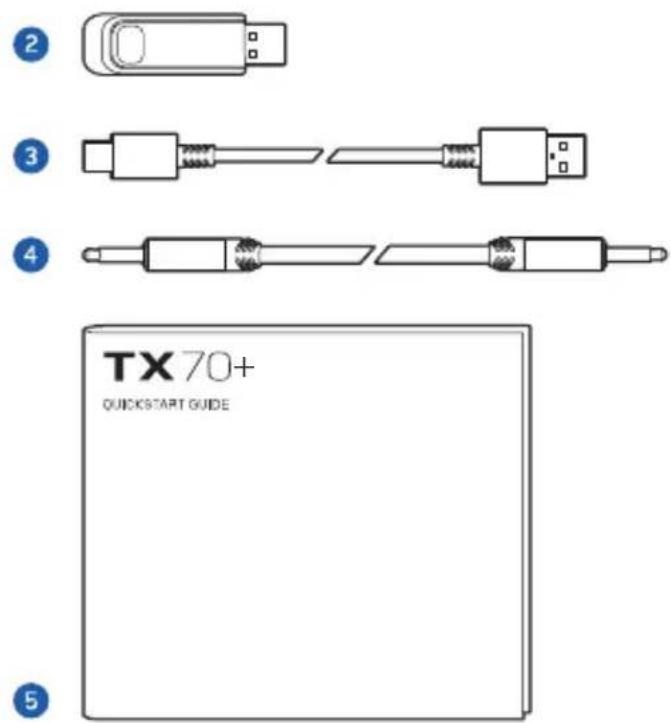
text_image
2 3 4 TX 70+ QUICKSTART GUIDE 51 TX70+ Dual-Band Gaming Headset
2 Wireless Transmitter (USB)
3 Micro USB Charging Cable
4 3.5mm Audio Cable
5 Quickstart Guide
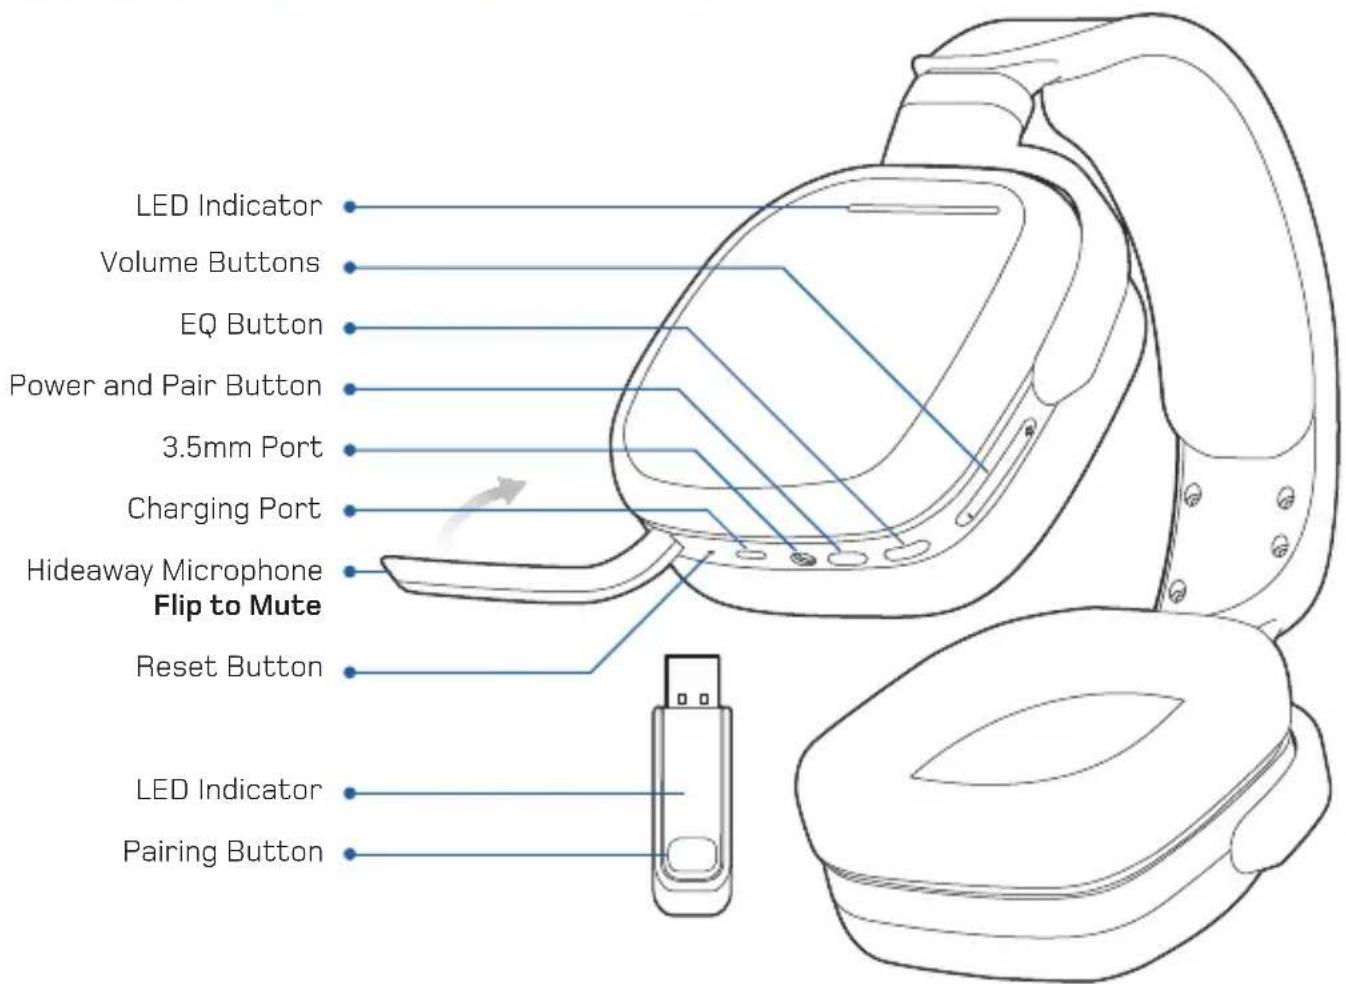
FEATURES AND CONTROLS
text_image
LED Indicator Volume Buttons EQ Button Power and Pair Button 3.5mm Port Charging Port Hideaway Microphone Flip to Mute Reset Button LED Indicator Pairing ButtonMICROPHONE MUTE FUNCTION
Raise the Microphone arm to activate mute.
Lower the Microphone arm to unmute.
EQ BUTTON (BASS BOOST FEATURE)
Press the EQ button to turn Bass Boost ON/OFF.
A short pause in sound will occur when changing modes.
SETUP
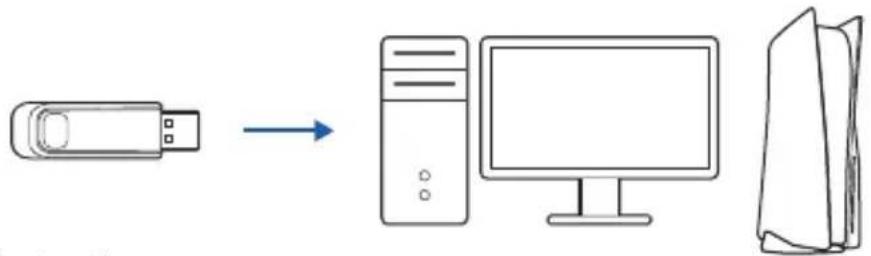
Connect using the USB Transmitter
1 Insert the USB Transmitter to your PC, Mac, PlayStation 5 or 4, Switch dock.
2 Press the Headset Power and Pair button for 1.5 sec.
3 The Headset and USB Transmitter LED light solid once connected.
4 After connection, check audio output on the connected device is set to the TX70+ headset.
flowchart
graph LR
    A["USB Device"] --> B["Computer"]
    B --> C["Server"]
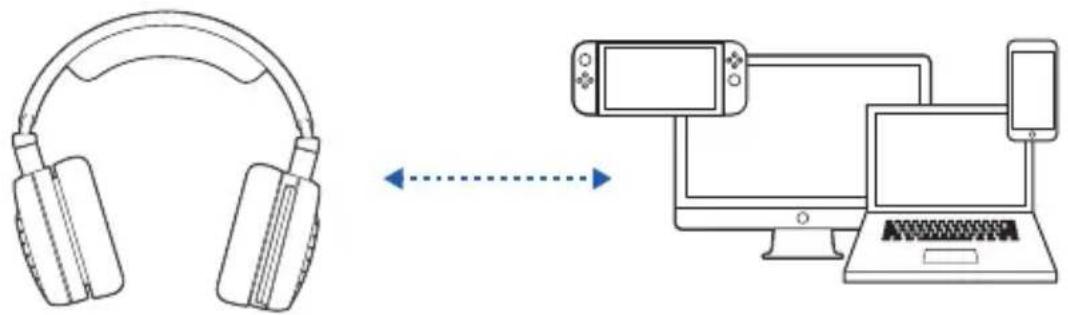
Connect using Bluetooth
1 Remove the USB Transmitter from a device if plugged in.
2 Turn the headset OFF if powered ON.
3 Set the Headset to Pairing Mode by pressing the Power and Pair button for 4sec until "pairing mode" prompt is heard.
4 Open Bluetooth settings on the supported device and select TX70+.
natural_image
Line drawing showing a pair of headphones connected to a laptop and smartphone (no text or symbols present)OPERATION
Power ON
Press the Power and Pair button for 1.5sec when the headset is OFF.
Power OFF
Press the Power and Pair button for 4sec when the headset is ON.
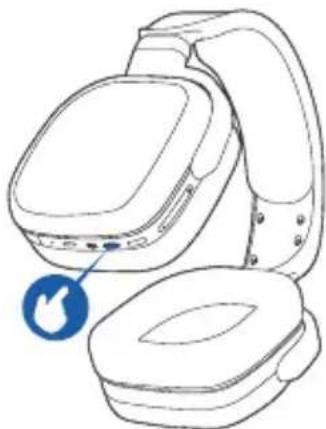
Enter pairing mode
Turn the headset OFF. Then press the Power and Pair button for 4secs until the "pairing mode" prompt is heard.
natural_image
Line drawing of a smartwatch with two views and a close-up of the front panel (no text or symbols)How to connect using Bluetooth
Remove the USB Transmitter from a device if plugged in. Set the headset to pairing mode, open Bluetooth settings on the supported device and select TX70+.
Note: The headset can connect to a single Bluetooth device at a time.
How to connect using the USB Transmitter
Enabling pairing mode on the headset will disconnect any Bluetooth devices. While the headset is in pairing mode (check the LEDs are flashing) connect the USB transmitter to the device and the headset will connect automatically.
If you do not hear audio immediately, check the audio output on the connected device is set to the TX70+ headset.
Toggle between Bluetooth and the USB Transmitter
Switch between wireless modes by double-tapping the Power and Pair button.
Power save
The TX70+ headset will shutoff automatically after 5min if there is no connection.
Charging
Connect the Charge Cable to a USB Port and the headset. When the headset charges, the LEDs on the headset will pulse. The LEDs will light solid when fully charged and blink when the battery gets low.
SYSTEM SETTINGS
PS5™ | PS4™ | Low-Latency Gaming Mode
1 After the USB Transmitter and headset are setup, go to "Sound/Settings"
2 Set "Input and Output Device" to "TX70+"
3 Select "Adjust Microphone Level" and follow the directions to calibrate the microphone.
4 Set "Output to Headphones" to "All Audio"
Windows | Low-Latency Gaming Mode
1 After the USB Transmitter and headset are setup, right click the sound icon on the Windows task bar.
2 Go to "Sounds" or "Sound Settings"
3 Under "Playback" click on "TX70+" and select "Set Default"
4 Under "Recording" click on "TX70+" and select "Set Default
Mac | Low-Latency Gaming Mode
1 After the USB Transmitter and headset are setup, go to System Settings.
2 Select "Sound"
3 Under "Output" and "Input" select "TX70+"
SYSTEM SETTINGS
Nintendo Switch™ | Low-Latency Gaming Mode
natural_image
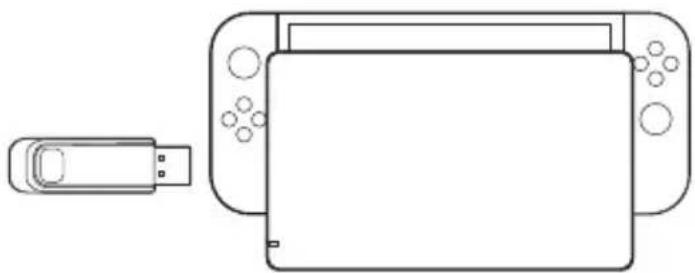
Line drawing of a game controller with an external USB flash unit (no text or symbols)The Nintendo Switch must be docked with the USB Transmitter plugged into the Switch Dock.
The Nintendo Switch allows the pairing of only one Bluetooth® audio device at a time and does not support Bluetooth® microphone input. The Nintendo Switch Online App can be used for voice chat in select games.
Additional accessories may be required to enable chat support on the Nintendo Switch.
SPECIFICATIONS
Input power rating: DC 5V, 1A
Battery type: built-in Li-ion Polymer battery
Voltage: DC 3.7V
Battery capacity: 1200mAh
Operating temperature: 0\~+45°C
Radio frequency: 2.4G
Frequency band: 2402-2480MHz
Maximum radio-frequency: 5 dbm
Mass: Approx 320g
PRECAUTIONS
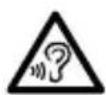
Before using the headset, turn the volume down to a mid-level or very low, then slowly adjust it to a comfortable level. Exposure to high volume sound levels may cause temporary or permanent damage to your hearing. You should always set your volume to moderate levels and avoid long exposure to high volume levels.
- Contains small parts. Not suitable for children under 7 years of age. An adult should supervise young children when using this product.
• Store in a dry & dust free area. - Avoid placing this product near extreme temperatures or humidity. Avoid direct sunlight and heat sources.
- Do not submerse or allow this product to come into contact with water. Use in dry locations only.
- Do not clean any parts with alcohol, cleaning solutions containing alcohol or strong abrasives. Use a soft cloth and a little water.
- Do not use this product while operating a motor vehicle
- There are no user serviceable parts within this product. Tampering with this product will invalidate your Gioteck warranty.
- Use of any attachment or accessory with this product not recommended or sold by Gioteck may result in risk of fire, electrical shock or injury to persons or product.
- Please help to conserve the environment by recycling the cardboard packaging of this product.
- This product should NOT be disposed of in normal household waste. It should be disposed of separately. Please take it to an electrical waste collection point.
For help with the set-up or operation of this product please
go to: SUPPORT@GIOTECK.COM
LIMITED WARRANTY
Freemode Go warrants to the original consumer purchaser that product will be free from defects in materials and/or workmanship for the length of time specified in the warranty period from the date of purchase as set forth at gioteck.com/support. If a defect covered by this warranty occurs during the warranty period, Freemode Go at its option will repair or replace, at no charge, any part that Freemode Go deems is defective.
This warranty shall not apply if the product has been damaged by abuse, misuse, negligence, accident, modification, tampering or by any cause unrelated to defective materials and/or workmanship. Repair or replacement as provided under the warranty is the exclusive prerogative of Freemode Go. To obtain warranty services, under certain circumstances, you may be required to return the item to Freemode Go for inspection and evaluation. You will be required to provide a valid proof of purchase, including the price paid and the date the product was purchased for Freemode Go to determine the warranty status. Products purchased from unauthorized dealers, such as marketplaces i.e. eBay and Facebook are excluded from this warranty.
In no event shall Freemode Go be accountable for incidental damages resulting from the breach of any different additional legal rights, including longer warranty periods, which vary from jurisdiction to jurisdiction. Some jurisdictions do not allow certain limitations on how long implied warranty lasts. In addition, consumers have legal rights under applicable national legislation governing the sale of consumer goods. Such rights are not affected by warranties set forth herein, except to the extent allowed in law.
CE
FREEMODE GO Ltd hereby declares that this product follows the essential requirements and other provisions of EMC Directive 2014/30/EU and RED directive 2014/53/EU. The full text of the EU Declaration of Conformity is available at the following internet address: www.gioteck.com/docs
Help protect the environment by re-using and recycling.
The crossed-out wheeled bin symbol marked on this product signifies that it must not be disposed of with regular household waste and needs to be taken instead to an appropriate collection point.
EQ-KNAP (BASS BOOST-FUNKTION)
EQ-KNOP (BASS BOOST-FUNCTIE)
Authorised Representative (EU)2019R1020: Authorised Representative Service, 77 Camden Street Lower, Dublin, D02 XE80, Ireland

ver. 1.1
