7001-A03 - Ice machine Cloer - Free user manual and instructions
Find the device manual for free 7001-A03 Cloer in PDF.

User questions about 7001-A03 Cloer
0 question about this device. Answer the ones you know or ask your own.
Ask a new question about this device
Download the instructions for your Ice machine in PDF format for free! Find your manual 7001-A03 - Cloer and take your electronic device back in hand. On this page are published all the documents necessary for the use of your device. 7001-A03 by Cloer.
USER MANUAL 7001-A03 Cloer
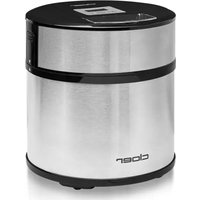
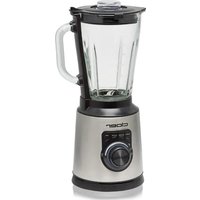
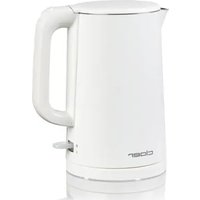
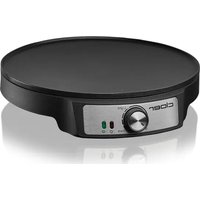
Product overview For household use

GB
Basic Safety Instructions
- Please refer to the operating instructions of the Cloer Kitchen Aid Type 700. Only use Art-7001-A03 accessories with the Cloer Kitchen Aid Type 700. Do not use any third-party appliances or accessories. The use of third-party appliances can pose substantial dangers for the user. Your warranty claim expires additionally.
- Only use with completely assembled accessories. Do not assemble the accessories directly on the main unit. Kitchen aid accessories should only be fitted if the appliance is not being operated and the mains plug is disconnected.
- Switch off the appliance (Cloer Kitchen Aid Type 700) and pull the power plug from the socket:
-if a fault occurs,
-ifunattended,
- prior to assembly,
- prior to disassembly,
- prior to cleaning,
- prior to attaching/replacing accessories or additional components that move during operation.
- This accessory can be used by children aged from 8 years and above and persons with reduced physical, sensory or mental abilities or lack of experience and/ or knowledge, if they are supervised or instructed concerning the safe use of the device and have understood the dangers resulting therefrom.
- Cleaning and maintenance must not be carried out by children, unless they are 8 years of age or older and are supervised. Children may not play with the accessory.
- Clean all surfaces/components which came into contact with food after using the accessory/appliance. You can find further notes for cleaning on the following pages.
- Do not use the accessory/appliance for any purpose other than that intended. Incorrect use of the device can lead to injuries.
Before the first use

Read this manual carefully before the first use.
- Remove all packing parts and possibly any stickers.
- Clean accessory components with a damp, soft cloth before first use.
- Place the kitchen aid on a dry, slip-resistant and even surface.

The appliance meets the requirements of the applicable EC directives.
ATTENTION! Always unplug the appliance when not in use and before cleaning.
Initial operation / assembly
- To use the Cloer Ice Cream Maker, you will need regular sized ice cubes. You can use homemade ice cubes or ready-to-use ice cubes. We do not recommend using crushed ice as it does not reach the cold temperatures required.
- Have ice cubes ready on-hand.
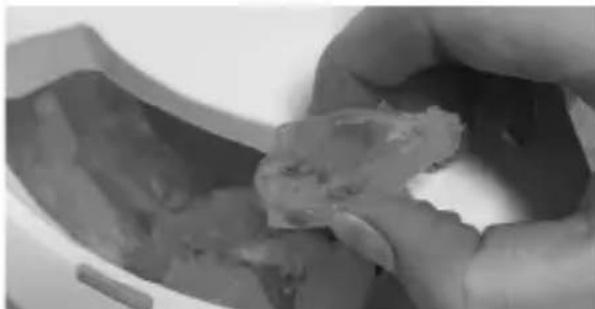
- Next, mount the stirring paddle on the lid of the ice maker and make sure that it is firmly seated in the cover. Set aside the assembled paddle/lid.
- Now pour your ice cream mixture into the stainless-steel bowl of the ice cream maker. Please only fill the ice cream maker to 3/4 of its volume. Depending on the recipe, you may need to experiment a little before you find the appropriate maximum volume.
- Then place the filled ice cream container in the plastic mixing bowl of the Cloer Kitchen Aid Type 700.
- Fit the ice-cream maker lid onto the stainless-steel bowl and turn counter clockwise until it clicks into place.
- Now pour the ice cubes into the bowl and add salt. It is best to layer the ice cubes and salt alternately.
We recommend using coarse-grained salt.
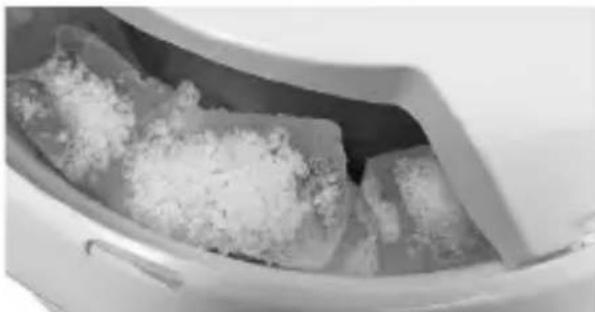
- Continue to add ice cubes and salt during the mixing process, as required. The ice cubes should always be at the same height as the ice cream mixture to achieve optimum cooling.
- Normally the ice cream should be ready in about 30-40 minutes. You can shorten or extend the mixing time until the desired consistency is achieved.
- For making ice creams we recommend setting the speed to 2.
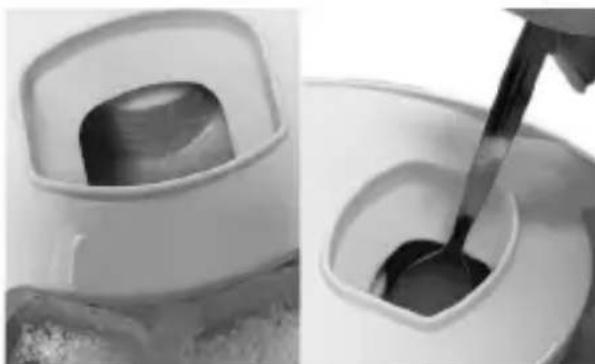
- The opening in the lid allows you to check the consistency of the ice cream. Use a small spoon if necessary.
- Add ingredients such as nuts or fruit at the very end of the process.
Hint
Smaller quantities and colder ingredients freeze faster. The finished ice cream should have a soft and smooth consistency. For a firmer ice cream, the ice cream needs to be stored in the freezer.
- You can enjoy the ice cream immediately as soft serve or place it in the freezer to get a firmer ice cream consistency.
Cleaning
- Dismantle used components of the kitchen aid before cleaning them.
- We recommend washing all components by hand to prevent the plastic softening.
- When using the dishwasher please remember that: Only the lid and stirring paddle (plastic components) are dishwasher-proof.
- The ice cream maker should be rinsed by hand, to preserve its shine. Most detergents can cloud or oxidise the aluminium alloy, so be sure to dry the bracket thoroughly. This preserves the shine of the bracket.
Only clean the base of the motor with a damp cloth, and never under running water. - Do not use abrasive cleaning agents.
Cloer Online-Shop

Find more products here: Cloer Online-Shop
https://cloer.eu
Warranty
Cloer electrical appliances are in conformity with the currently required EC-guidelines and safety regulations. If your Cloer electrical appliance has a defect or it does not work properly, contact your specialist dealer. Registered clients have at their disposal our technical customer service.
cloer
Technical customer service
Mail: service-gb@cloer.eu
https://service.cloer.eu
Manufacturer warranty
Please register your appliances in the period of 6 months since the purchase in order to benefit from our manufacturer warranty. The published conditions of warranty in the moment of the registration are valid. You will find conditions of warranty and product registration here.

Warranty conditions
https://cloer.eu/gb/guarantee
Aperçu du produit
https://cloer.eu/it/guarantee
IT
cloer
© 2019 by Cloer Germany GmbH&CoKG.
We reserve the right to make technical changes, we are not liable for any errors or printing errors.