ErgoMixx MFQ37400 - Hand blender BOSCH - Free user manual and instructions
Find the device manual for free ErgoMixx MFQ37400 BOSCH in PDF.

User questions about ErgoMixx MFQ37400 BOSCH
0 question about this device. Answer the ones you know or ask your own.
Ask a new question about this device
Download the instructions for your Hand blender in PDF format for free! Find your manual ErgoMixx MFQ37400 - BOSCH and take your electronic device back in hand. On this page are published all the documents necessary for the use of your device. ErgoMixx MFQ37400 by BOSCH.
USER MANUAL ErgoMixx MFQ37400 BOSCH
new appliance now at MyBosch and enjoy benefits free of charge:
bosch-home.com/ welcome
ErgoMixx
MFQ36.. MFQ37..
natural_image
Illustration of two handwheels with levers, one straight and one wavy (no text or symbols)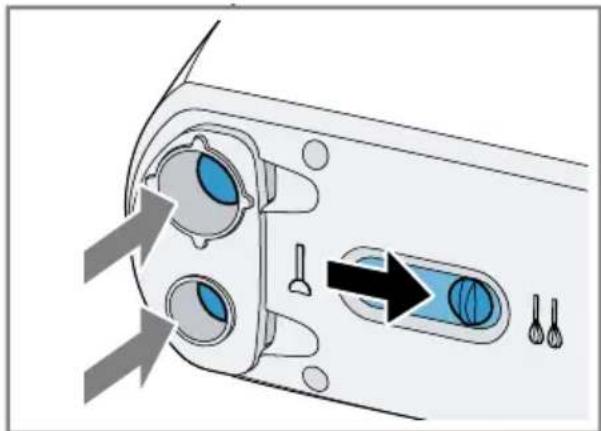
natural_image
Diagram of a car air vent system with blue eyes and control buttons, showing airflow direction (no text or symbols)2
text_image
CLICK3
natural_image
Illustration of a hand mixer with a hand holding a basket, accompanied by a blue checkmark (no text or symbols)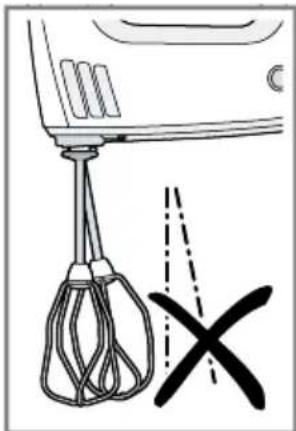
natural_image
Line drawing of a kitchen mixer with a hand holding a whisk and a cross mark symbol (no text or labels)4
5

text_image
M 0 1 • 3 • 5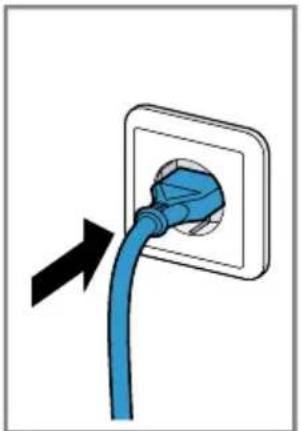
natural_image
Illustration of a blue electrical plug inserted into a wall socket, with an arrow indicating direction (no text or symbols)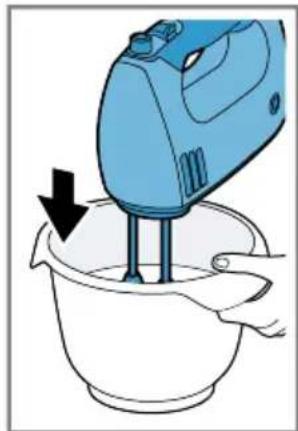
natural_image
Illustration of a blue mixing bowl with a hand mixer, showing a downward arrow (no text or symbols)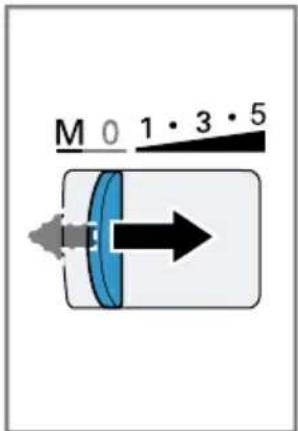
text_image
M 0 1 • 3 • 56
natural_image
Illustration of a hand using a blue electric mixer to stir contents in a bowl, with hourglass icon nearby (no text or symbols)7
text_image
M 0 1 · 3 · 5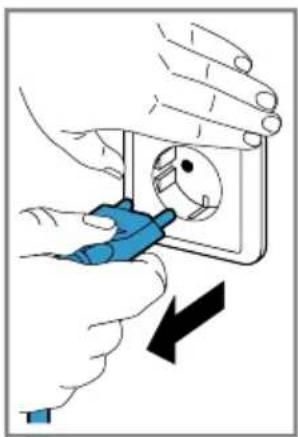
natural_image
Illustration of hands using a power switch to install an electrical socket (no text or symbols present)8
text_image
Diagram showing a steam iron with labeled parts and a checkmark indicating inspection or repair.9
text_image
Diagram showing a blender and a cooking pot with a checkmark indicating inspection or completion.10
natural_image
Diagram of a device rear panel with blue circular ports and directional arrows indicating movement or flow (no text or symbols)The image is too blurry to recognize any text content.
natural_image
Diagram showing a medical device with an arrow pointing to a blue cylindrical component (no text or symbols present)
text_image
CLICK12
text_image
Diagram showing a blue plug inserted into a wall socket and connected to a device with a dial labeled M0 1-3-514
natural_image
Illustration of a hand using a blue electric shaver to lift liquid into a glass (no text or symbols)The image is too blurry to recognize any text content.
text_image
M 0 1 · 3 · 516
text_image
M 0 1 · 3 · 5The image is too blurry to recognize any text content.
text_image
Diagram showing a medical device with labeled parts and a blue checkmark indicating a procedure step.18
natural_image
Illustration of a pitcher pouring liquid into a glass with a drop, accompanied by an inset showing a sandwich (no text or symbols)The image is too blurry to recognize any text content.
text_image
M 0 1 • 3 • 520
natural_image
Illustration showing a funnel pouring liquid into a container with a hand holding it, indicating a process or procedure (no text or symbols present)The image is too blurry to recognize any text content.
natural_image
Illustration of a hand using a power tool to press or lift a glass (no text or symbols visible)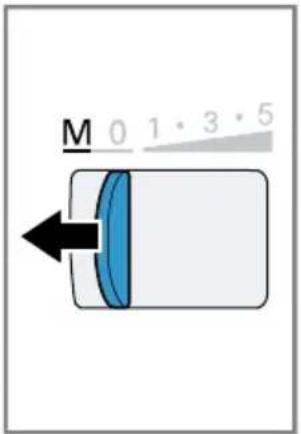
text_image
M 0 1 3 5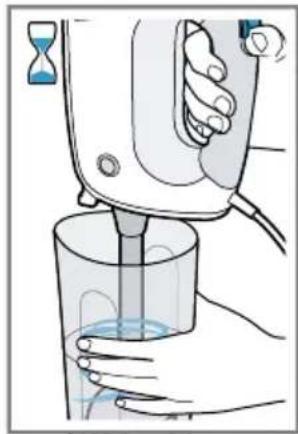
natural_image
Illustration of a hand using an air purifier to dispense liquid into a glass (no text or symbols visible)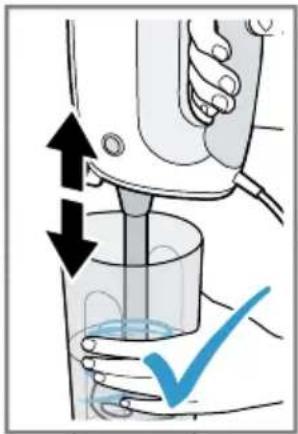
text_image
Diagram illustrating a hand operating a washing machine with arrows indicating force direction and a checkmark highlighting the process.22
natural_image
Diagram of a mechanical device with rope and clamped components, marked with an 'X' symbol (no text or labels present)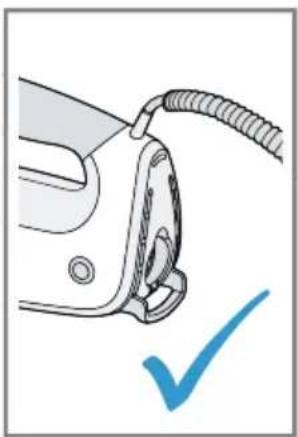
natural_image
Illustration of a hair iron with a cord and handle, marked with a blue checkmark (no text or symbols)24
| √ | × | × | × | × | |
| √ | √ | √ | √ | √ |
text_image
Diagram illustrating a mechanical or electrical system with a blue component and directional arrows, accompanied by an information icon.25
| MFQ36... | |||||
 |  |  |  |  | |
 |  |  | 200-600 g | 1-8 min | 5 |
 |  | 1-8 x ○ | 2-5 min | 5 | |
 |  | Σ 600-1200 g | 30 s | 1 | |
| 4-5 min | 5 | ||||
 |  | Σ 500-1500 g | 30 s | 1 | |
| 3-5 min | 5 | ||||
 |  |  | 350-500 g | 30 s | 1 |
| 4-5 min | 5 | ||||
 |  | 250-500 g | 30 s | 1 | |
| 3-5 min | 5 | ||||
 |  |  | 1 x ○ | 21⁄2 min | M* |
 |  | 300-500 g | 40 s-3 min | M* | |
 |  | 300-500 g | 40 s-3 min | M* | |
| MFQ37... | |||||
 |  |  |  |  | |
 |  | 200-600 g | 1-6 min | 5 | |
 |  | 1-8 x ○ | 2-4 min | 5 | |
 |  | Σ 600-1200 g | 30 s | 1 | |
| 2-4 min | 5 | ||||
 |  | Σ 500-1500 g | 30 s | 1 | |
| 2-4 min | 5 | ||||
 |  | [8DS7] 350-500 g | 30 s | 1 | |
| 3-5 min | 5 | ||||
 | [2TXX] |  250-500 g 250-500 g | 30 s | 1 | |
| 3-5 min | 5 | ||||
 |  |  | 1 x ○ | 2 min | M* |
 |  | 300-500 g | 40 s-2 min | M* | |
 |  | 300-500 g | 40 s-2 min | M* | |
4Sicherheit
■ Read this instruction manual carefully.
- Keep the instruction manual and the product information safe for future reference or for the next owner.
Only use this appliance:
■ with genuine parts and accessories.
■ for stirring, beating and mixing soft foods and liquids.
■ to knead soft dough.
■ for normal processing quantities and for normal processing times for domestic use.
■ in private households and in enclosed spaces in a domestic environment at room temperature.
■ up to an altitude of max. 2000 m above sea level.
The appliance must always be disconnected from the mains after each use, whenever it is left unattended, prior to assembly, disassembly or cleaning and in the event of an error.
This appliance can be used by persons with reduced physical, sensory or mental capabilities or a lack of experience and/or knowledge if they have been given supervision or instruction concerning use of the appliance in a safe way and if they understand the hazards involved.
Do not let children play with the appliance.
Cleaning and user maintenance must not be performed by children.
The appliance must not be used by children. Keep children away from the appliance and power cord.
- Connect and operate the appliance only in accordance with the specifications on the rating plate.
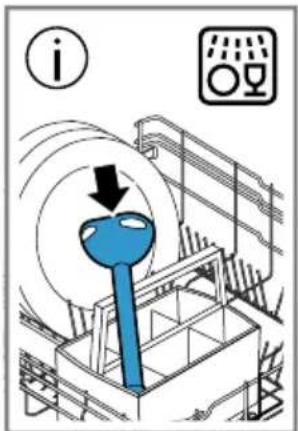
If the power cord of this appliance is damaged, it must be replaced by the manufacturer, the manufacturer's Customer Service or a similarly qualified person in order to prevent any risk. - Never immerse the appliance or the power cord in water or clean in the dishwasher.
▶ Never immerse the main unit in the food to be blended.
▶ Never operate a damaged appliance.
▶ Never let the power cord come into contact with hot parts or be dragged over sharp edges.
▶ Never place the appliance on or near hot surfaces.
▶ After switching off, wait until the drive has come to a complete standstill.
- Keep hands, hair, clothing and utensils away from rotating parts.
▶ Never leave the appliance switched on if the power supply is interrupted. The appliance will automatically start up again following the interruption in the power supply.
- Only attach and remove accessories once the drive has stopped and the appliance has been unplugged.
▶ Never touch the edges of the blades with bare hands.
- Care should be taken when handling sharp blades, emptying the container and during cleaning.
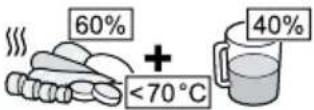
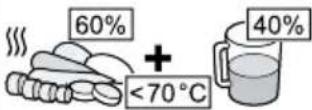
▶ Be careful when processing hot food.
- Leave boiling food to cool down to at least 70 °C before processing.
▶ Follow the cleaning instructions.
- Clean surfaces which come in contact with food before each use.
Avoiding material damage
- Do not operate the appliance at no-load.
▶ Never use the blender jug in the microwave or oven.
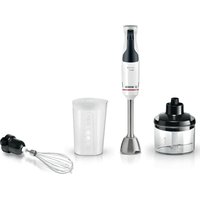
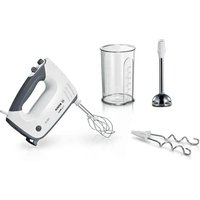
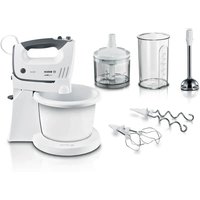
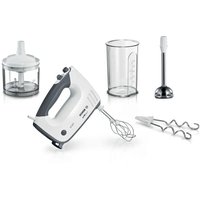
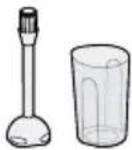
Overview
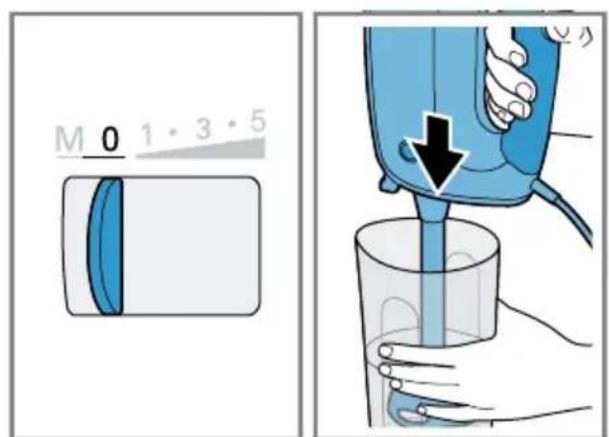
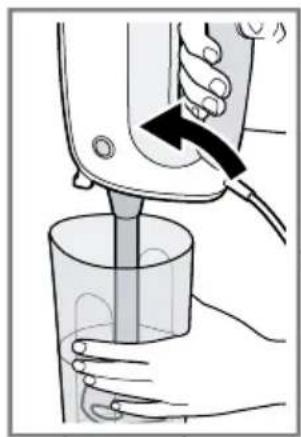
→Fig. 1
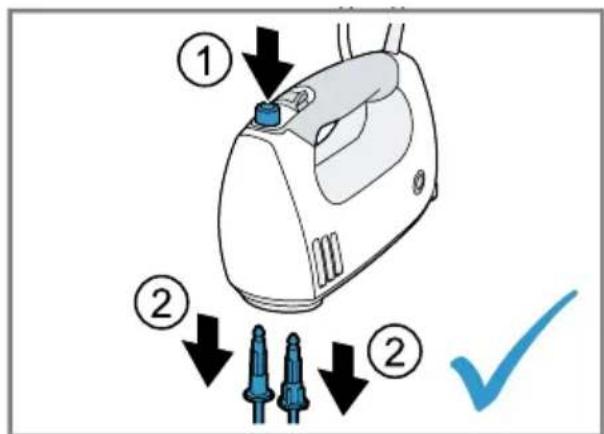
1 Switch
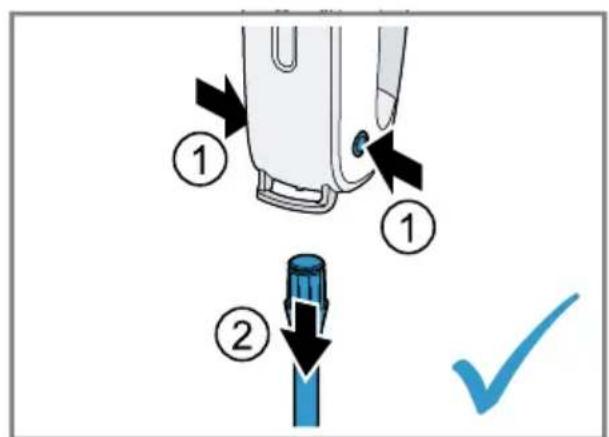
2 Ejector button
3 Release buttons
4 Apertures (with lock) for inserting the tools
5 Slide for actuating the lock
6 Rear aperture with lock
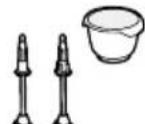
7 Turbo whisks
8 Kneading hooks
9 Plastic blender jug ^1
10 Blender foot ^1
11 Chopper ^1,2
Note: If an accessory is not included in the scope of supply, it can be ordered from customer service.
Operating elements
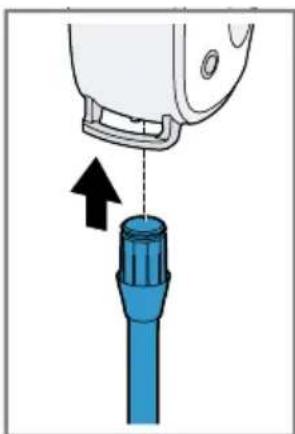
Ejector button
For removing the tools.
Note: The ejector button can only be actuated if the switch is position0.
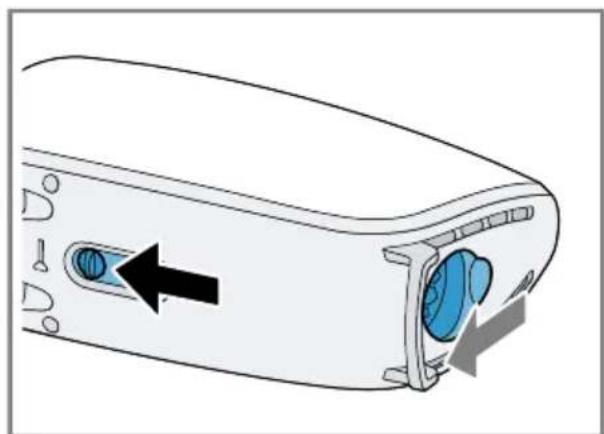
Slide
When the slide is actuated, either the apertures for inserting the tools or the rear aperture is released.
Only move the slide in switch position ^0 .
Release buttons
For removing the accessories from the rear aperture.
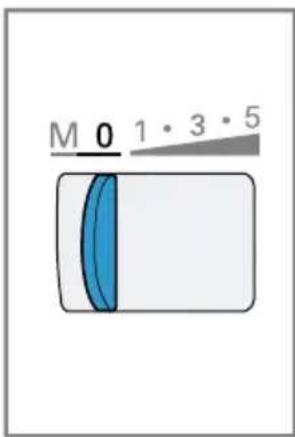
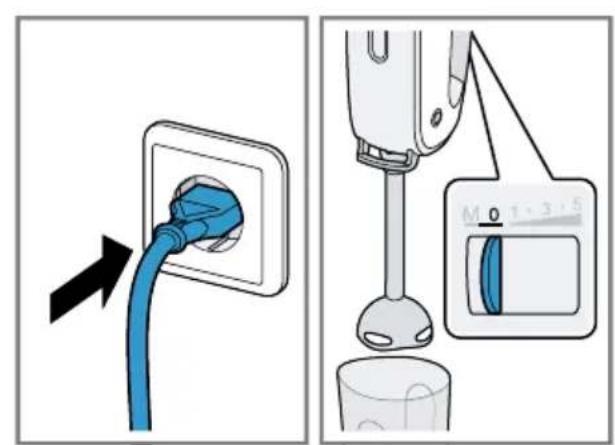
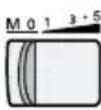
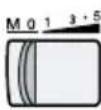
Switch
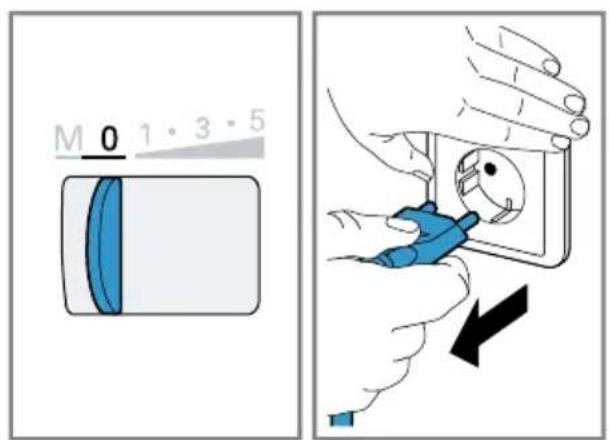
| Symbol Function | |
| 0 | switched off |
| 1 | lowest speed |
| 5 | highest speed |
Symbol Function
| M | Instantaneous switching(highest speed) press to the leftand hold in place |
Note: When the rear aperture is open, the selector switch will not function between levels 1 and 5.
Tools
Whisks
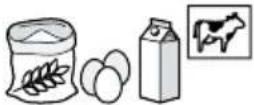
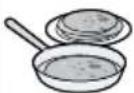
The whisks are suitable for the following tasks:
■ beating egg whites or cream
■ making light dough such as sponge mixture, cake mixture or pancake batter
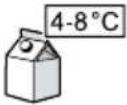
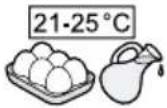
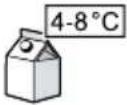
Recommendations for optimum results:
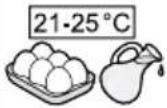
■ Use cream with a fat content of at least 30% and when at 4-8 °C
- Whip cream or beat egg whites in a wide jug
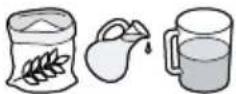
Note: To make mayonnaise, use the blender foot.
Kneading hooks
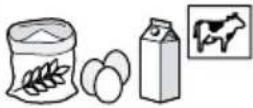
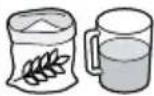
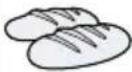
The kneading hooks are suitable for making different types of dough such as yeast dough, bread dough, pizza, strudel or short-crust pastry.
Note: The maximum processing quantity is 500 g flour and ingredients.
Processing food with the tools
Notes
■ Only use tools of the same type in pairs.
■ Note the shape of the plastic parts on the tools to avoid mixing up the tools!
- Insert the tools one after the other to prevent them from becoming entangled.
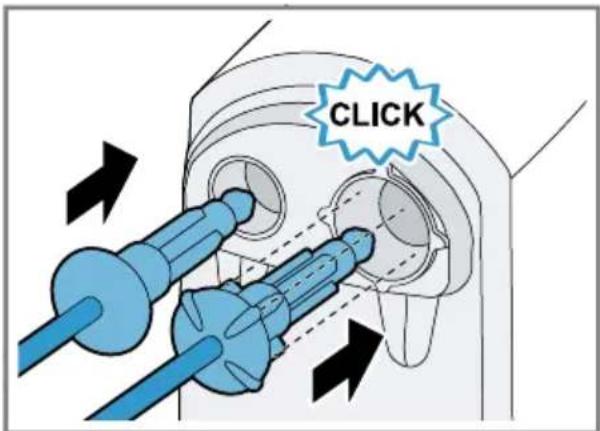
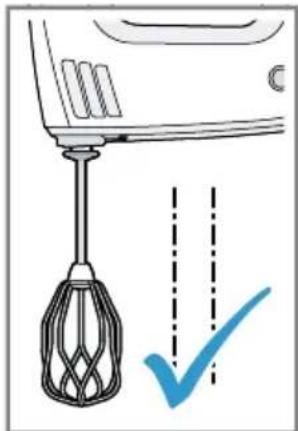
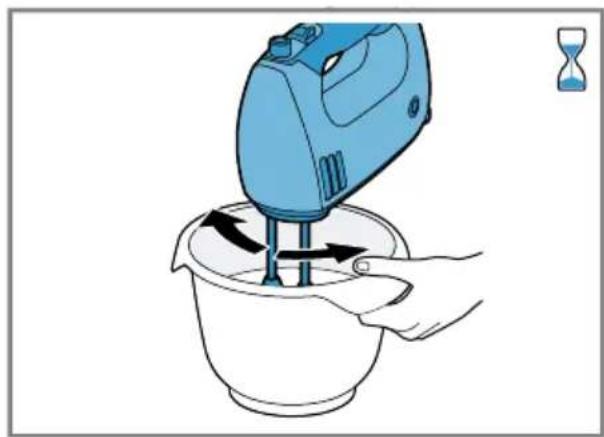
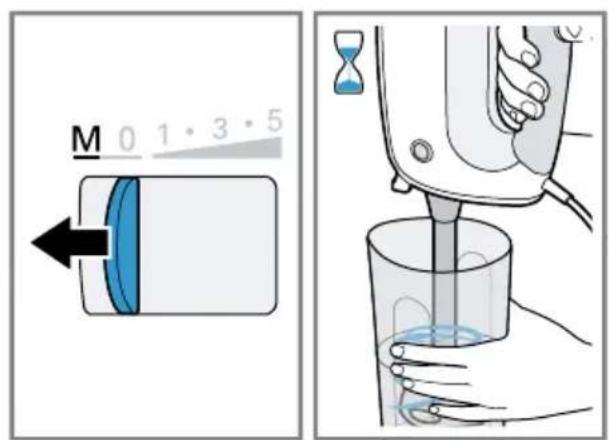
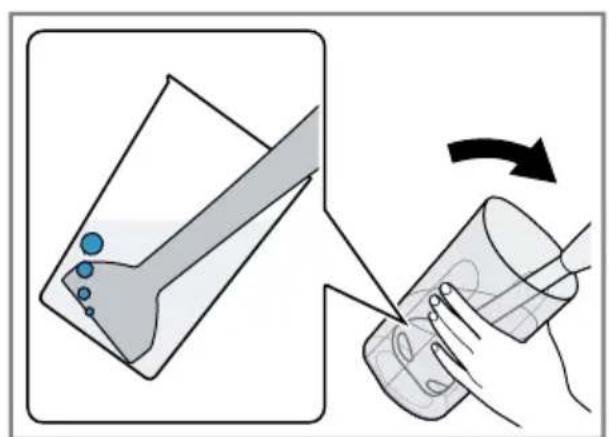
→Fig. 2 - 10
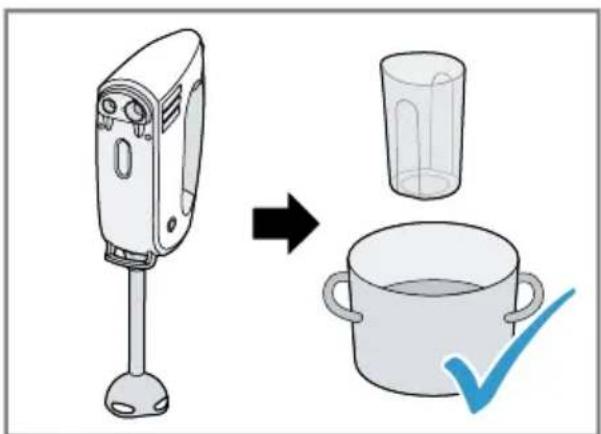
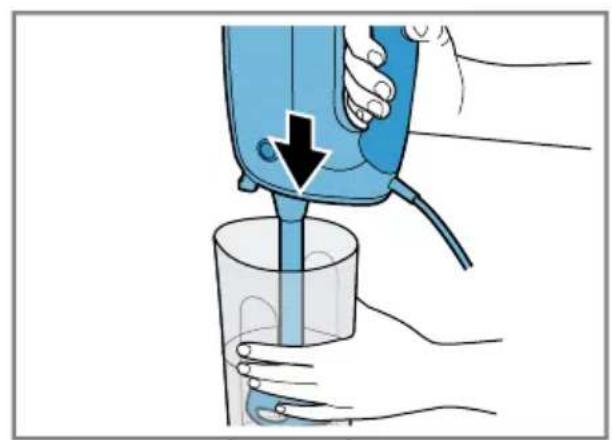
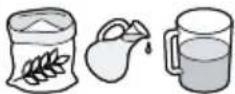
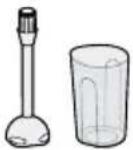
Blender foot
The blender foot is not suitable for preparing purées consisting solely of potatoes or foods with a similar consistency.
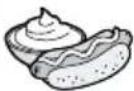
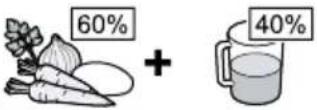
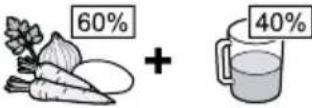
The blender foot is suitable for the following purposes:
- Mixing drinks
■ Making pancake batter, mayonnaise, sauces and baby food
■ Puréeing cooked food, e.g. fruit, vegetables, soup
Using the blender foot
Notes
■ Solid foods should always be cut up and cooked until soft before processing, e.g. apples, potatoes or meat.
■ Use the chopper for cutting up raw food without adding liquid, e.g. onions, garlic or herbs.
■ Before processing the food in a pan, take the pan off the heat.
→Fig. 11 - 18
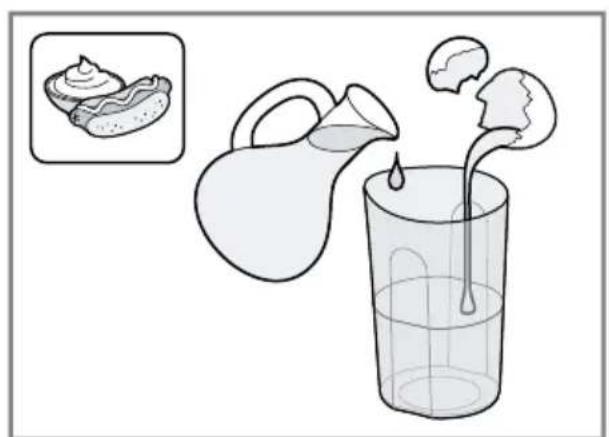
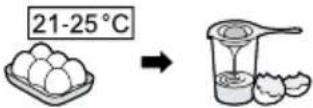
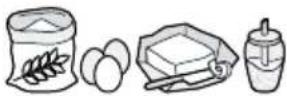
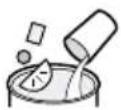
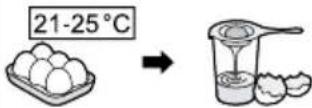
Sample recipe Mayonnaise
- 1 egg (egg yolk and egg white)
- 1 tbsp mustard
- 1 tbsp lemon juice or vinegar
- 200-250 ml oil
- Salt and pepper to taste
Making mayonnaise
Notes
- When using the blender foot, mayonnaise can only be made with whole eggs (egg white and egg yolk).
- When making mayonnaise, air underneath the blender foot prevents the ingredients blending together well. For optimum results, let the air escape before mixing.
→Fig. 19 - 23
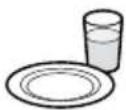
Storage
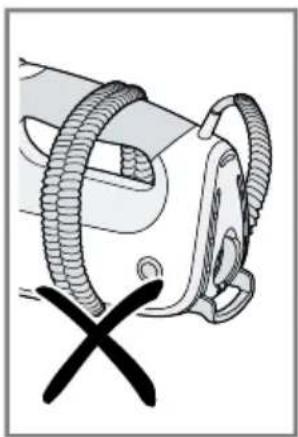
- Appliances with a spiral cord: Never wind the cord around the appliance!
→Fig. 24
Overview of cleaning
Clean the individual parts as indicated in the table.
→Fig. 25
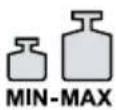
Application examples
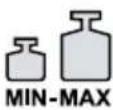
Always observe the maximum quantities and processing times in the table.
Note: For the recipes marked with (*) in the recipe table, let the appliance cool down to room temperature after each operating cycle.
→Fig. 26 →Fig. 27
Troubleshooting
Appliance switches off during processing (only MFQ37).
The overload protection feature has been activated.
- Disconnect the mains plug and allow the appliance to cool down to deactivate the overload protection device.
Note: If the fault cannot be eliminated, please contact customer service.
Disposing of old appliance
- Dispose of the appliance in an environmentally friendly manner. Information about current disposal methods are available from your specialist dealer or local authority.

This appliance is labelled in accordance with European Directive 2012/19/EU concerning used electrical and electronic appliances (waste electrical and electronic equipment - WEEE).
The guideline determines the framework for the return and recycling of used appliances as applicable throughout the EU.
Customer Service
Detailed information about the warranty period and the warranty conditions in your country is available via the QR code on the enclosed document on service contacts and warranty conditions, from our customer service or on our website.
You can find the contact details for our customer service via the QR code on the enclosed document on service contacts and warranty conditions or on our website.
You can find the information required as per Regulation (EU) 2023/826 online at www.bosch-home.com on the product and service pages for your appliance, in the area of user manuals and additional documents.
4Sécurité
text_image
QR code image with no surrounding text or symbolsال Afre li Tjib moth anmshar.
10 - 2 لشكل
ذراع excerpt
Many thanks for choosing a Bosch home appliance!
Register your new appliance now on MyBosch and benefit directly from:
- Expert advice and tips to make the most of your appliance
- Options for warranty extension
• Discounts on spare parts and accessories
• Digital information for use and all appliance data to hand - Easy access to Bosch Home Appliance Service
Simple to register, free of charge – including on mobile devices:
www.bosch-home.com/welcome
BOSCH HOME APPLIANCES SERVICE
Need some help? You can find it here.
Expert advice on your Bosch home appliances, help with problems or repairs by professionals from Bosch.
Discover all the different ways Bosch can assist you:
www.bosch-home.com/service
The contact details of all countries are listed in the attached service directory.
BSH Hausgeräte GmbH
Carl-Wery-Straße 34
81739 München, GERMANY
www.bosch-home.com
A Bosch Company
Valid within Great Britain:
Imported to Great Britain by
BSH Home Appliances Ltd.
Grand Union House
Old Wolverton Road
Wolverton, Milton Keynes
MK12 5PT
United Kingdom

8001357573 (050923)
de, en, fr, it, nl, da, no, sv, fi, es, pt, el, tr, pl, uk, ru, ar