5251 - Coffee machine Cloer - Free user manual and instructions
Find the device manual for free 5251 Cloer in PDF.

User questions about 5251 Cloer
0 question about this device. Answer the ones you know or ask your own.
Ask a new question about this device
Download the instructions for your Coffee machine in PDF format for free! Find your manual 5251 - Cloer and take your electronic device back in hand. On this page are published all the documents necessary for the use of your device. 5251 by Cloer.
USER MANUAL 5251 Cloer
natural_image
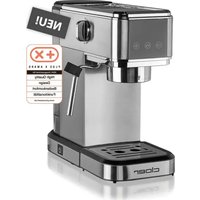
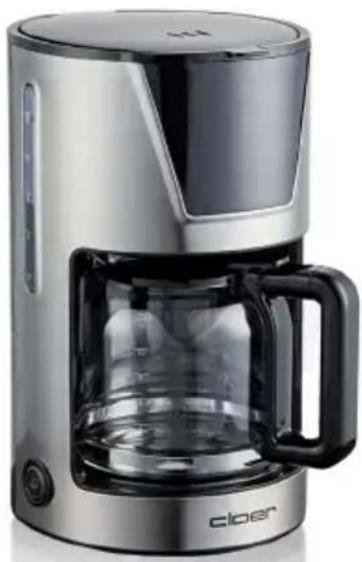
Modern stainless steel coffee maker with clear glass lid and black handle (no visible text or symbols)Cloer-5251
natural_image
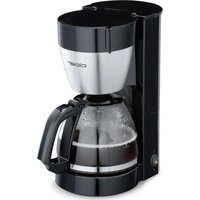
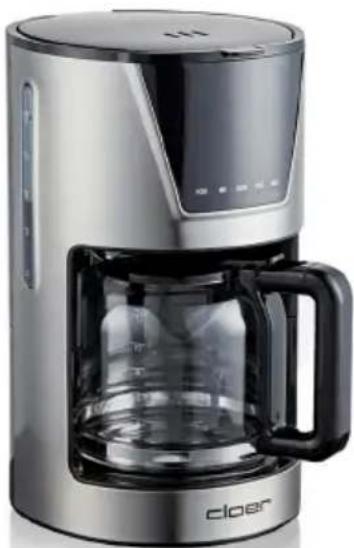
Modern stainless steel coffee maker with clear glass and black handle (no visible text or symbols)Cloer-5255
natural_image
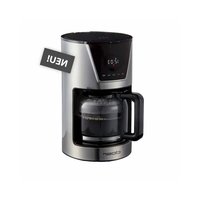
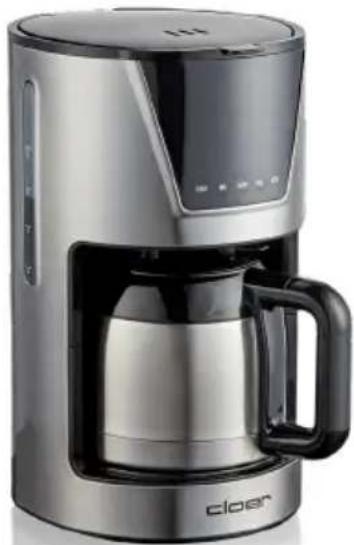
Modern stainless steel coffee maker with clear glass lid and black handle (no visible text or symbols)Cloer-5257
natural_image
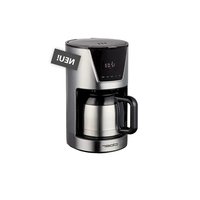
Modern stainless steel coffee maker with black handle and digital display (no visible text or symbols)Cloer-5258
natural_image
Black and white photo of a white ceramic teacup filled with dark coffee, placed on a saucer (no text or symbols visible)SPRACHEN - LANGUAGES
DE Bedienungsanleitung S. 4
EN Operating Instructions....S. 8
FR Notice d'utilisation....S. 11
NL Gebruiksaanwijzing S. 15
IT Istruzioni sull'uso ....S. 18
ES Instrucciones de uso....S. 21
DK Brugsanvisning....S. 24
NO Bruksanvisning S. 28
SE Bruksanvisning S. 31
FI Käyttöohjeet....S. 34
GR οδηγίες χειρισμού ...... S. 37
LT Naudojimo instrukcija ....S. 41
LV Instrukcijos S. 44
PT Instruções de uso S. 47
HU Használati utasitás......S. 51
PL Instrukcja obsługi S. 54
TR Kullanım talimatı S. 57
text_image
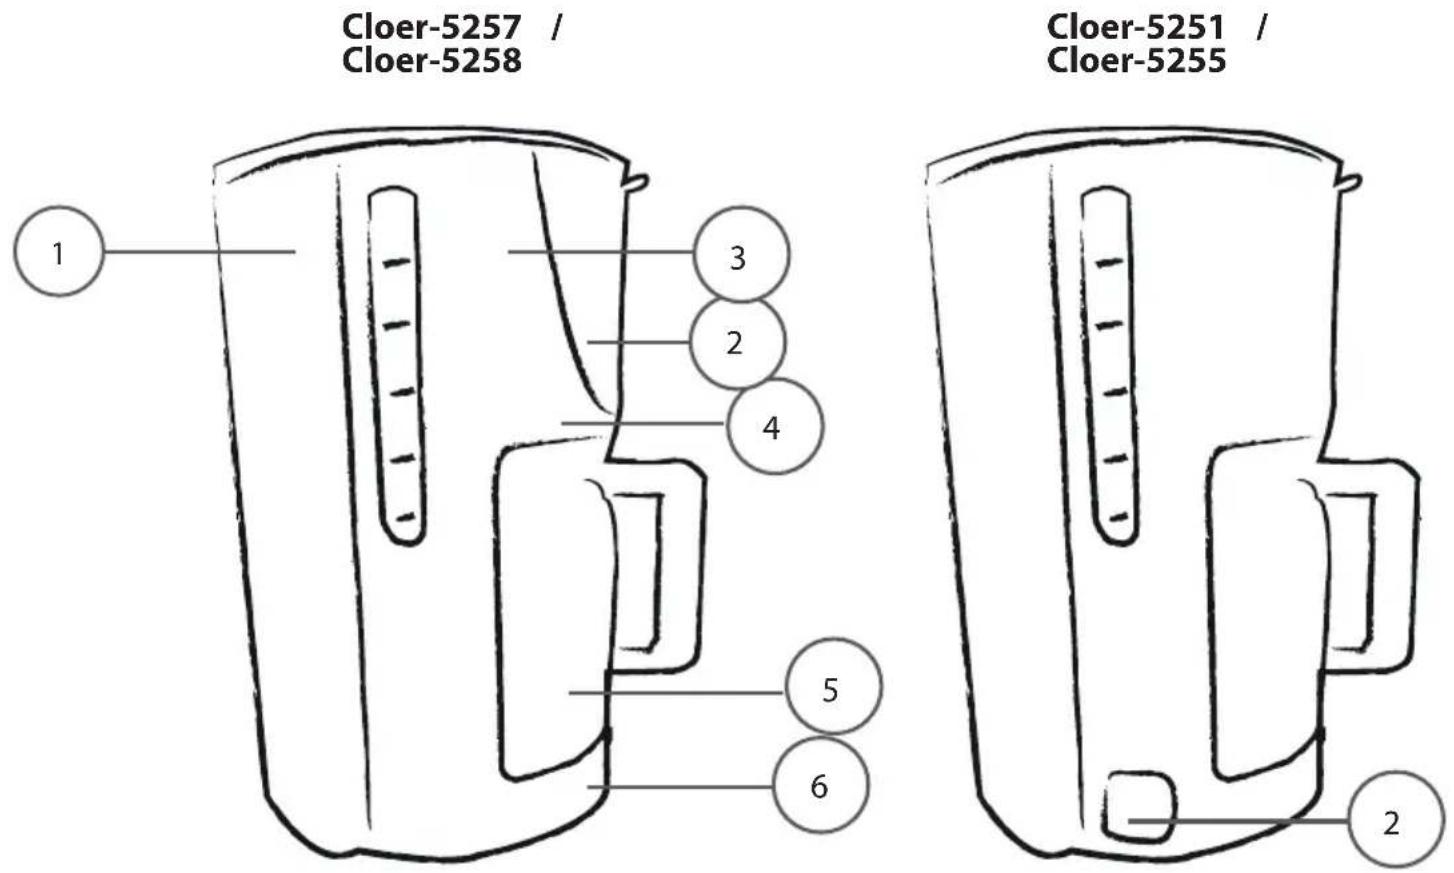
Cloer-5257 / Cloer-5258 Cloer-5251 / Cloer-5255 1 3 2 4 5 6 2| D1Wassertank2An- / Austaste / Touch-Display3Schwenkfilter mit Filterkorb4Tropf-Stopp-Funktion5Isolierkanne / Glaskanne6Warmhalteplatte | EN1Water tank2ON- / OFF button / Touch-Display3Swivel filter with filter basket4Drip-stop function5Insulated jug / glas carafe6Hot plate |
| FR1Réservoir d'eau2Bouton d'alimentation / Écran tactile3Filtre pivotant avec panier-filtre4Fonction anti-goutte5Cruche à vide / Cruche en verre6Plaque chauffante | NL1Waterreservoir2Aan/uit-knop / Aanraakscherm3Zwenkfilter met filterhouder4Druip-stop-functie5Isoleerkan / Glazen kan6Warmhoudplaat |
| IT1Serbatoio dell'acqua2Pulsante on/off / Display touch3Filtro con cestello4Funzione anti-goccia5Brocca isolata / Brocca di vetro6Piastra di riscaldamento | DK1Vandbeholder2Tænd/sluk-knap / Touch-Display3Drejefilter med filterkurv4Drypstopfunktion5Termokande / Glaskande6Opvarmningsplade |
| NO1Vannbeholder2På-/av-knapp / Touch-Display3Dreiefilter med filterkurv4Drypp-stopp-funksjon5Vakuumkanne /Glassmugge6Plate til å holde kaffen varm | SE1Vattentank2Till-/Frånknapp / Touch-Display3Svängbart filter med filterkorg4Dropp-stopp-funktion5Isolerad kanna / Glaskanna6Varmhållningsplatta |
| FI1Vesisäiliö2Virtapainike merkkivalolla / Kosketusnäyttö3Kääntösuodatinsuodatinkori4Tiputus-stop-toiminto5kannu / lasikannu6Lämpölevy | GR1Περιέκτης νερού2Πλήκτροενεργοποίησης/απενεργοποίησης3Στρεφόμενο φίλτρο με υποδοχή φίλτρου4Λειτουργία κατά του σταξίματος5Θερμός / γυάλινη κανάτα6Θερμαντική πλάκα |
text_image
cloer CONTACT PROVIT PROVE OPENBasic safety instructions
- The appliance is intended to be used in household only and similar environments like:
— staff kitchen areas in shops, offices and other working environments
– in farm houses
– by clients in hotels, motels and other residential type environments
– on bed and breakfast type environments. - Repairs of Cloer electronic appliances should be carried out only by authorized Cloer specialist dealers or by the Cloer customer service.
- Improper repairs can involve substantial dangers for the user. Moreover, it will void your warranty claims.
- Operate the appliance only at household-usual power sockets. Check if the mains voltage stated on the type plate is the same than your power supply network.
- The device must be connected to a power outlet with protective ground.
- If the supply cord is damaged, it must be replaced by Cloer, its service agent or similarly qualified persons in order to avoid any hazards.
- Pull power plug of the power socket
– in case of a defect. - if the appliance is not used for a longer time.
– before any cleaning. - Only pull out at the plug, never at the feed cable.
- Do not tighten the feed cable too tight as otherwise the appliance is likely to tip over.
- Do not stretch the feed cable over sharp edges.
- Do not use the feed cable for carrying and protect it from heat (hotplate
• / open flame). - This appliance can be used by children aged from 8 years and above and persons with reduced physical, sensory or mental capabilities or lack of experience and knowledge if they have been given supervision or instruction concerning the use of the appliance in a safe way and understand the hazards involved.
- Cleaning and user maintenance shall not be made by children unless they are older than 8 and supervised.
- Keep the appliance and its cord out of reach of children less than 8 years.
- Do not leave children unattended to ensure they do not play with the appliance
- Protect your appliance from humidity (splash water / rain).
- Let the appliance cool off before cleaning or stowing away.
- Do not immerse the appliance in water.
- ATTENTION: After use, the heating element of the device will still give off residual heat, risk of burns!
- Do not leave the appliance unattended.
- Only use this appliance to prepare coffee according to the instruction manual.
- Incorrect use may result in injury.
- The coffee machine must not be placed in a cabinet during use.
Technical Data
| Type Volt Hz Watt | |||
| 5251 220 | -240 50/60 550 | ||
| 5255 /5257 | 220-240 50/60 900 | ||
| 5258 220 | -240 50/60 800 | ||
Before the first use

Read these operating instructions carefully before using the appliance for the first time.
- Remove all packing parts and possibly stickers, but not the type plate nor the serial number.
- Place the filter coffee machine on a dry, slip-resistant and level surface.
- Clean the coffee machine with a damp cloth.

Before preparing coffee for the first time, you should let max. cups of water pass through the filter coffee machine, once or twice.
CE Label / Safety information

The appliance meets the requirements of the applicable EC directives.

The appliance is designed for indoor domestic use only.
- Use the coffee maker exclusively for making coffee. Do not fill other liquids or foodstuffs in the coffee maker.
- Fill the water tank with cold water only.
- Never operate the appliance without water.
- ATTENTION: Do not fill the water tank beyond the MAX marking on the carafe with water. A possible bubbling over can cause a danger of scald!
- During use, never open the lid of the water tank.
ATTENTION! Always unplug the appliance when not in use and before cleaning!
Preparing the machine
- Open the lid of the water tank and fill the water tank with the desired amount of fresh, cold water using the corresponding jug.
- Caution! Never fill the water tank with more than 6 cups (Cloer-5251), 10 cups (Cloer-5258) or 12 cups (Cloer-525 / Cloer-5257). Risk of scalding due to bubbling over!
- Insert a paper filter bag of size 1x4 into the filter insert. For the coffee machine 5251, you need paper filter bags in size 1x2.
- Enter your desired amount of coffee using the measuring spoon and close the lid.
- Place the jug on the warming plate under the filter insert.
CAUTION! Allow the unit to cool down immediately before the next use. Otherwise, the fresh water you poured in may overheat and release steam. Risk of scalding!
Commissioning 5251 / 5255
- Connect the appliance to the mains supply.
- Press the on/off switch.
• The indicator light comes on. - From now on, the device is in operation for 40 min. (coffee making + warm-up time) and then switches off automatically.
- The coffee is ready when it has completely run through and is then kept warm on the warming plate.
• Alternatively, you can also switch off the coffee machine manually before the 40 minutes have elapsed by pressing the on/off switch again. - Notice: Our coffee machines have a drip-stop function.
Commissioning 5257 / 5258
- When using the appliance for the first time, please connect it to the mains. The display now shows 12:00.
- Please press the PROG button.
- When the LCD display shows "Clock", press the "HOUR" button for hours and "MIN" button for minutes until the current time is set.
- The intensity of the aroma can be selected by pressing the mode button.
- The higher the intensity of the coffee, the higher the aroma level (max. 3 beans) should be selected.
- The setting of the aroma intensity remains stored as long as the coffee machine is not disconnected from the mains or the mode button is pressed.
- If you want to use the timer function, press the „PROG“ button twice and the word „Timer“ will appear on the LCD display. Press “HOUR” for hours and “MIN” for minutes until the desired start time is set.
- If you do not want to use the timer function, press the PROG button again.
| Display Functioning | |
| HOUR Number of hours | |
| MIN Number of minutes | |
| ON/OFF On/off switch | |
| PROG | CLOCK = set current timeTIMER = set desired start time |
| MODE | Aroma level 1= 1 beanAroma level 2 = 2 beansAroma level 3 = 3 beans |
- Press the ON/off button once and the red light will light up. The coffee machine switches to the coffee preparation mode and switches off after about 40 minutes.
- Press the ON/off button twice and the white light will light up. The timer mode is now activated. When the previously set timer time is reached, the white lamp will go out and jump to the red lamp will light up. The coffee preparation starts. The coffee machine switches off automatically after about 40 minutes.
- Alternatively, you can switch off the coffee machine manually before the 40 min. has elapsed by pressing the ON/off button.
- Caution! Do not leave the coffee maker unattended while preparing coffee.
Maximum number of cups
| coffee machine max. cups | |
| 5251 glass carafe | 6 cups |
| 5255 / 5257 glass carafe | 12 cups |
| 5258 thermos flask | 10 cups |
- You can purchase replacement jugs from your local dealer.
Cleaning
• Always unplug the appliance and let it cool before attempting to clean.
- Never put the appliance into water or any other liquid!
- Clean the filter basket and the associated jug in hot rinse water, rinse both thoroughly and let it dry.
- Clean the filter basket and carafe in hot soapy water, then rinsed and dried thoroughly. To do this, open the lid of the coffee machine and lift the filter out by the handle.
- Wipe appliance with a damp cloth.
- The swivel filter can be detached for cleaning. To do so, open it and lift it. Pull the swivel filter downward out of the device axis. After cleaning, the swivel filter must be fitted back in the opposite sequence. First, fit it at the top with the pin in the axis and then push it in downward.
- Should the filter basket be clogged by ground coffee, use a soft brush to clean them.
- Do not wipe the interior of the water tank with a cloth or the like. This may cause deposits which can deteriorate the perfect operation of the appliance.
• Regularly rinse with clear water.
- Do not use metal scouring pads or abrasive cleansers.
- Never attempt to clean the coffee maker or any of the accessories in the dishwasher!
Decalcification
- First pour approx. 6 cups of water and approx. 150 ml of citric acid or vinegar into the coffee maker and switch the coffee maker on.
-
After decalcifying, rinse the machine by operating it 2 times with 6 cups of clear water.
-
Note: Regular decalcification (every 3 - 4 weeks) guarantees a constant coffee quality, keeps power consumption low and extends durability of your coffee maker.
- The degree of calcification depends on the local water hardness and on the frequency of use.
- No warranty claim in case of faulty functioning due to calcification!
Problem / Cause / Solution
| Problem Possible | cause Solution | |
| Water bubbles over | Too much water filled in | Fill in less water |
| Machine is louder than earlier | Machine is calcified | Decalcify machine |
| Boiling process takes longer than earlier | Machine is calcified | Decalcify machine |
Environmentally friendly disposal
We use environmentally friendly packaging for the transport of our appliances. Please recycle cardboard/ paper and plastic packaging appropriately.
ATTENTION!
Electrical appliances should not be disposed of with the household trash.
Electrical appliances contain valuable raw materials. When an appliance is worn-out, please take it to a recognised recycling facility. Consult the local authorities for information on recycling appliances.
Warranty
Cloer electrical appliances are in conformity with the currently required EC-guidelines and safety regulations. If your Cloer electrical appliance has a defect or it does not work properly, contact your specialist dealer. Registered clients have at their disposal our technical customer service.
Manufacturer warranty
Please register your appliances in the period of 6 months since the purchase in order to benefit from our manufacturer warranty. The published conditions of warranty in the moment of the registration are valid. You will find conditions of warranty and product registration here:

Guarantee conditions
https://cloer.eu/guarantee
© 2024 by Cloer Germany GmbH&CoKG