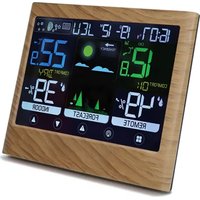
477534 - Weather Station MOOOV - Free user manual and instructions
Find the device manual for free 477534 MOOOV in PDF.


| Product type | Weather station with color screen and wireless outdoor sensor |
| Brand | MOOOV |
| Model | 477534 |
| Dimensions (station) | H120 x L120 x P68 mm |
| Dimensions (sensor) | H95 x L50 x P20 mm |
| Station power supply | Included AC adapter (input 100-240V~ 50/60Hz 0.3A max, output 5.0V 1.0A) or 3 LR03-AAA 1.5V batteries (not included) |
| Sensor power supply | 2 LR03-AAA 1.5V batteries (not included) |
| Indoor temperature range | -10°C to 50°C (resolution 0.1°C) |
| Outdoor temperature range | -40°C to 70°C (resolution 0.1°C) |
| Humidity range | 20% to 95% RH (resolution 1%) |
| Temperature accuracy | ±1°C (0°C to 50°C), ±2°C (-20°C to 0°C), ±4°C (-40°C to -20°C) |
| Humidity accuracy | ±5% RH |
| RF transmission frequency | 433.986 MHz |
| RF range | 80 meters (in open space) |
| Time signal | DCF77 (automatic setting) |
| Main functions | 12-24h weather forecast, indoor/outdoor temperature/humidity, alarm with snooze, moon phases, heat index, dew point, comfort level, mold alert, programmable alerts, adjustable backlight, up to 3 external sensors |
| Display | Color screen with weather icons, day of week, date, time |
| Maximum number of sensors | 3 (channels CH1, CH2, CH3) |
| Cleaning | With a soft, dry cloth. Do not use abrasive products or harsh cleaners. |
| Safety | Do not expose to water or moisture. Do not disassemble. For indoor use only (except sensor). Unplug before cleaning. |
| Warranty | 2 years (3 years in Spain and Portugal) |
| Included accessories | Weather station, outdoor sensor, AC adapter, user manual |
| Additional sensor reference | 477538 |
| Manufacturer | METRONIC - 100 rue Gilles de Gennes - 37310 Tauxigny-St-Bauld - France |
| Recycling | Do not dispose of with household waste. Take to a shop or recycling center. |
Frequently Asked Questions - 477534 MOOOV
User questions about 477534 MOOOV
0 question about this device. Answer the ones you know or ask your own.
Ask a new question about this device
Download the instructions for your Weather Station in PDF format for free! Find your manual 477534 - MOOOV and take your electronic device back in hand. On this page are published all the documents necessary for the use of your device. 477534 by MOOOV.
USER MANUAL 477534 MOOOV
EN - Wood effect weather station & alarm clock
This manual is also available online in a version that we are authorized to complete. If you wish you can download the online version on our website www.metronic.com, in the "Besoin d'aide/Documentations" section.
DÉMARRAGE
natural_image
Sequence of black-and-white circular patterns resembling moon and moon phases (no text or symbols)DÉCLARATION DE CONFORMITÉ
Remove all the packaging materials from the product and place them in the box or dispose of them safely in accordance with the selective sorting instructions on the appliance packaging.
WARNINGS AND SAFETY INSTRUCTIONS
You must have read and understood all the instructions before using this appliance. In the event of damage caused by failure to follow the instructions, the guarantee will not apply.
- Never dismantle the appliance.
- Never place this appliance on top of other electrical equipment.
- Protect the power cable from being walked on or pinched, particularly at plugs, socket outlets and the point where they exit from the appliance. Check that the supply voltage corresponds to that required for the appliance (see 'Technical specifications'). When you disconnect the power supply from the mains socket, pull only on the plug, never on the cable. If the adaptor or its cable is damaged, recycle it and replace it with an adaptor of the same specification (see nameplate on the adaptor).
- Only use equipment/accessories recommended by the manufacturer.
- Refer all repairs to qualified repairers. Servicing is required when the appliance has been damaged in any way, such as:
- if liquid has been spilled or objects have been inserted into the appliance
- if the appliance has been exposed to rain or moisture - if the appliance does not operate normally
- if the appliance has been dropped or subjected to an impact.
- The nameplate is located on the back of the appliance.
- Never block the ventilation openings.
- Make sure you have enough space around it and place the product on a stable surface.
- This appliance should be used in a temperate environment away from direct sunlight, naked flames or heat, heaters, cookers or other apparatus (including amplifiers) that produce heat.
- Always unplug the appliance before cleaning it. Only lubricate and clean with a soft cloth. Do not use abrasive products or aggressive cleaners.
- Make sure you always have easy access to the power cable or adaptor so that you can disconnect this appliance from the mains if necessary.
- Do not use this appliance near water or in a damp/wet environment. It must not be splashed.
- Unplug this appliance during lightning storms or when unused for long periods of time.
- This appliance may be used by children aged 8 and over and by persons with reduced physical, sensory or mental capabilities or lack of experience and knowledge, provided that they are supervised or have received instructions concerning the safe use of the appliance and understand the risks involved. Children must not play with the appliance or the cable (risk of strangulation). Cleaning must not be carried out by unsupervised children.
- This appliance must be supplied only with the safety extra-low voltage corresponding to the marking on the appliance.
- This appliance is for domestic use only. Do not use it outdoors (with the exception of the outdoor sensor, in accordance with the instructions given below).
Please read this IM in full before first use
This product may contain batteries that cannot be disposed of with household waste. This could harm the environment. Please check your local regulations on the separate collection of batteries to avoid negative consequences for the environment and your health.
EN
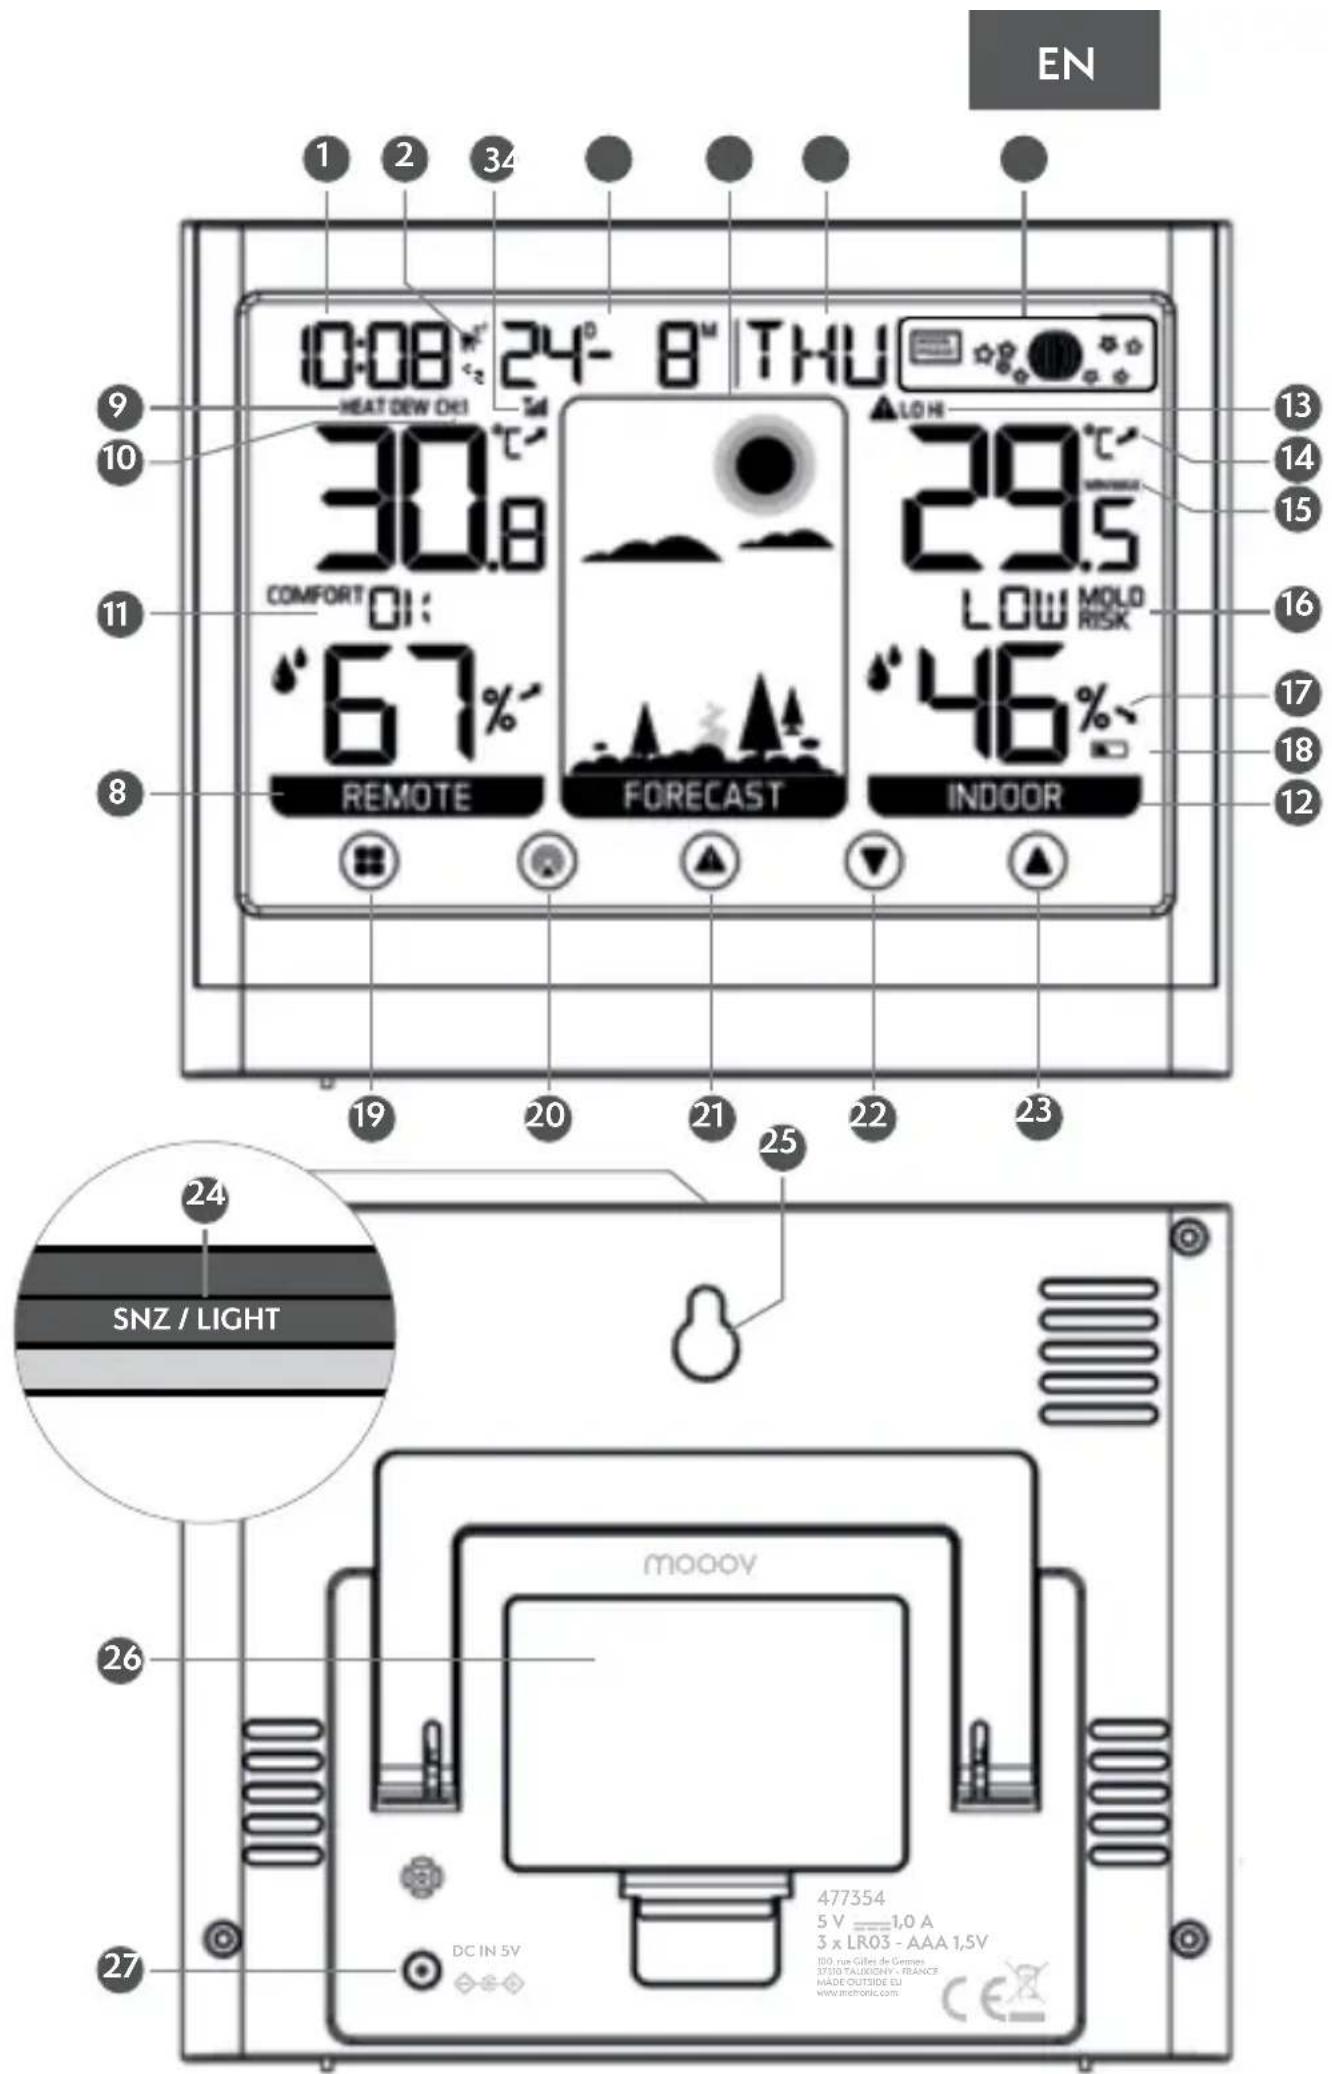
DESCRIPTION OF THE WEATHER STATION WITH DISPLAY
| 1 Time |
| 2 Alarm and snooze icon + DCF signal icon |
| 3 Outdoor sensor signal strength |
| 4 Calendar (day and month) |
| 5 Weather forecast (of the next 12-24h) |
| 6 Weekday |
| 7 Moon phase |
| 8 Outdoor temperature and humidity ("REMOTE" column) |
| 9 Heat index/Dew point |
| 10 Chosen channel |
| 11 Outdoor comfortable level/moldy index |
| 12 Indoor temperature and humidity |
| 13 Indoor temperature alerts |
| 14 Tendency indoor temperature |
| 15 Indoor temperature max/min record |
| 16 Indoor comfortable level/moldy index |
| 17 Tendency indoor humidity |
| 18 Display low battery indicator |
| 19 SET button |
| 20 CHANNEL button |
| 21 ALERT button |
| 22 DOWN button |
| 23 UP button |
| 24 SNZ/LIGHT button |
| 25 Wall mount hole |
| 26 3*AAA batteries compartment (batteries not included) |
| 27 External power supply socket |
EN
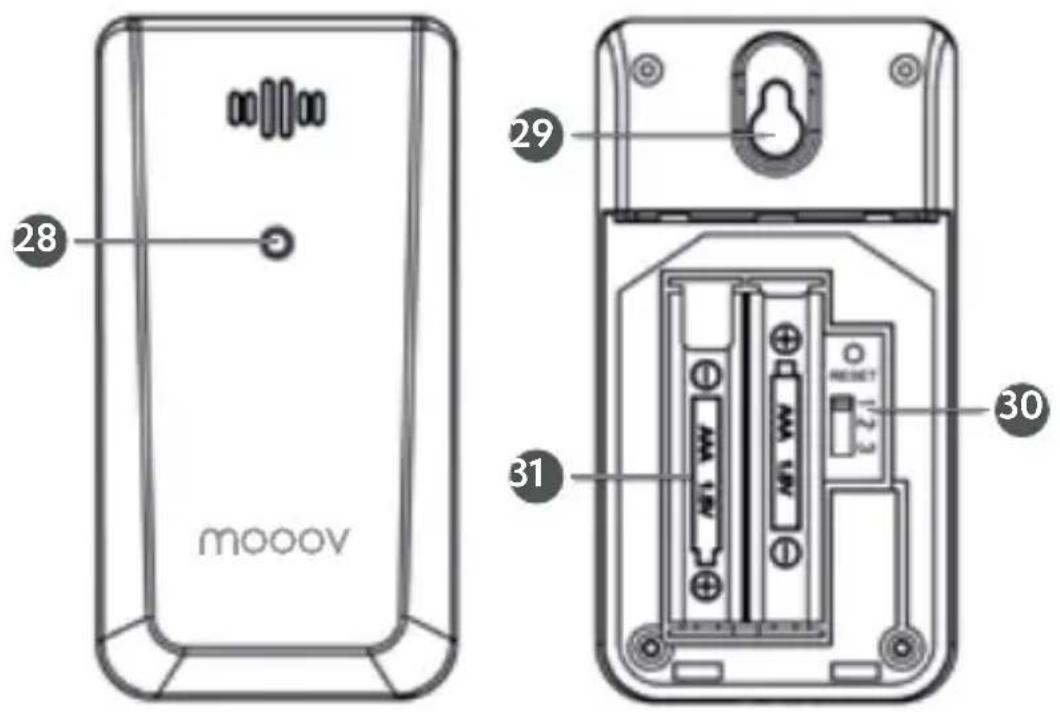
DESCRIPTION OF THE OUTDOOR SENSOR
| 28 Wireless signal indicator (flashes when data is being sent to the display unit) |
| 29 Integrated hang hole |
| 30 TX channel selector (select external sensor channel) |
| 31 2*AAA batteries compartment (batteries not included) |
THIS BOX CONTAINS
- 1 display unit
• 1 outdoor sensor
• 1 adapter (for the display unit)
• 1 instructions manual
KEYS
There are totally 6 keys/touch buttons:

SET CHANNEL ALERT




DOWN UP
SNZ / LIGHT
SNOOZE LIGHT
| 19 SET | |
| To enter setting mode. | |
| 20 CHANNEL | |
| To change the channel (short press) received by the main display unit between 1, 2 or 3 (needs to be the same channel as your external sensor so that they match – see “To start”) OR to search a frequency 3 (press and hold). | |
| 21 ALERT | |
| To enter alert mode (short press) OR alert setting (long press) - see “Alerts function”. | |
| 22 DOWN ▼ | |
| During setting: to decrease the setting value (short press or press and hold 2 seconds for fast adjust).In normal display mode: to display max/min temperature/humidity (short press) OR to clear the record (press and hold) of these datas. | |
| 23 UP ▲ | |
| During setting: to increase the setting value (short press or press and hold 2 seconds for fast adjust).In normal display mode: to display heat index/dew point/moldy index/comfort level (short press) OR to search for a DCF signal update (press and hold). | |
| 24 SNZ/LIGHT (on top of unit) – Operated with short press | |
| If main unit on batteries: to backlight the display for 10 seconds as power saving function is ON.If main unit powered with the adapter: to adjust backlight.When the alarm rings: to Snooze. |
SETTINGS
To start
Slide down the battery compartment at rear of the outdoor sensor and insert 2*1.5V AAA new batteries observing the indicated polarity 31. Check that the TX channel selector 30 is positioned on "1" (slide the selector to the top if not) then close the battery compartment and hang or install the sensor outside.
WARNING: check and respect the 3 following instructions BEFORE hanging:
1 The outdoor sensor has to be placed in a sheltered area out of rain and direct sunlight (e.g below a porch or on a window embrasure) to prevent damage. The guarantee does not apply in the event of misuse.
2 Plug now the display unit on the mains using the adapter supplied: plug the end
EN
of the cord in 27 then plug the adapter into a main socket (or insert 3*1.5V AAA new batteries in the batteries compartment observing the indicated polarity). The display unit should be placed away (at least 2.5m) from other electronical equipments (such as computer, TV...) to avoid interference.
3 The 2 units (main unit and outdoor sensor) should now start to connect: check the outdoor sensor signal strength ③ on the display.
Note: the outdoor sensor has a 80m range with the display (main) unit. However it may vary with the depth and type of your walls and also the number of walls separating the two. If the reception is weak, the outdoor sensor signal strength ③ looks like this T or T and if no reception at all like this (with no bar at all): bring the 2 units closer until solved (till T or T appears) then do not exceed this distance OR find a more convenient place for you, as long as the signal stays strong.
Automatic time setting (DCF signal)
Once the power supply is established, the main unit will automatically search for the radio signal (DCF). This will take 3 to 8 minutes. Once the radio signal is received correctly, the time ① and date ④ is set automatically and the radio control signal icon ⑤ turns on.
If the station fails to receive the signal (time and date are not automatically set up), follow these steps:
- Press and hold ▲UP button ②3 for 2 seconds to re-initialize radio signal reception or 📋2 blinks until the signal is found (can require up to 8 min). Once received, the time and date are set automatically and the 📋 icon stops blinking (the more waves to the left of the dish icon, the better the reception).
- If the station still not receiving the signal after 8 min or the reception is very weak (only one wave ⚡ or none), move the display unit further away from any other electronic equipment and/or brings it closer to a window. If still does not work, the time must be set manually (see next paragraph).
Note: this should only be considered as a temporary option as the forecast 5 could not be as accurate as when connected in DCF. We recommend you try again later and find a better location to receive it.
Manually setting the time, date & units (ONLY if the DCF signal was not received)
Press and hold SET ⑲: "24Hr" starts to flash (24h mode), press ▼ ⑳ or ▲ ⑳ sif you prefer the 12h mode instead, then press SET to confirm one or the other. The time zone starts to flash, press ▼ or ▲ to set the correct time zone (e.g. "0" for UK) and press SET to confirm. Repeat the same operation for the hour then minutes. "D" and "M" start flashing: press ▼ or ▲ to set the date display on Month-Day or Day-Month according to your preference, then press SET to confirm. Use the same buttons to set the year, then the month and the day.
The language for the weekday starts flashing: press ▼ or ▲ to display FRA (French), DEU (German), ENG (English), POR (Portuguese), ESP (Spanish), NED (Dutch) or ITA (Italian) and press SET when your favorite is displayed to confirm.
The temperature unit starts flashing: press ▼ or ▲ to choose between °C and °F, then press SET to confirm and exit the setting procedure.
Note: you will automatically exit settings mode if no buttons are pressed for 20 sec. Enter settings mode again at any time by pressing and holding SET for 2 sec.
Setting the alarm
Short press SET to show the alarm time (e.g "06:30" is displayed on ①), then immediately press and hold SET for 2 sec to enter the alarm setting. The alarm hour will start blinking: press ▼ or ▲ (press and hold to fast adjust) to set the alarm hour and confirm with SET. Repeat the operation for the alarm minute and you will then exit alarm settings.
After you set the alarm, the alarm is turned ON by default (alarm icon ⓠ② is displayed).
To turn ON/OFF the alarm, press SET to enter alarm mode then press ▼ or ▲ (when OFF the 🔊 icon disappears).
When the alarm is in operation it will begin beeping with one short beep and continue with many short beeps if the alarm rings longer than 20 seconds. You can snooze the alarm for 5 minutes by pressing SNZ/LIGHT ^24 .
Outdoor/indoor temperature and humidity
- Outdoor temperature and humidity are detected by the outdoor sensor and displayed at left in the REMOTE ⑧ column. If your display unit is not already set on channel 1 (e.g. "CH:2" is displayed in ⑩) like your outdoor sensor (remember "To start"), choose channel ① by short pressing ⑳ until "CH:1" without the double arrow ⑦* get displayed on ⑩. The 2 units can only communicate if set on the same channel.
- Indoor temperature and humidity are detected by the main unit and displayed at right in the INDOOR column 12. They concern the room in which the unit is placed.
Indoor temperature displayed: from -10^ to 50^ / 14^ to 122^ with a 0.1^/^ resolution.
Outdoor temperature displayed: from -40^ to 70^ / -40^ to 158^ with a 0.1^/^ resolution.
Temperatures accuracy: between -40°C and -20°C: ± 4°C / between -20°C and 0°C: ± 2°C / between 0°C and +50°C: ±1°C. Above 50°C: only for reference.
Indoor and outdoor humidity range: from 20% to 95%. Resolution: 1% RH (relative humidity).
Humidity accuracy: ± 5% RH.
Note: when the alarm rings, temperature and humidity test are temporarily stopped.
*Good to know: this weather station can support up to 3 external sensors as it receives 3 channels. If you wish to monitor the temperature and humidity of several rooms you may add one or two extra external sensors (477538 reference) for your garage, attic, cellar, the kids' bedroom... If you do, slide the TX channel selector of your 2^nd sensor on 2 (and of your 3^rd sensor on 3 if you decided to purchase 2 extra sensors) then short press on your main unit until the double arrow get displayed on The main unit will now display the datas of each external sensor in a 1-3 sequential loop. 477538 reference can also replace your initial outdoor sensor if damaged.
Alerts function
In normal mode, short press ALERT 21 to enter alert mode and continue to short press to see the different set high (HI) and low (LO) values for each alert (e.g 13 for indoor temperature alert).
If you wish to turn ON one or several alerts, while checking each value press ▲ to
EN
turn it/them on (▲ appears next to HI/LO). Press ▲ again will turn them back off (▲ disappears).
Would you like to change the alert values to suit your preferences or needs?
Back in normal mode (out of setting), press and hold ALERT to enter the setting of these different values according to your preference/needs. Press ▼ or ▲ to set the wished values then ALERT to confirm and go to the next one.
The order is: outdoor temperature upper limit → outdoor temperature lower limit → outdoor humidity upper limit → outdoor humidity lower limit → indoor temperature upper limit → indoor temperature lower limit → indoor humidity upper limit → indoor humidity lower limit → exit (no handling in 20s also exit).
During an alert (when set limits are exceeded and alarms are ON), ▲icon will flash and the alarm rings for 5 sec every minute.
Alarm stops once you press any button (but temperature and alert icon will continuously flash as long as the conditions exceed the acceptable range)
OR when temperature/humidity goes back into your acceptable range (alert stops)
OR when you enter alert mode and completely turn off the temperature alert function (this alert function will then be disabled until you switch it back ON).
If you purchased additional external sensor(s) (477538 reference) and want to set alerts for this 2nd and/or 3rd sensor, short press 20 to position on the concerned channel then repeat the operation to set.
Indoor and outdoor comfort
This weather station also displays the level of comfort outside ⑪ and inside above each humidity rate, based on the following rates:
| 1%-25% TOO DRY 76%-83% WET | ||
| 26%-39% DRY 84%-99% TOO WET | ||
| 40%-75% COMFORT OK | ||
In addition, this weather station also alerts when there is a "MOLD RISK" 16 based on the combination of temperature and humidity ranges so you can intervene quickly and try to avoid mold in your house:
| Temperature range Humidity range Mold risk | ||
| T<9.4°C (<49°F) All | 0 | |
| 9.4°C ≤ T ≤ 26.6°C(49°F ≤ T ≤ 79.9°F) | H ≤ 48% | |
| 49%≤ H ≤ 78% LOW | ||
| 79%≤ H ≤ 87% | MED (medium) | |
| H ≥ 88% | ||
| 26.7°C ≤ T ≤ 30.5°C(80°F ≤ T ≤ 86.9°F) | H ≤ 48% | LOW |
| 49% ≤ H ≤ 78% | ||
| 79% ≤ H ≤ 87% MED (medium) | ||
| H ≥ 88% HI (high) | ||
| 30.6°C ≤ T ≤ 40°C(87°F ≤ T ≤ 104°F) | H ≤ 48% LOW | |
| 49%≤ H ≤78% | MED (medium) | |
| 79%≤ H ≤ 87% | ||
| H ≥ 88% HI (high) | ||
| T ≥ 40.1°C (≥ 104.1°F) H ≥ | 48% 0 | |
Setting the temperature units
The default temperature unit is Celsius degree (°C).
If you prefer switching to °F, press and hold SET: you will see 24Hr flashing.
Press SET 9 more times to scroll through the other settings until you see °C flashing.
Press ▼ or ▲ to switch from Celsius to Fahrenheit, then press SET to confirm and exit.
Checking the MAX/MIN temperature and humidity
Short press ▼ to check MAX/MIN indoor/outdoor temperature and humidity of the day. To clear the record, short press ▼, then quickly press and hold ▼ (datas will briefly appear as -- / --).
Backlight
When the display unit is powered on mains the backlight will always remain on (except if you switch it off). Press SNZ/LIGHT 24 on top of the unit to adjust the brightness of the backlight: HI → LO → OFF.
If the display unit is powered by batteries only, the backlight will be off to preserve the battery. Press SNZ/LIGHT to turn the backlight on for 10 seconds.
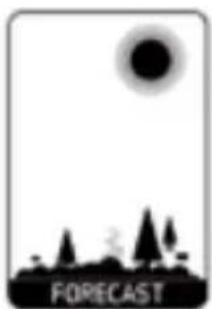
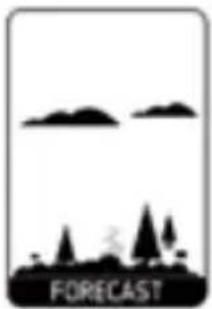
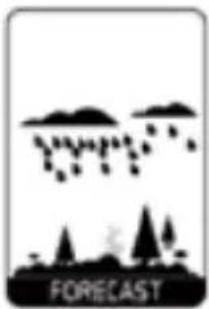
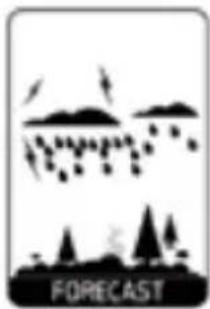
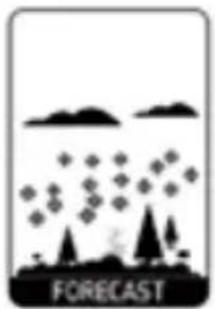
Weather forecast
The unit predicts the trends of the next 12-24 hours based on the change of barometer (60%-70% accuracy). The following icons are displayed:
natural_image
Simple black-and-white illustration of a sun and silhouetted trees with the word 'FORECAST' at the bottom (no other text or symbols)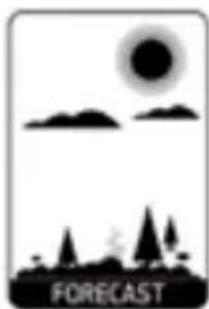
natural_image
Silhouette of a landscape with a sun, clouds, and trees under a 'FORECAST' label (no other text or symbols)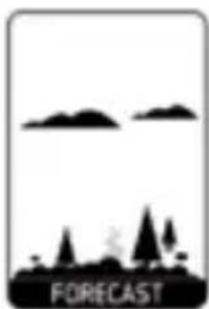
natural_image
Silhouette of a landscape with trees and distant mountains, labeled 'FORECAST' at bottom (no other text or symbols)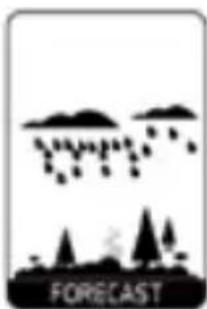
natural_image
Simple black-and-white illustration of a landscape with raindrops and trees, labeled 'FORECAST' at bottom (no other text or symbols)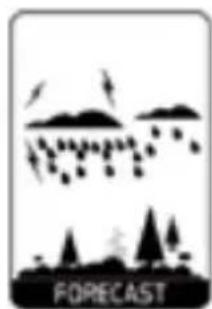
natural_image
Silhouette illustration of a landscape with trees, hills, and flying birds (no text or symbols)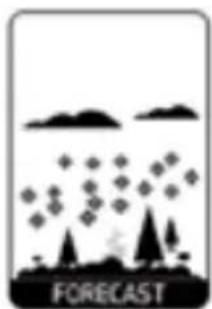
natural_image
Black-and-white illustration of a landscape with trees, clouds, and scattered diamonds, labeled 'FORECAST' at the bottom (no other text or symbols)Sunny Cloudy Rainy Stormy SnowyPartly sunny
EN
Moon phase
The current moon phase is displayed on ⑦ and gives indications for your gardening:

natural_image
Sequence of black-and-white circular patterns resembling moon cycles or celestial bodies (no text or symbols)Outdoor sensor signal strength – RF (Radio Frequency) transmission
If your signal strength was previously strong but then suddenly gets lost ( H ) and cannot manage to reconnect, the outdoor temperature and humidity level will begin to flash after 1 hour without connection. After 2 hours, only - - - will be displayed in place of the temperature and humidity level.
To manually restart the RF registration, press and hold 20 for 3 seconds. The display unit will then search for the RF signal 3 for the next 3 minutes. If it failed, bring your display unit and your outdoor sensor closer (till or appears) then do not exceed this distance. You can also try to reset the outdoor sensor using the RESET button inside the batteries compartment. If however the outdoor sensor seems damaged (fell with the wind, drown under rain etc), get a new unit to replace (477538 reference).
Low battery indicator
If the low battery indicator is displayed on the LCD for either the outdoor sensor or the display unit 18, immediately change the batteries to prevent disruptions in communications of the devices.
Technical specifications
- Main unit: powered on mains (adapter supplied) or with 3*LR03-AAA 1.5V batteries (non-supplied)
- Input: 100-240V \~ 50/60Hz 0,3A max | Output: 5,0V\~1,0A 5,0W
• Radio-controlled: DCF77
• RF transmitting frequency and range: 433.986MHz | 80 meters - Main unit's dimensions: H120*W120*D68mm
- Outdoor sensor: powered with 2*LR03-AAA 1.5V batteries (non-supplied) | Reset button
- Sensor's dimensions: H95*W50*D20mm

DECLARATION OF CONFORMITY
The undersigned, METRONIC, declares that the electrical radio equipment of the type weather station (477534) complies with Directive 2014/53/EU. The full text of the EU Declaration of Conformity is available at the following internet address:
http://medias.metronic.com/doc/477534-4gfeeb-doc.pdf
This logo indicates that devices may not be disposed of with household waste at the end of their life. The hazardous substances which they are likely to contain are harmful to health and the environment. Return these devices to your distributor or make use of the selective collection methods provided by your community.
| —— | Direct current |
 | Alternative current |
 | Double or reinforced insulation |
 | For indoor use only |
 | Polarity |
 | The device complies with the requirements of all European Directives requiring CE marking. |
 | Complies with energy efficiency specifications.Level VI requires a high average efficiency and low no-load consumption, established in accordance with current standards. |
2
ANS - YEARS
ANNI - JAHRE
JAREN
GARANIE-WARRAN Y
GARANZA WAARBORC
ES / PT : GARANTIA 3 AÑOS / ANOS
www.metronic.com/a/garantie.php
moov
natural_image
Sequence of black-and-white moon and moon cycles showing alternating bright and dark phases (no text or symbols)This manual is also available online in a version that we are authorized to complete. If you wish you can download the online version on our website www.metronic.com, in the "Besoin d'aide/Documentations" section.
INICIO
natural_image
Simple black-and-white illustration of a sun and silhouetted trees with the word 'FORECAST' below (no other text or symbols)Soleado
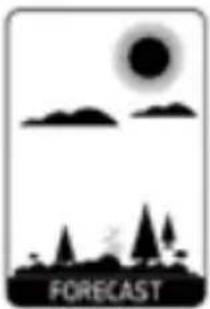
natural_image
Silhouette of a landscape with sun, mountains, trees, and a small tree under the moon (no text or symbols)Parcialmente soleado
natural_image
Simple black-and-white illustration of a landscape with trees and distant clouds, labeled 'FORECAST' at bottom (no other text or symbols)Nuboso
natural_image
Silhouette of a landscape with trees, raindrops, and a label 'FORECAST' at the bottom (no other text or symbols)Lluvia
natural_image
Silhouette illustration of a landscape with trees, hills, and flying birds (no text or symbols)Tormenta
natural_image
Simple black-and-white illustration of a landscape with trees, clouds, and scattered diamonds, labeled 'FORECAST' at bottom (no other text or symbols)Nieve
Fases lunares
This manual is also available online in a version that we are authorized to complete. If you wish you can download the online version on our website www.metronic.com, in the "Besoin d'aide/Documentations" section.
INICIO
natural_image
Sequence of black-and-white moon cycles showing the Moon, Moon, and Earth (no text or symbols)This manual is also available online in a version that we are authorized to complete. If you wish you can download the online version on our website www.metronic.com, in the "Besoin d'aide/Documentations" section.
OPSTARTEN
WAARSCHUWINGEN EN VEILIGHEIDSINSTRUCTIES
natural_image
Sequence of black-and-white moon cycles showing the Moon, Moon, and Earth (no text or symbols)This manual is also available online in a version that we are authorized to complete. If you wish you can download the online version on our website www.metronic.com, in the "Besoin d'aide/Documentations" section.
START
natural_image
Sequence of black-and-white circular patterns resembling moon cycles or celestial bodies (no text or symbols)- DÉMARRAGE
- DÉCLARATION DE CONFORMITÉ
- WARNINGS AND SAFETY INSTRUCTIONS
- EN
- DESCRIPTION OF THE OUTDOOR SENSOR
- THIS BOX CONTAINS
- KEYS
- SETTINGS
- To start
- WARNING: check and respect the 3 following instructions BEFORE hanging:
- Automatic time setting (DCF signal)
- Setting the alarm
- Outdoor/indoor temperature and humidity
- Alerts function
- Would you like to change the alert values to suit your preferences or needs?
- Indoor and outdoor comfort
- Setting the temperature units
- Checking the MAX/MIN temperature and humidity
- Backlight
- Weather forecast
- Moon phase
- Outdoor sensor signal strength – RF (Radio Frequency) transmission
- Low battery indicator
- Technical specifications
- DECLARATION OF CONFORMITY
- 2
- moov
- INICIO
- Fases lunares
- OPSTARTEN
- WAARSCHUWINGEN EN VEILIGHEIDSINSTRUCTIES
- START
Brand : MOOOV
Model : 477534
Category : Weather Station