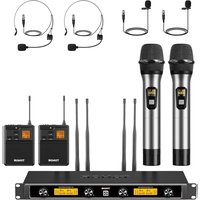
TW842 - Microphone Tonor - Free user manual and instructions
Find the device manual for free TW842 Tonor in PDF.


User questions about TW842 Tonor
0 question about this device. Answer the ones you know or ask your own.
Ask a new question about this device
Download the instructions for your Microphone in PDF format for free! Find your manual TW842 - Tonor and take your electronic device back in hand. On this page are published all the documents necessary for the use of your device. TW842 by Tonor.
USER MANUAL TW842 Tonor
UHF Wireless Microphone
ABOUT THIS MANUAL
Thank you for purchasing TONOR wireless microphone. This manual is intended to help you understand all about this microphone and how to use it. TONOR always strives for the ultimate user experience. All our knowledge and passion for audio technology are incorporated into building microphones with high performance for you. The TONOR microphone is high quality and easy to use to achieve the best user experience.
Enjoy your microphone!
TONOR Team
CATALOGUE
| English | 03~12 |
| Deutsch | 13~22 |
| Français | 23~32 |
| Italiano | 33~42 |
| Espanol | 43~52 |
| Holenderski | 53~62 |
| Polski | 63~72 |
| Svenska | 73~82 |
| Türkçe | 83~92 |
English
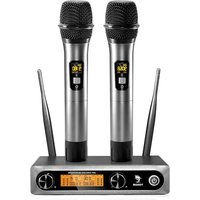
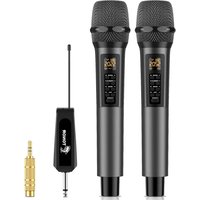
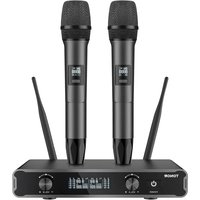
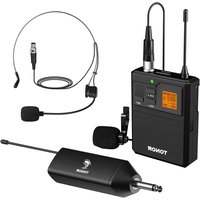
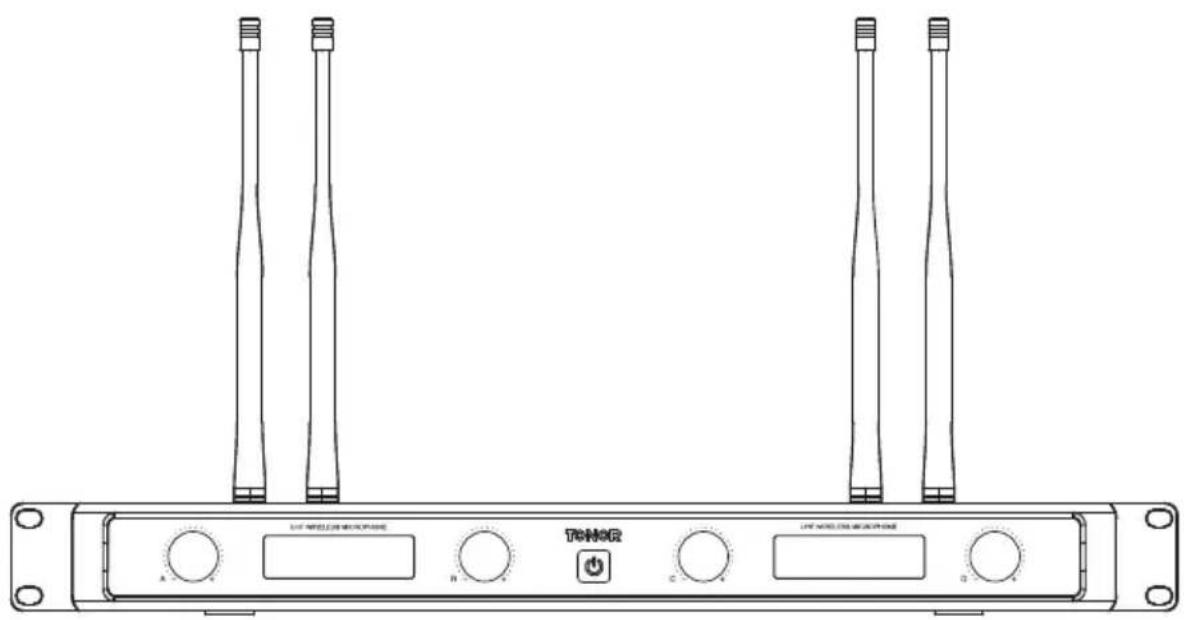
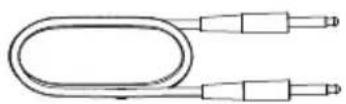
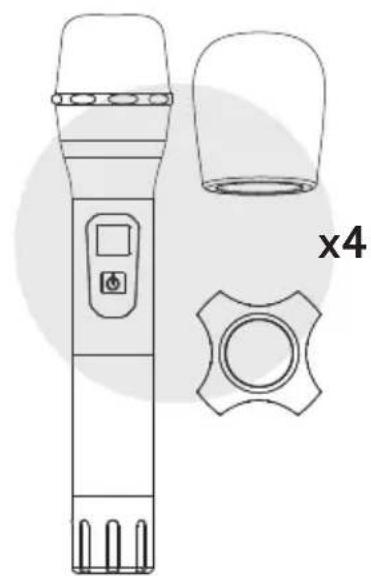
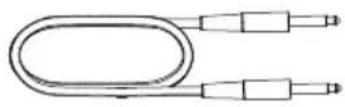
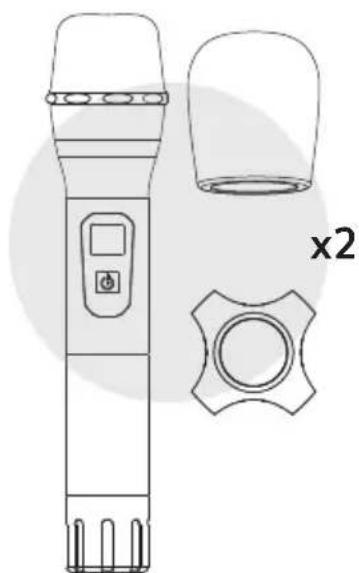
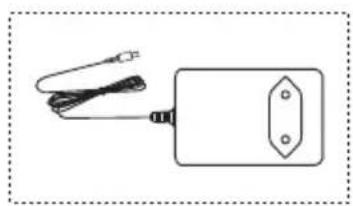
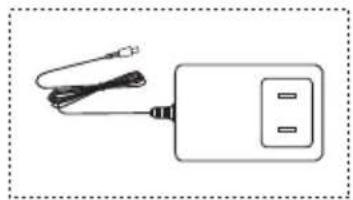
Package Including
TW840
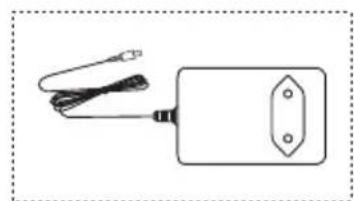
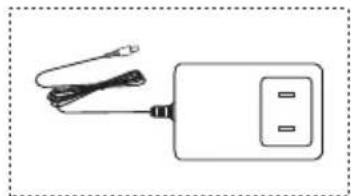
or
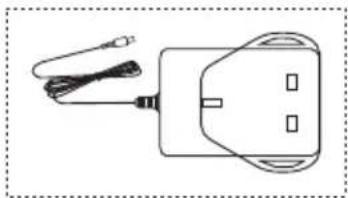
or
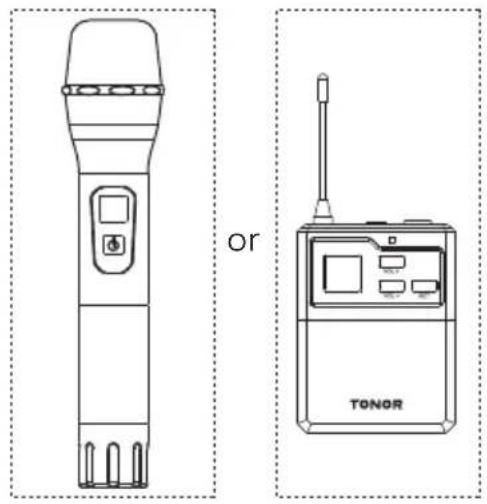
TW842
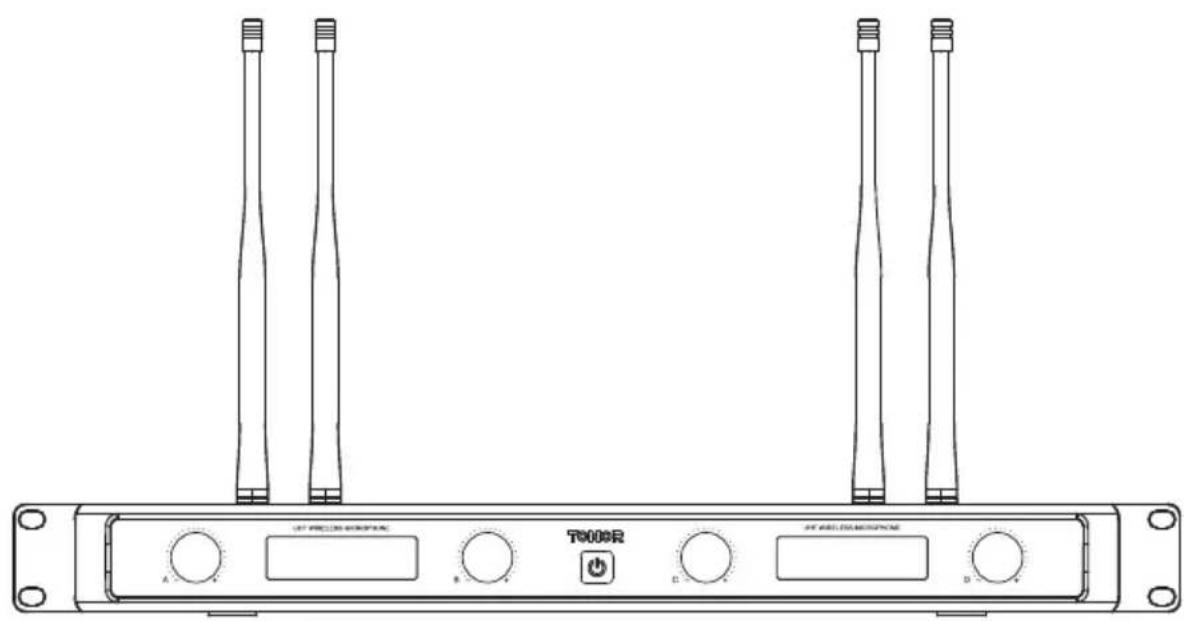
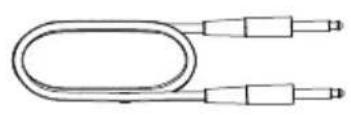
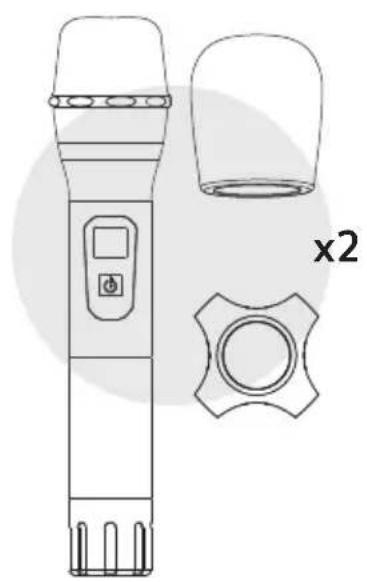
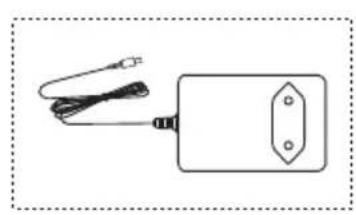
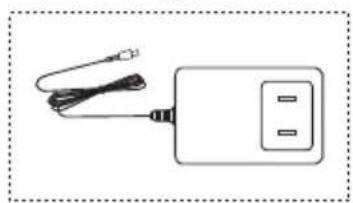
or
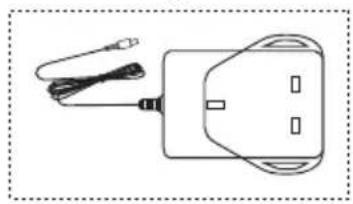
or
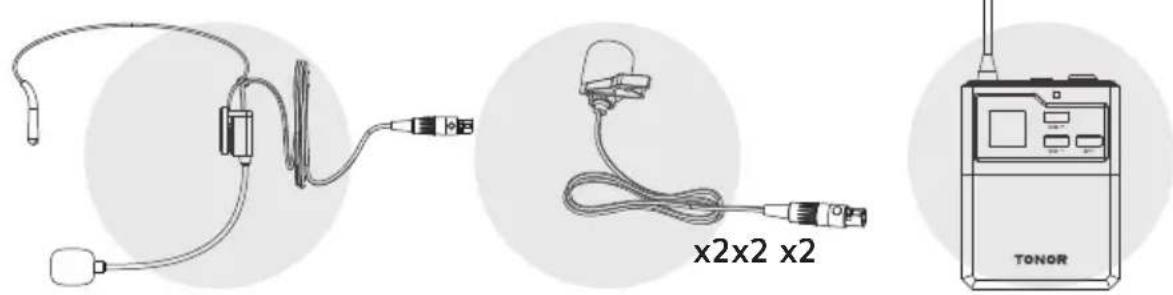
OPERATING ENVIRONMENTS & NOTES

When using this device, keep it away from water.

Use the device in ventilated environment, keep it away from fire.

Since it's a wireless device, please keep it away from other interfering sources.

Don't take apart the device.

Please use the standard power supply, high voltage may damage the device.

Please place the used batteries into the recycle bin, don't litter them.
SPECIFICATIONS
Frequency Response: 40hz-18kHz
Maximum Radio-frequency Power Transmitted: 8.5 dBm
Operating Frequency(US): A MIC: 902.8-908.2MHz, B MIC:
908.8-914.2MHz, C MIC: 915.4-920.8MHz, D MIC: 921.4-926.8MHz
Operating Frequency(UK/EU): A MIC: 823.3-824.9MHz, B MIC:
825.3-826.9MHz, C MIC: 827.9-829.5MHz, D MIC: 829.9-831.5MHz
Operating Range: Up to 60m
Frequency Stability: ±10ppm
SNR: 96dB
Sound Distortion: 0.03%
Mic Input Sensitivity: -52dB±3dB
RF Sensitivity: -95dBm
Operating Temperature: 0^ to +55^
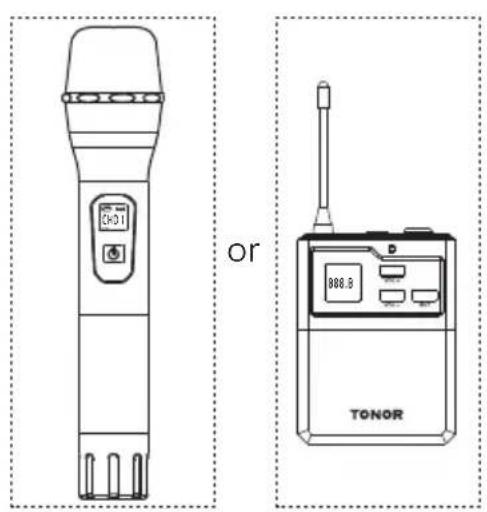
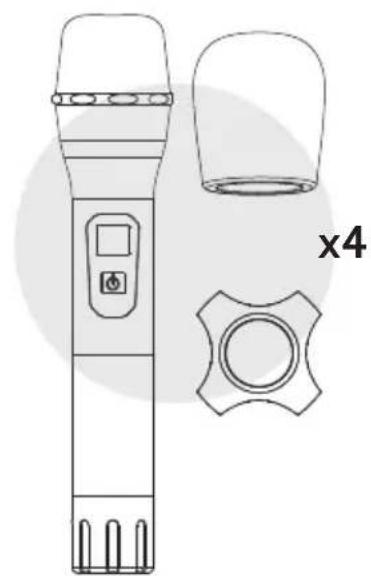
As shown in above pictures:
- Display Screen
- On/Off Switch
- Tail Tube
- HI-LO Button
- Battery Compartment
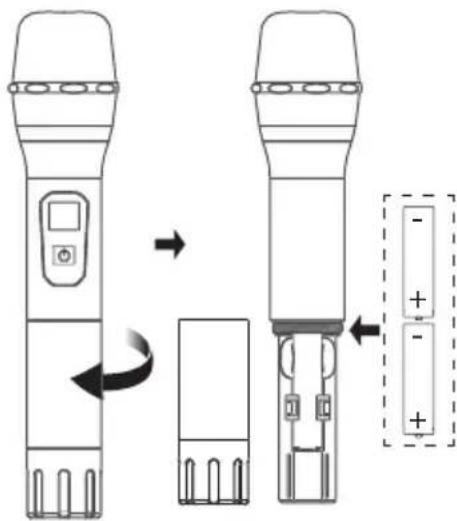
Install 2^*AA batteries before using the wireless microphone and installing instruction is as follows:
- Take down the tail tube of mic.
- Install the batteries and tighten tail tube of mic.
Note: The positive and negative polarity of battery cannot be reversed.

Instruction:
- Press button 2 for 2s to turn it on/off.
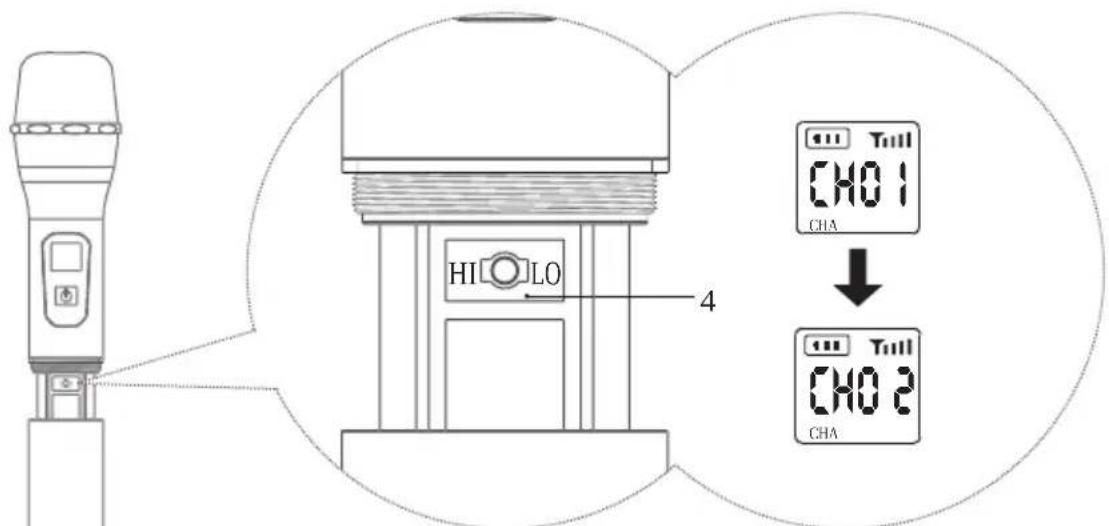
- Press the HI-LO button 4, then the frequency on the screen will be changed.
- Antenna
- Power Button: Click to turn on the mic. Click to mute when it is on, and click again to exit mute. Long press for 2 seconds to turn off.
- XLR Jack
- LCD Display
- LED Light: Green for power on. Red for Mute.
- VOL+: Click to increase the volume by one level. Long press to increase the volume automatically, up to 40 levels.
- VOL-: Click to decrease the volume by one level. Long press to decrease the volume automatically, down to 0 level.
- SET Button: Short press to change the frequency.
- Battery Compartment
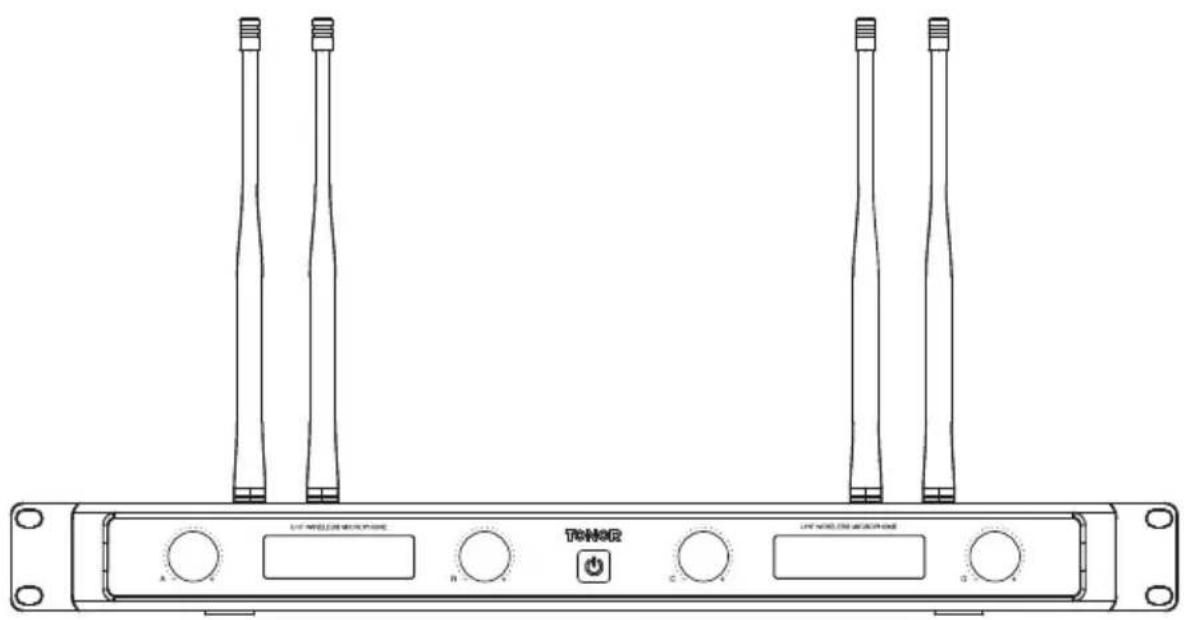
RECEIVER INSTRUCTION
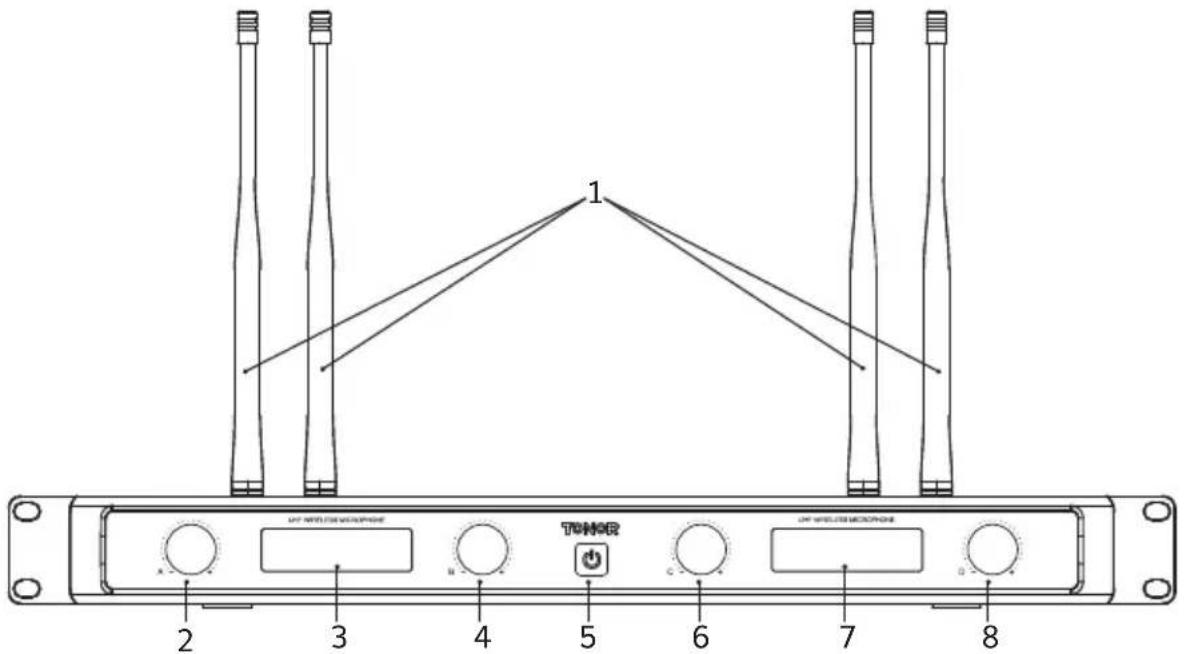
- Receiving antenna
- Volume adjusting button for microphone A
- LCD display screen for microphone A and B
- Volume adjusting button for microphone B
- Power switch (Long press for 2 seconds to turn on/off)
- Volume adjusting button for microphone C
- LCD display screen for microphone C and D
- Volume adjusting button for microphone D
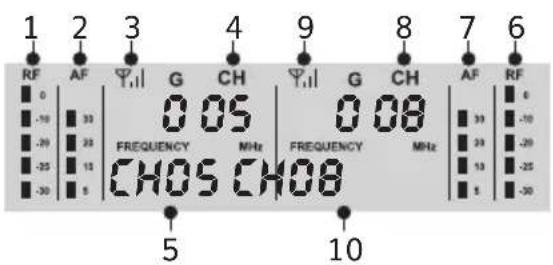
As shown in above pictures:
- Signal levels of mic A
- Volume levels of mic A
- Signal receiving of mic A
- Current channel of mic A
- Current frequency of mic A
- Signal levels of mic B
- Volume levels of mic B
- Current channel of mic B
- Signal receiving of mic B
- Current frequency of mic B
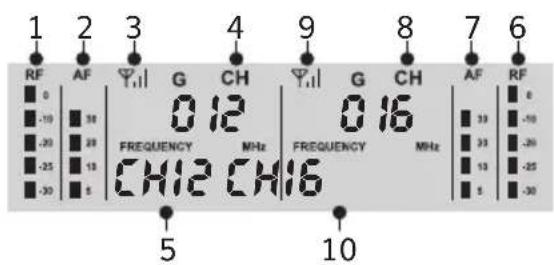
As shown in above pictures:
- Signal levels of mic C
- Volume levels of mic C
- Signal receiving of mic C
- Current channel of mic C
- Current frequency of mic C
- Signal levels of mic D
- Volume levels of mic D
- Current channel of mic D
- Signal receiving of mic D
- Current frequency of mic D
When the receiver is connected to power supply successfully, but the batteries of microphone are not installed, LCD screen will display as following pictures:
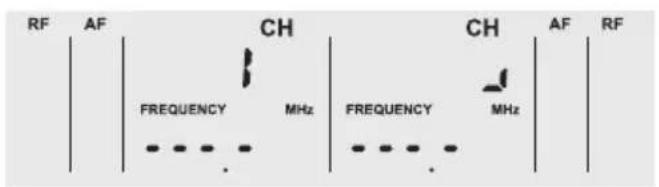
When the receiver is connected to power supply successfully, and the batteries of microphone are also installed, LCD screen will display as following pictures:
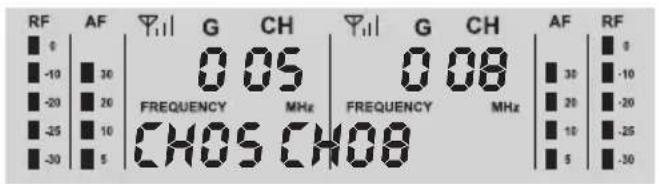
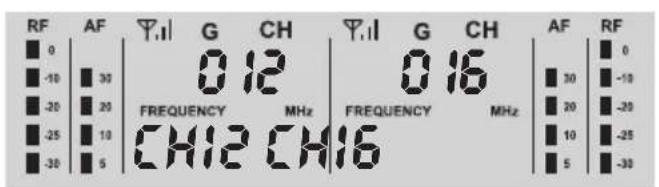
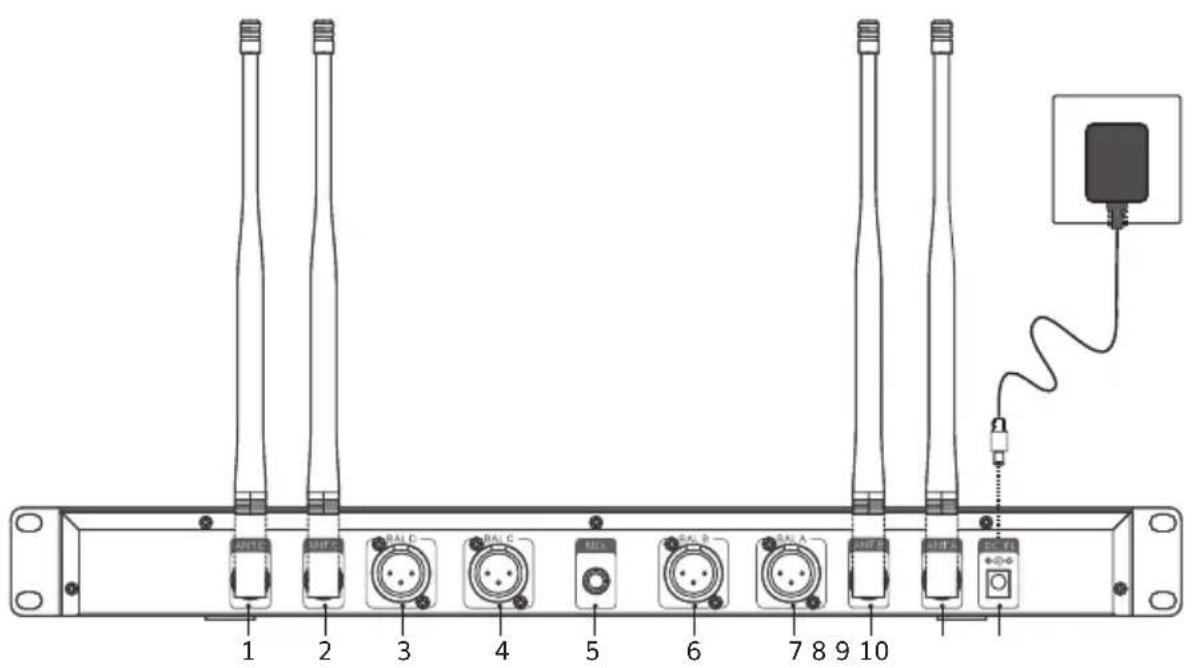
As shown in above pictures:
1.ANT D
6.BALB
2.ANT C
7.BAL A
3.BALD
8.ANT B
- BAL C
9.ANT A
-
MIX
-
DC IN
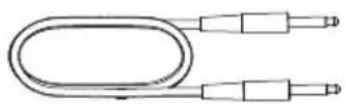
Before using the device, take out the wireless receiver from the package, and connect the following cables: firstly use the 6.35 audio cable to connect the receivers MIX's port and other audio devices (speaker, amplifier, mixer, etc.). Secondly, erect the antenna, and connect the power cable. Thirdly, check if microphone is connected to the receiver successfully after turning on the device.
TROUBLESHOOTING
No sound (The batteries of microphone have already been installed, but one of the microphone has on sound.)
- Please turn off the handheld microphone or bodypack microphone which can work normally, and you will find that the RF light on the receiver will disappear. Then follow the steps below to pair the no sound one with the receiver.
- Make sure that the receiver and HANDHELD microphone are turned OFF. Or Make sure that the receiver is OFF and the BODYPACK microphone is on.
- Open the battery case of handheld mic or bodypack mic and install the batteries.
- Make sure that the handheld microphone is OFF, press and hold the HI/LO button and the power button simultaneously, do not release them, until the handheld microphone screen flashes quickly, then release two buttons simultaneously. Or make sure the bodypack mic is on, long press the SET button until the bodypack screen flashes quickly, then release the SET button.
- Turn on the receiver's power button, wait for 5 seconds or so, then press the HI/LO button on the handheld microphone or SET button on the bodypack once, until the handheld microphone screen or bodypack screen becomes steady and no longer flashes, the RF light on the receiver turns steady, indicating that the pairing is successful.
- Tum off the handheld microphone, then tighten the microphone tail tube. Pairing is now completed.
Received signal with noise or interference
Change to other channels;
Check if receiving distance exceeds the maximum range.
Microphone cannot be turned on
Check if batteries are installed reversely;
Change to new batteries.
EU Declaration of conformity RoHS Directive (2011/65/EU)
Hereby, Fujian EastWest Lifewit Technology Co.,LTD declares that the radio equipment type TW840/TW842 is in compliance with Directive 2014/53/EU.
The full text of the EU declaration of conformity is available at the following internet address:
https://www.tonormic.com/pages/eu-declaration-of-conformity
Conditions and restrictions for using frequencies
There may be special conditions and restrictions for using frequencies in your country.
Before putting the product into operation, find the information for your country at the following address:
https://www.tonormic.com/pages/permitted-frequency-bands
WARRANTY
TONOR provides 2 ears of after-sales service, free replacement to products that are NOT damaged resulting from accident, alteration, misuse, negligence, or abuse. If exceeding 30 days of Amazon return policy, you can still contact us through our Shopify TONORMIC. We will serve you with full sincerity!
Deutsch
Lieferumfang
TW840
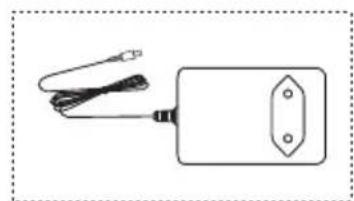
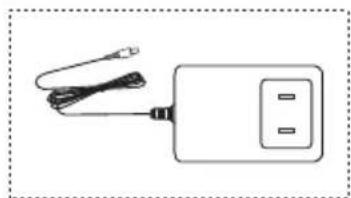
or
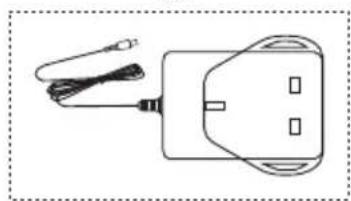
or
TW842
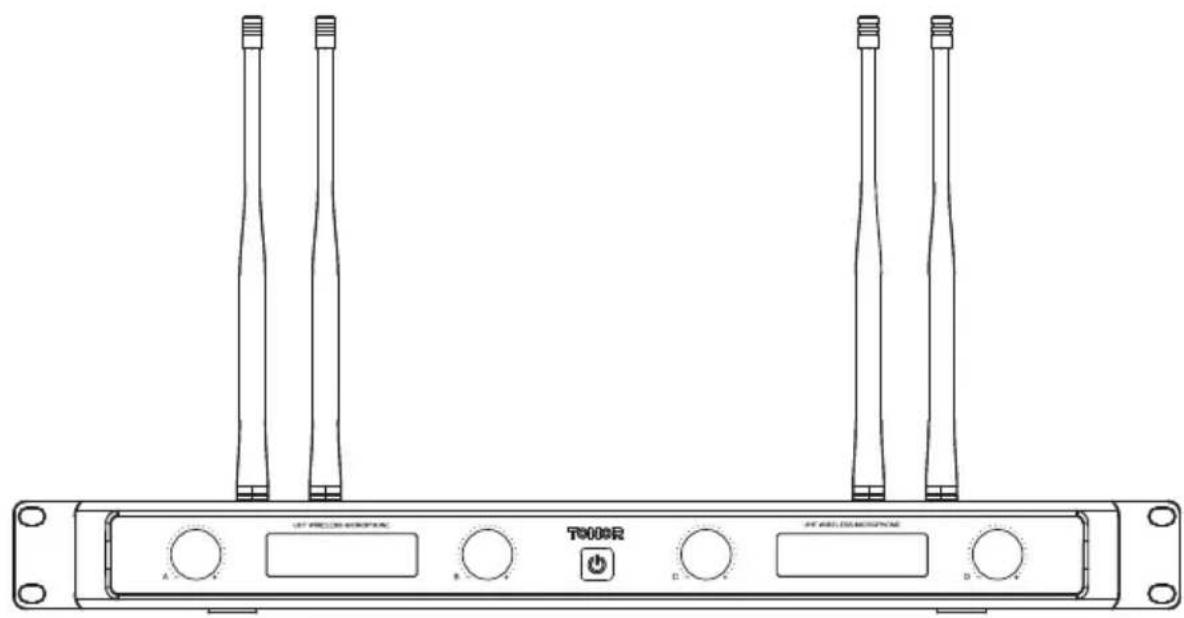
or
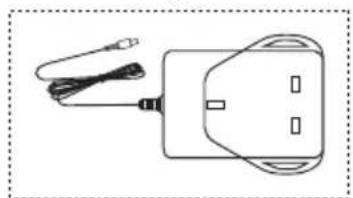
or
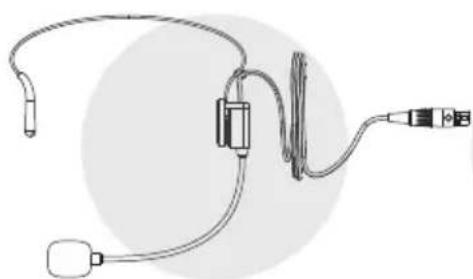
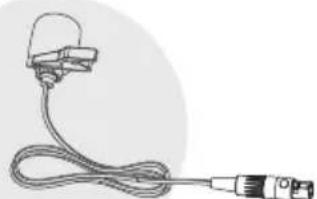
x2× 2× 2
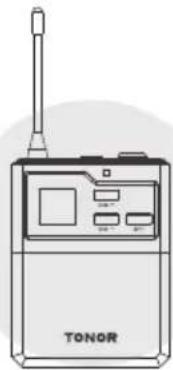
MIC: 827.9-829.5MHz, D MIC: 829.9-831.5MHz
https://www.tonormic.com/pages/eu-declaration-of-conformity
https://www.tonormic.com/pages/permitted-frequenzbands
GARANTIE
825.3-826.9MHz, C MIC: 827.9-829.5MHz, D MIC: 829.9-831.5MHz
https://www.tonormic.com/pages/eu-declaration-of-conformity
MIC: 827.9-829.5MHz, D MIC: 829.9-831.5MHz
https://www.tonormic.com/pages/eu-declaration-of-conformity
https://www.tonormic.com/pages/perched-frequency-bands
GARANZIA
825.3-826.9MHz, C MIC: 827.9-829.5MHz, D MIC: 829.9-831.5MHz
https://www.tonormic.com/pages/eu-declaration-of-conformity
https://www.tonormic.com/pages/permitted-frequency-bands
GARANTÍA
MIC: 827.9-829.5MHz, D MIC: 829.9-831.5MHz
Bedieningsbereik: Tot 60m
https://www.tonormic.com/pages/eu-declaration-of-conformity
https://www.tonormic.com/pages/perposed-frequency-bands
GARANTIE
825.3-826.9MHz, C MIC: 827.9-829.5MHz, D MIC: 829.9-831.5MHz
https://www.tonormic.com/pages/eu-declaration-of-conformity
https://www.tonormic.com/pages/permitted-frequency-bands
GWARANCJA
827.9-829.5MHz, D MIC: 829.9-831.5MHz
https://www.tonormic.com/pages/eu-declaration-of-conformity
https://www.tonormic.com/pages/permitted-frequency-bands
GARANTI
MIC: 827.9-829.5MHz, D MIC: 829.9-831.5MHz
https://www.tonormic.com/pages/eu-declaration-of-conformity
Frekans kullanimina iliskin kosullar ve kisitlamalar
This device complies with part 15 of the FCC Rules. Operation is subject to the following two conditions:
(1)This device may not cause harmful interference.
(2)This device must accept any interference received, including interference that may cause undesired operation.
ISED Statement
CA
This device contains licence-exempt transmitter(s)/receiver(s) that comply with Innovation, Science and Economic Development Canada's licence-exempt RSS(s). Operation is subject to the following two conditions:
(1) This device may not cause interference.
(2) This device must accept any interference, including interference that may cause undesired operation of the device.