QAP1BLX - Safe SentrySafe - Free user manual and instructions
Find the device manual for free QAP1BLX SentrySafe in PDF.


User questions about QAP1BLX SentrySafe
0 question about this device. Answer the ones you know or ask your own.
Ask a new question about this device
Download the instructions for your Safe in PDF format for free! Find your manual QAP1BLX - SentrySafe and take your electronic device back in hand. On this page are published all the documents necessary for the use of your device. QAP1BLX by SentrySafe.
USER MANUAL QAP1BLX SentrySafe
Quick Access Biometric Safe Owner's Manual
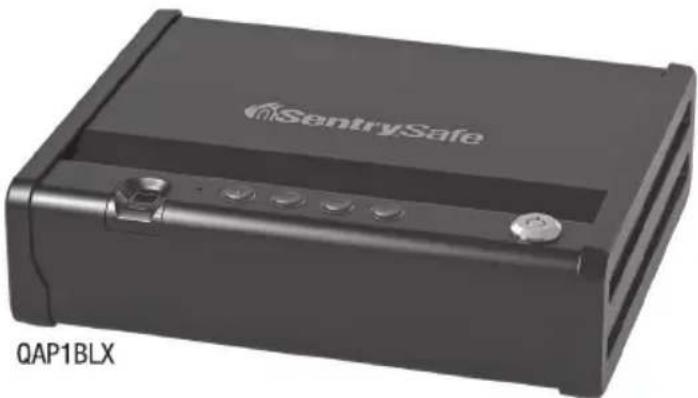
natural_image
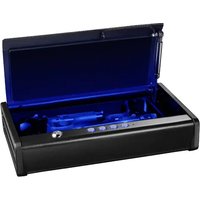
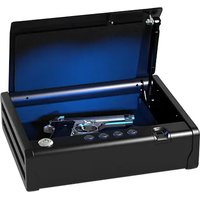
Black SensrySafe QAP1BLX device with ventilation slots and control buttons (no visible text or symbols on body)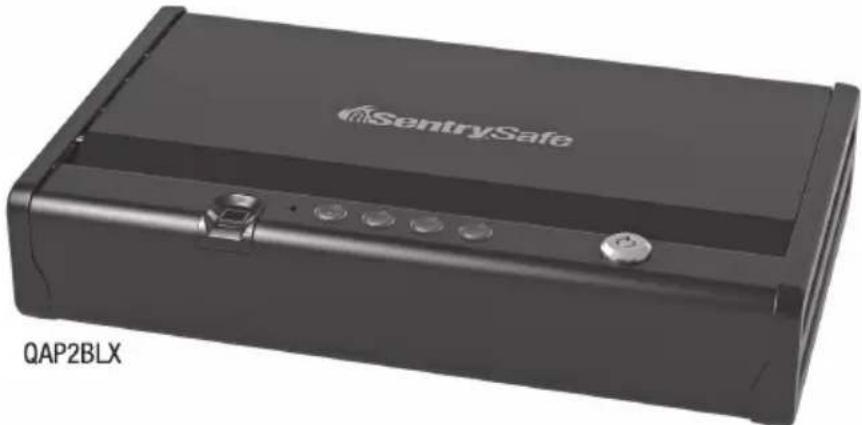
natural_image
Black rectangular electronic device labeled 'SentrySafe' with control buttons and a small dial, no visible text or symbols beyond branding and label.Share your thoughts on our products!
Scan code to review QAP1BLX:
text_image
QR code image containing encoded data, no visible human-readable text
SCAN ME
Data Rates Apply
Scan code to review QAP2BLX:
text_image
QR code image containing encoded data, no visible human-readable text
SCAN ME
Data Rates Apply

WARNING
SentrySafe recommends that you do not store loaded guns in this unit.
NOTICE
YOUR SAFE IS ONLY PART OF YOUR TOTAL SECURITY PROTECTION.
SentrySafe recommends that you store your safe in a closet, office, basement, bedroom or any other location that is convenient for you but out of direct line of sight from prying eyes. The location of the safe does not affect the safe's ability to protect your valuables inside.
This is a California-approved firearm safety device that meets the requirements of Penal Code section 23655 and the regulations issued thereunder.
Table of Contents
Thank you for your purchase of a Sentry®Safe Product. SentrySafe is committed to securing, organizing and protecting your most important documents, valuables and keepsakes.
Français 11
Español 21
English
Warnings 2
Registration 3
Prepare for First Time Use 4
Programming Your Safe 4-6
Locking and Unlocking Your Safe 7
Bolt-Down Instructions 8
Troubleshooting 9
Customer Service....9
IMPORTANT
If you experience problems or challenges with your safe, please contact us. Many issues can be quickly resolved without the product being returned.
REGISTRATION
www.registermysafe.com
Reasons to register: By registering your SentrySafe Product you can easily retrieve forgotten codes and combinations, which would otherwise require verification and payment.
For videos, instructions & Frequently Asked Questions (FAQs),
visit: www.sentrysafe.com
NOTE: Store code and keys in a secure location (other than in the safe).
NOTE: SentrySafe offers a secure on-line location for the entry and retrieval of your code.
Go to www.registermysafe.com and register your safe.
Preparing your safe for first-time use
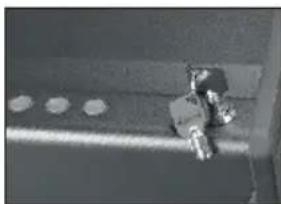
natural_image
Close-up of a mechanical component with bolted joints and mounting brackets (no visible text or symbols)1 Insert key into keyhole and turn clockwise.
NOTE: Do not lock key inside safe – this is an override key and will open the safe in the event that you have lost your code.
Programming your safe
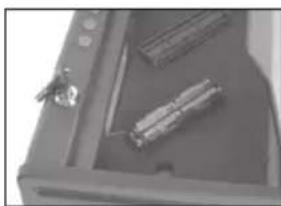
natural_image
Close-up of a mechanical device with a tool and clamped parts inside a tray (no visible text or symbols)1 Remove the battery pack cover.
2 Pull out battery pack (keep battery pack connected to wires).
3 Insert four NEW AA alkaline batteries.
4 Replace battery pack cover.
NOTE: Do not use rechargeable batteries or any other type of non-alkaline battery. Do not mix old and new batteries. Do not mix alkaline and standard batteries.
IMPORTANT
All safe models initially work with the factory code 1, 2, 3, 4, 1. It is therefore important to re-program your safe with a new user code you have personally selected to provide maximum security.
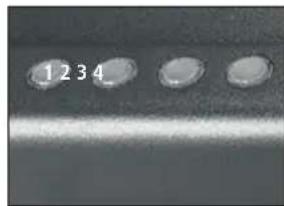
text_image
1234The Quick Access Biometric Pistol Safe comes with a built-in code. Enter factory code 1, 2, 3, 4, 1.
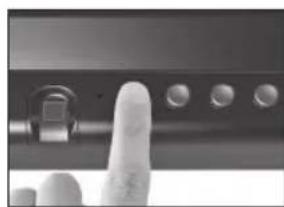
natural_image
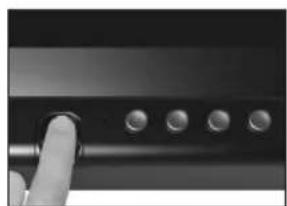
Close-up of a finger pressing a button on a metal panel (no visible text or symbols)Setting New User Code
1 Begin with safe locked.
2 Enter factory code (1, 2, 3, 4, 1) using the digits on the keypad.
3 Once safe is open, within 10 seconds, press and hold keypad digit 1 for 3 seconds.
4 LED light will flash purple 2 times to indicate the safe is ready to accept a new user code.
5 Enter a new user code that is four, five, or six digits long. LED will flash green after 15 seconds.
6 LED light will turn purple again. Re-enter new user code. LED will flash green 3 times after 15 seconds, indicating new user code is active.
Programming Your Safe
NOTE: Write down your user code, and keep it in a secure location.
Or visit www.registermysafe.com to store your user code.
natural_image
Close-up of a finger pressing a button on a black surface, with five circular buttons visible (no text or symbols)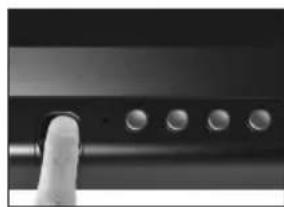
natural_image
Close-up of a finger pressing a button on a black surface with five circular buttons (no text or symbols visible)How to Add Primary Fingerprints (Up to 2 fingerprints can be programmed under "Primary Fingerprints")
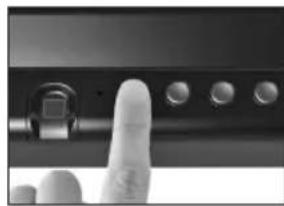
1 Begin with safe locked.
2 Enter user code.
3 Once safe is open, within 10 seconds, press and hold keypad digit 1 for 3 seconds.
4 LED light will flash purple 2 times to indicate the safe is ready to accept a new fingerprint.
5 Place finger on sensor. Once LED light turns green, remove finger from sensor.
6 When LED light turns blue, place same finger back on sensor. LED light will change green once for each valid scan.
7 Repeat this process until LED light flashed green 3 times (usually 5 successful scans), indicating primary fingerprint enrollment complete.
8 Repeat steps 1-7 in order to add second primary fingerprint.
natural_image
Close-up of a finger pressing a button on a black electronic device (no visible text or symbols)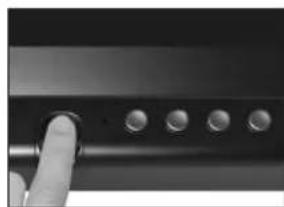
natural_image
Close-up of a finger pressing a button on a black surface with five circular buttons (no text or symbols visible)How to Add Secondary Fingerprints (Up to 8 fingerprints can be programmed under "Secondary Fingerprints")
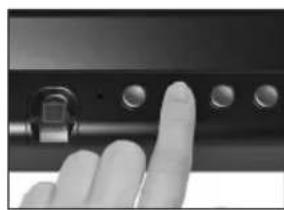
① Begin with safe locked.
2 Enter user code or open safe with primary fingerprint.
3 Once safe is open, within 10 seconds, press and hold keypad digit 2 for 3 seconds.
4 LED light will flash purple 2 times to indicate the safe is ready to accept a new fingerprint.
5 Place finger on sensor. Once LED light turns green, remove finger from sensor.
6 When LED light turns blue, place same finger back on sensor. LED light will change green once for each valid scan.
7 Repeat this process until LED light flashed green 3 times (usually 5 successful scans), indicating primary fingerprint enrollment complete.
8 Repeat steps 1-7 in order to add multiple secondary fingerprints.
Tips for Using Your Fingerprint Scanner
- Do not choose a finger with a cut or scar.
- Make sure hands are clean and dry before programming or operating the fingerprint scanner.
- For optimal performance, clean the fingerprint sensor periodically with a dry, lint-free cloth.
- The fingerprint sensor may not work well when cold.
How to Erase All Primary Fingerprints
1 Begin with safe locked.
2 Enter user code or open with primary fingerprint.
3 Once safe is open, within 10 seconds, press and hold keypad digit 1 for 3 seconds.
4 LED light will flash purple 2 times, indicating the safe is ready to delete all primary fingerprints.
5 Press and hold digit 4 for 4 seconds.
6 LED light will flash red-green 2 times, indicating all primary fingerprints have been erased.
How to Erase All Secondary Fingerprints
1 Begin with safe locked.
2 Enter user code or open with primary fingerprint.
3 Once safe is open, within 10 seconds, press and hold keypad digit 2 for 3 seconds.
4 LED light will flash purple 2 times, indicating the safe is ready to delete all secondary fingerprints.
5 Press and hold digit 4 for 4 seconds.
6 LED light will flash red-green 2 times, indicating all secondary fingerprints have been erased.
How to Operate LED Interior Light (The factory preset interior light will illuminate for 10 seconds. The light duration has two option: Off/On).
1 Begin with safe closed.
2 Enter user code or open safe with primary fingerprint.
3 Once safe is open, press and hold keypad digit 3 for 3 seconds.
4 Interior light flashes 3 times, indicating change in light setting.
NOTE:
- If the red LED blinks 3 times, programming failed.
- If the yellow LED blinks 3 times, the batteries are low.
- If the red LED blinks 6 times, either the primary or secondary fingerprint storage is full.
- If the LED blinks red-blue 3 times, that finger has already been enrolled.
- The user code or fingerprint programmed will not be erased when the battery power is removed.
- Secondary fingerprint users do not have access to changing the user code. Secondary users cannot program or delete fingerprints. Secondary users cannot change the light settings.
- A single fingerprint cannot be deleted. If you need to delete a user, all fingerprints will need to be deleted and users will need to re-register.
Locking and Unlocking Your Safe
NOTICE
Test your code several times before putting valuables inside.
Locking your safe
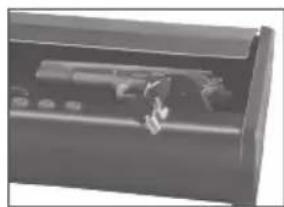
natural_image
Close-up of a mechanical component with internal components and no visible text or symbols① Close the lid. Once the lid is closed, the safe is securely locked.
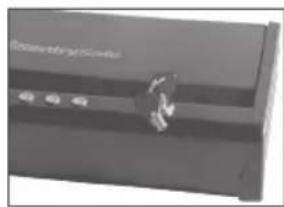
natural_image
Close-up of a mechanical component with a metallic knob and control buttons (no visible text or symbols)NOTE: The override key needs to be in the locked position. Remove and store in a secure location.
Unlocking your safe
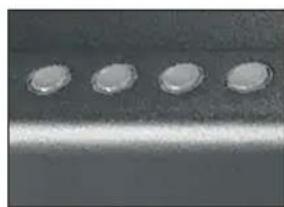
natural_image
Close-up of a metallic rod with four circular indentations on its surface (no text or symbols visible)1 Enter your programmed user code.
-OR-
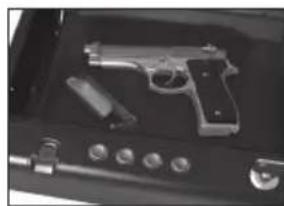
natural_image
Black-and-white photo of a handgun resting inside a safe with buttons and a clip (no visible text or symbols)① Insert the override key into the keyhole and turn clockwise.
-OR-
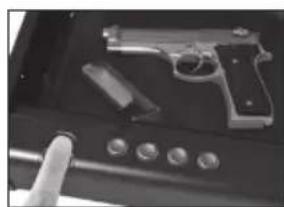
natural_image
Close-up of a handgun with control buttons and a hand pointing at it (no visible text or symbols)1 Place programmed finger on sensor.
Bolting down your safe
Bolt-Down kit contents:
2 Screws
2 Washers
Tools needed to bolt safe to a surface:
Drill
Wrench
9/32in (7.2 mm) drill bit – for drilling into wood
3/8in (9.5 mm) drill bit – for drilling into masonry
natural_image
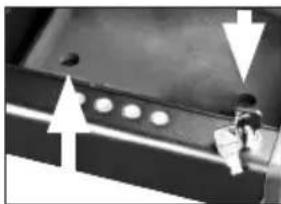
Close-up of a mechanical component with circular holes and directional arrows (no text or symbols)Select a suitable location for your Quick Access Pistol Safe. Set the safe in place, and use the pre-drilled holes provided on the bottom of the safe to mark the location of the holes to be drilled in the surface.
NOTICE
Do NOT drill from any location inside the safe.
NOTE: This product is intended to be mounted with a horizontal orientation.
natural_image
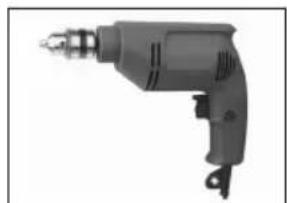
Exterior view of a handheld electric drill (no text or symbols visible)Move the Quick Access Pistol Safe while you drill the marked holes in the surface.
Drill the holes in the surface using the appropriate diameter and depth for the type of hardware and the mounting surface being used.
1 Replace the safe over the newly created holes.
2 Install the screws and washers as required.
NOTICE
Sentry®Safe is not responsible for costs incurred if the unit is to be replaced.
Bolting/unbolting the unit is at a consumer's expense and discretion.
| The Problem: Why It Is Happenings The Solution: | The Solution: | |
| Red LED blinks three times | Incorrect code or fingerprint has been entered | Verify the code/fingerprint and re-enter or reprogram |
| Programming error | ||
| Red LED slowly blinks for two minutes | An incorrect code or fingerprint has been entered five times | Wait for two minutes or use the override key to access the safe |
| Yellow LED blinks three times | Battery power is low Replace with four AA alkaline batteries (do not use rechargeable batteries or any other type of non-alkaline battery) | |
| Red LED blinks five times System | System power failure failure | |
| Cannot open the lid after entering the code | Batteries have reached end of life | |
| Red LED blinks six times Either primary secondary fingerprint storage is full | Delete primary or secondary fingerprints | |
| LED blinks red-blue three times | That finger is already enrolled/programmed | Use a different finger |
| Lid does not open when using override key | Gas strut has stopped working | Toch Sectty Safe Safet Customer Service for support |
| Can't enroll finger Refer to fingerprint scanner tips | Refer to fingerprint scanner tips section of owner's manual | |
| Fingerprint swipe will not unlock the safe | Refer to fingerprint scanner tips section of owner's manual | |
Customer Service
www.sentrysafe.com
Phone Number: 1-800-828-1438
How to obtain a replacement key
To order replacement keys, you must have the correct model and serial number for your safe. Find your safe's serial number on the small label located on the outside of your safe or visit www.sentrysafe.com under the support section. Once you locate this information, please visit www.sentrysafe.com or call customer service at 1-800-828-1438 to order your replacement key.
SentrySafe
natural_image
Black SensrySafe QAP1BLX device with control buttons and ventilation slots (no visible text or symbols on body)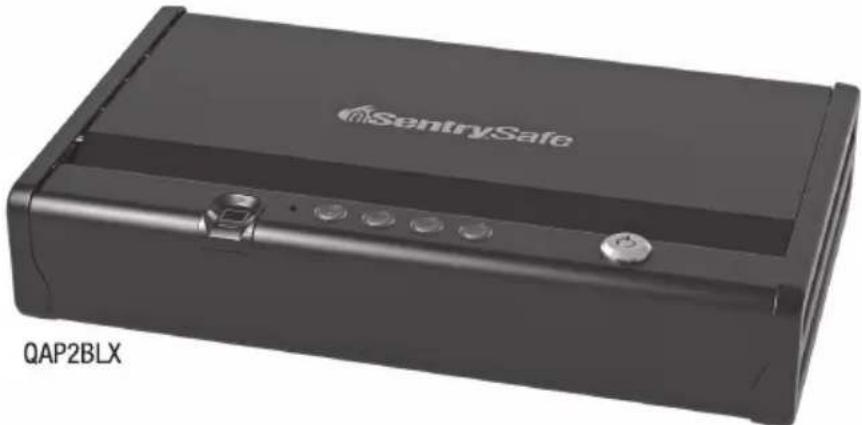
natural_image
Black rectangular electronic device labeled 'SentrySafe' with control buttons and a small dial, shown with 'QAP2BLX' text below (no other readable symbols or text)text_image
QR code image containing encoded data, no visible human-readable textSCAN ME
text_image
QR code image containing encoded data, no visible human-readable textSCAN ME
www.registermysafe.com
natural_image
Close-up of a mechanical component with circular holes and a metallic bracket (no visible text or symbols)natural_image
Close-up of a mechanical device with a tool and accessories (no visible text or symbols)natural_image
Close-up of three circular objects on a textured surface (no text or symbols visible)natural_image
Close-up of a finger pressing a button on a metal surface with five circular holes (no text or symbols visible)natural_image
Close-up of a finger pressing a button on a device (no visible text or symbols)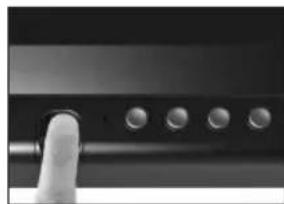
natural_image
Close-up of a finger pressing a button on a black electronic device (no visible text or symbols)natural_image
Close-up of a finger pressing a button on a black electronic device (no visible text or symbols)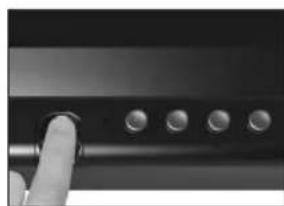
natural_image
Close-up of a finger pressing a button on a black electronic device (no visible text or symbols)natural_image
Close-up of a mechanical component with internal components and mounting holes (no visible text or symbols)natural_image
Close-up of a metallic electronic device with a knob and control buttons (no visible text or symbols)natural_image
Close-up of a metallic rod with four circular indentations on its surface (no text or symbols visible)natural_image
Black-and-white photo of a handgun resting on a briefcase with buttons and a small object (no visible text or symbols)natural_image
Close-up of a handgun on a device with control buttons (no visible text or symbols)natural_image
Close-up of a mechanical component with circular holes and directional arrows indicating movement (no text or symbols)natural_image
Exterior view of a handheld electric drill (no text or symbols visible)natural_image
Black SensrySafe QAP1BLX device with ventilation slots and control buttons (no readable text or symbols beyond branding)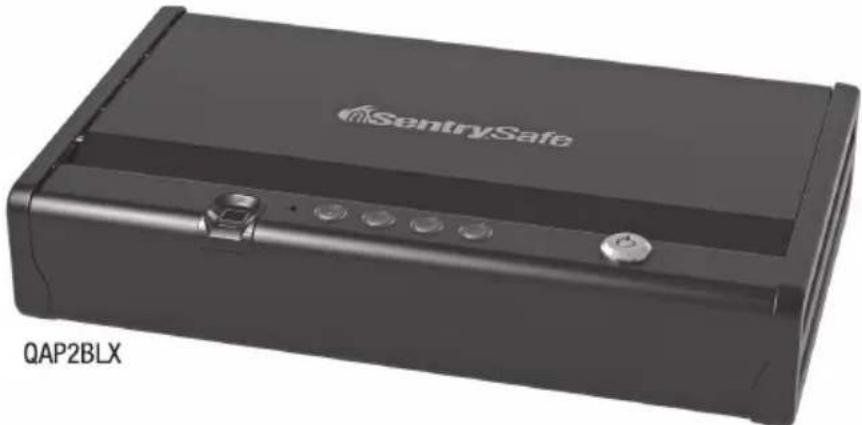
natural_image
Black rectangular electronic device labeled 'SentrySafe' with control buttons and a small dial, no visible text or symbols beyond branding and label.text_image
QR code image containing encoded data, no visible human-readable texttext_image
QR code image containing encoded data, no visible human-readable textwww.registermysafe.com
natural_image
Close-up of a metallic mechanical component with rivets and bolts (no visible text or symbols)natural_image
Close-up of a mechanical tool holder with a screwdriver and handle (no visible text or symbols)natural_image
Close-up of a finger pressing a button on a metal surface with five circular buttons (no text or symbols visible)natural_image
Close-up of a finger pressing a button on a black surface with five circular buttons (no text or symbols visible)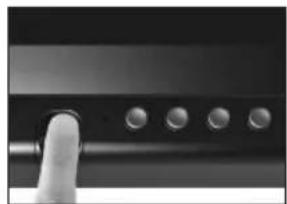
natural_image
Close-up of a finger pressing a button on a black surface with five circular buttons (no text or symbols visible)natural_image
Close-up of a finger pressing a button on a black electronic device (no visible text or symbols)