Pilot S - Bike rack Buzz Rack - Free user manual and instructions
Find the device manual for free Pilot S Buzz Rack in PDF.


User questions about Pilot S Buzz Rack
0 question about this device. Answer the ones you know or ask your own.
Ask a new question about this device
Download the instructions for your Bike rack in PDF format for free! Find your manual Pilot S - Buzz Rack and take your electronic device back in hand. On this page are published all the documents necessary for the use of your device. Pilot S by Buzz Rack.
USER MANUAL Pilot S Buzz Rack
text_image
2 MAX 2 x 15 kg MAX 2 x 33lbs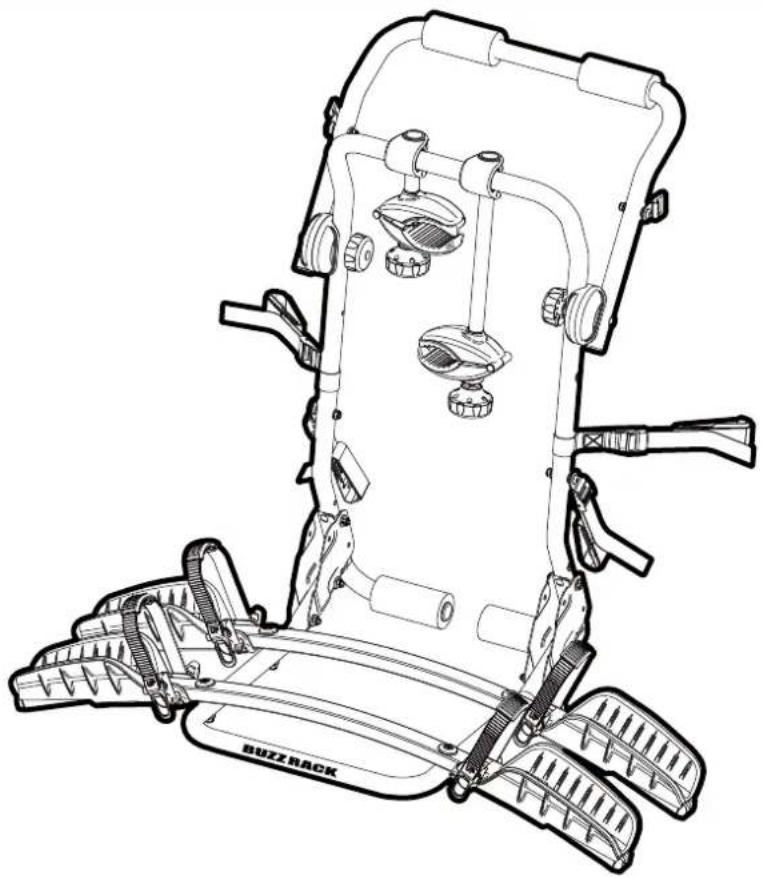
natural_image
Line drawing of a Buzz rack device with mechanical components and base mount (no text or symbols)PART LIST
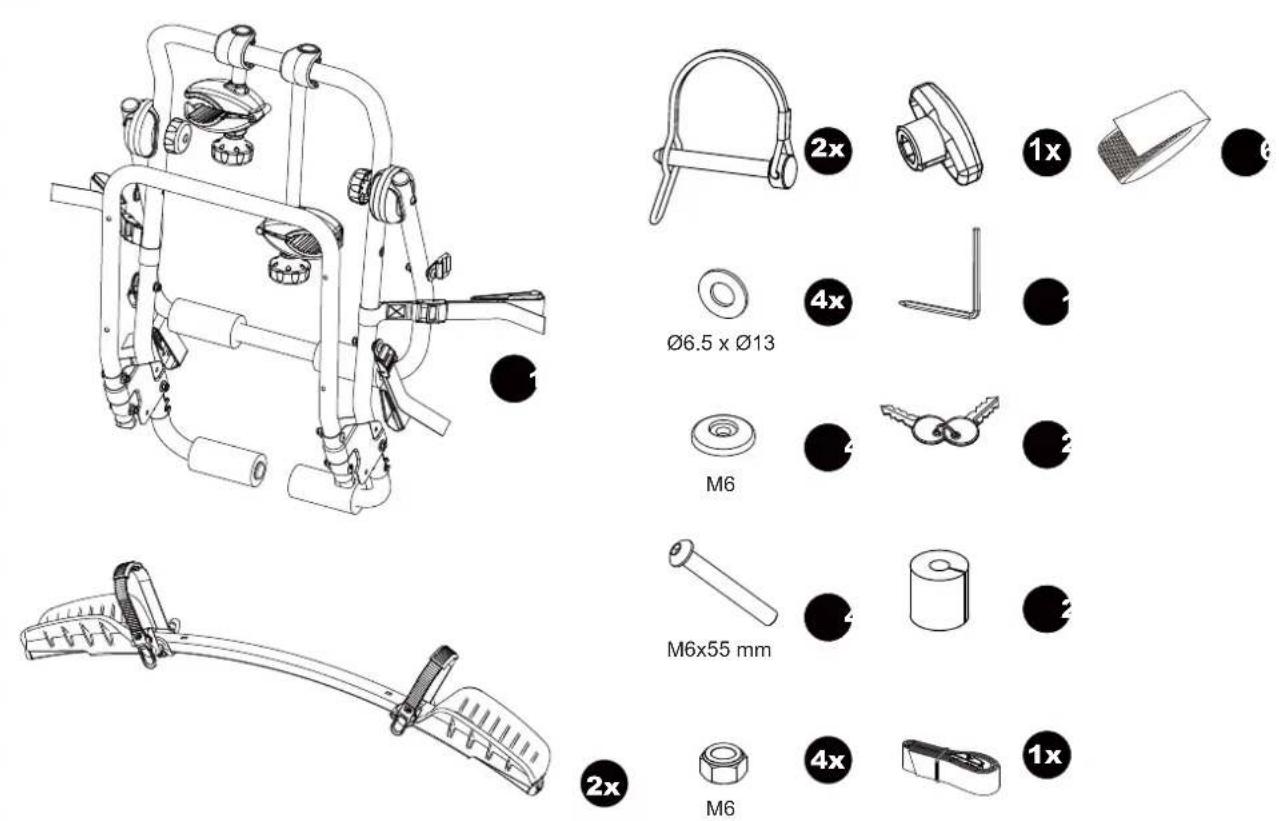

natural_image
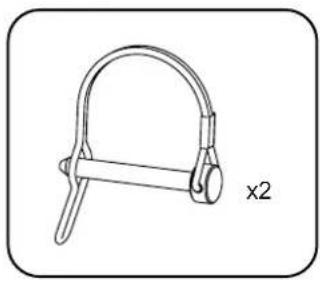
Line drawing of a mechanical clamp or bracket with two protrusions, labeled 'x2' (no text or symbols on the clamp itself)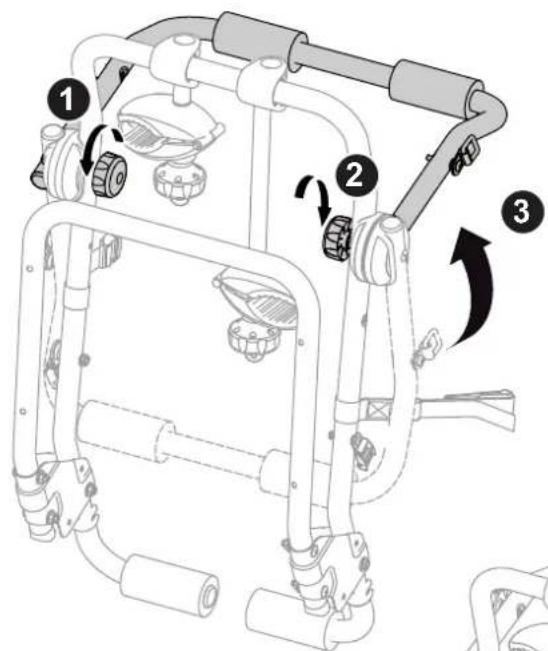
text_image
Technical diagram of a vehicle chassis with numbered components and directional arrows indicating motion or assembly steps.
text_image
Technical diagram illustrating the assembly of a vehicle's cable and suspension system, with numbered steps and component illustrations.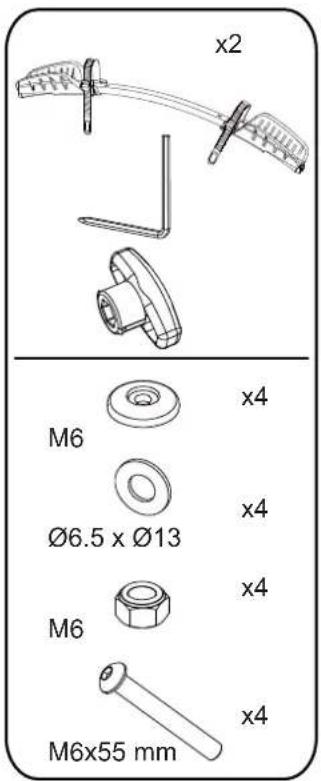
text_image
x2 M6 Ø6.5 x Ø13 M6 M6x55 mm x4 x4 x4 x4 x4
text_image
x2 x4 x4 x4 7 COFFIC BUZZ RACK 8 ⚠️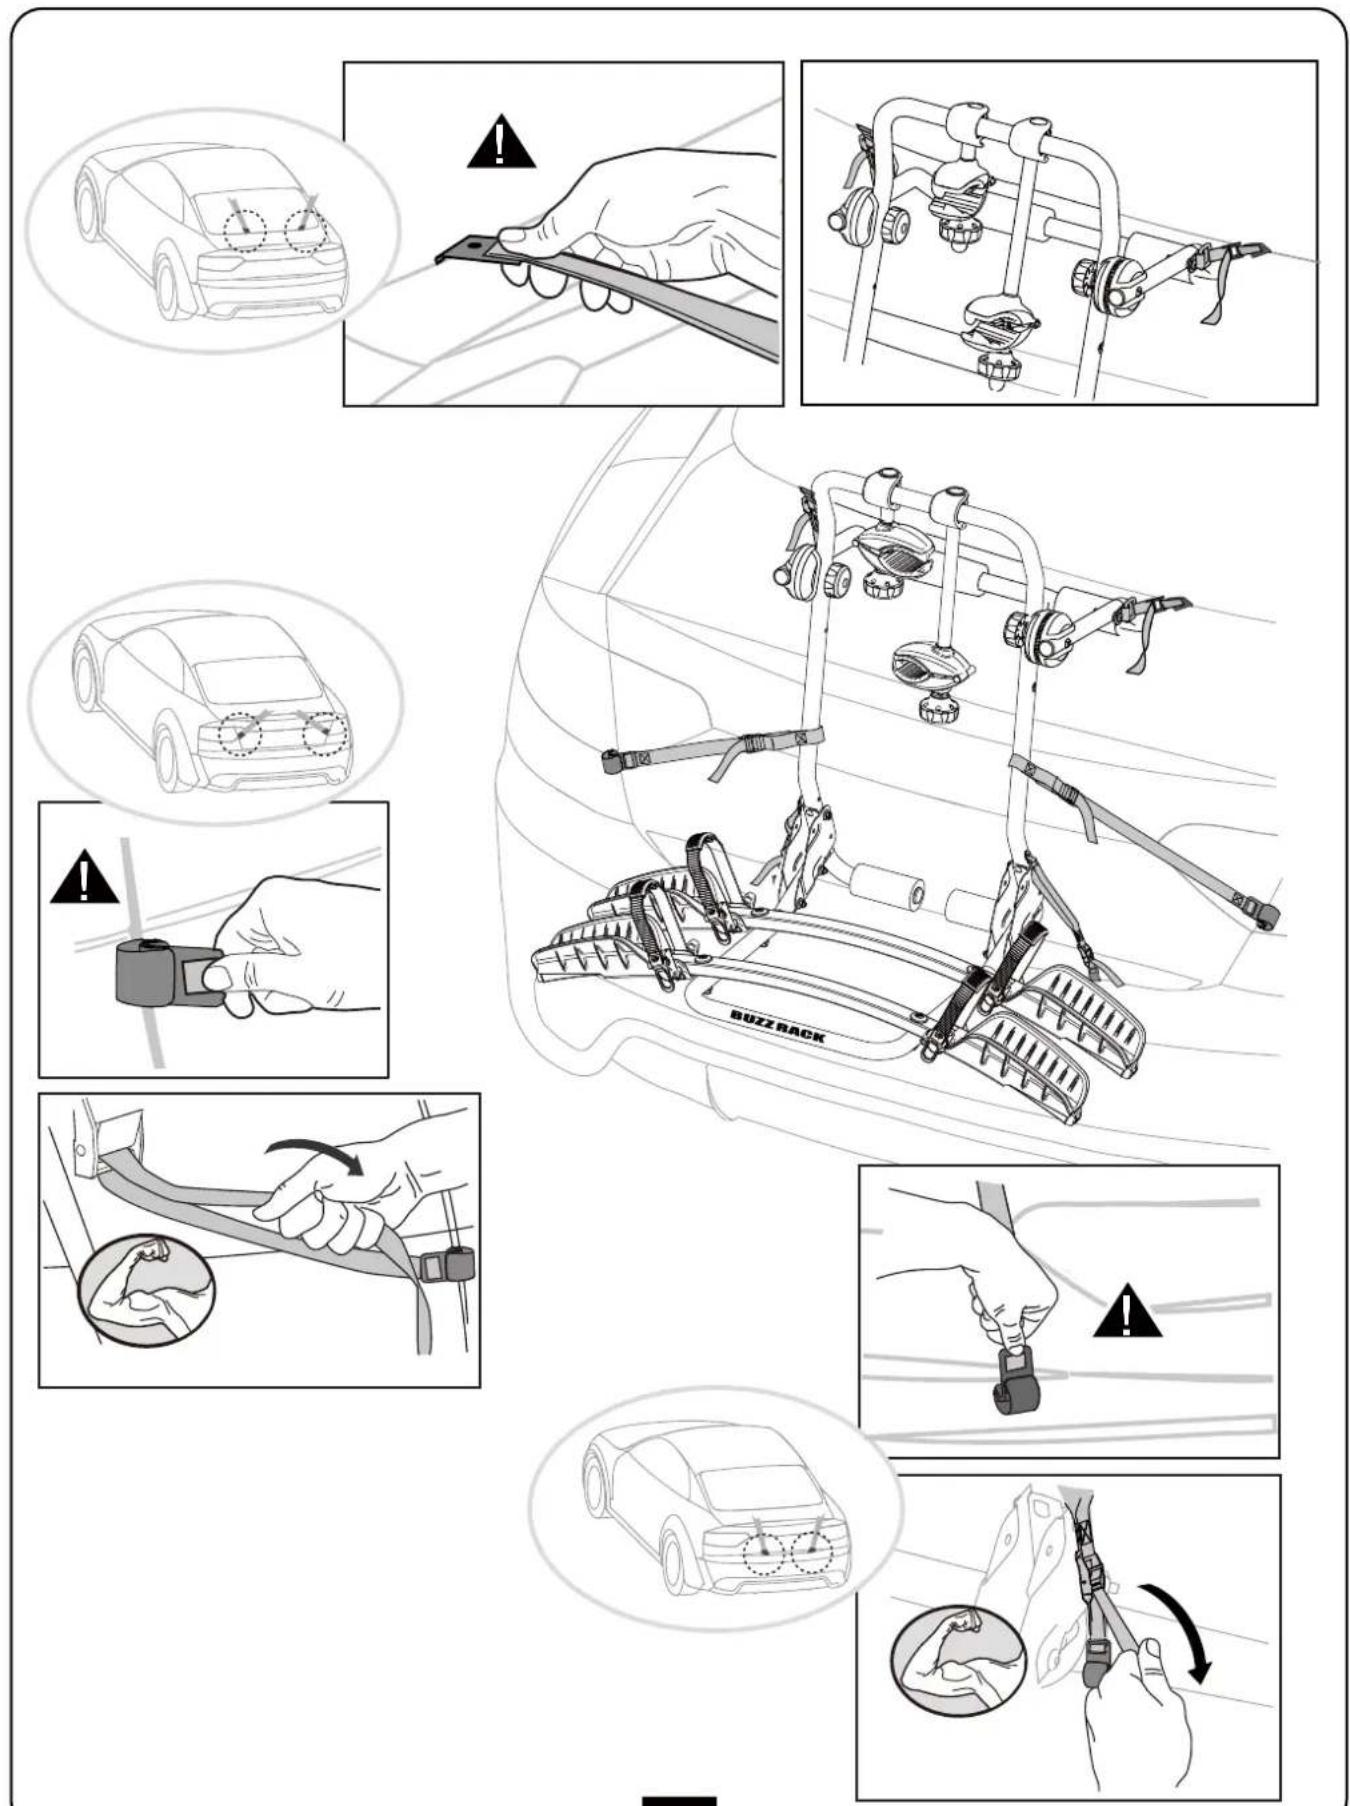
natural_image
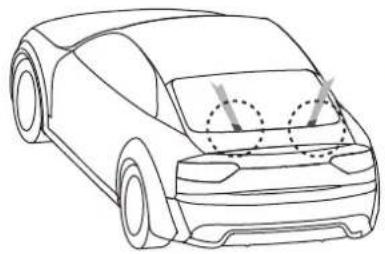
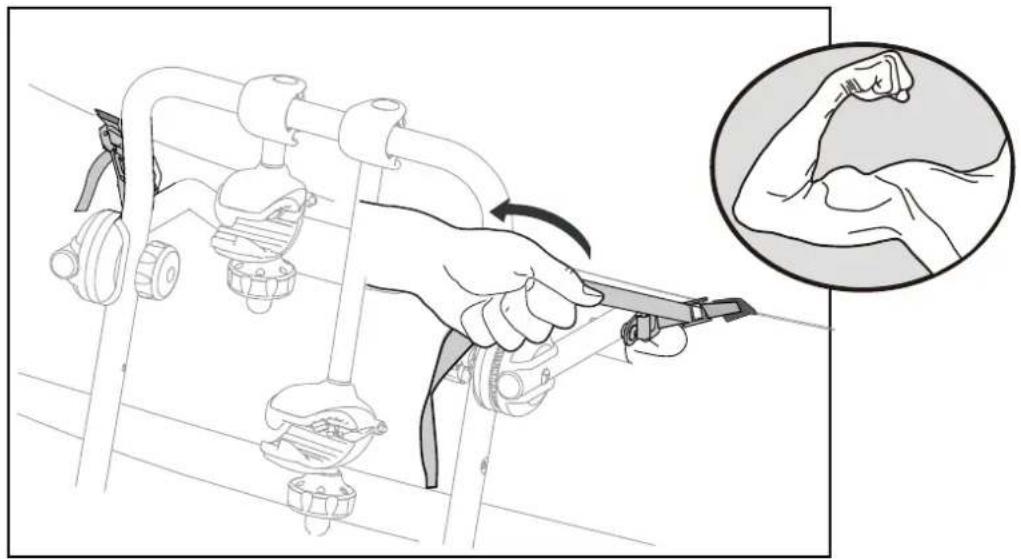
Line drawing of a car's front and rear view showing engine, dashboard, and window (no text or symbols)GB-US - Upper hooks mounting
natural_image
Illustration of a hand using a tool to adjust or install equipment, with an inset showing a close-up of the arm (no text or symbols present)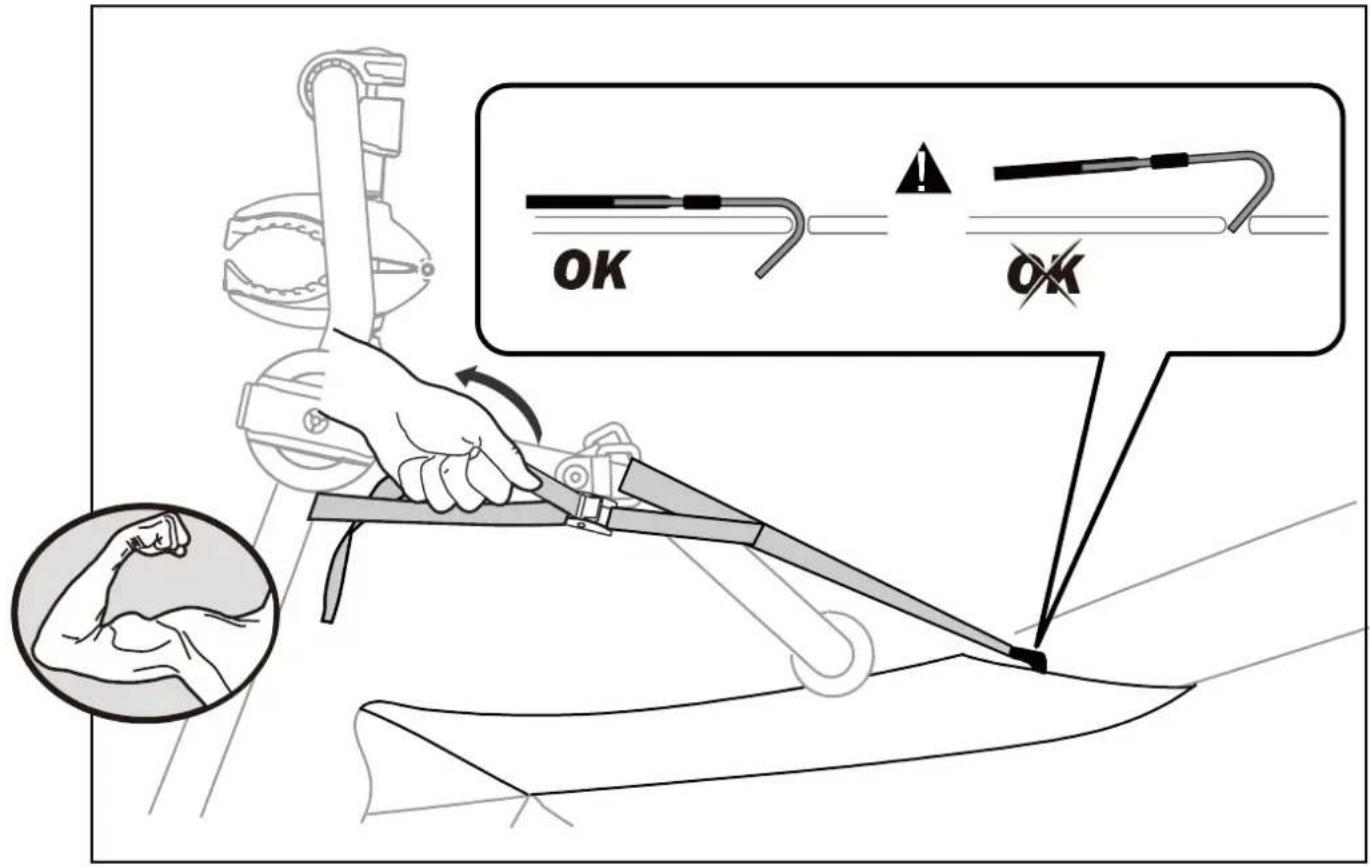
text_image
OK OK
natural_image
Line drawing of a car front view with no text or symbolsGB-US - Lateral straps mounting
natural_image
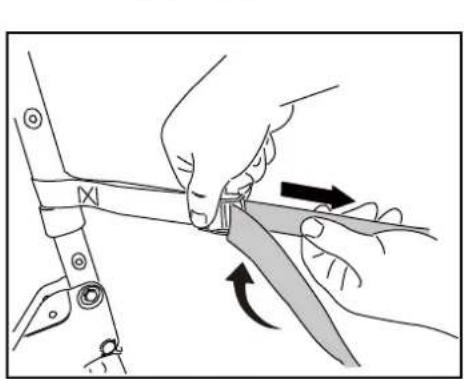
Illustration of hands using a tool to cut a piece of material, showing a curved arrow indicating rotation (no text or symbols present)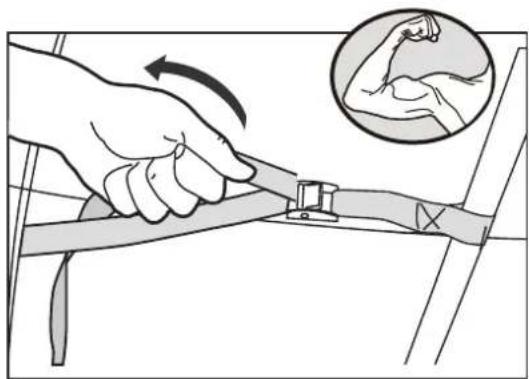
natural_image
Illustration of a hand using a tool to adjust a cable or cable with an inset showing a flexing arm (no text or symbols present)
natural_image
Illustration of a hand holding a cable with a clip, showing a curved arrow indicating rotation (no text or symbols present)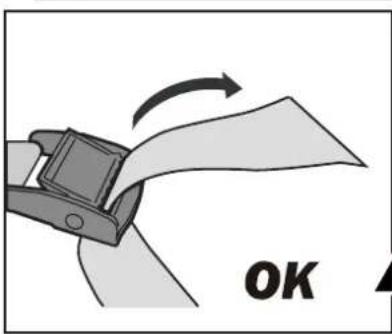
natural_image
Illustration of a belt buckle being adjusted with an arrow indicating motion (no text or symbols)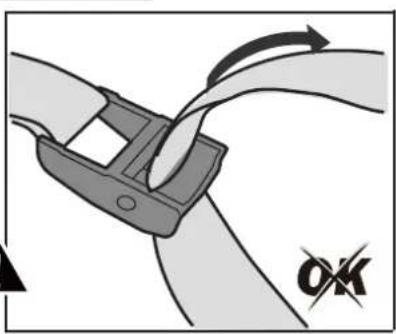
natural_image
Diagram of a cable clamp being inserted into a cable, showing motion direction (no text or symbols)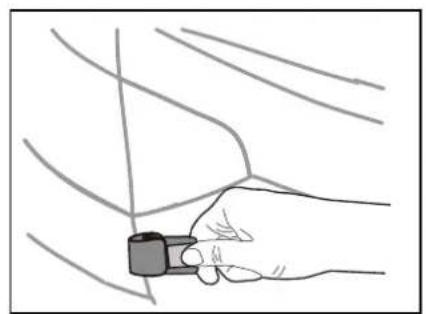
natural_image
Line drawing of a hand holding a small mechanical component against a diagonal line background (no text or symbols)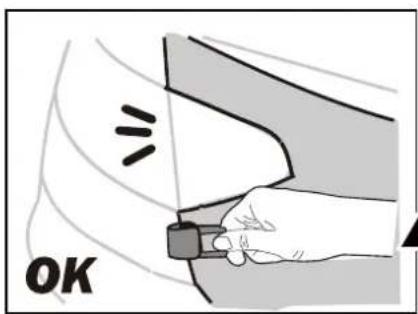
text_image
OK
text_image
OK
natural_image
Line drawing of a car's front and rear dashboard with no text or symbolsGB-US - Lower straps mounting

natural_image
Line drawing of a hand gripping a padlock against a vehicle (no text or symbols)
natural_image
Illustration of a hand using a tool to adjust or install a medical device, with an inset showing a close-up of the arm (no text or symbols present)
text_image
OK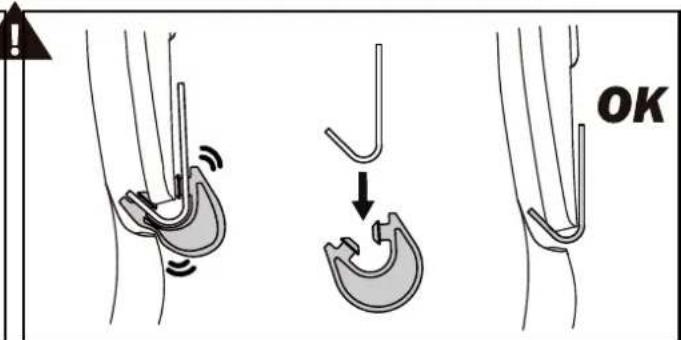
text_image
OK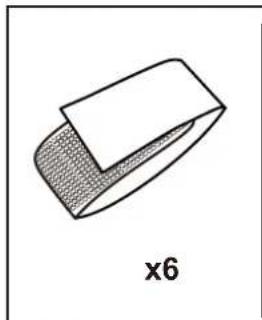
natural_image
Simple line drawing of a rectangular object with a textured base and a flat top, labeled 'x6' below (no text or symbols on the object itself)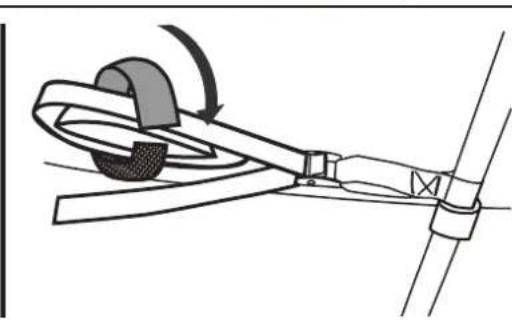
natural_image
Diagram of a mechanical assembly with a rotating component and connecting rods (no text or symbols)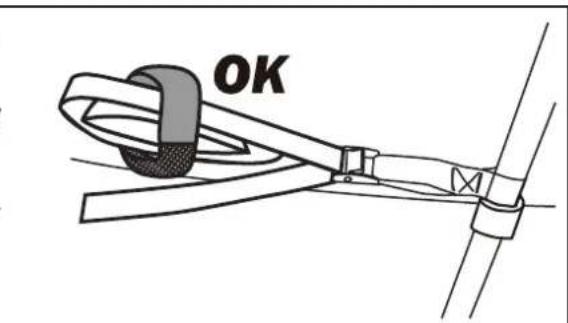
text_image
OK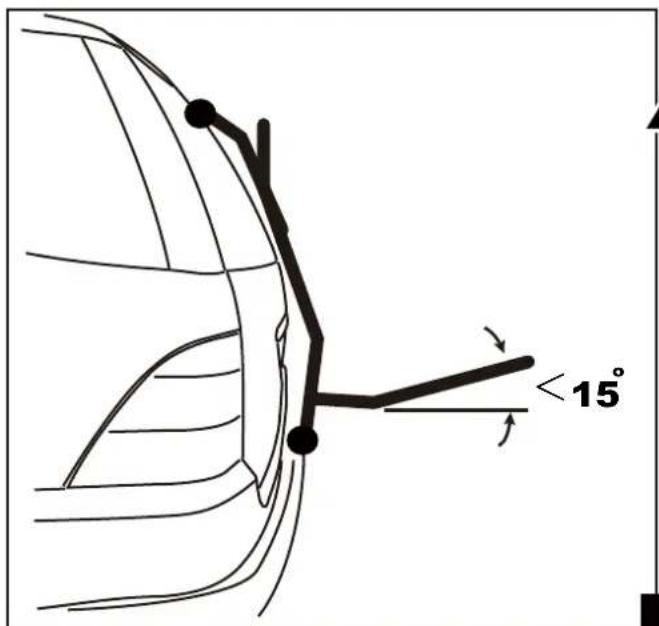
text_image
<15°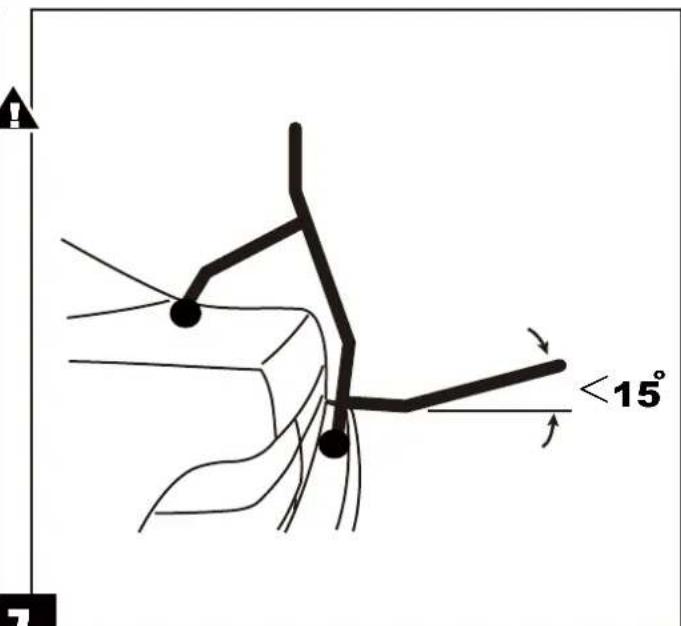
text_image
<15°

text_image
Diagram showing bicycle safety instructions with labeled icons and warning symbols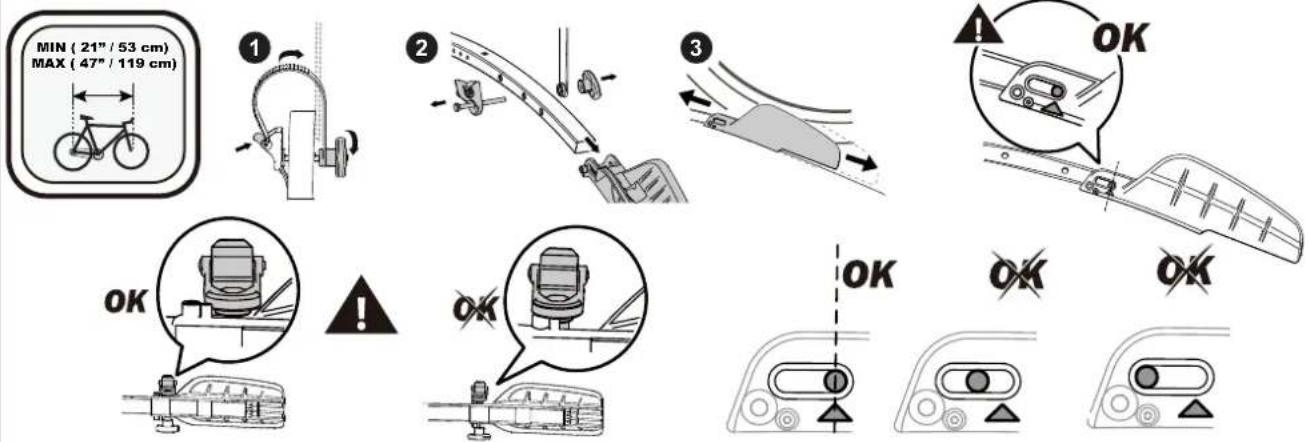
text_image
MIN ( 21" / 53 cm ) MAX ( 47" / 119 cm ) ① ② ③ OK OK OK OK OK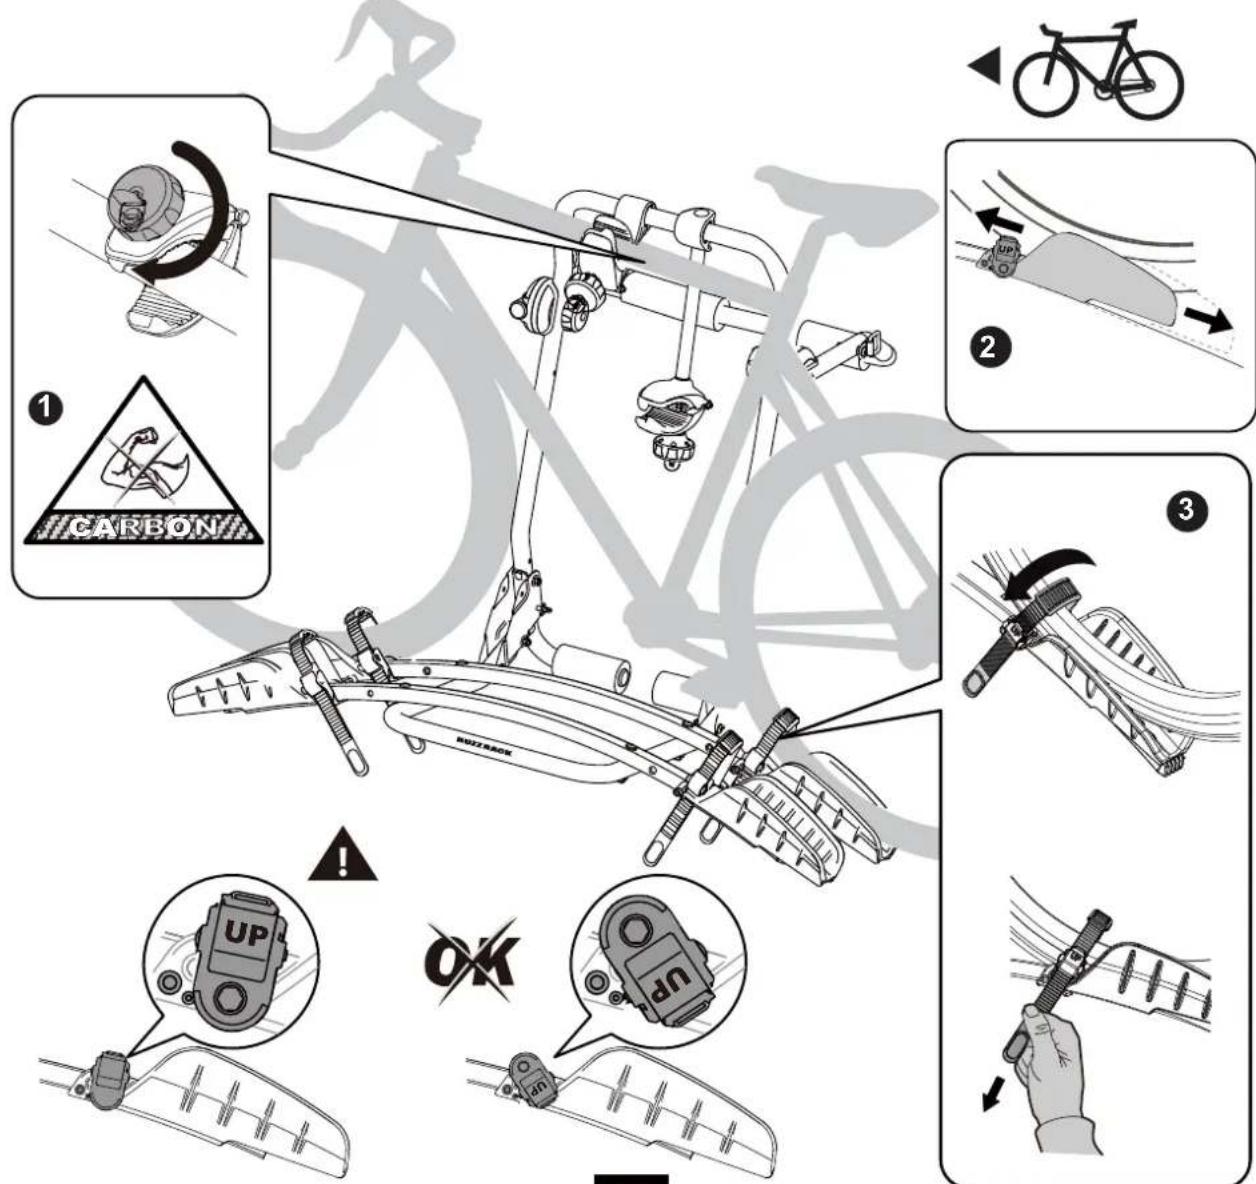
text_image
1 CARBON 2 3 UP OK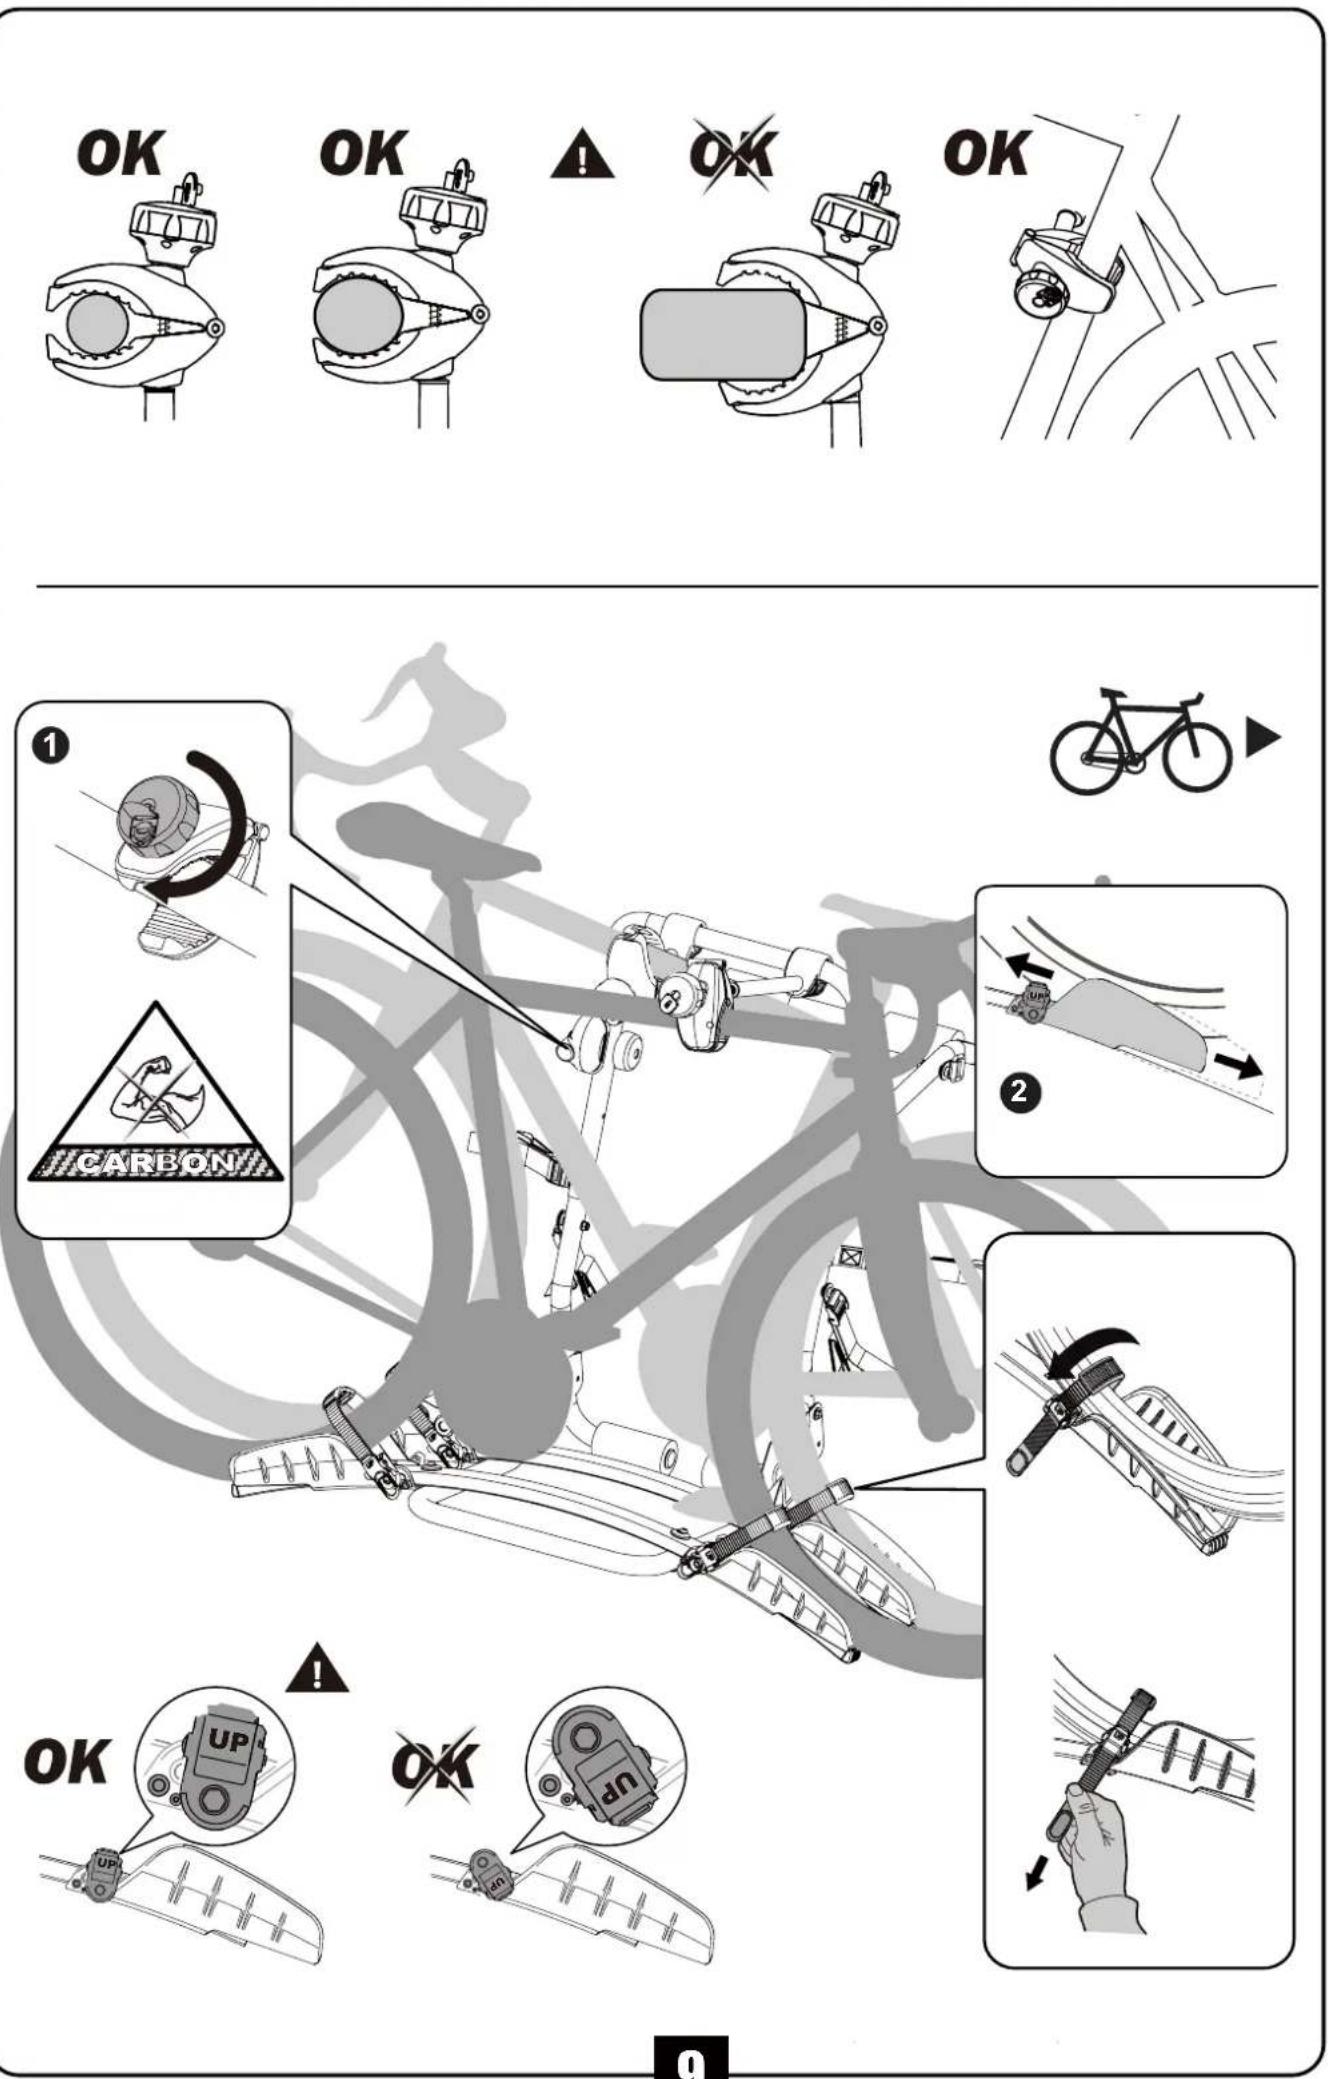
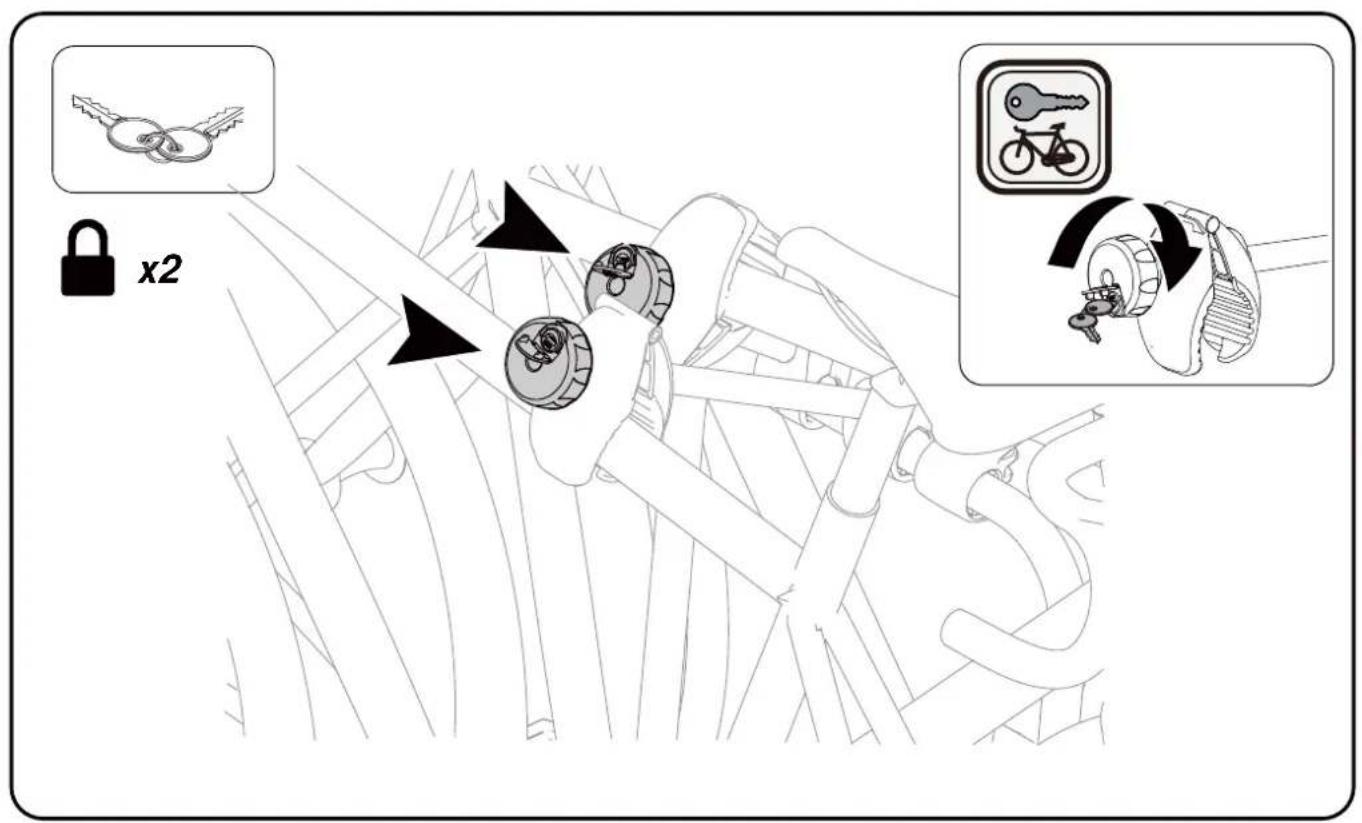
text_image
x2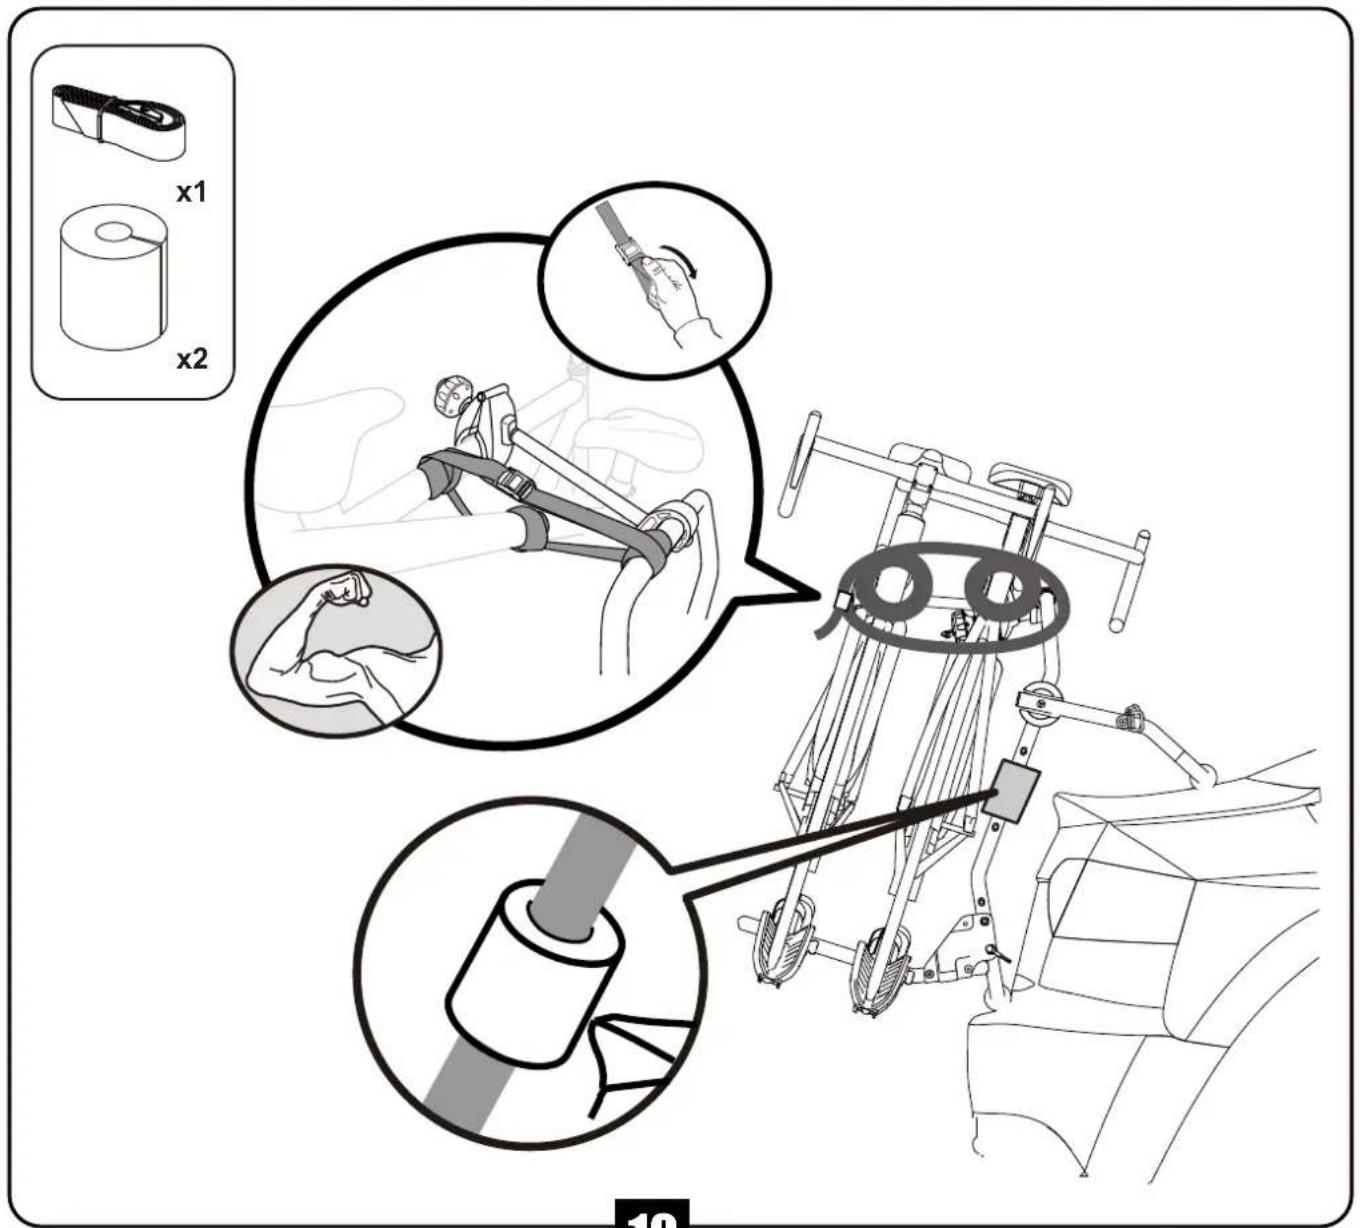
text_image
Technical diagram illustrating mechanical assembly steps with labeled components and magnified viewsOK
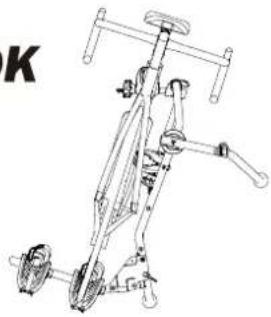
natural_image
Line drawing of a mechanical device with levers and gears (no text or symbols)OK
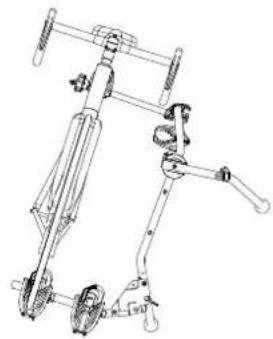
natural_image
Technical line drawing of a mechanical device with articulated arms and wheels (no text or symbols)OK
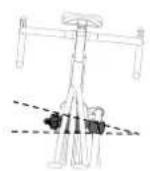
OK
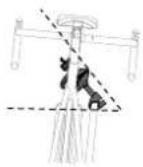
text_image
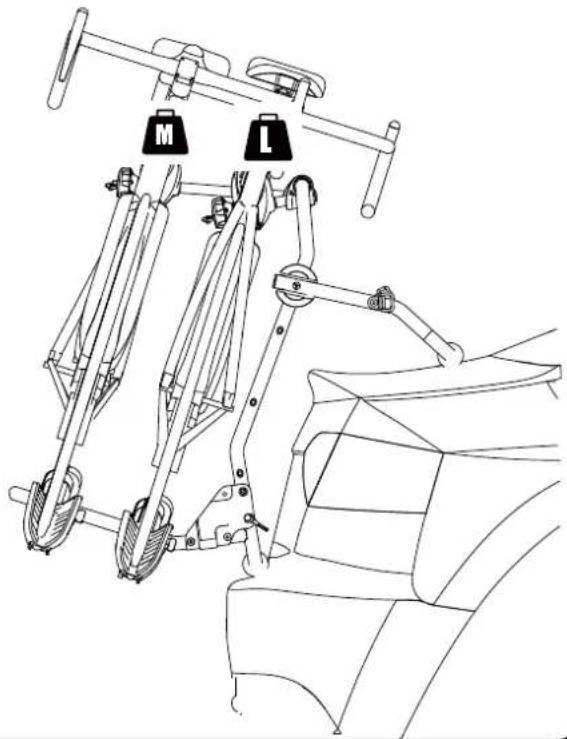
M L
= 1x 15kg MAX
= 2x 15 kg MAX
natural_image
Diagram of a mechanical clamp or bracket assembly with a numbered label (1), showing no text, numbers, or symbols.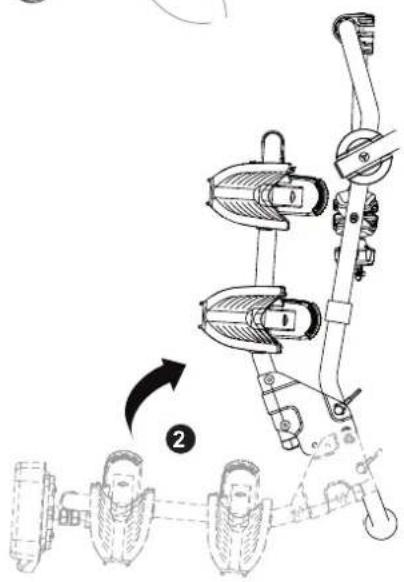
text_image
Diagram illustrating a mechanical assembly or motion sequence with numbered components and directional arrows, likely from an engineering or physics context.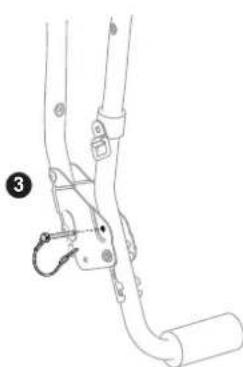
natural_image
Technical line drawing of a mechanical clamp or bracket assembly (no text or symbols)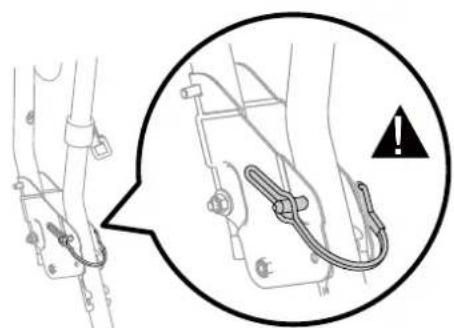
natural_image
Diagram showing a cable harness with a warning symbol inside a circle (no text or labels present)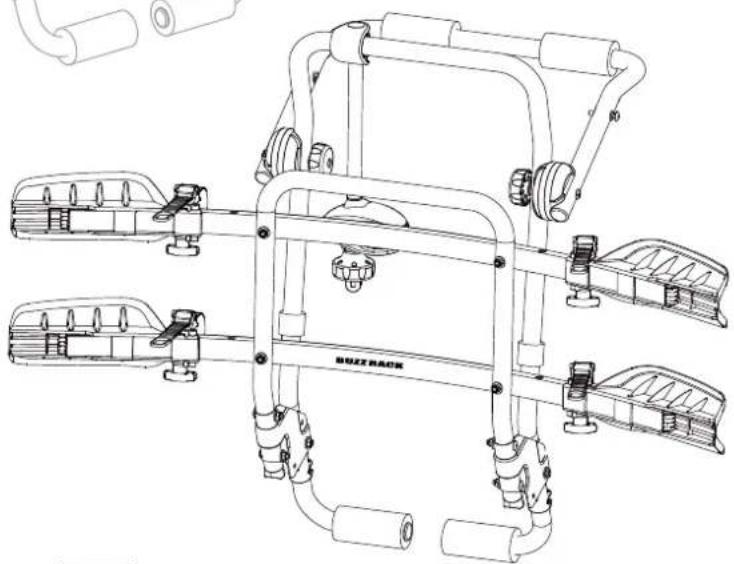
natural_image
Technical line drawing of a multi-level exercise bike frame with no visible text or symbolsGENERAL REMARKS
- Please read and observe the instructions carefully before you use the product, and keep them in a safe place for future use. Check the part list after opening the package. Make sure that all the parts are fully assembled according to the instruction before fitting it on your car.
- The user is responsible for assembly and installation of this product, and the manufacturer disclaims any liability due to improper fitting or use of the product.
03.Failure to properly install this bike carrier and/or the bikes may cause damage to the vehicle and/or the bikes, and may result in personal injury.
04.Do not use this product for purposes other than those for which it is designed. Do not modify any components of the product. Remove the carrier if not in use.
05.Do not use the carrier to carry more bikes than recommended. The weight of each bike cannot exceed 15kg/33lbs.
06.Do not install the bike carrier on trailers, campers, or RVs. - This bike rack is not intended for transporting tandem, or recumbent bicycles.
08.Do not transport bicycles with attached baby seats, panniers, wheel covers, full bike covers or motors.
SAFE AND PROPER USE
-
Clean the surface of the tailgate before installing the rack.
-
Always use the safety strap to attach the bikes to the bike carrier.
03.Make sure that the tailgate of your car allows you to use a trunk rack - some elements like spoilers, wind defectors may not allow you to use a trunk rack.
-
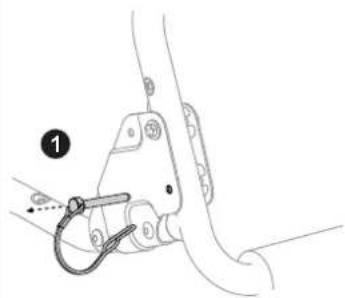
Verify that the safety pin is always inserted in the pin hole when the bike carrier is in the vertical position.
-
Check if the distance from the exhaust pipe to the bicycle tires is safe for your bicycles or the straps of the carrier. The heat of the exhaust could damage the bike or bicycle racks.
-
Check if the back wiper will not interfere with the bike carriers before using it. If it does and it is an automatic one, please disconnect it.
-
If your vehicle is equipped with an automatic tailgate opening system, disable this function when using the bike carrier, and open the tailgate manually.
-
When loading the bicycles, remove all loose parts and accessories from bicycles (toolbars, baby carriers, pumps, etc.)
-
Always position the biggest/heaviest bike first and closest to the car, and then position the smaller bike after that.
-
The user is responsible for periodically verifying that all hardware, straps, knobs, hubs are securely tightened for safety purposes.
-
You might have to use extra protections to protect the bikes and the tailgate from scratches.
12.Do not open the gate with the bikes installed on the carrier.
- The locks used on this rack are theft deterrent.
ROAD SAFETY
-
If the bikes and/or the carrier obstruct the vehicle's tail lights and license plate, you must use an additional signal board.
-
The bicycle rack increases the vehicle's length, and the bicycles may increase its width and height. Be aware of this when passing through narrow or low clearance spaces and when reversing.
Any loads exceeding the indicated dimensions must nevertheless respect existing regulations and be properly strapped down.
03.The load of rack and bicycles will affect driving. Do not exceed the speed limit, and do not drive faster than 120 km/h (75 mph).
-
Drive slowly over speed bumps. Respect the speed limit, and adapt your speed to the condition of the road.
-
Off-road driving is not recommended and could result in damage to your vehicle, hitch receiver, bike carrier, or your bikes.
-
If you hit a bump or a hole in the road, stop your vehicle and inspect the bikes and the carrier. If you notice anything wrong, remove the bikes and do not use the bike carrier.
-
Make sure there is a safe distance between the bikes and the ground, especially when entering a driveway.
MAINTAINING YOUR BICYCLE RACK
- Periodically inspect the product for signs of wear, corrosion, and fatigue.
02.Do not use the carrier with defective parts, contact the dealer to replace them before using it again.
-
Remove the product before entering an automatic car wash.
-
To keep your product in the best condition, it is recommended to remove the product from the car when not in use. Please be advised that this product is not designed to resist extreme weather conditions, especially seacoast air.
-
Lubricate the bolts in order to avoid corrosion.