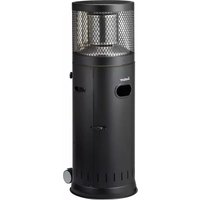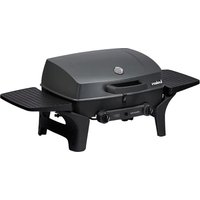
Urban Pro - Barbecue Enders - Free user manual and instructions
Find the device manual for free Urban Pro Enders in PDF.


User questions about Urban Pro Enders
0 question about this device. Answer the ones you know or ask your own.
Ask a new question about this device
Download the instructions for your Barbecue in PDF format for free! Find your manual Urban Pro - Enders and take your electronic device back in hand. On this page are published all the documents necessary for the use of your device. Urban Pro by Enders.
USER MANUAL Urban Pro Enders
natural_image
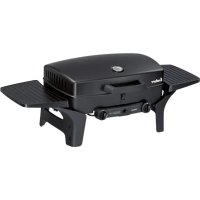
Top-down view of a black outdoor gas stove with 'Enders' branding and 'URBAN PRO' logo, no visible text or symbols on body.
206030
| DE | GEBRAUCHSANLEITUNG |
| FR | MODE D'EMPLOI |
| IT | ISTRUZIONI PER L'USO |
| GB | INSTRUCTION MANUAL |
| ES | MANUAL DE USO |
| NL | GEBRUIKSAANWIJZING |
INHALT
natural_image
Line drawing of a portable electric cooker with two wheels and a lid (no text or symbols)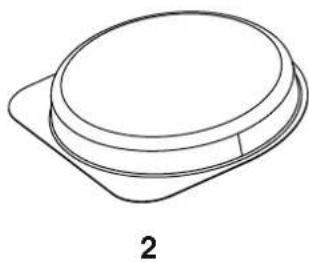
natural_image
Simple line drawing of a circular object with a rectangular base, labeled '2' below (no text or symbols on the object itself)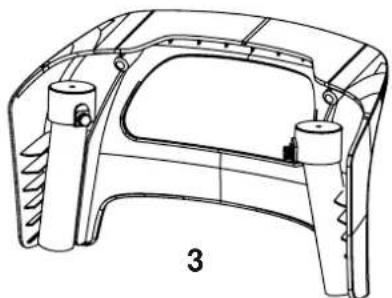
natural_image
Technical line drawing of a car body panel with no visible text or symbols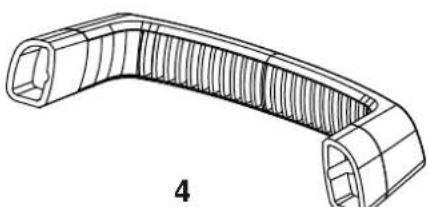
natural_image
Technical line drawing of a U-shaped mechanical component with internal grooves and a side port (no text or symbols)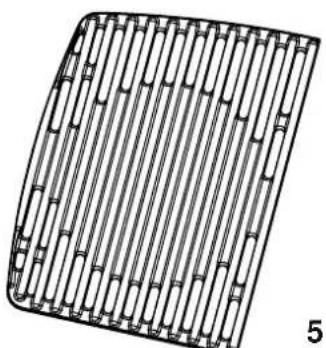
natural_image
Diagram of a grid-like structure with vertical lines, possibly a mechanical or architectural component (no text or symbols)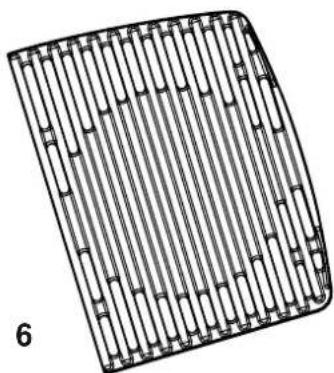
natural_image
Diagram of a grid-like structure with vertical bars, no text or symbols present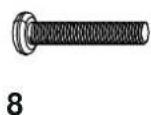
natural_image
Technical line drawing of a curved mechanical component with grid pattern and mounting brackets (no text or symbols)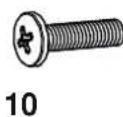
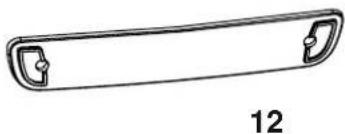
natural_image
Simple line drawing of a curved mechanical part with two side notches and a label '12' below (no text or symbols on the object itself)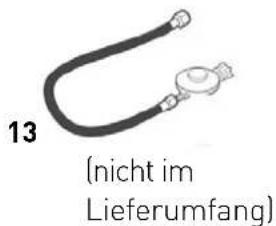
natural_image
Illustration of a stethoscope next to a gas cylinder (no text or symbols)natural_image
Technical line drawing of a gasifier or pressure vessel with a conical base (no text or symbols)natural_image
Technical line drawing of a portable gas stove with open casing and internal components (no text or symbols)natural_image
Line drawing of a portable electric cooker with two wheels and a lid (no text or symbols)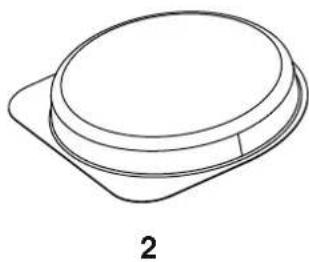
natural_image
Simple line drawing of a circular object with a rectangular base, labeled '2' below (no text or symbols on the object itself)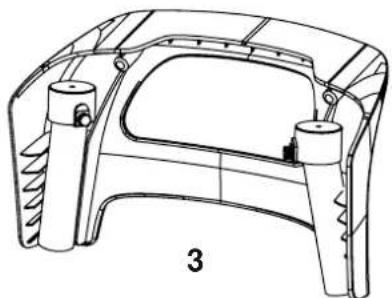
natural_image
Technical line drawing of a car body panel with no visible text or symbols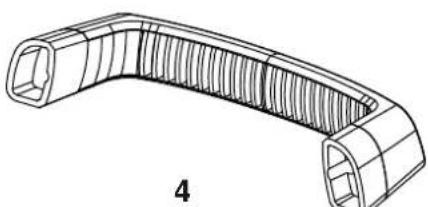
natural_image
Technical line drawing of a U-shaped mechanical component with internal grooves and a side port (no text or symbols)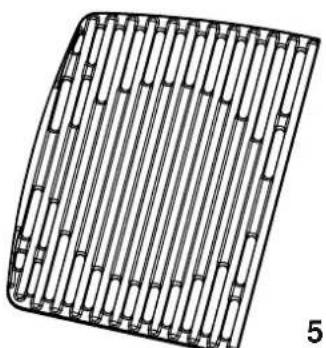
natural_image
Diagram of a grid-like structure with vertical lines, possibly a mechanical or architectural component (no text or symbols)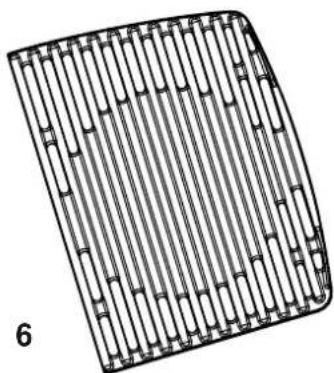
natural_image
Diagram of a grid-like structure with vertical bars, no text or symbols present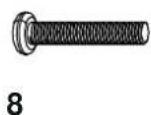
natural_image
Technical line drawing of a curved grid-patterned object with two side brackets and mounting holes (no text or symbols)
natural_image
Simple line drawing of a curved mechanical part with two side notches and a label '12' below (no text or symbols on the object itself)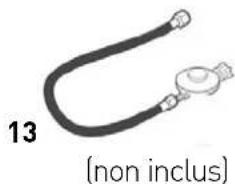
text_image
13 (non inclus)BRANCHEMENT DE LA BOUTEILLE DE GAZ
CONSIGNES DE SÉCURITÉ

RISQUE D'EXPLOSION ET D'INCENDIE
natural_image
Illustration of a stethoscope next to a gas cylinder (no text or symbols)natural_image
Line drawing of a portable electric cooker with two wheels and a lid (no text or symbols)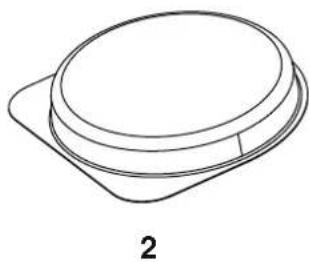
natural_image
Simple line drawing of a circular object with a rectangular base, labeled '2' below (no text or symbols on the object itself)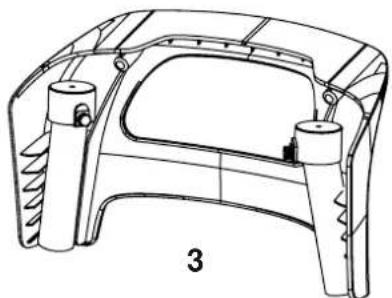
natural_image
Technical line drawing of a car body panel with no visible text or symbols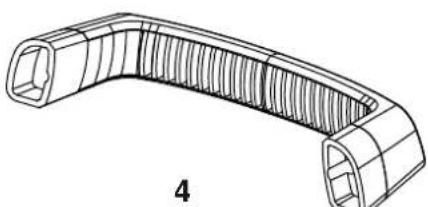
natural_image
Technical line drawing of a U-shaped mechanical component with internal grooves and a side port (no text or symbols)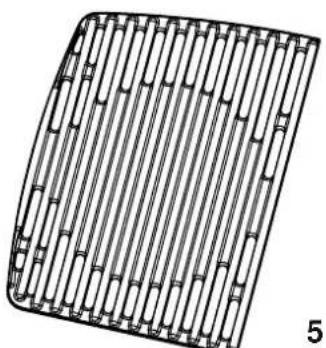
natural_image
Diagram of a grid-like structure with vertical lines, possibly a mechanical or architectural component (no text or symbols)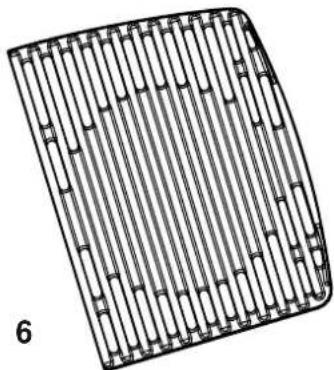
natural_image
Diagram of a grid-like structure with vertical bars, no text or symbols present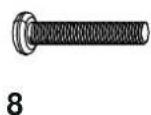
natural_image
Technical line drawing of a curved mechanical component with grid pattern and mounting brackets (no text or symbols)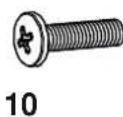
natural_image
Simple line drawing of a curved mechanical part with two side notches and a label '12' below (no text or symbols on the object itself)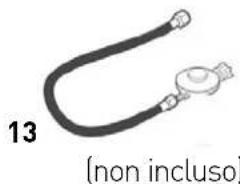
natural_image
Illustration of a U-shaped tube with connectors and a central connector, labeled '13' and '(non incluso)' (no text or symbols on the diagram itself)COLLEGAMENTO DELLA BOMBOLA DI GAS
AWERTENZE DI SICUREZZA

PERICOLO D'INCENDIO E DI ESPLOSIONE
Altezza: ca. 46,0 cm
Diametro: ca. 30,0 cm
natural_image
Technical line drawing of a gasifier or pressure vessel with a conical container (no text or symbols)natural_image
Technical line drawing of a portable gas stove with open casing and internal components (no text or symbols)LEGENDA DEI SIMBOLI

SYMBOLS IN THESE INSTRUCTIONS 45
UNPACKING THE GAS GRILL 46
SAFETY NOTICE
REQUIRED TOOLS/AUXILIARY MATERIALS
PARTS DESCRIPTION
SCOPE OF DELIVERY
CONNECTING THE GAS CYLINDER 48
SAFETY NOTICE
REQUIRED TOOLS/AUXILIARY MATERIALS
ASSEMBLY PROCESS
Congratulations on purchasing this Enders product!
Please read and observe these instructions for use and particularly the safety notice before using the product and only use the product as described in these instructions, to prevent accidental injuries or damages.
Keep these instructions for future reference. If the product is given to someone else, please include these instructions.
Have fun with your Enders gas grill.
SYMBOLS IN THESE INSTRUCTIONS

This symbol stands for the word ATTENTION and warns of possible injuries or material damages as well as damage to the appliance.

Tools are required.

Useful tips and information.

Do not use a cutter or similar sharp objects when opening the packaging, to avoid making scratches on the product.

Wear safety gloves during assembly, to avoid getting cut.

Furthermore, during assembly, place a soft mat beneath the components, to avoid scratches and damages here as well.
UNPACKING THE GAS GRILL
SAFETY NOTICE

■ Despite careful processing of all individual parts, individual components can have sharp edges. Therefore, please wear safety gloves to avoid getting cut. ■ Mortal danger due to suffocation/swallowing. Keep the packaging material away from children and dispose of it immediately. Furthermore, keep small parts away from children and their range of reach.
REQUIRED TOOLS/AUXILIARY MATERIALS



PARTS DESCRIPTION
| No. Quantity | |
| 1 1 | |
| 2 2 | |
| 3 2 | |
| 4 1 | |
| 5 1 | |
| 6 1 | |
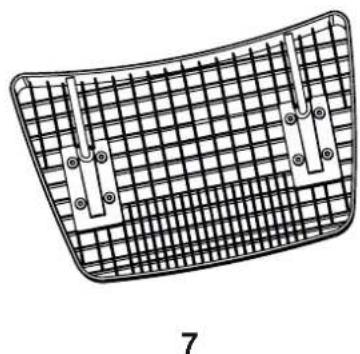
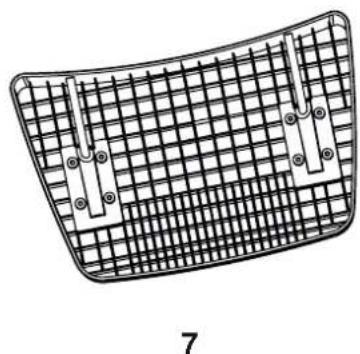
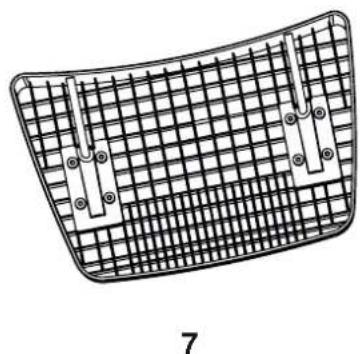
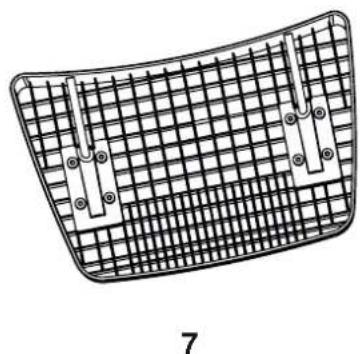
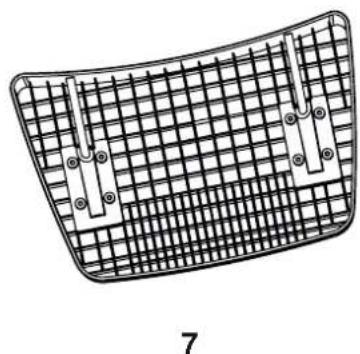
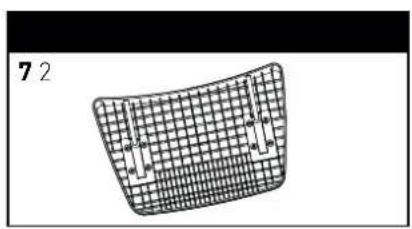
| 7 2 | |
| 8 2 | |
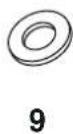
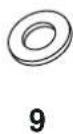
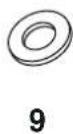
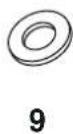
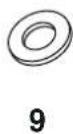
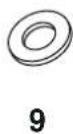
| 9 2 | |
| 10 4 | |
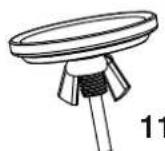
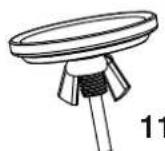
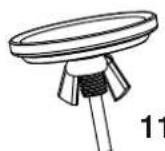
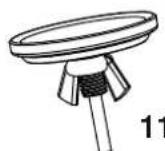
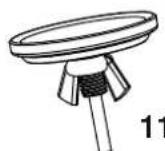
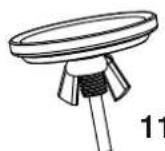
| 11 1 | |
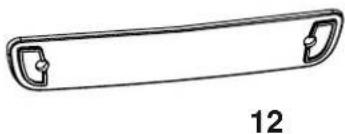
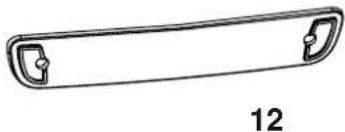
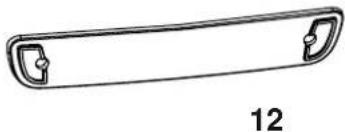
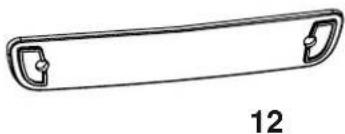
| 12 1 | |
| 13 0 | |
SCOPE OF DELIVERY
natural_image
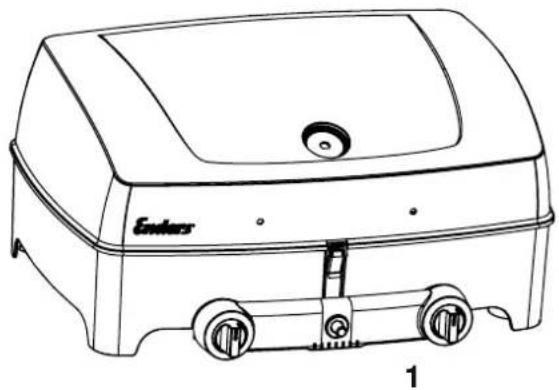
Line drawing of a portable electric cooker with two wheels and a lid (no text or symbols)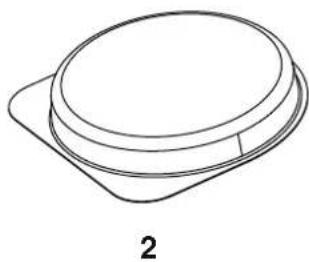
natural_image
Simple line drawing of a circular object with a rectangular base, labeled '2' below (no text or symbols on the object itself)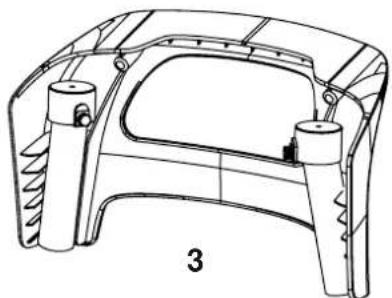
natural_image
Technical line drawing of a car body panel with no visible text or symbols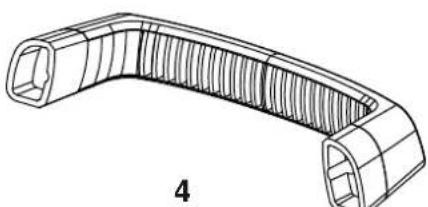
natural_image
Technical line drawing of a U-shaped mechanical component with internal grooves and a side port (no text or symbols)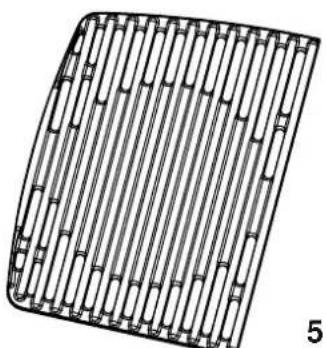
natural_image
Diagram of a grid-like structure with vertical lines, possibly a mechanical or architectural component (no text or symbols)
natural_image
Diagram of a grid-like structure with vertical bars, no text or symbols present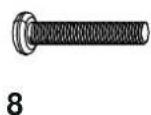
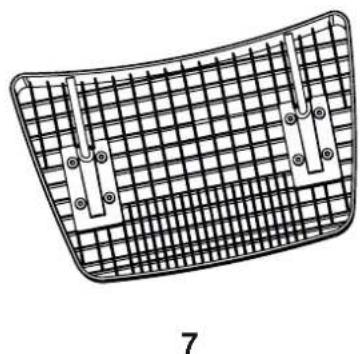
natural_image
Technical line drawing of a curved mechanical component with grid pattern and mounting brackets (no text or symbols)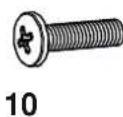
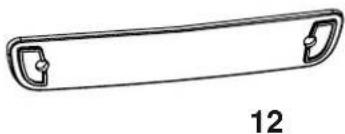
natural_image
Simple line drawing of a curved mechanical part with two side cutouts (no text or symbols)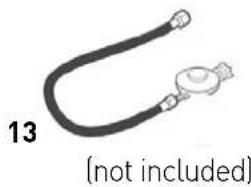
natural_image
Illustration of a U-shaped tube with a connector, labeled '13' and '(not included)' (no text on the diagram itself)CONNECTING THE GAS CYLINDER
SAFETY NOTICE

RISK OF FIRE AND EXPLOSION
The gas grill can only be operated with a pressure regulator. The enclosed pressure regulator is correctly adjusted for operation with liquefied gas ex works. Also read and observe the assembly instructions and instructions for use, which are separately enclosed with the pressure regulator.
The gas hose may have to be replaced if respective national regulations or the lifetime of the hose line require this.
Gas hose and pressure regulator must be replaced at regular intervals. (For this, please refer to chapter Cleaning/Servicing.)
- Get information at a specialist shop when purchasing or renting gas cylinders.
■ Make sure that there are no sources of ignition, open fire or the like in the vicinity, when connecting or replacing the gas cylinder.
■ Make sure that the gas hose does not have a kink in it or is chafed and that its entire length is accessible.
After installing the gas cylinder, please check all connection points for leak tightness using a commercially available leak detection spray or soapy water. If there are no leaks, clean the connections with water after the inspection.
- Checking for leaks with an open flame is strictly prohibited!
REQUIRED TOOLS/AUXILIARY MATERIALS
ASSEMBLY PROCESS

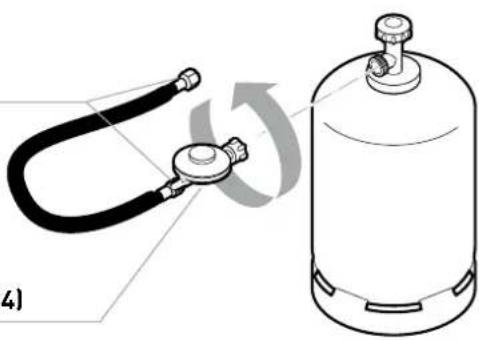
The sleeve nuts have left hand threads.
- Screw the sleeve nut on the hose onto the screw connector on the pressure regulator and tighten the connection using a wrench.
- Screw the sleeve nut on the pressure regulator onto the screw connector on the gas cylinder. Tighten the sleeve nut manually. Do not use any tools, so the seal is not damaged.
- Place the gas cylinder (5 kg) into the grill cart. Larger gas cylinders (8 and 11 kg) can be used but must be positioned next to the cart.
-
Twist the protective cap of the screw connector on the gas grill. Screw the sleeve nut on the end of the hose onto the screw connector on the gas grill. Tighten the sleeve nut using a wrench.
-
Spray all sealing points with commercially available leak detection spray or brush soapy water (ratio 1 part soap/3 parts water) onto them. Open the valve on the gas cylinder. Bubbles will form if there are leaks. Close the valve on the gas cylinder and rectify the defect. Then, repeat step 5 until all leaks have been eliminated.
ASSEMBLY PROCESS


ATTENTION: According to the DGUV (German Social Accident Insurance) Regulation 79 "Use of liquefied gas", an excess flow cut-off valve as defined by DIN 30693 "Excess flow cut-off valves for liquefied gas installations" and a safety pressure regulator with overpressure protection must be used for commercial applications.
If a safety pressure regulator and excess flow cut-off valve are included for commercial use, please observe the separate assembly instructions/instructions for use for these parts.
Sleeve nuts on the hose (DIN EN 16436)
natural_image
Illustration of a stethoscope next to a gas cylinder (no text or symbols)Pressure regulator (DIN EN 16129, Typ 634)
5 kg gas cylinder
Height: approx. 47.0 cm Diameter: approx. 23.5 cm (not included in delivery)
8 kg gas cylinder
Height: approx. 46.0 cm Diameter: approx. 30.0 cm (not included in delivery)

ATTENTION
11 kg gas cylinder
Height: approx. 59.0 cm Diameter: approx. 30.0 cm (not included in delivery)
Gas cylinders with maximum dimensions of ∅ 30 x 59 cm can be used and placed in the grill cart. Larger cylinders can only be placed next to the grill.
OPTIONALLY CONNECTING THE GAS CARTRIDGE

The cap nuts have left-hand thread
- Screw the cap nuts of the hose onto the screw connection on the pressure regulator and tighten the connection firmly using a wrench.
- Screw the pressure regulator onto the gas cartridge and tighten it by hand.
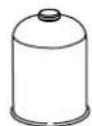
Gas cartridge approx. 450 g
(not included)
Before you start grilling, you should always think of safety first. Therefore, there are several safety inspections, which need to be observed, before grilling.
INTENDED USE
Only use outdoors.
Read the instruction manual before operating this appliance.
This appliance is not intended to be used by children or person with a limited ability to operate such appliances. It can only be operated by persons, who are capable of safely operating such an appliance.
- Attention: Accessible parts can be extremely hot. Keep children away.
The side shelves are not intended for direct contact with food.
- Wear protective gloves when handling hot components.
BRISK OF FIRE AND EXPLOSION
Avoiding grease fires:
Grease and oils can self-ignite if heated to extremely high temperatures. In not cleaned adequately, the accumulated grease can catch fire, which can lead to a so-called grease fire in the grill.
Dab away excess grease/marinade from the grill items before placing them on the grill. This does not reduce the flavour of the grill items but solely serves the purpose of preventing grease fires.
- Clean the appliance regularly and remove any accumulation of grease! When doing so, pay particular attention to grease accumulation on the inside of the firebox, the flame covers, the grease drip tray and the grease cup.
- Never use water to extinguish burning, hot or smoking grease/oil.
Handling the gas installation/gas grill:
- Do not smoke when handling the gas installation.
Do not place the gas cylinder near open fire.
Only use the gas grill outdoors. Make sure the gas grill is sheltered from wind.
- Keep the grill away from moisture, splash water, etc.
■ Position the gas grill on an even, sturdy and fireproof surface.
- Do not move the appliance when it is being operated.
Check the hose and pressure regulator for tears and damages before each use. Do not use the gas grill if the pressure regulator, hose or gas cylinder indicate a defect or leak.
Do not leave the gas grill unattended when it is in operation.
For protection against accidentally escaping gas, the cylinder valve on the gas cylinder should only be open when the gas grill is being used.
■ After use, close the gas feed on the gas cylinder.
To avoid overheating, do not cover the entire grill surface with aluminium foil or the like. If you have a cast iron reversible griddle, it can be used as described in the corresponding instructions. At the same time, only use original Enders products. Enamelled cast iron grates and cast iron griddles cannot come into contact with highly acidic foods!
- Keep a safe distance from flammable and heat-sensitive materials when using the grill. The distance must be at least 1 m.
■ Make sure that there are no objects or parts of structures above the grill at a height less than 2 m.
■ Make sure that the ventilation openings of the place where the gas cylinder is positioned are not covered.
Immediately close the valve on the gas cylinder if gas escapes or if there is a malfunction.
- Protect the gas cylinder against severe direct sunlight. The temperature cannot exceed 40°C.
TURNING ON THE GAS GRILL TURNING OFF THE GAS GRILL

Before grilling with the gas grill for the first time, allow the burners to burn for 15 minutes without any grill items, to remove residue from preserving agents. This can lead to a slightodour development. Provide for sufficient ventilation. The colour of the lid and the firebox of the gas grill can slightly change. This is a natural process and does not constitute a complaint.
- Open the lid on the grill.
- The burners can be lighted independently of one another.
- Turn the adjusting knob clockwise to the position " "
- Press one of the control buttons and turn it anti-clockwise to the highest position. Now press the piezoelectric igniter. The burner ignites. If the burner does not ignite, repeat this step 3-4 times..
- WARNING: If the burner does not ignite, turn the control button clockwise to the "O" position and close the valve of the gas canister. Wait for 5 minutes and then begin with step 4.
- When the one burner has ignited, repeat step 4 to ignite the other burners.
- Regulate the heat by turning the control button to any setting between the highest level and the lowest level.

To turn off the grill, close the valve on the gas cylinder and turn all control knobs to the "↑" position.
In order to use the barbecue as a cooker, simply remove the two grill racks.
The recommended saucepan sizes have a minimum diameter of approx. 16 cm and a maximum diameter of approx. 20 cm.
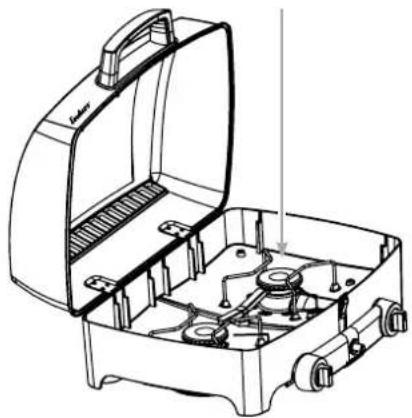
natural_image
Technical line drawing of a portable gas stove with open casing and internal components (no text or symbols)DESCRIPTION OF SYMBOLS

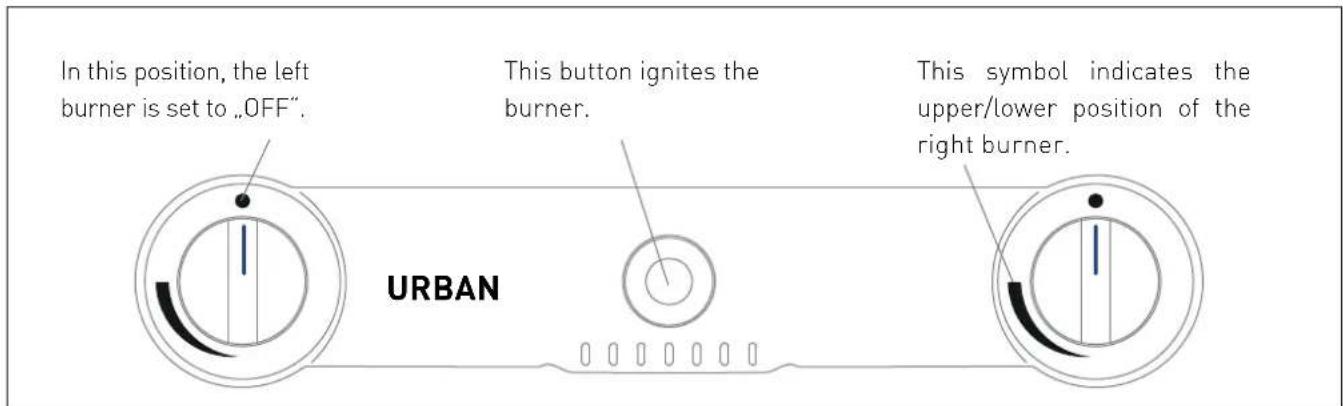
text_image
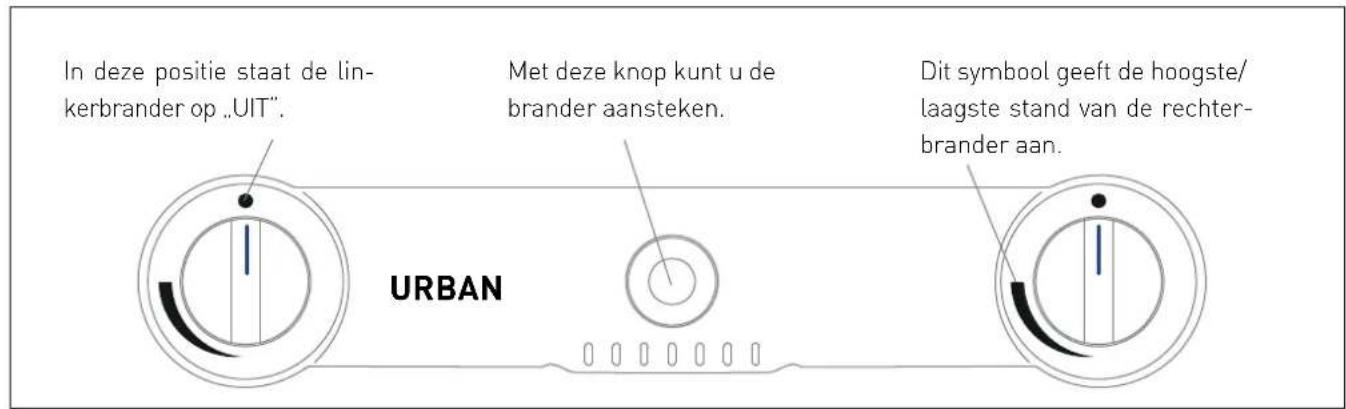
In this position, the left burner is set to „OFF”. This button ignites the burner. This symbol indicates the upper/lower position of the right burner. URBANFIRST AID MEASURES

Bring bystanders to safety! If possible, close the valve on the gas cylinder. Cool off the gas cylinder with water. What pay attention to your own safety! A repeated spontaneous, explosive combustion is possible.
In case of fire, filled compressed-gas cylinders should be removed from the flammable surroundings. If this is not possible, the compressed-gas cylinders should be protected against too intensive heat by spraying them with water or suitable means from a protected location.
MEASURES AFTER INHALING GAS
■ High concentrations can cause suffocation. Symptoms can be the loss of the ability to move and consciousness. The victim is not aware of being suffocated. In low concentrations dizziness, headaches, nausea and problems with coordination can arise.
Bring the victim to a location where he/she can breath fresh air. Call a physician or the emergency services. Conduct first aid measures in the event of respiratory arrest.
MEASURES AFTER SEVERE BURNING OR SCALDING
There is an acute risk of hypothermia and shock. Call emergency services immediately!
- Immediately extinguish possible burning clothing with water or put out the flames using a thick blanket.
In the case of scalding: Immediately remove clothing.
In the case of burns: Leave clothing on the body.
Cool with cold water for at least 15 minutes
until the pain subsides.
Cover the respective area with a sterile Metalline compress. Place the side coated with Metalline and the injured skin and loosely fixate with a gauze bandage and a cravat.
Do not use any "household remedies" such as ointments, powder, oils, disinfectants, etc.!
MEASURES AFTER MINOR BURNS OR SCALDING
In the case of scalding: Immediately remove clothing.
In the case of burns: Only remove clothing if it does not stick.
Cool with cold water for at least 15 minutes until the pain subsides.
- Allow minor burns or scalding without blistering to heal with the help of fresh air; do not cover with a plaster or any other dressing.
CLEANING/SERVICING THE GAS GRILL
SAFETY NOTICE

Despite careful processing of all individual parts, individual components can have sharp edges. Therefore, please wear safety gloves, to avoid getting cut.
Hot surface: Do not clean the gas grill until it has sufficiently cooled off.
RISK OF FIRE AND EXPLOSION Avoiding grease fires:
- Clean the appliance each time before use, to avoid the accumulation of grease. When doing so, pay particular attention to grease accumulation on the inside of the firebox, the flame covers, the grease drip tray and the grease cup.
- Do not use any flammable cleaning agents.
Handling the gas installation/gas grill:
■ Repairs and servicing of the gas-conveying parts can only be conducted by specialists authorized to do so.
Do not make any modifications to the gas grill or pressure regulator. The hose must be serviced after 5 years (refer to the date of manufacturer on the hose).
- Replace the pressure regulator and the hose after 10 years at the latest; even if no external damage can be detected. Make sure that the pressure regulator is approved for your country and the gas used and that it is adjusted to the correct output pressure (refer to Technical Specifications). A new hose cannot be longer than 1.5 m.
All components, which were sealed by the manufacturer or its representative, cannot be manipulated or modified.
Together with oil, the gas forms an explosive mixture. Never try to loosen tight valves or regulator knobs with oil or penetrating oil.
The burners can be removed for cleaning purposes.

■ Remove excess grease/marinade before barbecuing food. This does not affect the taste of the food and is simply required to prevent grease fires.
- Clean the barbecue after each use.
- Do not use any abrasive and chlorous cleaning agents.
Pull the fat tray out and dispose of the fat in an environmentally friendly way.
The inside of the cooking lid should be cleaned regularly after each use of the barbecue to remove residues and fat deposits. Use warm soapy water and a soft cloth for this purpose.
After finishing your barbecue, you can simply remove the remains by pushing them through the holes at the burners into the fat trays positioned below. Then simply use warm soapy water to wipe the inside of the housing.
- You can easily clean the surfaces of the plastic components using warm water. Please do not use cleaning agents containing solvents, stainless steel cleaners or abrasives to avoid damaging the surface.
Use a mild detergent and warm water Then dry the surface with a soft cloth. Please do not use any cleaning agents containing solvents, oven and stainless steel cleaners or abrasives. - Allow the barbecue to dry fully prior to the next use.
■ Remove leftover food from the burners with a soft brush (do not use a metal brush).
If the Venturi tube (gas mixing tube) is clogged in exceptional cases, it may only be cleared using a needle or a pipe cleaner. If, in exceptional cases, the burner tube is clogged, it must be cleared using a needle or a pipe cleaner.
STORAGE/TRANSPORT
SAFETY NOTICE

RISK OF FIRE AND EXPLOSION
■ Store the gas cylinder out of the reach of children.
- Keep the gas cylinder away from flammable gases and other oxidizing substances.
Escaping liquefied gas is heavier than air and sinks to the ground. Do not store the gas cylinder in the house, under ground level (e.g. basements, wells, underground car parks, etc.) or in non-ventilated spaces, in which escaping gas could accumulate.
- Protect the gas cylinder against direct sunlight and other heat sources.
■ Store the gas cylinder at temperatures under 40^ C in a well ventilated space and where it is protected against the influences of weather.
- Store the gas cylinder in an upright position and ensure it cannot topple over.
These storage instructions also apply to empty gas cylinders because these always contain a residual amount of liquefied gas.
If possible, do not transport the gas cylinder in vehicles, in which the cargo bay/boot is not separated from the driver's cab. The driver must be aware of the possible risks of the load and he/she must know what to do in case of an accident or emergency. - Transport the gas cylinder in an upright position and ensure it cannot topple over or slip/shift.
■ Make sure the valve on the gas cylinder is closed and leakproof. - Ask your gas retailer about effective national requirements and information.

■ Store the appliance in a dry room free of frost.
Close the lid of the grill and cover the appliance, to prevent soiling and damages.
DISPOSAL

The product packaging is made of recyclable materials, which can be used for recycling. Dispose of this packaging correctly sorted in the collection bins provided.
If you want to dispose of the product, do not do so with household waste. Ask your local waste management company or your municipal administration about the possibilities of an environmentally-friendly disposal, which preserves resources.
TECHNICAL SPECIFICATIONS
Model: URBAN PRO
Item no.: 206030
ΣQn Hs:
4,4 kW
321 g/h (PL 314,6 g/h)
Product-ID no.: 0085CQ0040
Type of gas: Propan G31/Butan G30
This appliance was tested and approved according to DIN EN 498:2012 and EN 484:2019. In its delivery state, the appliance is designed for operation with liquefied gas.
Hose length: 0.8 m
Gas cylinder: Gas cylinders with max. dimensions of ∅ 30 x 59 cm can be used and placed in the grill cart.
| Dest. Category p (mbar) | Nozzle designation (mm)Burner | ||
| GB 13B | P(30) 30 ∅ 0,65 | ||

PREHEATING THE BARBECUE
Before starting the actual grilling, it is important to preheat the barbecue sufficiently. For this, follow the step in the description OPERATING THE TABLE BARBECUE to ignite the grill, then close the cooking lid and preheat the grill. The preheating duration at full power takes approx. 10-15 minutes, depending on external influences such as e.g. temperature and wind. Then you can enjoy the benefits of the appliance. Enjoy the advantages of the iron grating (it stores the heat perfectly and distributes it equally; impressive branding of barbecued food).
DIRECT GRILLING
During direct grilling, the food is cooked directly over the gas burner/flame. First switch both burners to full power and close the cooking lid to preheat the rack to the right temperature (see PREHEATING THE CAMPING BARBECUE). Then position your the rack and set the burner to the desired heat. Due to the high temperatures generated at the rack, this barbecue is ideally suitable for searing meat that is cooked within a short time - for instance steaks, sausages or lamb chops. The searing of the meat surface causes roasting aroma caramelise sugar on the surface while the food inside cooks and stays juicy.
■ Direct grilling is of course a preparation of chicken breast, fish fillet, seafood and vegetables.
You can choose two kinds of direct grilling. During direct grilling, food is cooked on the barbecue at higher temperatures and different temperatures with the lid open.
■ Direct grilling is also possible with the lid closed, thus reducing cooking time. Thanks to the temperature indicator you can regulate (reduce) the temperature accordingly. During the cooking process, you should only open the lid to turn the food over or check whether it is done.
BAKING/INDIRECT GRILLING
For indirect grilling your Enders URBAN is simply converted into an oven.
- Indirect grilling is suitable above all for larger pieces of meat that need to be cooked at moderate temperature, e.g. roasts, ribs or whole poultry items.
During indirect grilling, the food is positioned above the switched off burner to make use of the indirect heat. The other burner is heated, so that the food is evenly cooked at low/moderate heat over a l period of time underneath the lid. The food is therefore kept away from the direct heat and is gently cooked or grilled.
Of course, other dishes can also be cooked using the baking function: A crispy pizza, tasty tarte flambée or your first home-made bread can be prepared using the Enders URBAN. These are all cooked with the lid closed, just as in a conventional oven, so that convection heat is generated.
- You can increase this experience even further by focusing on pizza stone. For this, please preheat the pizza stone for approx. 10 -15 minutes at about 180 -200 degrees before cooking your pizza or other pastries.
It is often advisable to sear the food before grilling to achieve a perfect barbecue result.
s to arise, which
COOKING
■ s Also also your brandshURBAN as a practical cooker and prepare your soups, sauces of freshly on the camping site, balcony or patio. You can use the cooker in only a few steps. Take off the grill rack; put the saucepans (max. diameter 20 cm) onto the saucepan racks, set the regulator buttons to full power and off you go.
The burners are protected against wind due to the special design of the housing. However, you should still make sure that the appliance is positioned in a place protected from the wind as far as possible.
WARRANTY

We grant a 2-year warranty on the functioning of the product. Prerequisite for this warranty is the proper handling of the product and official proof of the date of purchase.
The warranty expires at the end of the warranty period or immediately if you make any modifications to the product yourself. All components, which were sealed by the manufacturer or its representative, cannot be manipulated.
If, despite our quality checks, your product should be defective, please do not bring it back to the retailer but contact Enders directly. By doing so, we can ensure a quick processing of your complaint. Use the service form on our website for this purpose.
Service form:
http://www.enders-germany.com/de/service/
Please fill it out and keep the warranty certificate as well as the sales receipt for further enquiries!
Model name
Item number manufacturer
Serial number (see the back of the appliance)
Date of purchase
Place of purchase
Subject to colour variations and technical modifications for the purpose of product improvement.
Attach sales receipt
ÍNDICE
ACERCA DE LA BARBACOA DE GAS 59
SÍMBOLOS EN ESTAS INSTRUCCIONES 59
DESEMPAQUETAR LA BARBACOA DE GAS 60
natural_image
Line drawing of a portable electric cooker with two wheels and a lid (no text or symbols)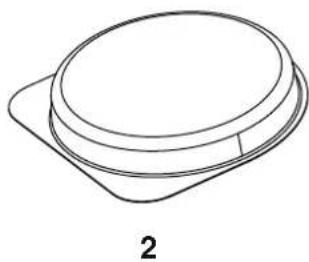
natural_image
Simple line drawing of a circular object with a rectangular base, labeled '2' below (no text or symbols on the object itself)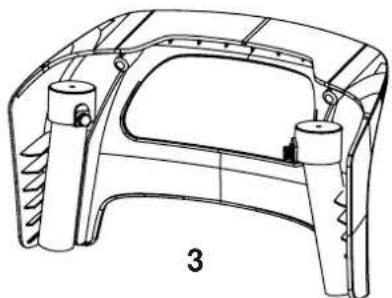
natural_image
Technical line drawing of a car body panel with no visible text or symbols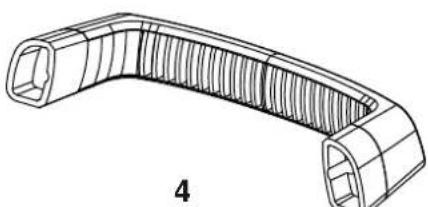
natural_image
Technical line drawing of a U-shaped mechanical component with internal grooves and a side port (no text or symbols)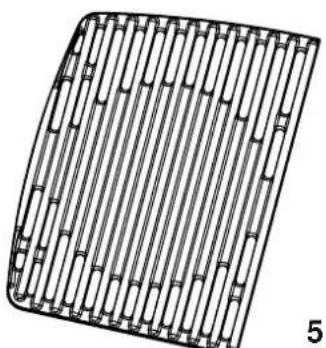
natural_image
Diagram of a grid-like structure with vertical lines, possibly a mechanical or architectural component (no text or symbols)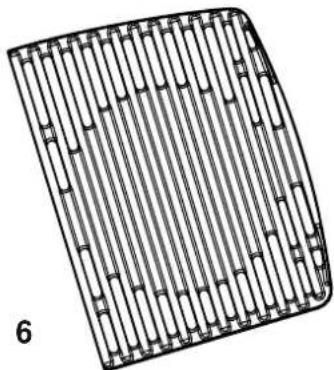
natural_image
Diagram of a grid-like structure with vertical bars, no text or symbols present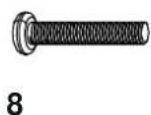
natural_image
Technical line drawing of a curved grid-patterned object with two side brackets and mounting holes (no text or symbols)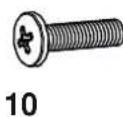
natural_image
Simple line drawing of a curved mechanical part with two side notches and a label '12' below (no text or symbols on the object itself)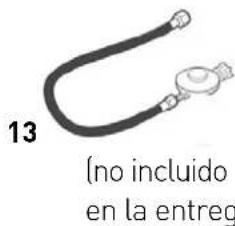
natural_image
Diagram of a gasifier or pressure vessel with a conical top and side ports, no text or symbols present.Cartucho a rosca aprox. 450 g 7/16", rosca de tornillo
natural_image
Technical line drawing of a portable gas stove with open casing and internal components (no text or symbols)Subject to colour variations and technical modifications for the purpose of product improvement.
Grapar justificante de compra
INHOUD
natural_image
Line drawing of a portable electric cooker with two wheels and a lid (no text or symbols)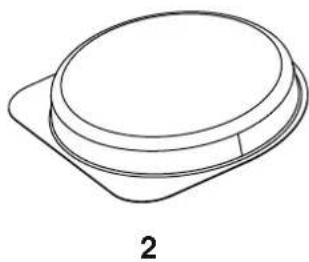
natural_image
Simple line drawing of a circular object with a rectangular base, labeled '2' below (no text or symbols on the object itself)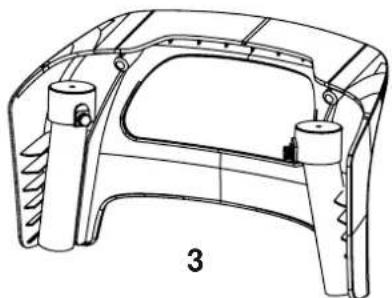
natural_image
Technical line drawing of a car body panel with no visible text or symbols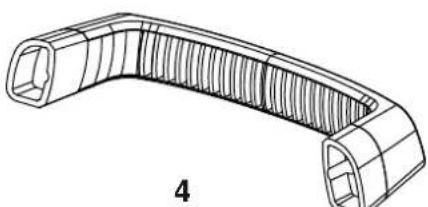
natural_image
Technical line drawing of a U-shaped mechanical component with internal grooves and a side port (no text or symbols)
natural_image
Diagram of a grid-like structure with vertical lines, possibly a mechanical or architectural component (no text or symbols)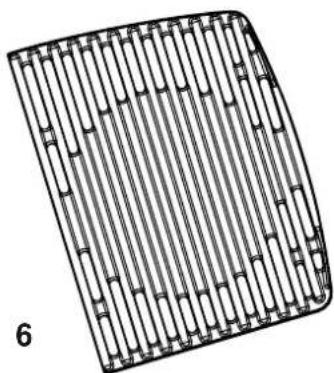
natural_image
Diagram of a grid-like structure with vertical bars, no text or symbols present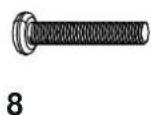
natural_image
Technical line drawing of a curved grid-patterned object with two side brackets and mounting holes (no text or symbols)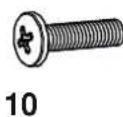
natural_image
Simple line drawing of a curved mechanical part with two side notches and a label '12' below (no text or symbols on the object itself)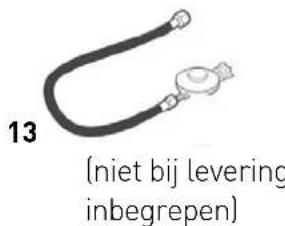
natural_image
Diagram of a gas cylinder with a U-shaped tube and a cap, showing internal components (no text or symbols)Hobgeterregelaar: ca. 59,0 cm
natural_image
Technical line drawing of a portable gas stove with open casing and internal components (no text or symbols)VERKLARING VAN DE SYMBOLEN OP HET BEDIENINGSPANEEEL

natural_image
Technical line drawing of a vehicle chassis with wheels and a cylindrical component (no text or symbols)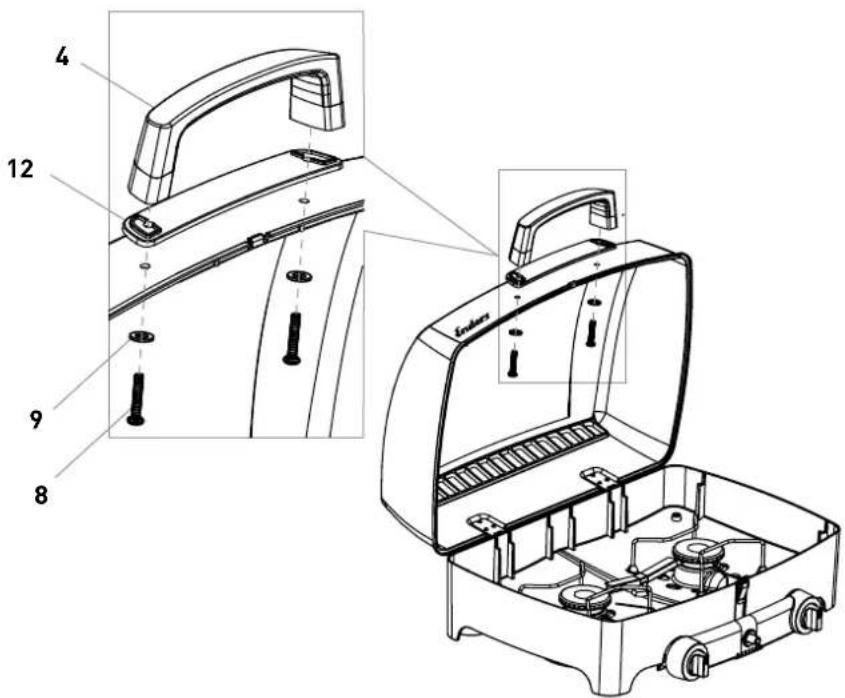
text_image
Technical diagram of a mechanical device with numbered parts and exploded view, showing internal components like handle, lock, and base.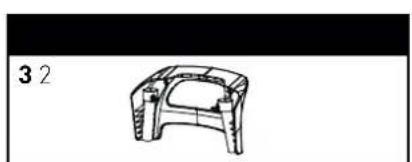
natural_image
Technical line drawing of a mechanical component (no text or symbols)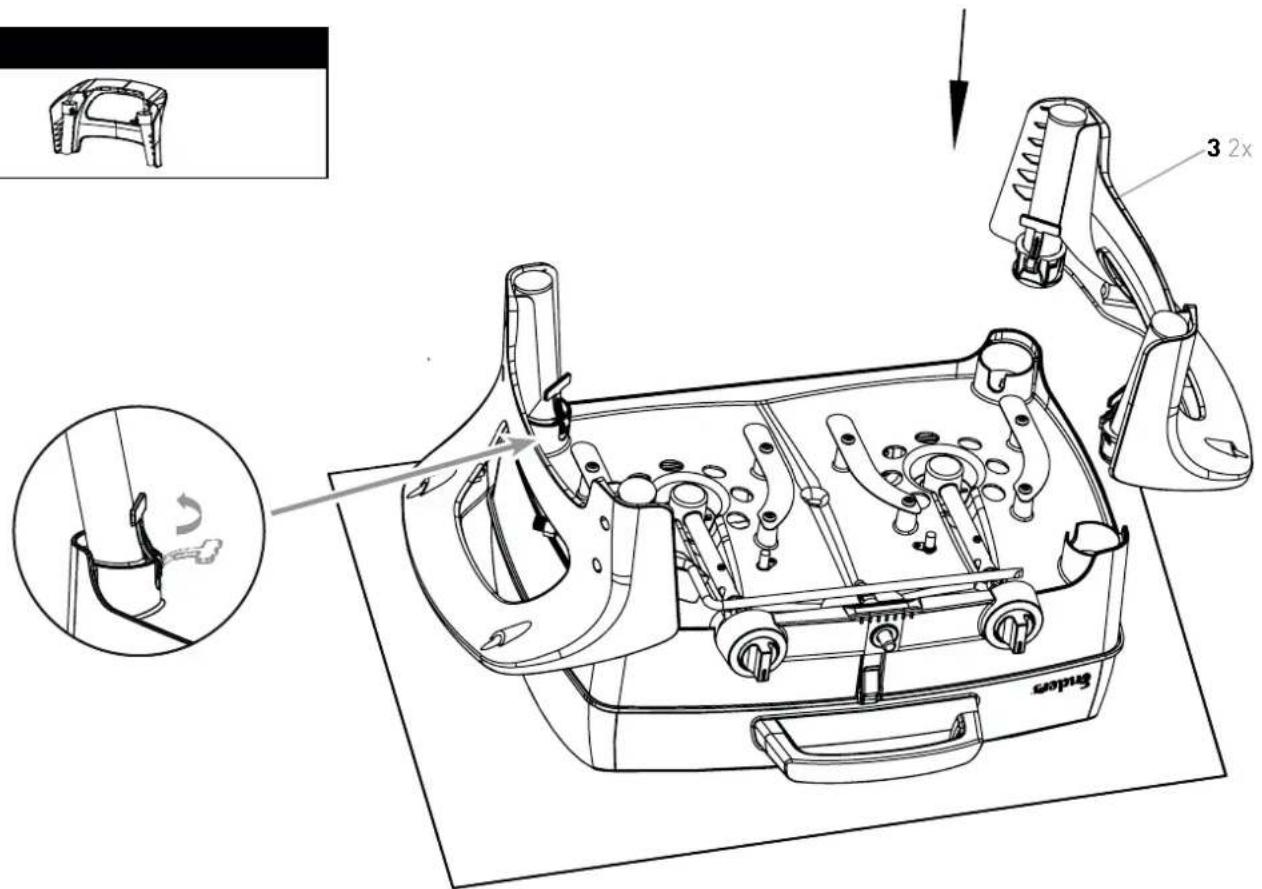
text_image
Technical diagram of a device with labeled parts and annotations, including a zoomed-in view and 2x magnification indicator.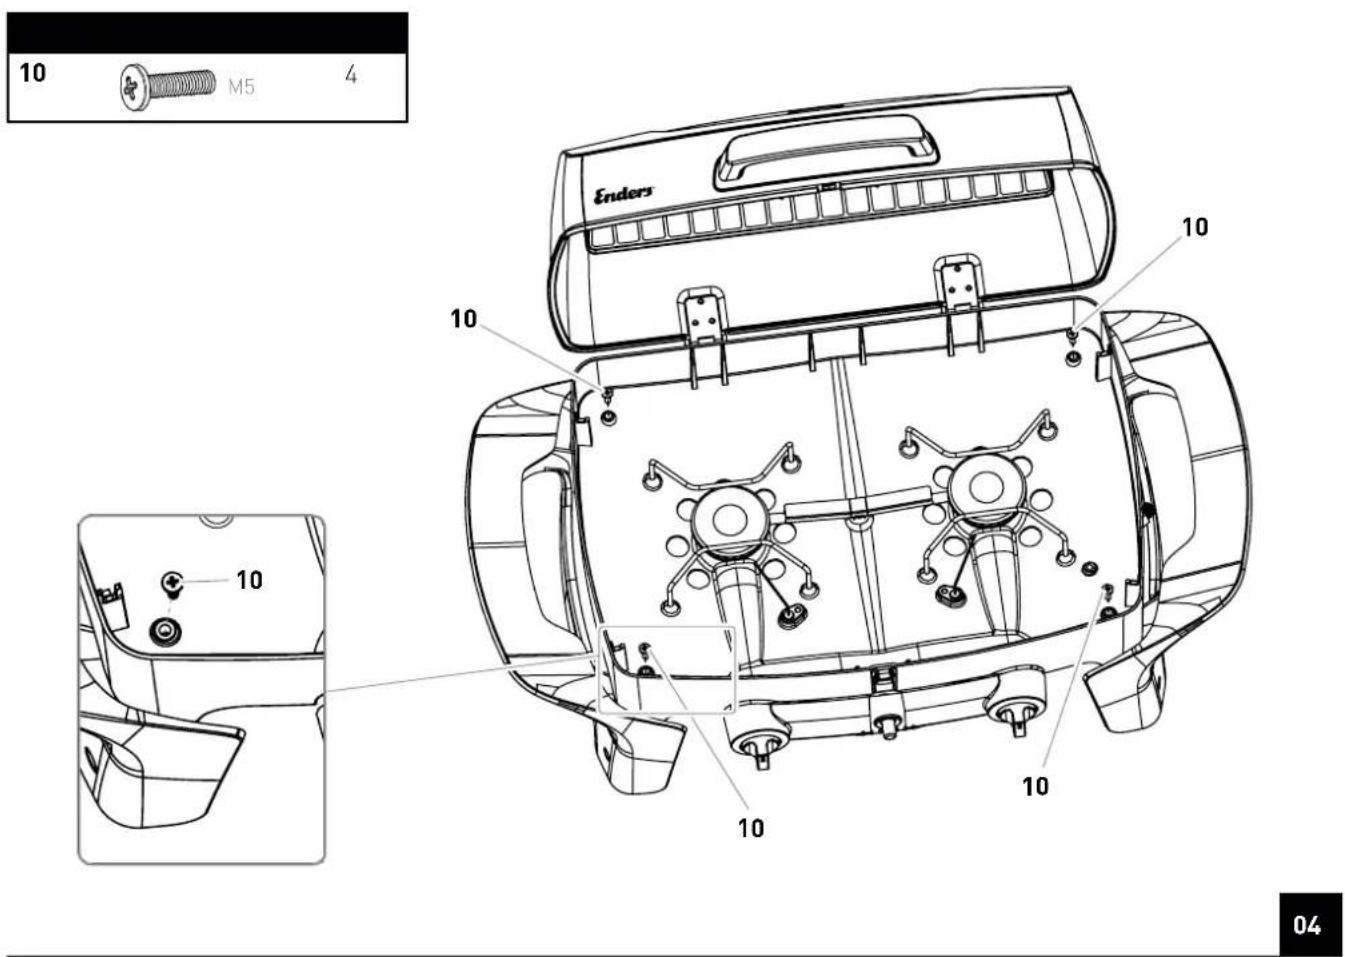
natural_image
3D wireframe model of a curved surface with grid pattern, labeled '7 2' (no text or symbols on the diagram itself)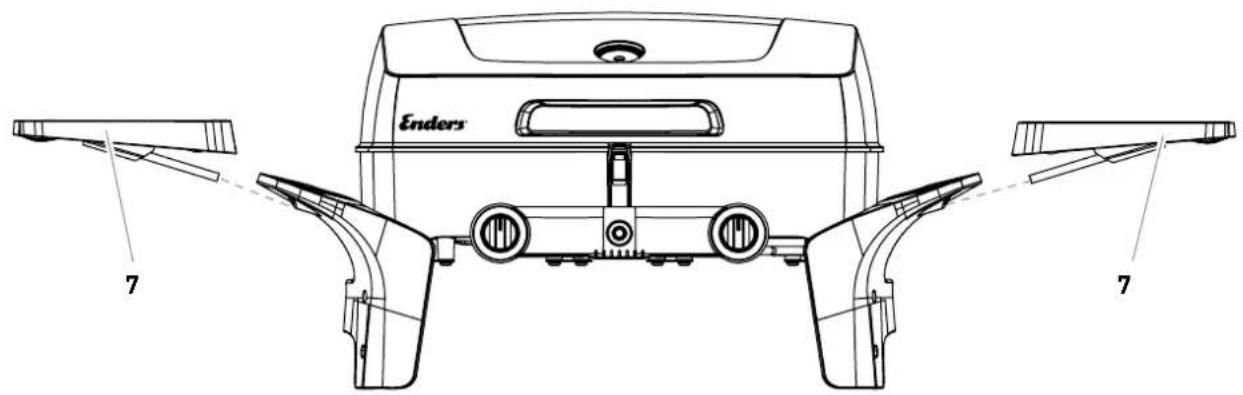
text_image
Endors 7 7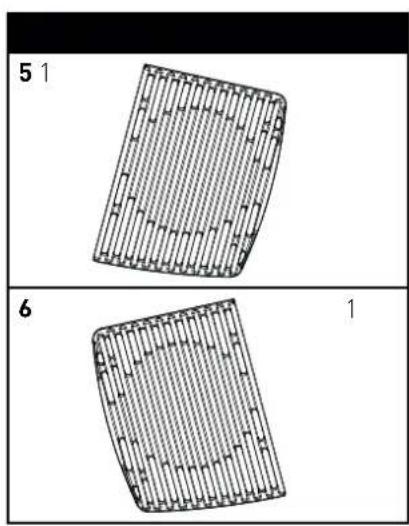
natural_image
Two 3D grid diagrams labeled 5 and 6, showing different structural patterns (no text or symbols beyond labels)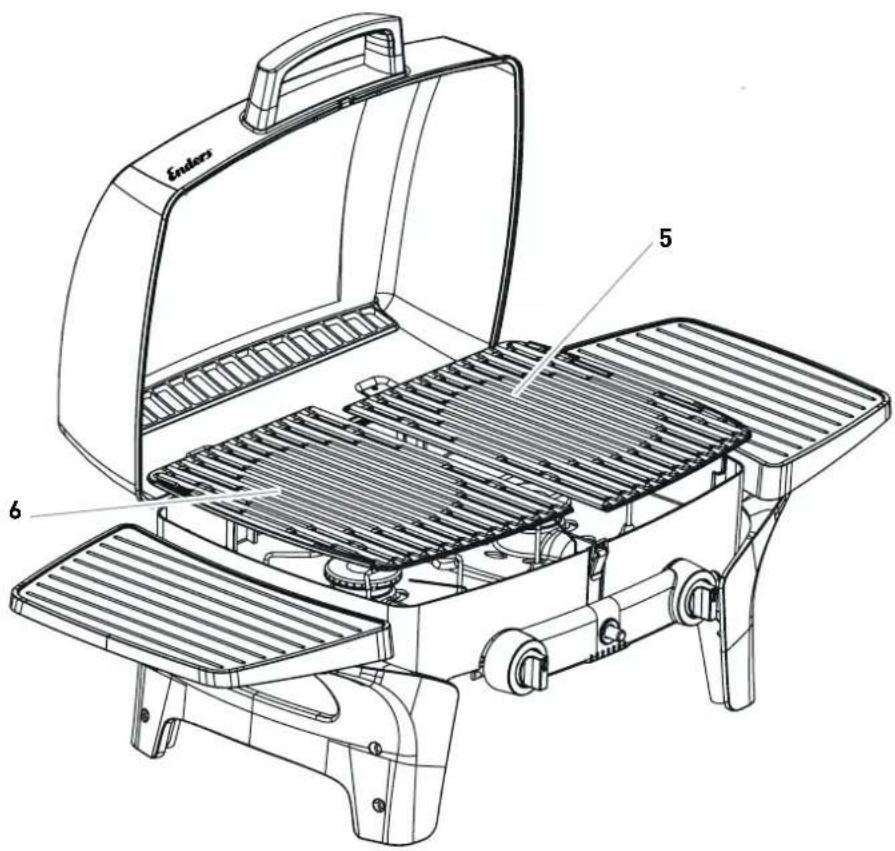
text_image
Enders 5 6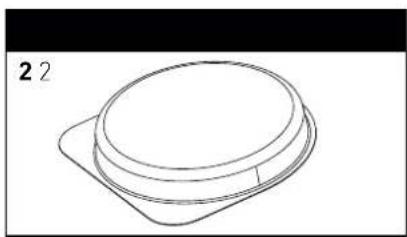
natural_image
Simple line drawing of a circular object with a rectangular base, labeled '2 2' (no text or symbols on the object itself)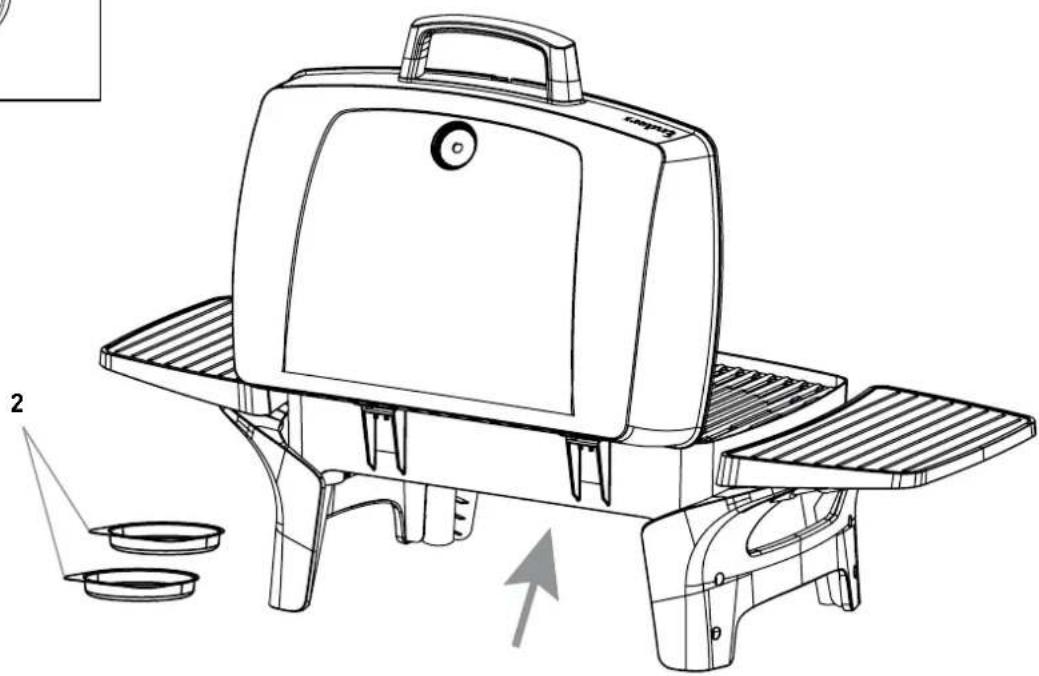
natural_image
Line drawing of a portable electric cooker with grilles and side-mounted dish, no text or symbols present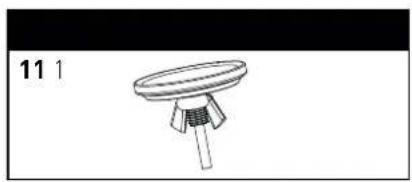
natural_image
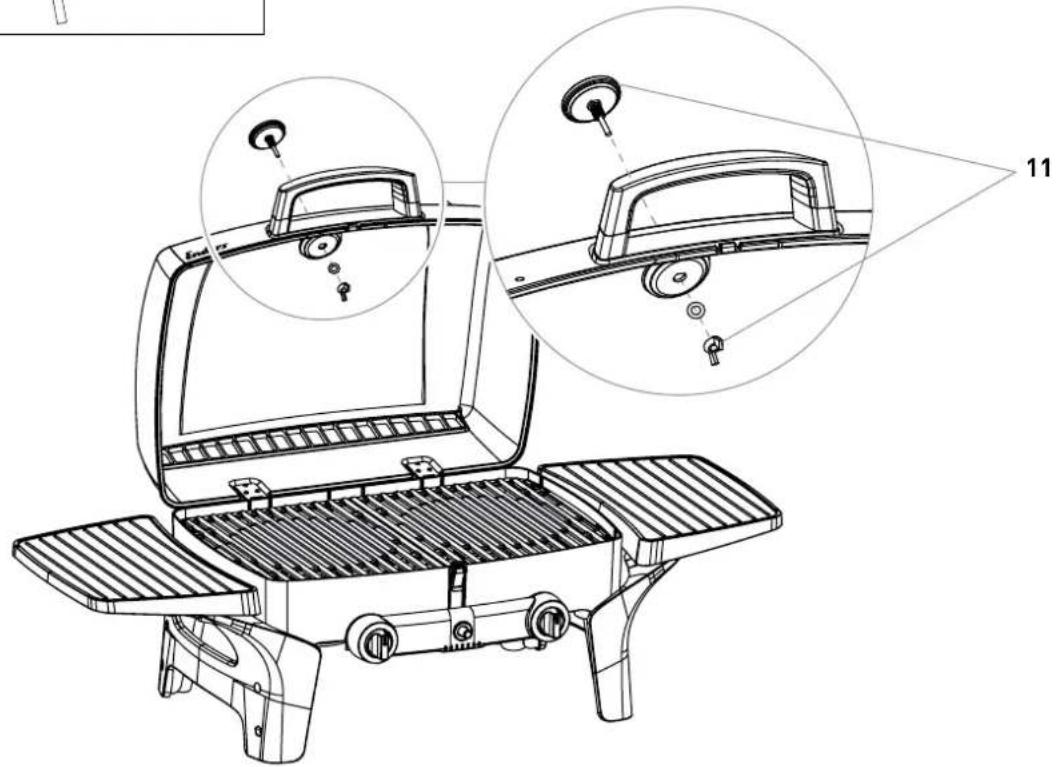
Simple line drawing of a circular object mounted on a stand with a base, labeled '11 1' (no text or symbols on the object itself)