
Thermup Go Plus - Bottle warmer Lionelo - Free user manual and instructions
Find the device manual for free Thermup Go Plus Lionelo in PDF.

| Product Type | Portable bottle warmer |
| Brand | Lionelo |
| Model | Thermup Go Plus |
| Heating Temperatures | 38 °C, 40 °C, 42 °C, 45 °C, 50 °C |
| Measurement Accuracy | ± 2 °C |
| Power Supply | 5 V DC 2 A via USB-C port |
| Minimum Liquid Capacity | 60 ml |
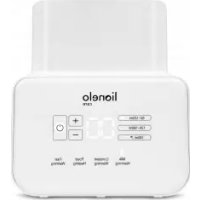
| Display | Digital with temperature and charge indicator |
| Control | Power on/off button and temperature setting button |
| Included Components | Bottle warmer, USB-C cable, wrist strap |
| Safety | Automatic shut-off in case of overheating, use under supervision for children |
| Cleaning | Damp cloth, do not immerse |
| Use While Charging | Possible |
| Operating Temperature | 0 °C to 65 °C |
| Compliance | European directives (EMC, RoHS) |
| Warranty | Refer to manufacturer's website |
Frequently Asked Questions - Thermup Go Plus Lionelo
User questions about Thermup Go Plus Lionelo
0 question about this device. Answer the ones you know or ask your own.
Ask a new question about this device
Download the instructions for your Bottle warmer in PDF format for free! Find your manual Thermup Go Plus - Lionelo and take your electronic device back in hand. On this page are published all the documents necessary for the use of your device. Thermup Go Plus by Lionelo.
USER MANUAL Thermup Go Plus Lionelo
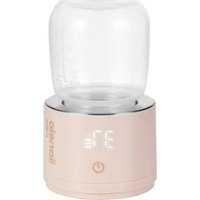
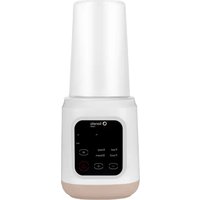
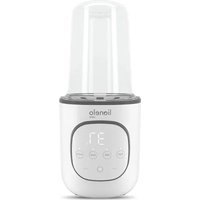
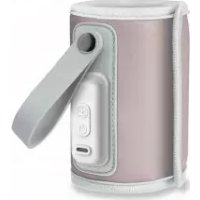
Portable bottle warmer
natural_image
Line drawing of a handheld device with a strap and labeled 'lia' (no text or symbols on the device itself)www.lionelo.com
natural_image
Diagram of a mechanical device with directional arrows indicating motion or force (no text or symbols)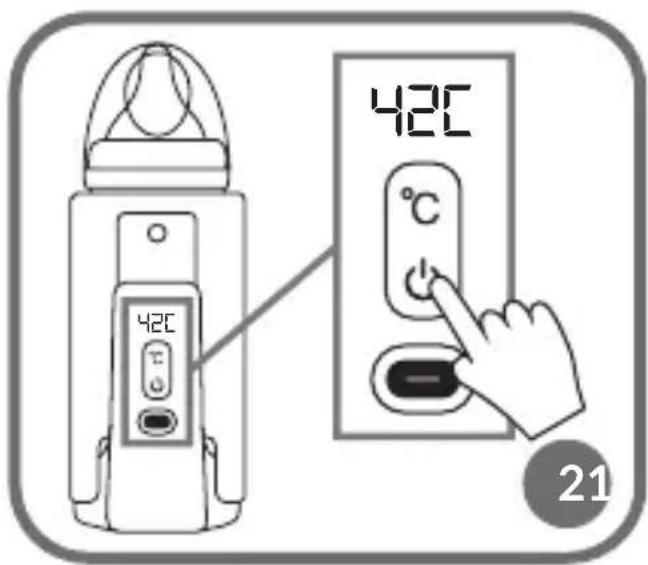
natural_image
Simple icon of a rectangular device with a dot, no text or symbols present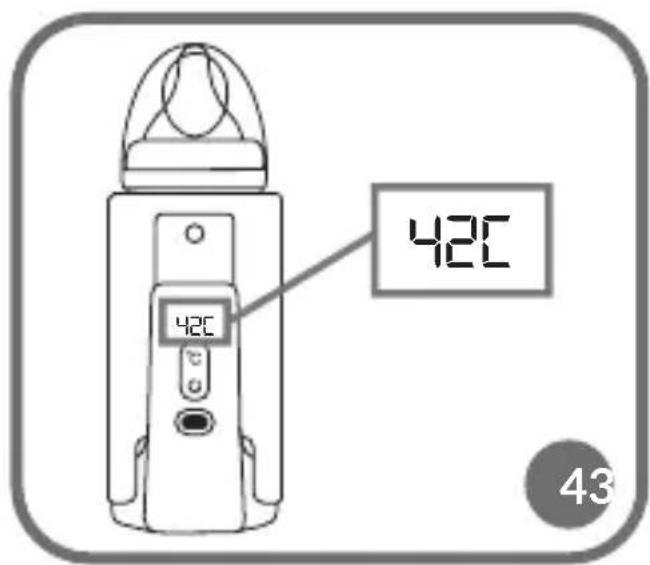
EN
Manufacturer:
BrandLine Group Sp. z o.o.
INFORMATION ABOUT THE DEVICE
Operating temperature: 0°C - 65°C
IMPORTANT INFORMATION
Please read this instruction manual before operating the product to familiarize yourself with its functions and use it as intended.
Failure to follow the safety instructions and use that is not in accordance with the instruction manual may cause harm to health.
Keep this manual for future reference.
- Do not repair or modify the product yourself. These operations can only be performed by an authorized service center.
- This product is not a toy. Do not allow children to play with it. Keep the product out of the reach of children.
- The device can be used by children aged at least 3 and persons with limited physical, sensory or mental capabilities, as well as persons who lack suitable knowledge and experience in using the device as long as their actions are supervised or if they have been instructed on safe
use of the device and related risks beforehand.
- Cleaning and maintenance of the device can be performed by children aged at least 8 and when supervised. Keep this device and power cable out of reach of children below the age of 3.
- Keep the product away from sharp edges and sources of heat and moisture. The product should not be exposed to direct sunlight. Do not overheat the product.
- Do not immerse the product or power cord in water or other liquids. Before use, make sure the product is dry.
- Do not use the USB cable for purposes other than those for which it is intended.
- Use only a 5V DC 2A power source.
- Do not connect the product to a power source without the liquid bottle inserted. The bottle must be filled with a minimum of 60 ml of liquid. Do not use the device if the bottle is empty.
- The precision of the temperature measurement is ± 2^ .
- When heated food reaches the desired temperature, take the bottle out of the warmer. Do not heat food up too long.
- To make sure milk is warm enough, pour out a few drops on your forearm and assess the temperature. As for solid foods – taste it to make sure it is not too hot.
- The heating element surface is subject to residual heat after use.
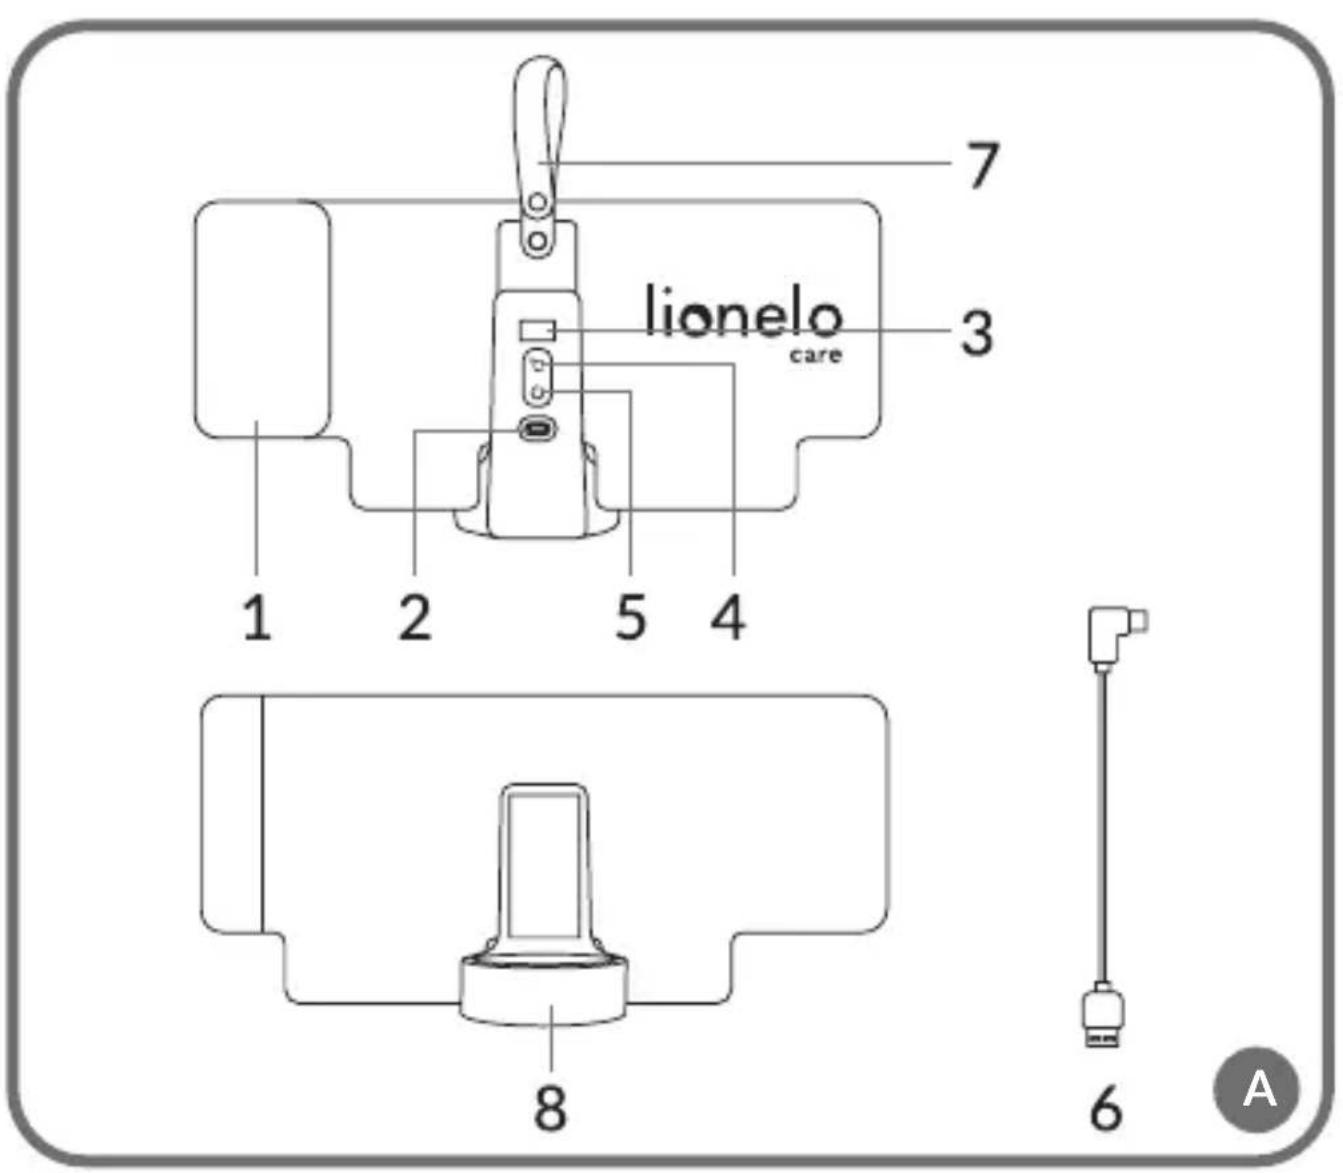
LIST OF PARTS (FIG. A)
- Hook-and-loop fastener 5. On/off switch
- USB-C port 6. USB-C cable
- Digital display 7. Hand strap
- Temperature control button 8. Base
INSTRUCTION MANUAL
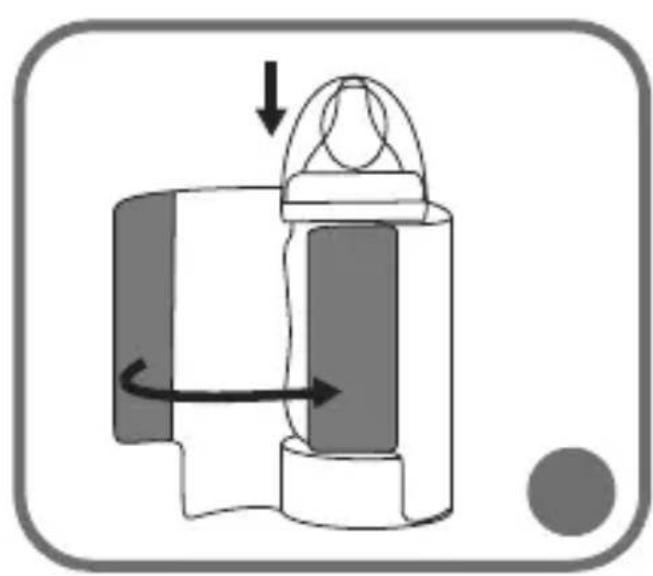
- Pour the liquid into the bottle, and then tightly fasten the hook-and-loop fasteners of the sleeve (fig. 1).
- Turn on the device by pressing and holding the power button (fig. 2).
- Use the “°C” button (4, fig. A) to set the desired temperature (38°C, 40°C, 42°C, 45°C or 50°C).
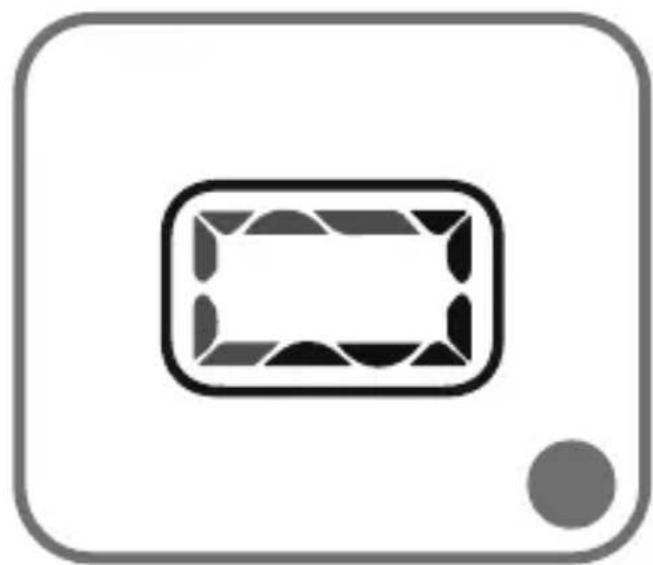
- If the indicated icon appears on the display (fig. 3), it means that the device is heating up.
- When the device reaches the selected temperature, the given value will appear on the display (fig. 4).
Note! If the temperature of the device is too high, the device will automatically turn off.
DEVICE CHARGING
- To view the charge level on the display, press the power button (5, fig. A).
- To charge the device, plug the USB-C cable (6, fig. A) into the USB-C socket (2, fig. A) and the power source.
Note! In the event of a low charge, it is possible to charge and use the device at the same time.
TROUBLESHOOTING
| Problem Possible cause and solution | |
| The device is not charging, despite being connected to a power source. | Make sure the USB-C cable is properly connected. |
| The device cannot be turned on. | Make sure the device is charged. If the battery level is low, charge the device (see: Device charging). |
CLEANING AND MAINTENANCE
- Disconnect the product from the power source after each use and before cleaning. Wait for the product to cool down before cleaning.
- Clean the device by wiping it with a damp cloth or paper towel. Do not clean the device under running water.
- Do not use strong cleaning agents.
Photos are for reference only, the actual appearance of the products may differ from that shown in the photos.
PL
Producent:
BrandLine Group Sp. z o.o.
BrandLine Group Sp. z o.o.
BrandLine Group Sp. z o.o.
BrandLine Group Sp. z o.o.
BrandLine Group Sp. z o.o.
BrandLine Group Sp. z o.o.
BrandLine Group Sp. z o.o.
INFORMATIE OVER HET APPARAAT
HET APPARAAT OPLADEN
INFORMATION OM PRODUKTEN
Arbetstemperatur: 0°C - 65°C
VIKTIG INFORMATION
OPLADNING AF APPARATET
EN: The product complies with the requirements of European Union directives.
In accordance with Directive 2012/19/EU, this product is subject to separate collection. The product should not be disposed of with municipal waste as it may pose a risk to the environment and human health. Return the used product to the recycling centre for electrical and electronic equipment.
EN: Simplified EU declaration of conformity
BrandLine Group Sp. z o. o. hereby declares that Thermup Go Plus complies with the directive: 2014/30/EU - EMC Directive, 2011/65/EU - RoHS Directive. Full content of EU declaration of conformity is available on the following website:
Detailed warranty conditions are available on the website:
Brand : Lionelo
Model : Thermup Go Plus
Category : Bottle warmer