TV 610 - Measuring equipment Testboy - Free user manual and instructions
Find the device manual for free TV 610 Testboy in PDF.
| Product type | Laser distance meter |
| Brand | Testboy |
| Model | TV 610 |
| Measurement range | 0.3 - 60 m |
| Accuracy | ± 1.5 mm |
| Resolution | 1 mm |
| Laser | Class 2, 653 nm, < 1 mW |
| Power supply | 2 AAA batteries (1.5 V) |
| Battery life | Approx. 5000 measurements |
| Dimensions (L x W x H) | 124 x 52 x 30 mm |
| Weight (with batteries) | Approx. 120 g |
| Display | Digital screen with icons |
| Reference points | Front edge, rear edge, corner (with bracket) |
| Measurement functions | Distance, area, volume, indirect measurement (Pythagorean), addition/subtraction, min/max, continuous measurement |
| Memory | Last 20 measurement values |
| Available units | m, in, ft, ft+in (distance); m², ft² (area); m³, ft³ (volume) |
| Level | Built-in for horizontal alignment |
| Tripod thread | 1/4 inch |
| Operating temperature | 0 °C to 40 °C |
| Storage temperature | -10 °C to 60 °C |
| Safety | Follow instructions: do not look into the laser, avoid electromagnetic fields, etc. |
| Maintenance | Clean with a dry cloth; remove batteries if not used for a long time |
| Standards | CE compliant |
Frequently Asked Questions - TV 610 Testboy
User questions about TV 610 Testboy
0 question about this device. Answer the ones you know or ask your own.
Ask a new question about this device
Download the instructions for your Measuring equipment in PDF format for free! Find your manual TV 610 - Testboy and take your electronic device back in hand. On this page are published all the documents necessary for the use of your device. TV 610 by Testboy.
USER MANUAL TV 610 Testboy
text_image
Testboy® GmbH, Germany Stands For Quality Since 1953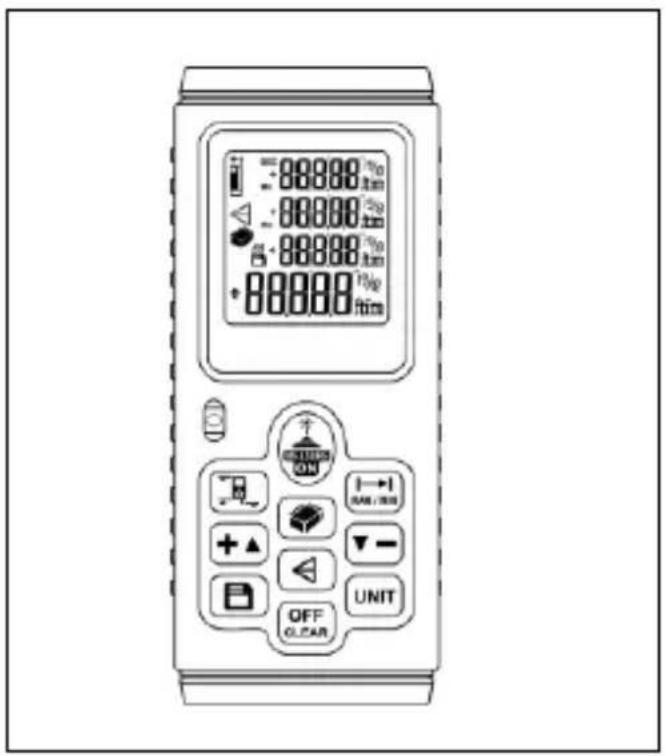
text_image
888880 ft/min 888880 ft/min 888880 ft/min + 888880 ft/min OFF CLEAR UNIT SAN / RIN ONTestboy® TV 610
Version 1.2

Testboy® TV 610 3
Bedienungsanleitung

Testboy ^® TV 610 15
Operating instructions

Testboy® TV 610 27
Mode d'emploi

Testboy® TV 610 39
natural_image
Simple diagram with a battery icon and dashed lines, no text or symbols presentnatural_image
Simple line drawing of a device component with an arrow pointing to a circular feature (no text or symbols)Anschlagwinkel
natural_image
Simple line drawing of a 3D cube with an internal rectangular block inside, no text or symbols present.Messungen
Entfernungsmessung
natural_image
Simple line drawing of a 3D cube with two labeled components (1 and 2), no text or symbols present.Volumenmessung
natural_image
Simple line drawing of a device emitting a beam to a wall-mounted device (no text or symbols)natural_image
Diagram showing a device emitting beams to a wall-mounted panel (no text or symbols)Switching on and off 20
Reference point 20
Measurements 21
Calculating measured values 23
Measuring unit 24
Minimum / maximum recording 24
Saving measured values 24
Error codes 25
Replacing the battery 25
Technical data 26
Information
Safety information

WARNING
Sources of danger are, for example, mechanical parts, which may cause serious personal injury.
Objects are also at risk (e.g. damage to the instrument).
WARNING
An electric shock can result in death or serious personal injury and endanger the function of objects (e.g. damage to the instrument).
WARNING
Never point the laser beam towards the eyes directly or indirectly via reflective surfaces. Laser radiation can cause irreparable damage to the eyes. The laser beam must be deactivated when testing close to people.
General safety notes

WARNING
Unauthorised modification and / or changes to the instrument are not permitted, for reasons of safety and approval (CE). In order to ensure safe and reliable operation using the instrument, you must always comply with the safety instructions, warnings and the information contained in the section “Intended use”.

WARNING
Comply with the following specifications before using the instrument:
Do not operate the instrument anywhere near electric welding equipment, induction heaters or other electromagnetic fields.
After abrupt temperature fluctuations, the instrument must be allowed to adjust to the new ambient temperature for approx. 30 minutes before using it, in order to stabilise the IR sensor.
Do not expose the instrument to high temperatures for a long period of time.
Avoid dusty and humid environments.
Measuring instruments and their accessories are not toys, and must be kept out of the reach of children!
When working in industrial facilities, comply at all times with the specifications of the accident prevention regulations for electrical systems and equipment as established by the employer's liability insurance association.

Comply with the five safety rules:
1 Disconnect
2 Ensure that the instrument cannot be switched back on again
3 Ensure isolation from the power supply (check that there is no voltage on both poles)
4 Earth and short-circuit
5 Cover adjacent live parts
Intended use
The instrument is intended strictly for use in applications described in the operating instructions. Any other usage is forbidden, and may result in accidents or destruction of the instrument. Any such usage will result in the immediate expiry of all guarantee and warranty claims on the part of the operator against the manufacturer.

Remove the batteries if the instrument is not in use for a long period of time, in order to protect the instrument from damage.

We assume no liability for damage to property or personal injury resulting from improper handling or non-compliance with the safety instructions. Any warranty claim expires in such cases. An exclamation mark in a triangle indicates safety instructions in the operating instructions. Read the instructions through before beginning initial commissioning. This instrument is CE-approved and thus fulfils the required guidelines.
We reserve the right to alter specifications without prior notice © 2017 Testboy GmbH, Germany.
Disclaimer

The warranty claim expires in cases of damage caused by failure to comply with the instructions! We assume no liability for any resulting damage!
Testboy is not responsible for damage resulting from
failure to observe the instructions,
changes to the product that have not been approved by Testboy or the use of spare parts that have not been manufactured or approved by Testboy the use of alcohol, drugs or medication.
Accuracy of the operating instructions
These operating instructions have been compiled with due care and attention. No guarantee is given that the data, illustrations and drawings are complete or correct. All rights reserved with regard to changes, printing mistakes and errors.
Disposal
Dear Testboy customer: purchasing our product gives you the option of returning the instrument to suitable collection points for waste electrical equipment at the end of its lifespan.
The WEEE directive regulates the return and recycling of electrical appliances. Manufacturers of electrical appliances are obliged to take back and recycle all electrical appliances free of charge. Electrical devices may then no longer be disposed of through conventional waste disposal channels. Electrical appliances must be recycled and disposed of separately. All equipment subject to this directive is marked with this logo.
Disposal of used batteries
As an end user, you are legally obliged (battery law) to return all used batteries; disposal in the normal domestic waste is prohibited.
Batteries containing contaminant material are labelled with this symbol indicating that they may not be disposed of in normal domestic waste.
The abbreviations used for the crucial heavy metals are:
Cd = cadmium, Hg = mercury, Pb = lead.
You can return your used batteries to collection points in your community or anywhere where batteries are sold free-of-charge.
Certificate of quality
All activities and processes carried out within Testboy GmbH relating to quality are subject to ongoing monitoring within the framework of a Quality Management System. Furthermore, Testboy GmbH confirms that the testing equipment and instruments used during the calibration process are subject to an ongoing inspection process.
Declaration of conformity
The product conforms to the most recent directives. For more information, go to www.testboy.de
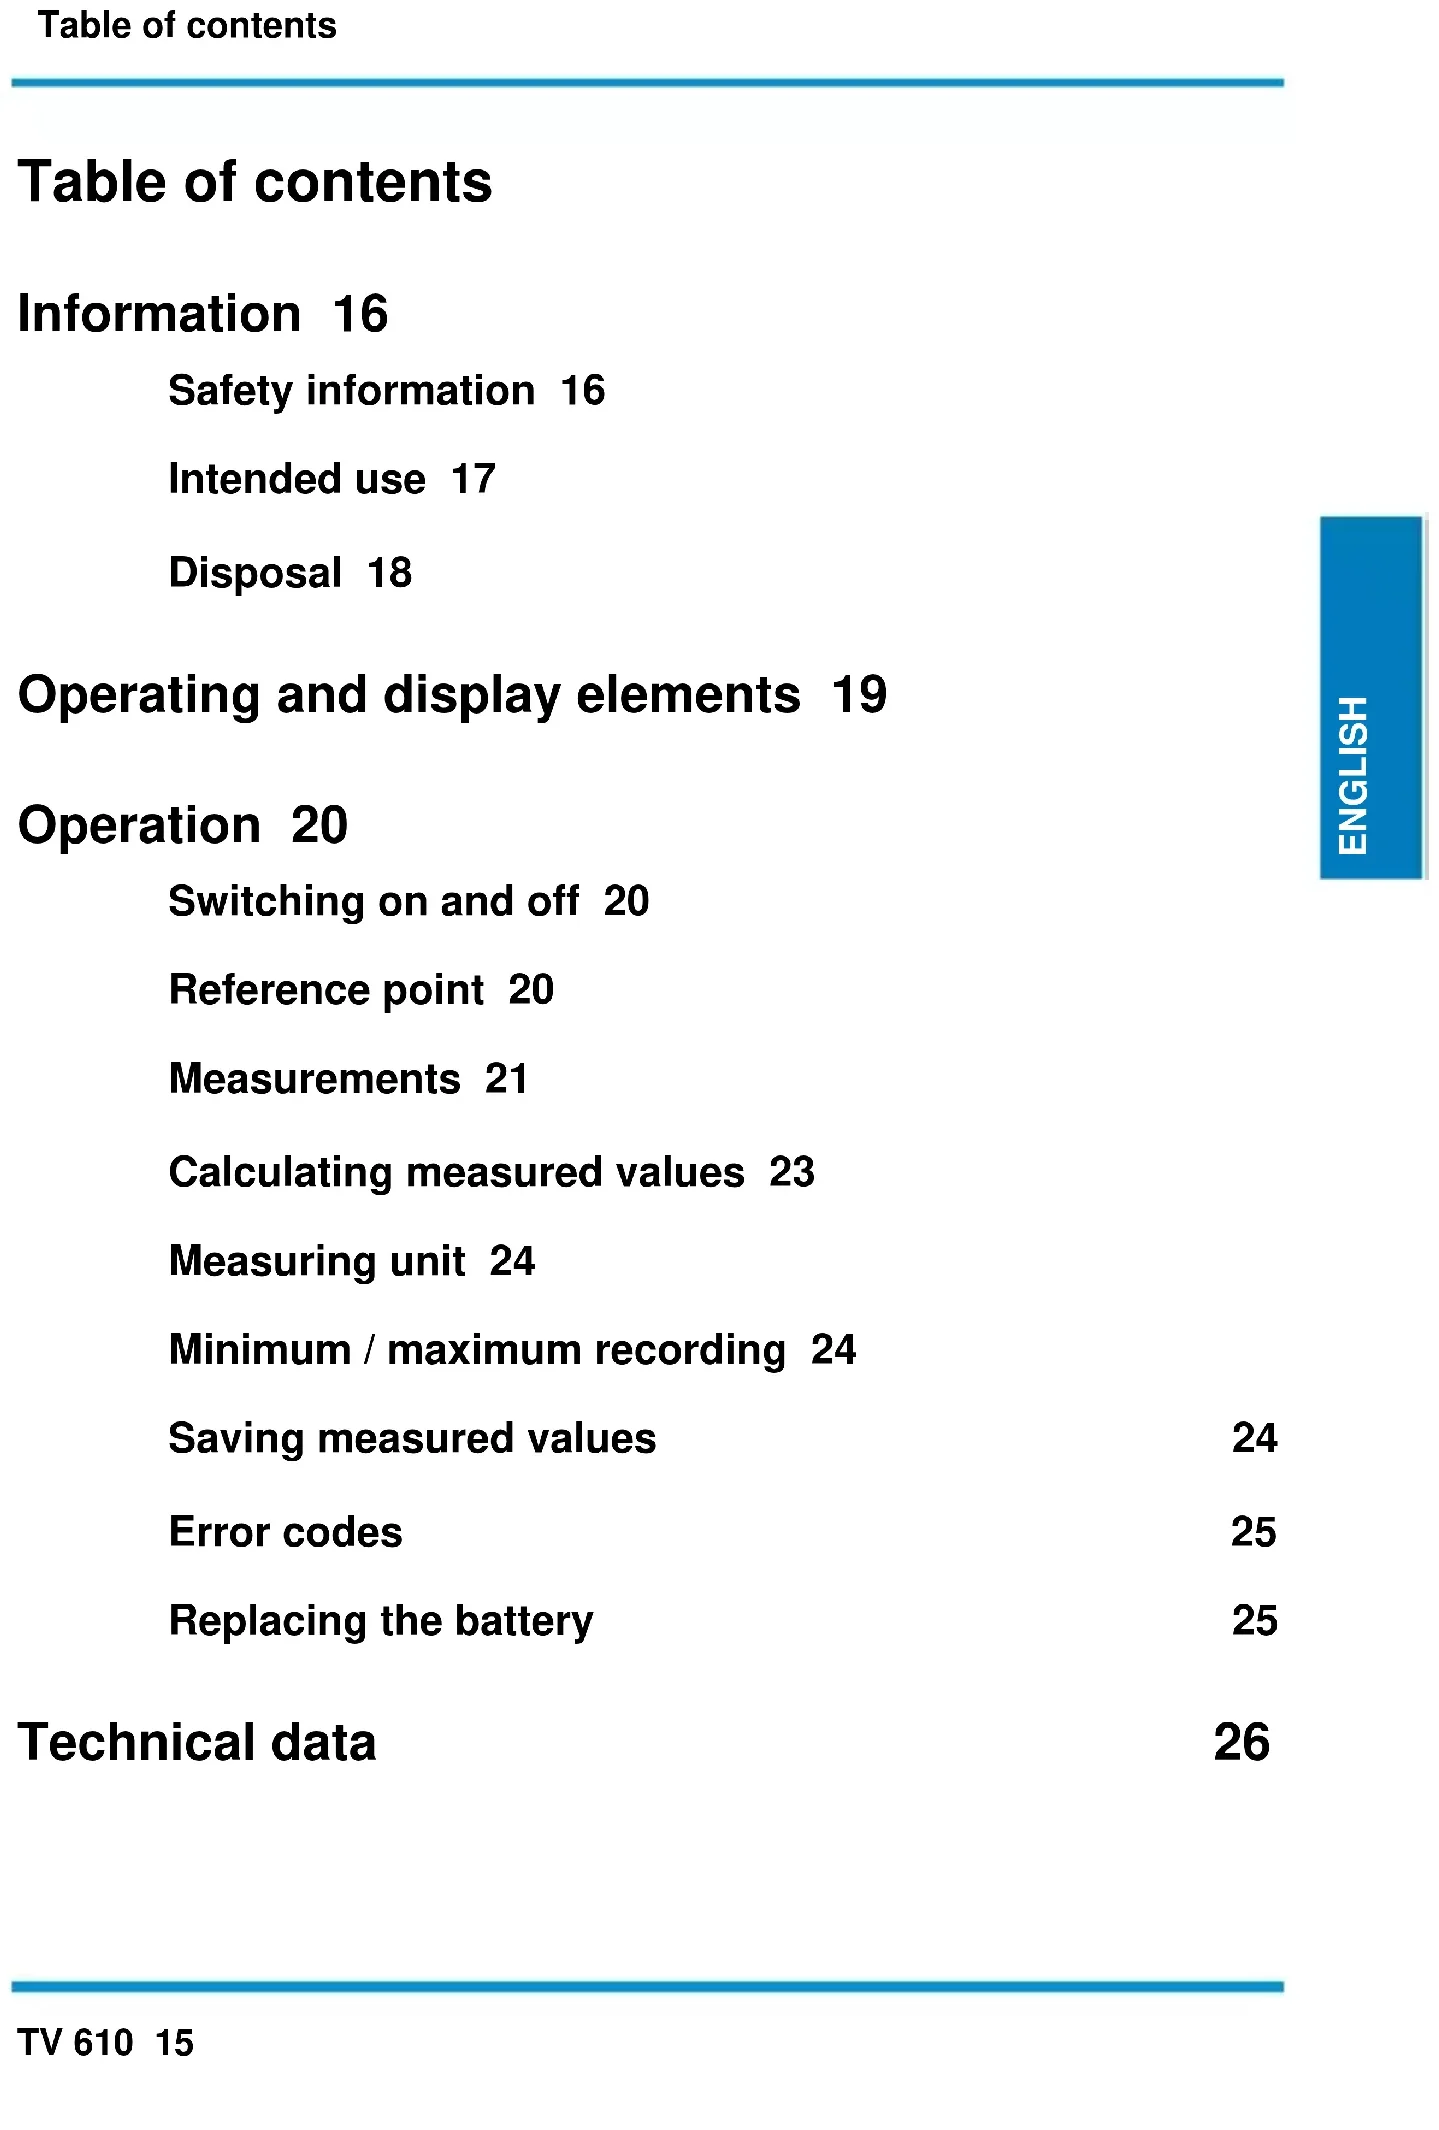
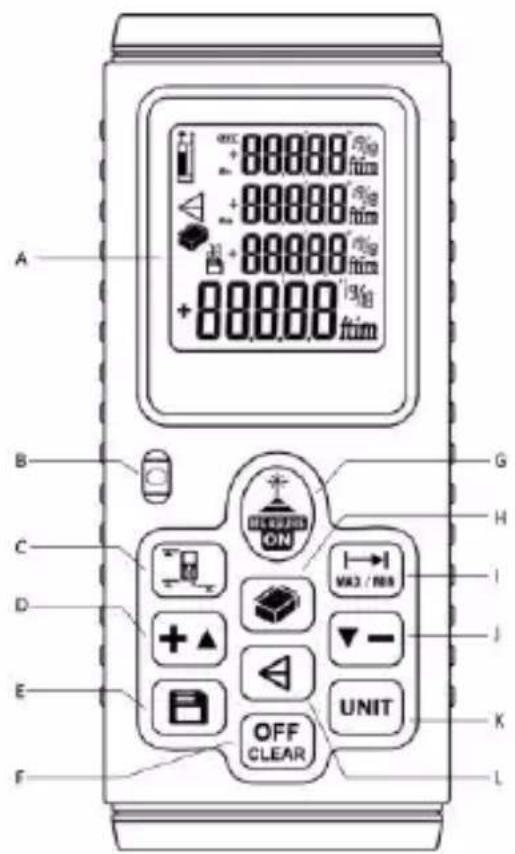
Operating and display elements
Instrument
A) Display
B) Level
C) Reference point
D) Addition / increase value
E) Memory
F) OFF / delete value
G) ON / measure
H) Surface / spatial content
I) Distance / cont. Min / Max
J) Subtraction / reduce value
K) Unit
L) Indirect measurement
text_image
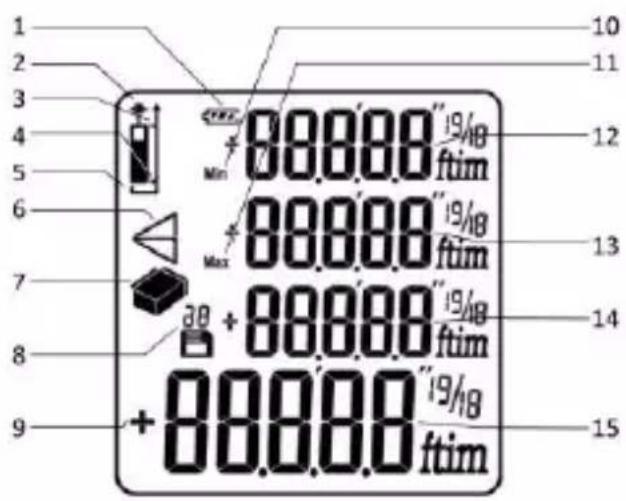
A B C D E F G H I J K L ON MAX / MAX OFF CLEARDisplay
1) Battery status
2) Target laser activated
3) Reference point leading edge
4) Reference point rear edge
5) Reference point "corner"
6) Indirect measurement
7) Surface / spatial content
8) Disc space
9) Algebraic sign (+/-)
10) Minimum value
11) Maximum value
12) Upper-most row (minimum value)
13) Second row (maximum value)
14) Secondary measured value display
15) Main measured value / result display
text_image
1 2 3 4 5 6 7 8 9 10 11 12 13 14 15 88888"19/18 ftim 88888"19/18 ftim 88888"19/18 ftim 88888"19/18 ftim +88888"19/18 ftimOperation
In addition to the distance, the laser range finder can be used to determine the surface and volume. It is also possible to perform indirect measurements; to add and subtract measured values; save measured values; determine the minimum and maximum values and to alter the reference point of the measurement depending on circumstances.
It is fitted with a spirit level to ensure level installation and a 14 inch thread for a tripod stand, in order to ensure the greatest level of measurement exactness over longer distances (up to 60 m).
Switching on and off
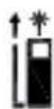
Press the (G) button to switch on. After approx. one second, the display shows measurement readiness as shown in the adjacent figure.
The flashing symbol indicates that the target laser has been switched on.
Range finding is automatically pre-selected after activation.
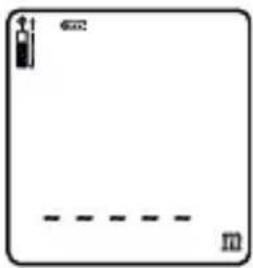
natural_image
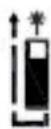
Simple diagram with a battery icon and dashed line, no text or symbols presentThe target laser is automatically switched off after approx. 30 seconds without measurements; this saves energy.
To switch off the instrument, depress and hold the (F) button approx. one second.
The instrument switches off automatically after approx. three minutes without a measurement having been performed.
Reference point
Depending on the measurement requirements, up to three different target points can be selected with the (C) button to serve as the reference point for the measured distance.
Leading edge:
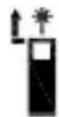
Rear edge:
Angle "corner":
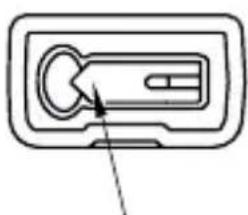
To measure from a corner, select the reference point “corner” and open the target bracket on the rear edge of the instrument. Apply the instrument with the target bracket in the corner in order to measure the range from the targeted point.
natural_image
Simple line drawing of a device component with an arrow pointing to a button (no text or symbols)Target bracket
natural_image
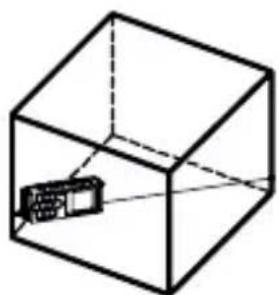
Simple line drawing of a 3D cube with an internal object inside, no text or symbols present.Measurements
Range finding
Make sure that the target laser is switched on. If it is not switched on, press the (G) measuring button.
Make sure that you have selected the correct reference point (depending on the target point) and home in on the object to be measured with the target laser.
Press the (G) measuring button. Given a correct measurement, an acknowledgement tone will sound; the target laser will be switched off and the measurement result will be shown on the display.
The basic setting of the measuring unit is metres (m).
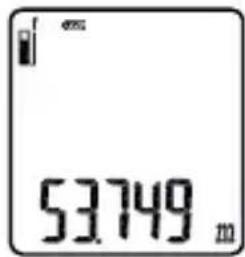
text_image
53749 mArea measurement
Press the (H) button when the measuring instrument is switched on. A perspective surface will be shown on the left-hand side of the display.
Perform a length-wise measurement (flashing bar).
The measurement result is displayed in the upper-most row.
Perform a width measurement (flashing bar).
The measurement result is displayed in the second row.
After measuring the length and width, the calculated surface is displayed in the lowest row.

natural_image
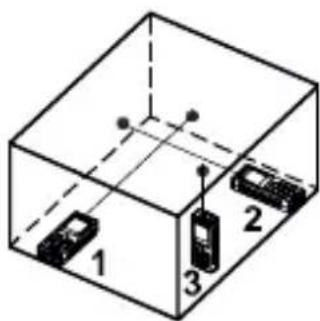
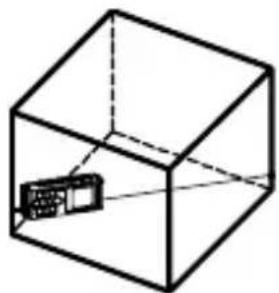
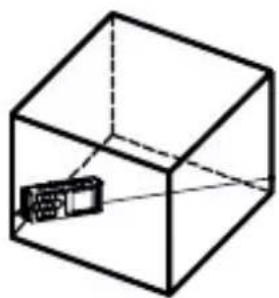
3D diagram of a rectangular box with two labeled components (1 and 2), no text or symbols present.Volume measurement
Press the (H) button twice when the measuring instrument is switched on. A perspective cuboid will be shown on the left-hand side of the display.
Perform a length-wise measurement (flashing bar).
The measurement result is displayed in the upper-most row.
Perform a width measurement (flashing bar).
The measurement result is displayed in the second row.
Perform a measurement of the height (flashing bar).
The measurement result is displayed in the third row.
After measuring the length, width and height, the calculated room volume is displayed in the lowest row.
text_image
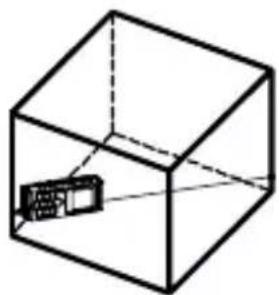
1 2 3Two-point measurement
Press the (L) button when the measuring instrument is switched on. A triangle will be shown on the left-hand side of the display.
Measure the distance to the highest point of the object (flashing page). The measurement result is displayed in the upper-most row. Now perform a horizontal measurement of the distance to the lowest point of the object (flashing page). Ensure that the instrument is level. The measurement result is displayed in the second row.
After measuring the two distances, the calculated height is displayed in the lowest row.

natural_image
Simple line drawing of a device emitting beams to a wall-mounted device (no text or symbols)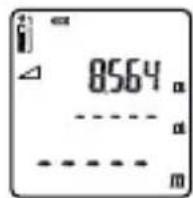
After measuring the distance of the highest point

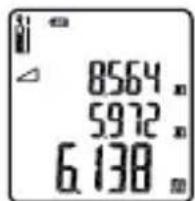
text_image
8564 5972 6138By hor. distance measurement of the lowest point
Three-point measurement
Press the (L) button twice when the measuring instrument is switched on. A double triangle will be shown on the left-hand side of the display.
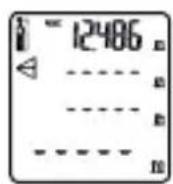
Measure the distance to the highest point of the object (flashing page). The measurement result is displayed in the upper-most row.
Perform a measurement horizontal to the object (flashing axis). Ensure that the instrument is level. The measurement result is displayed in the second row.
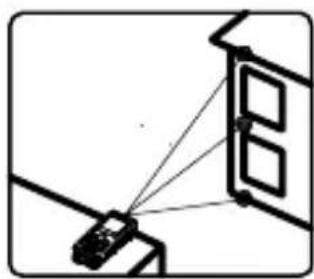
natural_image
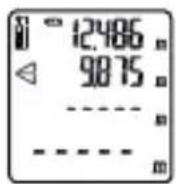
Simple line drawing of a device emitting beams to a wall-mounted panel (no text or symbols)Measure the distance to the lowest point of the object (flashing page). The measurement result is displayed in the third row.
After measuring the three distances, the calculated height is displayed in the lowest row.
After measuring the distance of the highest point

By hor. distance measurement to object

After measuring the distance of the lowest point
Indirect measurement
A length (e.g. the height of an object) can be calculated indirectly using the Pythagoras function. The object height (opposite leg) is calculated using the distance to the highest point of the object (hypotenuse) and the horizontal distance to the object (adjacent leg).
$$ b = \sqrt {c ^ {2} - a ^ {2}} $$
To this end, you can choose between two-point measurement (with horizontal measurement of the deepest object point) or three-point measurement (when the lowest object point is located at a low height).
Calculating measured values
Addition of measured values
To add measured values, proceed as follows:
After determining a measured value, press the (D) button. The measured value is saved displayed in the upper-most row.
Determine the next measured value by pressing the measuring button. This is displayed in the second row.
The sum of the measured value is displayed in the lowest row.
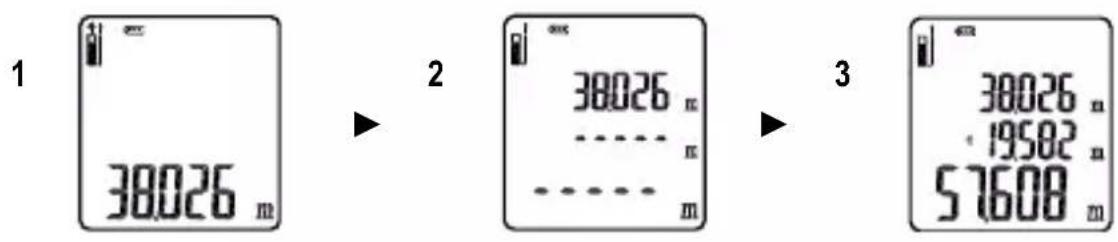
text_image
1 38026 m 2 38026 m 38026 m 19582 m 57608 mSubtracting measured values
To subtract measured values, proceed as follows:
After determining a measured value, press the (J) button. The measured value is saved displayed in the upper-most row.
Determine the next measured value by pressing the measuring button. This is displayed in the second row.
The difference of the measured values is displayed in the lowest row.
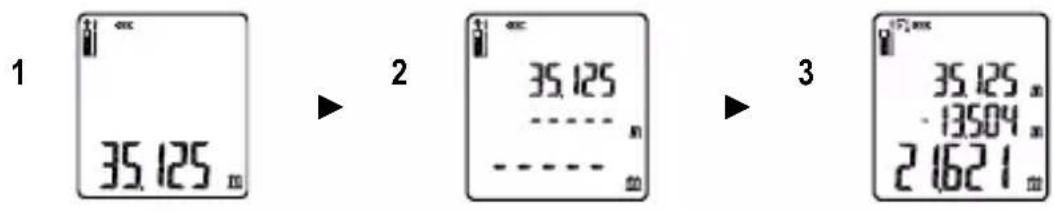
text_image
1 35.125 m 2 35.125 ---- n 35.125 - 13504 m 2 1621 mMeasuring unit
The basic setting of the measuring unit is metres (m). Press the (k) button to change this. When measuring distances, choose between metres (m), inches (in), feet (ft) and feet and inches (“+”). When measuring surfaces, choose between square metres ( m^2 ) and square feet ( ft^2 ). When measuring volumes, choose between cubic metres ( m^3 ) and cubic feet ( ft^3 ).
Minimum / maximum recording
To show the shortest and widest distances during continual distance measurement, press the (I) button. A short tone will sound following every new measurement result.
The shortest distance (min.) measured is displayed in the upper-most row.
The longest distance measured (max.) is displayed in the second row.
The current distance measured is displayed in the lowest row.
Pressing the "OFF" button will interrupt the continual distance measurement; the measured values will continue to be shown on the display.
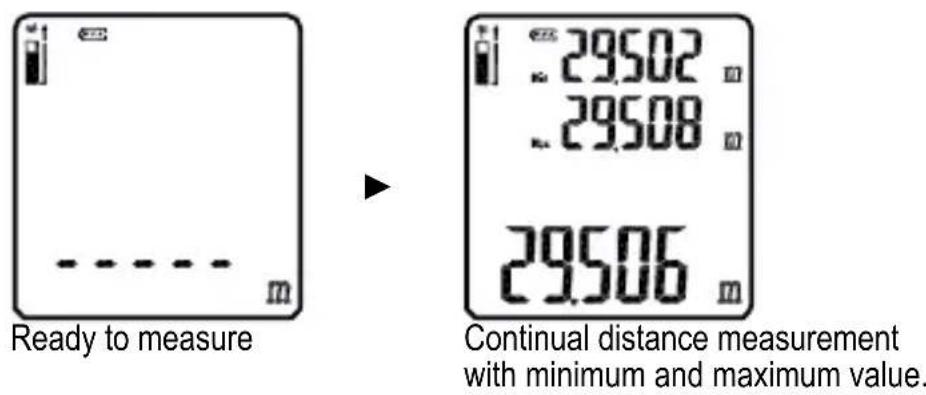
The continual distance measurement is automatically aborted after 5 minutes.
Saving measured values
The instrument automatically saves the last 20 measured values.
Press the (E) button to display the measured value history. The display will show the last measured value and the symbol with the index 1. The index can be increased or reduced using the (D) and (J) buttons.
The last measured value has the index 1, the previous measured value has the index 2, etc.

Please note: The historic data cannot be deleted.
Press the (F) button to leave the measured value history and to return to measuring mode.
Error codes
| Code | Error | Recommendation |
| 208 | Excess temperature | If in doubt, allow the instrument to cool at room temperature. |
| 253 | Insufficient temperature | If in doubt, allow the instrument to warm at room temperature. |
| 255 | Reflected signal too weak | Aim at a light surface (e.g. white paper) |
| 256 | Reflected signal too strong | Aim at a dark surface (e.g. dark paper) |
Replacing the battery
The battery status us shown in the top of the display. New batteries permit up to 5000 measurements, with the status a further approx. 500 are possible.
The status display indicates that the batteries must be replaced.
Remove the belt clip bracket (if installed)
Press the battery compartment lock inwards and raise the battery compartment whilst doing so. Insert two fresh AAA batteries. Pay attention to the correct polarity of the batteries.
Replace the battery compartment lid and press it down until the lock snaps.
Technical data
| Measuring range: | 0.3 - 60 m |
| Resolution: | 1 mm |
| Accuracy: | ± 1.5 mm |
| Response time: | 500 ms |
| Laser: | 653 nm, < 1 mW (class 2) |
| Operating temperature: | 0 – 40 °C |
| Storage temperature: | -10 – 60 °C |
| Dimensions LxWxH: | 124 x 52 x 30 mm |
| Weight: | approx. 120 g incl. batteries |
| Power supply | 2 x 1.5 V AAA Micro |
Table des matières
Consignes 28
Cd = Cadmium, Hg = mercure, Pb = plomb.
text_image
A B C D E F G H I J K L ON OFF CLEAR MAX / MIN UNITEcran
natural_image
Simple diagram with a bottle icon and dashed lines, no text or symbols presentnatural_image
3D diagram of a rectangular box with two labeled components (1 and 2), no text or symbols present.Mesure de volume
natural_image
Simple line drawing of a device emitting a beam to a wall-mounted device (no text or symbols)natural_image
Simple line drawing of a device emitting beams to a wall-mounted panel (no text or symbols)text_image
A B C D E F G H I J K L ON MAX / MIN OFF CLEAR UNITPantalla
natural_image
Simple diagram with a battery icon and dashed lines, no text or symbols presentnatural_image
Simple line drawing of a device component with an arrow pointing to a circular feature (no text or symbols)natural_image
Simple line drawing of a 3D cube with an internal object inside (no text or symbols)Mediciones
natural_image
Simple line drawing of a 3D cube with two labeled components (1 and 2), no text or symbols present.natural_image
Simple line drawing of a device positioned near a wall-mounted device (no text or symbols)natural_image
Simple line drawing of a device emitting beams to a wall-mounted panel (no text or symbols)© 2017 Testboy GmbH, Germania.
text_image
A B C D E F G H I J K L ON MAX / MIN OFF CLEAR UNITDisplay
natural_image
Simple diagram with a battery icon and dashed lines, no text or symbols presentnatural_image
Simple line drawing of a device component with an arrow pointing to a circular feature (no text or symbols)Battuta estraibile
natural_image
Simple line drawing of a 3D cube containing an internal object, no text or symbols presentMisure
natural_image
3D diagram of a rectangular box with two small car models inside, labeled 1 and 2 (no text or symbols on the boxes)Misura del volume
natural_image
Simple line drawing of a device emitting a beam to a wall-mounted device (no text or symbols)natural_image
Diagram showing a device connected to a wall-mounted panel with wires, no text or symbols presentCd = cadmium, Hg = kwikzilver, Pb = lood.
text_image
A B C D E F G H I J K L ON MAX / MIN OFF CLEAR UNITDisplay
natural_image
Simple diagram with a battery icon and dashed lines, no text or symbols presentReferentiepunt
natural_image
Simple line drawing of a device component with an arrow pointing to a circular feature (no text or symbols)Aanslaghoek
natural_image
Simple line drawing of a 3D cube with an internal object inside, no text or symbols present.Metingen
Afstandsmeting
natural_image
Isometric diagram of a 3D cube with two labeled components (1 and 2), no text or symbols present.Volumemeting
natural_image
Simple line drawing of a device emitting a beam to a wall-mounted device (no text or symbols)natural_image
Diagram showing a device connected to a wall-mounted panel with wires, no text or symbols presenttext_image
Testboy® Ensof, Germany Stands For Quality Since 1953Testboy GmbH Tel: 0049 (0)4441 / 89112-10
Germany info@testboy.de