Comfortcook 99344 - Saucepan TREBS - Free user manual and instructions
Find the device manual for free Comfortcook 99344 TREBS in PDF.
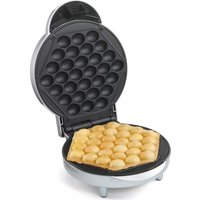
| Product type | 2-in-1 popcorn maker and crêpe maker |
| Brand | Trebs |
| Model | Comfortcook 99344 |
| Power supply | 220-240 V ~ 50/60 Hz |
| Power | 800 W |
| Main functions | Preparation of popcorn and crêpes |
| Cooking plate | Non-stick, removable |
| Included accessories | Serving bowl, lid, popcorn measuring cup, batter measuring cup, oil measuring spoon, batter spreader |
| Indicator light | Temperature indicator (turns on/off) |
| Popcorn capacity | 50-60 g of kernels per use |
| Crêpe capacity | One measuring cup of batter per crêpe |
| Preheating time | Approximately 1.5 to 2 minutes |
| Materials | Plastic, non-stick plate |
| Care and cleaning | Accessories hand washable in soapy water; wipe appliance with a damp cloth. Do not immerse, not dishwasher safe |
| Safety | Manual shut-off, hot surface, do not leave unattended, do not use outdoors |
| Intended use | Household use only |
| Country of origin | Netherlands (Trebs headquarters) |
| Approx. dimensions (W x D x H) | 30 x 20 x 20 cm (estimate) |
| Approx. weight | 1.5 kg (estimate) |
Frequently Asked Questions - Comfortcook 99344 TREBS
User questions about Comfortcook 99344 TREBS
0 question about this device. Answer the ones you know or ask your own.
Ask a new question about this device
Download the instructions for your Saucepan in PDF format for free! Find your manual Comfortcook 99344 - TREBS and take your electronic device back in hand. On this page are published all the documents necessary for the use of your device. Comfortcook 99344 by TREBS.
USER MANUAL Comfortcook 99344 TREBS
natural_image
Close-up of a black frying pan with a lid filled with poppy food, accompanied by an inset showing the side view of a small piece of bread (no text or symbols visible)text_image
Labeled diagram of a food oven with exploded view and interior views showing food arrangement and component details.Chocoloadestroop (golden syrup)
IJs
Pindakaas
Hazelnoot
Amandel
Citroen
Banaan
Bosbessen
Frambozen
Aardbeien
English
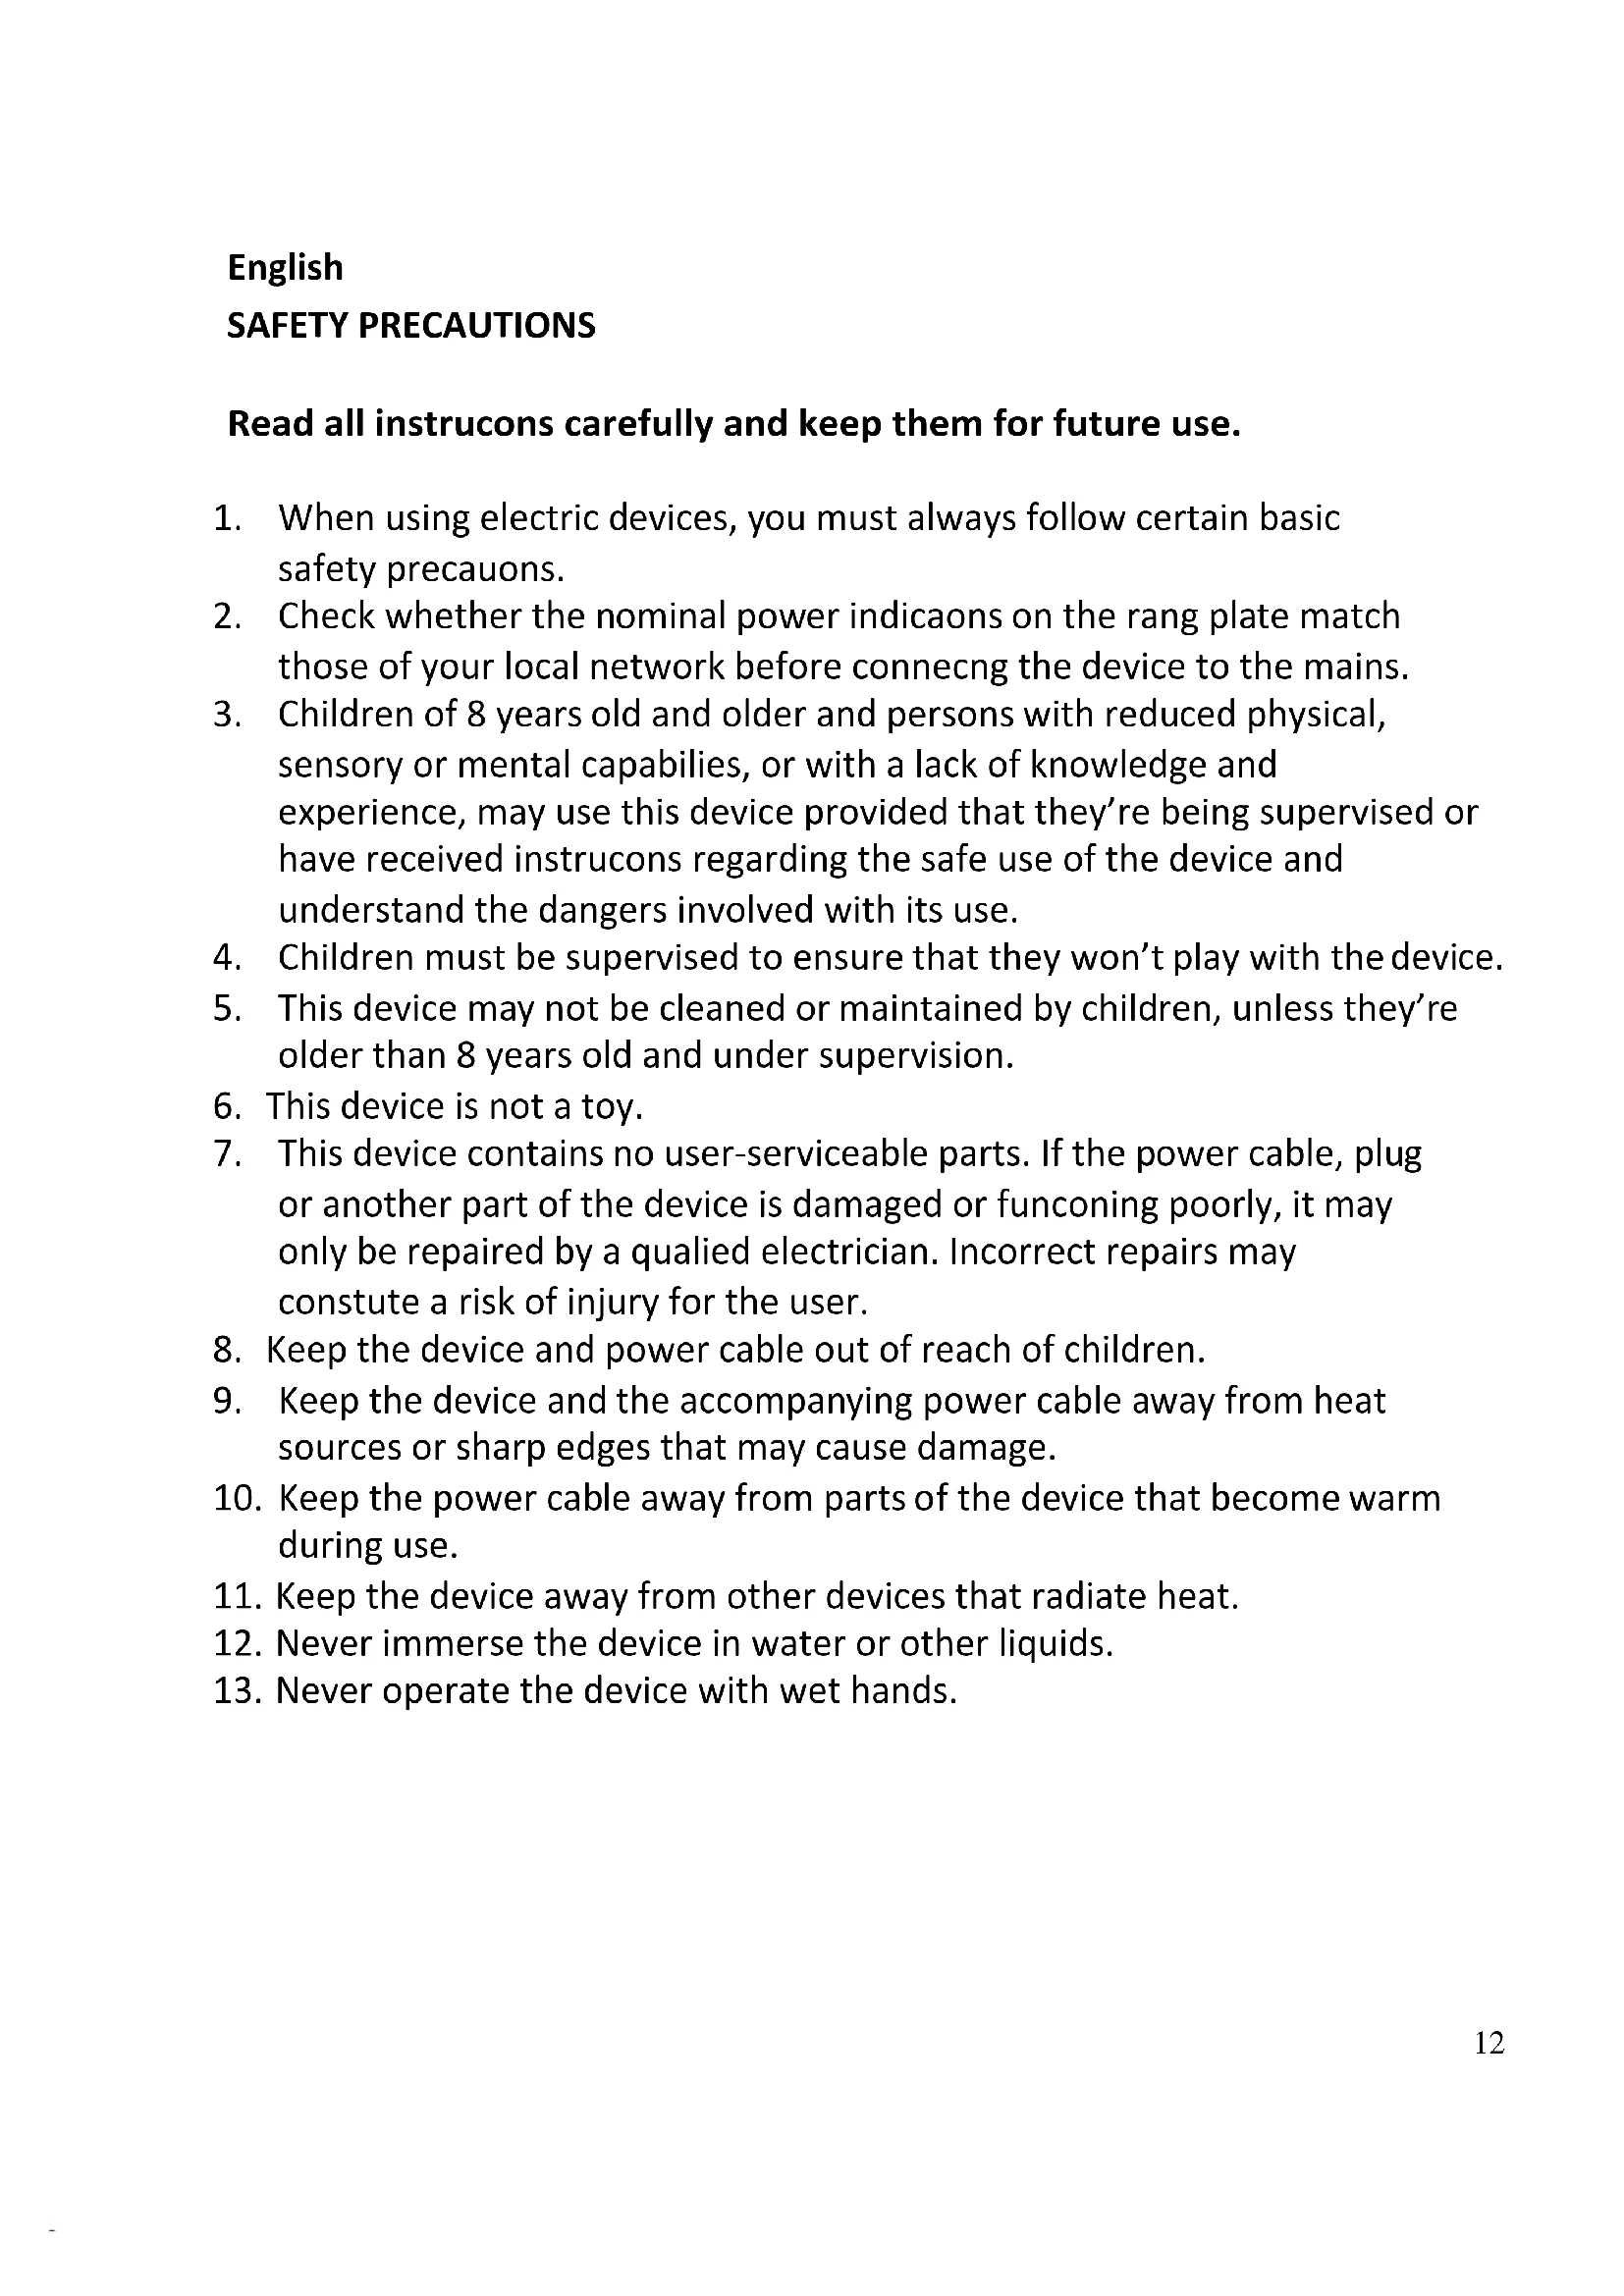
SAFETY PRECAUTIONS
Read all instrucons carefully and keep them for future use.
- When using electric devices, you must always follow certain basic safety precautions.
- Check whether the nominal power indications on the rang plate match those of your local network before connecng the device to the mains.
- Children of 8 years old and older and persons with reduced physical, sensory or mental capabilities, or with a lack of knowledge and experience, may use this device provided that they're being supervised or have received instrucons regarding the safe use of the device and understand the dangers involved with its use.
- Children must be supervised to ensure that they won't play with the device.
- This device may not be cleaned or maintained by children, unless they're older than 8 years old and under supervision.
- This device is not a toy.
- This device contains no user-serviceable parts. If the power cable, plug or another part of the device is damaged or funconing poorly, it may only be repaired by a qualified electrician. Incorrect repairs may constute a risk of injury for the user.
- Keep the device and power cable out of reach of children.
- Keep the device and the accompanying power cable away from heat sources or sharp edges that may cause damage.
- Keep the power cable away from parts of the device that become warm during use.
- Keep the device away from other devices that radiate heat.
- Never immerse the device in water or other liquids.
-
Never operate the device with wet hands.
-
Never leave the device unaended while connected to the mains.
- Never remove the device's plug from the wall socket by pulling at the cable; switch o and remove the plug with your hand.
- Only use the device for its intended use. Only use the supplied accessories.
- This device is not suitable for outdoor use.
- Never store the device in direct sunlight or in an environment with a high humidity.
- To avoid injuries, never touch the heang elements of the device or any other parts of the device that may become hot.
- Never use sharp or abrasive objects in combinaon with this device.
- Always disconnect the product from the mains both aer use and before cleaning or maintenance.
- Aer use, always make sure that the device has cooled o completely before cleaning, maintaining or storing the device.
- Always use the device on a stable, heat-resistant surface and at a height comfortable for the user.
- The use of an extension cord with this device is not recommended.
- This device may not be operated through an external mer or a separate remote control system other than the one supplied with this device.
- This device is intended only for household use. It may not be used for commercial purposes.
- The exterior of the device may become hot during use.
- Careful: Hot surface – never touch the hot part or the heang elements of the device.
- Never pour water onto the heang element.
- Warning: Keep the device away from ammable materials.
- Clean only with a slightly damp cloth.
- Do not cover or block any venlaon openings. When placing the device on a shelf, leave 5 cm (2") free space around the whole device.
- Install in accordance with the supplied user manual.
- Unplug this device during lightning storms or when unused for a long period.
-
Warning! Never insert an object into the product through the vents or openings. High voltage ows through the product and inserng an object can cause electric shock and/or short circuit internal parts. For the same reason, do not spill water or liquid on the product.
-
Although this device is manufactured with the utmost care and checked several mes before leaving the factory, it is sll possible that problems may occur, as with all electrical appliances. If you noce smoke, an excessive build-up of heat or any other unexpected phenomena, you should disconnect the plug from the main power socket immediately.
- The socket outlet must be installed near the equipment and must be easily accessible.
- Do not overload ac outlets or extension cords. Overloading can cause re or electric shock.
- Keep away from rodents. Rodents enjoy bing on power cords.
- Always hold the plug when pulling it out of the main supply socket. Do not pull the power cord. This can cause a short circuit.
- Avoid placing the device on any surfaces that may be subject to vibraons or shocks.
- To clean the device, use a so dry cloth. Do not use solvents or petrol based uids. To remove severe stains, you may use a damp cloth with dilute detergent.
- Never remove the casing of this apparatus.
- Do not use or store this product in a place where it is subject to direct sunlight, heat, excessive dust or vibraon.
- Do not allow children access to plasc bags.
INSTALLATION
- Unpack all parts and remove protective material.
- *Do not connect the unit to the mains before checking the mains voltage and before all other connexons have been made.
USE
1. First me use
Take the device out of the box.
Remove all packing materials from the device.
Replace the packaging into the box and store them or discard them according to the applicable regulaons.
When using the device for the rst me, you may detect somewhat of a smell. This is normal, this odour will disappear quickly.
Make sure that there's sucient venlaon space around the device.
2. Parts of the device

- 2-in-1 popcorn and pancake maker
- Serving bowl
- Bowl lid
- Hot plate with non-sck layer
- Power switch
- Indicator
- Measuring cup
- Oil measure
- Baer spreader
3. Using the device for making popcorn
Check whether the device is clean and dry, make sure that it's switched o and the plug is removed from the wall socket.
STEP 1: Place the device onto a at, stable surface at a height comfortable for the user.
STEP 2: Measure one levelled o spoon of oil or buer, apply the oil or buer on the hot place and carefully rub it into the hot plate using kitchen towel.
STEP 3: Insert the plug of the device into a wall socket.
STEP 4: Switch on the device using the power switch. The indicator will switch on.
STEP 5: Let the device preheat for approx. 1.5 to 2 minutes. The indicator turns o as soon as the required temperature is reached.
STEP 6: Measure 50g to 60g kernels using the measuring cup and pour them onto the hot plate. Never use more than 60g kernels at once, to avoid kernels overowing, touching and then injuring the user.
STEP 7: Place the pull tab of the serving bowl next to arrow on the device and then rotate the serving bowl 90^ clockwise until it clicks into its place. Remove the lid from the bowl to let the steam escape.
STEP 8: Use the handle to lightly shake the device to ensure that all kernels are equally covered with oil. It'll take approx. 5 to 6 minutes until all of the kernels are popped.
STEP 9: When the popcorn is ready, turn the device o using the power switch and remove the wall socket from the wall socket. Replace the lid onto the serving bowl.
STEP 10: Hold the device at its handle, turn it upside down and rotate the serving bowl 90° an-clockwise to remove it from the device.
STEP 11: You may now use the bowl to serve delicious popcorn.
Remark: During use, the indicator somemes switches on and o to indicate that the device is being kept at the opmal temperature.
If kernels are scking to the hot plate, please use the handle to lightly shake the device. This prevents the popcorn from burning. If you add an insucient amount of oil, the kernels may burn and might not pop.
Warning: It's possible that some of the kernels expand and explode while the device is operang. Always be careful and never touch the popcorn immediately as it may be too hot.
4. Using the device for making crepes
Check whether the device is clean and dry, make sure that it's switched o and the plug is removed from the wall socket.
STEP 1: Place the device onto a at, stable surface at a height comfortable for the user.
STEP 2: Insert the plug of the device into a wall socket.
STEP 3: Switch on the device using the power switch. The indicator will switch on.
STEP 4: Let the device preheat for approx. 1.5 to 2 minutes. The indicator switches o as soon as the required temperature is reached.
STEP 5: Measure one levelled o unit of baer using the measuring cup and pour the baer onto the hot plate. Never use more than one levelled o unit of baer at once, otherwise the result may be disappointing.
STEP 6: Use the baer spreader to spread out the baer: make circular movements until the baery is spread out evenly over the hot plate.
STEP 7: Cook the crepe for approx. 2 minutes or unl the boom turns brown.
STEP 8: When the crepe starts bubbling, loosen the edges with a spatula, turn over the crepe and connue cooking unl done.
STEP 9: When the crepe is ready, turn o the device with the power switch and remove the plug from the wall socket.
STEP 10: Carefully slide the crepe o the device.
YOU MAY COOK A FRIED EGG OR EVEN AN OMELET IN THE SAME WAY!
5. Cleaning and storing the device
Switch o the device, remove the plug from the wall socket and let the device cool o completely before cleaning or maintaining it.
STEP 1: Clean all of the accessories in warm water with a mild detergent, then rinse and dry them thoroughly.
STEP 2: Use a so, moist cloth to wipe o the device and let it dry completely.
Never immerse the device in water or other liquids. Never use scraping or abrasive cleaning products or scourers to clean the device; otherwise you might damage the device.
Aenon: the device and accessories are not suitable for dishwashers.
Clean the device aer each use.
TECHNICAL DATA
Model: 99344
2-in-1 popcorn and pancake maker
Mains data: 220-240V \~ 50-60Hz
Power consumpon: 800 Wa
GUIDELINES FOR PROTECTION OF THE ENVIRONMENT
This appliance should not be put into the domesc garbage at the end of its durability, but must be oered at a central point for the recycling of electric and electronic domesc appliances. This symbol on the appliance, instrucon manual and packaging puts
your aenon to this important issue. The materials used in this appliance can be recycled. By recycling used domesc appliances you contribute an important push to the protecon of our environment. Ask your local authorities for informaon regarding the point of recollecon.
Packaging
The packaging is 100% recyclable, return the packaging separated.
Product
This device is equipped with a mark according to the European Directive 2002/96/EC on Waste Electrical and Electronic Equipment (WEEE). By ensuring that this product will be correctly processed into waste, it will help prevent possible negative consequences for the environment and human health.
EC declaraon of conformity
This appliance is designed to come into contact with food and is designed in accordance with EC Direcve89/109/EEC. This device is designed, manufactured and marketed in accordance with the safety objectives of the Low Voltage Direcve "No 2006/95/EC", the protecon requirements of the EMC Direcve 2004/108/EC "Electromagnec Compatibility" and the requirement of Direcve 93/68/EEC.
SERVICE
If you have any further quesons about the product aer reading this manual, please contact the Trebs customer service.
Trebs BV
Thermiekstraat 1a
6361 HB Nuth
Nederland
Classic salted popcorn
Ingredients: 30 gr. buer/20 gr. sugar/1 tbs water/1 tbs olive oil/salt to taste
Cooking method:
Combine all ingredients in a saucepan and gradually heat up unl the buer is melted. Let the mixture cool o while srring occasionally.
Pour the mixture over the popcorn and shake well. Serve and enjoy!
Classic sweet popcorn
Ingredients: 30 gr. buer/30 gr. brown sugar/2 tbs syrup
Cooking method:
Combine all ingredients in a saucepan and gradually heat up unl the buer is melted. Let the mixture cool o while srring occasionally. Pour the mixture over the popcorn and shake well.
Serve and enjoy!
Crepes
Ingredients: 100 gr. ower/2 eggs/300 ml milk/1 tbs vegetable oil and extra oil for cooking/pinch of salt
Cooking method:
Pour the ower and salt into a large mixing bowl and create a small well in the middle. Break the eggs and pour them into the well. Add 50 ml of milk and the vegetable oil and mix everything together with a whisk unl the baer is smooth and thick. Keep mixing with the whisk while adding the remaining milk.
Leave the baer in the fridge for approx. 30 minutes to allow the starch to rise.
Prepare the crepes according to the instrucons in the paragraph 'Using the device for making crepes'.
Pour the topping over the crepe and spread out evenly.
Delicious toppings
Chocolate syrup (golden syrup)
Ice cream
Peanut buer
Hazelnuts
Almonds
Lemon
Banana
Blueberries
Raspberries
Strawberries