Pure One S15 Pro - Vacuum Cleaner TINECO - Free user manual and instructions
Find the device manual for free Pure One S15 Pro TINECO in PDF.
Download the instructions for your Vacuum Cleaner in PDF format for free! Find your manual Pure One S15 Pro - TINECO and take your electronic device back in hand. On this page are published all the documents necessary for the use of your device. Pure One S15 Pro by TINECO.
USER MANUAL Pure One S15 Pro TINECO
*The accessories you received may vary by market, please refer to the “Included Accessories” located on the packaging box.
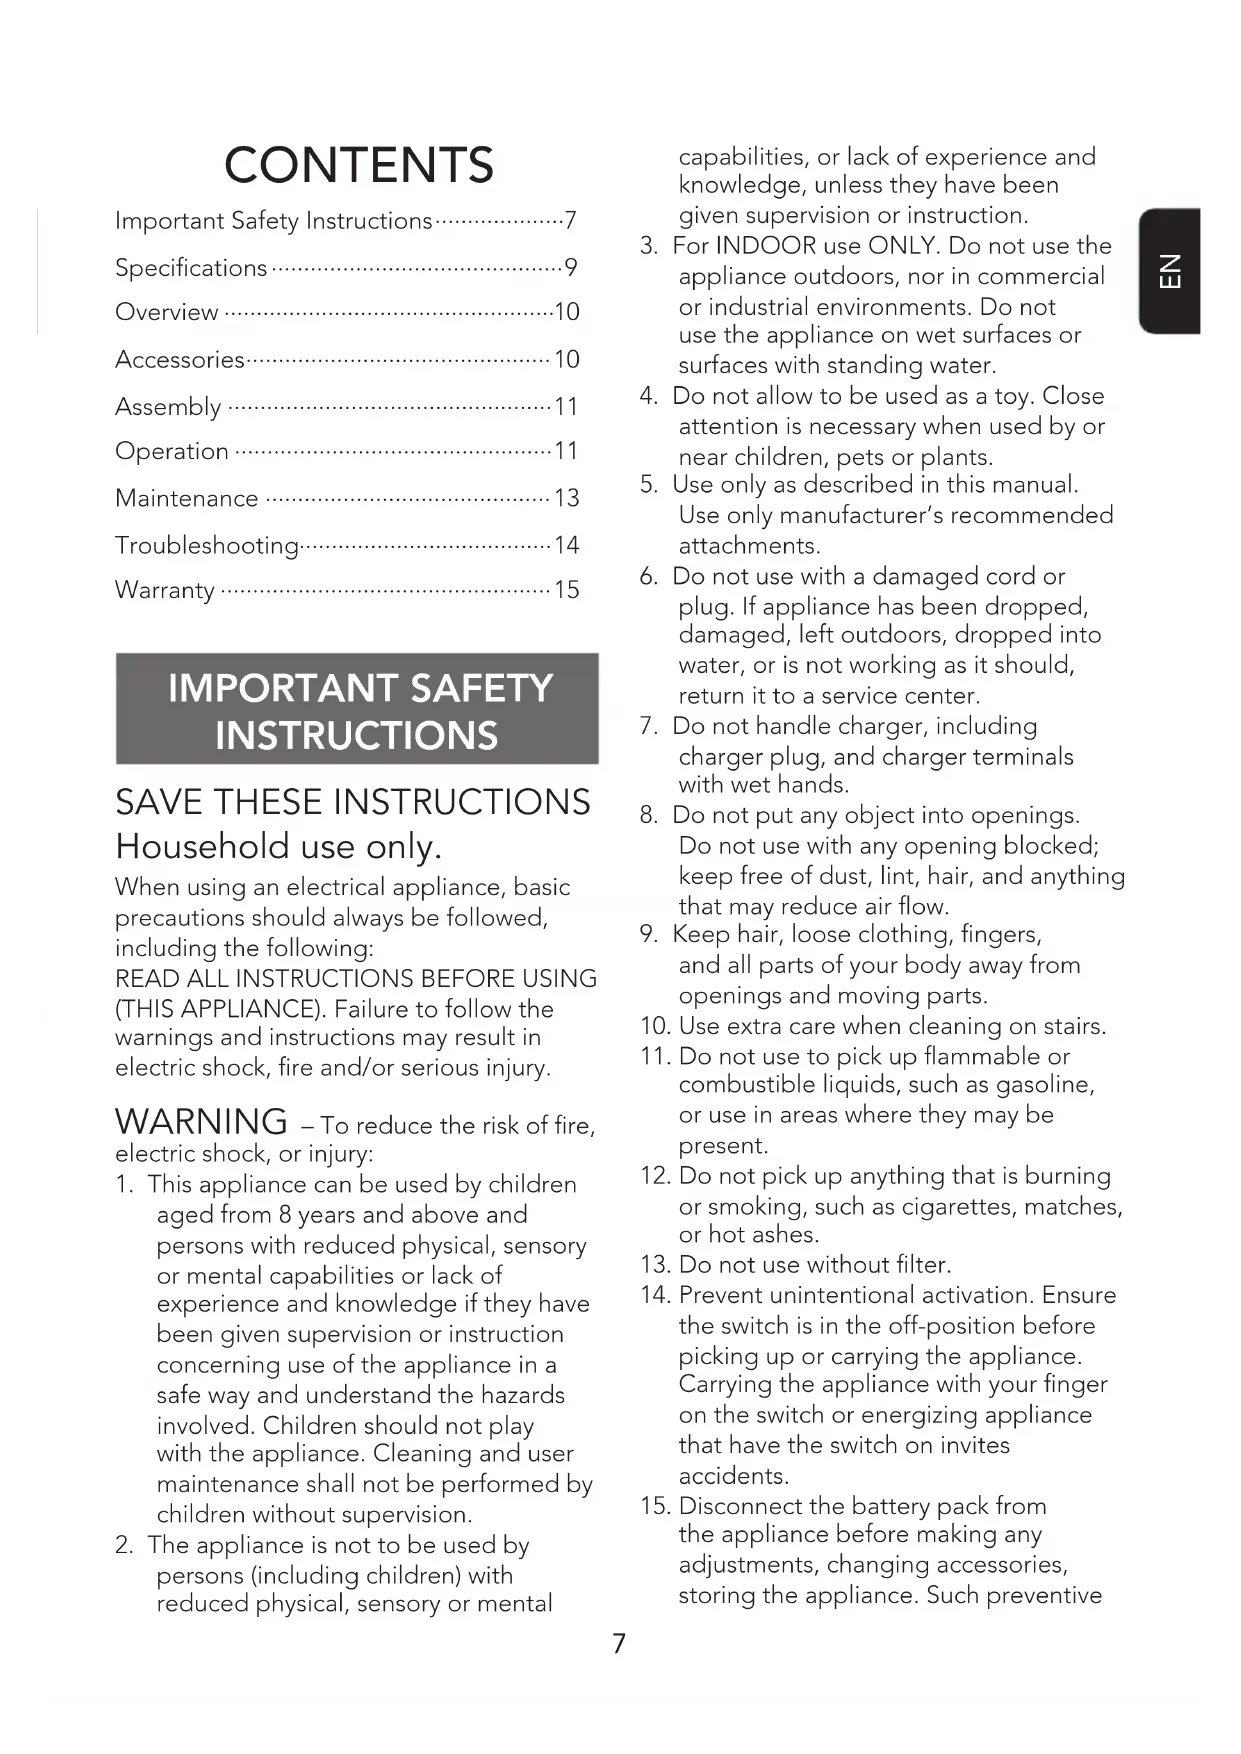
SAVE THESE INSTRUCTIONS
Household use only. When using an electrical appliance, basic precautions should always be followed, including the following:READ ALL INSTRUCTIONS BEFORE USING (THIS APPLIANCE). Failure to follow the warnings and instructions may result in electric shock, re and/or serious injury. WARNING – To reduce the risk of re, electric shock, or injury:1. This appliance can be used by children aged from 8 years and above and persons with reduced physical, sensory or mental capabilities or lack of experience and knowledge if they have been given supervision or instruction concerning use of the appliance in a safe way and understand the hazards involved. Children should not play with the appliance. Cleaning and user maintenance shall not be performed by children without supervision.2. The appliance is not to be used by persons (including children) with reduced physical, sensory or mental capabilities, or lack of experience and knowledge, unless they have been given supervision or instruction.3. For INDOOR use ONLY. Do not use the appliance outdoors, nor in commercial or industrial environments. Do not use the appliance on wet surfaces or surfaces with standing water.4. Do not allow to be used as a toy. Close attention is necessary when used by or near children, pets or plants.5. Use only as described in this manual. Use only manufacturer’s recommended attachments.6. Do not use with a damaged cord or plug. If appliance has been dropped, damaged, left outdoors, dropped into water, or is not working as it should, return it to a service center.7. Do not handle charger, including charger plug, and charger terminals with wet hands.8. Do not put any object into openings. Do not use with any opening blocked; keep free of dust, lint, hair, and anything that may reduce air ow.9. Keep hair, loose clothing, ngers, and all parts of your body away from openings and moving parts.10. Use extra care when cleaning on stairs.11. Do not use to pick up ammable or combustible liquids, such as gasoline, or use in areas where they may be present.12. Do not pick up anything that is burning or smoking, such as cigarettes, matches, or hot ashes.13. Do not use without lter.14. Prevent unintentional activation. Ensure the switch is in the off-position before picking up or carrying the appliance. Carrying the appliance with your nger on the switch or energizing appliance that have the switch on invites accidents.15. Disconnect the battery pack from the appliance before making any adjustments, changing accessories, storing the appliance. Such preventiveEN
safety measures reduce the risk of starting the appliance accidentally.
16. For the purposes of recharging the
battery, only use the detachable supply unit provided with this appliance. A charger that is suitable for one type of battery pack may create a risk of re when used with another battery pack.
17. Use appliances only with specically
designated Tineco battery packs. Use of any other battery packs may create a risk of injury and re.
18. When battery pack is not in use, keep
it away from other metal objects, like paper clips, coins, keys, nails, screws or other small metal objects, that can make a connection from one terminal to another. Shorting the battery terminals together may cause burns or a re.
19. Under improper usage, liquid may be
ejected from the battery; avoid contact. If contact accidentally occurs, ush with water. If liquid comes into eye contact, seek medical help. Liquid ejected from the battery may cause irritation or burns.
20. Do not use a battery pack or appliance
that is damaged or modied. Damaged or modied batteries may exhibit unpredictable behavior resulting in re, explosion or risk of injury.
21. Do not expose a battery pack
or appliance to re or excessive temperature. Exposure to re or temperature above 266°F (130°C) may cause an explosion.
22. Follow all charging instructions and
do not charge the battery pack or appliance outside of the temperature range specied in the instructions. Charging improperly or at temperatures outside of the specied range may damage the battery and increase the risk of re.
23. Have servicing performed by a qualied
repair person using only identical replacement parts. This will ensure that the safety of the product is maintained.
24. This appliance contains battery cells
that are non-replaceable. Do not modify or attempt to repair the appliance or the battery pack except as indicated in the instructions for use and care.
25. Always turn off this appliance before
connecting or disconnecting the motorized nozzle.
26. Brush may start unexpectedly.
Disconnect battery pack before cleaning or servicing.
27. Do not charge or store the appliance
outdoors or inside the car. Only charge, store or use the battery in a dry indoor area where the temperature is higher than 39.2°F (4°C) but lower than 104°F (40°C). The charger is for indoor use only.
28. Do not unplug by pulling on cord.
To unplug, grasp the charger, not the cord. FCC Supplier’s Declaration of Conformity
TINECO / PURE ONE S15 PRO SERIES
This appliance complies with part 15 of the FCC Rules. Operation is subject to the following two conditions: (1) This appliance may not cause harmful interference, and (2) this appliance must accept any interference received, including interference that may cause undesired operation. TINECO INTELLIGENT, INC. 1700 WESTLAKE AVENUE N., SUITE 200,
1-855-292-8864 Changes or modications not expressly approved by the party responsible for compliance could void the user’s authority to operate the equipment. Note: This equipment has been tested and found to comply with the limits for a Class B digital appliance, pursuant to
Part 15 of the FCC Rules. These limits areEN
designed to provide reasonable protection against harmful interference in a residential installation. This equipment generates uses and can radiate radio frequency energy and, if not installed and used in accordance with the instructions, may cause harmful interference to radio communications. However, there is no guarantee that interference will not occur in a particular installation. If this equipment does cause harmful interference to radio or television reception, which can be determined by turning the equipment off and on, the user is encouraged to try to correct the interference by one or more of the following measures: (1) Reorient or relocate the receiving antenna. (2) Increase the separation between the equipment and receiver. (3) Connect the equipment into an outlet on a circuit different from that to which the receiver is connected. (4) Consult the dealer or an experienced radio/TV technician for help. (5) This device can be used in portable mode without restriction. FCC Radiation Exposure Statement This equipment complies with FCC radiation exposure limits set forth for an uncontrolled environment. Note The manufacturer is not responsible for any radio or TV interference caused by unauthorized modications to this equipment, such modications could void the user’s authority to operate this equipment. IC Note This appliance contains licence-exempt transmitter(s)/receiver(s) that comply with Innovation, Science and Economic Development Canada’s licence-exempt RSS(s). Operation is subject to the following two conditions: (1) this appliance may not cause interference. (2) this appliance must accept any interference, including interference that may cause undesired operation of the appliance. - This Class B digital apparatus complies with Canadian ICES-003. - This equipment complies with ISED RSS- 102 radiation exposure limits set forth for an uncontrolled environment. Symbols Read the instruction manual For indoor use only Direct current Alternating current Power On/Off Mode button SPECIFICATIONS Product
WiFi Frequency Bands 2.4G WiFi Maximum Output Power 17dBm Disposal
- The battery contains materials that are harmful to the environment and must be removed from the appliance before it is discarded.
- When removing the battery, the appliance must be powered off.
- Batteries, chargers, accessories and packaging should be sorted for environmental friendly recycling. Do not put them into re, water or soil. Do not dispose of batteries and chargers into household waste!
- If battery leakage contacts skin or clothing, immediately ush with water to avoid irritation and seek medical help. OVERVIEW 1 Dust Sensor 2 Digital Display 3 Dust Empty Release Button 4 Dustbin 5 Mode Button 6 Power Control Slider 7 Dust Empty Tab 8 Battery Release Button 9 Battery Indicator Light 10 Power Button 11 HEPA Filter Fig.A ACCESSORIES Note:
- Test an accessory on a small, inconspicuous area before use on sensitive surfaces.
- To identify what should be included with your purchase, please refer to the “Included Accessories” located on the packaging box.
- As shown below, there are many components compatible with this model. If you require more accessories, please go to www.tineco.com or store.tineco.com.
1. Direct-drive anti-tangle LED
power brush Very effective for cleaning ne dust on the carpet and hard oor without tangling caused by hairs blocking into roller. LED headlights help you clean the hard-to-see spots.
For vacuuming upholstered furniture, mattresses etc. Vacuums pet hair and removes ingrained dirt.
3. 2-in-1 dusting brush
Switches between a wide and a soft brush by pressing the release button. The soft brush is most effective on hard-surface furniture while the wide brush is effective for upholstered furniture, curtains, etc.
For corners, nooks, and other hard-to-reach places such as around car seats, picture frames, and cupboards.
5. Soft dusting brush
Angled bristles on a slender, oval-shaped rim provide anti-static, cushioned contact. Suitable for dusting shelves, lighting, delicate surfaces, electronics and more.
6. Flexible long crevice tool
Easy to bend, easy to reach tight spots. Suitable for cleaning dust behind and beneath furniture, around refrigerators, and many other tight gaps.
7. Multi-angle folding tube
An articulated joint makes it adjustable to allow for exibility when cleaning from high to low.EN
Excellent extension and exibility to access hard-to-reach spaces; perfect for in-care use. Compatible with all non-motorized Tineco accessories.
9. Hair cleaning tool
Use the end with the small blade to remove hair and debris wrapped around the roller. Use the end with the brush to clean the brush window, and the dustbin, as required. Fig.B ASSEMBLY Tube Installation
- Insert tube. Fig.C-1
- Insert to the main body. Fig.C-2
- Press the release button to remove the power brush. Fig.C-5 Battery Installation
- Press the battery release button, and remove the battery. Fig.C-6
- To install, slide the battery into the slot at the base of the main body. The battery will click into position when correctly tted. Fig.C-7 Charging Dock Installation
- Lift up the charging post to the upright position. Fig.C-8
- Press hard to x the charging post rmly on the dock. Fig.C-9
- For easy storage, pull up the charging post and then press down. Fig.C-10 OPERATION Preparing for Use Note:
- Before the rst use, please charge the appliance (see “Charging the Battery”) for 3-4 hours in an area where the ambient temperature is between 39.2°F (4°C) and 104°F (40°C).
- Select an accessory and attach it to the appliance before use (see “Accessories”). 1.Press the button to activate the suction. Press it again to turn off the appliance. Fig.D-1 2.The appliance will start in AUTO mode by default. Press the button to switch between AUTO and MAX mode. Swipe the power control slider to switch to Manual mode. Fig.D-2 3.Place the appliance and attachments on the charging dock for convenient storage after use. Fig.D-3 Cleaning Mode Selection AUTO Mode
- In AUTO mode, the iLoop sensor automatically detects how dirty the surface is and applies the appropriate suction power.
- A red dust monitoring loop indicates more dust is detected whereas a blue loop indicates less is detected. This mode automatically provides the best cleaning solution. Fig.D-4 MAX Mode
- In MAX mode, the iLoop only displays the dirty amount, and the suction power keeps at the maximum. Fig.D-5 Manual Mode
- In AUTO or MAX mode, swipe the power control slider to switch to Manual mode.
- In Manual mode, you can control the power as needed. Fig.D-6 Note:
- Keep sharp objects away from the digital display screen to avoid scratches and scrapes.
- Only use with dry hands. Dirty hands may affect slider operation. Emptying the Dustbin 1.With the power off, push down the dust empty tab to clean the dustbin. If too much dust causes a blockage, press the release button on the dustbin and empty the contents. Fig.D-7 2.Close and click the dustbin ap back into place. Fig.D-8 Charging the Battery 1.Plug the adaptor into the charging port at the bottom of the dock. Fig.D-9 2.Place the appliance on the charging dock and plug the adaptor into a wall outlet. Fig.D-10
- Only use the Tineco-provided adaptor to charge the appliance.
- To avoid trip hazards, please place the appliance securely on the charging dock, near a wall during charging.
- During long periods of not being used, store the appliance in a cool, dry place. Ensure the battery is fully charged every 3 months.
- Do not expose appliance to sunlight or freezing temperature.
- Recommended temperature range: 39.2°F (4°C)~104°F (40°C). Runtime
- When in AUTO mode, the runtime is approximately 40 minutes. When MAX power is used, the runtime is approximately 10 minutes.
- Estimated runtime data was obtained by a Tineco Laboratory using one battery and non- motorized accessories. Charging Time
- A full charge takes approximately 3-4 hours.
- Estimated data was obtained by a Tineco Laboratory using ambient temperatures between 39.2°F (4°C) to 104°F (40°C). App All the functions can be performed using the Tineco app. Download the Tineco app from the App Store, Google Play and Tineco Ofcial Site. www.tineco.com App DownloadsSupportApp Downloads Tineco Download on the App Store GET IT ON Google Play Note: The default setting for voice prompt is English, you can set other languages via App. Turn On/Off WiFi
- Turn on WiFi: During work, long press the button for 3 seconds to enter Help Center and go to Connect to network.
- Turn off WiFi: Long press the button for 20 seconds to turn off.EN
Voice Prompt (Contents may vary, please in kind prevail.) Status Reminder Quick Start Guide Welcome to the PURE ONE tutorial, please follow the quick start guide This is the power button The mode button and power control slider are on the top The dust empty tab is on the side of the dustbin The lter is on the bottom which is removable for easy cleaning Connect to the appliance Please download Tineco app and connect the PURE ONE WiFi network connected Network connected WiFi network disconnected Disconnected Voice prompts on Voice prompts on Voice prompts disabled Voice prompts disabled Restore factory settings Factory settings restored AUTO mode by default AUTO Mode Switch to Manual mode Manual Mode Switch to MAX mode MAX Mode Low battery Battery level is below 20% No battery, please charge Battery level is at 0, please charge the appliance Brush roller is tangled Brush roller tangled, please clean the brush Dust sensor malfunction Dust sensor malfunction, please clean the dust on the inner sensor Status Reminder Air channel blocked Air channel blocked, please clean the air channel and dustbin Power is off Power off Start charging Charging Help Center Cleaning tutorial Voice switch Connect to network Restore factory settings Exit MAINTENANCE Note:
- Clean the dustbin and lters after each use.
- To maintain high performance, wash and dry the pre-lter monthly, replacing it every 6 months. Wash and dry the HEPA lter every 3 months, replacing it every 12 months. Dustbin, Mesh Filter and Pre-lter 1.Turn counter-clockwise to remove the lters. Fig.E-1 2.Do not turn the appliance upside down when removing or installing the lter to prevent dust from entering the motor. Fig.E-2 3.Clean the dustbin and mesh lter with a damp cloth or the cleaning tool. Air dry completely before reinstalling. Fig.E-3 4.The pre-lter can be washed under cold running water and must be completely dry before reinstalling. Fig.E-4 5.After cleaning, insert the pre-lter into the mesh lter properly and it clicks into place. Install the clean lters back into the main body, then close the dustbin ap. Fig.E-5EN
HEPA Filter 1.Pull out the HEPA lter (in magnetic design) for cleaning. Do not use the appliance without rst installing the HEPA lter. Fig.E-6 2.The HEPA lter can be washed under cold running water and must be completely dry before reinstalling. Fig.E-7 Dust Sensor
- To avoid dust accumulation which can affect cleaning performance, wipe the suction mouth with a damp cloth. Fig.E-8 Mini Power Brush 1.Press against the roller end cover downward. Fig.E-9 2.Pull out the brush roller. Fig.E-10 3.Remove the debris wrapped around the roller with the Tineco Hair Cleaning Tool. Fig.E-11 4.Fully reinsert the brush roller at an angle and push upward until it clicks securely back into place. Fig.E-12 Brush Head 1.With the power off, slide the switch to open the brush roller end cover, and rotate it counter-clockwise to pull out the brush roller. Fig.E-13 2.After removing the brush roller, gently clean the brush window, suction mouth and the row of plastic teeth. Fig.E-14 3.Fully reinsert the brush roller into the brush window and the end cover can be rotated clockwise until it clicks securely back into place. Fig.E-15
- The power brush contains electrical components which must not be soaked or washed with water.
- Turn the power off and remove the battery before performing maintenance for the brush roller.
- To reduce the injury, do not touch the brush roller while the appliance is in working condition. TROUBLESHOOTING Problem Solution The appliance does not turn on Charge the battery Restart after cooling down Check and remove blockages Weak suction power Clean the dustbin and lters Install the pre-lter Remove blockages Clean the brush roller Abnormal sounds or plastic teeth tangled in brush Pull out the brush roller and remove blockages Suction mouth blocked Remove the mesh lter, clean the suction mouth and dustbin Battery won’t charge Reinsert the adaptor correctly Check the main body and battery are correctly placed Use the original adaptor Brush roller tangled Voice prompt: Brush roller tangled, please clean the brush Remove blockages Air channel blocked Voice prompt: Air channel blocked, please clean the air channel and dustbin Remove blockagesEN
Problem Solution Dust sensor malfunction Voice prompt: Dust sensor malfunction, please clean the dust on the inner sensor Clean the dust on the inner sensor Install the dustbin correctly Battery indicator blinking red on work Remove the battery pack and let it cool Battery indicator blinking red during charging Use the original adaptor Abnormal motor sounds Remove blockages Note: If the above troubleshooting guide fails to provide a solution, please visit our website www.tineco.com for further support. WARRANTY
2-YEAR LIMITED WARRANTY
- Only applies to purchases made from authorized retailers of Tineco.
- Is subject to the adherence of the requirements outlined in this instruction manual, and is subject to further conditions outlined below.
- This warranty is governed by and construed under the laws of the country in which the purchase took place. We provide 2-year warranty or a warranty period as stipulated by applicable local law, whichever is longer. WHAT IS COVERED?
- Your Tineco appliance has a 2-year warranty against original defects in material and workmanship, when used for private household purposes in accordance with the Tineco Instruction Manual. Motorized accessories and battery bought separately come with a 1-year warranty.
- This warranty provides, at no extra cost to you, all labor and parts necessary to ensure your appliance is in proper operating condition during the warranty period.
- This warranty will only be valid if the appliance is used in the country in which it was sold. WHAT IS NOT COVERED? Tineco shall not be liable for costs, damages or repairs incurred as a result of:
- Appliances purchased from an unauthorized dealer.
- Careless operation or handling, misuse, abuse and/or lack of maintenance or use not in accordance with the Tineco Instruction Manual.
- Use of the appliance other than for normal domestic purposes, e.g. for commercial or rental purposes.
- Use of parts not in accordance with the Tineco Instruction Manual.
- Use of parts and accessories other than those produced or recommended by Tineco.
- External factors unrelated to product quality and use, such as weather, modications, accidents, electrical outages, power surges or acts of God.
- Repairs or alterations carried out by unauthorized parties or agents.
- Failing to clear blockage and other hazardous material from the appliance.
- Normal wear and tear, including normal wearing parts, such as clear bin, belt, lter, HEPA, brush bar, and power cord (or where external damage or abuse is diagnosed), carpet or oor damage due to use not in accordance with manufacturer’s instructions or failure to turn the brush bar off when necessary.
- Reduction in battery discharge time due to battery age or use. WARRANTY LIMITATIONS
- Any implied warranties relating to your appliance including but not limited to warranty of merchantability or warranty of tness for a particular purpose, are limited to the duration of this warranty.
- Warranty coverage applies to the original owner and to the original battery only and is not transferable.EN
- This limited warranty gives you specic legal rights. You may also have other rights which vary by region.
- Manufacturer’s warranties may not apply in all cases, depending on factors such as use of the product, where the product was purchased, or who you purchased the product from. Please review the warranty carefully, and contact the manufacturer if you have any questions. WARRANTY SERVICE Register:
- We highly recommend that upon purchase, you register your appliance on the Tineco ofcial website (www.tineco.com) and enjoy exclusive benets. To register, please enter the whole serial number (found on the base of the vacuum unit). Fig.F-1
- Failure to register your product won’t diminish your warranty rights. How to Claim:
- Please retain your proof of purchase. To make a claim under our Limited Warranty, you need to provide your serial number and the original purchase receipt with the purchase date and order number on it.
- All work will be carried out by Tineco or its authorized agent.
- Any replaced defective parts will become the property of Tineco.
- Service under this warranty will not extend the period of this warranty. Contact our Customer Service Hotline: 1-855-292-8864 or Visit Tineco website www.tineco.com for expert customer service.ES