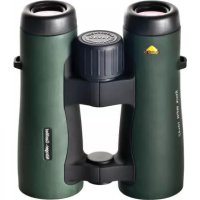
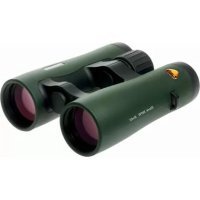
Searanger II 7x50 - Binoculars Bynolyt - Free user manual and instructions
Find the device manual for free Searanger II 7x50 Bynolyt in PDF.

| Product type | Binoculars |
| Brand | Bynolyt |
| Model | Searanger II 7x50 |
| Magnification | 7x |
| Objective lens diameter | 50 mm |
| Focusing | Central focusing knob |
| Diopter adjustment | Yes, via ring on right eyepiece (or central for Tern/Stork models) |
| Interpupillary adjustment | Yes, central hinge |
| Eyepieces | Fold-down rubber eyecups for eyeglass wearers |
| Included accessories | Case, lens caps, cleaning cloth |
| Warranty | Extension to 25 years for models >150€ upon registration |
| Maintenance | Cleaning with cloth and lensclean liquid; avoid shocks, drops, sand/humidity |
| Safety | Never look at the sun with binoculars |
| Material | High-quality optics |
| Usage | Terrestrial and marine observation; suitable for eyeglass wearers |
Frequently Asked Questions - Searanger II 7x50 Bynolyt
User questions about Searanger II 7x50 Bynolyt
0 question about this device. Answer the ones you know or ask your own.
Ask a new question about this device
Download the instructions for your Binoculars in PDF format for free! Find your manual Searanger II 7x50 - Bynolyt and take your electronic device back in hand. On this page are published all the documents necessary for the use of your device. Searanger II 7x50 by Bynolyt.
USER MANUAL Searanger II 7x50 Bynolyt
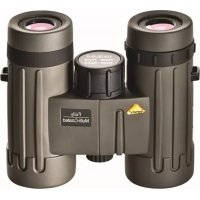
Congratulations on the purchase of your Bynolyt binoculars. Bynolyt is a Dutch brand and guarantees quality and many years of viewing joy!
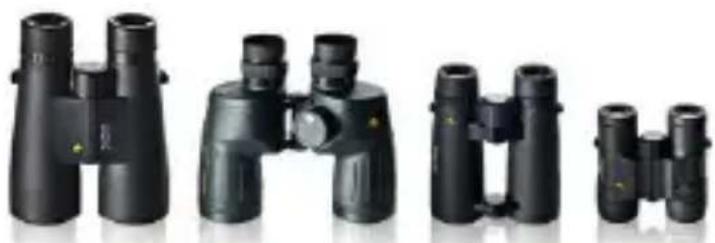
This manual applies to all Bynolyt roof prism and porro prism models.
Technolyt.nl

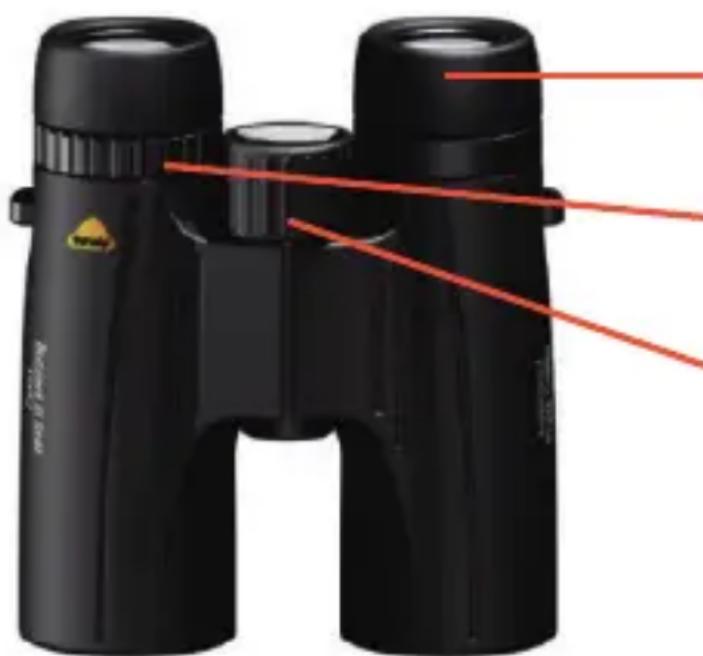
Focussing
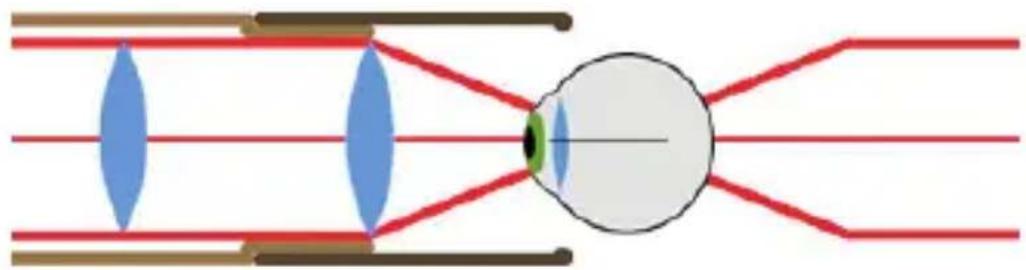
Every pair of binoculars has a central focussing button. In addition, there is a provision for setting the difference in dioptres between the left and the right eye. This dioptre setting only has to be set once (for multiple users, it will need to be reset). With the central focus button you can then focus on any object.

*: Except for Fixed Focus and Individual Ocular Focus models.
Pupil distance
For setting the pupil distance, the binoculars have a hinged middle section. When the binoculars are set optimally, you will have one complete image.
The eyepieces have rubbers, which offer you the option to increase or decrease the distance from your eye to the eyepiece. This feature is included to provide optimum viewing with the binoculars.
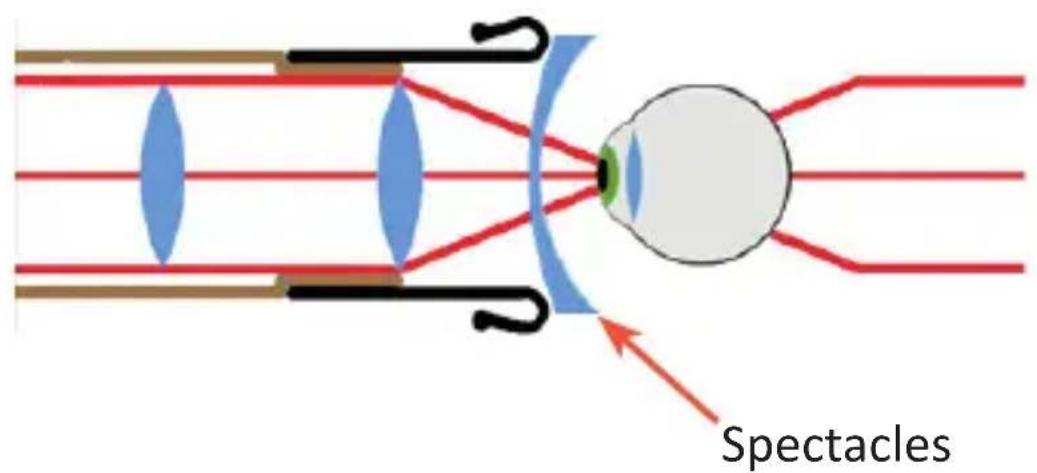
Spectacle wearers
For people who wear spectacles, the eyepiece rubbers can be turned in, pushed in or folded back. This makes it possible to use the complete angle of the binoculars. The transition from the image to the edge is sharp in a properly set pair of binoculars. If the image is black sometimes, or the edges are vague, you need to adjust the eyepiece rubbers.
Setting for first use
Setting the binoculars for first use is done in two steps:
- Eyepiece (left)
2.Eyepiece adjustment ring - Focus button
The first setting is on the left eyepiece** (1). Point the binoculars to an object approx. 100 meters from where you are. While looking through the left eyepiece, cover the right barrel with your hand to prevent distraction. Now focus on the object, using the central focus button
(3). Then look at the same object through the right eyepiece and set it with the eyepiece adjustment ring (2)^** . (Make sure the central focus button is not turned). If you wish, you may cover the left barrel. As soon as the image is sharp, the binoculars are set for your eyes. (For multiple users, the dioptres must be adjusted each time.) You can now focus on any object with the central focus button. Binoculars always have a minimum focus distance. The minimum focus distance depends on the specifications of your binoculars.
**: Exception Tern and Stork. For these binoculars, you must pull out the central focus ring for dioptres. ATTENTION!!: this is for the left eye in the Tern. The procedure for setting is exactly the opposite as what is described above.
Accessoires
Telebackpack
A handy backpack you can use to bring your tripod and telescope with you very easily without having to contiuously dismantle them. By attaching the legs of the tripod to the backpack with a
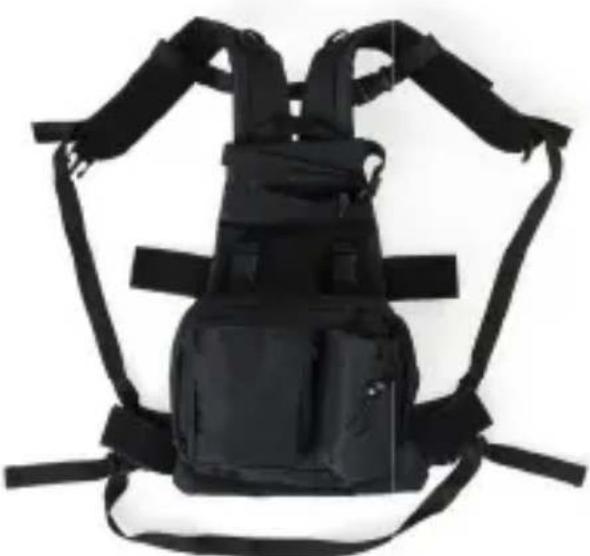
Velcro fastening, you can put the whole thing on your back at once. While observing, the Telebackpack does not have to be taken off the tripod. Two big lockable pockets provide spaces for your camera, lunch, etc.
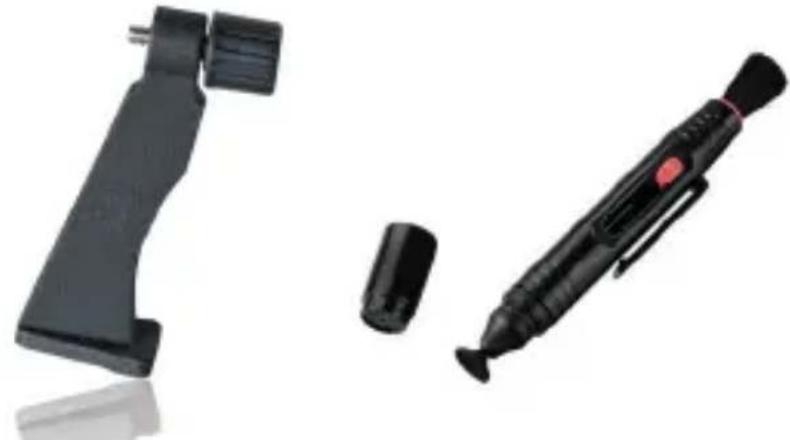
Tripod adapters and Lenspen (with sponge and brush)
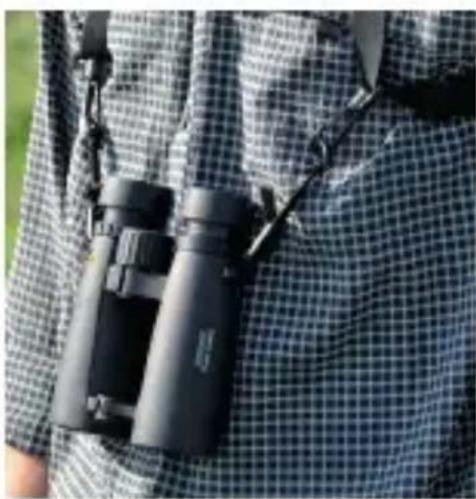
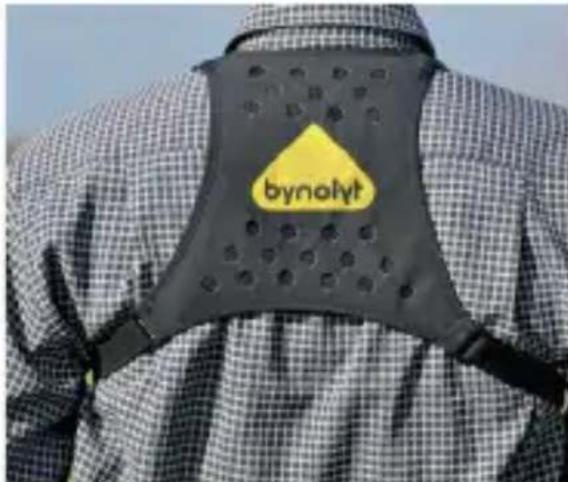
Binocular harness
With this convenient harness, you will never again be bothered by dangling binoculars. For example, you can ride your bike without the binoculars moving back and forth.
But the binoculars are always ready for use!
Warranty
Every pair of Bynolyt binoculars and every Bynolyt telescope that shows manufacturing and/or material flaws, will be repaired FREE OF CHARGE within the warranty term. Warranty is provided only if the binoculars or telescope has a valid proof of warranty and proof of purchase. Please refer to the defi niti ons on the warranty card for the terms and conditi ons.
If you register the binoculars or telescope, you automatically extend the warranty to 25 years (only applies to models over € 150.00).
Maintenance
Your binoculars are a high-quality optical instrument, which protects you from blows, falling, constriction and a sandy-moist environment. After using your binoculars, store them in their case and use the protective caps if appropriate***. To clean the lens parts of your binoculars, you can use the lens tissue included. You may moisten it with its own the lens cleaner fluid. It is recommended to remove grains of sand and such with a lenspen or brush.
***The protective caps are often part of the packaging material and are not always available separately as a service item.
WARNING!
NEVER LOOK DIRECTLY INTO OR TOWARDS THE SUN! THIS MAY CAUSE SERIOUS AND IRREPARABLE DAMAGE TO YOUR EYES.
DEUTSCH
bynolyf
OP TIC S