Rotisserie Chef - Deep fryer Livington - Free user manual and instructions
Find the device manual for free Rotisserie Chef Livington in PDF.
| Product Type | Multifunction Fryer / Rotisserie |
| Brand | Livington |
| Model | Rotisserie Chef |
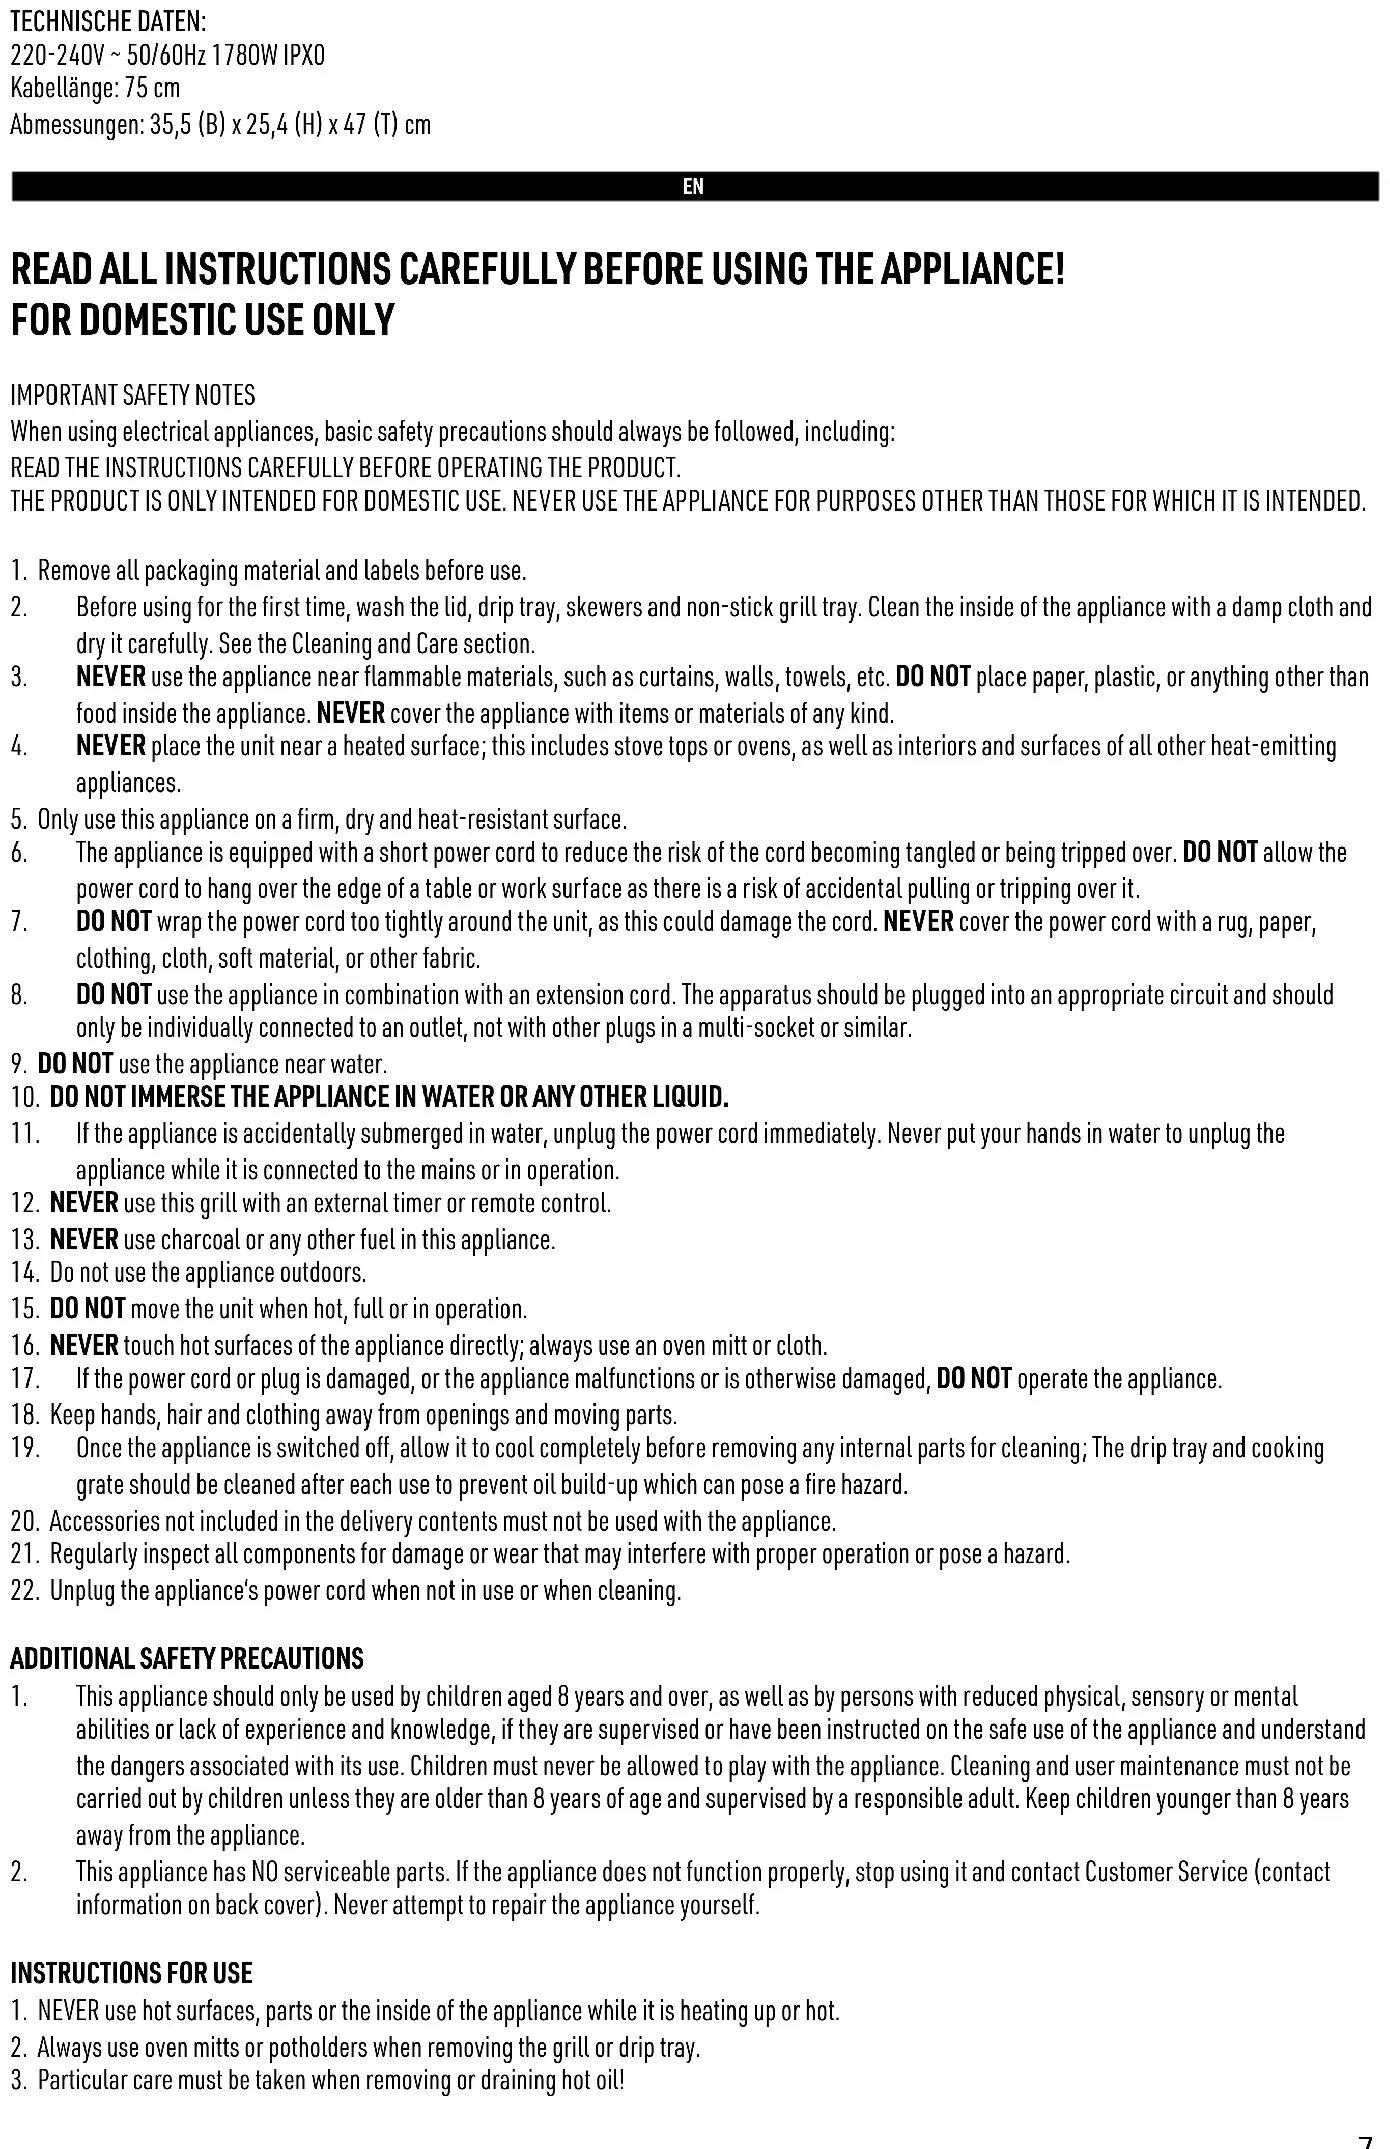
| Dimensions (L x H x D) | 35.5 x 25.4 x 47 cm |
| Power | 1780 W |
| Voltage / Frequency | 220-240 V ~ 50/60 Hz |
| Cable Length | 75 cm |
| Temperature Range | 0 to 240 °C |
| Timer | 0 to 90 minutes with automatic shut-off |
| Functions | Rotisserie (rotation) and Grill (without rotation) |
| Included Accessories | Main unit, glass lid, grid, rotisserie spit with 2 holding clips, drip tray, skewer kit (optional), grilling basket (optional), fish basket (optional) |
| Lid Material | Glass |
| Grid Coating | Non-stick |
| Cleaning | Grid, drip tray and accessories (except spit) are dishwasher safe; interior/exterior with a damp cloth; do not immerse electrical components |
| Safety | Automatic shut-off after timer; anti-tangle short cord; do not touch hot surfaces; do not use with an external timer |
| Protection Rating | IPX0 |
| Use | Indoor only, on a solid and heat-resistant surface |
| Maintenance | Clean after each use to prevent oil deposits; periodically check the condition of components |
Frequently Asked Questions - Rotisserie Chef Livington
User questions about Rotisserie Chef Livington
0 question about this device. Answer the ones you know or ask your own.
Ask a new question about this device
Download the instructions for your Deep fryer in PDF format for free! Find your manual Rotisserie Chef - Livington and take your electronic device back in hand. On this page are published all the documents necessary for the use of your device. Rotisserie Chef by Livington.
USER MANUAL Rotisserie Chef Livington
Delivery Contents and Names of Parts (#1+2):
A. Base unit
B. Cover
C. Grill grate
D. Barbecue skewer with 2 tongs
E. Drip tray
F. Shish kebab set
G. Grill basket
H. Fish grilling basket*
*optionally available
FR
grilling) or grilling (non-rotary function)
Timer: 0 - 90 minutes
FR
Zone de commande (#3):
When using electrical appliances, basic safety precautions should always be followed, including:
READ THE INSTRUCTIONS CAREFULLY BEFORE OPERATING THE PRODUCT.
THE PRODUCT IS ONLY INTENDED FOR DOMESTIC USE. NEVER USE THE APPLIANCE FOR PURPOSES OTHER THAN THOSE FOR WHICH IT IS INTENDED.
- Remove all packaging material and labels before use.
- Before using for the first time, wash the lid, drip tray, skewers and non-stick grill tray. Clean the inside of the appliance with a damp cloth and dry it carefully. See the Cleaning and Care section.
- NEVER use the appliance near flammable materials, such as curtains, walls, towels, etc. DO NOT place paper, plastic, or anything other than food inside the appliance. NEVER cover the appliance with items or materials of any kind.
- NEVER place the unit near a heated surface; this includes stove tops or ovens, as well as interiors and surfaces of all other heat-emitting appliances.
- Only use this appliance on a firm, dry and heat-resistant surface.
- The appliance is equipped with a short power cord to reduce the risk of the cord becoming tangled or being tripped over. DO NOT allow the power cord to hang over the edge of a table or work surface as there is a risk of accidental pulling or tripping over it.
- DO NOT wrap the power cord too tightly around the unit, as this could damage the cord. NEVER cover the power cord with a rug, paper, clothing, cloth, soft material, or other fabric.
- DO NOT use the appliance in combination with an extension cord. The apparatus should be plugged into an appropriate circuit and should only be individually connected to an outlet, not with other plugs in a multi-socket or similar.
- DO NOT use the appliance near water.
- DO NOT IMMERSE THE APPLIANCE IN WATER OR ANY OTHER LIQUID.
- If the appliance is accidentally submerged in water, unplug the power cord immediately. Never put your hands in water to unplug the appliance while it is connected to the mains or in operation.
- NEVER use this grill with an external timer or remote control.
- NEVER use charcoal or any other fuel in this appliance.
- Do not use the appliance outdoors.
- DO NOT move the unit when hot, full or in operation.
- NEVER touch hot surfaces of the appliance directly; always use an oven mitt or cloth.
- If the power cord or plug is damaged, or the appliance malfunctions or is otherwise damaged, DO NOT operate the appliance.
- Keep hands, hair and clothing away from openings and moving parts.
- Once the appliance is switched off, allow it to cool completely before removing any internal parts for cleaning; The drip tray and cooking grate should be cleaned after each use to prevent oil build-up which can pose a fire hazard.
- Accessories not included in the delivery contents must not be used with the appliance.
- Regularly inspect all components for damage or wear that may interfere with proper operation or pose a hazard.
- Unplug the appliance's power cord when not in use or when cleaning.
ADDITIONAL SAFETY PRECAUTIONS
- This appliance should only be used by children aged 8 years and over, as well as by persons with reduced physical, sensory or mental abilities or lack of experience and knowledge, if they are supervised or have been instructed on the safe use of the appliance and understand the dangers associated with its use. Children must never be allowed to play with the appliance. Cleaning and user maintenance must not be carried out by children unless they are older than 8 years of age and supervised by a responsible adult. Keep children younger than 8 years away from the appliance.
- This appliance has NO serviceable parts. If the appliance does not function properly, stop using it and contact Customer Service (contact information on back cover). Never attempt to repair the appliance yourself.
INSTRUCTIONS FOR USE
- NEVER use hot surfaces, parts or the inside of the appliance while it is heating up or hot.
- Always use oven mitts or potholders when removing the grill or drip tray.
-
Particular care must be taken when removing or draining hot oil!
-
NEVER allow fat or oil to dry on the bottom of the drip tray or grill grate. Clean the appliance after each use. See the Cleaning and Care section.
- Keep the hot grill at a distance of 20cm from walls, cupboards, etc. when in use.
- NEVER place food to be cooked directly on the heating elements. Roast and grill food exclusively on the grill or using the grill skewer in combination with the drip tray.
ATTACHING THE GLASS LID (#4+5)
- Insert the fixed latch tip of the lid into hole A on the appliance.
- Compress the spring on the lid using the small metal slider (compressing pushes the latch backwards).
- Align the retractable latch with hole B (control panel side), and slowly release the spring. The latch should now have snapped into place and the lid locked securely.
ATTACHING THE METAL STRIP (#5):
Attach the enclosed metal strip (C) with the curved side facing the inside of the appliance in the space between the lid and the inside of the appliance on the long side of the appliance.
ROTISSERIE FUNCTION (ROTARY GRILLING)
The following accessories can be used for the rotisserie function:
- Grill skewer
- Rotary basket*
- Shish kebab set*
- Fish grilling basket*
*optionally available
USING THE SKEWER (#6-7)
- Slide in the drip tray at the bottom of the appliance.
- Push a pair of tongs onto the skewer with the prongs pointing toward the tip of the skewer.
- Now skewer the food to be grilled (e.g. chicken) on the skewer.
- Next, slide the second holding tongs onto the skewer and tighten the two tongs by turning the metal screws. You can also secure the chicken with ovenproof twine, for example, so that no parts touch the appliance and the food can rotate freely.
- Season your grilled food according to the recipe.
- Hold the skewer by the handle and insert the tip of the skewer into the square hole in the appliance. Then snap the end of the handle into the spring lock above the control panel.
- Connect the plug to the mains. Both operating lights will light up.
- Set the toggle switch to ROTISSERIE (rotary grilling).
- Set the desired temperature and roasting time according to the recipe. Both operating lights will light up and the skewer will start rotating. Ensure that the food to be grilled rotates evenly and does not touch the inside of the appliance at any point. Then close the lid.
- During the grilling process, check from time to time whether the grill skewer rotates easily.
- After the time has elapsed, the appliance switches off. Unplug the power cord.
- Grasp the skewer by the wooden handle and lift it straight up out of the spring lock above the control panel. Carefully remove the food to be grilled, place it on a cutting board, and allow the food to cool for around 10 to 15 minutes before serving.
- Then use the screws to loosen and remove the retaining tongs.
USING THE ROTATING BASKET (OPTIONALLY AVAILABLE) (#8)
- Unscrew the screw on the rotating basket.
- Push the empty skewer through the empty rotating basket. Centre the rotating basket on the skewer.
- Tighten the locking screw on the rotating basket to fix it in place.
- Open the rotating basket, and fill it with the desired seasoned ingredients.
- Hold the rotating basket by the handle and insert the tip of the skewer into the square hole in the appliance. Then snap the end of the handle into the spring lock above the control panel.
- Connect the plug to the mains. Both operating lights will light up.
- Set the toggle switch to ROTISSERIE (rotary grilling).
- Set the desired temperature and roasting time according to the recipe. Both operating lights will light up and the rotating basket will begin to rotate. Then close the lid.
- After the time has elapsed, the appliance switches off. Unplug the power cord.
- Take the rotary basket by the wooden handle and carefully remove the food to be grilled, place it on a cutting board and allowing the food to cool for around 10 to 15 minutes before serving.
- Use an oven mitt to open the rotating basket.
USING THE FISH GRILLING BASKET (OPTIONALLY AVAILABLE) (#9-11)
- Unscrew the screw on the fish grilling basket.
- Guide the empty grill skewer through the 3 eyelets on the underside of the empty grill basket. Centre the grilling basket on the skewer.
- Tighten the locking screw on the grill basket to fix it in place.
- Squeeze the two wire handles on top of the grill basket to remove its lid.
- Place the fish or vegetables in the basket.
- Close the grilling basket by inserting the fixed wire strap on the basket into the gaps in the grilling basket, pressing the wire handles together, and popping the two wire straps in the basket to close the lid.
- Hold the grill basket by the handle and insert the tip of the skewer into the square hole in the appliance. Then snap the end of the handle into the spring lock above the control panel.
- Connect the plug to the mains. Both operating lights will light up.
- Set the toggle switch to ROTISSERIE (rotary grilling).
- Set the desired temperature and roasting time according to the recipe. Both operating lights will light up and the grill basket will start rotating. Then close the lid.
- After the time has elapsed, the appliance switches off. Unplug the power cord.
- Take the rotary basket by the wooden handle and carefully remove the food to be grilled, place it on a cutting board and allowing the food to cool for around 10 to 15 minutes before serving.
- Then use the screws to loosen and remove the retaining tongs.
USING THE SHISH KEBAB SET (OPTIONALLY AVAILABLE) (#12-15)
- Place the two skewer holders on either side of the rotisserie. Make sure the locking screws are facing outward. Leave approx. 19cm of space between the two brackets.
- Tighten the screws gently but not too tightly, as you may need to make adjustments after the skewers are attached.
- Carefully place the food to be grilled onto the skewers.
- Insert the pointed end of the skewer into the outer holes of the round retaining disc.
- Squeeze the clip end of the skewer slightly and snap it into the notches on the serrated retaining disc.
- Tighten the setscrews securely.
- Connect the plug to the mains. Both operating lights will light up.
- Set the toggle switch to ROTISSERIE (rotary grilling).
- Set the desired temperature and roasting time according to the recipe. Both operating lights will light up and the grill basket will start rotating. Then close the lid.
- After the time has elapsed, the appliance switches off. Unplug the power cord.
- Take the rotary basket by the wooden handle and carefully remove the food to be grilled, place it on a cutting board and allowing the food to cool for around 10 to 15 minutes before serving.
- Then use the screws to loosen and remove the retaining tongs.
GRILL FUNCTION
- Insert the grill grate at the top of the appliance and slide in the drip tray at the bottom.
- Connect the plug to the mains. Both operating lights will light up.
- Set the toggle switch to GRILL.
- Set the temperature with the temperature dial, then set the time with the timer dial. Both operating lights will light up. Set the temperature according to the recipe.
- Place the food on the grill.
- Depending on the recipe, close the lid or leave it open.
- When the grilling is complete, remove the food using a spatula (DO NOT use metal tongs, as these may damage the non-stick surface). Turn off the appliance and unplug the power cord.
CLEANING AND CARE
- Turn off the appliance and unplug the power cord.
- Always allow the appliance to cool down completely before cleaning.
- The grill rack and drip tray including accessories are dishwasher-safe or can be cleaned by hand with warm water and mild detergent. To avoid damaging the wooden handle, the barbecue spit must not be cleaned in the dishwasher.
- DO NOT use abrasive brushes/cloths or aggressive cleaning agents to clean the parts of the appliance.
- Use a soft cloth, sponge or rubber spatula to remove food residues stuck to the appliance or cover.
- Clean the inside and outside of the appliance with a damp cloth. The cover can also be removed and hand washed. If the glass plates covering the infrared heating elements need to be cleaned, do this using vinegar and baking soda along with a damp cloth. Ensure that all residues are thoroughly cleaned off before using the grill again.
- Be careful NOT to immerse power cords, plugs, or electrical components in water.
- Ensure that all parts are thoroughly dried before reinstalling the components and using the appliance.
- Store the appliance in a clean and dry place inaccessible to children.
FR
LISEZ ATTENTIVEMENT TOUTES LES INSTRUCTIONS AVANT D'UTILISER L'APPAREIL ! UNIQUÉMENT APPROPRIÉ POURUNE UTILISATION DOMESTIQUE
CONSIGNES DE SECURITE IMPORTANTES
In order to help protect the environment, you can download the recipes online at
https://www.mediasmshop.tv/p/livington-rotisserie-chef