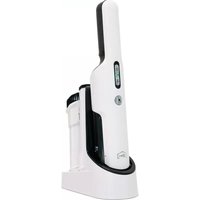
Vacumate Ultralight - Vacuum Cleaner Djive - Free user manual and instructions
Find the device manual for free Vacumate Ultralight Djive in PDF.


User questions about Vacumate Ultralight Djive
0 question about this device. Answer the ones you know or ask your own.
Ask a new question about this device
Download the instructions for your Vacuum Cleaner in PDF format for free! Find your manual Vacumate Ultralight - Djive and take your electronic device back in hand. On this page are published all the documents necessary for the use of your device. Vacumate Ultralight by Djive.
USER MANUAL Vacumate Ultralight Djive
Rechargeable & bagless handheld vacuum
Your handy companion for easy cleaning on the go.
English
Deutsch
Français
Espanol
Italiano
Contents
Important safety advice 4
Product overview 6
Prior to first use 9
Operation 10
Cleaning attachments 12
Maintenance and care 13
Troubleshooting 16
Technical specifications 17
Dear Customer,
Your new Vacumate Ultralight is about to be used for the first time to make your living space shine.
Please take a moment to read this manual to familiarise yourself with your new Vacumate Ultralight handheld vacuum cleaner.
If you have any questions, please contact our customer service.
Enjoy cleaning your home the easy way, every day, with your Vacumate One!
Customer care
Phone +49 (0) 209 5130340
support@djive.eu
www.djive.eu acumate
Robovox Distributions GmbH | Hamburger Straße 11, D - 45889 Gelsenkirchen
IMPORTANT SAFETY ADVICE
Before you use this cordless vacuum cleaner, please read all the instructions and warnings in this manual carefully as well as on the device itself. Please store this manual in a safe place.
When using an electrical device, basic safety precautions should always be implemented and followed. This especially applies to points in this manual which are marked with the following:
ATTENTION
The manufacturer cannot accept responsibility for damage caused when the appliance is not used according to the instructions, or for uses other than those for which it was intended.
TO REDUCE THE RISK OF FIRE, ELECTRIC SHOCK OR INJURY:
- Fully assemble vacuum before operating.
- Always connect to outlet for charging.
- Use and store in a dry location.
- Do not charge or use outdoors or on wet surfaces.
- Do not allow to be used as a toy. Close attention is necessary when used near children or pets. Do not use on pets.
- Use only as described in this manual.
- Do not use the charger with damaged cord or plug. If the appliance or charger is not working as it should, has been dropped, damaged, left outdoors, or dropped into water, return it to an Authorized Retailer for service.
- Do not pull or carry charger by cord, use cord as a handle, close a door on the cord, or pull cord around sharp edges or corners. Do not run appliance over cord. Keep cord away from heated surfaces.
-
Do not unplug charger by pulling on cord. To unplug charger, grasp the plug, not the cord.
-
Do not handle charger, including charger plug, and charger terminals with wet hands.
- Do not put any object into openings. Do not use with any opening blocked; keep free of dust, lint, hair and anything that may reduce air flow.
- Keep hair, loose clothing, fingers and all parts of the body away from openings and moving parts.
- Do not pick up anything that is burning or smoking, such as cigarettes, matches or hot ashes.
- Use extra care when cleaning on stairs.
- Do not use to pick up flammable or combustible liquids such as gasoline or use in areas where they may be present.
- Do not attempt to service the unit while charger is plugged in. Unplug from outlet when not in use.
- Charge only with the charger type CZH013135065EUWH. A charger that is suitable for one type of appliance may create a risk of fire when used with another appliance; Use appliances only with specifically designated battery packs. Use of any other battery packs may create a risk of injury and fire.
- Do not open, crush, expose to heat above 63^ or incinerate the battery even if it is severely damaged. The battery can explode in a fire.
- The appliance should be stored only in the temperature range of 0 - 23^ and used and charged only in the range of 0 - 40^ .
- Batteries must be disposed of responsibly.
- Under abusive conditions, liquid may be ejected from the battery; avoid contact.
- If contact accidentally occurs, flush with water. If liquid contacts eyes, seek medical help. Liquid ejected from the battery may cause irritation or burns.
PRODUCT OVERVIEW
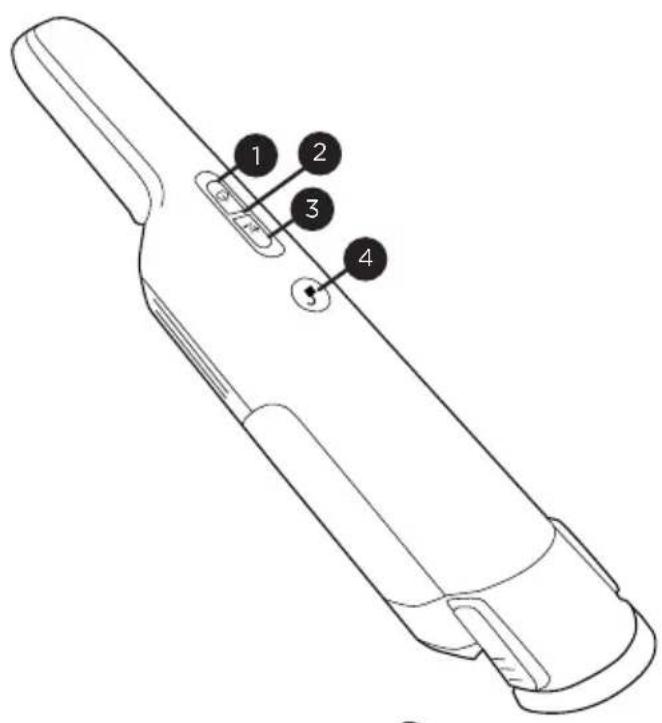
- On/Off Button
- Charging Indicator Light
- High Speed Button
- Dust Bin Removal Button
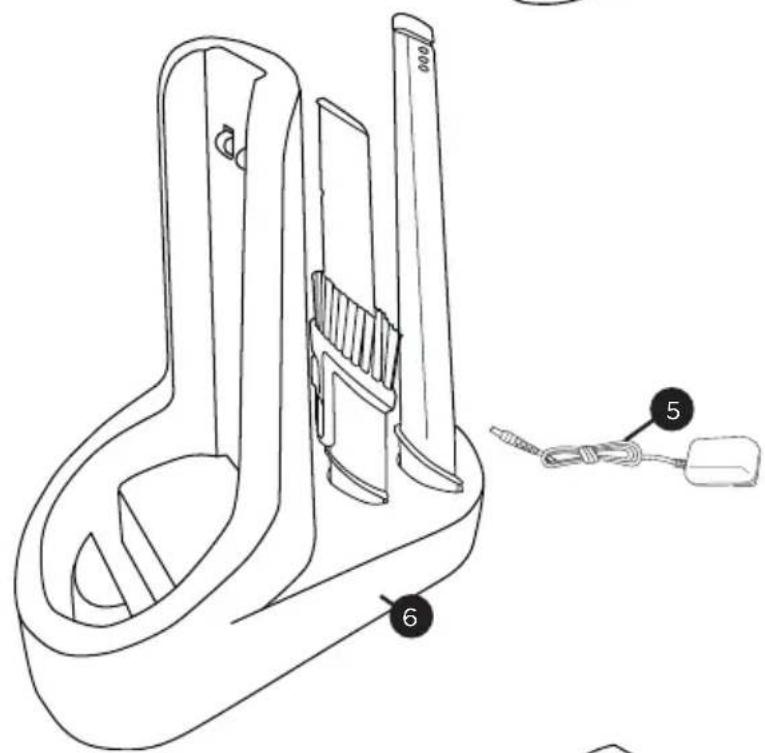
- Charger
- Storage/Charging Station
- Crevice Tool
- Dusting Brush Combo Tool
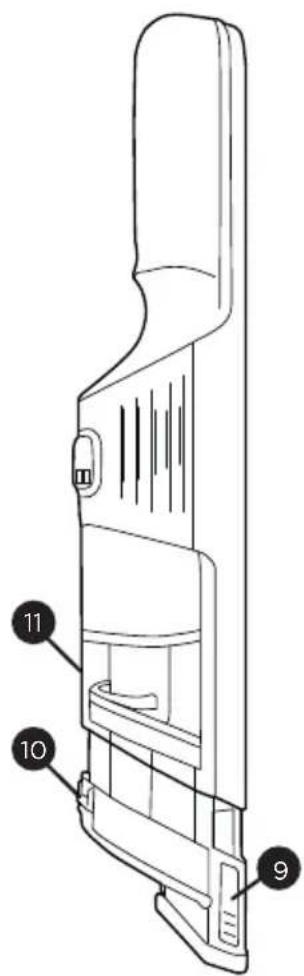
- Extension Dust Bin Buttons
- Dust Bin Release Button
- Dust Bin
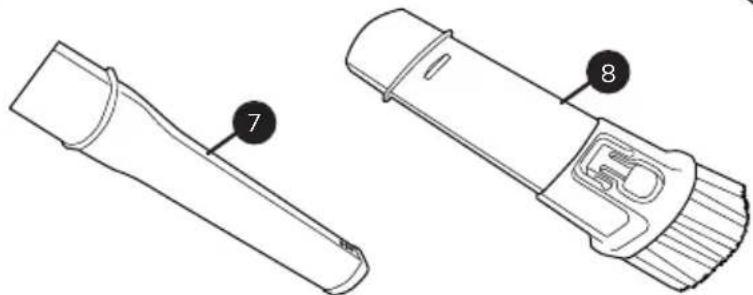
- Extension
- Crevice nozzle (thin)
- Crevize brush
- Furniture brush
- Crevice nozzle (thick)
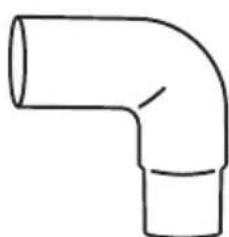
- Angle adapter
- Adapter A
- Adapter B
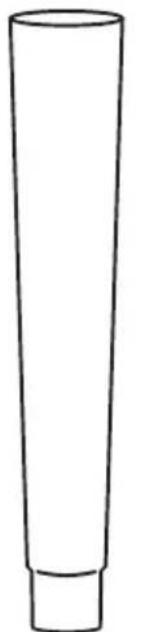
12
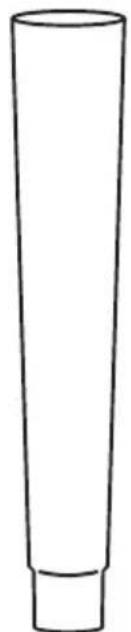
12

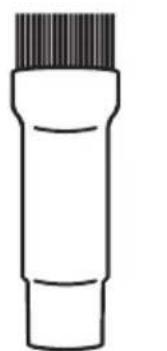
14
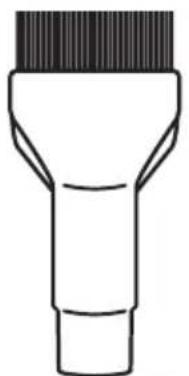
15
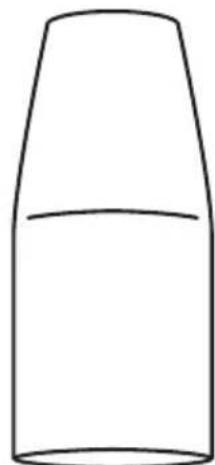
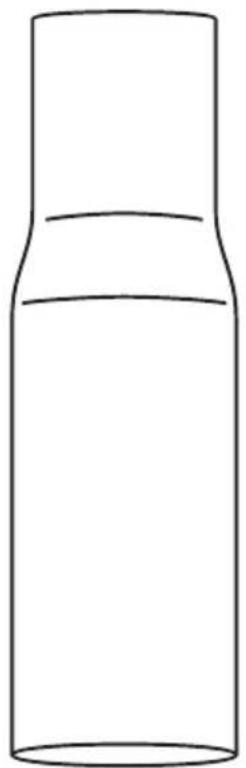
19
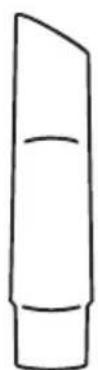
16
17
PRODUCT OVERVIEW
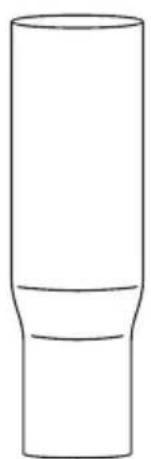
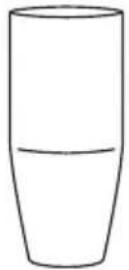
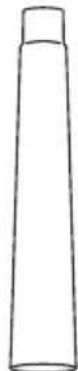
Combination examples

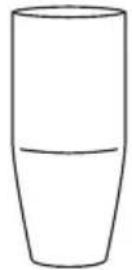
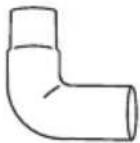

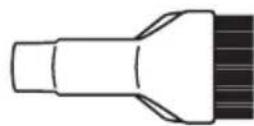
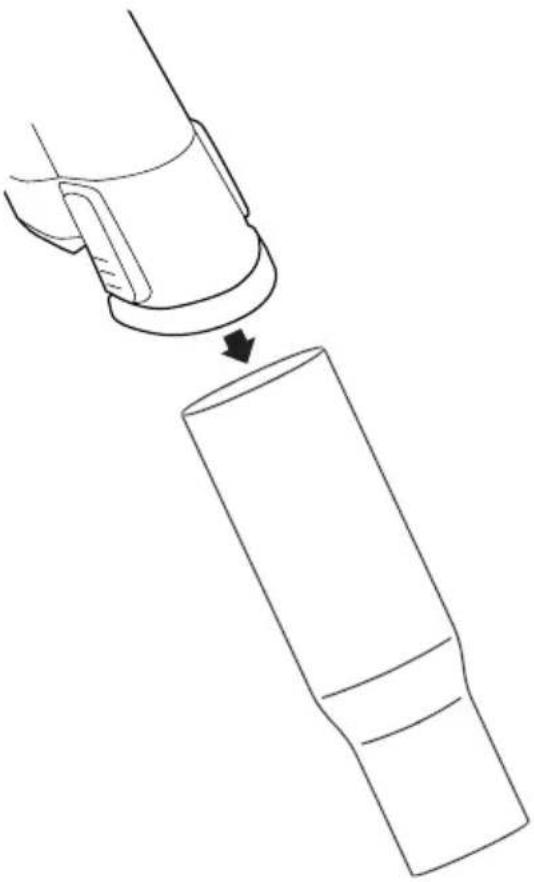
PRIOR TO FIRST USE
Charging the Vacuum
ATTENTION - The battery charger must be connected to the electrical outlet for the charging process.
The vacuum is partially pre-charged and will run for a short time. We recommend fully charging the vacuum before use.
-
Set the vacuum onto the Storage/ Charging Station, ensuring the connection between the points on the vacuum with the Storage / Charging Station (Fig. 1).
-
Plug the battery charger into the Storage/Charging Station and into an electrical outlet (Fig. 2). The indicator light on the vacuum will blink red while the battery is charging. When the indicator light is green, the battery is fully charged (Fig. 3). Charging time is approximately 3 hours.
-
Remove the vacuum from the Storage/Charging Station and begin vacuuming.
-
Unplug the battery charger when the vacuum is in use.
-
Always return the vacuum to the Storage/Charging Station when not in use.
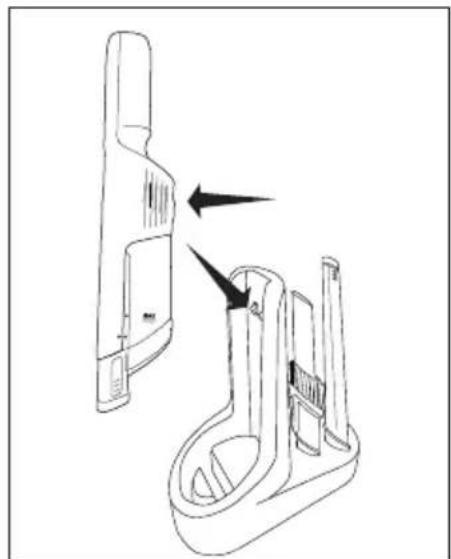
Fig.1
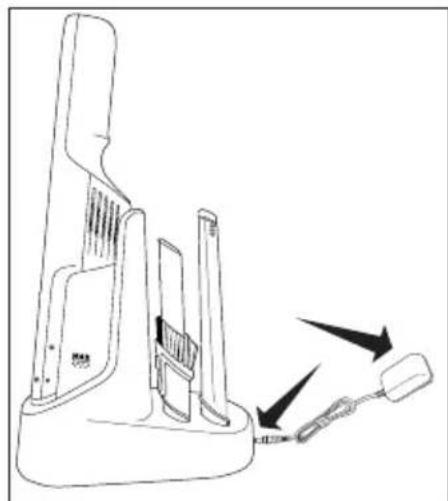
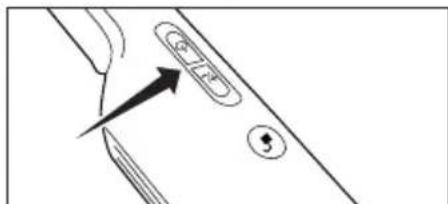
Fig. 2
Fig. 3
PRIOR TO FIRST USE
Storing the Vacuum
ATTENTION - Unplug the battery charger when the vacuum is in use.
The vacuum and the cleaning tools can be conveniently stored on the Storage / Charging Station when not in use (Fig. 1).
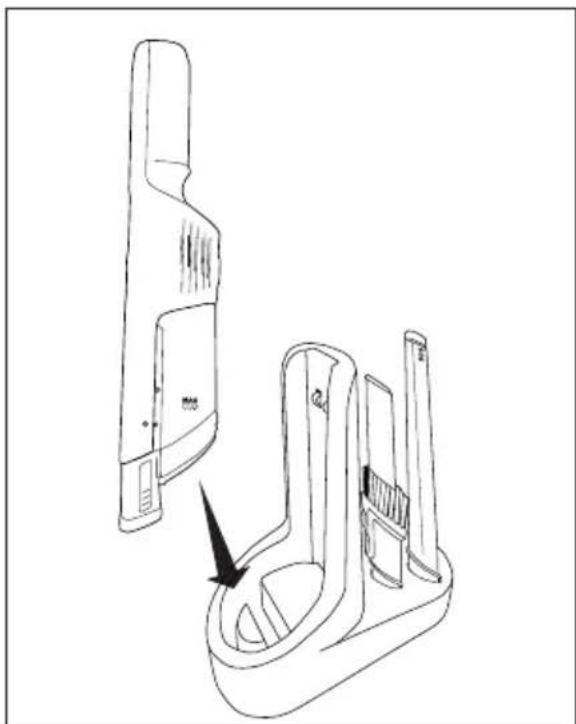
Fig.1
OPERATION
ATTENTION - The vacuum has a slow start feature and will take a moment to start after you push the power button. This is normal and not a malfunction.
On/OffButton
To turn thevacuum cleaner On or Off, push the power button (Fig. 1).
Low Speed
The vacuum automatically starts on low speed when turned on.
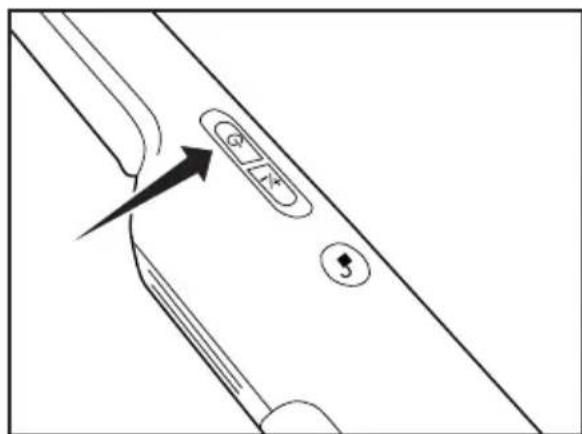
Fig. 1
High Speed
Push the high-speed button for higher efficiency cleaning (Fig. 2).
Using the vacuum on high speed reduces the runtime of the battery. Runtimes may vary based on the charge level and age of the battery.
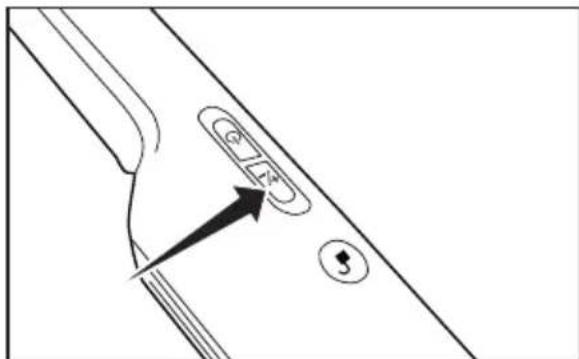
Fig. 2
Adjustable Dust Bin
- The dust bin capacity can be enlarged by pressing the buttons on the sides of the dust bin and extending it outward (Fig. 3).
- The dust bin must be returned to its original position for charging on the Storage/Charging Station.
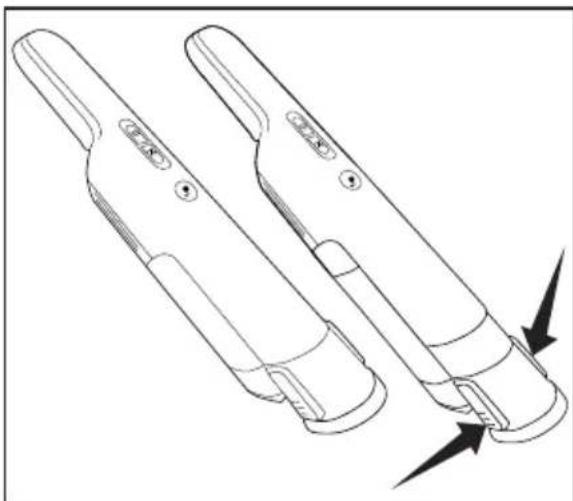
Fig. 3
ATTENTION
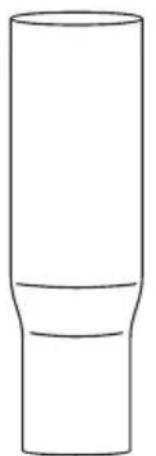
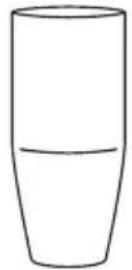
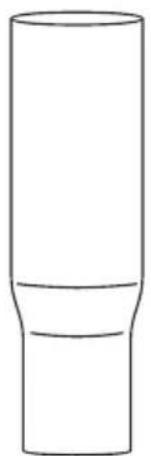
Do not fill the dust bin past the MAX fill line (Fig. 4) to prevent clogs or overheating.
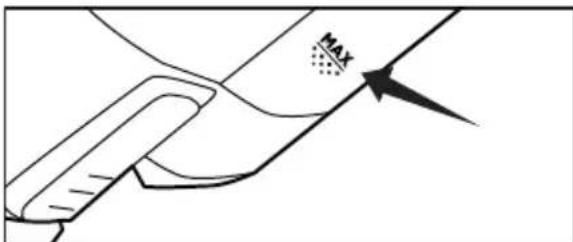
Fig. 4
CLEANING ATTACHMENTS
Cleaning Tools
The vacuum is equipped with a dusting brush combo tool and a crevice tool. The vacuum and cleaning tools can be conveniently stored on the Storage/Charging Station. Either tool can be attached to the end of the vacuum (Fig. 1).
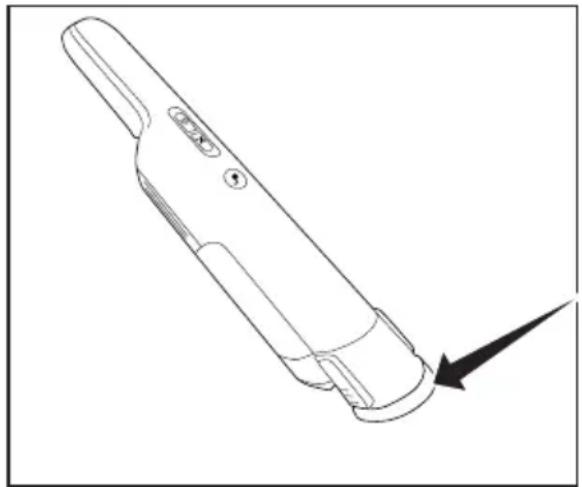
Fig.1
Dusting Brush Combo Tool
Push the button to slide the brush forward to use as a dusting brush for table tops, shelves and blinds. This tool is ideal for tight places, between seat cushions or corners (Fig. 2).
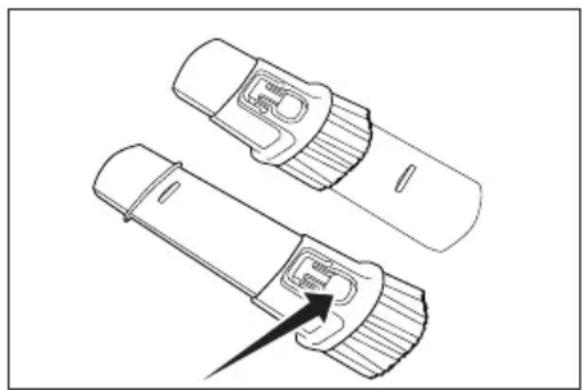
Fig. 2
Crevice Tool
The crevice tool is ideal for very small spaces, baseboards or corners. The rubber tip prevents scuffing (Fig. 3).
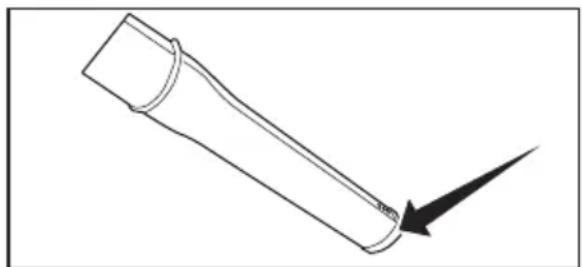
Fig. 3
MAINTENANCE AND CARE
ATTENTION - Always turn off the vacuum before performing any service. Do not fill the dust bin past the Max Fill Line (Fig. 1).
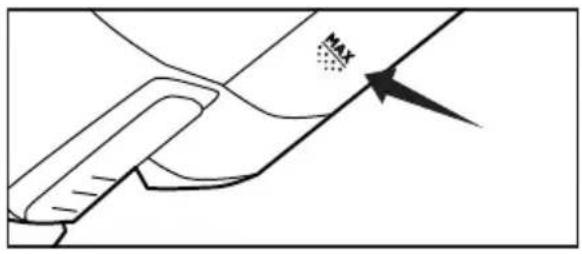
Fig.1
Emptying the Dust Bin
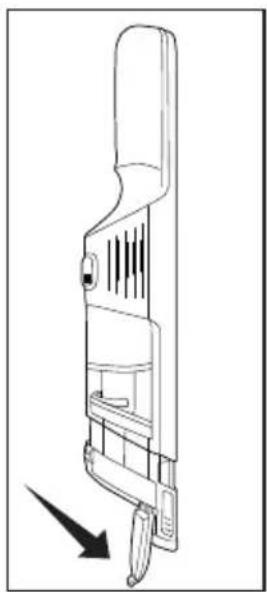
- Hold the vacuum over a trash container. Push the dust bin release button to open the bottom of the dust bin (Fig. 2). The bottom will open and the debris will fall into the trash container (Fig. 3).
- Shake the vacuum to release any debris that might be inside the dust bin.
- When the dust bin is empty of debris, firmly push the bottom onto the dust bin until it clicks and is fully latched.
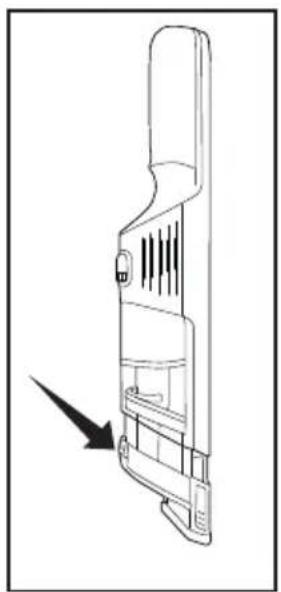
Fig. 2 Fig. 3
MAINTENANCE AND CARE /
Removing and Replacing the dust bin (for Cleaning)
- Push the dust bin removal button while pushing the dust bin away from the vacuum to remove it from the vacuum (Fig. 4).
- Pull the metal ring to remove the filter cartridge from the dust bin (Fig. 5).
- Rinse the dust bin with warm water and allow to dry thoroughly before re-attaching to the vacuum.
- Align the filter cartridge to the dust bin and slide into place (Fig. 6).
- Align the markings on the dust bin and the vacuum (Fig. 6) then slide until it clicks into place.
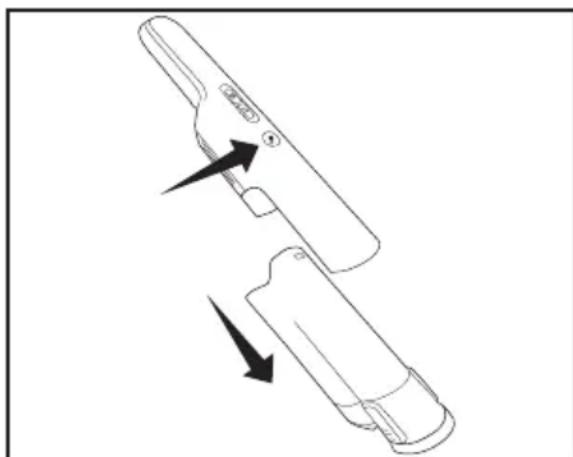
Fig. 4
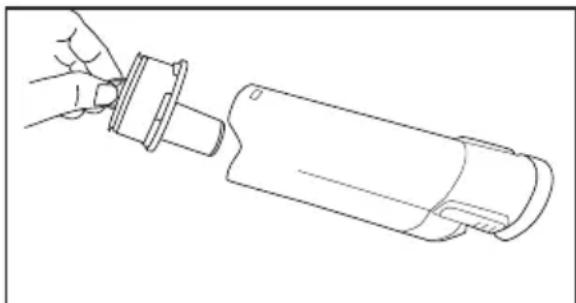
Fig. 5
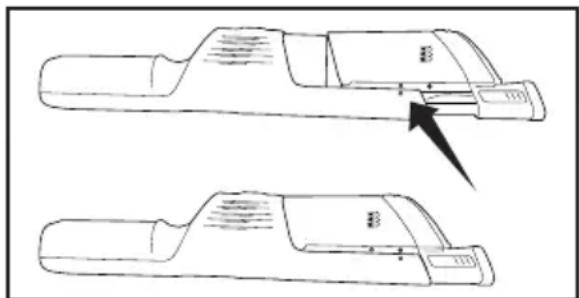
Fig. 6
ATTENTION - Always turn off the vacuum before performing any service.
Replacing the Filters
- Remove the dust bin from the vacuum (Fig. 1).
- Pull the metal ring to remove the filter cartridge from the dust bin (Fig. 2).
- Turn the metal ring on the filter set counter-clockwise to remove it from the cartridge (Fig. 3). The filter set includes a High-Flow Pleated filter and a foam filter (Fig. 4).
- Separate the foam filter from the pleated filter (Fig. 4). Shake or tap the foam filter to remove excess dust or replace with a new filter. Do not wash the filters.
- Replace with a new filter set turning it clockwise until it snaps into the filter cartridge (Fig. 5).
- Align the filter cartridge to the dust bin and slide into place (Fig. 2).
- Align the markings on the dust bin and the vacuum (Fig. 6) and slide until it clicks into place.
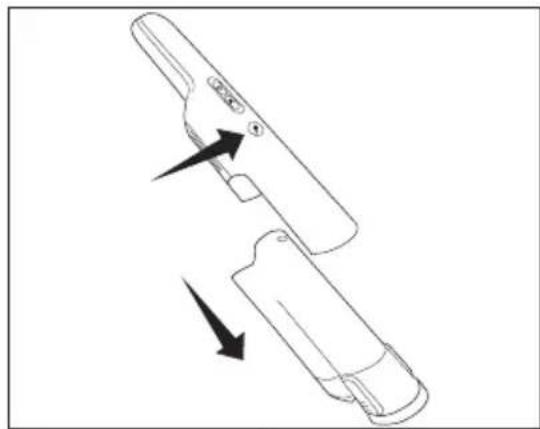
Fig.1
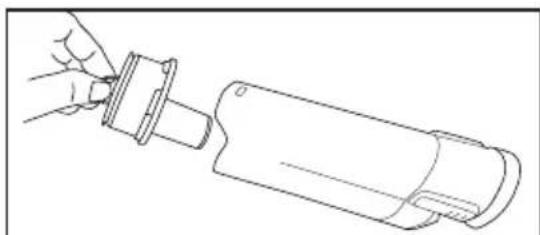
Fig. 2
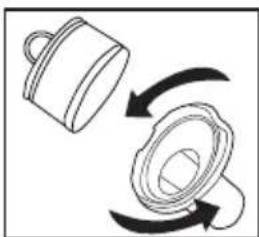
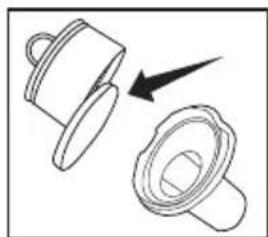
Fig. 4Fig. 3
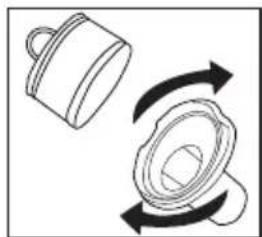
Fig. 5
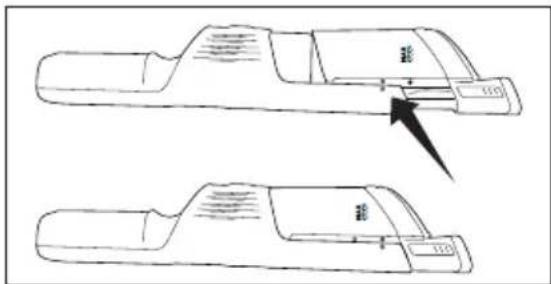
Fig. 6
ATTENTION - Filters cannot be washed and reused.
TROUBLESHOOTING
ATTENTION - To reduce the risk of electrical shock or injury from moving parts, turn off the vacuum and unplug the charger before servicing or cleaning. Additionally, do not handle plug or appliance with wet hands.
| Problem Possible cause and solution | |
| Vacuum will not operate | • Charge the battery completely before use • If the charging indicator light is blinking green, return the vacuum to the charger for 30 seconds |
| Vacuum will not charge | • Ensure that the dust bin is returned to the un-extended position so the connection points are aligned with the charging station • Ensure that the electrical plug is connected |
| Vacuum does not clean properly | • Empty and clean the dust bin • Replace the filters • Ensure that the dust bin is installed correctly |
| Dirt is leaking from the vacuum | • Empty and clean the dust bin • Ensure that the filters are installed correctly • Replace the filters |
| Unable to install the dust bin | • Ensure that the filter is installed correctly and the cartridge is slotted into the dust bin |
TECHNICAL SPECIFICATIONS
| VACUMATE Ultralight | |
| Model DJ50012 / DJ50 | 013 / DJ50014 / DJ50015 |
| Voltage (Battery) 11,1 | V DC --- |
| Power MAX 120 W | |
| Dust capacity ~ 0,2l | |
| Operating time 25 min | (low) / 11 min (high) |
| Recharge time ~ 3 hours | |
| Vacuum power 11 kpa | (low) / 15 kpa (high) |
| Weight (Device) 551g | |
| Dimensions (Device) | (H) 65 mm; (W) 65 mm; (L) 370 mm |
Specifications are subject to change without prior notice.
Support service
If the device should ever completely fail to operate, please contact us via mail first. (refer to page 3)
We will try our hardest to either fix your appliance or to provide a new Flowmate Tower one to you.
Inhalt
Specifications techniques 17
Chere cliente, cher client,
IMPORTANTE-Do not fill the dust bin past the MAX fill line (Fig.4) to prevent clogs or overheating.
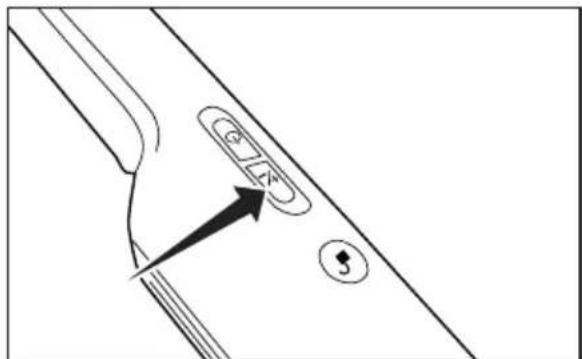
Fig. 2
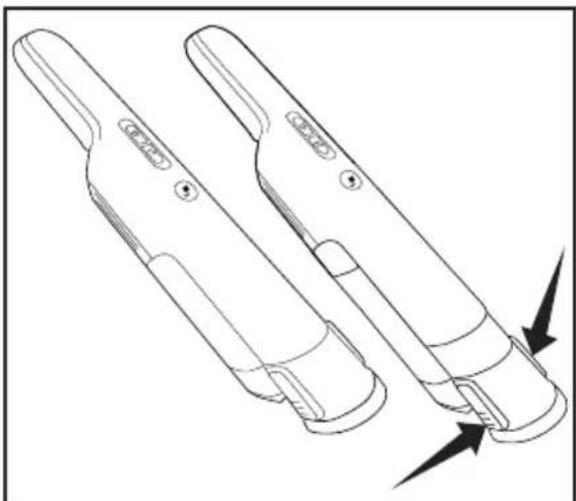
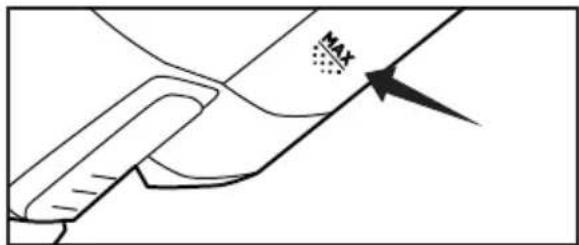
Fig. 3
Fig. 4