
Vilhelmine - Basket Klarstein - Free user manual and instructions
Find the device manual for free Vilhelmine Klarstein in PDF.
Download the instructions for your Basket in PDF format for free! Find your manual Vilhelmine - Klarstein and take your electronic device back in hand. On this page are published all the documents necessary for the use of your device. Vilhelmine by Klarstein.
USER MANUAL Vilhelmine Klarstein
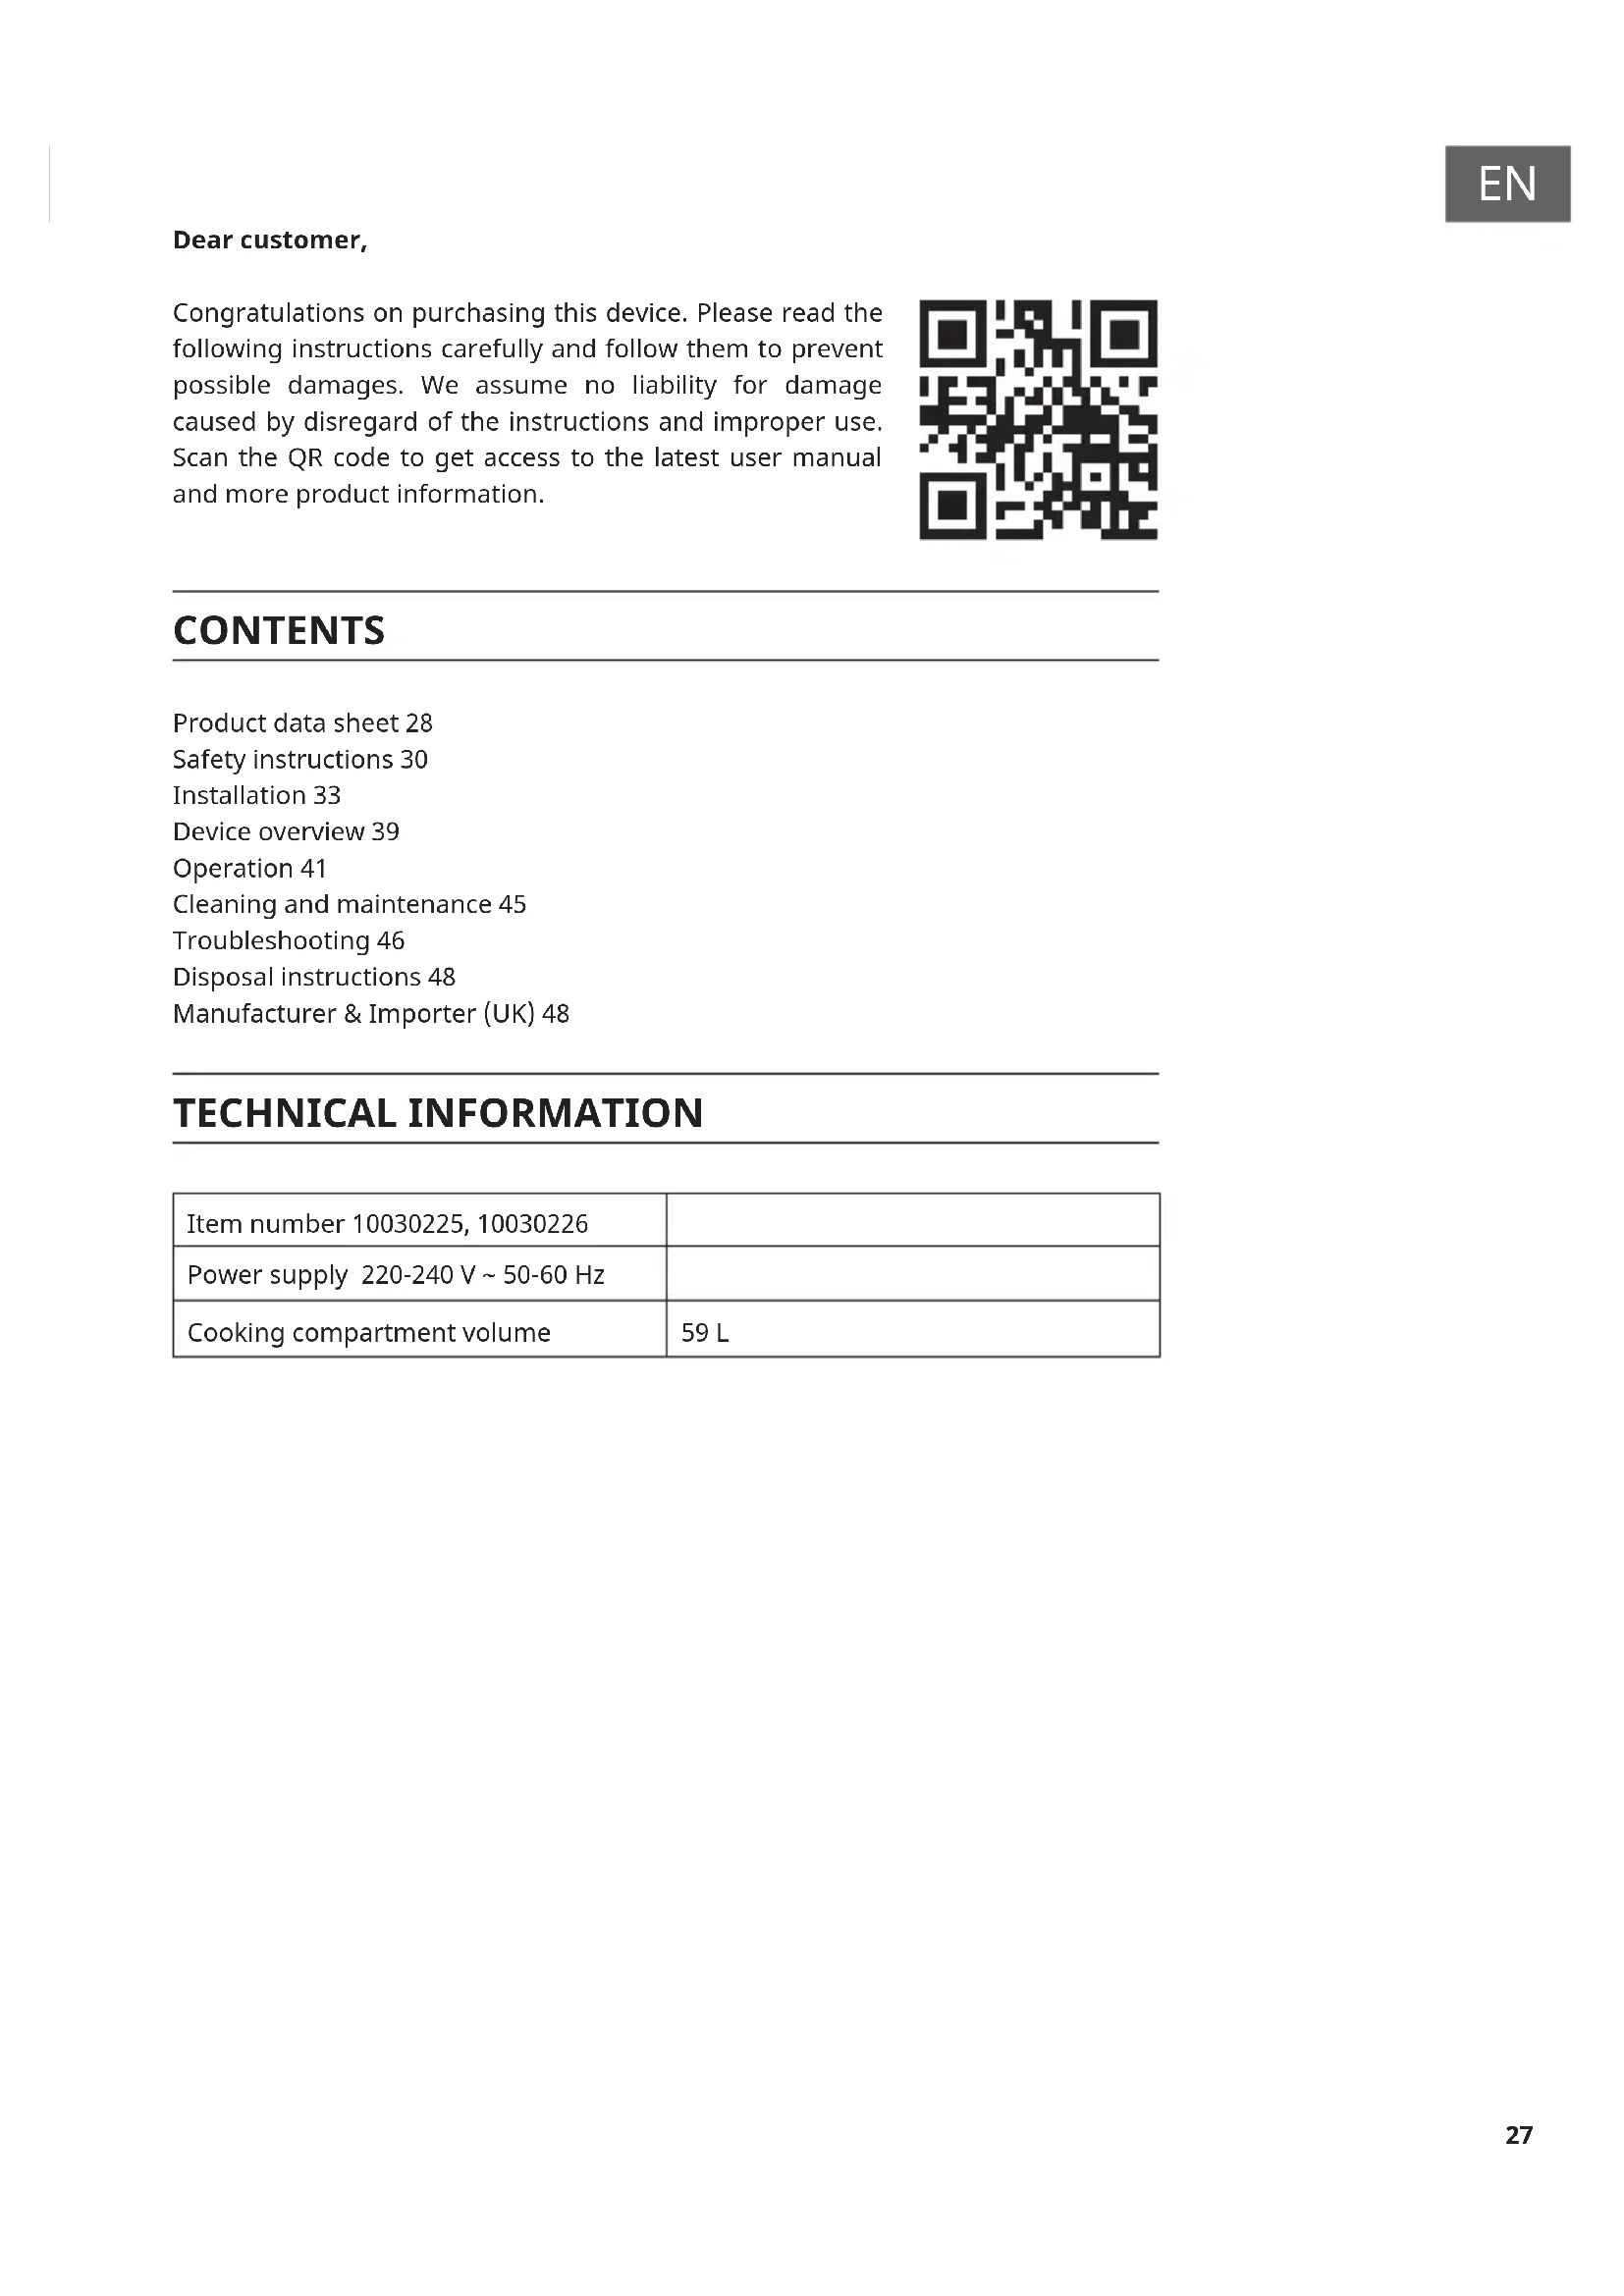
Dear customer, Congratulations on purchasing this device. Please read the following instructions carefully and follow them to prevent possible damages. We assume no liability for damage caused by disregard of the instructions and improper use. Scan the QR code to get access to the latest user manual and more product information. CONTENTS Product data sheet 28 Safety instructions 30 Installation 33 Device overview 39 Operation 41 Cleaning and maintenance 45 Troubleshooting 46 Disposal instructions 48 Manufacturer & Importer (UK) 48 TECHNICAL INFORMATION Item number 10030225, 10030226 Power supply 220-240 V ~ 50-60 Hz Cooking compartment volume 59 L28
Information according to 65/2104 Trademark of the supplier: Klarstein Supplier's model identication: 10030225, 10030226 Energy eciency index (EEI cavity): 95.2 Energy eciency class: A Energy consumption per cycle for each cooking compartment in conventional and convection mode in kWh: 0.76 kWh / - kWh Number of cooking compartments: 1 Heat source(s) of cooking compartment: Electricity Volume of cooking compartment in litres: 59 l29
Information according to 66/2104 Symbol Value Unit Model identier 10030225, 10030226 Type of oven Electric oven Mass of the appliance M 30 kg Number of cooking compartments
Heat source per cooking compartment (electricity or gas) Electricity Volume per cooking compartment
Energy consumption (electricity) when heating a standard load in the cooking compartment of an electric oven during one cycle in conventional mode per cooking compartment (nal electrical energy)
kWh/cycle Energy consumption when heating a standard load in the cooking compartment of an electric oven during one cycle in convection mode per cooking compartment (nal electrical energy)
Electric oven - kWh/cycle Energy consumption when heating a standard load in the cooking compartment of a gas oven during one cycle in conventional mode per cooking compartment (nal gas energy)
MJ/cycle kWh/ cycle Energy consumption when heating a standard load in the cooking compartment of a gas oven during one cycle in convection mode per cooking compartment (nal gas energy)
MJ/cycle kWh/ cycle Energy eciency index per cooking compartment EEI oven
(1) 1 kWh/cycle = 3.6 MJ/cycle30
SAFETY INSTRUCTIONS CAUTION Risk of burns! This appliance and accessible parts of the appliance get very hot during use. Exercise caution and never touch the heating elements.
- Keep children under 8 years of age away from the appliance.
- This device may only be used by children from the age of 8 and up or by persons with reduced physical, sensory and mental capabilities or a lack of experience and / or knowledge if they are supervised or have been instructed in the safe use of the device and have understood the resulting dangers.
- Cleaning and user maintenance should not be done by children unless they are 8 years of age or older and are supervised.
- Children must not play with the device.
- Never use a steam cleaner to clean the appliance.
- The accessible parts of the appliance can get very hot during use. Keep small children away from the appliance while it is in operation.
- Do not use aggressive or abrasive cleaning agents or metal scrapers to clean the oven door, as this may scratch the glass surface, crack the oven door or cause other damage to the appliance.
- Do not install the appliance behind a decorative door - risk of overheating!
- Only attach accessories that are suitable for use in ovens.
- Liquids and other foods must never be heated in closed containers, as there is a risk of explosion.
- Make sure that paper kitchen towels and fabric dish cloths never get into contact with the heating elements of the oven - risk of re!
- Make sure that there are no aggressive chemicals, highly ammable vapours or foreign objects near or in the oven. This appliance is only suitable for heating and preparing food.
- If food inside the oven catches re, keep the oven door closed to smother the ames. Switch off the oven and unplug the power cord from the wall socket or disconnect the appliance from the power supply.
- Take care when opening the oven door. Stand to the side of the oven and open the oven slowly to allow the hot air/steam to escape. Keep your face away from the oven and make sure that there are no children or pets nearby before opening the oven door. After the hot air has been released, you can continue cooking. Keep the oven door closed at all times except for cooking and cleaning purposes.31
- Keep any accessories and electrical cables away from the hot parts of the appliance.
- Never move baking trays and baking racks while they are hot, let them cool down rst.
- Always switch off and unplug the appliance before cleaning and maintenance.
- This appliance is designed for household use and can be installed in standard kitchens or living units.
- All surfaces or furniture surrounding the oven and all materials used for installation must be able to withstand at least 85 °C during use of the appliance.
- Some types of vinyl and laminate are particularly susceptible to heat damage and discolouration at high temperatures. Check which surfaces are provided before installing the appliance.
- The user is responsible for any damage caused by installing the appliance near non-heat-resistant materials or too close to furniture
- Only install the appliance in accordance with and follow the requirements set out in these operating instructions.
- Installation must be carried out by a competent person or a qualied electrician.
- Dispose of the packaging material as soon as possible and ensure that it does not get into the hands of children, as this could result in a choking hazard.
- Do not place heavy objects on the oven door or lean against it while it is open, as this could cause damage to the hinges.
- Do not place any containers containing hot oil or grease in unattended areas as they may cause a re hazard.
- Do not place pans, baking trays or aluminium foil directly on the bottom of the oven as this could cause heat to build up and damage the enamel.
- Make sure you select the appropriate temperature and function for all foods so that foods and liquids do not overow or burn. Ensure that food is prepared in suciently large containers and that you use a drip tray where necessary.
- Do not install the appliance directly next to curtains or soft furniture.
- Never try to lift the appliance by the oven door or handles, as this could cause damage to the appliance or injury to persons.
- If the power cord is damaged, it must be replaced by the manufacturer, customer service or a similarly qualied person to avoid danger.
- Install the appliance in a place where the power socket used for the plug is easily accessible at all times.
- Before connecting the plug of the appliance to the socket, check that the voltage of the socket matches the voltage indicated on the rating plate of the appliance.32
CAUTION Risk of electric shock! Never attempt to repair a damaged unit yourself and stop using it. Switch off the unit, disconnect the power cord from the power outlet and contact customer service.
- Do not let the power cord run over sharp edges and do not kink or bend it to avoid damaging it. Keep it away from hot surfaces and open ames.
- Position the power cord where it cannot become a tripping hazard.
- Do not open the oven housing under any circumstances and do not insert any foreign objects inside the housing.
- Only use accessories recommended by the manufacturer, as non- recommended accessories pose a safety risk to the user and could damage the appliance.
- Use the appliance only on at, stable, clean and dry surfaces.
- Protect the appliance from heat, dust, direct sunlight, moisture and dripping and splashing water.
- Do not place objects with naked ames, such as candles, on or near the appliance.
- The unit's xed wiring must be equipped with an all-pole disconnecting device.
- Always wear gloves when handling glass objects.
- For your safety, the oven door is made of safety glass. This type of glass is very resistant but has the property of storing shocks. Therefore, handle the appliance with extreme care to avoid shocks, especially during installation, and only install the appliance in areas with low vibration levels.
- Do not stick any lm on the glass surface, as this would produce large pieces that could be dangerous if broken.
- All electrical installations must be carried out by qualied personnel.
- This appliance must be earthed. Contact an electrician if an earth wire is not available.
- The socket outlet used must be accessible even when your oven is in its housing so that the appliance can be disconnected from the power supply at any time.33
INSTALLATION CAUTION Risk of injury! Always have the installation carried out by trained personnel to avoid electric shock, personal injury and damage to the appliance. Assembly/installation
- The oven must be connected correctly by a qualied professional in accordance with the instructions.
- The oven must be connected correctly by a qualied professional in accordance with the instructions.
- Heat, steam and moisture are generated when using the oven. Avoid injuries. Ensure that the room is adequately ventilated. If the appliance is used for a long time, additional ventilation may be necessary. Notes on installation in the kitchen unit Fit the oven into the opening provided in the kitchen unit. It can be inserted under a worktop or in a standing cabinet. Secure the oven by screwing it into place using the two xing holes in the frame. To locate the xing holes, open the oven door and look inside. The dimensions and minimum distances that guarantee sucient ventilation of the oven must be observed.
- The opening in the kitchen unit must be suitable for the oven to function properly.
- The front panels of the kitchen unit that are directly next to the oven must be made of heat-resistant material.
- Make sure that the wooden veneers of the kitchen unit have been glued with glue that is heat resistant to temperatures up to at least 120°C. Plastic and adhesive materials that cannot withstand such high temperatures may cause the kitchen unit to melt and deform.
- Once the oven has been inserted into the kitchen unit, all electrical components must be completely insulated. This is a legal safety requirement.
- All protective devices must be xed in such a way that it is impossible to remove them without special tools.
- Remove the back panel of the kitchen unit to ensure sucient air circulation around the oven. The distance from the back of the oven to the wall should be at least 45 mm after installation.34
Notes on the electrical connection
- The appliance is designed for xed installation with a three-pole power cord and may only be connected by an authorised specialist in accordance with the connection diagram.
- Only a qualied electrician who complies with the relevant regulations may replace the power cord.
- Do not use multiple plugs, socket strips or extensions, as overloading will cause a re hazard.
- Do not use multiple plugs, socket strips or extensions, as overloading will cause a re hazard. Wiring Green-yellow Earth cable (E) Blue Neutral conductor (N) Brown Power cable (L) Note for the UK: Do not connect or protect the unit with a 13 A fuse. The unit must be protected with a fuse of 16 A or more. The unit must be disconnected from the mains during all installation work. When installing the unit, protection against accidental contact must be provided. Basic installation instructions
- Strictly adhere to the specied installation dimensions.
- For optimum integration into the kitchen unit, install the oven in a 600 mm wide standard cabinet so that it is ush with the front of the cabinet.
- Do not hold the oven by the oven door during installation.35
Installation/ sub-assembly in the kitchen cupboard Positioning the oven
- The openings of the built-in cupboard must correspond to the dimensions at the top of the picture.
- The oven must be tted into an oven enclosure with cut-outs for the fan, as described below.
- Make sure that the back panel of the built-in cupboard has been removed.36
Ventilation requirements Illustration: Installation in a standard built-in cupboard Remove the rear wall of this part of the wardrobe Remove support rail Min. cut-out 200 cm
Base Attach screen 75-90 mm space between the wall and the back of the shelf support and the cabinet base.37
Illustration: Installation in a high built-in cupboard Remove the back panel of this wardrobe section Min. cut-out 200 cm
Base Storage space Storage space Rear wall Rear wall Minimum space between the wall and the back of the shelf support and the cabinet base38
Ensure that the oven is rmly seated in the built- in cupboard. Secure the oven to the cabinet with 4 protected screws. They must be screwed through the built-in cabinet into the oven housing.39
- Thermostat controlled
- Fan The oven is equipped with a fan that keeps the internal temperature stable and lowers the temperature of the external surface. After the oven has been in operation for a while, the fan runs after to cool the oven suciently.40
Accessories The oven is supplied with the following accessories: A Rack B Deep baking tray/ Drip tray Numbers 1-4 represent the different positions of the racks.41
timer, set the rotary switch to "ON".
2. If you need the automatic timer,
set the rotary switch to a time from 0-120 minutes as desired. The oven goes off when the time is up Note: The oven turns off after the acoustic signal rings. When you have nished baking, set the function control to "0".42
Selecting the operating mode and temperature
When the oven is connected to the power supply for the rst time, the power indicator goes on. After you have selected a function and set the temperature, the heating light goes on and the oven starts baking.
Set the baking time (from 0 to 120 minutes). When selecting the baking time, turn the rotary switch clockwise to the desired time.
Use the function selector to choose the baking function you need. The oven makes use of different heating elements in the cooking compartment, depending on the oven function you select. When a function is selected, the power indicator lights up. Light Use the control dial in this position to switch on the light in the oven. Use it, for example, when cleaning the cooking compartment. Lower heat Use the rotary control in this position to switch on the lower heat in the oven. This setting is suitable for conventional baking. Lower and upper heat Use the rotary control in this position to switch on the lower heat and upper heat in the oven. This setting is suitable for conventional baking. The oven must be preheated before anything is put in. Upper heat Use the rotary control in this position to switch on the upper heat in the oven. This setting is suitable for nishing baking from the top.43
Temperature control dial Temperature setting Use temperature control to set the desired temperature in the oven. A temperature setting of 50-250 °C is possible Turn the control dial clockwise. Heating light This light turns on to indicate that the heating elements in the oven are in operation. The light turns off when the temperature set on the temperature control is reached. It switches on and off repeatedly during the cooking process. Preparation instructions
- Follow the product information on the food packaging for times and temperature for preparation. Once you are familiar with the appliance, you can vary the temperatures and times to suit your needs.
- If you are using convection, follow the instructions on the food packaging for this particular mode of operation.
- Allow frozen food to defrost completely before cooking, unless otherwise recommended in the instructions on the packaging.
- Preheat the oven and do not put food in until the heating light is off. You can choose not to preheat when you switch on the fan. However, in this case you should extend the cooking time indicated on the package by about 10 minutes.
- Before baking, check that you remove some unneeded items from the cooking space.
- Slide the baking trays into the middle rack, leaving a gap between the trays to leave room for air circulation.
- Open the ap as little as possible to view the food being baked.
- The oven light stays on during baking.44
Safety during baking
- Keep the oven door closed when grilling.
- Do not use aluminium foil to cover the grill or heating elements. Also, do not place hot objects wrapped in aluminium foil under the grill. The highly reective property of aluminium foil can damage the heating elements. Do not line the bottom of the cooking compartment with aluminium foil either.
- Do not place pans or cookware on the bottom of the oven when baking.
- The heating element and other internal parts of the oven can become very hot during operation. Avoid any accidental contact when handling the food.
- Be careful when opening the door. Avoid contact with hot parts and steam.
- The drip tray handle should only be used to position the drip tray, not to remove it. Always use oven gloves to remove them.
- The handle must be removed before the oven is switched on.45
CLEANING AND MAINTENANCE
- If the appliance does not work properly, contact the after-sales service. Do not attempt to repair the oven yourself. Cleaning CAUTION Risk of burns! The oven must not be cleaned until it has cooled down.
- The oven should be cleaned completely before its rst use and after each use. The oven should be cleaned completely before its rst use and after each use. If residues have been baked several times, they are much harder to remove.
- Never use a steam cleaner to clean the appliance.
- The cooking compartment must be cleaned with a warm soapy water solution and a sponge or soft cloth. Do not use abrasive cleaners.
- Any stains that appear on the bottom of the oven are from food splashes or spills. These are from baking food too hot or putting it in baking dishes that are too small.
- Select a baking temperature and function that is suitable for the food being baked. Also make sure that the food is in a baking vessel of the right size and that you use the drip tray when it is needed.
- Clean the outside of the oven with soapy water and a sponge or soft cloth. Do not use abrasive cleaners.
- If you use any form of foam cleaner, check with the manufacturer of the cleaner that it is suitable for the oven. Replacing the oven lamp
- Unscrew the lamp cover in an anticlockwise direction.
- Rotate the old oven lamp anticlockwise and remove the lamp.
- Insert the new oven lamp. Use the 25W / to 300°C type. Do not use any other type.
- Screw the lamp cover back on (clockwise).46
TROUBLESHOOTING Problem Solution The stove does not start. Is the oven in manual mode? Have you selected a function and a temperature? There is no power supply to the oven. Has the oven been correctly connected to the power supply? Is the fuse switched on? Have instructions for setting the time and manual mode been followed? The grill function works, but the basic baking function does not. Have you selected the correct function? The grill and the upper heating elements do not work Allow the oven to cool for about 2 hours. Once it has cooled down, double-check that the oven is working properly. The food does not cook properly. Make sure you have selected the correct temperature and function. You may need to adjust the temperature down or up by 10 °C to get the best result. The oven light is not on. Replace the oven lamp (see section „Reinigung und Wartung“). Condensation forms in the cooking compartment. Steam and condensation are a natural by-product of cooking all foods that contain water (e.g. frozen foods, poultry, etc). Condensed water can form on the glass door in the cooking chamber. This is not necessarily an indication that the oven is not working properly. Do not allow the food to remain in the oven to cool down after you have switched off the oven. Use a covered container when baking, if this seems feasible, to reduce the amount of condensation that forms.47
WARNING Electrocution hazard! If your appliance does not work properly, contact customer service.48
DISPOSAL INSTRUCTIONS If there is a legal regulation in your country regarding the disposal of electrical and electronic equipment, this symbol on the product or on the packaging indicates that this product must not be disposed of with household waste. Instead, it must be taken to a collection point for the recycling of electrical and electronic equipment. By disposing of this product in accordance with the regulations, you are protecting the environment and the health of those around you from negative consequences. For information on recycling and disposal of this product, contact your local government or household waste disposal service. MANUFACTURER & IMPORTER (UK) Manufacturer: Chal-Tec GmbH, Wallstraße 16, 10179 Berlin, Germany. Importer for Great Britain: Berlin Brands Group UK Limited PO Box 42 272 Kensington High Street London, W8 6ND United Kingdom49