EM3000 - Measuring equipment BASETECH - Free user manual and instructions
Find the device manual for free EM3000 BASETECH in PDF.
| Brand | BaseTech |
| Model | EM3000 |
| Product type | Energy cost measuring device |
| Service voltage | 230 V/AC, 50 Hz |
| Maximum admissible power | 3680 W (16 A) |
| Own consumption | Approx. 1 W |
| Voltage measurement range | 200 – 276 V/AC (±1.5 %) |
| Current measurement range | 0.005 – 16 A (±2 %) |
| Power measurement range | 0.3 – 3680 W (±2 % + 2 W) |
| Frequency measurement range | 45 – 65 Hz |
| Power factor | 0.00 – 1.00 (resolution 0.01) |
| Voltage resolution | 0.1 V |
| Current resolution | 0.1 A |
| Power resolution | 0.1 W (0 – 999.9 W) / 1 W (1000 – 3680 W) |
| Electricity tariff (resolution) | 0.01 |
| Backup power supply | 2 LR44 batteries (for data retention) |
| Operating conditions | 0 °C to +50 °C, 20 % to 90 % RH, non-condensing |
| Storage conditions | 0 °C to +50 °C, 10 % to 90 % RH, non-condensing |
| Dimensions (H × W × D) | 150 × 76 × 78 mm |
| Weight | Approx. 200 g |
| Protection class | I (mandatory earthing) |
| Main functions | Measurement and display of voltage, current, power, power factor, frequency, consumption (kWh), costs (€), CO₂ emissions, operating time; setting of electricity tariff and overload threshold; visual alarm "OVERLOAD"; data retention via batteries |
| Maintenance and cleaning | Disconnect the device, clean the exterior with a soft, dry cloth; use a brush for dust. Do not use aggressive products. |
| Safety | For indoor dry use only; do not open or modify; protection against accidental contact; risk of electric shock; keep out of reach of children. |
| Spare parts and repairability | No user-serviceable parts (except batteries); entrust any repair to a qualified technician. |
| General information | Manual downloadable at www.conrad.com/downloads; available in several languages. |
Frequently Asked Questions - EM3000 BASETECH
User questions about EM3000 BASETECH
0 question about this device. Answer the ones you know or ask your own.
Ask a new question about this device
Download the instructions for your Measuring equipment in PDF format for free! Find your manual EM3000 - BASETECH and take your electronic device back in hand. On this page are published all the documents necessary for the use of your device. EM3000 by BASETECH.
USER MANUAL EM3000 BASETECH
GB Operating instructions
Energy cost meter "EM-3000"
Item no. 1611632
Intended use
The product is used to measure and display the power consumption of electric devices. The product is connected between the mains socket and the electric consumer and requires no additional installation. Operation is only admissible when connected to a common mains socket. The max. admissible power rating of the connected consumer must not be exceeded (see chapter "Technical data").
To calculate the costs, an electricity rate can be entered.
The saved data can also be displayed when not connected to a mains socket since in this case, power is supplied by 2 batteries.
The measuring device is not officially calibrated and therefore must not be used for billing purposes.
It is only suitable for use in enclosed spaces. Outdoor use is not permitted. Contact with humidity; e.g., in bathrooms, must be avoided at all times.
For safety and compliance reasons, the product must not be converted or modified in any way. If you use the product for other purposes than those described above, the product may be damaged. Moreover, improper use involves risks such as short-circuits, fire, electric shocks, etc. Please read the operating instructions carefully and do not discard them. Please include these operating instructions when you pass the product on to a third party.
This product complies with the applicable national and European Regulations. All names of companies and products are the trademarks of the respective owners. All rights reserved.
Package contents
- Energy cost meter
- Operating instructions

Up-to-date operating instructions
Download the latest operating instructions via the link www.conrad.com/downloads or scan the QR code. Follow the instructions on the website.
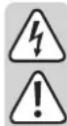
Explanation of symbols

The lightning symbol inside a triangle is used when there is a potential risk of personal injury, such as electric shock.

An exclamation mark inside a triangle indicates important instructions in this operating manual which must be adhered to.

The arrow symbol indicates specific tips and advice on operation.

The product is only intended to be installed and used in dry indoor spaces; it must not get damp or wet.

Observe the operating instructions!
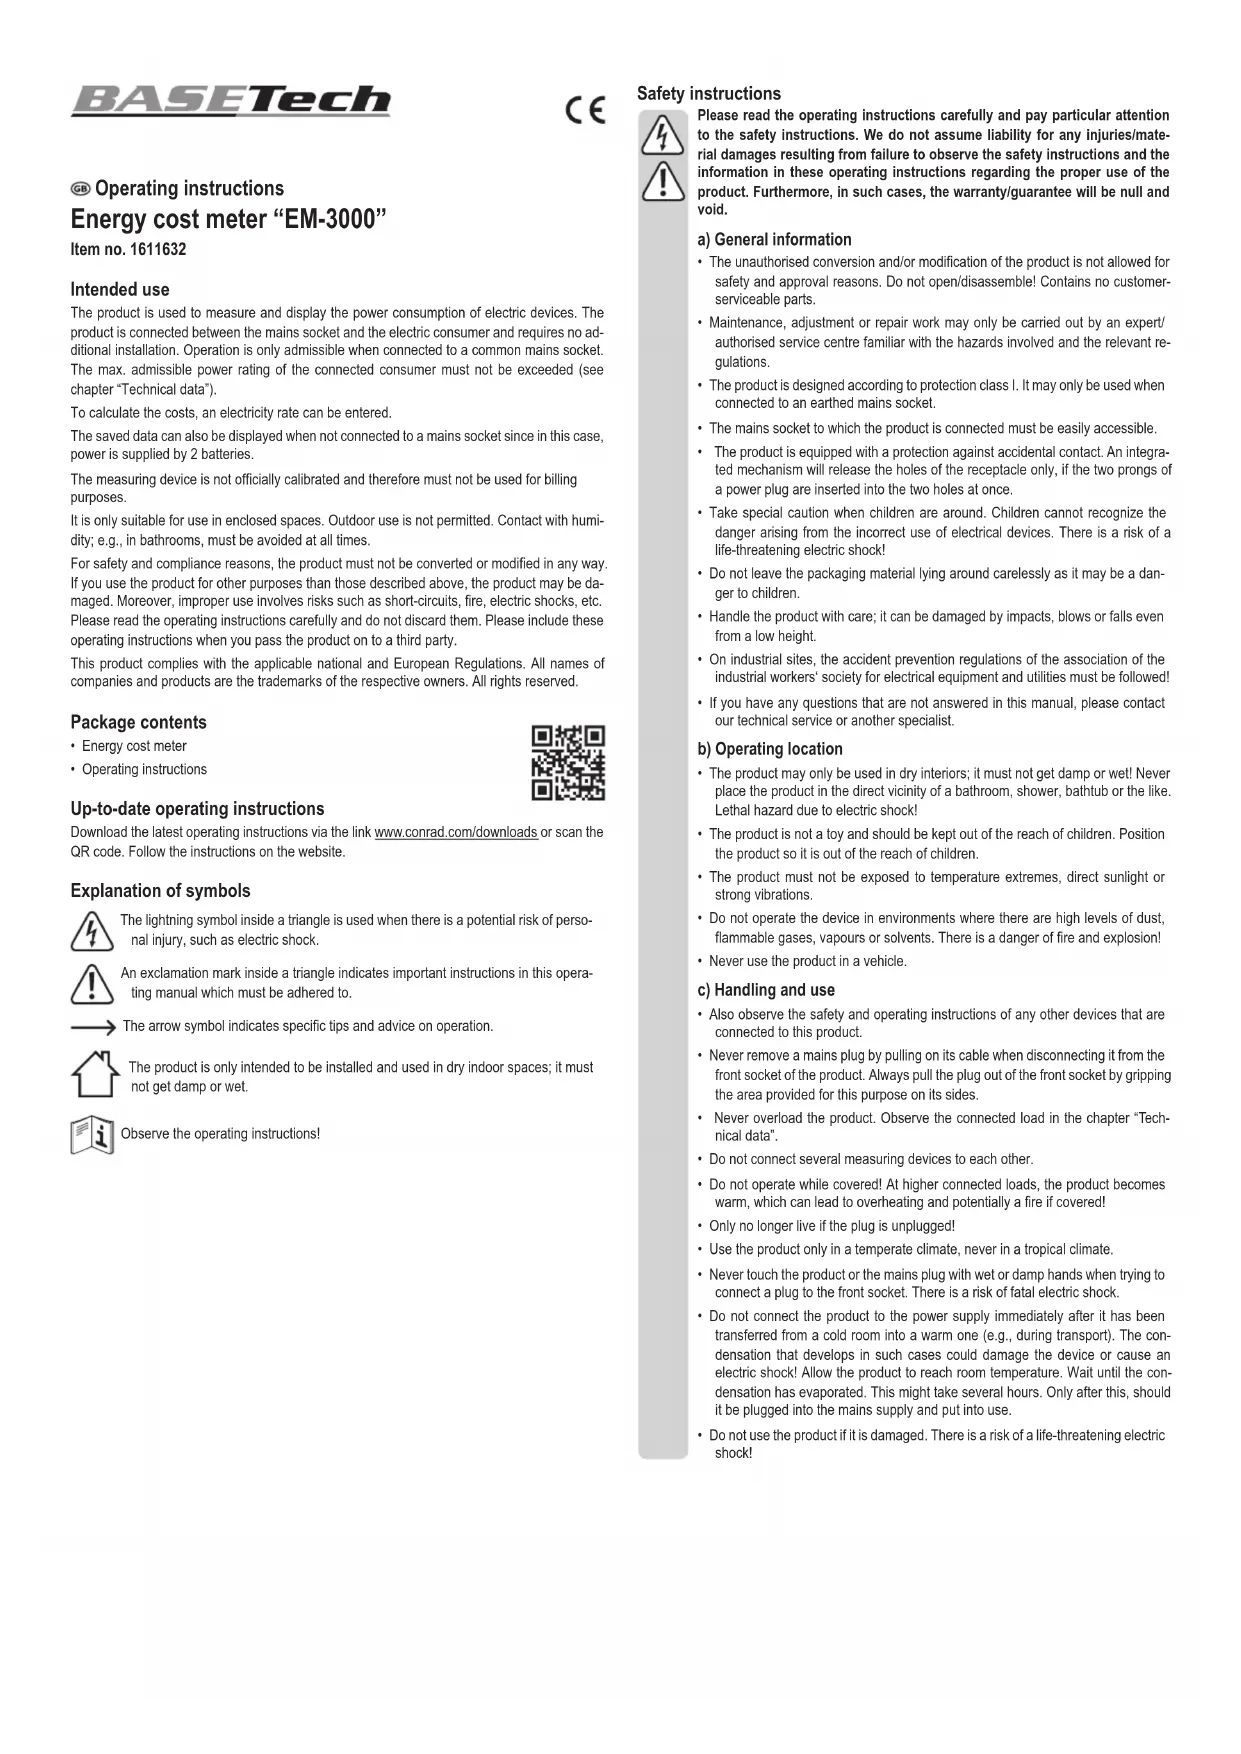
Safety instructions
Please read the operating instructions carefully and pay particular attention to the safety instructions. We do not assume liability for any injuries/material damages resulting from failure to observe the safety instructions and the information in these operating instructions regarding the proper use of the product. Furthermore, in such cases, the warranty/guarantee will be null and void.
a) General information
- The unauthorised conversion and/or modification of the product is not allowed for safety and approval reasons. Do not open/disassemble! Contains no customer-serviceable parts.
- Maintenance, adjustment or repair work may only be carried out by an expert/authorised service centre familiar with the hazards involved and the relevant regulations.
- The product is designed according to protection class I. It may only be used when connected to an earthed mains socket.
- The mains socket to which the product is connected must be easily accessible.
- The product is equipped with a protection against accidental contact. An integrated mechanism will release the holes of the receptacle only, if the two prongs of a power plug are inserted into the two holes at once.
- Take special caution when children are around. Children cannot recognize the danger arising from the incorrect use of electrical devices. There is a risk of a life-threatening electric shock!
- Do not leave the packaging material lying around carelessly as it may be a danger to children.
- Handle the product with care; it can be damaged by impacts, blows or falls even from a low height.
- On industrial sites, the accident prevention regulations of the association of the industrial workers' society for electrical equipment and utilities must be followed!
- If you have any questions that are not answered in this manual, please contact our technical service or another specialist.
b) Operating location
- The product may only be used in dry interiors; it must not get damp or wet! Never place the product in the direct vicinity of a bathroom, shower, bathtub or the like. Lethal hazard due to electric shock!
- The product is not a toy and should be kept out of the reach of children. Position the product so it is out of the reach of children.
- The product must not be exposed to temperature extremes, direct sunlight or strong vibrations.
- Do not operate the device in environments where there are high levels of dust, flammable gases, vapours or solvents. There is a danger of fire and explosion!
- Never use the product in a vehicle.
c) Handling and use
- Also observe the safety and operating instructions of any other devices that are connected to this product.
- Never remove a mains plug by pulling on its cable when disconnecting it from the front socket of the product. Always pull the plug out of the front socket by gripping the area provided for this purpose on its sides.
- Never overload the product. Observe the connected load in the chapter "Technical data".
- Do not connect several measuring devices to each other.
- Do not operate while covered! At higher connected loads, the product becomes warm, which can lead to overheating and potentially a fire if covered!
- Only no longer live if the plug is unplugged!
- Use the product only in a temperate climate, never in a tropical climate.
- Never touch the product or the mains plug with wet or damp hands when trying to connect a plug to the front socket. There is a risk of fatal electric shock.
- Do not connect the product to the power supply immediately after it has been transferred from a cold room into a warm one (e.g., during transport). The condensation that develops in such cases could damage the device or cause an electric shock! Allow the product to reach room temperature. Wait until the condensation has evaporated. This might take several hours. Only after this, should it be plugged into the mains supply and put into use.
-
Do not use the product if it is damaged. There is a risk of a life-threatening electric shock!
-
If the product is visibly damaged in any way, switch off the mains socket to which the product is connected (switch off at the corresponding circuit breaker or remove the safety fuse, then switch off the earth leakage circuit breaker). Then unplug the product from the mains socket.
- Discontinue use of the product, take it to a specialised workshop or dispose of in an environmentally friendly manner.
- Safe operation may no longer be possible, if:
- the product shows visible signs of damage
- the product does not work at all or works poorly (leaking smoke or a smell of burning, audible cracking noises, discolouration to the product or the adjacent surfaces)
- the product was stored under unfavourable conditions
- it was exposed to heavy loads during transport
- Disconnect the power supply from the mains socket when cleaning the product or if the product is not going to be used for a while (e.g., storage). Keep it in a dry, clean, cool place, and out of the reach of children.
- Never pour any liquids above or next to the product. You run the risk of causing a fire or a fatal electric shock.
If any liquid has still managed to enter the device, immediately turn off the power supply to the mains socket at which the product is connected (turn off the fuse/circuit breaker/residual current operated circuit breaker of the associated circuits). Only then can you unplug the product from the mains socket and contact a specialist. Do not use the product any longer.
Battery instructions

- Batteries should be kept out of the reach of children.
- Do not leave batteries lying around in the open; there is a risk of them being swallowed by children or pets. If swallowed, consult a doctor immediately, it could be fatal!
- Please pay attention to the correct polarity (plus/+ and minus/--) when inserting the batteries.
- Batteries must not be short-circuited, opened, taken apart or thrown into a fire. There is a risk of fire and explosion!
- Do not recharge normal, non-rechargeable batteries; they may explode!
- Old or flat batteries can leak liquid chemicals that may damage the device. Therefore, if the device is not to be used for a long time (e.g., storage), remove the batteries.
- Leaking or damaged batteries can lead to caustic burning upon skin contact. Therefore, use suitable protective gloves.
- Liquids leaking from batteries are very chemically aggressive. Objects or surfaces coming into contact with these liquids may be severely damaged. Therefore, store batteries in a suitable location.
- Always replace the complete set of batteries. Do not mix batteries with different charges (flat and half-discharged non-rechargeable/rechargeable batteries).
• Always use batteries/rechargeable batteries of the same type and from the same manufacturer. - For the correct disposal of batteries, please read the chapter "Disposal".
Inserting/replacing batteries

The batteries are used to retain data if the energy cost meter is not plugged into a wall socket.
On the back of the energy cost meter is a small cover; behind it is the battery compartment for two LR44 batteries.
If the batteries are already inserted, a small transparent plastic strip will be visible. This plastic strip protects the batteries from discharging prematurely. Pull out the protective strips.
To insert or replace the batteries, first disconnect the energy cost meter from the mains voltage and remove completely from the mains socket. Then unscrew the two screws on the cover using a suitable Phillips screwdriver and remove the cover. Pay attention to the alignment of the cover.
Remove the used batteries and dispose of them in an environmentally friendly way. Then insert two new LR44 batteries with the correct polarity; a mark (+/-) is located next to the battery compartment. The positive pole of the battery should point towards the metal spring.
Then replace the cover in the correct orientation and tighten the screws removed at the beginning.

A battery change is necessary if the energy cost meter is not plugged into a wall socket and the display can no longer be activated by briefly pressing a button (or the contrast of the LC display decreases sharply).
Getting started
- Disconnect a user that may be connected to the energy cost measuring device.
- Plug the energy cost measuring device into a household grounded mains socket (230 V/AC, 50 Hz). Prior to initial operation, wait until the normal screen is displayed.
- If the load you want to connect to the energy cost measuring device has a mains switch, switch it off.
- Plug the mains plug of the load into the grounded mains socket at the front of the energy cost measuring device.
- Switch the load on and wait a few seconds until the energy cost measuring device displays the first measured data.
→ Before you can use all functions of the energy cost measuring device, you must first make a few adjustments (e.g., electricity tariff).
Programming
a) Setting the electricity price
- Press the "COST" button for longer than 3 seconds until the display shows the current price ("COST/kWh") in the bottom line. All other display information will disappear. Release the button.
- The first field of the time display will start flashing. Change the setting position by shortly pressing "SET". You can use the "UP" button to change the flashing value (hold down the button for quick adjustment).
- Once you have entered the electricity price, briefly press the "COST" button to save the entry and return to normal operation (alternatively, wait approx. 10 seconds without pressing any key).
b) Set overload limit
If an adjustable limit is exceeded, "OVERLOAD" will flash on the display.

This function can be used to indicate when the load exceeds the pre-set limit during normal operation.
- Press and hold the "ENERGY" button for more than 3 seconds until the display shows a value for the power (e.g., 3680 W) and "OVERLOAD" in the middle row. All other display information will disappear. Release the button.
- The first field of the limit will start flashing. Change the setting position by shortly pressing "SET". You can use the "UP" button to change the flashing value (hold down the button for quick adjustment).
- Once you have entered the limit, briefly press the "ENERGY" button to save the entry and return to normal operation (alternatively, wait approx. 10 seconds without pressing any key).
Operation
- The inserted batteries will guarantee data retention (up to 1 year), if the energy cost meter is not connected to a mains socket.
If the energy cost meter is disconnected from the mains, the display will go out after a few seconds to save power. The display can be reactivated by briefly pressing any button. - The upper display line indicates the time that the load is in operation (power consumption >2 W). Depending on the period, the display will change between minutes/seconds and hours/minutes. If the operating time is >24 hours, the time period display in the upper row will start from the beginning; the days are stored internally and can be displayed in the lower display line (operating time "DAY", see below).
-
By briefly pressing the "ENERGY" button, the display in the middle display line can be switched between:
-
Mains voltage (V)
- Current (A)
- Mains frequency (Hz)
- Power factor (POWER FACTOR)
- Load power consumption (W)
- Power limit for overload indication (W, OVERLOAD)
- By briefly pressing the "COST" button, the display in the bottom display line can be switched between:
- Energy costs (COST)
- Energy consumption (kWh)
- Electricity price (COST/kWh)
- Operation duration (DAY)
- CO 2 emission (kgCO 2 )
The base value for calculating CO_2 emissions is fixed at 0.998 kg CO_2 /kWh (cannot be changed).

- By briefly pressing the "SET" button, the display in the middle and bottom display line can be switched between the combinations:
- Mains voltage (V) + energy costs (COST)
- Current (A) + (COST/kWh)
- Mains frequency (Hz) + operating time (DAY)
- Power factor (POWER FACTOR) + CO 2 emission (kgCO 2 )
- Power limit for overload indication (W, OVERLOAD)
- Load power consumption (W) + Energy costs (COST)
- Simultaneously briefly press the "SET" and "ENERGY" buttons to reset the stored time period for the load operating time.
- Simultaneously press the "SET" and "COST" buttons to reset the energy costs (COST).
- To reset the energy cost meter and all settings to the default settings, briefly press the sunken "RESET" key, e.g., with a pen. All display segments will briefly appear on the display; thereafter, the energy cost meter will once again be operational. All measured data are deleted, all settings (electricity price, overload limit) are reset.
→ A reset should also be carried out if only confusing signs appear on the display or the keys do not work.
Maintenance and cleaning
- The product is maintenance-free for you. Maintenance or repair work may be performed only by qualified personnel or a specialised repair shop. There are no self-serviceable components inside the product, that is why you should never open it (apart from inserting/replacing the batteries, as described in these operating instructions).
- Prior to cleaning the measuring device, completely remove it from the mains socket. Remove the connected load from the socket of the measuring device.
- To clean the outside of the product, a dry, soft and clean cloth is sufficient.
- Dust can easily be removed using a clean, long-haired brush and a vacuum cleaner.
- Never use abrasive cleaning agents, rubbing alcohol or other chemical solutions, since these could damage the casing or even impair operation.
Disposal
a) Product

Electronic devices are recyclable and do not belong in the household waste. Dispose of an unserviceable device in accordance with the relevant statutory regulations. We are any inserted batteries and dispose of them separately from the product.
b) Batteries and rechargeable batteries
As an end user, you are required by law (battery ordinance) to return all used batteries and rechargeable batteries; it is not permitted to dispose of batteries with normal household waste.

Batteries/rechargeable batteries containing hazardous substances are labelled with these symbols to indicate that their disposal in household waste is forbidden. The designations for the heavy metals involved are: Cd = cadmium, Hg = mercury, Pb = lead.
Used batteries, rechargeable batteries and coin cells can be returned to collection points in your municipality, our stores or wherever batteries/rechargeable batteries/coin cells are sold. That way you fulfil your statutory obligations and contribute to the protection of the environmen
Technical data
Operating voltage 230 V/AC, 50 Hz
Own power consumption......approx. 1 W
Max. connection power....3680 W (230 V/AC, 16 A)
Electricity tariff resolution....0.01
Battery type 2x LR44
→ The batteries are used to retain data if the energy cost meter is not plugged into a wall socket.
Operating conditions .... 0 °C to +50 °C, 20% to 90% relative humidity, noncondensing
Storage conditions .... 0 °C to +50 °C, 10% to 90% relative humidity, noncondensing
Dimensions (H x W x D) 150 x 76 x 78 mm
Weight .... approx. 200 g
Voltage:
Measurement range 200 - 276 V/AC
Tolerance ....±1.5%
Resolution 0.1V
Frequency:
Measurement range 45 - 65 Hz
Current:
Measurement range 0.005 - 16 A
Tolerance ....±2%
Resolution....0.001 A @ 0 - 9.999 A 0.01 A @ 10 - 16 A
Power:
Measurement range 0.3 - 3680 W
Tolerance....±2% + 2 W
Resolution....0.1 W @ 0 - 999.9 W
1 W @ 1000 - 3680 W
Power factor:
Measuring range....0.00 - 1.00
Resolution....0.01
F Mode d'emploi
Indications relatives aux piles
Résolution....0,001 A @ 0 - 9,999 A
0,01 A @ 10 - 16 A
Puissance :
Resolutie....0,001 A @ 0 - 9,999 A
0,01 A @ 10 - 16 A
Vermogen:
Meetbereik....0,3 - 3680 W
Tolerantie....±2% + 2 W
Resolutie....0,1 W @ 0 - 999,9 W
1 W @ 1000 - 3680 W
Vermogensfactor:
Meetbereik....0,00 - 1,00
Resolutie 0,01