Mona - High chair Lionelo - Free user manual and instructions
Find the device manual for free Mona Lionelo in PDF.

| Product type | 3-in-1 convertible high chair: high chair, booster seat, low chair and bar table |
| Brand | Lionelo |
| Model | Mona |
| Standards compliance | EN 14988:2017+A1:2020, EN16120:2012 +A2:2016, EN 12875-1:2005, EN 17191:2021 |
| Recommended age | From 6 months to 3 years (high chair and booster seat), up to 5 years (low chair) |
| Maximum user weight | 15 kg (high chair and booster seat), 25 kg (low chair), 75 kg (bar table) |
| Materials | Plastic, metal, silicone (tray) |
| Safety harness | 5-point |
| Tray | Removable, with silicone surface, dishwasher safe |
| Footrest | Included, adjustable |
| Booster seat | Strap attachment, minimum adult chair dimensions: width ≥ 33.8 cm, depth ≥ 28 cm, backrest height 42-63 cm, backrest width < 40 cm |
| Upholstery care | Machine washable at 30°C with mild detergent |
| Cleaning the silicone tray | Dishwasher at 65°C, mild class A chemicals |
| Cleaning the frame | Damp cloth, mild products, no abrasives |
| Included accessories | Screws (x4), Allen key, booster seat attachment straps (x2) |
| Spare parts | Use only manufacturer-approved parts |
| Safety | 5-point harness, anti-tip straps, never leave child unattended |
Frequently Asked Questions - Mona Lionelo
User questions about Mona Lionelo
0 question about this device. Answer the ones you know or ask your own.
Ask a new question about this device
Download the instructions for your High chair in PDF format for free! Find your manual Mona - Lionelo and take your electronic device back in hand. On this page are published all the documents necessary for the use of your device. Mona by Lionelo.
USER MANUAL Mona Lionelo
natural_image
Model of a baby boom seat with gray and orange legs, no visible text or symbols1
natural_image
Simple line drawing of a rectangular object with internal components, labeled 'A' in top-left corner (no text or symbols on the object itself)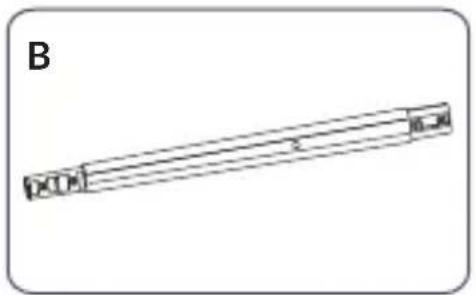
natural_image
Simple line drawing of a rectangular object with labeled points (no text or symbols)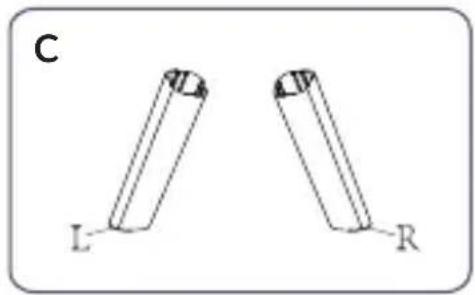
natural_image
Two identical cylindrical objects with labeled ends L and R, no text or symbols present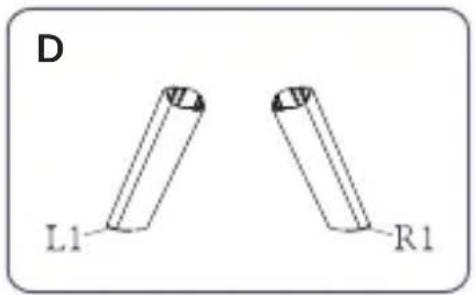
natural_image
Simple line drawing of a cylindrical mechanical part with a flanged end (no text or symbols)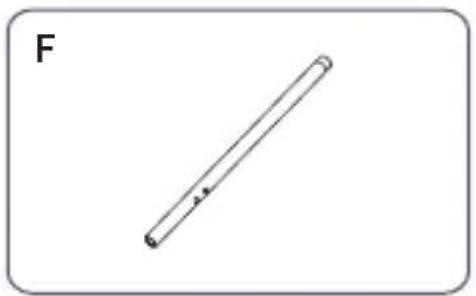
natural_image
Simple line drawing of a rod with a labeled point 'F' (no other text or symbols)
natural_image
Simple line drawing of a bent pipe or rod with no text or symbols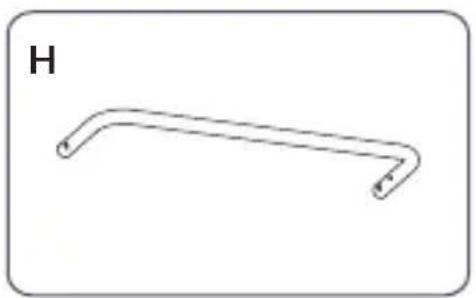
natural_image
Simple line drawing of a curved mechanical or architectural component (no text or symbols)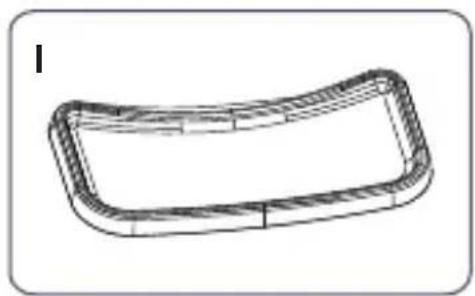
natural_image
Line drawing of a curved rectangular object with textured edges, no text or symbols present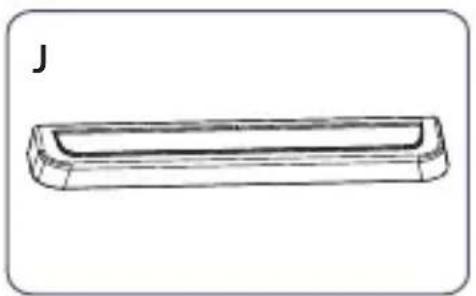
natural_image
Simple line drawing of a rectangular object with a curved top and side edges, labeled 'J' in the top-left corner (no other text or symbols)2
natural_image
Line drawing of a children's seat with straps and handle (no text or symbols)
natural_image
Line drawing of a mechanical component with a curved base and mounting features (no text or symbols)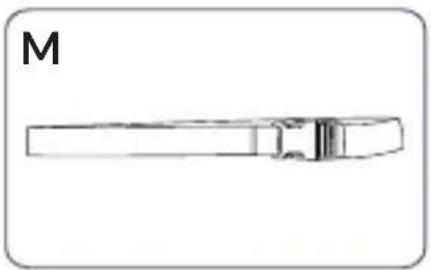
natural_image
Simple line drawing of a mechanical component labeled 'M' (no text or symbols on the object itself)
natural_image
Simple illustration of a screw with a labeled north indicator (N), no text or symbols on the screw itself.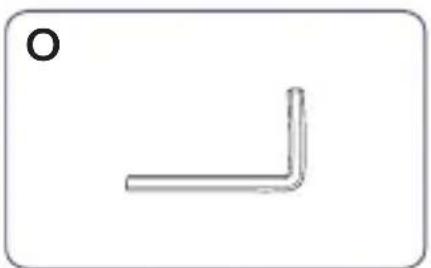
natural_image
Simple L-shaped metal bracket diagram with no text or symbols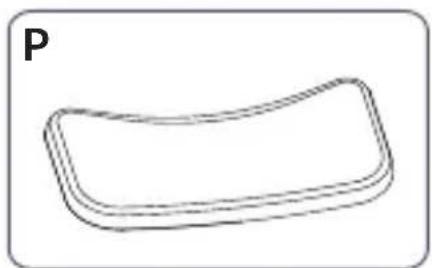
natural_image
Simple line drawing of a rounded rectangular shape with no text or symbols3
natural_image
Line drawing of a baby boom chair with seat and legs (no text or symbols)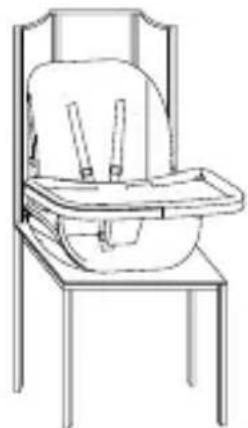
natural_image
Line drawing of a baby seat with a tray and seatbelt (no text or symbols)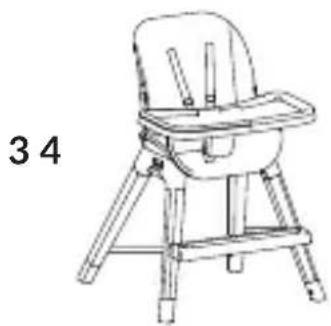
natural_image
Line drawing of a baby boom chair with seat and legs (no text or symbols)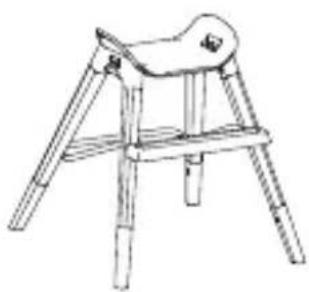
natural_image
Line drawing of a simple wooden stool with a curved seat and four legs (no text or symbols)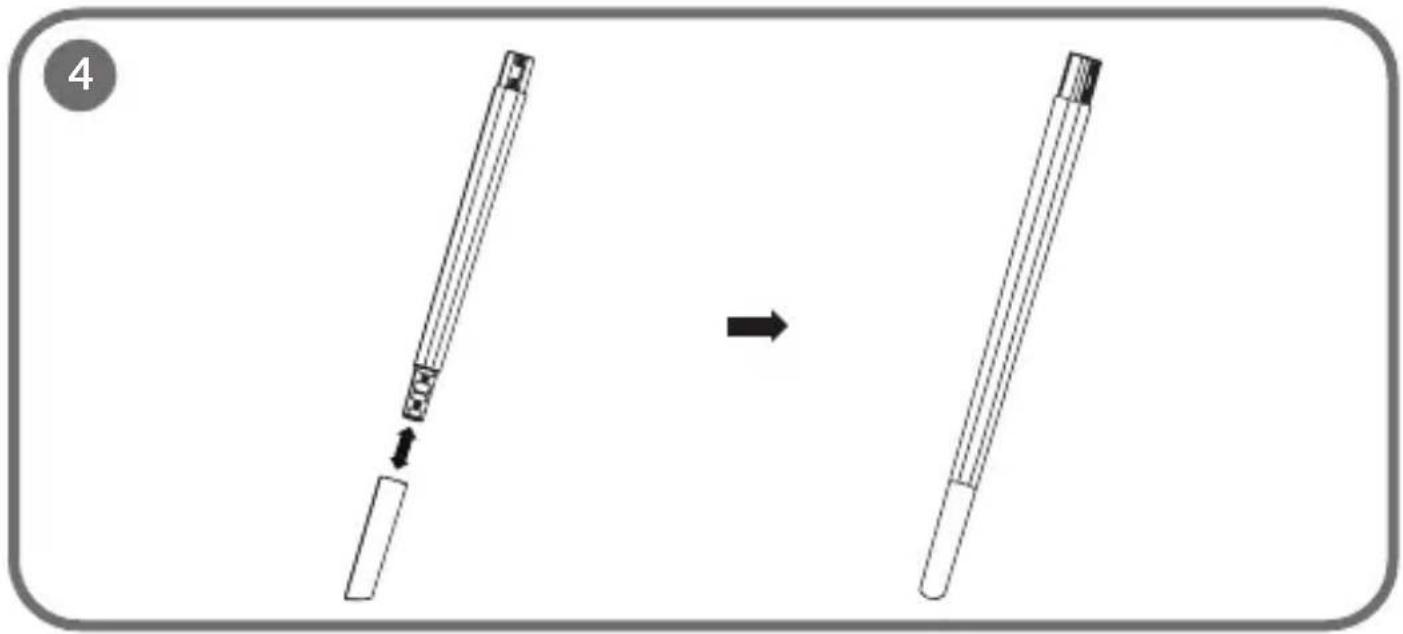
natural_image
Diagram showing a mechanical assembly before and after, with no visible text or symbols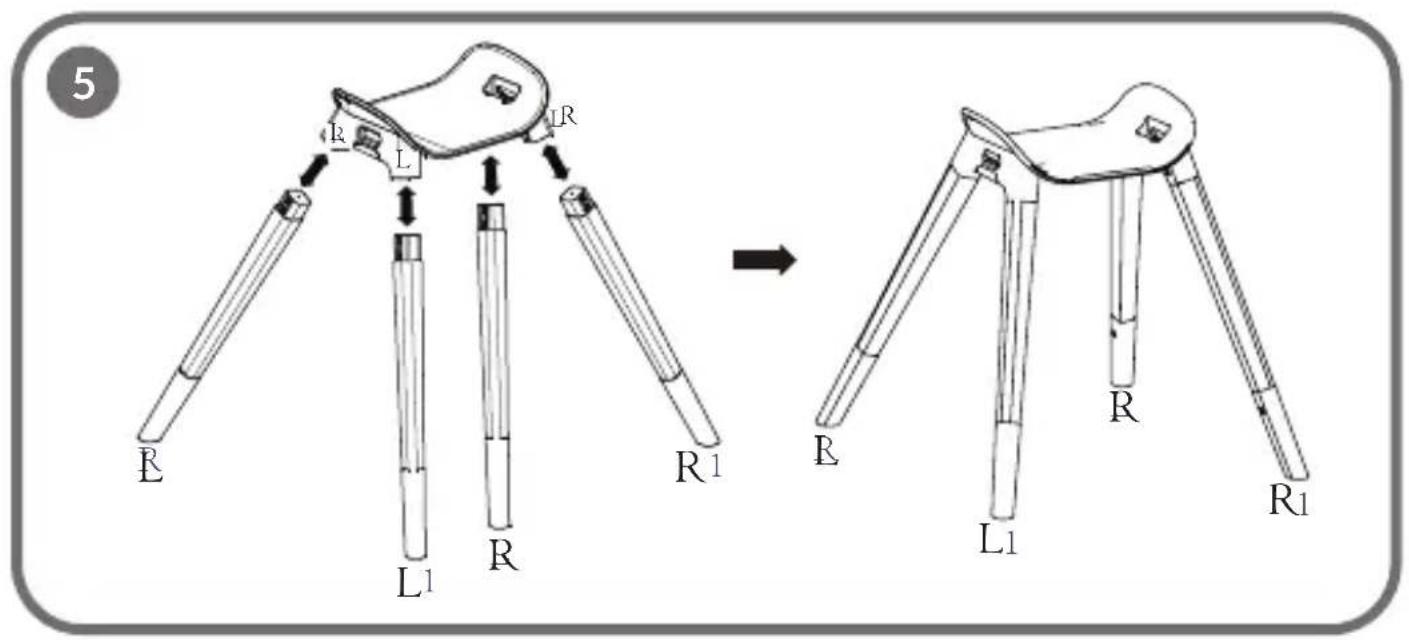

natural_image
Line drawing of a baby boom chair with seat, legs, and seatbelt (no text or symbols)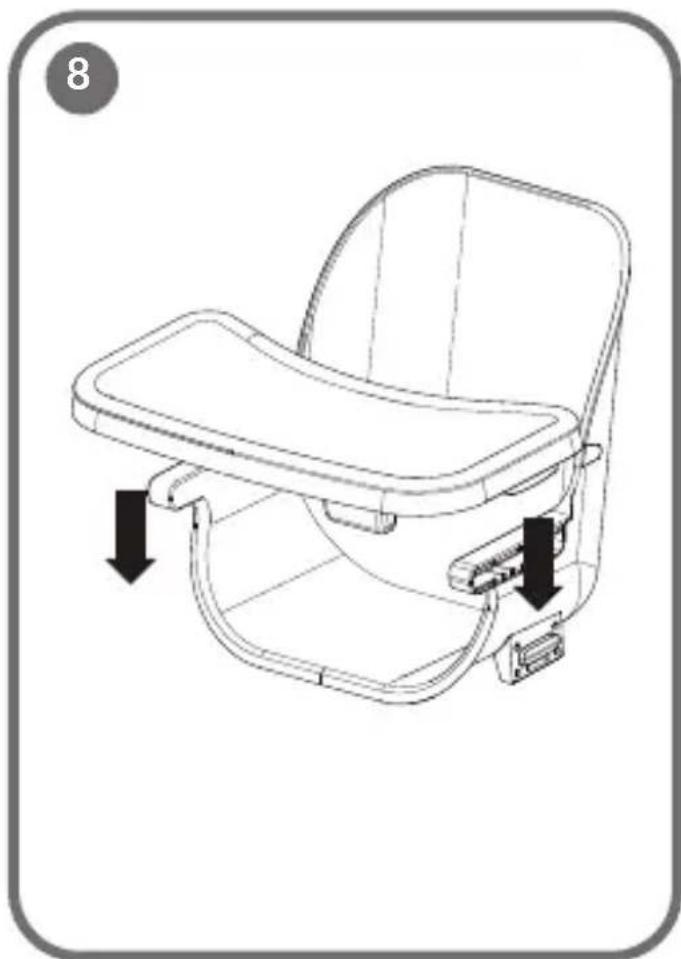
natural_image
Line drawing of a baby seat with two black arrows indicating movement or insertion, no text or symbols present.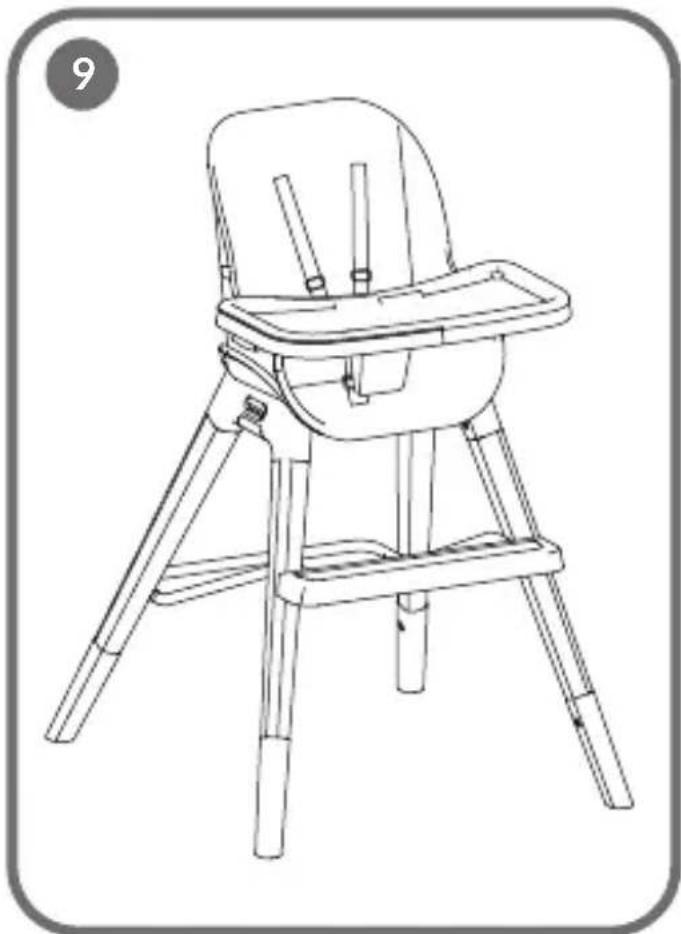
natural_image
Line drawing of a baby boom chair with legs and seat, no text or symbols present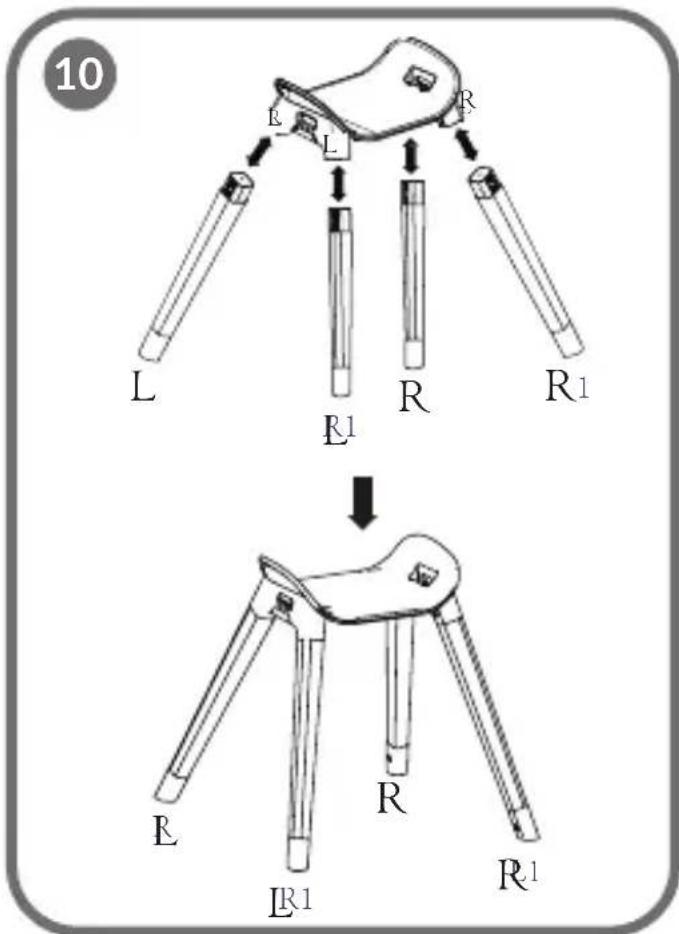
natural_image
Line drawing of a two-step sledge chair setup before and after assembly (no text or symbols)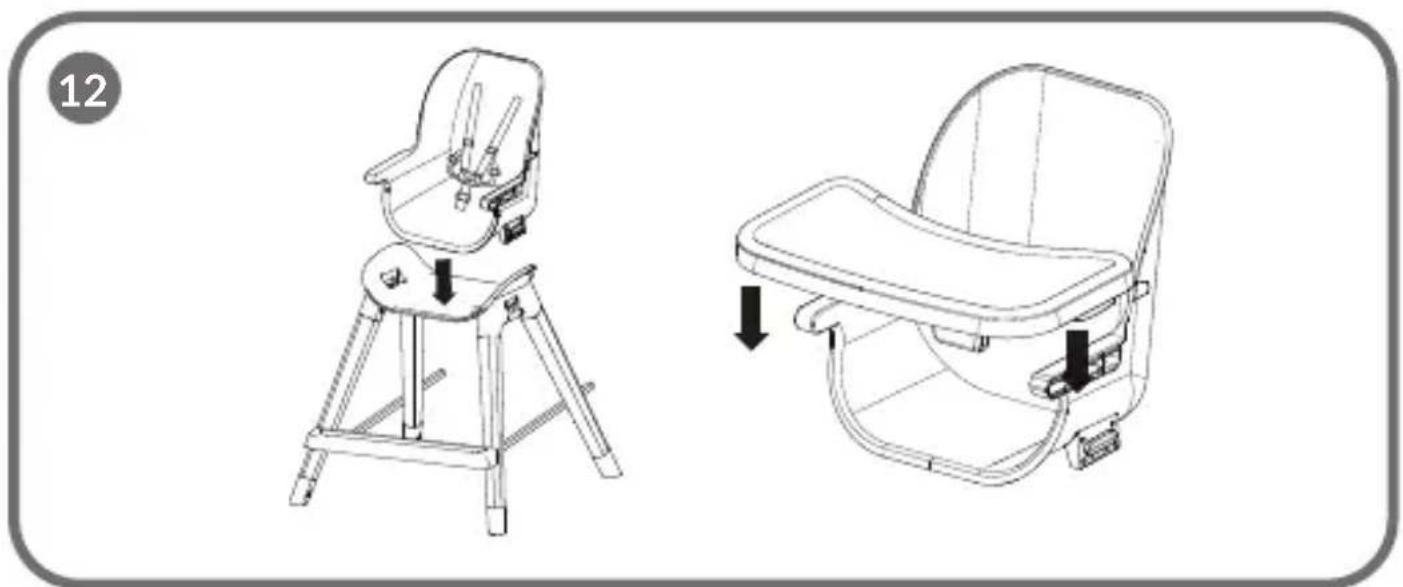
natural_image
Line drawings of a baby seat with two different designs, one supporting the seat and the other showing a side view (no text or symbols)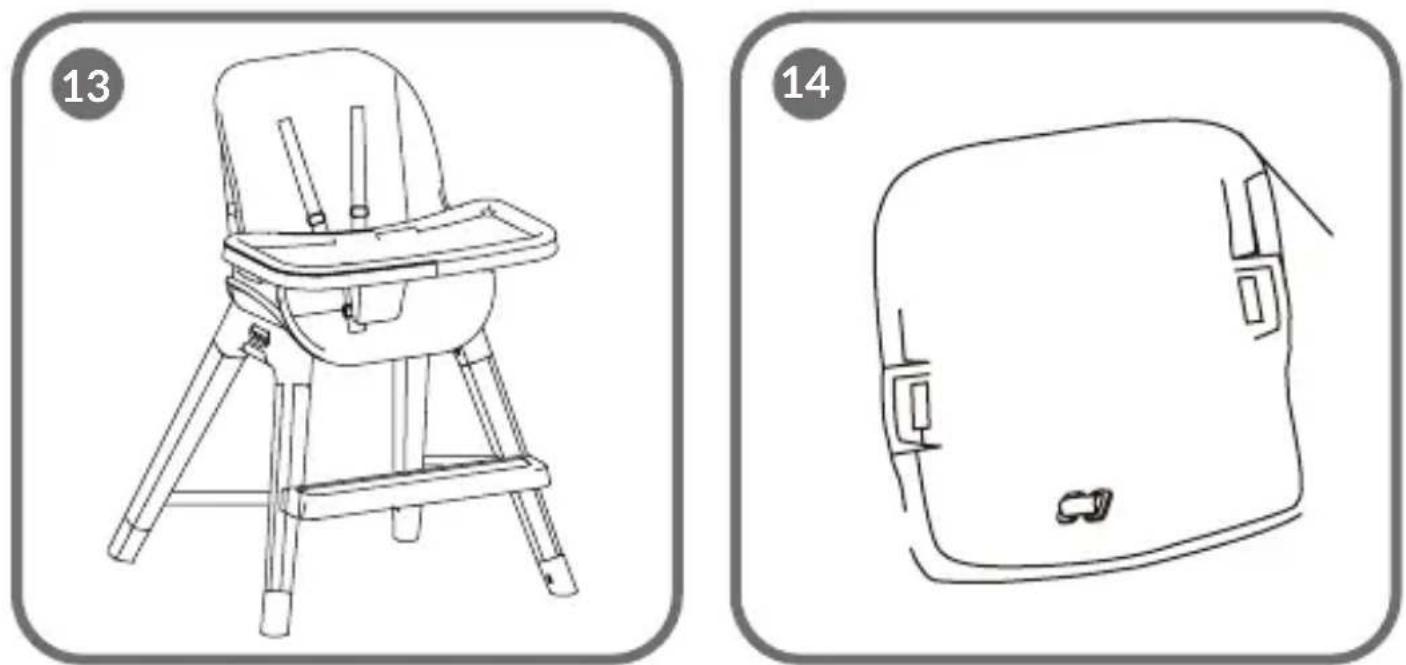
natural_image
Line drawings of two baby care items: one in a high chair and one in a backpack, both without any text or symbols.
natural_image
Mechanical assembly diagram showing two steps of a clamp or bracket mechanism (no text or symbols)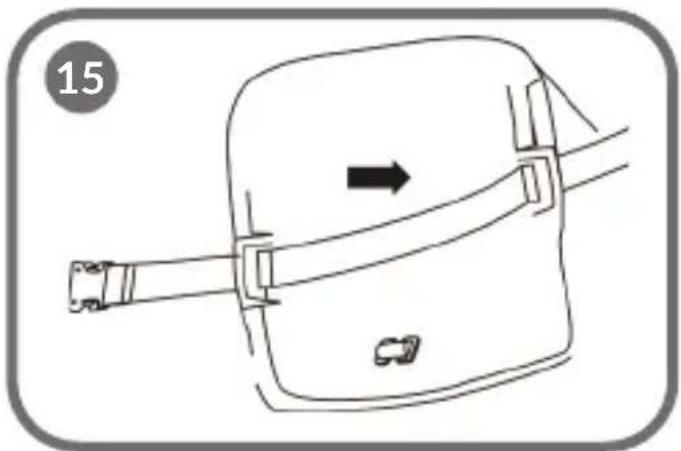
natural_image
Line drawing of a device with a belt and handle, no text or symbols present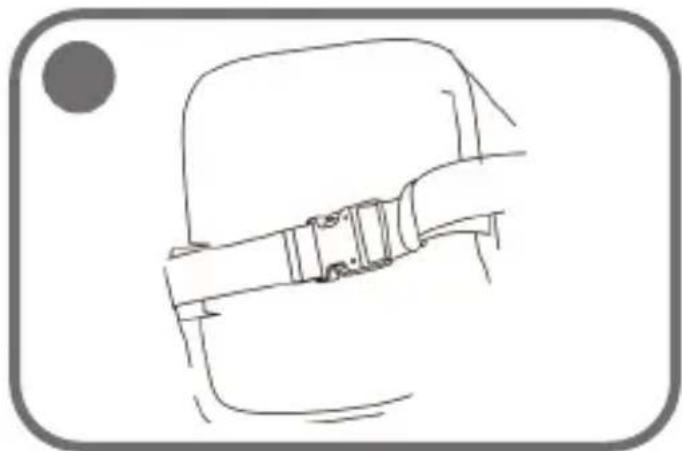
natural_image
Line drawing of a car seatbelt buckle (no text or symbols)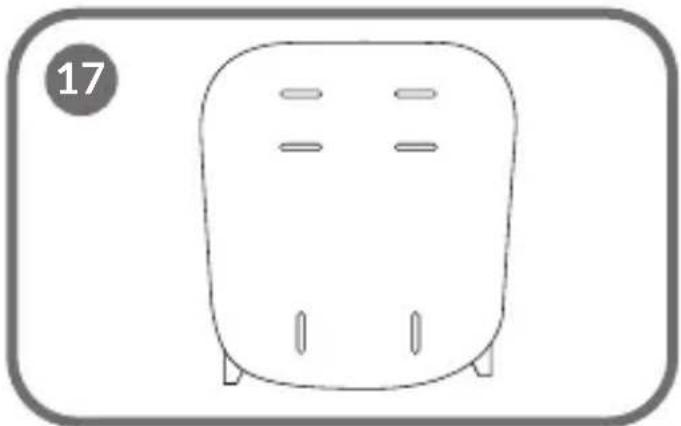
natural_image
Simple line drawing of a rectangular device with four vertical slots and a numbered label '17' in the top-left corner (no text or symbols on the device itself)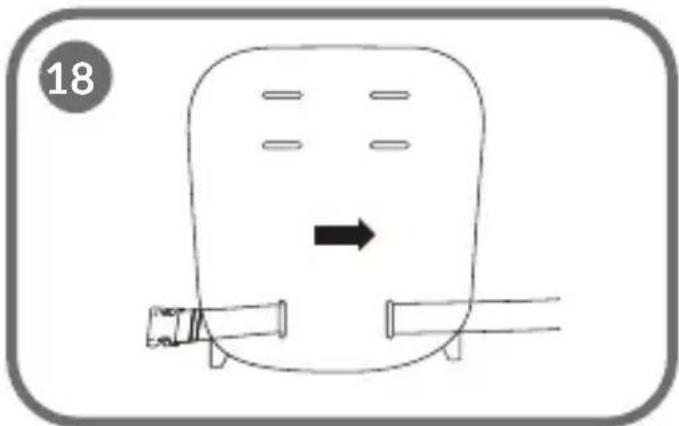
natural_image
Simple line drawing of a device with ports and a directional arrow, no text or symbols present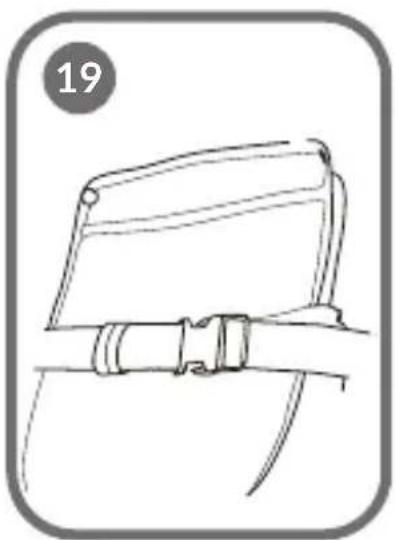
natural_image
Line drawing of a seatbelt buckle with a numbered label (19) in the top-left corner, no text or symbols on the diagram itself.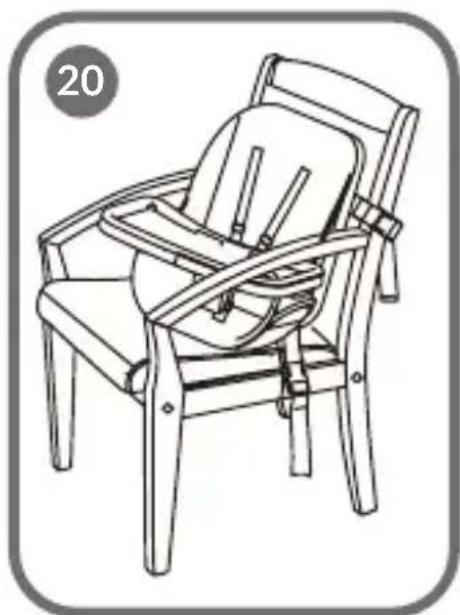
natural_image
Line drawing of a wooden chair with seatbelt and armrest (no text or symbols)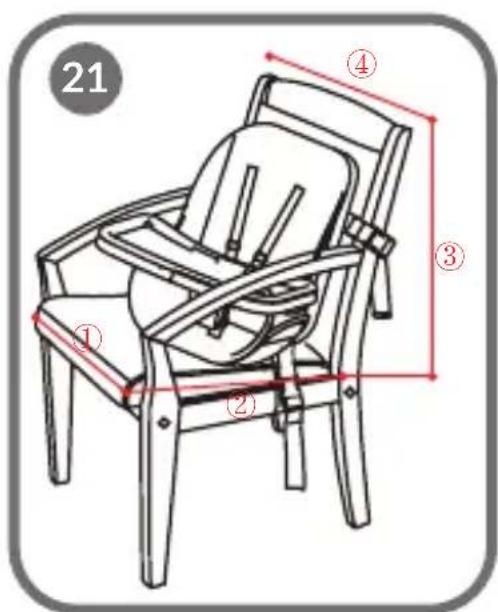
Dear customer!
Should you have any remarks or questions concerning the product, please do not hesitate to contact us: help@lionelo.com
The product has been tested and complies with EN 14988:2017+A1:2020, EN16120:2012 +A2:2016, EN 12875-1:2005, EN 17191:2021 standards.
Producer:
BrandLine Group Sp. z o. o.
Warnings for highchair:
IMPORTANT! READ CAREFULLY AND KEEP FOR FUTURE REFERENCE
WARNING
- Never leave the child unattended
- Always use the restraint system.
- Falling hazard: Prevent your child from climbing on the product.
- Do not use the product unless all components are correctly fitted and adjusted.
- Be aware of the risk of open fire and other sources of strong heat in the vicinity of the product.
- Be aware of the risk of tilting when your child can push its feet against a table or any other structure
- Do not use the product until the child can sit on its own.
- Do not use the product if any of its parts is missing or any element is damaged or torn.
-
Do not let your child get close when you assemble and disassemble this product.
-
The product is intended for children who can sit on their own. The product can be used by children aged 0,5-3, and whose weight does not exceed 15 kg.
Warnings for booster seat:
IMPORTANT! READ CAREFULLY AND KEEP FOR FUTURE REFERENCE
WARNING
- Never leave the child unattended.
- Always use the restraint system and ensure it is correctly fitted.
- Always use the chair attachment system and ensure it is correctly fitted before use.
- Always check the security and the stability of the product on the adult chair before use.
- Do not use this product on stools or benches.
- The product is intended for children who can sit on their own. The product can be used by children aged 0,5 to 3, and whose weight does not exceed 15 kg.
- After attaching the booster seat on the adult chair, assure a proper position in which the child cannot use its feet to push the table or other surface. This may cause the adult chair along with the booster seat to collapse.
- Do not use the product if any of its part is missing or any element is damaged.
- Do not use accessories or spare parts other than recommended by the manufacturer.
Warnings for the child seat:
IMPORTANT! READ CAREFULLY AND KEEP FOR FUTURE REFERENCE
WARNING
- DO NOT place this product near a window as it can be used as a step by the child and cause the child to fall out of the window.
-
Be aware of the risk of open fires and other sources of strong heat in the vicinity of the product.
-
DO NOT place this product near a window where cords from blinds or curtains could strangle a child.
- Product intended for children from three years.
- All assembly fittings should always be tightened properly.
- Do not use the seating if any part is broken, torn or missing and use only spare parts approved by the manufacturer.
- Restraint system shall be removed when the product is used as a seating.
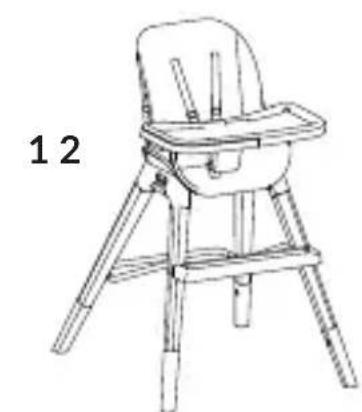
Description (fig. 1 and 2)
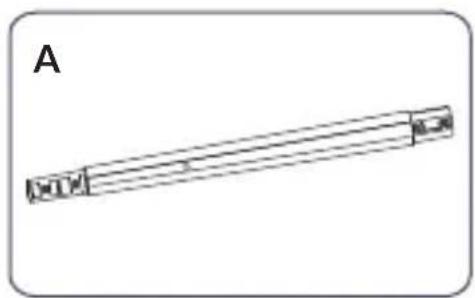
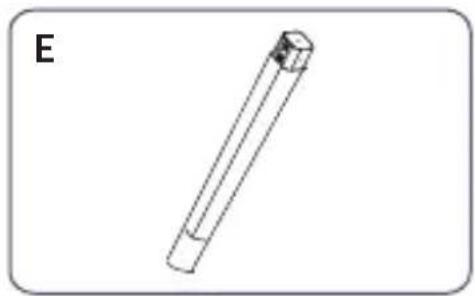
A and B - Legs of the highchair (x4)
C - Plastic rear leg sheaths of the highchair (marked L and R)
D - Plastic front leg sheaths of the highchair (marked L1 and R1)
E - Legs of the low chair (marked RR, LL, L, R) x4
F - Metal connector of the low chair (x2)
G - Metal connector of the highchair (x2)
H - Metal connector of the high chair (x1)
I - Plastic tray
J - Footrest
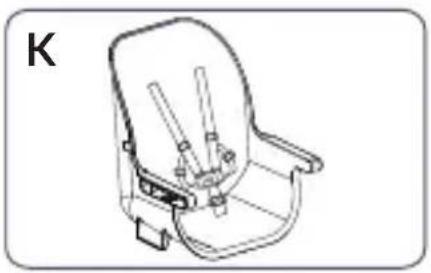
K - Seat with backrest
L - Seat base
M - Belt attaching the booster seat on the chair (x2)
N - Screw (x4)
O - Allen key
P - Silicone tray
Chair functions (fig. 3):
- Highchair (from 0,5 to 3 years of age, up to 15 kg)
- Booster seat (from 0,5 to 3 years of age, up to 15 kg)
- Low chair (up to the age of 5, up to 25 kg).
- Bar stool (up to 75 kg)
How to assemble the highchair (1):
There are letters (R, R1, L, L1) embossed on plastic tips. During assembly, adjust parts in the following way:
- Put 2 legs of the highchair (A) into 2 plastic front sheaths (R1, L1), until you hear a characteristic click (fig. 4).
-
Put 2 legs of the highchair (B) into 2 plastic rear sheaths (R, L) until you hear a characteristic click (fig. 4).
-
Put 4 long legs (A and B) into designated places (R, R, L, L) in the seat base (L), until you hear a characteristic click (fig. 5).
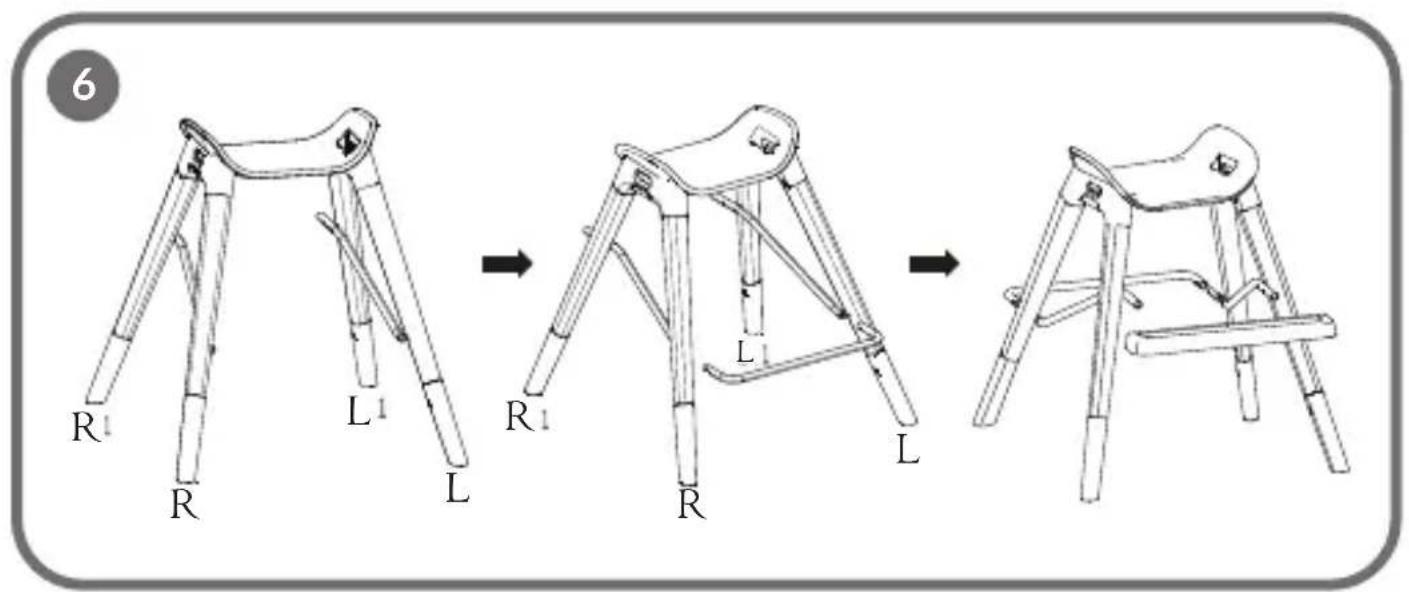
- Fix 3 metal connectors of the highchair (G and H) between high legs, adjust connectors and tighten 4 screws (N). To do so, use the Allen key (O). Assemble the footrest (J) to finish the procedure (fig. 6).
- Put the seat with backrest (K) into the seat base (L), until you hear a characteristic click (fig. 7).
- Put the plastic tray on (I) (fig. 8).
- Put the top silicone tray on (P).
- Check if the chair is stable (fig. 9).
- Put the child in and secure with 5-point belts located in the seat covering.
How to assemble the low chair (3):
There are letters (R, L, RR, LL) embossed in the plastic tips. During assembly, adjust parts in the following way:
- Put 4 legs of the low chair (E), front (RR, LL) and rear (L, R) in spots marked in the seat base (L), front and rear (R, L, R, L), until you hear a characteristic click (fig. 10).
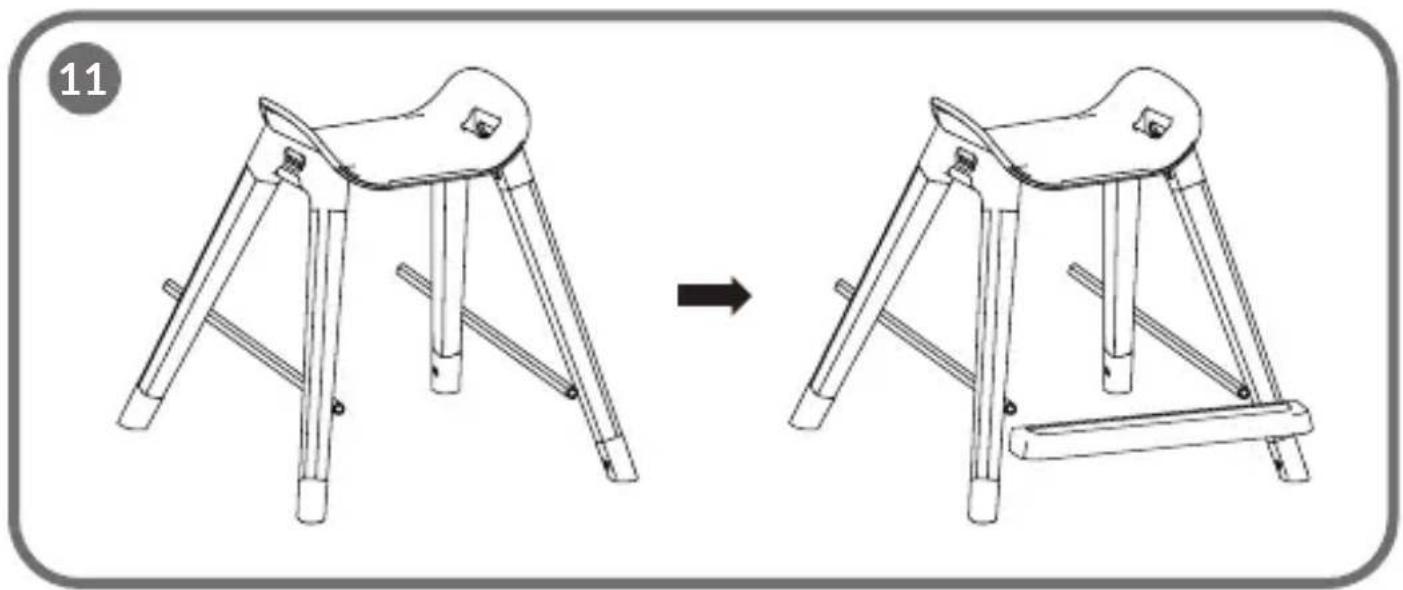
- Fix 2 metal connectors of the low chair (F) between low legs, attach connectors with 4 screws (N) to the chair legs. To do so, use the Allen key (O). Assemble the footrest (J) to finish the procedure (fig. 11).
- Put the seat with backrest (K) into the seat base (L), and then put the plastic tray on (I), until you hear a characteristic click (fig. 12).
- Put the top silicone tray on (P).
- Check if the chair is stable (fig. 13).
- Put the child in and secure with 5-point belts located the seat covering.
How to attach the booster seat (2) on the chair:
Attach the booster seat with two fixing belts supplied. Follow the steps below:
-
Assembly of the booster seat (2) with the use of a fixing belt (M) on the chair through the seat bottom (K) (fig. 14):
-
Thread the belt through the appropriate hole in the buckle (fig. 14a).
- Carry the belt (M) through two holes in the seat bottom (K) (fig. 15).
-
Carry the belt through the adult chair and lock the buckle, next tighten the belt to have a relevant length (fig. 16).
-
Assembly of the booster seat (2) with the use of a fixing belt (M) on the chair through the backrest (K) (fig. 17):
-
Thread the belt through the appropriate hole in the buckle (fig. 14a).
- Carry the belt (M) through two holes in the seat backrest (K) (fig. 18).
- Carry the belt through the adult chair and lock the buckle, next tighten the belt to have a relevant length (fig. 19).
- Check if the booster seat has been properly positioned with the use of the fixing belt (fig. 20).
- Put the child in and secure with 5-point belts located in the seat covering.
Suitable sizes of the chair for assembly of the booster seat on the chair:
Pay attention to the following sizes of the adult chair:
- Chair width must not be lower than 33,8 cm.
- Chair depth must not be lower than 28 cm.
- Chair backrest height must not be lower than 42 cm and higher than 63 cm.
- Chair backrest width must not be lower than 40 cm.
See: fig. 21
Silicone tray (P):
- In case of any dirt on the tray, you can wash it in the dishwasher.
- Wash it in the dishwasher, in a basic mode, at the temperature of 65^ C, with the use of soft chemicals (class A).
- Do not use the tray if you can see any fabric damage, e.g. slits or scratches. Pieces of the damaged tray may pose a threat to your child's health.
Note! The child must not use the booster seat while the chair is being assembled, adjusted or disassembled.
Removing the harness:
To remove the harness pull the belts out of the holes in the seat. Store the harness for future use.
Maintenance:
- Before every use, check if the seat with backrest has been properly assembled.
- Do not use parts and accessories other than original
Cleaning:
- Wipe the seat with wet cloth.
- For cleaning, use soft cleaning agents only.
- Do not use abrasive agents.
- You can wash the covering mechanically at 30°C, with the use of soft chemicals.
Illustrations are for informational purposes only. The actual appearance of the products may differ from the pictures.
PL
Drogi Kliencie!
- Chair width must not be lower than 33,8 cm.
- Chair depth must not be lower than 28 cm.
- Chair backrest height must not be lower than 42 cm and higher than 63 cm.
- Chair backrest width must not be lower than 40 cm.